

TIE TX26 User Manual
Article TX26: 19-90030
USER MANUAL

Please read this manual carefully before using the product.
Warnings:
1. Do not attempt to open, repair or ret this product.
2. Never use the product at areas where electronic devices are
forbidden, such as on an airplane.
3. Don’t put the product or its parts into your mouth.
4. Do not use the device in very high humidity or places where it
could be splashed by water.
Precautions:
1. Do not drop, bump or apply extreme force the device or its parts
to avoid malfunctions.
2. Don’t press heavily on the LCD screen to avoid damage or malfunction of the display.
3. Don’t expose the device for a longer period to direct sunlight or
heat sources.
4. Don’t use the device in places with much dust or sand.
5. Always unplug external accessories, such as earphones, microphone, USB cables, etc. carefully
6. We won’t take any responsibility for any loss or compensation
caused by the use of this product.
7. No liability will be taken for any data loss during the usage or
repair of the device. Please backup important records regularly.
Note: Interferences may occur on the built-in speaker when being
used close to magnetic cards (credit cards, trac cards and others).
Prohibition: It’s strictly prohibited to use this product for any illegal
attempts such as privacy infringement or eavesdropping, etc.
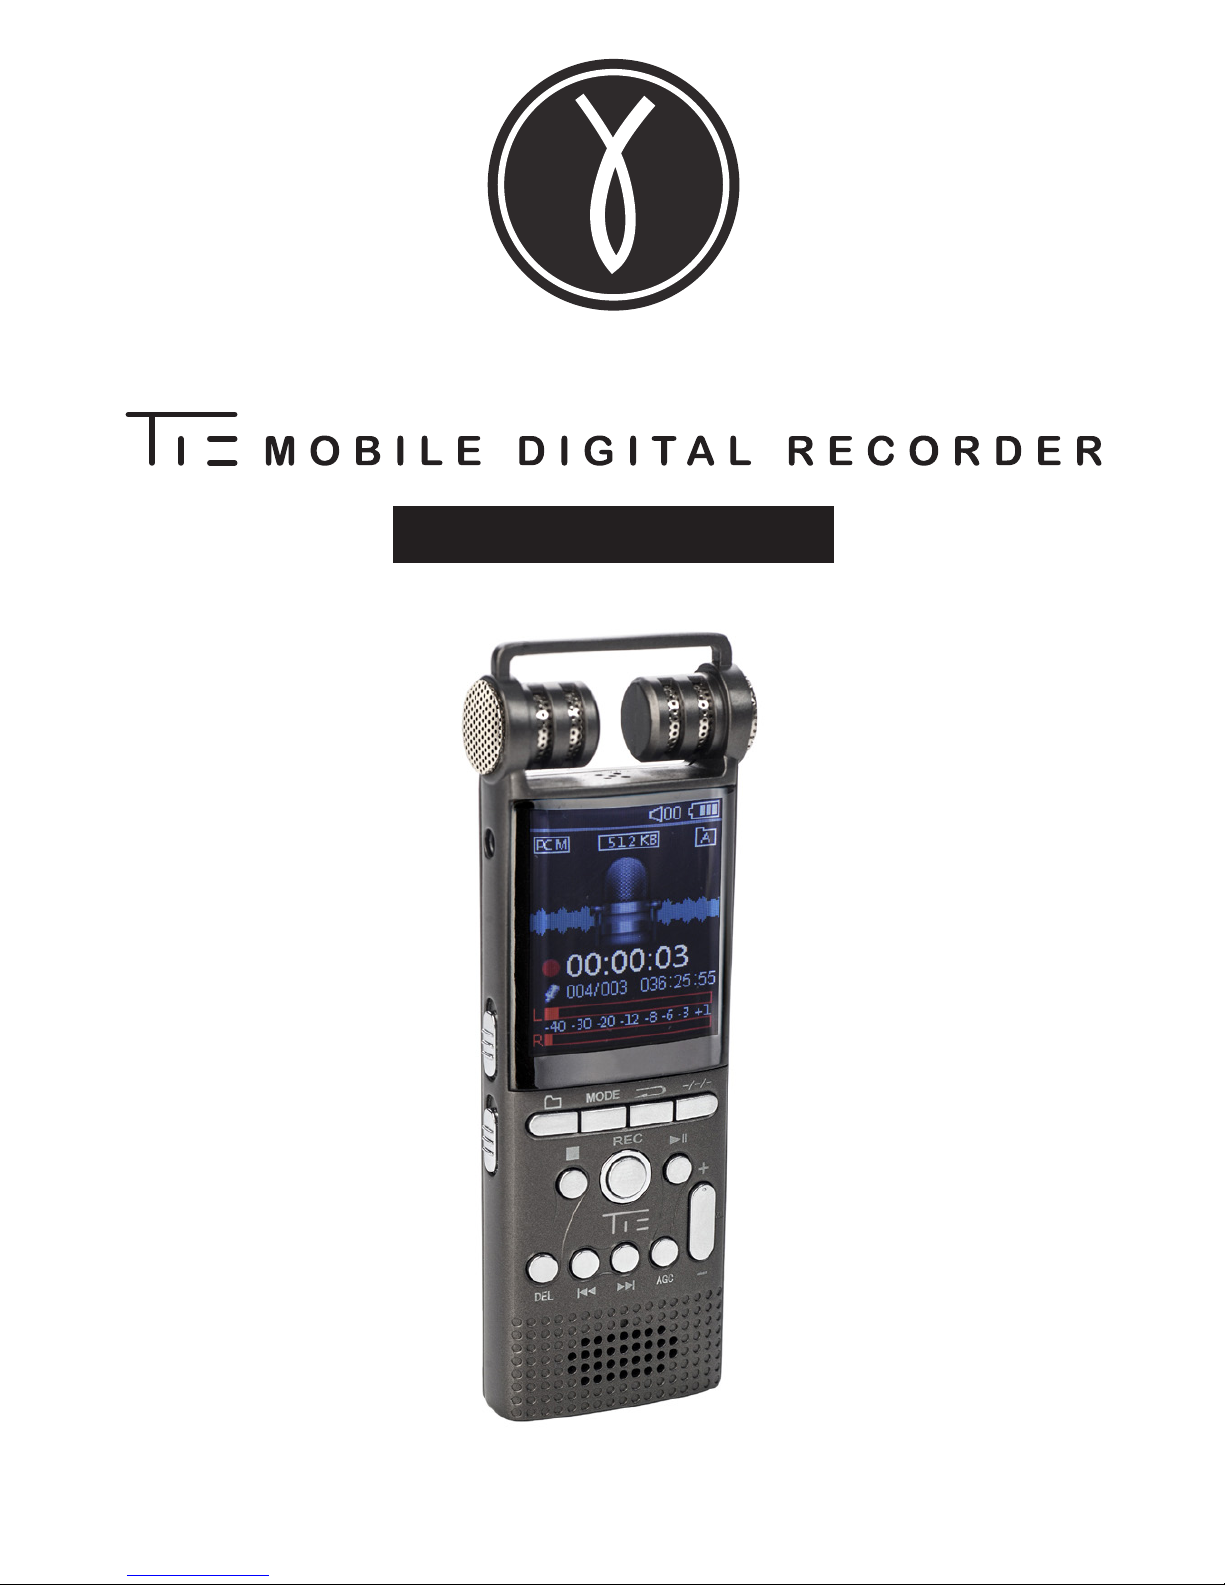
Thank you for choosing the TIE Mobile Digital Recorder. Please read
this user manual carefully to get familiar with all functions of the
device.
SAFETY & USAGE PRECAUTIONS
INTRODUCTION
1

The TX26 oers excellent cost-eectiveness and an elegant design. As
a device of a new generation of professional digital recording devices,
it supports multiple music playback formats. Besides it features high-
quality recording (WAV and MP3), supports direct recording of telephone
calls, and delivers various sound eects. We sincerely hope it lifts your
enjoyment in today’s digital era to a new level.
• One-key functions for recording, playback, noise-canceling,
sound split
• AGC (Auto-Gain Control) function
• 3 record folders (A, B, C)
• Recording timestamp
• VOR, Monitoring, Timing recording
• Music/Recordings/Set: 3 modes for switches, 8 choices for
recording quality: from 32Kbps to 1536Kbps (default is 512Kbps)
• 8 sound eect modes: O
NOR
, Rock
ROCK
, Funk
FUNK
, Hip Hop
POP
, Jazz
JAZZ
, Classic
CLASS
, Techno
DBB
, Custom
USER
• Timing Switch-O Function
• Dierent record formats
• Supports LINE-IN recording
• Dual-track stereo recording
• Supports recording with the built-in or an external microphone
(condenser microphone)
• File management with built-in le deleting function
• A-B repeat
• Supports micro SD cards
• Driver-free operation, USB 2.0 universal port, high-speed data transfer
• Built-in speaker
• USB port can also be used as power supply for the normal use of
this device
• Rechargeable, built-in polymer lithium battery (10 hours recording/
playback)
• Support le encryption
• Precise alarm clock, stopwatch, calendar function
KEY FEATURES

1
1 Appearance & Description
2 Power on/o & Shortcut keys
3 General operation of the Voice Recorder
4 Recordings modes
4.1 Start voice recording
4.2 Recording folder
4.3 Recordings Library
4.4 Record Format
4.5 Record settings
4.5.1 Recording bitrate (quality)
4.5.2 VOR tracking mode
4.5.3 Sound source
4.5.4 Monitor setting
4.6 Keys
5 Music playback
5.1 Music
5.2 Play modes
5.2.1 Repeat mode
5.2.2 Shue all
5.3 Repeat settings
5.3.1 A-B repeat play
5.3.2 Repeat times
5.3.3 Repeat Interval
5.4 Sound settings
5.4.1 Equalizer
5.4.2 Variable speed playback
5.4.3 Volume limit
5.5 Bookmarks
5.5.1 Add bookmark
5.5.2 Go to bookmark
5.5.3 Delete bookmark
6 Delete record/music les
6.1 to delete les
6.2 to choose delete ways
7 System settings
7.1 Save position
7.2 Sleep timer
7.3 Display settings
7.4 Date and time
7.4.1 Time settings
7.4.2 Date settings
7.5 Language settings
SAFETY & USAGE PRECAUTIONS
7.6 Information
7.7 Format device
7.8 Factory settings
8 FAQs (Frequently Asked Questions)
9 Specications
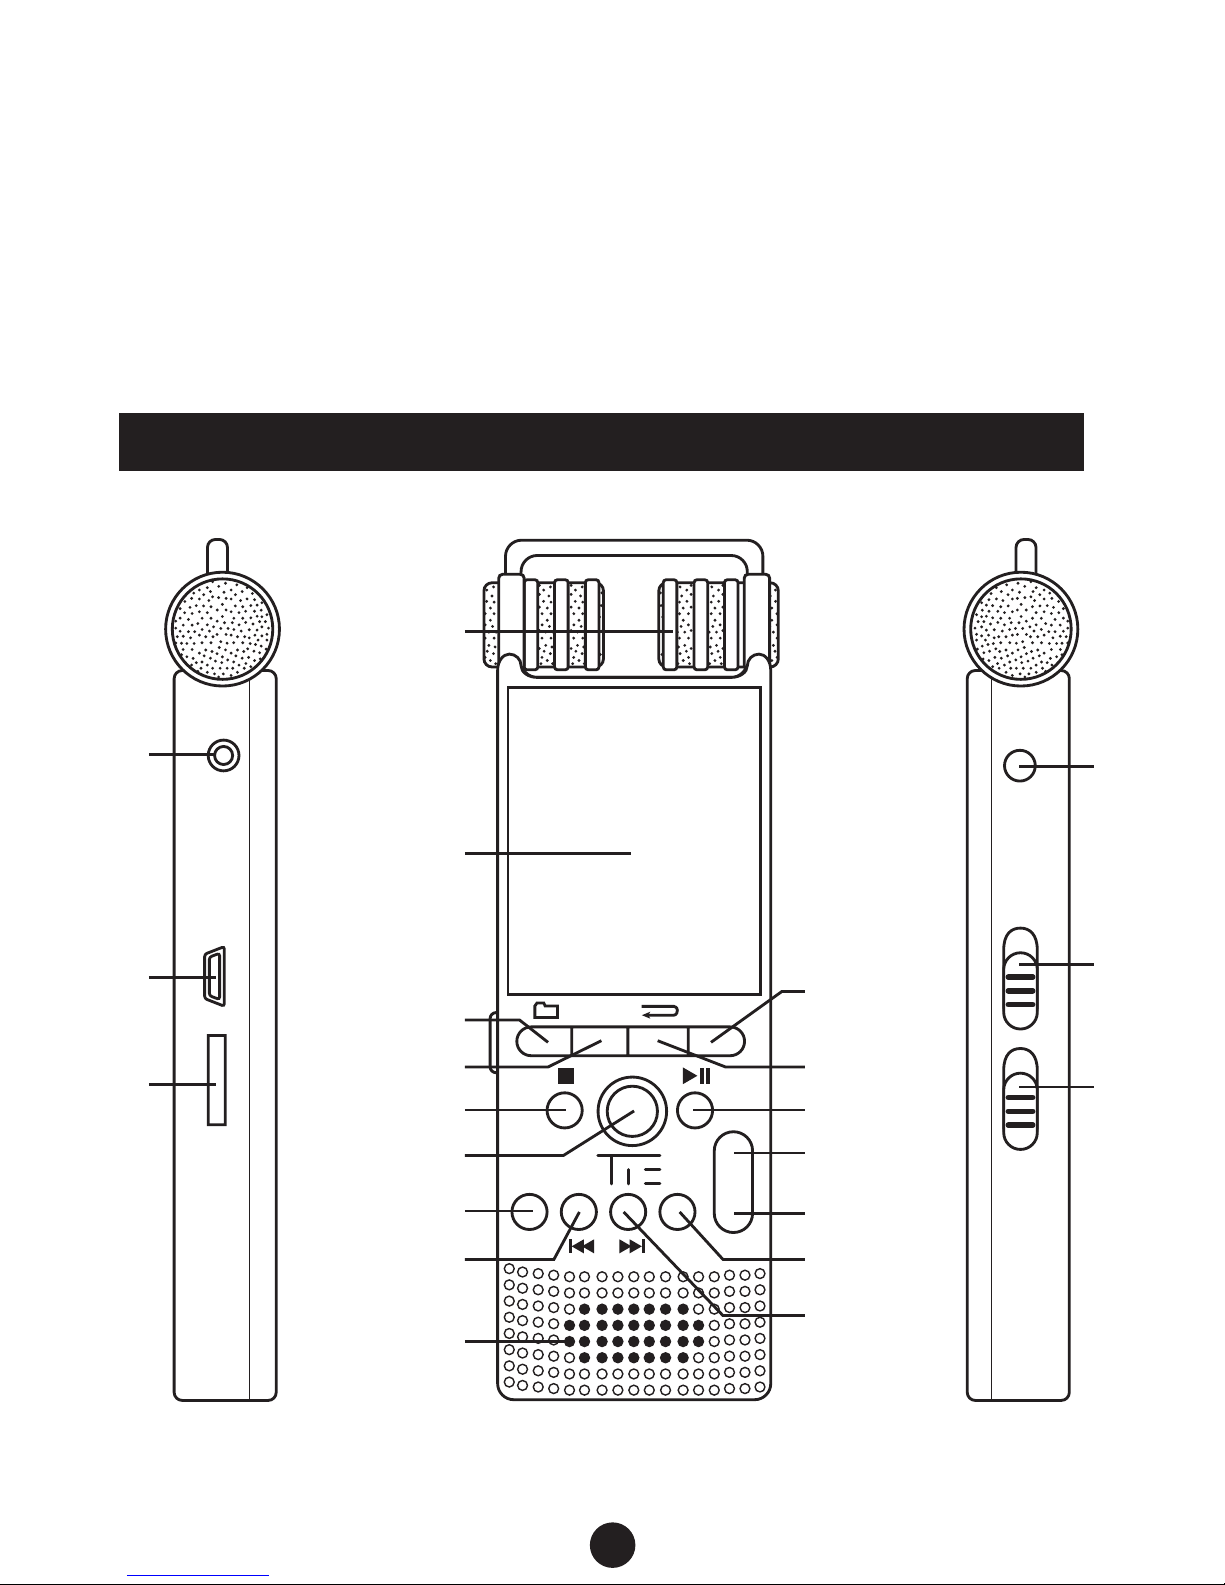
1 APPEARANCE & DESCRIPTION OF THE OPERATING ELEMENTS
2
REC
DEL
MODE –/–/–
AGC
+
–
Earphone port
On/O
Built-in
microphone
One-key
Record play,
A/B/C record
folder switch key
Display screen
Save/Stop Play/Enter
Delete
VOL –
Built-in speaker
Previous/
fast backward
AGC (auto-
gain control)
Next/
fast forward
Recording
VOL +
Mode
A-B repeat/
backspace
Recording
split key
USB port
Noise Cancellation
TF card port
Microphone/Line-in
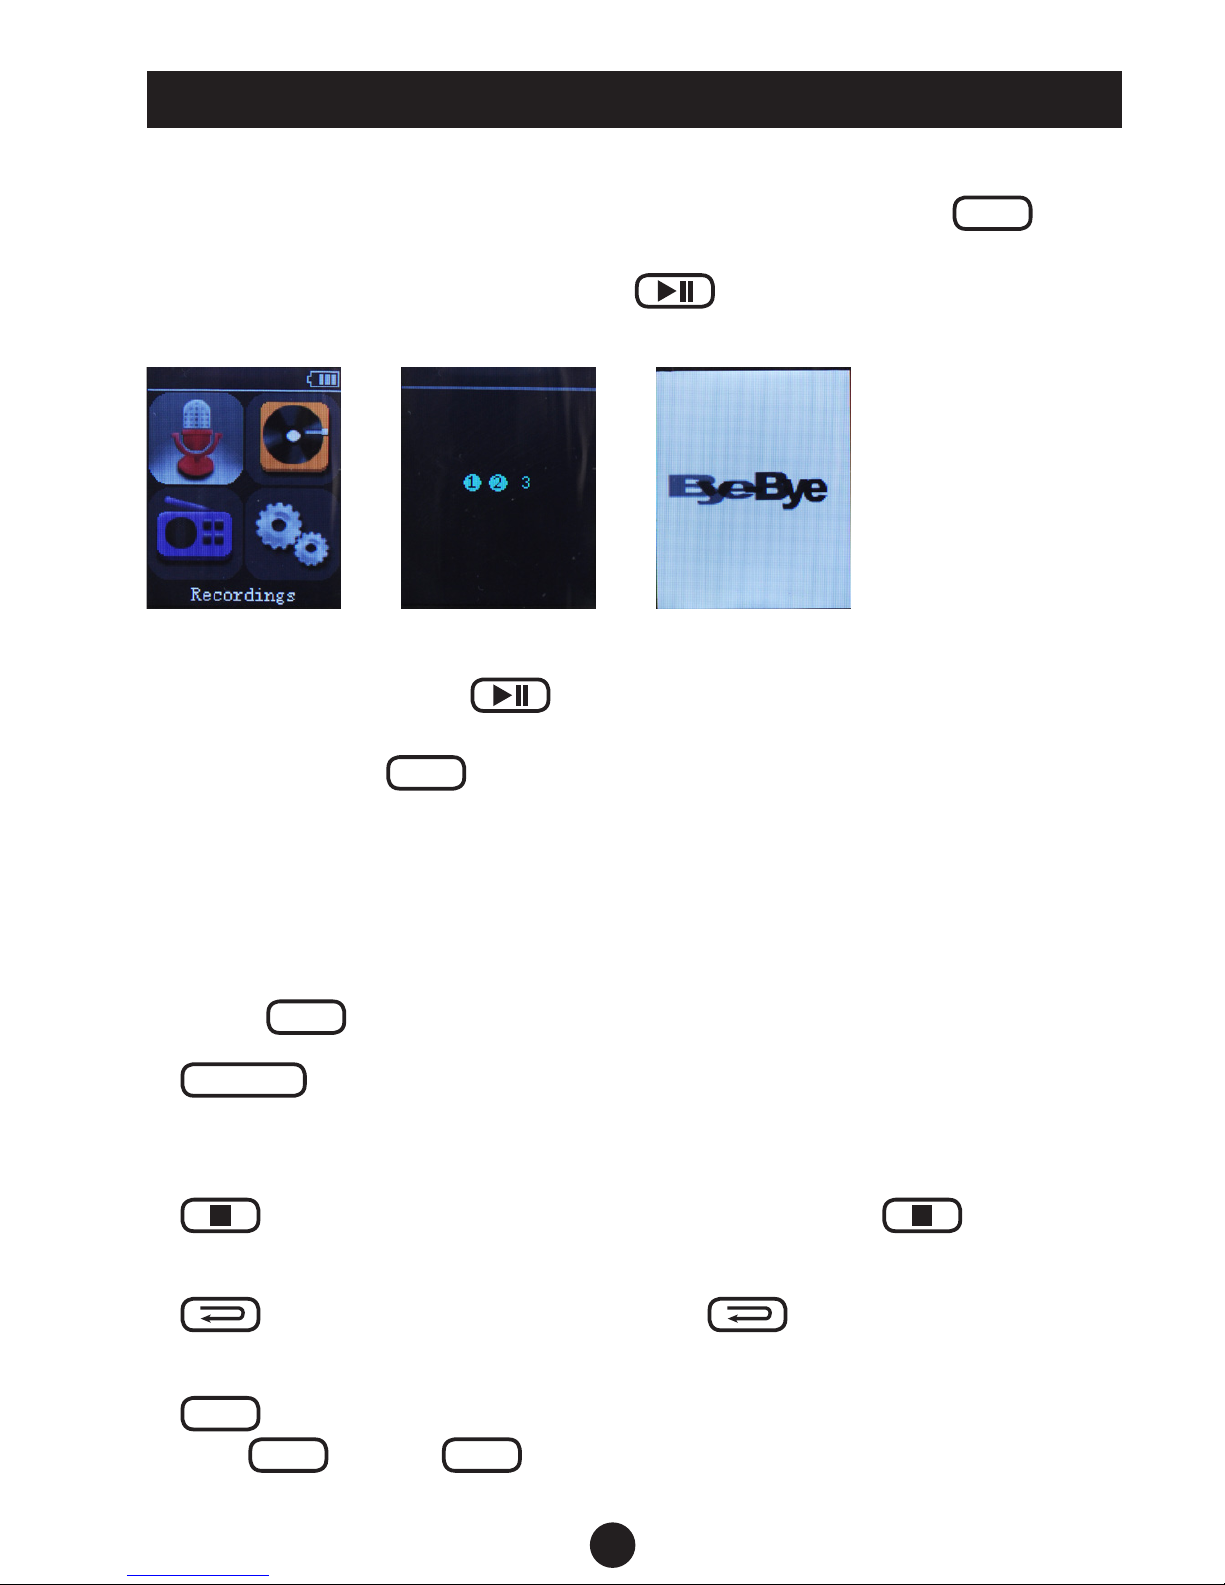
Power On
To turn the device on you have to switch the power key to
ON
.
You’ll enter the POWER ON interface and get to the main menu
standby status. Press and hold the
button longer to switch the
device from sleep status to standby status.
Power O
Press and hold the key
longer, 1,2,3 will appear with color
changed to solid blue. The recorder will enter sleep status or switch
the power key to
OFF
to turn it o.
Shortcut Keys
These are smart function keys to enter a certain submenu directly.
Just press one of the shortcut keys – the according function will work
immediately.
• Press
REC
to start recording at any menu status immediately
•
NOISE C.
: activates/deactivates the noise-cancelling function
(push upward to activate noise-cancellation, and downward to
switch it o)
•
: shortcut key to save your recordings (press
and
records can be saved.)
•
:
A-B repeat shortcut key (press
to activate the
A-B repeat function when playing back recorded les or music)
•
–/–/–
: Record split shortcut key (30-300 min adjustable, press on
VOL
+
or VOL
–
for setting the time, 30 minutes intervals
per press)
2 POWER ON/OFF & SHORTCUT KEYS
3
•
DEL
: DELETE shortcut key (choose the le to be deleted,
then press
DEL
)
•
AGC
: shortcut key for the Automatic Gain Control
(Press on
AGC
, adjust the microphone sensitivity via the key
+
/
–
)
•
: One-key record play – A/B/C record folder switch key:
in the main interface recorded les can be played directly with
a single press on this shortcut key. A/B/C record folders (if all
have les) can also be switched by pressing the shortcut key
at Play/Pause status of any recorded les.
• Navigating in the main menu: in main interface and standby
status, press
/
or
+
/
–
to switch
between Recordings / Music / Set.
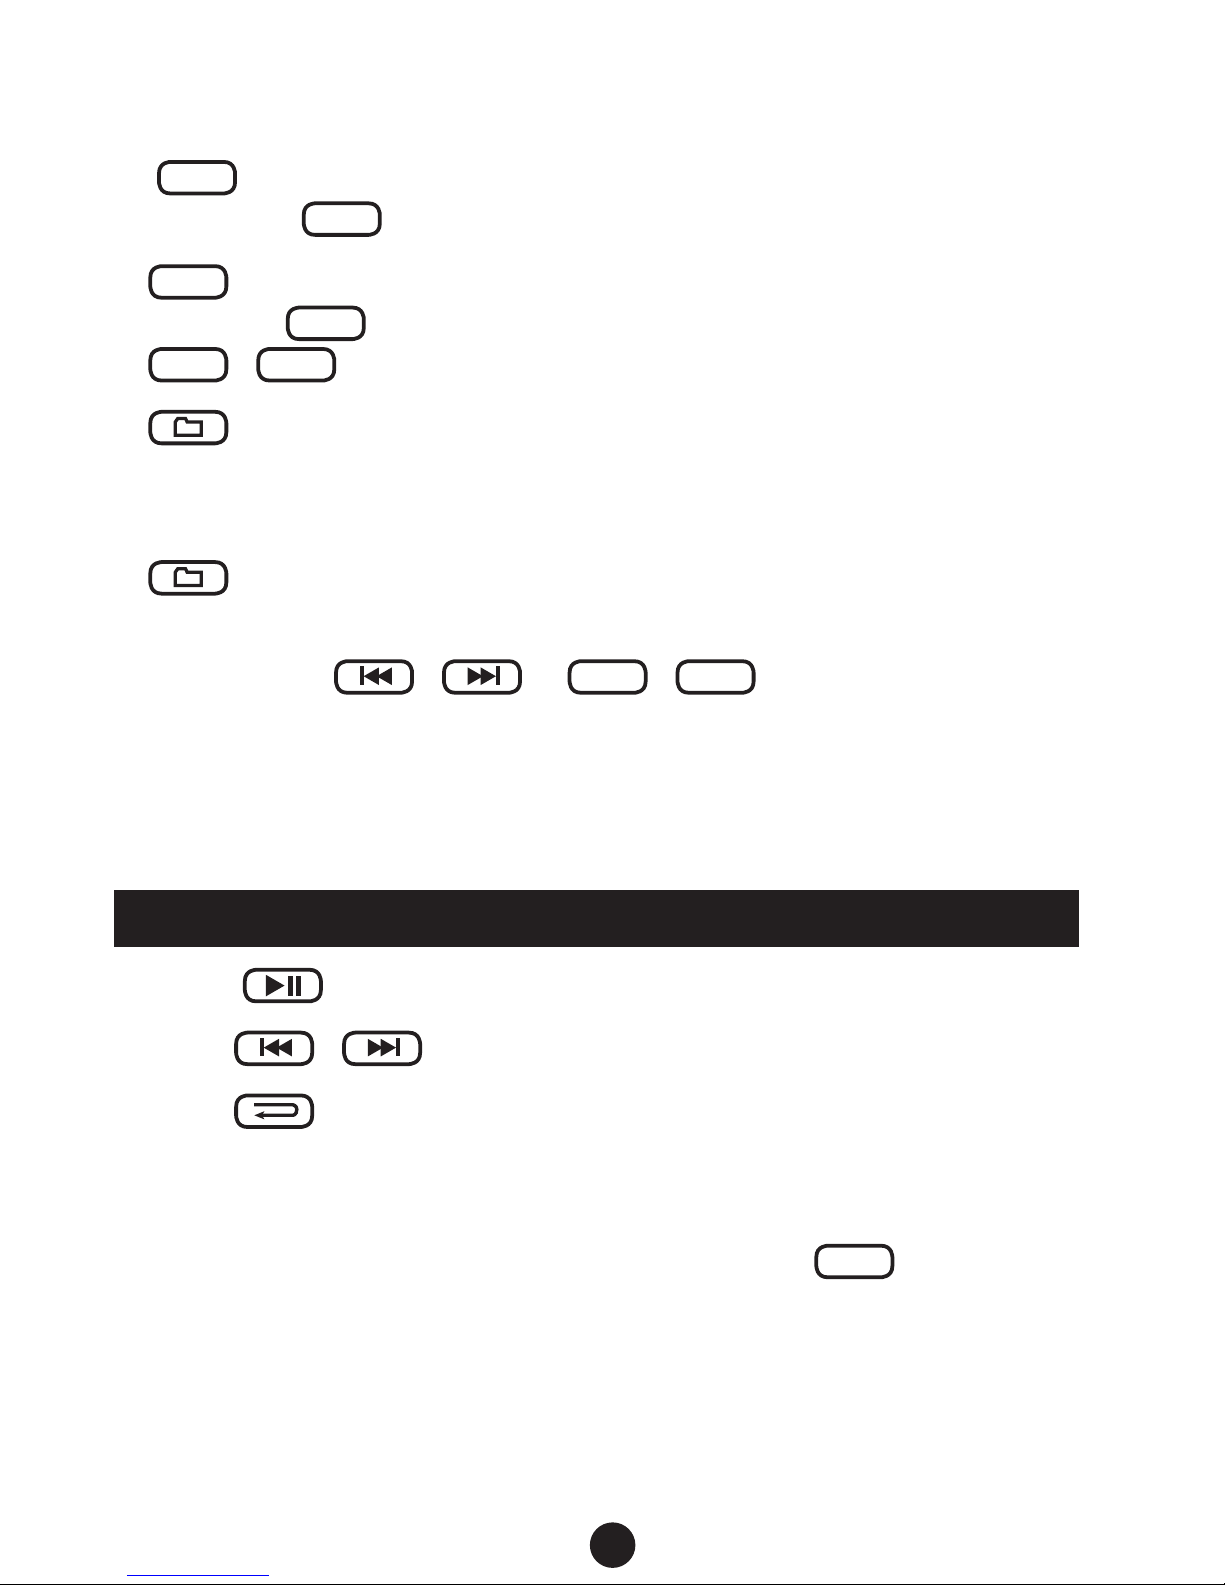
The following are general operations for the TX26.
• Press
to conrm values or enter a menu (submenu).
• Press
/ to navigate in menus.
• Press
to exit a menu or return to the previous level
For charging the recorder please connect the included USB cable
between the USB port on the recorder with your PC or any other acti-
ve USB charger. The power switch must be set to
ON
.
3 GENERAL OPERATION OF THE VOICE RECORDER
4
 Loading...