

Page 1
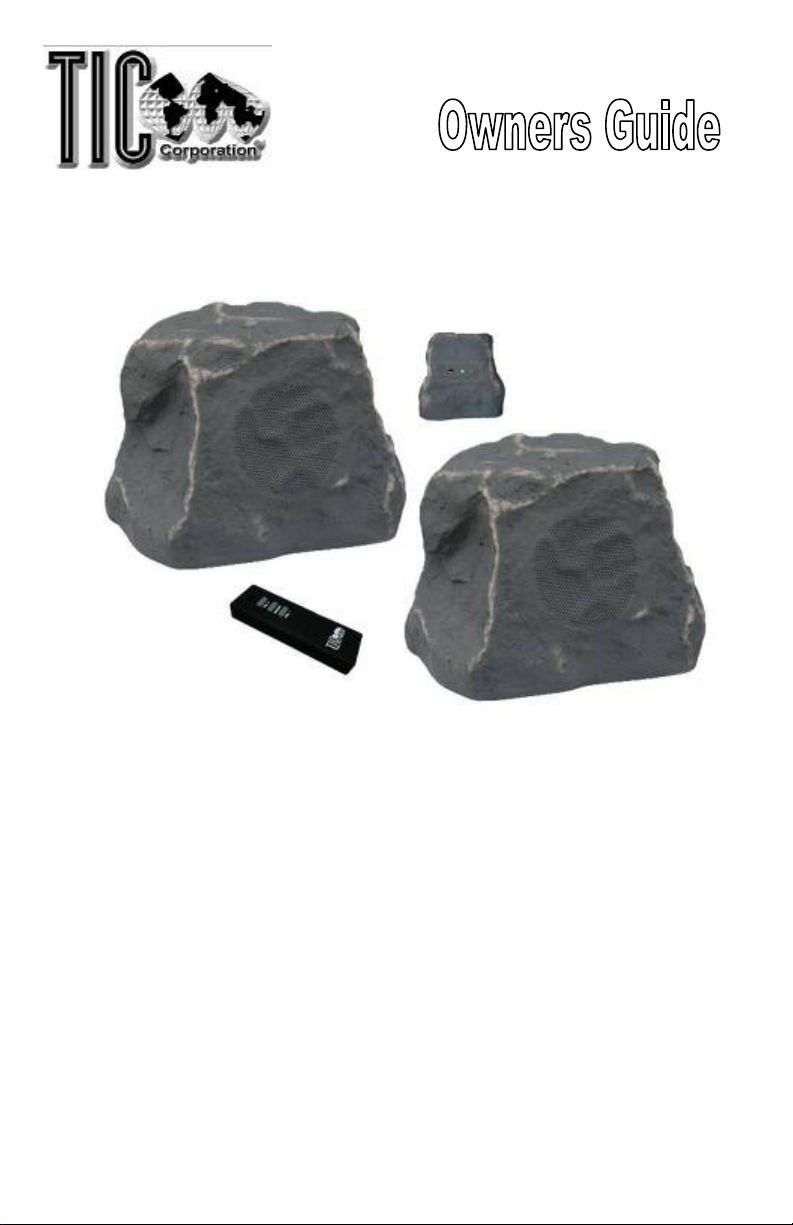
TIC WRS010 Wireless Outdoor Rock Speakers
TIC Outdoor Wireless Rock Speakers = Weatherproof Design
Pair
of Stone Wireless Rock Speakers
"State of the art"
“Safe” 9v speaker transformers power supply incl.
or u
ses 6xAA batteries
Full featured remote control included
Remote control power 1x23A battery
"Mini Rock"
Transmitter power 3xAA batteries
300ft.!
transmitter broadcast range
80ft.! Remote Control range
2x 5" Dual Cone Speaker Driv
Aerospace grade, Teflon© sealed, multi-layer composite cabinetry
Canyon (CN) or Slate (SL) Stone finish
Accent & aesthetically enhance any exterior landscape setting without
wires!
2.4gHz!
transmitter unit included
operation
ers
©TIC Corporation U.S.A.
TIC01092009SR
-I
Page 2

For your Records…
Manu
facturer
Model #
Dealer Name
Purchase Date
We recommend you keep your sales receipt and
This TIC product conforms to all applicable;
with this owners guide for safe keeping and future reference
TIC Corporation
WRS010
(color)
Contact
Serial #
Dealer
Contact
Invoice/
Receipt #
www.ticcorp.com
(800) SPX-OMNI
warranty card together
One World, TIC Recycles
2
Page 3

Index…
Introduction – Index……………..
Comp
Pre
-Installation…………………... 4
Installation Prep……………...
General Installation……………...
Exterior Installation………………
Maintenance……………………..
Customer Service………………..
Warranty…………………………. 9
Installation
Trouble Shooting………………...
Technical Specifications………..
3
onent List…………………. 4
..... 5
Notes………………...
6
8
9
9
, 7
10
11
12
Contact TIC……………………… 12
Thank You!, for purchasing another high quality outdoor audio product
from TIC Corporation. Please read the enclosed installation guideli
carefully and thoroughly to ensure years of trouble free service from your
new TIC exterior audio products.
Carefully unpack your new TIC exterior product and save all packaging
materials for possible future use. Check that your new TIC product
conta
ins all system parts detailed in your components list. Do not attempt
to operate, install or use your new TIC product if any components appear
missing or damaged, if so, please notify TIC Corporation or your TIC
product Dealer as soon as possible.
*WARN
please keep all plastic bags away from children or pets.
ING!
To avoid possible suffocation or injury
nes
3
Page 4
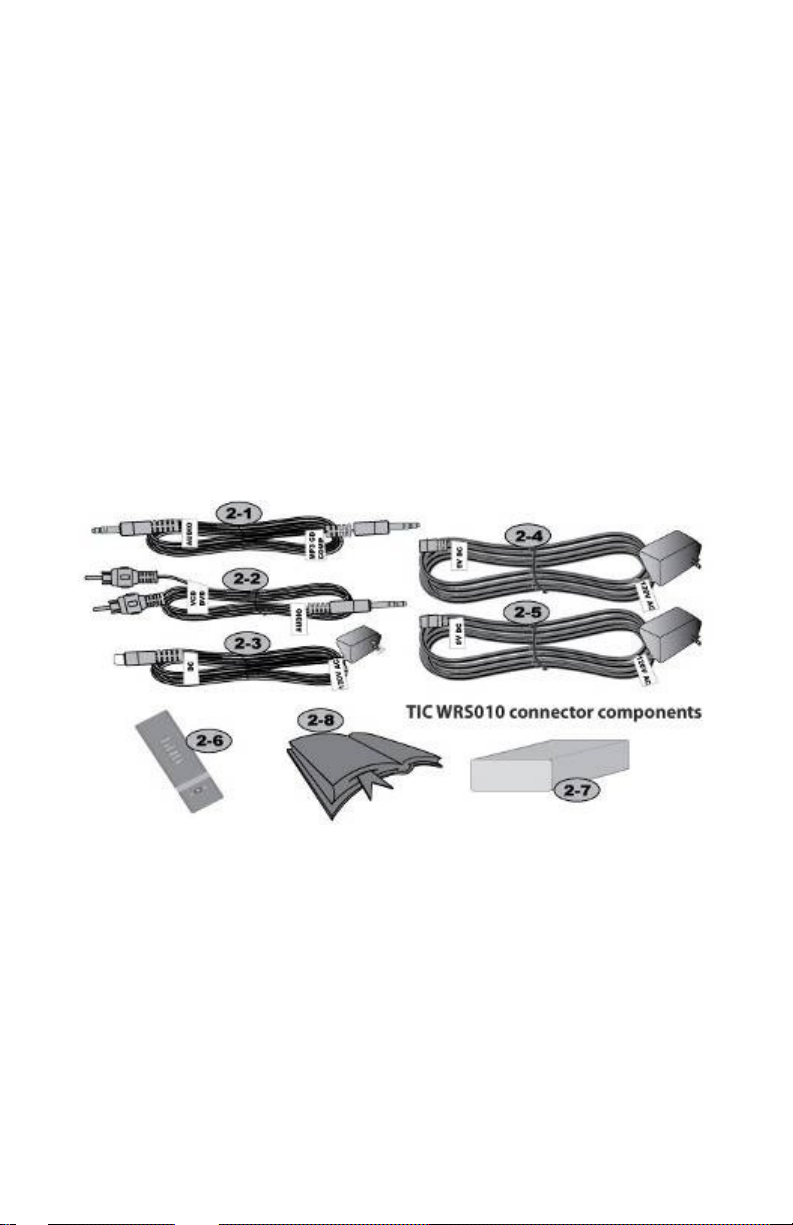
Component List…
Check all components carefully before use
2x
Outdoor Wireless Rock Speakers
2x Battery compartment modules and mains AC transforme
(
120v
house
1x Broa
1x 3.5mm to 2x phono/ RCA type audio output connection cable
1x 3.5mm to 3.5mm digital
1x Full featured Re
1x Instruction manual & Warranty card
dcast Transmitter unit, 3x AA batteries
cable
mains
AC to 9v DC, base of units)
audio, CD, MP3, Iphone etc. Output
mote Control unit
, 1x 24A battery
rs
Pre-Installation…
Need Professional Help?
Please read this owners guide carefully before installation. Failure to follow these
instructions fully or inc
any third party equipment used in your new system installation. This may also
void any warranty for your new TIC products. If you are unsure of your ability to
fully understand and fully complete the
consult a professional installer.
orrect installation may damage your new TIC products and
installation of this TIC product, please
4
Page 5

Installation Prep…
Before you begin the installation of your new TIC outdoor product, please
carefully select the locations of your new TIC outdoor products.
1.
Select a reasonably level surface for the installation of your new TIC
outdoor speakers. For surface speakers this will prevent movement or
excessive vibration during use. This will also ensure more uniform sound
dispersion.
2.
For Wireless Speaker Broadcasts: in normal circumstances we suggest
placing the transmitter at a height of 1 meter above the receiving units
(rock speakers) because land will absorb radio waves produced by the
transmitter. Within the maximum area of coverage, the zero boundary is
100m, unob
structed, or approx. 300ft.
3.
Do not place your TIC outdoor speakers in a depression or area where
water pools or in the direct path of garden sprinklers.
4.
Whenever possible avoid long term exposure of your new TIC outdoor
speakers to excessive high temperatures, chlorinated solvents, acids
such as those often contained in fertilizers and other solvents which
potentially, could wear your speaker components prematurely.
5.
There is no requirement for customers to open this unit far any kind of
o
peration or maintenance. Doing so may void the warranty!
6.
Please ensure the base plate, silicone covered, power switch is in the
“off” position when not in use. The unit consumes power, including
battery power, even in the “stand by” mode.
7. Avoid
any shocks, high vibration, collisions or sudden impacts to the
speaker unit or its electronic components.
5
Page 6

General Installation…
Note: The TIC WRS010 is
different sound sources.
many different audio sources including CD’s, MP3’s Ipod’s etc. The 3.5mm jack
to 2x phono/ RCA type red & white plugs supplied co
through the “audio out” function of devices like TV’s, DVD’s and receiver
amplifiers.
Note
during the shipping process. Please replace before troubleshooti
: It is possible that the supplied, packaged batteries have lost their charge
capable of working with the “Audio Output” of many
The 3.5mm to 3.5mm jack cable supplied
Set up the Transmitter
1. Power the Transmitter;
In the base of the
transmitter, remove the
cover plate and insert
3
x AA batteries to power
the transmitter.
2. Check the “Green” LED
light is on showing the
transmitter has power.
3.
Connect the transmitter
to an Audio Source
using either the 3.5mm
jack or 2x phono/ RCA
type
red & white
supplied.
nnects to many devices
ng.
plugs
connects to
Set up the Wireless Rock Speakers
1. Carefully unpack, tilt on their side, and look carefully at the base of your
new TIC wireless rock speakers.
2. Note first the 110v mains connection input on the base plate, covered by
6
Page 7

a soft rubber protector. Locate
connection cable and push in firmly then screw on its protective cover,
then plug in the connection at the wall mains plug.
3. Locate the silicone covered “On & Off” switch. Switch “On” the Red
rocker switch and note the Gree
unit is operating and ready to receive a broadcast signal.
4. Note
5. Switch off the units rocker switch and disconnect the mains cable
6. Note
7. Note
WRS010 Remot
: At this time you should test the operation of the units using the
mains power only
connection. Note the Screw On/ Off Battery cover. Carefully screw off
this cover and remove the battery container. Insert 6x AA batteries.
Switch on using the rocker switch and, again note the Green operating
LE
D light. The unit should now be prepared to operate on batteries only.
: At the base of the wireless rock speakers is a Red LED light.
Should the units receive power fluctuations or the batteries lose charge
this red LED light should flash in warning o
units. You may also experience a lessening in range and performance.
: Batteries leak power and lose their charge. Avoid leaving the
batteries installed when using mains power or during periods of inactivity.
to ensure correct operation of the system
e Control
the supplied mains cable, plug in
n LED light comes on which shows the
so far.
f insufficient power to the
1. Once the Transmitter and rock
speakers are set up and ready for
operation please study your
WRS010 system Remote Control
pad.
2. On the back of the unit, please
slide off/ down the battery
compartment cover plate. Insert
1x
MN21/23 or 1x 23A battery.
Replace the battery cover
3. Press the “ON/ OFF” button on
the remote
hear a pop noise from the
speakers notifying you they are
receiving. The “Red” LED light will
flash on whenever you operate a
remote control
4. Ensure your transmitter and
speakers are operational with the
transmitter receiving an Audio
Source Signal. Press and hold
the “Vol +” button for a short time
until the speakers reach an
appreciable volume level.
; if powered you may
button.
7
Page 8

Note
: It is possible for your sp
the remote switches on one speaker but not the other. In this case completely
power down the system removing any batteries in the speakers, then power up
and switch on again, regaining balance.
eakers to be “out of phase” where switching on
Exterior Insta
Some general notes and tips for when you install your new TIC Wireless Outdoor
Rock Speakers in an Exterior
1. Don’t forget to test your new product
2. Carefully unpack
and inspect all components as previously described.
3. Carefully connect your “Mini Rock” broadcast transmitter to a working
sound source. Attach any output devices, CD’s, MP3’s, Ipod, receiver
amplifier etc. Ensure it has po
4. Locate your new exterior rock speakers using the previously described
placement techniques; ensure no architectural or other
obstructions.
5. Power up your speakers ensuring the Green signal light is lit.
6. Using your remote control, switch “On”, then adjust the volume of your
outdoor speakers
7. Be aware of the Red LED light flashing when battery power is low.
llation…
environment
your new TIC WRS0
.
.
prior to exterior installation
10 outdoor wireless rock speakers
wer and is switched “On”. (Green LED)
broadcast signal
.
8
Page 9

Once connected properly sit back and enjoy!
Enjoy a quality outdoor music room!
Disclaimer
improper, misuse or unsecured installation of this product. Any and all damage(s)
arising from the installation or use of this product is the purchaser/ end user and
final installers’
Maintenance…
Occasional maintenance of your TIC exterior products cannot hurt and may help
greatly. Inspect the installation area regularly removing any twigs, dirt or
impediments from build
cleaned using very mild detergents, like dishwashing liquid, if desired. A hose
using clean water may be used but please avoid using high pressure or forcing
water into the grill or acoustic ports.
In v
ery cold climates with heavy snowfall, an old trick from the many theme parks
which use our products is to place a plastic bag over the unit outdoors until
s
pring.
: TIC Corporation will in no way be held responsible for the
sole responsibility. Please see Warranty for other conditions.
ing up around the output grill area. The units may be
Customer Service…
For any additional help please contact TIC Corporation at 800.SPX.OMNI o
online at
be happy to assist you. Also please visit our website for FAQ (frequently asked
questions) and
Warranty Period…
TIC Corporation offers a full, UCC approved, one year full parts and labor
warranty on all its exterior outdoor products.
Note
terms and conditions that apply to the warranty with this product.
www.ticcorp.com
for full Contact information.
: Please see the full 12 months limited warranty card for fuller description of
or by email at
support@ticcorp.com
r
where we would
9
Page 10

Installation Notes…
Note
: Do not mix Battery types, alkaline, zinc etc. This could be detrimental or
damage the unit and the battery compartment and function of the unit.
Do not leave
Please dispose of all batteries in accordance with local & federal regulations.
General
for ease of use and this product does off
we thought we should point out that there is a preference. Whenever possible,
please try to
volume buttons
the batteries installed when operating on AC power.
: While TIC tries to offer its customers the most adaptable unit possible
use outputs or
and not use
Please make any installation notes you feel important here;
er a wide variety of connection methods
adjust volume
the
volume controls on the ou
using
only the supplied remote control
tput devices used.
,
10
Page 11

Troubleshooting…
No Sound?
Transmitter is not initialized – Re-check the
power is
“channels at the transmitter.
Check the audio signal source both to and from
the transmitter. Try another cable to ensure
integrity.
Check the receiver amplifier, if used, is powered
“on” at the mains, is not on “mute”, has no
headphones attached and that the Channel
used for the transmitter/ exterior speakers
(usually A or B) is in operation.
Refer to the owners guide that came with your
receiver amplifier.
Check the “on” switch at the Remote Control to
make sure the speaker is switched “on”.
Check the
Control is switched high enough for volume to
be heard.
Check the “Green” indicator light on your
speakers to ensure they are receiving a signal.
Ensure you speakers are receiving power. Red
LED.
“on” at the transmitter and try changing
volume control
.
on your Remote
s
No Sound from one
speaker
Speaker
intermittent or rough
sound; the distance
of the remote
con
controller becomes
nearer
One speaker
sounds distorted,
lower volume
has
trol volume
Check the “balance” control on your receiver
amplifier
Check all connections and cable to and from, or
the integrity of the transmitter source to the
inoperable speaker.
Check the batteries or power source(s) to the
inoperable speaker.
Loudspeaker is flashing red or full light – the
battery of the loudspeaker or remote control will
soon be out of power. Please replace.
Check the “range” by temporarily bringing the
exterior speakers closer to the tra
source.
Lift the transmitter height to see if this has any
effect.
Follow same procedure as above for “No
Sound”
is “equal”
.
nsmitter
11
Page 12

Technical Specifications…
TIC WRS010 wireless rock speakers
Audio In
Accessories Included
Selectable RF Channels
Broadcast Frequency Range
Transmitter Voltage
Receiver Voltage
Power consumption
Impedance
Sensitivity @1W/1M
Continuous / Peak
Frequency Response
Transmitter Range
puts
Analog/ digital: CD’s, MP3’s, Ipod’s,
receiver amplifier’s, 2x mic’s
1x 3.5mm to 3.5mm digital cable
1x 3.5mm to 2x phono/ RCA type cable
2x rock speaker 120v to 9v transformer
8 channels
2400 – 2483 mHz
DC 7.5v 500mA
DC 9v 800mA
90mA
8 Ohms
84db ±3db
2.5 – 5W
90Hz – 18kHz
10
0m/ 300ft. (unobstructed)
Remote Control Range
Battery use
Unit size
Pack size
Pack Weight
TIC Corporation engages in continual product research
production methods and design improvements. TIC Corporation
representatives and distributors therefore, reserves all rights to change or improve
products specifications without notice.
TIC Corporation
15224
East Stafford Street
City of Industry, CA. 91744-4418 U.S.A.
Tel: (626) 968-0211 (5 lines) Fax: (626) 968-1363
Email:
info@ticcorp.com
30m/ 80ft. (unobstructed)
Approx. 6 – 8 hrs.
9.4 x 9.4 x 7.4 in.
18 x 10 x 8.5 in. (pair)
15.2 Lbs.
Web:
and development, new materials,
www.ticcorp.com
, their agents,
12
 Loading...