

Tibo Smart Streamer User Manual
Smart Streamer – User
Manual

Contents
• Safety Information
• Introduction
• First time setup
• Wi-Fi mode
• Solo mode and group mode
• Using the pre-set functions
• Bluetooth mode
• Line In mode
• Additional Information
• Troubleshooting
• Specifications
• Safety Information
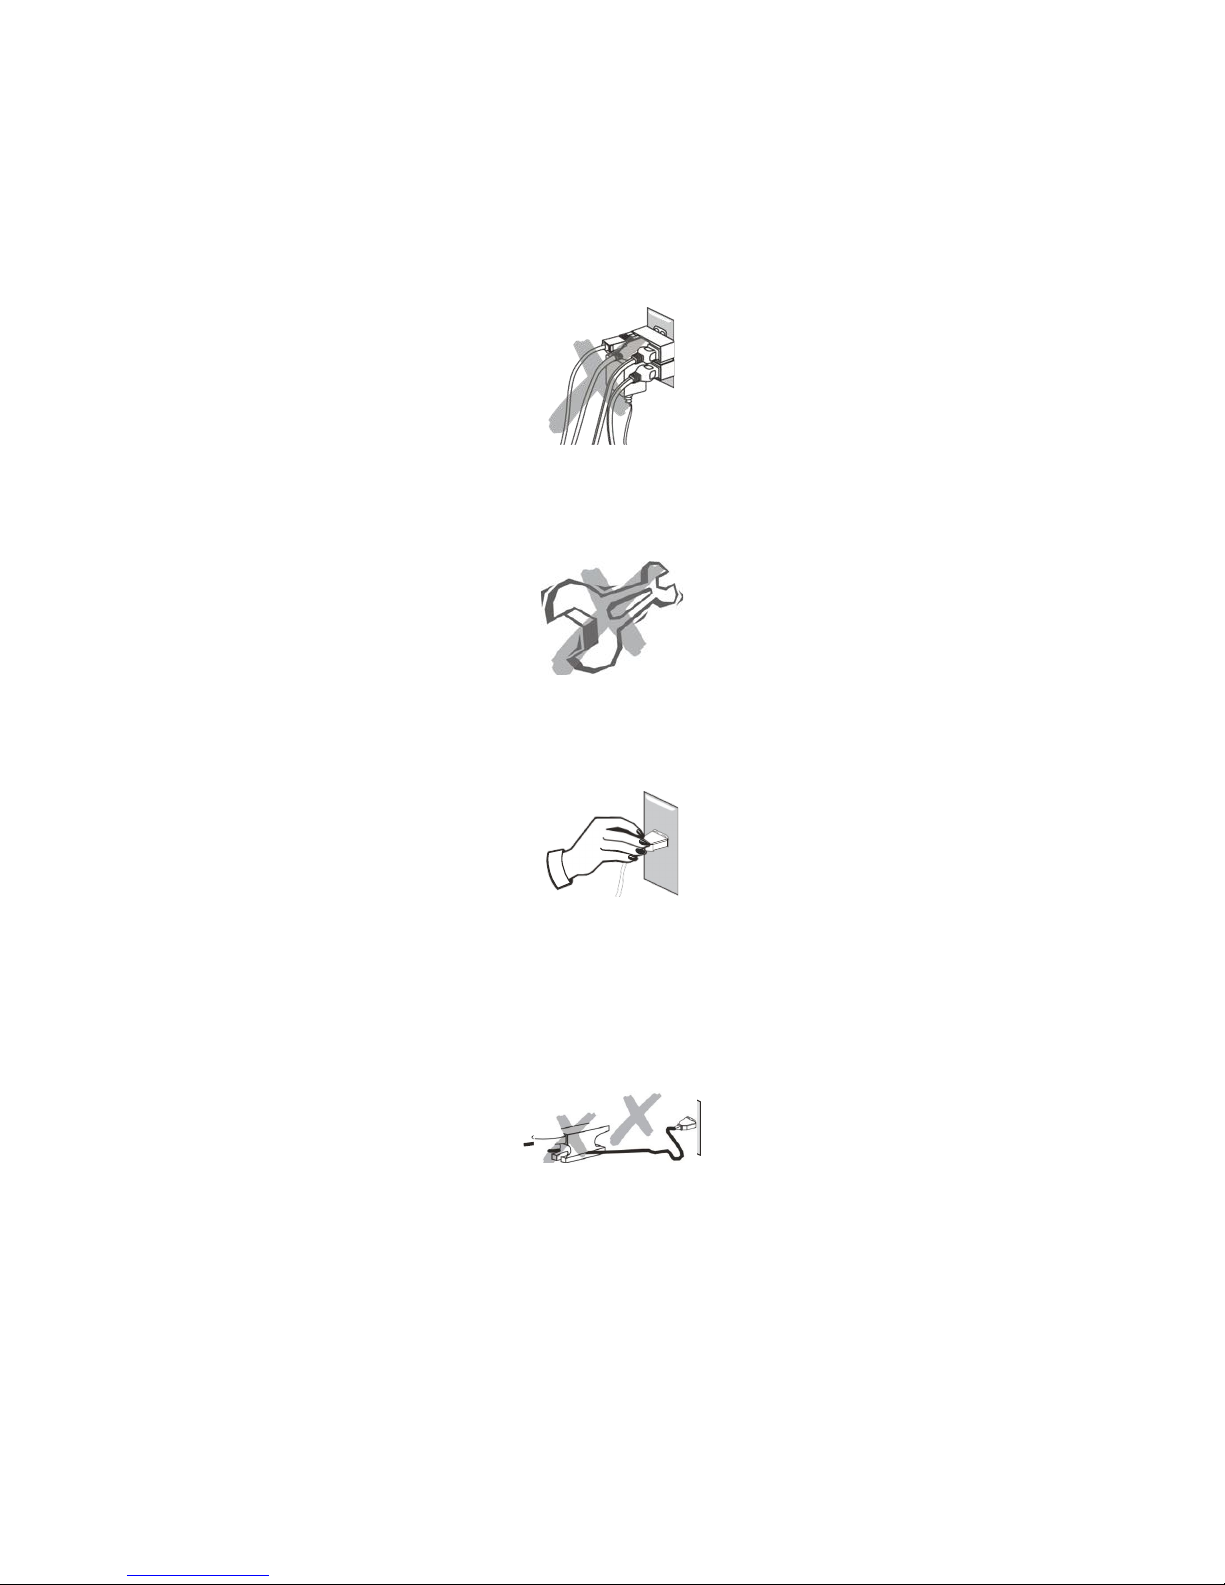
Do not share the power socket with another
appliance.
Do not disassemble or attempt to repair the
appliance on your own.
lf you are not using the appliance, pull the power
cord out of the mains socket.
Be careful of the power cord and maintain it as
appropriate.
To ensure safety, do not twist the power cord, do
not pull it out of the socket, do not compress it or
stretch its length.
Do not use the appliance if the supply voltage is
lower than 90V or higher than 240V.
If the supply voltage is lower than 90V, the
appliance may not work and its lifetime may be
affected. lf the voltage is higher than 240V, the
appliance may catch on fire or cause a fire.
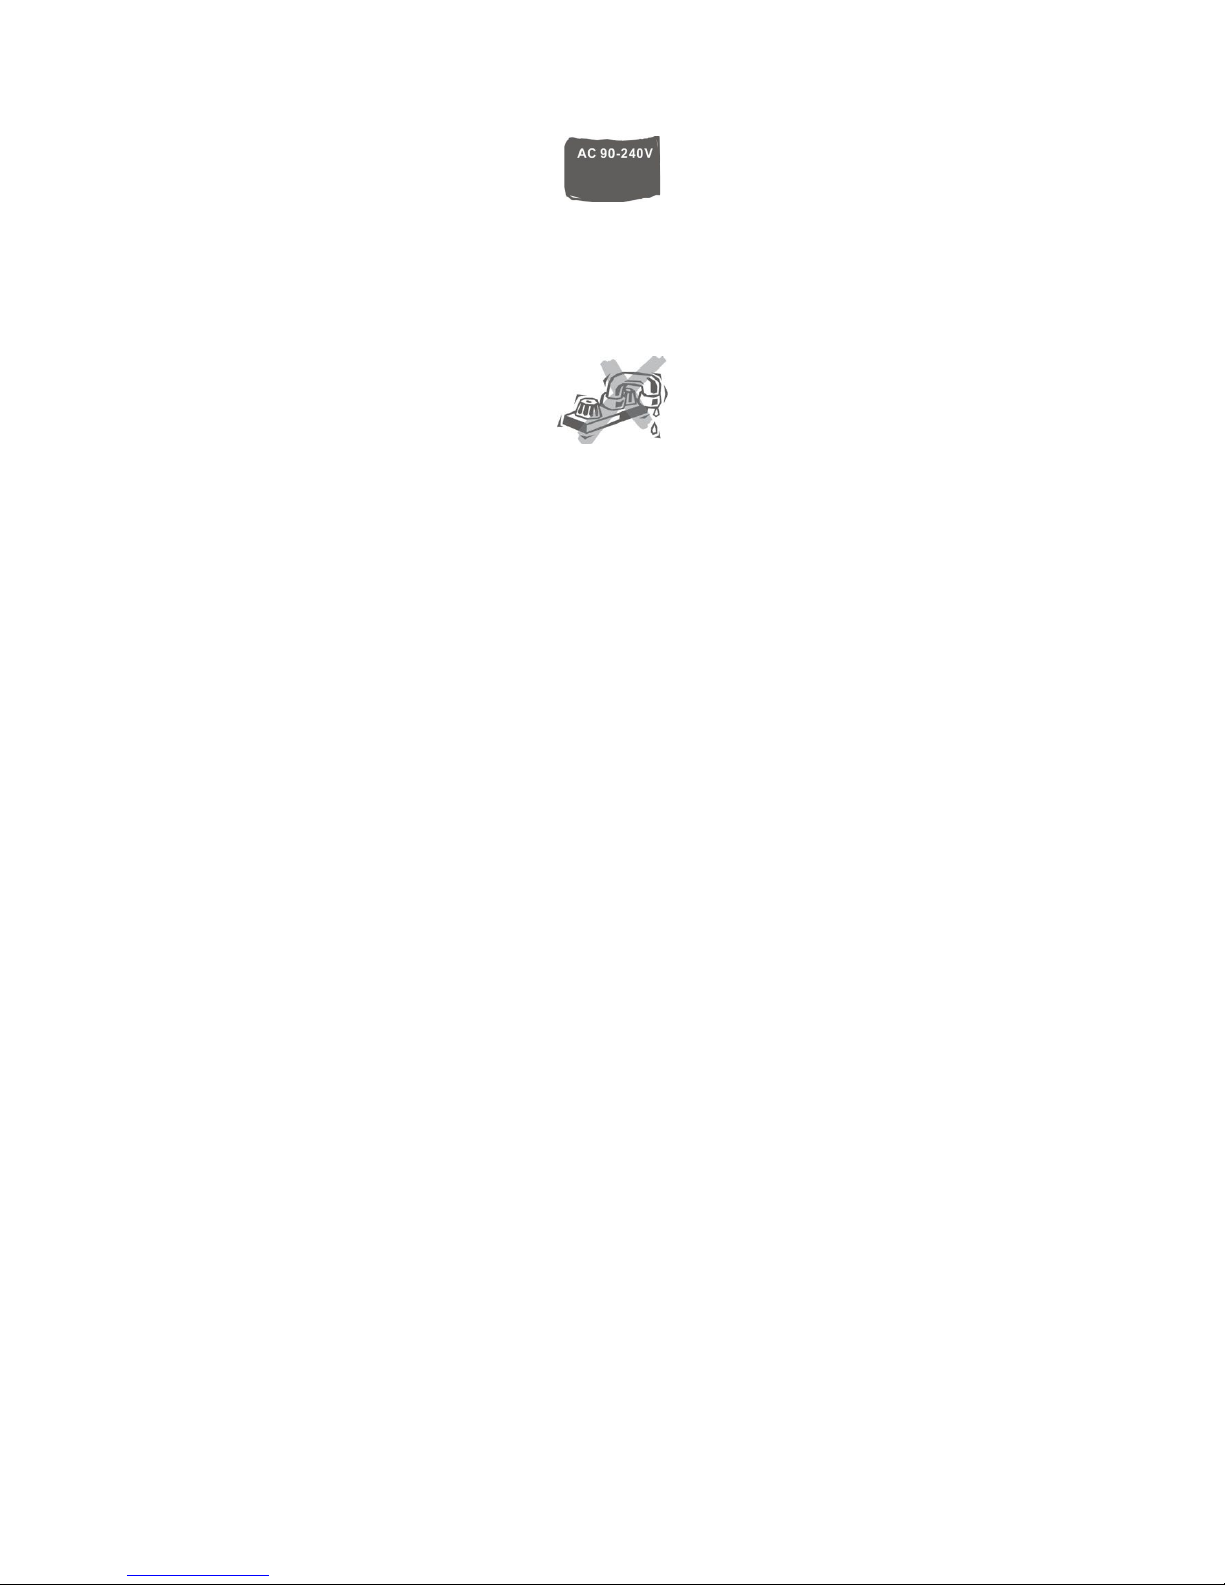
Do not wash the appliance or use it in the
bathroom, or it may cause potential injuries and
other problems.
Installation location
Leave sufficient space around the appliance of at
least 5 cm from any wall/obstacle to ensure proper
ventilation and prevent the appliance from
overheating.
The following places are not suitable installation
locations for the appliance:
• An unstable location
• A location near a heat source or in direct
sunlight.
• In a wet or dusty environment
Warning
To prevent suffering an electrical shock or another
accident, do not operate the appliance in a rainy or
humid environment.
Cleaning and maintenance
Use a soft cloth or cotton dipped in a neutral
solution for cleaning the surface of appliances. Do
not use the type of cloth that you use for washing
dishes or aggressive chemical agents.
Storm
lf the appliance is not working properly during a
storm, please disconnect the plug from the power
socket and reinsert it after a minute.
Do not drop small items or a liquid into the
appliance
In the event that you find small items or a liquid
inside the appliance, you see smoke or smell an
odour, immediately disconnect the appliance from
the power grid. Send the appliance to an authorised
service centre.
Repacking the appliance
When sending the appliance by a transport
company, use the original packaging to prevent its
damage during transport.
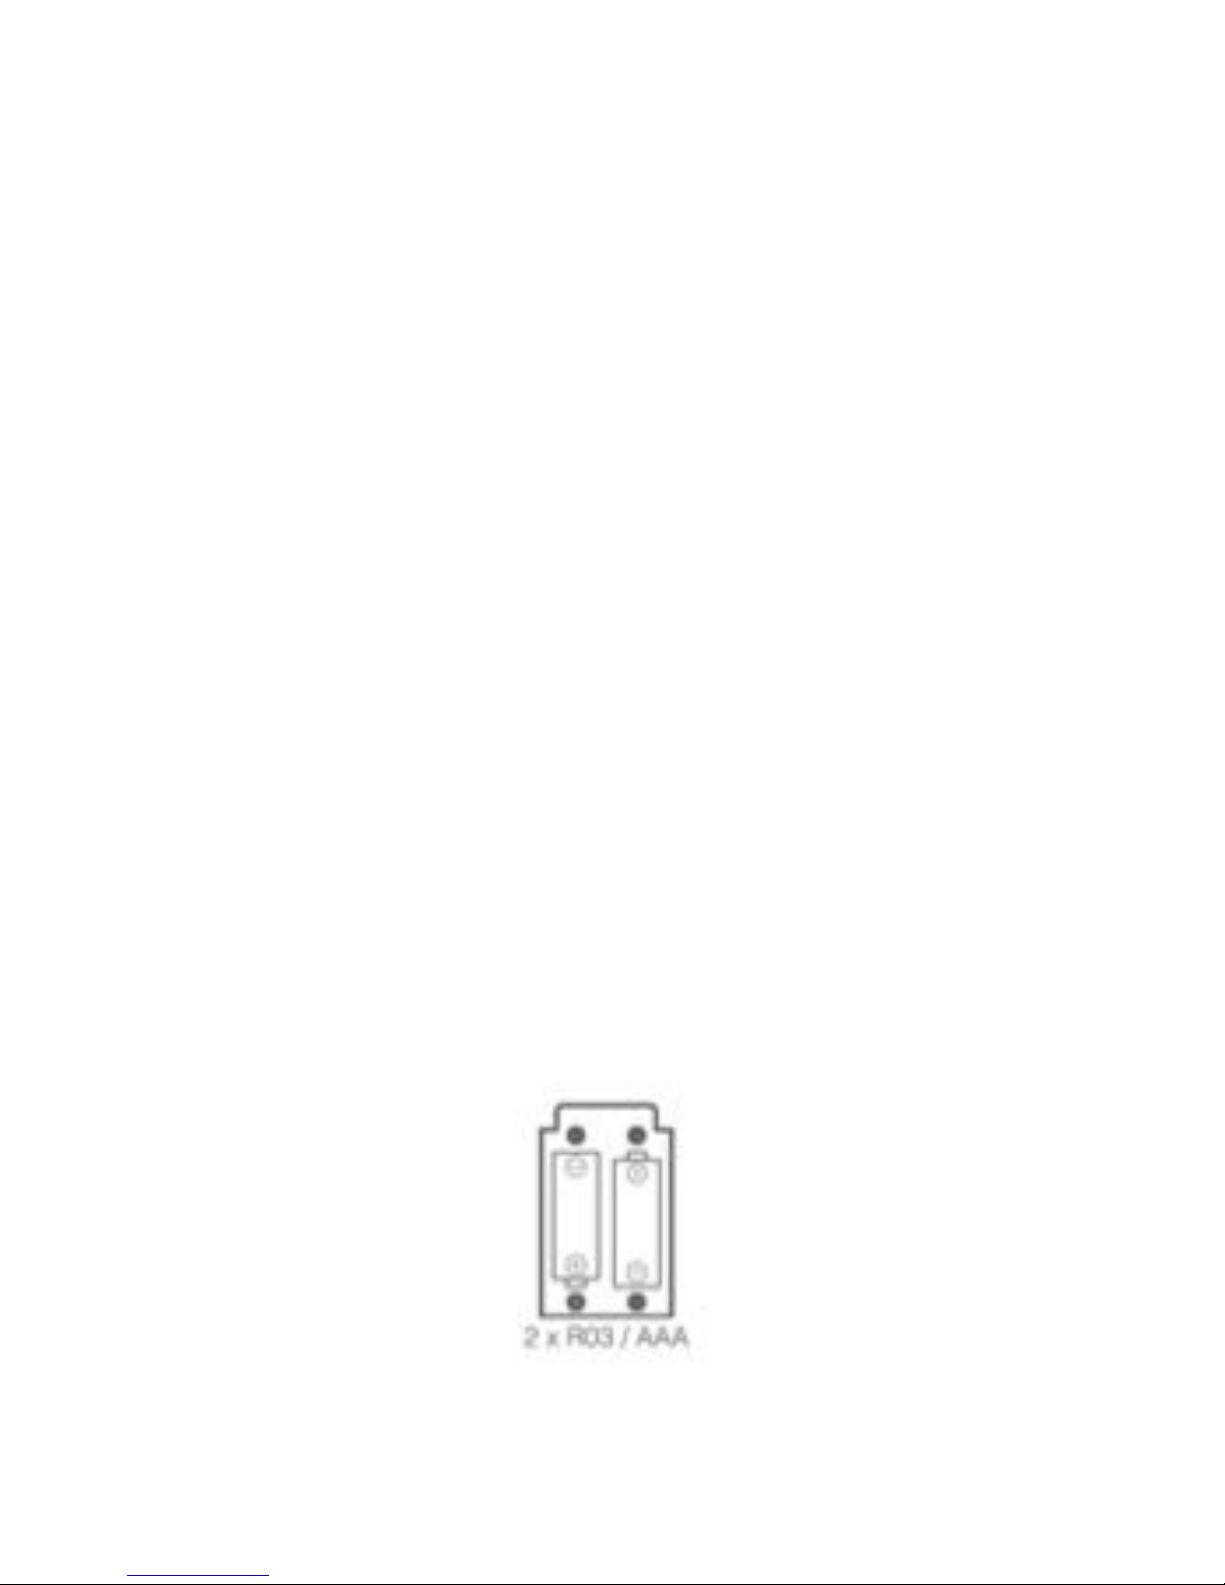
Batteries
When installing the batteries into your remote
control, ensure they are inserted correctly according
to the diagram. Plus with plus and minus with
minus.

• Introduction
Thank you for purchasing the TIBO Smart
Streamer. We hope that your experience with the
Smart Streamer will be enjoyable for many years to
come.
A fully featured streamer, the TIBO Smart Streamer
is a flexible performer. With a choice of streaming
via Bluetooth or Wi-Fi plus the addition of an
analogue AUX input, the TIBO Smart Streamer truly
can play it all. Connect your phone via Bluetooth
and enjoy your stored music or streaming services
such as Spotify. Connect to your home network by
Wi-Fi or Ethernet and you open a huge range of
music options. Thousands of Internet radio stations
from around the world are available and all easy to
access via the smartphone app.
The Spotify software is subject to third party
licenses found here:
https//developer.spotify.com/esdk-third-partylicenses/

• First time setup
In the box
- Smart Streamer
- UK Standard Plug
- EU Standard Plug
- Quick Start Guide
- Remote Control
Front panel layout
1. IR Remote Control Sensor
2. Direct Pre-sets 1-18. (Press 10+ button to
access pre-sets 10-18
3. Power On/Off: volume and mode selector
dial
4. Group button – Press to group to other TIBO
Smart Audio products
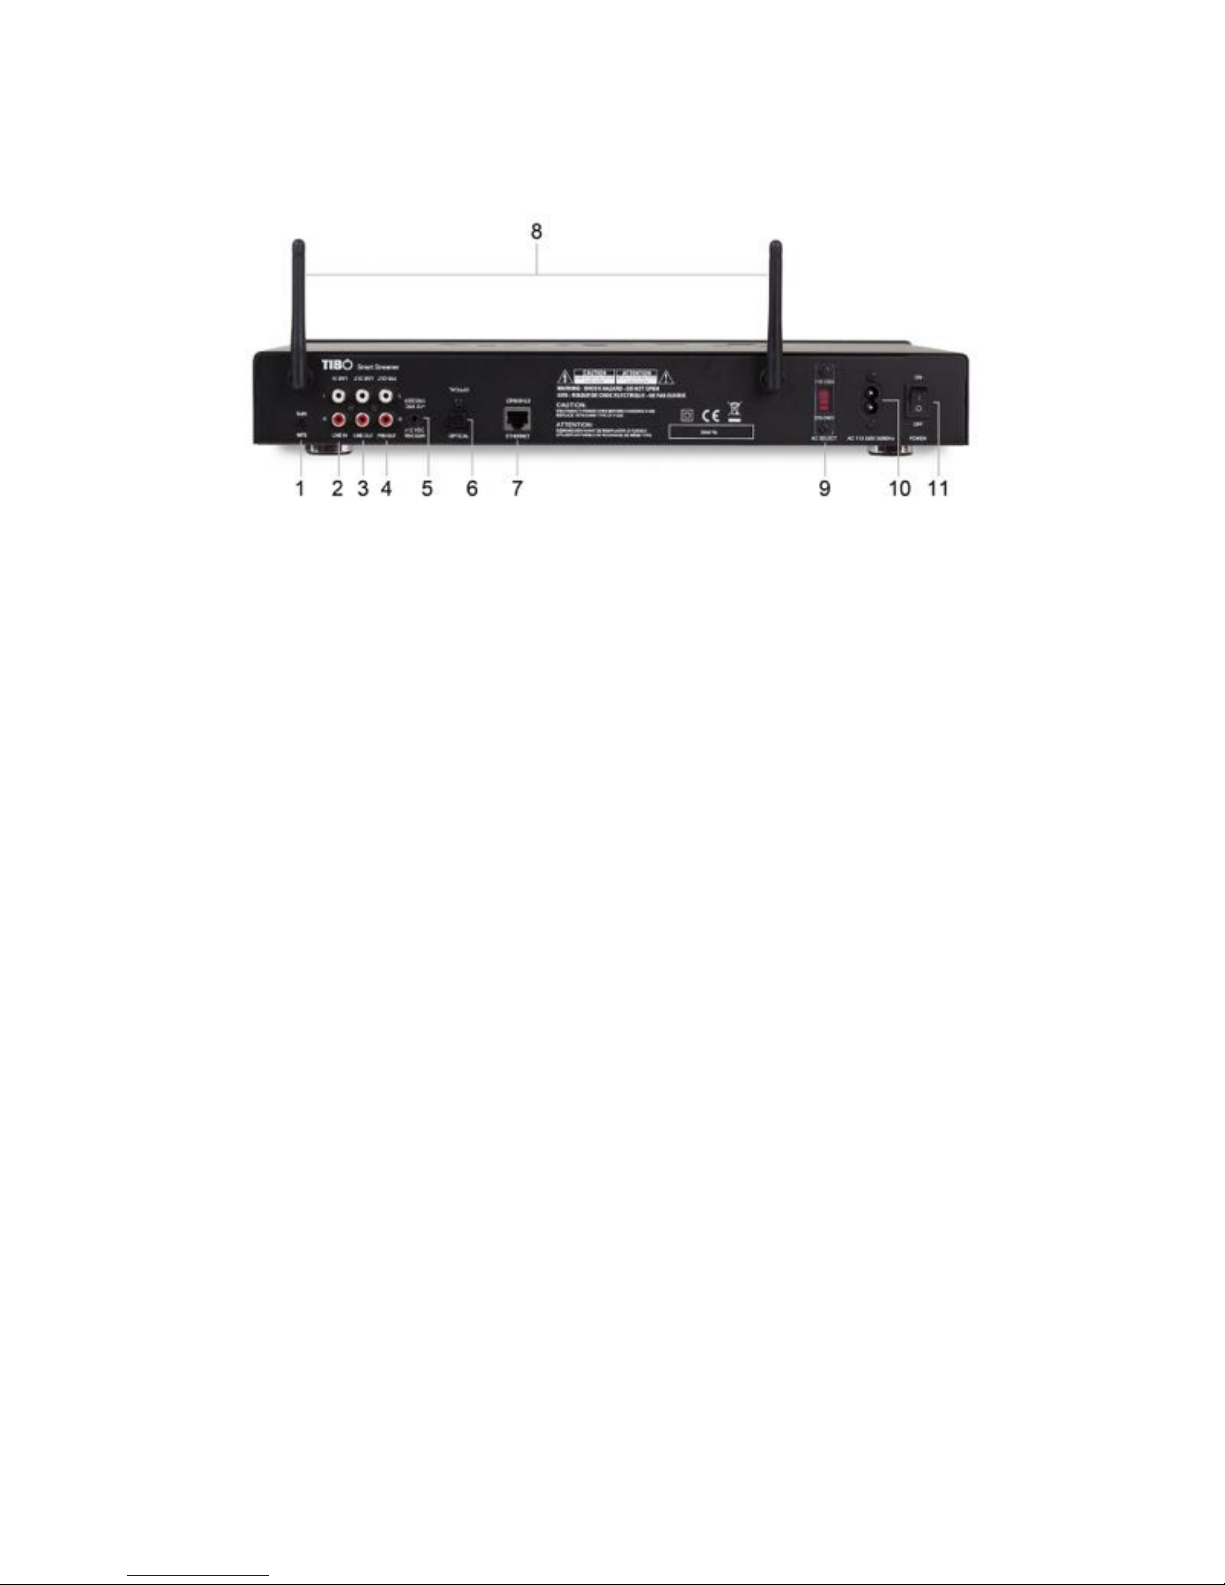
Rear panel layout
1. WPS button
2. RCA Line in L/R
3. RCA Line out – Left/Right
4. RCA Pre out – Left/Right
5. Trigger Function In – Connect to a product
with a trigger out function to trigger the
Streamer. (i.e. Subwoofer)
6. Optical out
7. Ethernet/LAN port
8. Wi-Fi and Bluetooth aerials
9. AC select
10. Mains power input
11. On/Off switch
 Loading...