

Thunder form FORD FOCUS ZX3, FORD FOCUS ZX5 User Manual
FORD FOCUS ZX3 AND ZX5
Warranty Statement
ThunderForm Loaded Enclosures purchased in the United States from an authorized MTX dealer
are guaranteed against defects in material and workmanship for a period of two years from the date
purchased by the end user, and limited to the original retail purchaser of the product.
Amplified ThunderForm Enclosures purchased in the United States from an authorized MTX dealer
are guaranteed against defects in material and workmanship for a period of one year from the date
purchased by the end user, and limited to the original retail purchaser of the product.
Product found to be defective during that period will be repaired or replaced by MTX at no charge.
This warranty is void if it is deter mined that unauthorized parties have attempted repairs or altera
tions of any nature. Warranty does not extend to cosmetics or finish. Before presuming a defect is
present in the product, be certain that all related equipment and wiring is functioning properly. MTX
disclaims any liability for other incurred damages resulting from product defects. Any expenses
incurred in the removal and reinstallation of products are not covered by this warranty. MTX's total
liability will not exceed the purchase price of the product. If a defect is present, your authorized MTX
dealer may be able to effect repairs.
Proof of purchase is required when requesting service, so please retain your sales receipt and take
a moment to register your product online at mtx.com.
21A8295
Vehicle Specific Subwoofer Enclosure
Made in the USA
One Mitek Plaza, Winslow, IL. 61089
1-800-225-5689 mtx.com

READ ALL DIRECTIONS CAREFULLY BEFORE BEGINNING
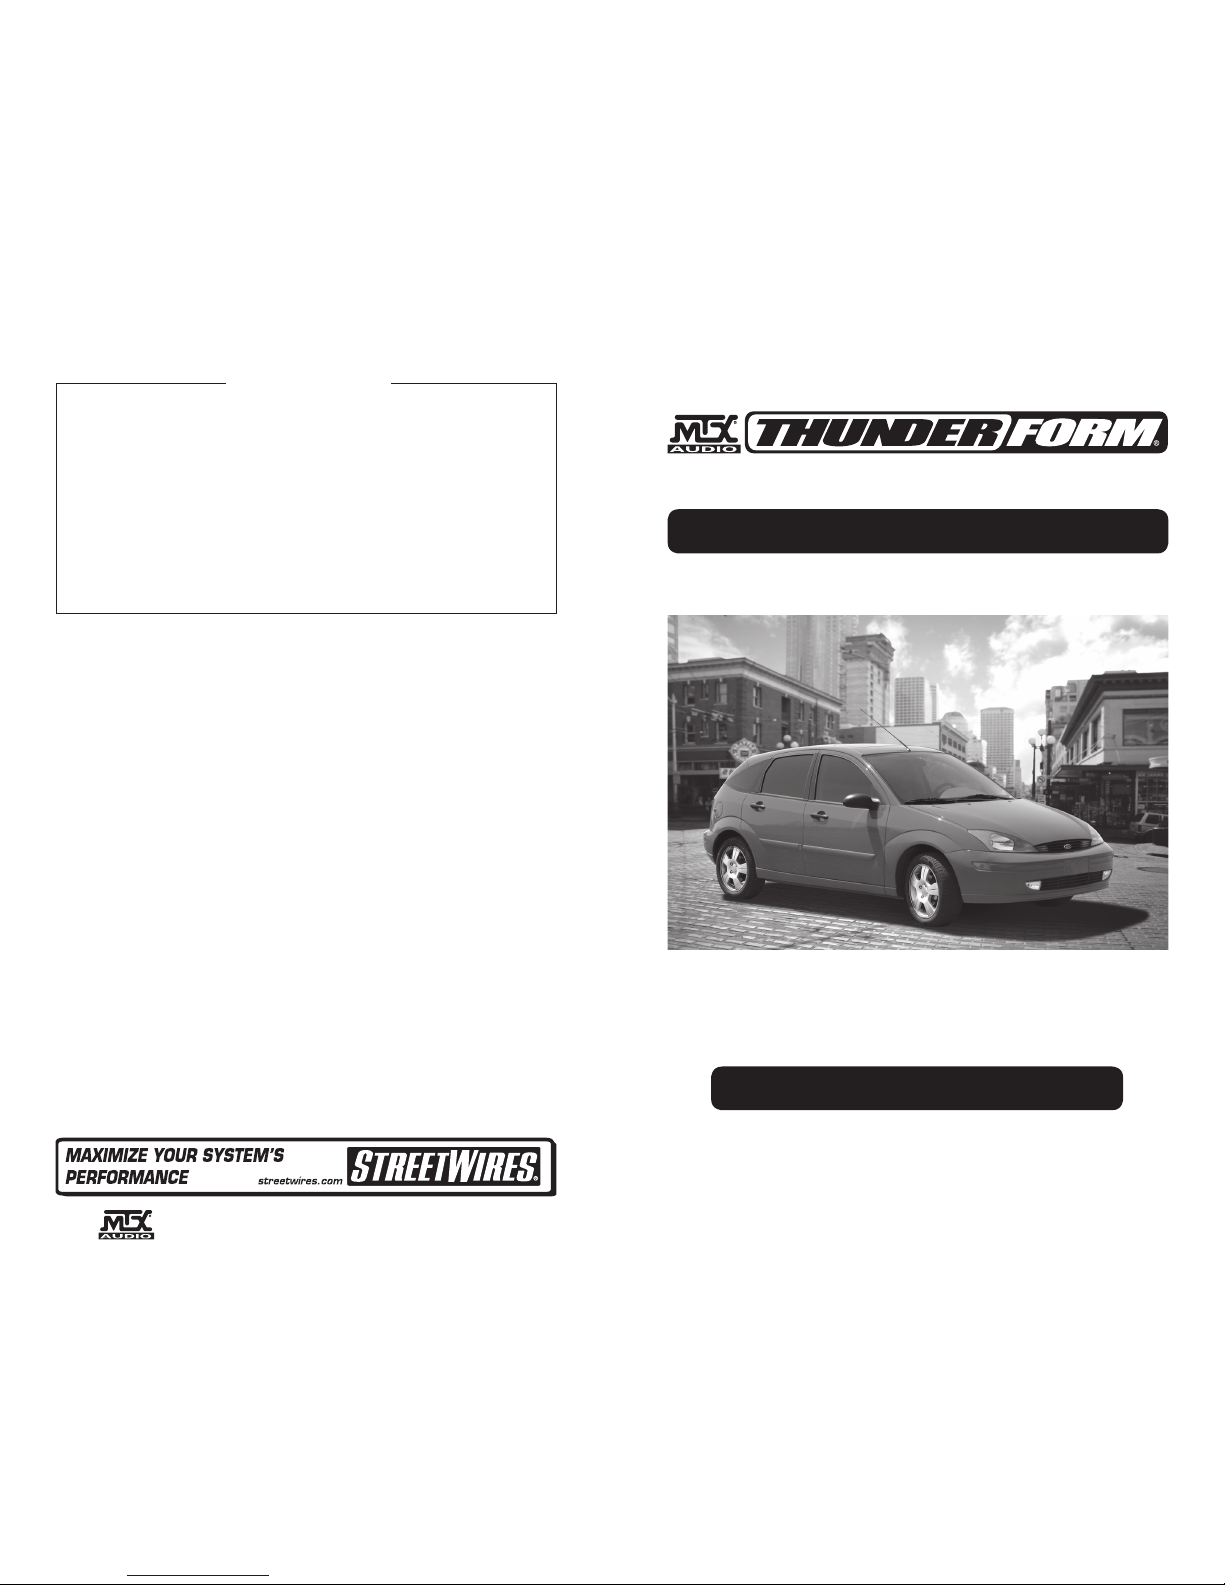
MOUNTING LOCATION: The enclosure mounts in the rear drivers' side, behind
back seat firing to the side in the Ford Focus hatchbacks.
TOOLS REQUIRED FOR INSTALLATION:
Powered Screwdriver #2 Phillips Head Bit
6" Bit Holder Extension Wire Cutters
5/16" Wrench Trim Panel Removal Tool
INSTALLATION: Follow the steps below
1. Attach the included mounting hardware to your enclosure as shown below.
2. Using the supplied screws, attach the included speaker grill to prevent dam-
age from cargo.
3. Remove floor mat from rear of hatch area. Remove trim screw by the cargo
light and place included upper bracket over the hole and replace the screw.
4. If you are using an external amplifier, skip to step 21.
For technical assistance call 1-800-CALL MTX.
These instructions are guidelines only and in no way are intended to replace a
professional installation. As always before screwing or drilling check to make sure
you will not damage any wires or hoses or cause damage to the vehicle.
Warning: Batteries normally produce explosive gases which can cause personal
injury. Therefore, do not allow flames, sparks or lighted substances to come near
the battery. When charging or working near a battery, always shield your face and
protect your eyes. Always provide ventilation.
Conventional Wiring of Aftermarket Radi
o
_
+
20 Amp Fuse
Low Level Signal
Turn On Lead
20A
PW
RGNDREM
EB
C
INPUT
RIGHTLEFT
GAINX-OVER
STATU
S
Optional EBC
(Electronic Bass Control)
1 6
 Loading...