

Thunderbolt 350BL series Instruction Manual
11
INSTRUCTION
MANUAL
INSTRUCTION
MANUAL
MODEL 350BL SERIES

ENTER
LCD TEXT
SCREEN
POWER
ON/OFF
WARNING &
POWER /ON LEDs
SPEAKER
Displays the unit’s Menu information and current storm information
during operation.
Used to select items from the Menu
and enter values from the unit’s
Menu. Also used to immediately
move from the Menu to normal scan
-
ning operation.
Speaker for the Audible Alarm.
There are two LED lights - green and
red. The green light flashes when the
unit is activated, and continuously
blinks during normal scanning opera
tion. The red LED is activated when
a storm has approached within the
user-determined warning range.
MODEL 350BL SERIES
CONTROLS & FEATURES
The SCROLL UP or SCROLL DOWN
buttons permit user to move
through the unit’s Menu, as well as
access the Menu when the unit is in
normal scanning operation.
Button allows user to turn the
Audible Alarm on or off.
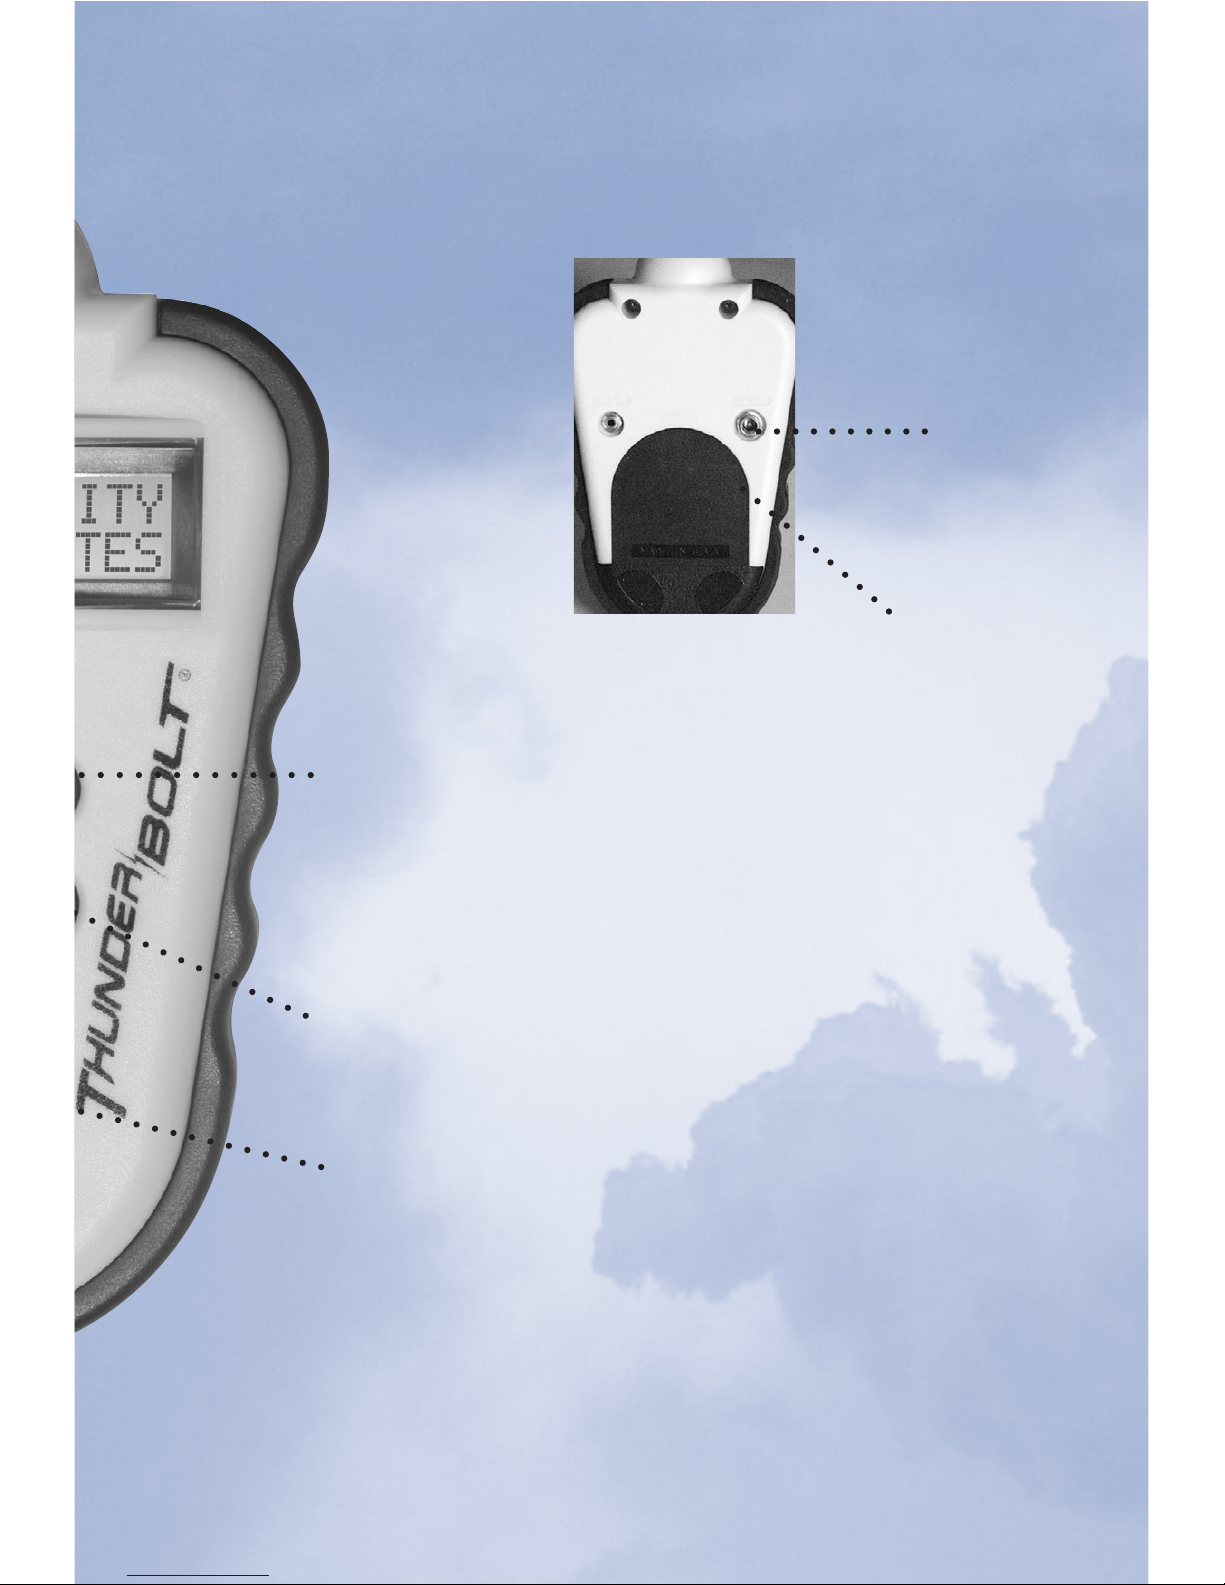
9V D/C
A/C Adapter jack
for optional
A/C power operation.
BATTERY COMPARTMENT DOOR
Compartment door for 9V battery.
SCROLL UP
TONE ON/OFF
SCROLL DOWN

4
THUNDERBOLT® CONTROLS & FEATURES .............2
PRODUCT OVERVIEW .................................................5
INSTALLATION AND SETUP .......................................6
Operating Positions ...............................................6
Power Sources for ThunderBolt ............................6
Batteries ...........................................................
6
External AC Adapter .........................................
7
Unit Power On/Off .................................................7
LCD Display Overview ...........................................8
Accessing and Using the Main Menu ....................8
Main Menu User Selections ...................................8
STORM DETECT ..............................................9
ALARM RANGE ..............................................
9
ALARM MODE ..............................................10
SENSITIVITY ..................................................10
NOISE TEST ...................................................11
BACKLIGHT ON/OFF .....................................12
Audible Alarm Tone Operation ............................13
Backlight Operation ..............................................13
BASIC UNIT OPERATION ...........................................15
Storm Detection ...................................................15
Text Messages .....................................................18
Points to Remember ............................................21
Anatomy of a Thunderstorm ...............................22
Types of Lightning ...............................................24
Common Questions about Operation ..................26
PRODUCT SUPPORT ...................................................28
Care and Maintenance .........................................28
Customer Service and Support ............................28
One-Year Limited Warranty ................................29
Service Policy .......................................................30
ThunderBolt Storm Detector Accessories................30
RECOMMENDED SETTINGS ......................................31
This Instruction Manual applies to the ThunderBolt® Utility (TB-U1),
ThunderBolt
®
Personal (TB-CB1/CG2/CR1/CA1), ThunderBolt® Desk
(TB-CGS/CAS), ThunderBolt
®
Storm Chaser (TB-SC1).
TABLE OF CONTENTS

5
PRODUCT OVERVIEW
The ThunderBolt® Storm Detector is a personal, hand-held weather monitor.
The ThunderBolt utilizes self--contained, copyrighted, proprietary software
and electronic technology to detect and track the motion of thunderstorms. It
analyzes lightning activity within storm cells and supercells
*, and is capable
of identifying the presence of squall lines**, which can occur in conjunction
with thunderstorm activity.
IMPORTANT! ThunderBolt uses the latest electronic and computer
technology to detect and track thunderstorms. However, thunderstorms
can be a rapidly changing weather phenomenon, and the information
provided by the ThunderBolt should, whenever available, be used in con
-
junction with other weather information sources. Remember that the
ThunderBolt detects ACTIVE storms, and cannot predict when or
where a particular storm may form, and/or where the first lightning
stroke occurs. Because of the variable factors associated with lightning
due to amperage of the stroke, polarity and orientation to the ground,
ThunderBolt does not detect and track individual lightning strokes, but ana
-
lyzes data from entire storm cells as they move.
Storms are detected and analyzed within 75 miles of user location. Measured
from the point of user location, ThunderBolt’s advanced proprietary technol
ogy converts data from the intensity of electro-magnetic field emissions of
lightning activity within a storm cell into digital signals. The signals are
then fed into a microprocessor for analysis. The UNIT tracks and alerts the
user through text messages on its Liquid Crystal Display (LCD) screen, red
and green Light Emitting Diode (LED) indicators and through audible tone
warnings. See page 15 of this manual for a list of text messages and their
meanings.
** Supercells are severe thunderstorms typically larger and more violent than normal storms and often
** result in the formation of tornadoes. They comprise approximately 10% of all thunderstorms.
** Squall lines occur when converging air currents create cumulonimbus cloud activity forming groups
** of storms and resulting in heavy precipitation.
** Both Super-cells and Squall Lines are capable of producing high winds, severe rain and tornadoes.

6
INSTALLATION AND SETUP
OPERATING POSITIONS
The ThunderBolt
®
Storm Detector can be carried individually or installed on a stationary mount. The unit is
completely operable while in its carrying pouch with easy
access to all controls.
Mounting the ThunderBolt allows it to be installed verti
cally on a flat surface, such as a desk or wall, allowing the
unit to be easily removed for mobile operation.
The ThunderBolt unit will not operate properly if oriented
on its side. The unit is designed to operate either vertically
(hand-held or using the wall mount or the desk stand), or
lying flat on a horizontal surface.
POWER SOURCES FOR THE THUNDERBOLT
1. BATTERIES
The ThunderBolt operates on one standard 9V battery. The battery com
partment is located on the back of the lower half of the unit between
the EX, SPK and 9V DC jacks. To open the Battery
Compartment Door, use the heel of your palm, or thumbs,
to press door downward and away from unit. NOTE: The
Battery Compartment Door has been designed to provide
a secure fit to withstand rugged use, and may initially be
stiff and difficult to open, but will become easy to slide
open with regular use. Once opened, clip the connec
tor over the battery terminals and securely close battery
compartment door.
Battery life is constantly monitored by the UNIT’S computer. A LOW
BATTERY warning message is periodically displayed once remaining
battery life drops below 5-7 hours. Always replace battery as soon as pos
sible when warning message is displayed. The battery should be removed
if the ThunderBolt is to be stored for an indefinite period of time to avoid
accidental leakage and corrosion of terminals.

7
2. EXTERNAL AC ADAPTER
A ThunderBolt International-approved low-noise external
adapter may be used to power the ThunderBolt
®
Storm
Detector. The adapter jack is labeled 9V DC and is located on
the back of the unit above the battery compartment door. A
115 Volt-AC and 220 Volt-AC Adapter are available from
ThunderBolt International, Inc.
NOTE: The use of a surge protector is highly recommended with the AC
Adapter to minimize incidences of “false triggering”
* which often occur
due to spikes in voltage current, as well as a possible “freeze” of informa
tion from the unit (requiring a re-start of the unit). It is recommended when
first using the AC Adapter to run a unit NOISE TEST (see page 10), while
on AC, as well as a periodic NOISE TEST thereafter if the unit is running
on AC continuously.
IMPORTANT! Use of a non-specified adapter will cause inaccurate or
improper operation of the unit and will damage the power supply circuitry.
Use of a non-specified adapter will void the ThunderBolt Warranty.
UNIT POWER ON/OFF
To turn on the unit, press the POWER ON/OFF button on the front of the
unit (see page 1). The unit has been properly activated when the LED
light at the tip of the unit flashes. Release your finger from the ON/OFF
button after the LED light has flashed. Within a few seconds after the unit
powers on, the ThunderBolt model number will appear on the screen,
replaced by TONE IS NOW ON, and then the Main Menu will appear on
the LCD display and the green LED light will begin to continuously blink
to indicate normal operation.
To turn off the unit, press the POWER ON/OFF button and hold until alarm
sound is emitted, and then release the ON/OFF button at any time. This
delayed deactivation prevents the unit from being turned off inadvertently
by alerting the user.
NOTE: To conserve the life of the batteries, the unit is programmed automatically to turn off after
approximately five hours if no buttons are activated. The auto shut-off feature is disabled if the
external AC adapter is powering the unit.
* False triggering is when the unit indicates false storm activity because of changes of power
voltage or nearby noise interference (see page 10).

8
LCD DISPLAY OVERVIEW
The LCD Display, between the LED Light Display and the Unit Controls,
provides the user the Menu Options and Text Messages during operation.
Only two lines of text can be viewed at a time. NOTE: Menu use follows
this section of the manual. Text Messages and definitions are discussed on
page 18.
ACCESSING AND USING THE MAIN MENU
The Main Menu appears on the LCD Display when the Unit
is activated. Use the SCROLL UP/DOWN (see page 2) but
tons to move through the user-selectable choices on the Main
Menu. To select an item from the Menu, move the blinking cur
sor to the desired item number and then press the ENTER button (see
page 1). Once initial UNIT programming has been completed, the
ThunderBolt
®
automatically begins a normal storm detection routine
(SCANNING mode) if no other button is pressed within approximately
7 seconds. You may return to the Menu at anytime. Simply press and
release either of the SCROLL UP/DOWN buttons to call back the Main
Menu.
MAIN MENU USER SELECTIONS
There are five user-selectable choices contained in the Main Menu. These
will appear on the screen two at a time, according to the list below:
1. STORM DETECT
2. ALARM RANGE
3. ALARM MODE
4. SENSITIVITY
5. NOISE TEST
6. BACKLIGHT ON/OFF
The ALARM RANGE, ALARM MODE, and SENSITIVITY should be set
when initially using the unit, and altered whenever a change of situation
dictates. The NOISE TEST SHOULD BE RUN INITIALLY, and whenever
a change of environment occurs.

9
1. STORM DETECT
Once the ThunderBolt
®
is powered on and the Main Menu accessed,
the unit will automatically return to normal storm detection (or
SCANNING) mode if no other menu selection is made within approxi
mately 7 seconds. You may also manually return to normal storm
detection by selecting STORM DETECT mode and then press
ing the ENTER button, immediately putting the unit into normal
storm detection. Once the unit is SCANNING, the cursor will move
back and forth, and the selected SENSITIVITY (normal or high) will be
displayed.
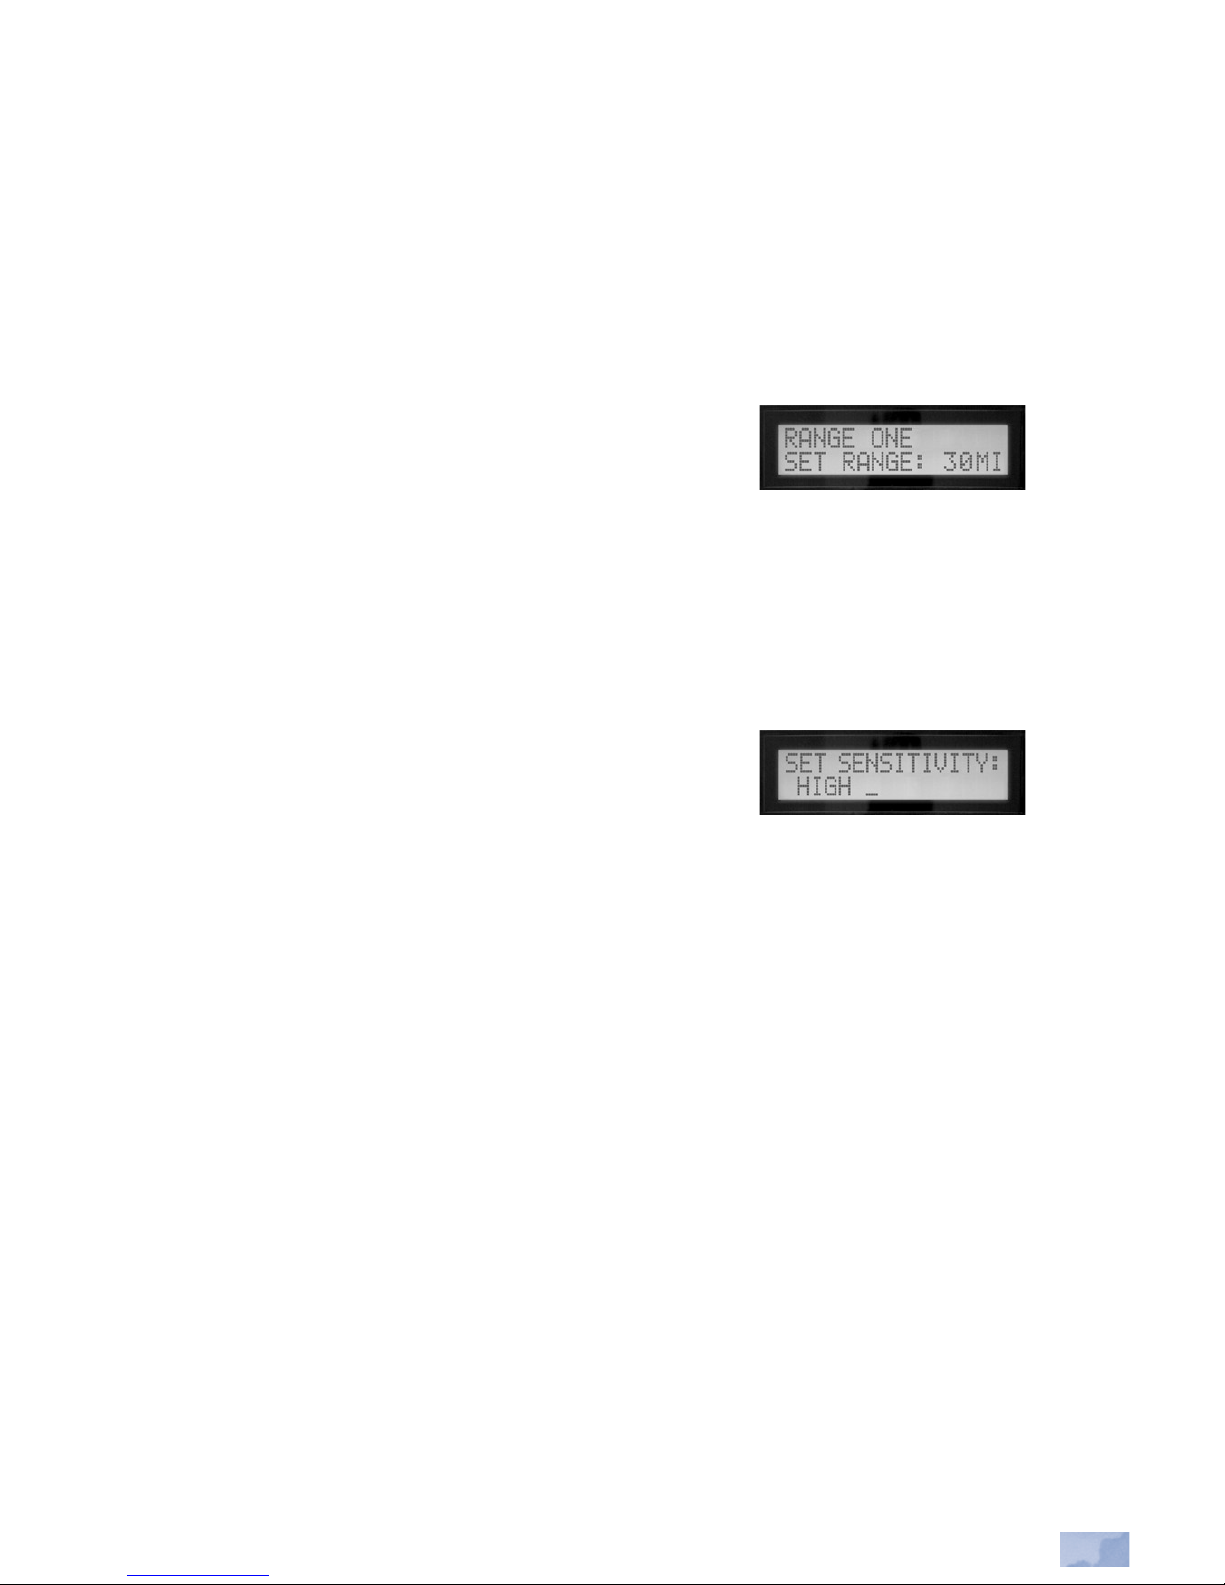
2. ALARM RANGE
ALARM RANGE allows the user to determine, based on need and/or
application, what distance ThunderBolt will begin providing approach
ing storm warning on its VISUAL ALARM (red LED) and AUDIBLE
ALARM (Tone). See page 26 for recommended settings. Selecting this
option allows the user to choose the warning
range (distance in miles from user location)
for activation of the VISUAL ALARM and the
AUDIBLE ALARM. Once ALARM RANGE has been selected, the VISUAL
ALARM range will appear on the screen. The warning range values are
selected by using the SCROLL UP/DOWN buttons to toggle the displayed
range in miles to the desired value. Pressing
the ENTER button stores the value in memory.
Once done, the AUDIBLE ALARM range will
automatically appear on the screen. Follow the same procedure to select
the value desired, and press ENTER to store in Memory. The unit will
then return to the Menu. NOTE: Once stored, these ALARM RANGE val
ues will be stored in memory each time the unit is operated until changed.
NOTE: The audible tone may be turned ON or OFF at any time by using
the TONE ON/OFF button in the front of the unit (see page 2). This
will not change the alarm range stored in memory. Each time the unit is
turned on, the audible tone will be ON and must be turned OFF manually,
if so desired. See page 12 for more details.
10
3. ALARM MODE
This option allows for the setting of an additional trigger distance for an
audible alarm with a faster tone rate, which may be extremely useful for
certain applications. This feature allows the ThunderBolt
®
to automatically increase its alarm level as a storm approaches to a closer distance than
the range selected for normal storm detection. To set the ALARM MODE,
select ALARM MODE from the Menu, and follow the same procedure as
the ALARM RANGE. Once the value has been
stored, the unit will return to the Menu.
4. SENSITIVITY
There are two storm detection sensitivity settings: NORMAL and
HIGH (see the information following this paragraph for a descrip
tion of each setting). Select SENSITIVITY from the Menu, and SET
SENSITIVITY will be displayed. To set HIGH, push the SCROLL UP
key. Or, to set NORMAL, push the SCROLL
DOWN key. Then press the ENTER key. The
setting is entered into the computer and
the memory is updated. ThunderBolt then
returns to the Menu, and then back to the SCANNING mode within 7
seconds if no further action is taken within the MENU.
SCANNING SENSITIVITY NORMAL: This setting produces the great
er accuracy in storm tracking and speed calculation, but increases the
time between a storm first being detected, and a calculated speed and
Estimated Time of Arrival (ETA) being displayed.
SCANNING SENSITIVITY HIGH: This setting provides the fastest
possible information, but sacrifices accuracy for speed. The information
will gradually become more accurate as the unit gathers data. Use this
option in situations where maximum warning time is required to prepare
for storm arrival, or in certain indoor applications where the surrounding
building may be reducing the signal strength.
Both HIGH and NORMAL modes are effective and selection by the user
should be made based on preference and/or application needs.
 Loading...