

Page 1
1
For your personal safety please read,
understand and follow the information
provided in this instruction manual.
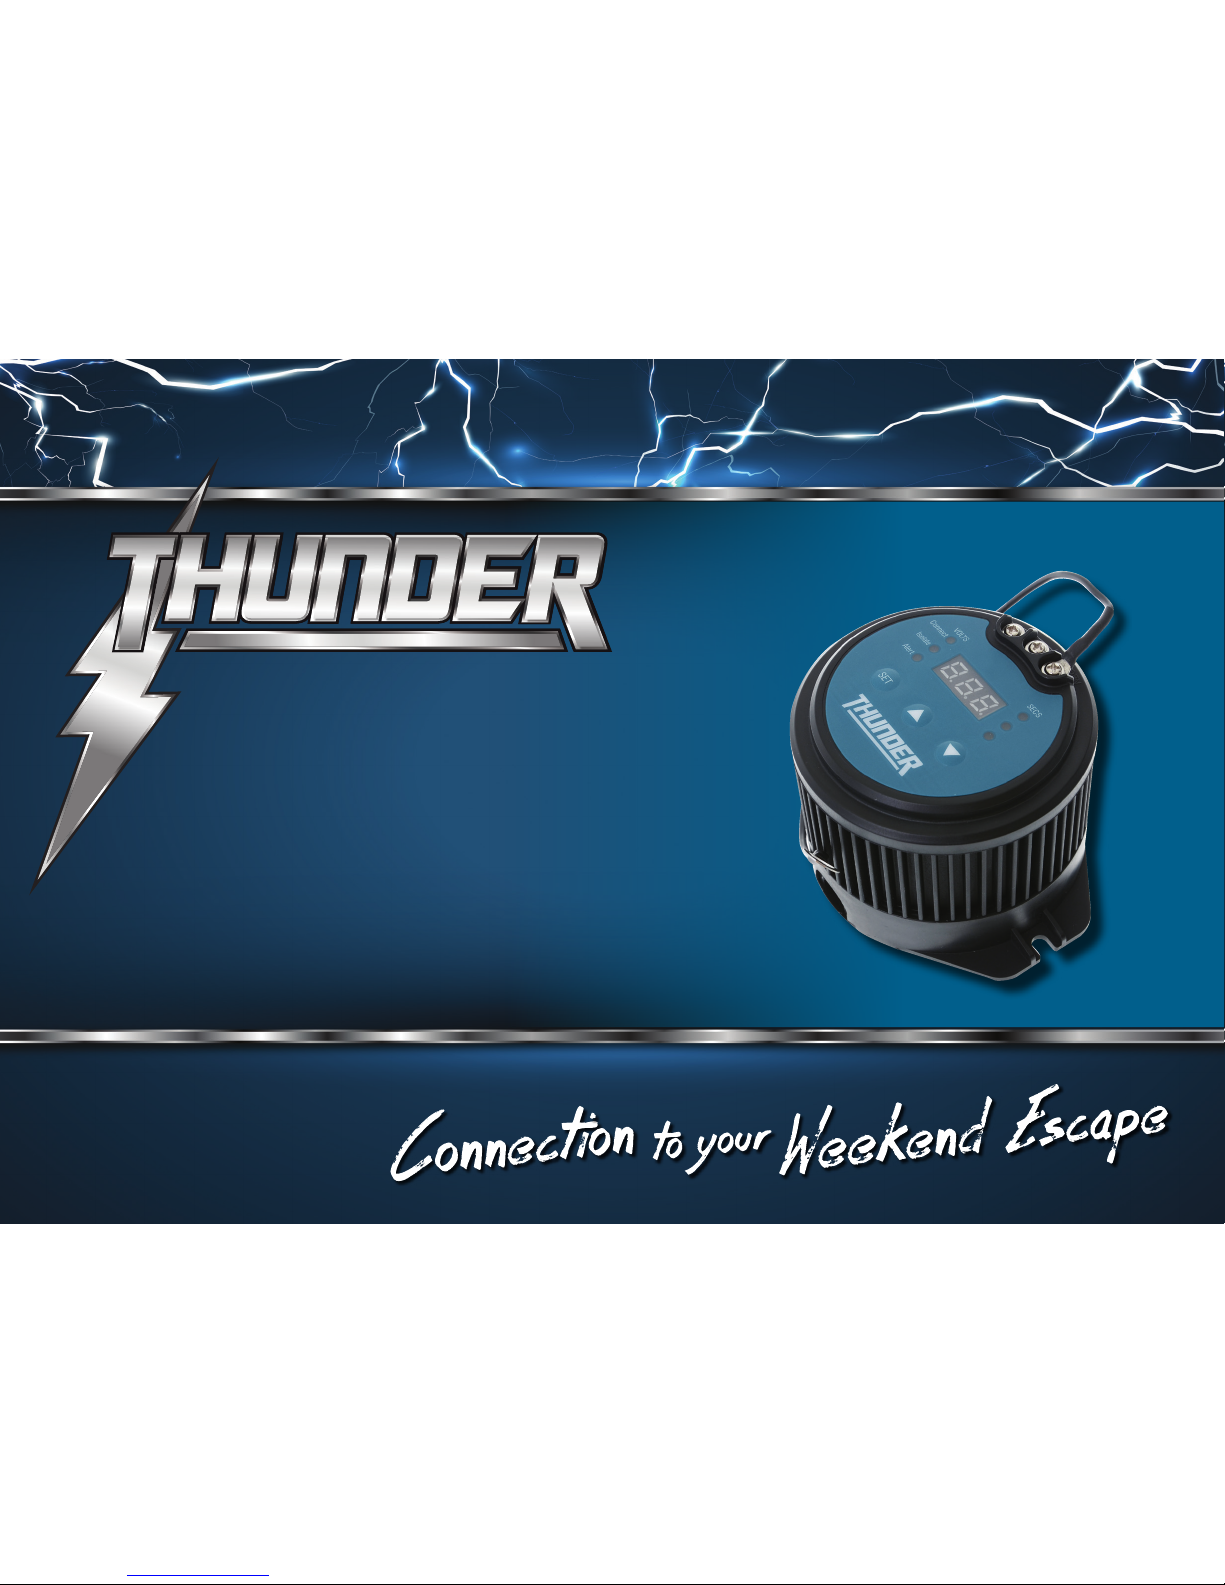
CONGRATULATIONS ON
YOUR PURCHASE OF YOUR
THUNDER ELECTRONIC
BATTERY ISOLATOR
Page 2

2
Contents
CONTENTS
3. Specifications and Recommendations
4. Installation
5. Settings
6. Operation
7. Reverse Charging System
Copyright © 2016 GPC Asia Pacific Pty Ltd ABN 97 097 993 283
Page 3

3
SPECIFCATIONS AND RECOMMENDATIONS
Specifications and Recommendations
SPECIFICATIONS
CONNECT VOLTAGE
9.2-16.0 Volts
MAXIMUM CONTINUOUS CURRENT
100 Amps
ISOLATE VOLTAGE
9.0-15.8 Volts
MAXIMUM INRUSH CURRENT
400 Amps
VISUAL ALARM VOLTAGE
9.0-15.6 Volts
STANDBY CURRENT
0.04 Amps
DELAY
1-255 seconds
MAXIMUM TEMPERATURE
80°C
MOUNT (C-C)
100mm
DIMENSIONS
110mm(L) x 90mm(W) x 72mm(H)
CABLE AND FUSE RECOMMENDATIONS
LENGTH CABLE
FUSE OR CIRCUIT
BREAKER
LENGTH CABLE
FUSE OR CIRCUIT
BREAKER
0-1 metre (no override) 8 B&S 60 Amps 0-1 metre (with override) 4 B&S 100 Amps
1-3 metres (no override) 6 B&S 60 Amps 1-3 metres (with override) 2 B&S 100 Amps
3-6 metres (no override) 2 B&S 60 Amps 3-6 metres (with override) 0 B&S 100 Amps
Page 4

4
INSTALLATION
Installation
1. Ensure auxiliary battery negative post is properly grounded to vehicle.
2. Using the appropriate cable and fuse/circuit breaker, connect the terminal
marked 'main' to the positive terminal of the main or starting battery.
3. Using the appropriate cable and fuse/circuit breaker, connect the terminal
marked 'aux' to the positive terminal of the auxiliary battery.
4. On the main body of the battery isolator there are two removable grommets
to accommodate different size cable/lugs; remove or keep as required. With
the cables firmly connected, press the base cover into place. This can be
made more secure/water resistant by using a small amount of silicone.
Position the battery isolator and screw into place.
5. Use the screws on the top of the battery isolator to connect to:
(i) Connect the terminal marked 'NEG' to ear th with the supplied black cable.
(ii) To create a remote override switch (optional), connect the terminal
marked '2' to one terminal of a momentary switch, and the other terminal
to earth. Ensure you use a minimum of 3mm² automotive cable. This
feature will allow the auxiliary battery to assist with star ting if the main
battery power is low.
(iii) To create a remote indicator light (optional), connect the terminal marked
'1' to one terminal to of an LED warning light, and the other terminal to
earth. Ensure you use a minimum of 3mm² automotive cable.
Ground
LED indicator light (optional)
Momentary override
switch (optional)
Ground
12 volt auxiliary battery12 volt main batteryGround
Ground
12 volt
alternator
Auxiliary level
NEG2 1
Fuse
Fuse
Page 5

5
Settings
There are no correct or incorrect settings for the battery isolator, the set points are
entirely dependent on the user and the required end result. The main objectives are
to protect your main cranking battery from being overly discharged (disengaging
at a reasonable voltage) and, under extreme circumstances being able to utilise
charge in the auxiliary battery to star t a vehicle if the main battery has failed.
To enter the programming mode please follow these instructions:
Repeat from installation step 2 to continue to adjust all set points.
There are six (6) items that need to be set:
1. Connect - this is the voltage that the battery isolator will connect the two
batteries.
2. Connect delay - from 1-255 seconds. This setting decides the delay in time
from when the connect voltage is detected until batteries are connected.
3. Isolate - this is the voltage that the battery isolator will disconnect the
batteries from each other. This point must be lower than the connect voltage.
The default isolation point is 12.8 volts.
4. Isolate delay - from 1-255 seconds. This setting decides the delay in time
from when the isolate voltage is met to when batteries are isolated.
5. Alarm (visual) - this point must be set lower than the isolate point. Once this
point is reached the battery isolator will display 'b-L' and the optional remote
indicator light will begin to flash slowly. The LED will begin to flash fast when
the voltage drops more than 0.05 volts below the alarm set point.
6. Reset - the battery isolator can be easily reset to the factory default settings
by simply pressing the 'set' button twice This will now display the 'connect'
set point. Select the up arrow to move through all settings until all the
indicator lights on the left and right are lit and the display shows 'rSt'. Press
the 'set' button once. The screen will now show 'yes'. Using the arrow buttons
to move from 'yes' to 'no'. Select 'yes' to reset and press the 'set' button to
confirm. The battery isolator is now reset to the factory defaults.
SETTINGS
PROGRAM INSTRUCTIONS
1. PRESS “SET” This will now display the first setting.
2. PRESS “SET”
Display will flash and can be adjusted
by using the up/down arrows.
3. PRESS “SET” This enters the displayed setting.
4. PRESS “UP” ARROW
This moves the display to the next
setting.
Page 6

6
OPERATION
Operation
DISPLAY REMOTE DESCRIPTION
b1 Off Main battery is connected to the main stud (only occurs when connecting the battery isolator to the vehicle).
b2 Off Auxiliary battery is connected to aux stud (only occurs when connecting the battery isolator to the vehicle).
On/Blank On Batteries are linked and the auxiliary battery can be charged from the main battery.
Off Off The battery isolator has disconnected the circuit.
O-n Flashing
The remote override has been activated and the batteries are now linked. The batteries are linked for approximately 10 seconds.
At the end of this time period the battery isolator will again disengage the batteries.
b-L Flashing The battery isolator has detected the auxiliary battery voltage to be lower than the alarm voltage and has disengaged batteries.
b-L Off
The battery isolator has detected the main battery is lower than the alarm voltage. WARNING: Check all connections to the
main battery, if possible check voltage and visually inspect battery. The auxiliary battery can be used to start the vehicle by
activating the remote switch.
b-H Off
The battery isolator has detected an overvoltage (higher than 17 volts). WARNING: Check alternator output if possible. If the
auxiliary battery is connected to an alternate power supply (solar or charger) check output from supply.
b-N Off
Voltage lower than 8.8 volts detected. WARNING: This would indicate catastrophic failure of one or both batteries. Carefully
check both batteries before proceeding.
I-P Off Indicates main battery open circuit (loose or damaged cabling). Check all connections and wiring to the main battery.
O-t Off The battery isolator has detected excessive temperature (+80°C) and has shut down. Unit will reactivate at +60°C.
Once your battery isolator is installed and the set points are programmed it is operational at all times. All functions can be visually checked by either the remote indicator
or the LED readout on the unit.
Page 7

7
REVERSE CHARGING SYSTEM
In a number of situations, the auxiliary battery may need to be connected to a solar
input or additional charging system. The battery isolator will recognise that the
auxiliary battery is receiving charge and if the main battery is below 12.8 volts and
the auxiliary battery is above 13.36 volts and receiving a charge, the battery isolator
will open the circuit and allow the auxiliary battery to charge the main battery. The
battery isolator will display 'on' and the remote switch LED will turn on.
Reverse Charging System
Page 8

8
GPC Asia Pacific Pty Ltd
ABN 97 097 993 283
51-57 Qantas Drive
Brisbane Airport QLD 4007
AUSTRALIA
thunderauto.com.au // thunderauto.co.nz
 Loading...