

Page 1
9636-0560
INSTALLATION
LOCATION
OPERATION & MAINTENANCE INFORMATION
FOR
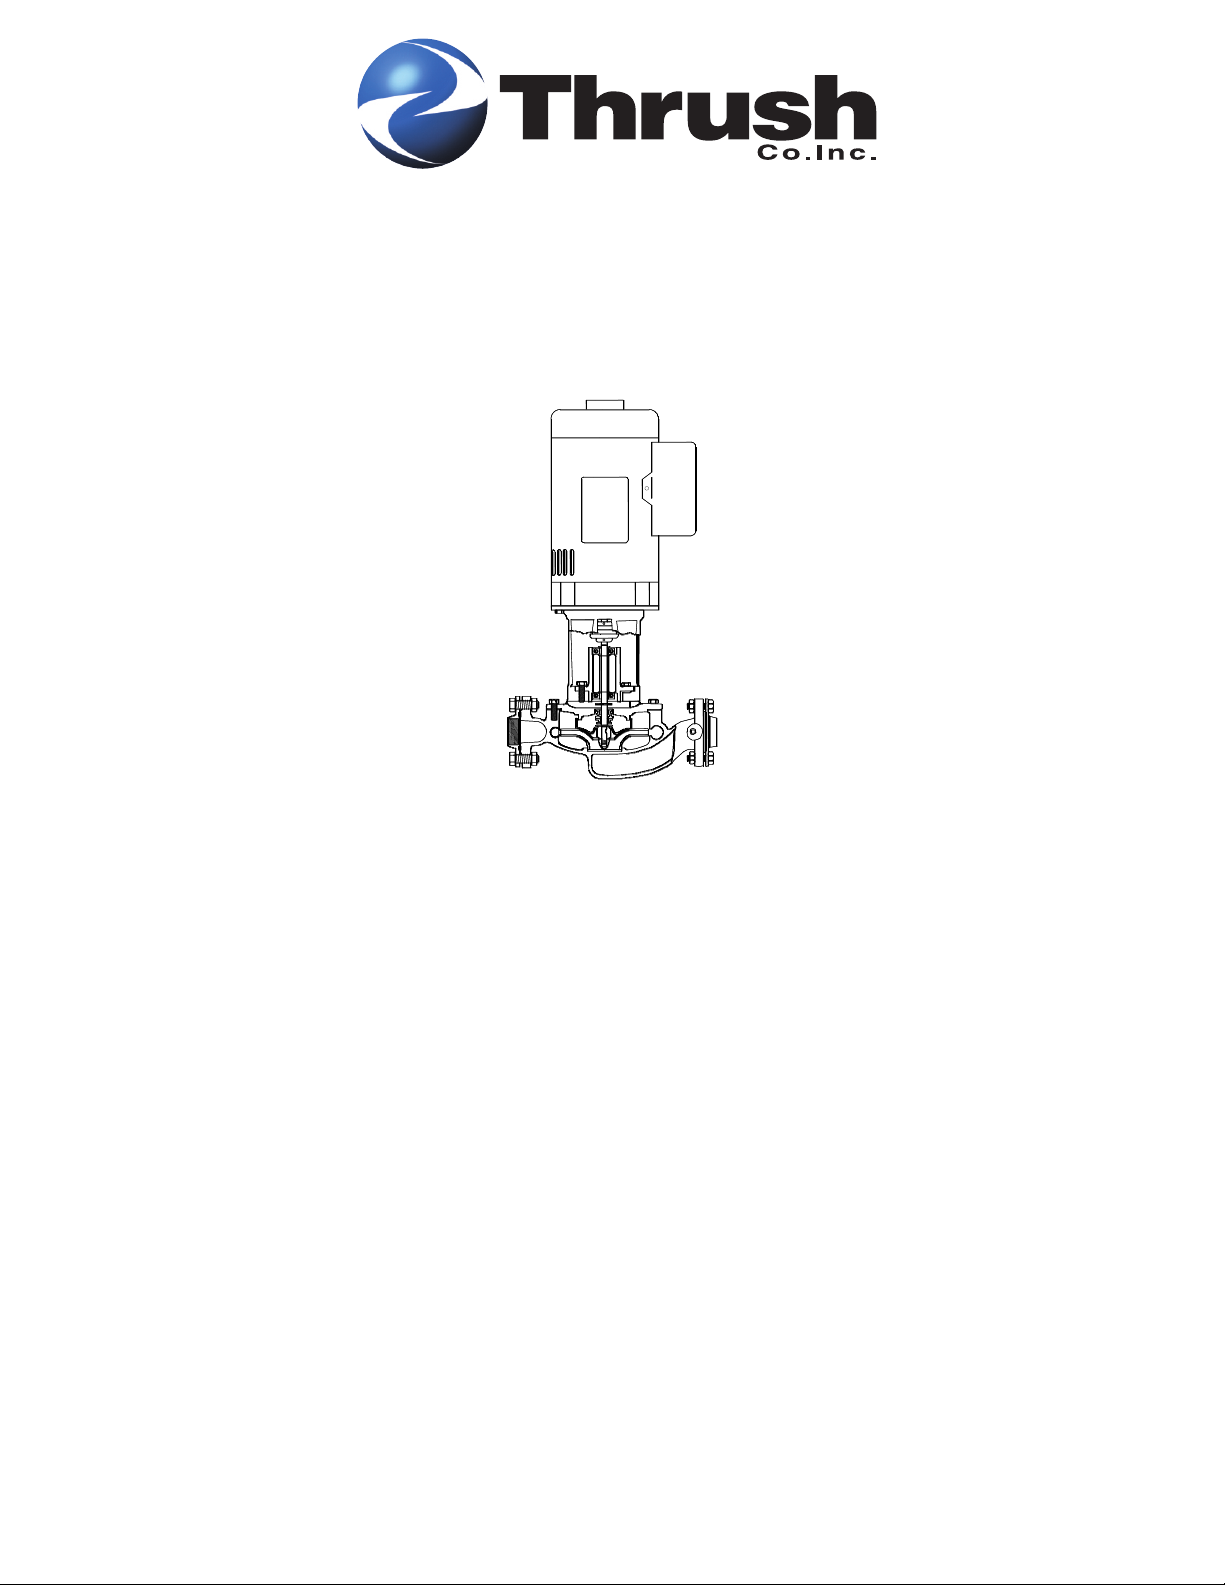
MODEL HVGT & HVGTB IN-LINE CENTRIFUGAL PUMPS
MODEL HVGT & HVGTB
The Thrush In-Line Cen trifugal Pump has been carefully assembled and factory tested to provide
years of trouble-free service. In order to assure the service intended, the following information is
provided to enable proper installation, operation and maintenance of the HVGT / HVGTB pump. The
Thrush HVGT/ HVGTB pum p uses standard GTB replacement parts for easy parts replacement. The
motor and bearing assembly have sealed ball bearings and never have to be oiled o r greased. The
motor is also resilient mounted f or reliable quiet operation. The pump comes with the standard Type
21 seal, stainless steel shaft and external water slinger for added bearing assembly life in case o f seal
failure.
The pumps should be located as close to the liquid source as possible so that the suction line can be
short an d irect. It should be located in a clean, open area, where it is easily accessible for inspection,
lubrication and repair. Pumps installed in dark, dirty areas or in cramped locations are often neglected
which can result in premature failure of both the pump and the drive.
Adequate provisions should be m ade for electrical wiring to the pump motor. A switch and overload
protection should be installed near the pump. The flexible electrical conduit should be used in
connecting motor wiring.
6/11
Page 2

MOUNTING
PIPING
SUCTION PIPING
DISCHARGE PIPING
PRIMING THE PUMP
FLOODED SUCTION PRIMING
The pump will not operate satisfactorily until is is primed. All air must be expelled from the suction
piping and pump casing and replaced b y the liquid to be pumped. There are several m ethods of
priming pumps. The one selected will depend on the specific requ irements.
This method of priming a pump is relatively simple. Th e liquid source is located above the pump and
all that is necessary to prime the pump is to open the air vent valve or p lug in the pump casing and to
crack the isolating valve in the suction line. The suction line and pump should be filled slowly until a
steady stream of liquid is observed flowing from the air vent. After the pump is operating, it is
recomm ended that the air vent valve or plug be opened again to insure that all air has been expelled
from the pump casing.
Long radius elbows should be used in place of standard elbows wherever possible, becau se of their
superior flow characteristics. Elbows installed in any position a t the suction nozzle have a tendancy to
distribute the liquid unevenly in the impeller eye and may cause a reduction in capacity which creates
an undesirable thrust condition or creat noisy operat ion. Eccentric redu cers should be installed
directly at the suction nozzle, with the taper at the bottom to prevent air pockets from forming.
Straight taper reducers should never be used in a horizontal suction line because of the air pocket
that is formed at the leg of the reducer and the pipe.
The discharge piping diameter should be the same as, or larger than, the discharge nozzle diameter.
The size of the discharge pipe t o be used is dependent upon its application.
PROPER PIPING ALIGNMENT IS ESSENTIAL BEFORE CONNECTION IS MADE. PIPING
ALIGNMENT SHOULD NEVER BE ACHIEVED BY FORCE, THIS COULD PROCUCE STRA IN ON
THE PIPING AND TH E PUMP CASING. NOTE: Centrifugal pumps should never be started or run
dry. Operating a pump dry will cause scoring of the mechanical seals, resulting in pr emature
seal failure. To prevent the pump from being run dry, it should be primed before starting.
Thrush In-Line pumps con serve floor space, simplify piping and can be serviced without disconnecting piping. The proper installation of these pumps is to install them as a part of the piping. The
pumps must be free to travel with the expansion and contraction of the piping. In-line installation
eliminates the problems normally encountered in aligning piping to a base mounted unit.
SUPPORT OF THE HVGT SERIES PUM PS SHOULD ALWAYS BE CONNECTED TO TH E PIPING
RATHER TH AN TO THE PUMP CASING
. The line-mounted feature eliminates the need for installing
flexible pipe connectors at either the pump suction or discharge. Isolating valves should be installed
at both the pump suction and discharge to perm it servicing of the pump without draining the entire
system. Make certain the space aroun d the pump is sufficient to give clearance for rem oving the
pump assembly from the casing. Also the space around the pump should be large enough for
general accessibility and ventilation. The same criteria and formula for selecting piping supports are
used with the additional consideration that the weight of the pum p is concentrated at one point in the
piping.
The piping practices you follow will directly affe ct the efficiency and power consumption of your pump.
Pay particular attention to the seemingly insignificant details involved in piping for they make the
difference between a good and bad installation. BOTH THE SUCTION AND THE DISCHARGE
PIPING SHOULD BE INDEPENDENTL Y SUPPORTED NEAR THE PUMP. LIBERAL USE OF PIPE
HANGERS AND SUPPORT BLOCKS WI LL PREVENT EXCESSIVE STRAIN ON THE PUMP
CASING AND ON THE PIPE JOINTS. The suction diameter should be at least the same diameter as
the suction nozzle on the pump and preferably larger. All joints m ust be tight to maintain prime on the
pump.
Page 3

STARTING THE PUMP
LUBRICATION
The discharge isolating valve should be partially closed when the pump is started in order to avoid
possible water hammer and initial power draw. As soo n as the pump is up to operating speed, the
discharge isolating valve should be opened to the desired position. T he motor should turn clockwise
when viewed from the motor end and counter-clockwise when viewed from the casing end.
The bracket is permanently lubricated and will never need oil. The standard motors have
sleeve bearings and need to be oiled every 3 months with SAE#20 non-detergent oil. If the
option for a ball bearing motor was s elected, the motor is permanently lubricated.
MAINTENANCE AND SERVICE
SEAL REPLACEMENT
1. It is un necessary to disconnect piping or casing t o service GT Series or the MP pumps. All
service and maintenance can be performed by removing pump assem bly from casing.
2. Disconnect wiring to the mot or
3. Rem ove casing bolts conne cting casing (2) and bracket (5) and e ntire pump assembly can
be withdrawn from casing.
4. Rem ove impeller acorn nut by turning it counter-clockwise. Pull off the impeller by wedging
around its periphery and slip out the impeller key from its shaft groove.
5. Slide spring-loaded carbon rotating face off impeller shaft
6. Rem ove seal seat and O-ring from bracket. Clean sea l cavity if required.
7. Press new seal seat into seal seat cavity.
8. Install new rotating seal assembly.
9. Insert key into shaft keyway.
10. Install impeller on shaft and tighten acorn nut securely.
11. Rem ove old casing gasket and clean off any pieces that may have been broken off on the
casing. Put new ga sket on pump casing.
12. Lower pump assembly into casing. Use caution to properly align impeller into casing so that it will not be damaged. Tighten cap screws evenly.
13. Re-connect m otor wiring. Check motor rotation to insure p roper operation.
MOTOR REPLACEMENT
1. Disconnect wiring.
2. Loosen coupling (10 ) at impeller shaft
3. Loosen motor cradle and slide apart.
4. Remove coupling and place on new motor sha ft.
5. Tighten motor b olts.
6. Fit flexible sleeve into coupling flanges and tighten to shaft.
Page 4

CARTRIDGE REPLACEMENT
1. Shut off power to motor and disconnect wiring to motor.
2. Close shut off valves on suction and discharge of pump.
3. Loosen coupling on pump shaft.
4. Rem ove mo tor and cradle assembly from bracket. It is not necessary to remove motor f rom
cradle.
5. Rem ove eight screws ho lding bracket to body and remove bracket from pump body.
6. Rem ove impeller nut then remove impeller and key from shaft.
7. Rem ove seal assembly from shaft per seal replacement instruction.
8. Rem ove cartridge bolts that fasten bearing cartridge to bracket, remove cartridge, and
replace with new cartridge bearing assem bly.
9. Re-install seal per instructions, install impeller, key and tighten imp eller nut.
10. Replace gasket if necessary; bolt bracket to pump body, re-at tach motor and cradle to
bracket.
11. Align and tighten coupling.
 Loading...