

Page 1
GB
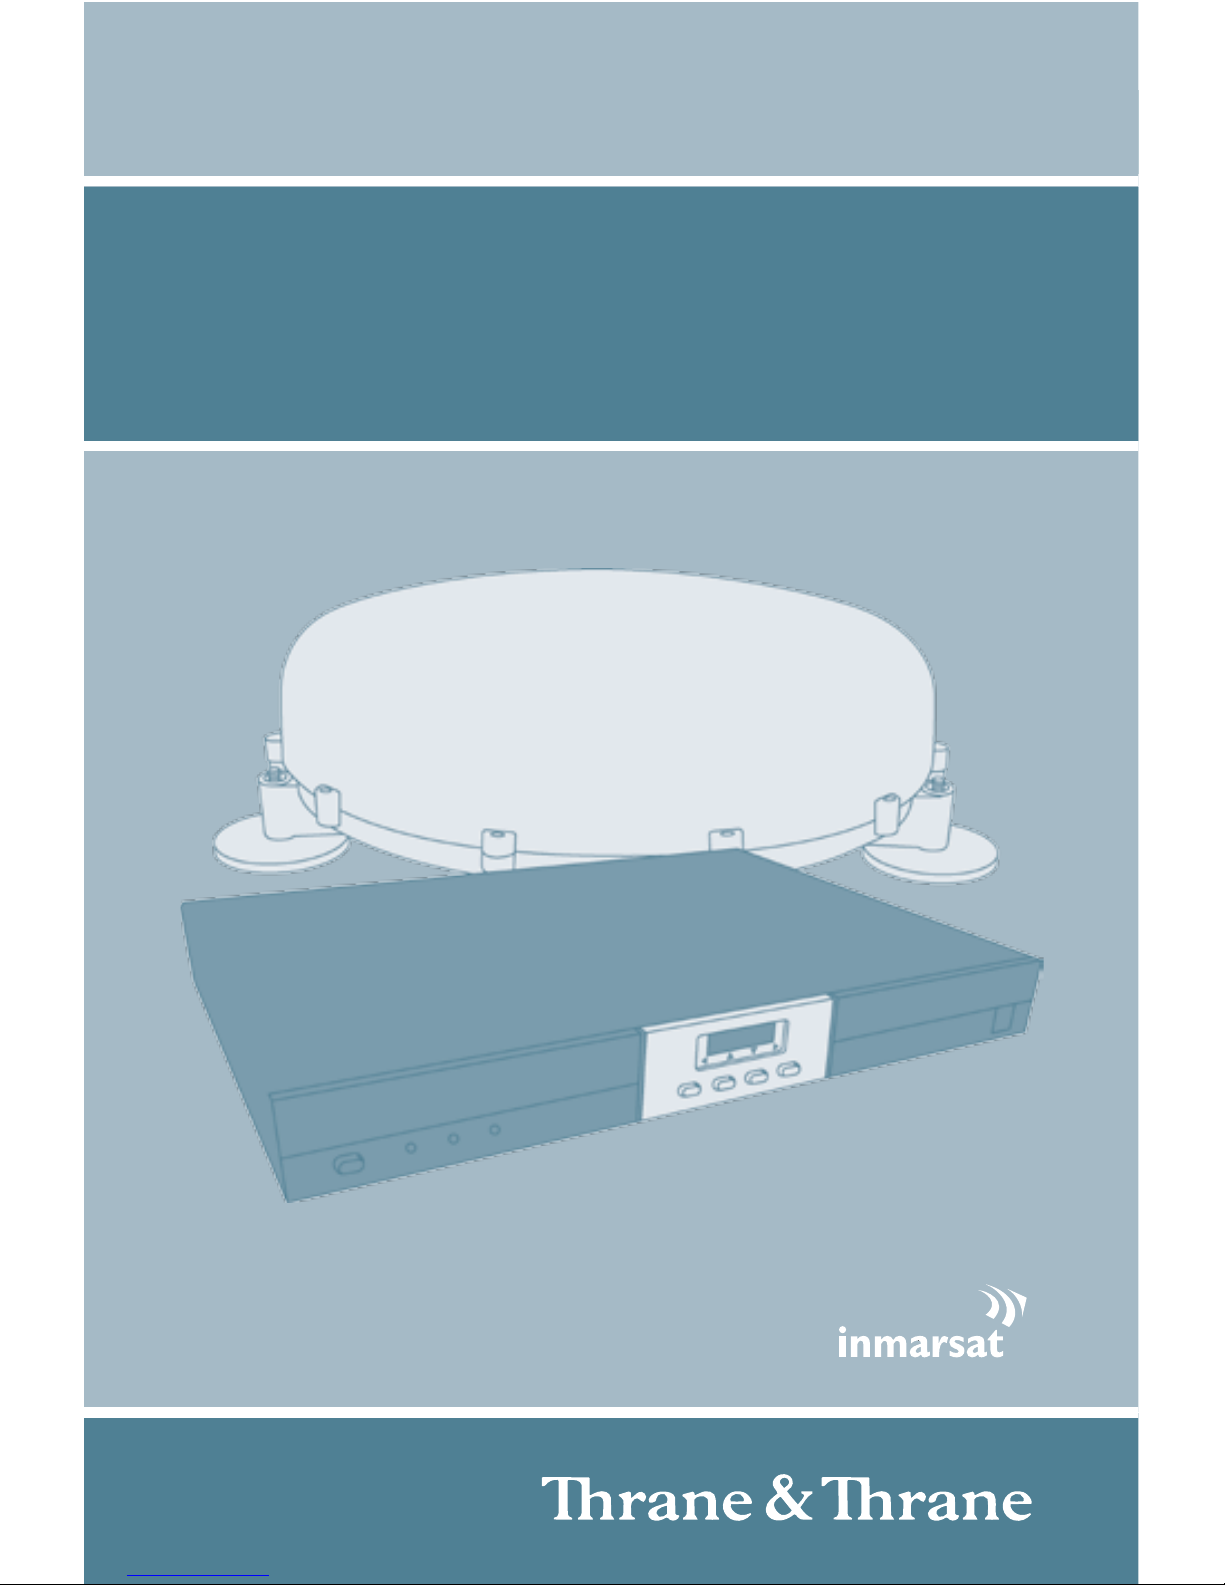
EXPLORER® 527
GETTING STARTED
Page 2

Page 3

GB
GETTING STARTED
Congratulations on the purchase of your EXPLORER 527 system.
The EXPLORER 527 system comprises two main parts: the TT-3734A transceiver with
accessories and the TT-5053A antenna.
Before you start, please check that the following items are present:
• EXPLORER 527 transceiver
• 4 mounting brackets
• 4 rubber pads
• Power cable
• USB cable
• Two antenna cables, 2.7 m and 5 m
• Getting Started kit including Quick Guide, electronic User Manual, etc.
• EXPLORER 527 Antenna (packed separately)
1
Mount the antenna
The antenna is designed to be mounted on the roof of a vehicle.
Before mounting the antenna, check that there is a clear line of site to the
satellite from where the antenna is to be mounted.
There are two methods for mounting the antenna.
Using magnetic mounts:
NOTE: Before using the magnetic mounts, first make sure the roof of the
vehicle is a metal roof!
Mount the magnetic mounts on the three “legs” of the antenna according to
the User Manual. Then place the antenna on the roof of your vehicle.
Using bolts:
The antenna can be mounted directly on the roof of a vehicle or on a
mounting pole, using three bolts. See the User Manual for details.
Page 4

2
Insert the SIM card (provided by your Airtime Provider)
a. Use a screwdriver to loosen the two screws
holding the cover for the SIM slot on the right
side of the EXPLORER 527 transceiver.
b. Remove the SIM cover.
c. Insert the SIM card into the SIM slot and press
gently until it clicks.
d. Slide the lock to secure the SIM card.
e. Reinsert the cover for the SIM slot and fasten
the two screws.
3
Mount the EXPLORER® 527 transceiver
The EXPLORER 527 transceiver fits in a 19” rack. Use the Mounting brackets
to mount the transceiver e.g. in your vehicle.
You can attach the Mounting brackets in two different positions on the
EXPLORER 527 transceiver, allowing the transceiver to be mounted on top of
a surface or in a rack.
For further information, see the User Manual for the EXPLORER 527.
4
Connect the cables
Connect the cables to the relevant connectors on the EXPLORER 527
transceiver.
The connector panel is located on the rear
side of the EXPLORER 527 transceiver.
One Phone/Fax connector is placed in the
front panel of the EXPLORER 527 transceiver.
USB Phone/Fax Ant. LAN Power
Page 5

GB
5
Switch on the EXPLORER® 527
Push the power button in the left side of the front panel to switch on the
EXPLORER 527.
The display and the green power indicator in the front panel light up when
the EXPLORER 527 is on.
6
Enter the PIN
a. When you are asked for a PIN, press OK.
b. Press
or a number of times until the
first digit is correct.
c. Press
OK to go to the next digit.
The previous digit is indicated by a *.
d. After pressing OK to enter the last digit, press OK again to apply the PIN.
7
Connect to the BGAN network
When you have connected the antenna to the transceiver and started up
the EXPLORER 527, the antenna starts searching for a BGAN satellite signal.
When the PIN is entered, the EXPLORER 527 attempts to register on the
BGAN network.
The Antenna indicator shows the status as follows:
•
Flashing green: The antenna is searching for the satellite signal.
•
Steady green: The antenna is registered on the BGAN network and is ready
for use.
•
Red: Antenna error.
The display shows the progress as follows:
•
SEARCHING: The EXPLORER 527 searches for the network operator.
Note that the search procedure can be very short, so you may not see
this text.
•
REGISTERING: When the network operator is found, the display shows
REGISTERING to show that the EXPLORER 527 is registering itself on the
network.
•
READY: The EXPLORER 527 is registered on the network.
Page 6

The display may show a different text, for example if an error has occurred.
For further information, refer to the User Manual.
By default, the EXPLORER 527 automatically searches for the satellite with
the best signal. However, you can select a specific satellite to use when
connecting to the BGAN network. Do as follows:
a. Enter the display menu system and select
SETTINGS > SATELLITE.
b. Select the satellite you want to use.
Note that if you select a specific satellite the EXPLORER 527 will only
search for the selected satellite. If you are outside coverage of that
satellite, the EXPLORER 527 will not be able to register on the BGAN
network.
When the EXPLORER 527 is registered on the BGAN network the Antenna
indicator on the front panel of the EXPLORER 527 transceiver shows steady
green light.
NOTE: When the display shows READY, the EXPLORER 527 automatically
activates the LAN interface if the cable is connected and the interface is
enabled. If you are not going to use the LAN connection, remove the cable
or disable the LAN interface to avoid being charged for any transmission
through this interface.
You are now ready to make phone or fax calls, browse the Internet or check
your e-mails, send files, run a video conference and much more.
MAKING A CALL FROM THE EXPLORER® 527
To make a call from a phone connected to the EXPLORER 527, dial
00 <country code> <phone number> #.
Example: To call Thrane & Thrane in Denmark: (+45 39558800), dial
00 45 39558800 #.
NOTE: There are two audio qualities: Standard voice and 3.1 kHz Audio.
To force the call to use Standard voice, dial 1* before the number.
To force the call to use 3.1 kHz Audio, dial 2* before the number.
Page 7

GB
MAKING A CALL TO THE EXPLORER® 527
To make a call to a phone connected to the EXPLORER 527, dial
+870 <mobile number>
+ is 00 for Europe and many other countries.
NOTE: There are two voice numbers, one for 3.1 kHz Audio and one for Standard
voice.
CHOOSING AN INTERFACE FOR DATA CONNECTION
The EXPLORER 527 has two types of interface for data connection: LAN interface
and USB interface. The following table shows the allowed cable length for each
interface.
Interface Range
LAN Up to 100 m of cable
USB Up to 5 m of cable
MAKING A LAN CONNECTION
To make a LAN connection, simply connect the LAN cable between your computer
and the LAN connector on the EXPLORER 527 transceiver, and start up the
EXPLORER 527 as described in the beginning of this document.
As soon as the display of the EXPLORER 527 transceiver shows READY, the
connection is established automatically.
You are now ready to browse the Internet, check e-mails, send files etc.
NOTE: For information on configuration, refer to the User Manual.
Page 8

Page 9

Thrane & Thrane A/S • info@thrane.com • www.thrane.com
TT-99-123788-B
 Loading...