

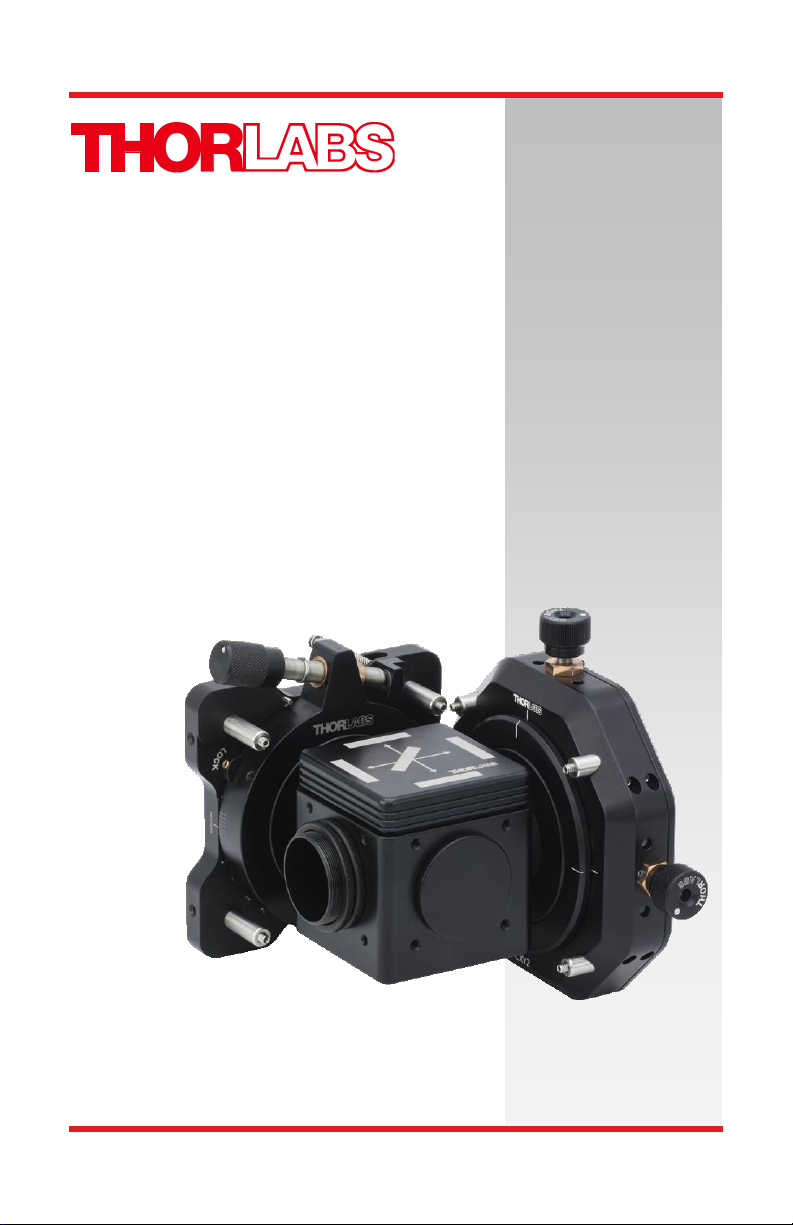
2SCM1-DC
Two Camera Mount
User Guide

Two Camera Mount
Table of Contents
Chapter 1 Description ........................................................................ 2
Chapter 2 Alignment and Adjustment.............................................. 4
2.1. Installation ................................................................... 4
2.2. Alignment ..................................................................... 5
Chapter 3 Running ThorCam Software with the Overlay Feature . 6
Chapter 4 Mechanical Drawing ......................................................... 7
Chapter 5 Regulatory ......................................................................... 8
Chapter 6 Thorlabs Worldwide Contacts......................................... 9
Rev. B, July 23, 2018 Page 1

Two Camera Mount Chapter 1: Description
Chapter 1 Description
The Thorlabs’ Scientific Imaging Two Camera Adapter, 2SCM1-DC, is a two-way
Camera Microscope Mount, which can be used in a variety of ways to
simultaneously image the output of a microscope split by a dichroic mirror to two
cameras.
Figure 1 Camera Mounting Ports of 2SCM1-DC
When used with selected filters, it allows users to configure solutions that are
specific to their application.
These two-way camera mounts, designed to be used with Thorlabs’ scientific
cameras, can attach two cameras to a standard microscope, allowing
simultaneous imaging of a single optical output.
Typical applications include multispectral imaging using a dichroic beamsplitter, as
shown in Figure 2. 1/4"-80 fine pitch adjustment screws allow for 360° of rotational
adjustment (8° fine adjustment) for the reflected camera and 4 mm XY adjustment
of the transmitted camera; both camera ports have up to 6 mm of course focus
adjustment, allowing for parfocalization of both images.
Microscope Adapter Allows Two Cameras to Image a Single Optical Input
Accepts 25mm x 36mm Dichroic Filters
Accepts Standard 25mm Diameter Filters on Input and Outputs
Fine Pitch Rotation and XY Adjustment for Image Registration
6 mm Coarse Focus Adjustment for Parfocalization
Adapts to Most Standard Microscopes Using Thorlabs’ Standard SM1
Interface
Microscope Camera Port Adapters Sold Separately
Ideal for Use with ThorCam Image Overlay Plug-in
Page 2 ITN000763

Two Camera Mount Chapter 1: Description
Figure 2 Diagram showing a sample configuration for using the 2SCM1-DC.
Rev. B, July 23, 2018 Page 3

Two Camera Mount Chapter 2: Alignment and Adjustment
Chapter 2 Alignment and Adjustment
2.1. Installation
Install the two camera adapter on your microscope using an appropriate camera
port adapter (sold separately). Loosen the screws securing the ER1 cage rods to
the CXY2 and LCP02R mounts using a 0.050" hex key. Remove each cage rod
and then screw each rod to one of the tapped holes on the front face of the
cameras. Then mount the cameras to the adapter by sliding the ER1 cage rods
back into the through holes on the mounts. Tighten the locking screws on each
cage rod. Find and focus the desired image using the eyepiece of the microscope.
The DFM dichroic filter cube has a removalbe insert that is designed to hold a 25
mm x 36 mm dichroic mirror and two Ø25 mm filters (excitation and emission). The
dichroic mirror is clamped in place using a design that provides uniform pressure
without causing deformation to the mirror, and is locked in place using a 3/32" hex
key. Only light force is required to mount the mirror; we recommend screwing in
both screws most of the way before final tightening. Excitation and emission filters
are held in the insert using the included SM1RR retaining rings, which can be
tightened with Thorlabs SPW606 or SPW602 Spanner Wrenches (available
separately). Thorlabs sells the removable insert separately if you have a need to
swap in different filter sets (item # DFMT1).
Alternately, Thorlabs offers plate beamsplitters in a 25 mm x 36 mm size, which
can be utilized in place of a dichroic filter.
Figure 3 Installing a filter set in the removable holder
Page 4 ITN000763

Two Camera Mount Chapter 2: Alignment and Adjustment
2.2. Alignment
Open the ThorCam Software. A small window will pop up telling you how many
cameras you have connected. It should register two available cameras; if they are
not both showing up, hit the refresh button. Make a note of the serial number
assigned to the two cameras so you can identify which is capturing the transmitted
image and which is capturing the reflected image. Click on each of the two
available cameras to open their image view windows. Hit the “Play” button in the
upper left corner of each window to start live image capture. Depending on the
light level used for excitation and the filter/mirror configuration used for your
application, the exposure time and contrast levels may need to be adjusted on
each camera to properly capture the desired image.
NOTE
Setting the exposure time too long will greatly decrease the frame rate capture
of the camera and make the output image choppy in real-time during alignment
Now you will adjust each camera individually to properly focus the image onto the
image sensor. This is accomplished by making slight adjustments to the depth
that the ER1 cage rods are inserted into the CXY2 and the LCP02R. Start with the
cameras flush against their respective mounts (e.g. with the ER1 cage rods fully
inserted). Apply a light amount of pressure to the cage rods with the set screws,
just enough that there is a slight resistance to changing the inserted rod depth. By
using the embedded line profile tool in the toolbar of the ThorCam Software in
conjunction with visual inspection of the output image on the screen you can fine
tune the focus of each camera’s output image. Bring the image into focus by
incrementally sliding the camera away from its mount. When the image is in focus,
the peaks of the line profile histogram will be at their tallest and narrowest readings,
meaning the greatest amplitude and smallest variance. At this point the output
image should appear in its crispest form on the screen. Once this is done for both
cameras, tighten the cage rods; you are now ready to align the transmitted and
reflected images in overlay.
To overlay the images, click on the “Plug-In” button on the toolbar of the transmitted
image window and click on “Two Camera Overlay.” When this is done a “TSI
Overlay Plug-In” window will pop up. Choose the second camera from the drop-
down list and click on “Start.” Depending on how the reflected image is flipped,
you will need to click on either the “Flip Horizontal” or “Flip Vertical” box to orient
the two images in the same manner. Now, using the X & Y plane adjustment knobs
on the CXY2 and the rotation adjustment knob on the LCP02R, you can position
the two images so that they are perfectly overlayed.
and adjustment.
Rev. B, July 23, 2018 Page 5

Two Camera Mount Chapter 3: Running ThorCam Software with the Overlay Feature
Chapter 3 Running ThorCam Software with
the Overlay Feature
You should see “2 cameras” in the
1st ThorCam screen. If you don’t see
them, keep hitting the “refresh”
button, until they both show up.
Open one camera, then the other; in
the two windows that you see, make
sure that both cameras are live
(press the “play” button in both
windows). Pick one of the cameras to
be the primary, either one will work.
The primary camera will appear as
monochrome, while the secondary
camera can be set to a false-color to
match its wavelength.
From the ThorCam window of the
primary camera image, click on the
“plug-in” icon, and select “2 camera
overlay”. Next, pick the secondary
camera by serial number from the drop-down menu, and set its false color to
desired color. The two settings, Alpha and Threshold, can be adjusted to change
the properties of the overlaid image. The alpha setting adjusts the opacity of the
overlayed image, while the threshold setting adjusts the contrast of the image.
These numbers can be set to generate the user’s desired image overlay and will
be dependent on the sample being imaged, the filters being used, and the light
excitation level.
Page 6 ITN000763

Two Camera Mount Chapter 4: Mechanical Drawing
Chapter 4 Mechanical Drawing
Rev. B, July 23, 2018 Page 7

Two Camera Mount Chapter 5: Regulatory
Wheelie Bin Logo
Chapter 5 Regulatory
As required by the WEEE (Waste Electrical and Electronic Equipment Directive)
of the European Community and the corresponding national laws, Thorlabs offers
all end users in the EC the possibility to return “end of life” units without incurring
disposal charges.
This offer is valid for Thorlabs electrical and electronic equipment:
Sold after August 13, 2005
Marked correspondingly with the crossed out
“wheelie bin” logo (see right)
Sold to a company or institute within the EC
Currently owned by a company or institute
within the EC
Still complete, not disassembled and not
contaminated
As the WEEE directive applies to self contained
operational electrical and electronic products, this end of
life take back service does not refer to other Thorlabs products, such as:
Pure OEM products, that means assemblies to be built into a unit by the
user (e.g. OEM laser driver cards)
Components
Mechanics and optics
Left over parts of units disassembled by the user (PCB’s, housings etc.).
If you wish to return a Thorlabs unit for waste recovery, please contact Thorlabs or
your nearest dealer for further information.
Waste Treatment is Your Own Responsibility
If you do not return an “end of life” unit to Thorlabs, you must hand it to a company
specialized in waste recovery. Do not dispose of the unit in a litter bin or at a public
waste disposal site.
Ecological Background
It is well known that WEEE pollutes the environment by releasing toxic products
during decomposition. The aim of the European RoHS directive is to reduce the
content of toxic substances in electronic products in the future.
The intent of the WEEE directive is to enforce the recycling of WEEE. A controlled
recycling of end of life products will thereby avoid negative impacts on the
environment.
Page 8 ITN000763

Two Camera Mount Chapter 6: Thorlabs Worldwide Contacts
Chapter 6 Thorlabs Worldwide Contacts
For technical support or sales inquiries, please visit us at
www.thorlabs.com/contact for our most up-to-date contact information.
Rev. B, July 23, 2018 Page 9


www.thorlabs.com
 Loading...