

Page 1
Main Connections (For UK only)
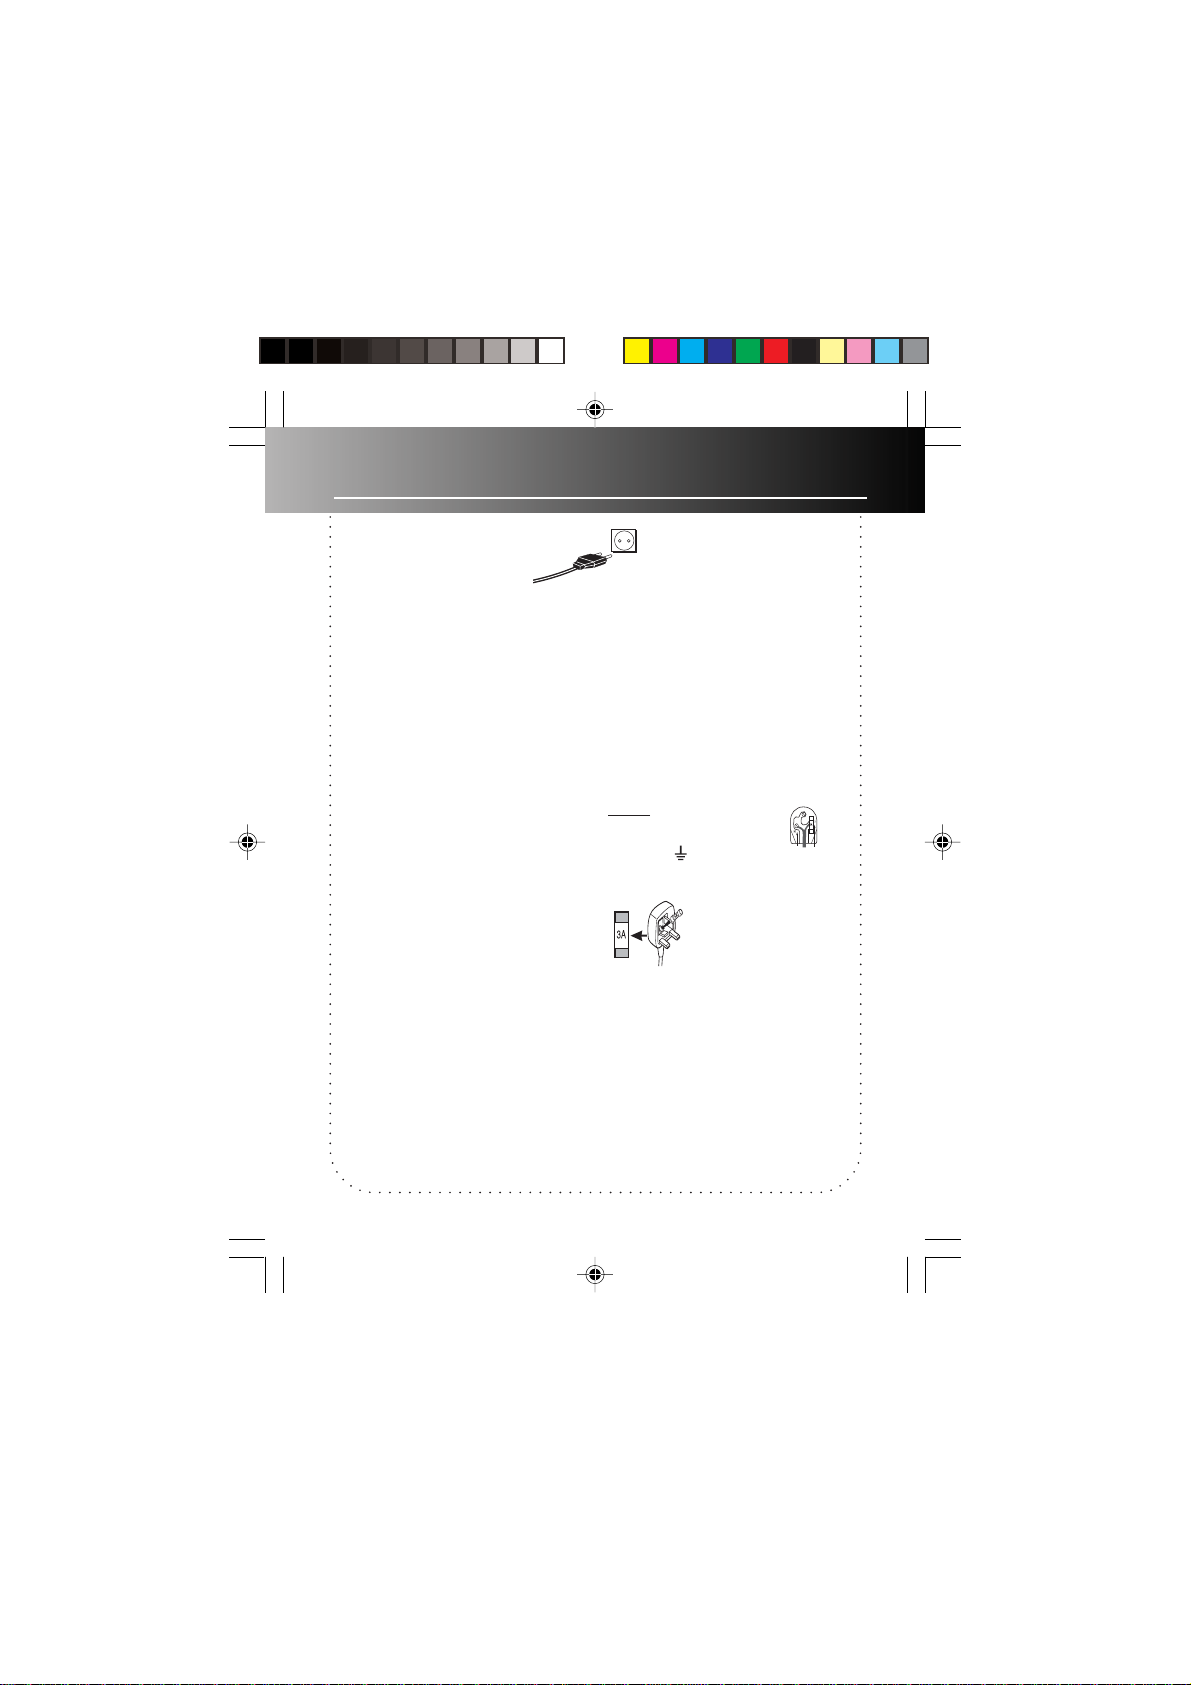
MAINS CONNECTIONS:
(For UK, see inside front cover)
MAINS OUTLET POWER SUPPLY: 230V ~50Hz
Note:
Power is fed to the unit even when it is not functioning. To cut the
power supply off, the power cable must be unplugged.
CAUTION:
For UK Only
CONNECT THE MAIN LEAD INTO AC MAINS
POWER SOCKET
POWER SUPPLY 230V.
Note: The mains lead of the set is fitted with a
moulded plug. If the mains socket are not
compatible or if for any reason the plug is
removed please follow the directions below. The
moulded plug cannot be rewired and if removed
must be disposed of safely.
DO NOT under any circumstances plug the severed
plug into any mains socket as this could result in
electric shock.
Important: If the plug is removed, rewire the
new plug as follow:
The wires in the mains plug are coloured in
accordance to the following code:
BLUE = NEUTRAL & BROWN = LIVE
If the colours of the wires in the mains lead of
this apparatus may not correspond with the
coloured markings identifying the terminals in
your plug, proceed as follows:
BLUE wire to the terminal coded N (Neutral) or
coloured black.
BROWN wire to the terminal coded L (Live) or
coloured red.
DO NOT make any connection to
the terminal in the plug which is
marked by the letter E or by the
earth symbol or coloured green
or green and yellow.
A fused plug must be fitted
with a 3A fuse approved by
ASTA or BS1362 and fuse
covers must be always be
securely replaced. If your set
does not work, the fuse may
be blown.
BLUE
BROWN
RT304/464 EN 2/11/03, 3:51 PM1
Page 2
Safety Information
TECHNICAL SPECIFICATIONS:
Power supply
AC 230V ~50Hz
6V 4 X LR14 / R14 / “C” size
Power consumption: 7W
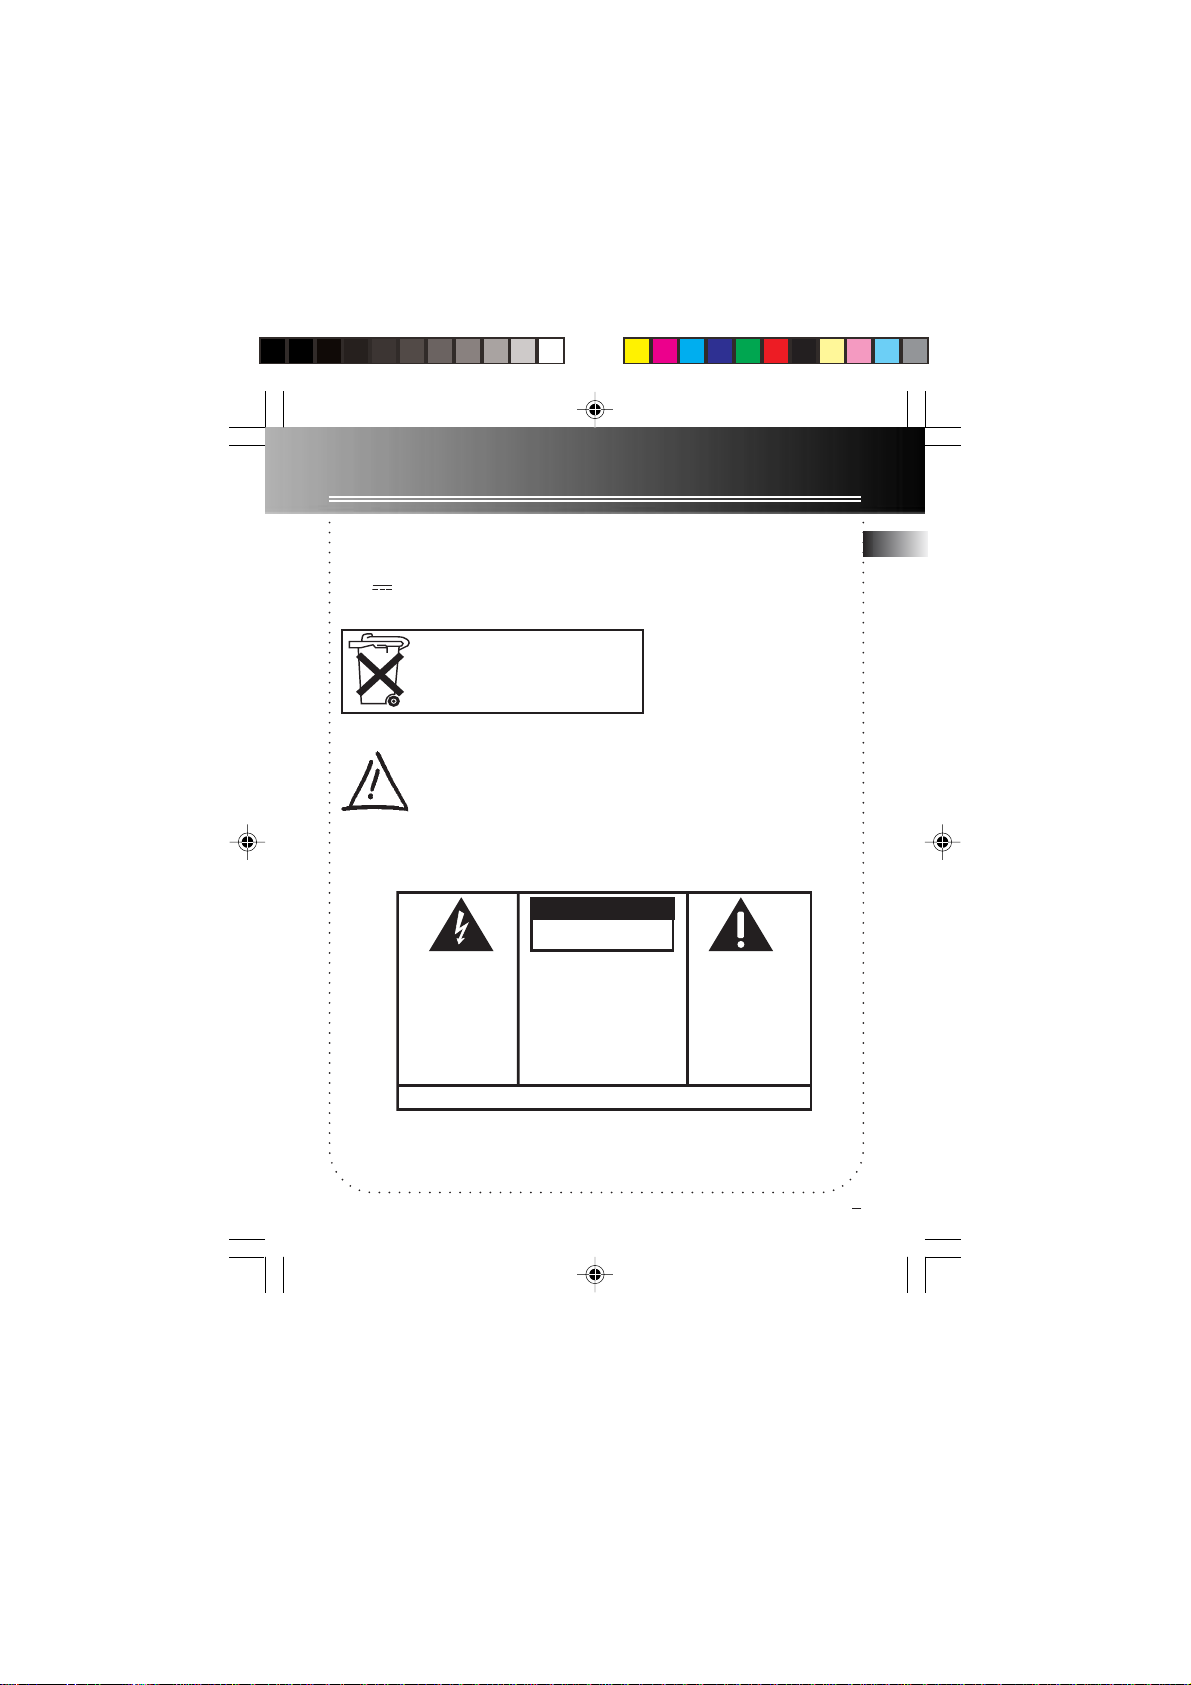
Please respect the environment. Before
throwing any batteries away, consult your
distributor who may be able to take them
back for specific recycling.
Do not place the system near wet areas such as
bathrooms and pool side.
Do not expose this appliance to rain or moisture
Avoid storing the system at humid places or near
abnormally heated areas.
Power is continuously supplied to the system. To
disconnect power completely, unplug the power
cord from the power outlet.
Do not expose this appliance to dripping and
splashing.
CAUTION
RISK OF ELECTRIC SHOCK
DO NOT OPEN
THE LIGHTNING
FLASH AND ARROWHEAD WITHIN THE
TRIANGLE IS A
WARNING SIGN
ALERTING YOU OF
"DANGEROUS
VOLTAGE" INSIDE
THE PRODUCT.
CAUTION: TO REDUCE THE
RISK OF ELECTRIC SHOCK,
DO NOT REMOVE COVER
(OR BACK). NO USERSERVICEABLE PARTS INSIDE. REFER SERVICING
TO QUALIFIED SERVICE
PERSONNEL.
SEE MARKING ON BOTTOM / BACK OF PRODUCT
THE EXCLAMATION
POINT WITHIN THE
TRIANGLE IS A
WARNING SIGN
ALERTING YOU OF
IMPORTANT
INSTRUCTIONS
ACCOMPANYING
THE PRODUCT.
EN
WARNING:
SHOCK HAZARD,
TO PREVENT FIRE
DO NOT EXPOSE THIS PRODUCT
OR ELECTRICAL
TO RAIN OR MOISTURE.
1
RT304/464 EN 2/11/03, 3:51 PM2
Page 3

Operating the Radio
EN
LW
MW
RADIO
3 BAND PORTABLE RADIO
RT304
Tuning the Stations
1. Slide RADIO button (located on the top
of the radio) to ON position to turn on
the radio.
2. Slide the RADIO BAND button to
switch to the desired broadcast band.
(FM/MW/LW for RT304, FM/SW/MW/LW
for RT464.)
3. Turn TUNING knob to select a station.
4. Adjust the volume level by the VOL-
UME knob.
5. You may lengthen the antenna located
at the top of the unit for better reception of FM/SW stations; for MW/LW stations, you may try rotating the antenna
to get better reception.
6. Slide RADIO button to OFF position to
turn off the radio.
LW
SW
MW
RADIO
4 BAND PORTABLE RADIO
RT464
Adjusting the tone level
1. Slide TONE CONTROL (located on the
top of the radio) to turn on / off the
tone.
Connecting the phones
You can use headphones to listen to radio
by inserting the headphone into the
PHONES plug located at the back of the
unit.
2
RT304/464 EN 2/11/03, 3:51 PM3
Page 4

Power Supply
Installing batteries
1. Remove battery compartment door
by applying thumb pressure to area
indicated on battery door and then
lift the door out and off the cabinet.
2. Before inserting the batteries,
observe the polarities (That is, + and
-) of the battery, then relate the
polarities to the engraved diagram
inside the battery compartment.
Connect 4 LR14 / R14 / “C” size
battery to the connector plug.
3. Replace the compartment door.
RT304/464 EN 2/11/03, 3:51 PM4
Connecting power cord
1. Remove battery compartment door.
2. Plug the power cord into 230V-50Hz AC
outlet.
3. Replace the compartment door.
3
 Loading...