

Page 1
Main Connections (For UK only)
CAUTION:
For UK Only
CONNECT THE MAIN LEAD INTO A MAINS
POWER SOCKET
POWER SUPPLY 230V. It must not be connected
to D.C. mains.
Note: The mains lead of the set is fitted with a
moulded plug. If the mains socket are not
compatible or if for any reason the plug is
removed please follow the directions below. The
moulded plug cannot be rewired and if removed
must be disposed of safely.
DO NOT under any circumstances plug the severed
plug into any mains socket as this could result in
electric shock.
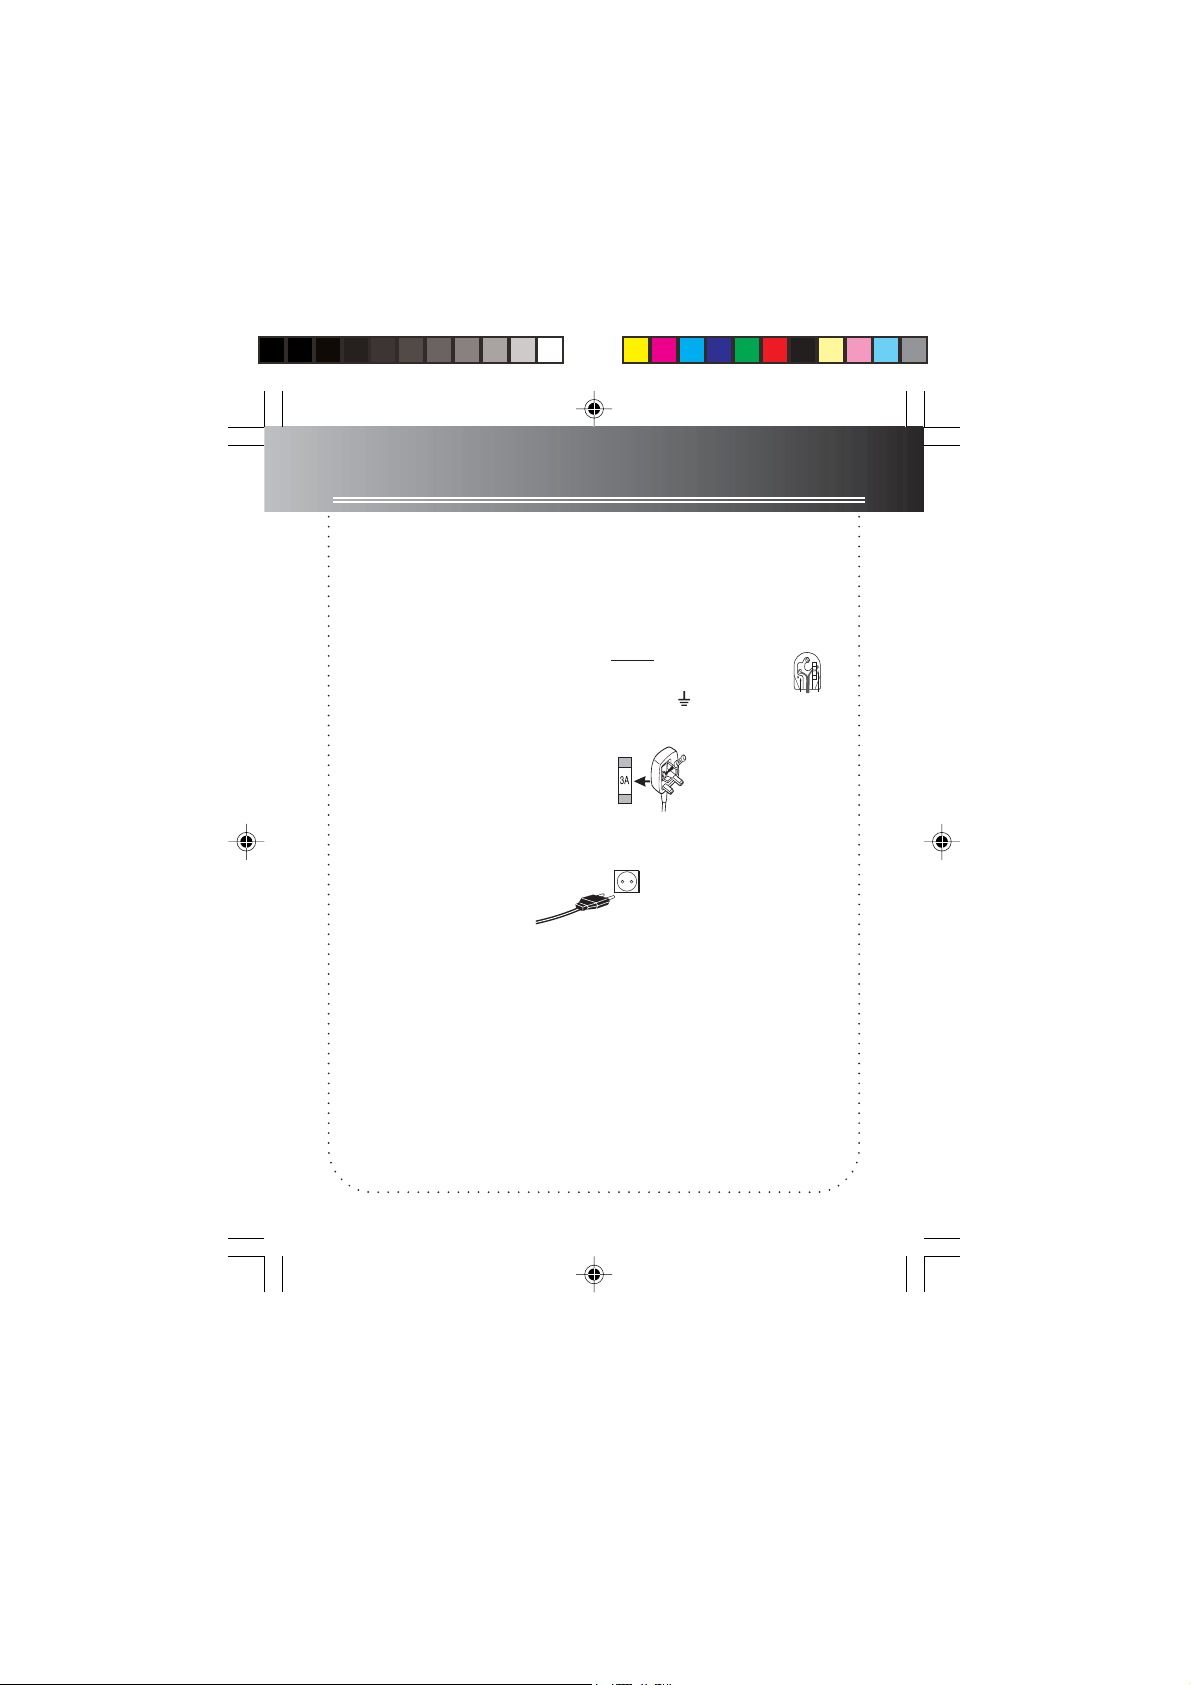
Important: If the plug is removed, rewire the
new plug as follow:
The wires in the mains plug are coloured in
accordance to the following code:
BLUE = NEUTRAL & BROWN = LIVE
If the colours of the wires in the mains lead of
this apparatus may not correspond with the
coloured markings identifying the terminals in
your plug, proceed as follows:
BLUE wire to the terminal coded N (Neutral) or
coloured black.
BROWN wire to the terminal coded L (Live) or
coloured red.
DO NOT make any connection to
the terminal in the plug which is
marked by the letter E or by the
earth symbol or coloured green
or green and yellow.
MAINS CONNECTIONS:
(For UK, see inside front cover)
MAINS OUTLET POWER SUPPLY: 230V ~50Hz
Note:
Power is fed to the unit even when it is not functioning. To cut the
power supply off, the power cable must be unplugged.
BLUE
BROWN
A fused plug must be fitted
with a 3A fuse approved by
ASTA or BS1362 and fuse
covers must be always be
securely replaced. If your set
does not work, the fuse may
be blown.
RR60 EN 9/10/02, 5:28 PM1
Page 2
Safety Information
TECHNICAL SPECIFICATIONS:
Power supply
AC 230V ~50Hz
Clock:9V 6F22
Power consumption: 4W
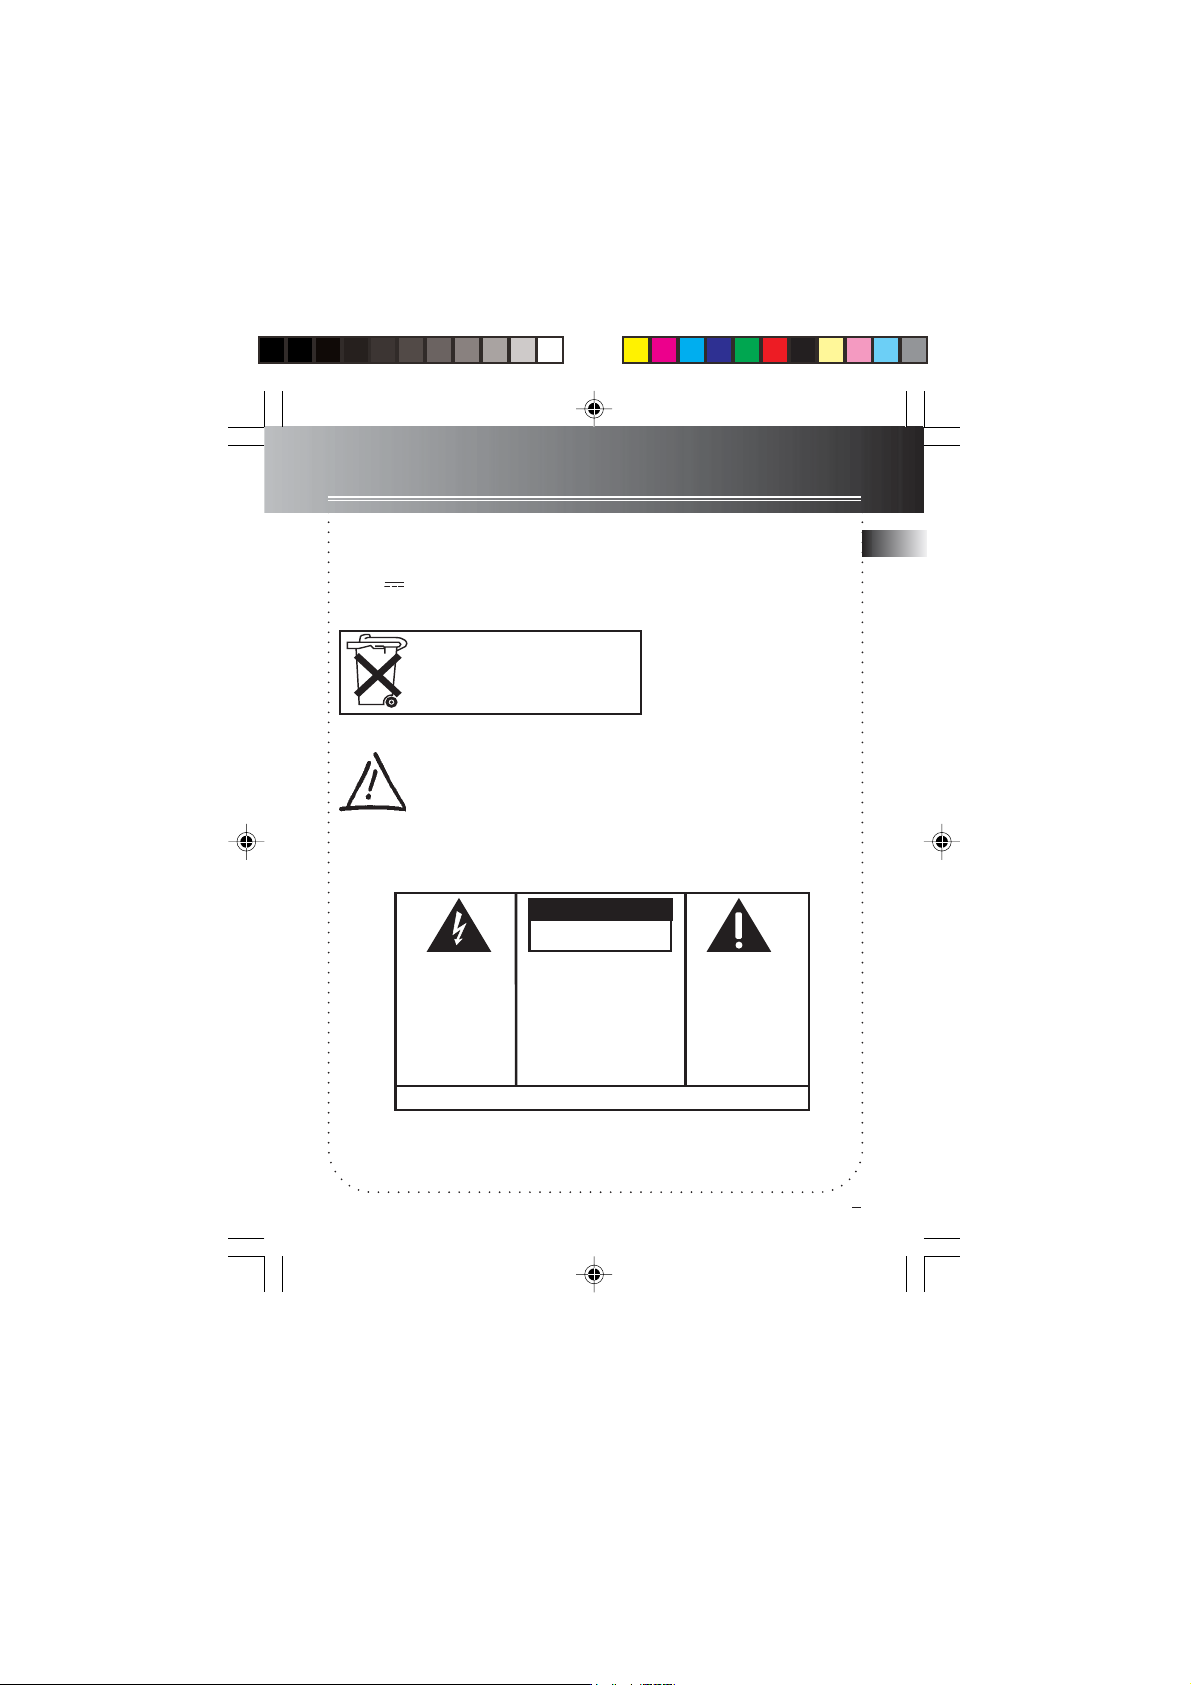
Please respect the environment. Before
throwing any batteries away, consult your
distributor who may be able to take them
back for specific recycling.
Do not place the system near wet areas such as
bathrooms and pool side.
Do not expose this appliance to rain or moisture
Avoid storing the system at humid places or near
abnormally heated areas.
Power is continuously supplied to the system. To
disconnect power completely, unplug the power
cord from the power outlet.
Do not expose this appliance to dripping and
splashing.
RISK OF ELECTRIC SHOCK
DO NOT OPEN
THE LIGHTNING
FLASH AND ARROWHEAD WITHIN THE
TRIANGLE IS A
WARNING SIGN
ALERTING YOU OF
"DANGEROUS
VOLTAGE" INSIDE
THE PRODUCT.
CAUTION: TO REDUCE THE
RISK OF ELECTRIC SHOCK,
DO NOT REMOVE COVER
(OR BACK). NO USERSERVICEABLE PARTS INSIDE. REFER SERVICING
TO QUALIFIED SERVICE
PERSONNEL.
SEE MARKING ON BOTTOM / BACK OF PRODUCT
CAUTION
THE EXCLAMATION
POINT WITHIN THE
TRIANGLE IS A
WARNING SIGN
ALERTING YOU OF
IMPORTANT
INSTRUCTIONS
ACCOMPANYING
THE PRODUCT.
EN
WARNING:
TO PREVENT FIRE
SHOCK HAZARD,
DO NOT EXPOSE THIS PRODUCT
OR ELECTRICAL
TO RAIN OR MOISTURE.
1
RR60 EN 9/10/02, 5:28 PM2
Page 3
Battery Back-Up Operation
This clock radio is equipped with a memory
EN
holding system that is powered with a 9volt battery (not included). The power
failure protection circuit will not operate
unless battery is installed.
When normal household power is interrupted, or AC line cord is unplugged, the
battery will power the clock radio to keep
track of time and alarm settings programmed into memory. When the battery
backup functions, the digital display will
not light, however, the function of alarm
still occurs during the power interruption.
Normal operation will resume after AC
power is restored so you will not have to
reset the time or the alarm.
Note: Alkaline (NEDA 1604A / IEC 6LR61) battery is
recommended. Carbon Zinc (NEDA 1604 / IEC 6F22) bat-
tery may be used but memory holding time will be substan-
tially reduced. Memory holding time for a fresh alkaline battery is
approximately 8 hours (if radio or alarm is not operated), which should
take care of short, nuisance-type AC power failures. To preserve
battery life, the radio should remain plugged into an AC outlet. As
batteries get older, their voltage drops and memory may be lost. Be
sure to replace the battery periodically. Battery should be removed
if the radio will be stored for more than one month. Leaky batteries
may badly damage the clock radio.
Install battery as follows:
1. Remove battery compartment door (located at the bottom of the radio) by applying thumb pressure to area indicated
on battery door and then lift the door
out and off the cabinet.
2. Connect a 9-volt battery to the
connector plug.
3. Insert battery in the compartment and
replace the compartment door.
Power Failure Indicator
When AC power is interrupted (disconnected) for a short period of time, both
time and alarm settings will change (unless optional battery is installed). After AC
power is restored (reconnected), the Digital Display will blink to indicate that power
was interrupted and you should readjust
the time and alarm settings.
2
RR60 EN 9/10/02, 5:28 PM3
Page 4

Operating the Radio
EN
Tuning the Stations
1. Plug the power cord into any 230V AC
household outlet.
2. Press ON/OFF (located on the top of the
radio) to turn on the radio.
3. Slide the FM/MW(RR60M/Q only, FM/
LW for RR60L) switch to the desired
broadcast band.
4. Turn TUNING to select a station.
5. Press ON/OFF to turn off the radio
Built-In AFC
The Built In Automatic Frequency Control
(AFC) works only on FM. It helps reducing
drift on FM reception and keeping the
RR60 EN 9/10/02, 5:28 PM4
radio locked in on the FM station to which
it is tuned.
When tuning FM stations, you may notice
that the station you are tuning can be
well-tuned on two or three nearby points
on the dial. Always tune carefully at the
loudest and clearest point.
Notes: RR60Q is a built-in Quartz
version, recommended to use in
eastern European countries.
3
Page 5

Operating the Clock
EN
Rev
Setting Clock Time
Your digital clock operates on a 24-hour
standard mechanism.
1. Slide the set switch to TIME.
2. Press REV or FWD to set the clock time.
When you press and hold REV or FWD,
the time decrements or increments will
follow by a fast rate. No adjustment
can be made when LOCK mode is selected.
Setting the ALARM Time
This clock radio has one alarm, the setting
procedures are as follow:
1. Slide the set switch to ALARM.
2. Press REV or FWD to set the alarm time.
4
RR60 EN 9/10/02, 5:28 PM5
The time decrements or increments will
follow by a faster rate when you press
and hold either REV or FWD.
3. Alarm time is set. A blinking red indicator is activated.
Note: The unit equips with GRAD-UWAKE feature, the alarm tone vol-
ume will increase gradually to its
maximum in about 30 to 45
seconds.(Volume level cannot be
adjusted in GRAD-U-WAKE mode)
Tips: If you set SLEEP function with
low volume level before going to bed,
we advise using BUZZER mode to
wake you up since its volume will
automatically increase.
Page 6

Operating the Clock
Waking by Selected Source
Programme
You may be woken up by radio
or buzzer .
1. Select a radio station. (refer to “Tuning
the Stations”)
2. Set wake time (see above direction).
3. Press the ALARM MODE button to select either waking up by radio or
buzzer. A red indicator is up next to
the selected setting.
4. Adjust the volume level by turning VOL-
UME.
Note: When you turn off the buzzer
or the radio by pressing ON/
OFF, the buzzer or the radio will
turn on at the same time tomorrow.
Sleep Mode
In sleep mode, the radio will turn off automatically. Simply:
1. Press SLEEP then the time display will
exhibit 0:59 and the radio will turn on.
2. While holding SLEEP, press REV or FWD
to set the sleep time. The time range is
from 1 minute to 2 hours.
3. Release SLEEP and the current time will
be shown again. The radio is turned
on and you may select the station as
usual. The radio will turn off when the
preset time elapses. If you decide to
turn off the radio sooner, press SNOOZE
or ON/OFF.
4. When SLEEP is activated again, the
sleep time will be the same as the one
you have set before.
5. Press SLEEP to read the remaining sleep
time.
Nap Mode
This function wakes you up after a short
period of time. Simply:
1. Press NAP and release. The NAP indi-
cator will flash. During this time period, adjust NAP time by pressing REV
or FWD. The range is from 10 minutes
to 2 hours.
2. The clock will be shown after 5 seconds
if no buttons are pressed. The NAP
indicator will lit up.
3. Press NAP once to show time left.
EN
RR60 EN 9/10/02, 5:28 PM6
5
Page 7
Operating the Clock
Stop the Nap alarm
EN
Press NAP or follow “Turning off Alarm”.
Notes:
1. Press and hold NAP to cancel the
nap setting.
2. Only buzzer sound can be selected.
3. Nap alarm is equipped with
GRAD-U-WAKE feature.
4. If the radio is currently on(by pressing the ON/OFF button), then the
radio will be on after NAP is
pressed.
Turning off Alarm
Silence the alarm momentarily
Press SNOOZE. The alarm will sound again
when the snooze period is over.
Stop the alarm
Press ON/OFF. Then, the alarm will be on
the following day at the same time.
Disable the alarm permanently
1. Press CANCEL button.
2. The ALARM indicator will be flashing.
3. Press ALARM MODE button within 3
seconds to deactivate the alarm function
permanently.
Snooze Alarm Operation
This operation allows extra sleep time after the alarm is on. The alarm will be off
by pressing SNOOZE until the snooze period is over. Snooze function can be used
repeatedly up to 2 hours. After this, the
alarm will turn off until the next alarm
conditions are met. Set the “quiet time”
as follow:
1. Press and hold SNOOZE.
2. Press REV or FWD to set the “quiet”
period (the default time is 9 minutes)
from 1 minute to 30 minutes. Release
button, then, the “quiet” period is set.
Seconds Time Display
The unit may display in seconds.
1. Select LOCK in the SET switch.
2. Press REV or FWD to show seconds dis-
play.
3. Release REV or FWD to return to the
hour and minute display.
Tip: You can activate the previously
set alarm time by pressing ALARM
MODE
button.
6
RR60 EN 9/10/02, 5:28 PM7
 Loading...