

Page 1
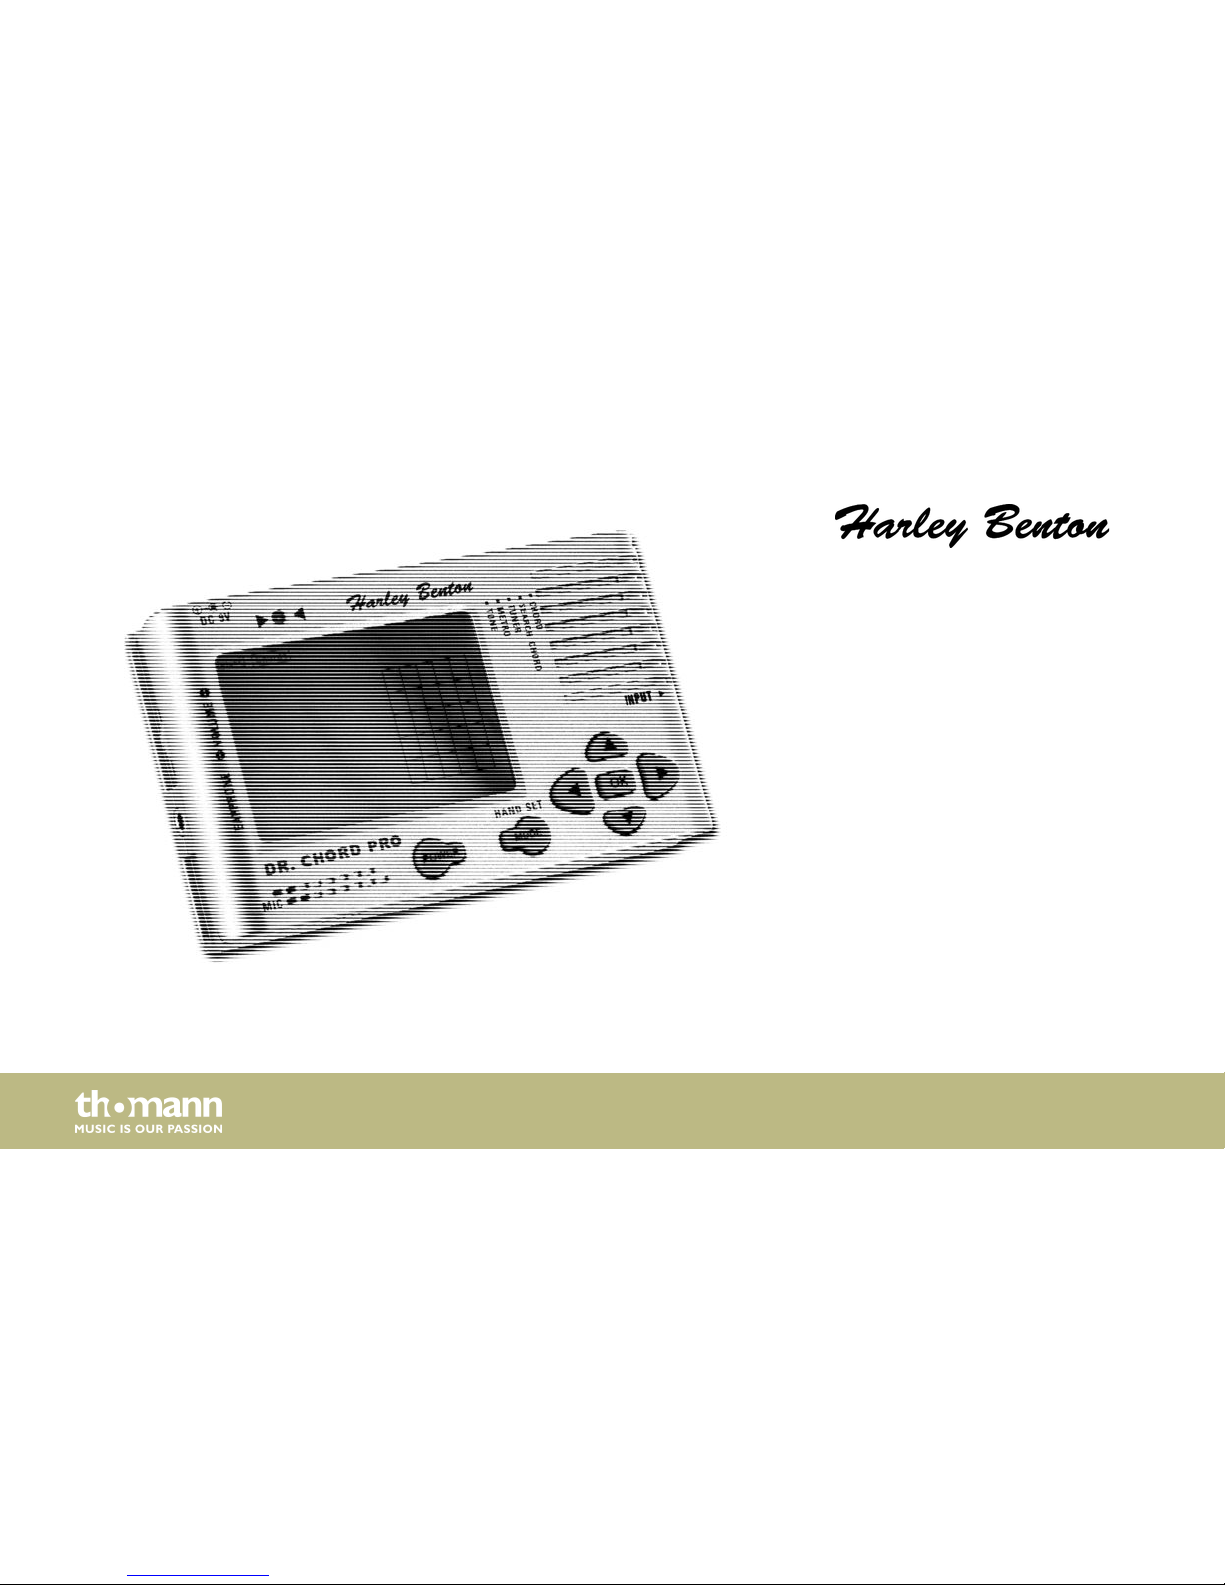
Dr. Chord Pro
chord finder
user manual
Page 2

Musikhaus Thomann
Thomann GmbH
Hans-Thomann-Straße 1
96138 Burgebrach
Germany
Telephone: +49 (0) 9546 9223-0
E-mail: [email protected]
Internet: www.thomann.de
02.02.2017, ID: 238048
Page 3

Table of contents
1 General information................................................................................................................................. 4
1.1 Further information........................................................................................................................... 5
1.2 Notational conventions.................................................................................................................... 6
1.3 Symbols and signal words............................................................................................................... 6
2 Safety instructions..................................................................................................................................... 8
3 Instructions for use................................................................................................................................. 10
4 Features....................................................................................................................................................... 11
5 Connections and operating elements........................................................................................... 12
6 Operating.................................................................................................................................................... 18
6.1 Starting the device........................................................................................................................... 18
7 Technical specifications....................................................................................................................... 33
8 Protecting the environment.............................................................................................................. 34
Table of contents
Dr. Chord Pro
3
Page 4

1 General information
This manual contains important instructions for the safe operation of the unit. Read and follow
the safety instructions and all other instructions. Keep the manual for future reference. Make
sure that it is available to all those using the device. If you sell the unit please make sure that
the buyer also receives this manual.
Our products are subject to a process of continuous development. Thus, they are subject to
change.
General information
chord finder
4
Page 5
1.1 Further information
On our website (www.thomann.de) you will find lots of further information and details on the
following points:
Download This manual is also available as PDF file for you to download.
Keyword search
Use the search function in the electronic version to find the topics of
interest for you quickly.
Online guides
Our online guides provide detailed information on technical basics
and terms.
Personal consultation For personal consultation please contact our technical hotline.
Service
If you have any problems with the device the customer service will
gladly assist you.
General information
Dr. Chord Pro
5
Page 6

1.2 Notational conventions
This manual uses the following notational conventions:
The letterings for connectors and controls are marked by square brackets and italics.
Examples: [VOLUME] control, [Mono] button.
1.3 Symbols and signal words
In this section you will find an overview of the meaning of symbols and signal words that are
used in this manual.
Letterings
General information
chord finder
6
Page 7
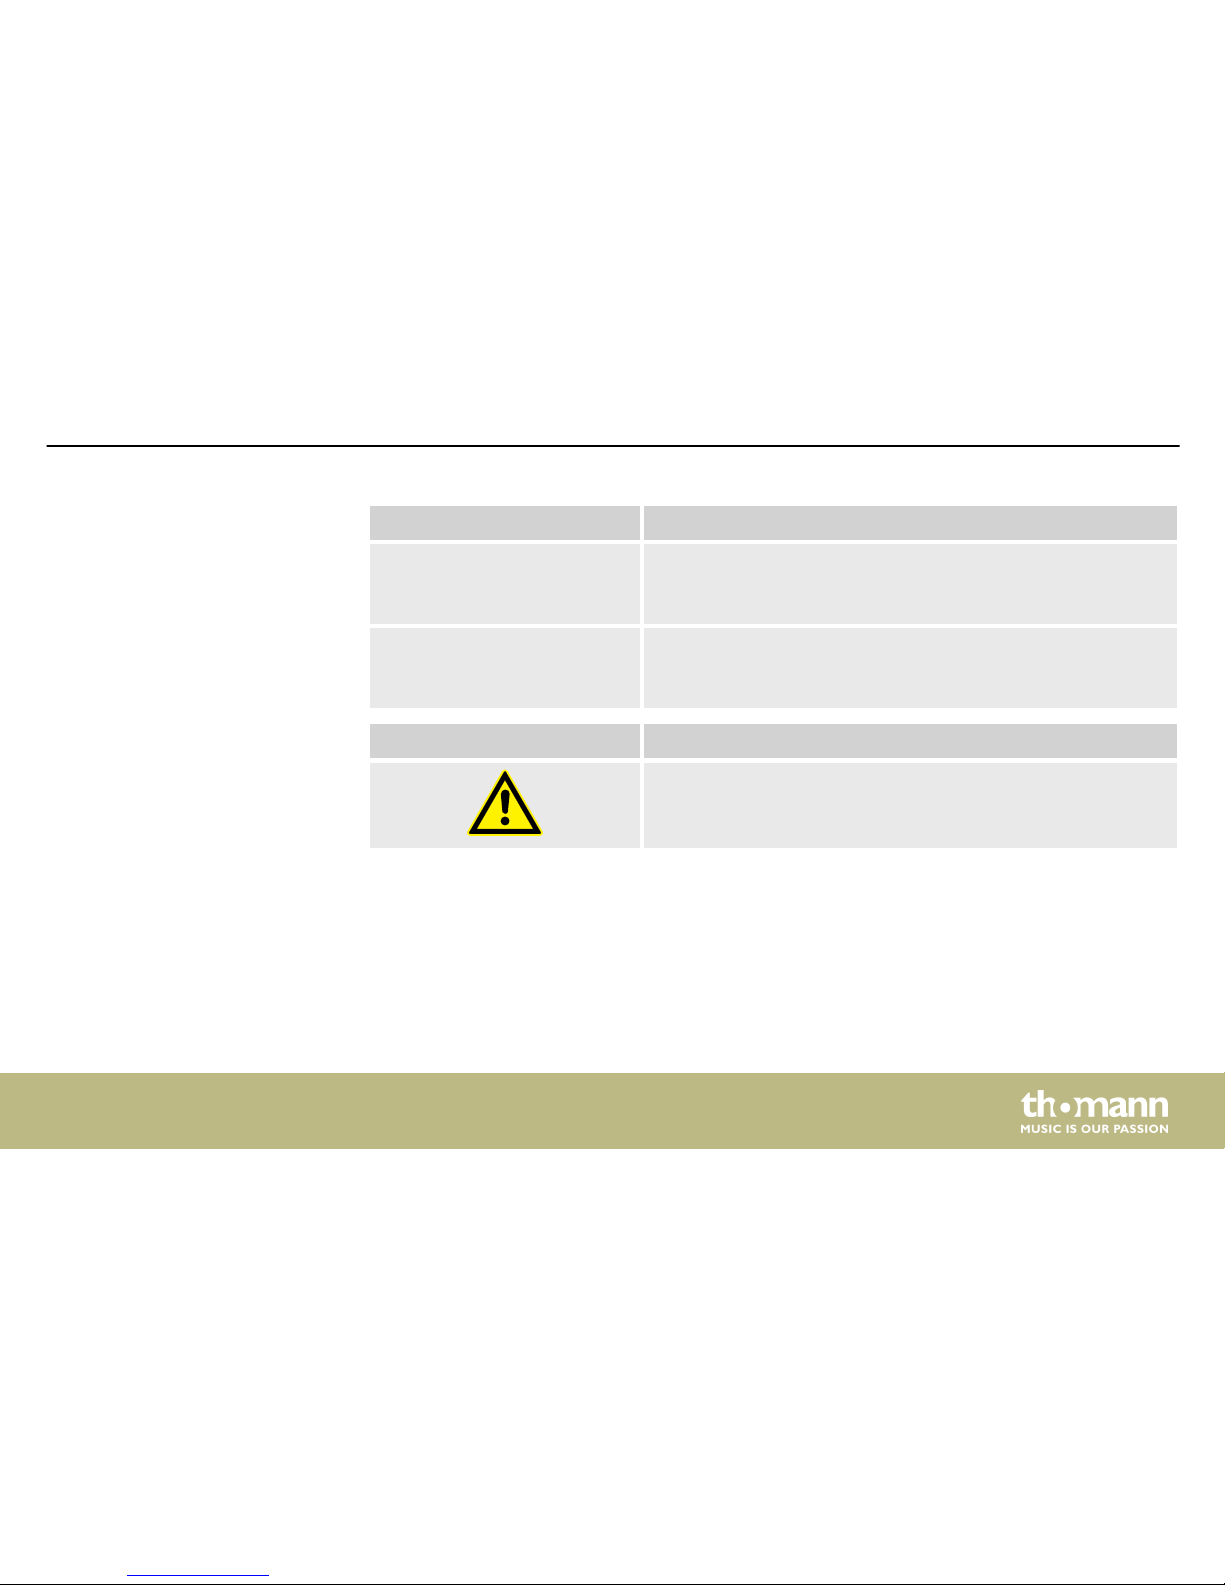
Signal word Meaning
DANGER! This combination of symbol and signal word indicates an
immediate dangerous situation that will result in death or
serious injury if it is not avoided.
NOTICE! This combination of symbol and signal word indicates a pos‐
sible dangerous situation that can result in material and
environmental damage if it is not avoided.
Warning signs Type of danger
Warning – danger zone.
General information
Dr. Chord Pro
7
Page 8
2 Safety instructions
This device is intended to be used to tune musical instruments. Use the device only as
described in this user manual. Any other use or use under other operating conditions is consid‐
ered to be improper and may result in personal injury or property damage. No liability will be
assumed for damages resulting from improper use.
This device may be used only by persons with sufficient physical, sensorial, and intellectual
abilities and having corresponding knowledge and experience. Other persons may use this
device only if they are supervised or instructed by a person who is responsible for their safety.
DANGER!
Danger for children
Ensure that plastic bags, packaging, etc. are disposed of properly and are not
within reach of babies and young children. Choking hazard!
Ensure that children do not detach any small parts (e.g. knobs or the like) from
the unit. They could swallow the pieces and choke!
Never let children unattended use electrical devices.
Intended use
Safety
Safety instructions
chord finder
8
Page 9
NOTICE!
Operating conditions
This device has been designed for indoor use only. To prevent damage, never
expose the device to any liquid or moisture. Avoid direct sunlight, heavy dirt, and
strong vibrations.
NOTICE!
Risk of fire due to incorrect polarity
Incorrectly inserted batteries may destroy the device or the batteries.
Ensure that proper polarity is observed when inserting batteries.
NOTICE!
Possible damage by leaking batteries
Leaking batteries can cause permanent damage to the device.
Take batteries out of the device if it is not going to be used for a longer period.
Safety instructions
Dr. Chord Pro
9
Page 10

3 Instructions for use
Unpack and carefully check that there is no transportation damage before using the unit. Keep
the equipment packaging. To fully protect the device against vibration, dust and moisture
during transportation or storage use the original packaging or your own packaging material
suitable for transport or storage, respectively.
Handle the device with care.
Do not try to disassemble or repair the device yourself in the unlikely event that it does not
work.
Do not use solvents such as alcohol to clean the device.
Instructions for use
chord finder
10
Page 11

4 Features
n Chromatic tuner, metronome and tone generator
n Chord searching function
n detects 2640 chords
n suitable for right and left-hander
n Tuning range: A0 (27.5 Hz) - C8 (4186.01 Hz)
n Calibration: 430 - 450 Hz
n adjustable metronome: 30 - 250 bpm
n Tone generator: C4 (32.7 Hz) - B4 (493.883 Hz)
n Headphones output (3.5 mm TRS phone socket)
n big display
n built-in microphone
n Automatic shutdown
n built-in speaker
Features
Dr. Chord Pro
11
Page 12
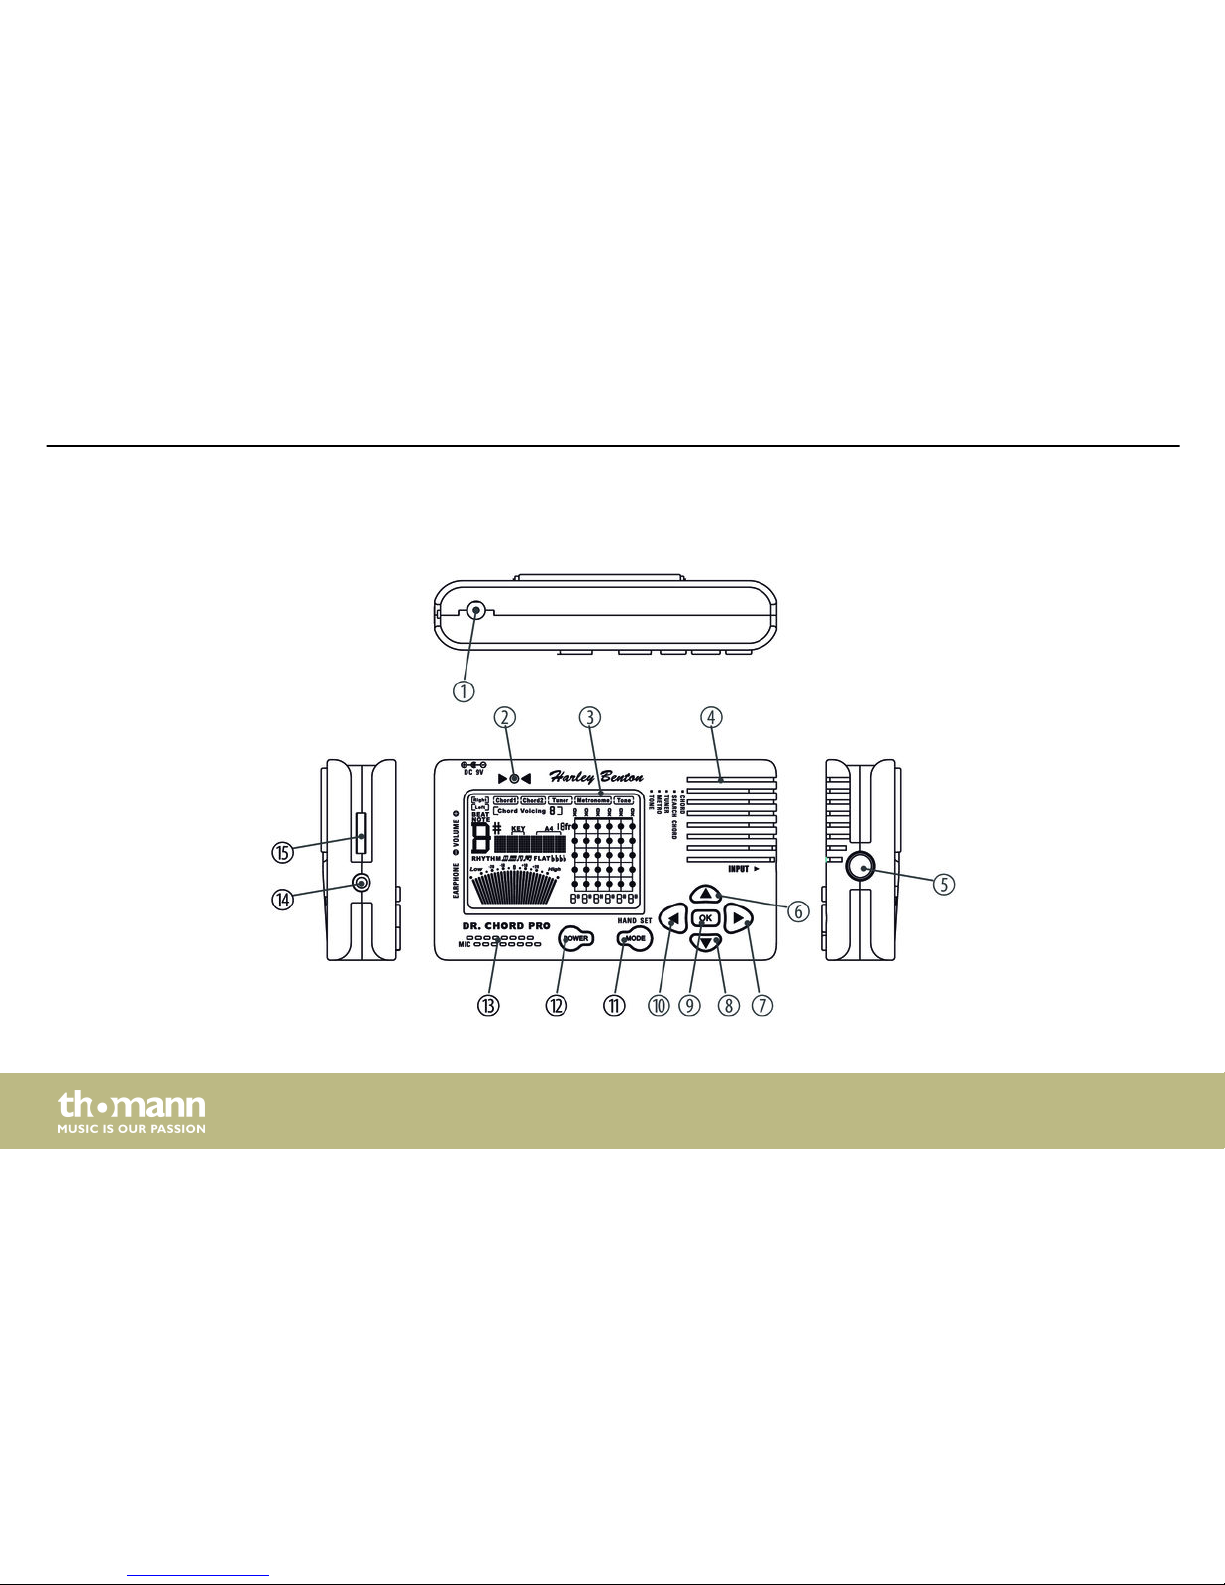
5 Connections and operating elements
Connections and operating elements
chord finder
12
Page 13
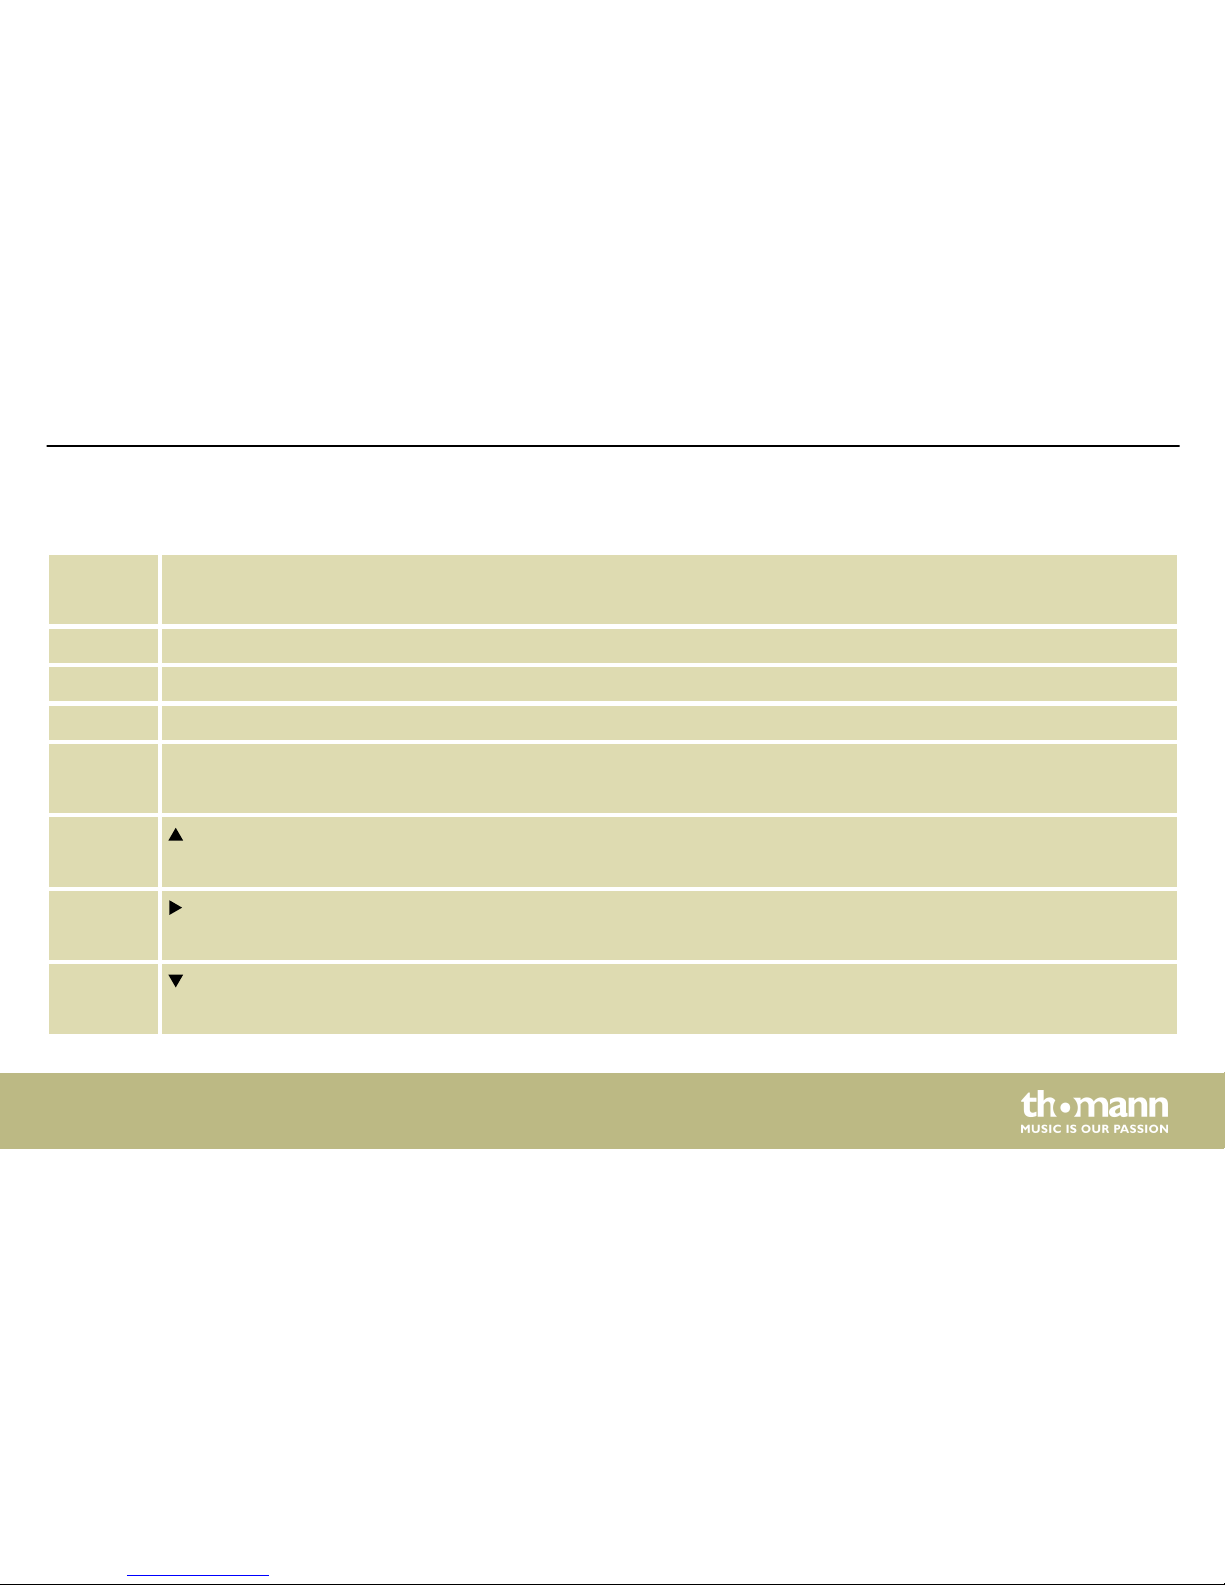
1 DC 9V
Connection for power adapter.
2 LED display.
3 Display.
4 Speaker.
5 INPUT
1/4" standard instrument cable input.
6
Arrow button ‘up’.
7
Arrow button ‘right’.
8
Arrow button ‘down’.
Connections and operating elements
Dr. Chord Pro
13
Page 14
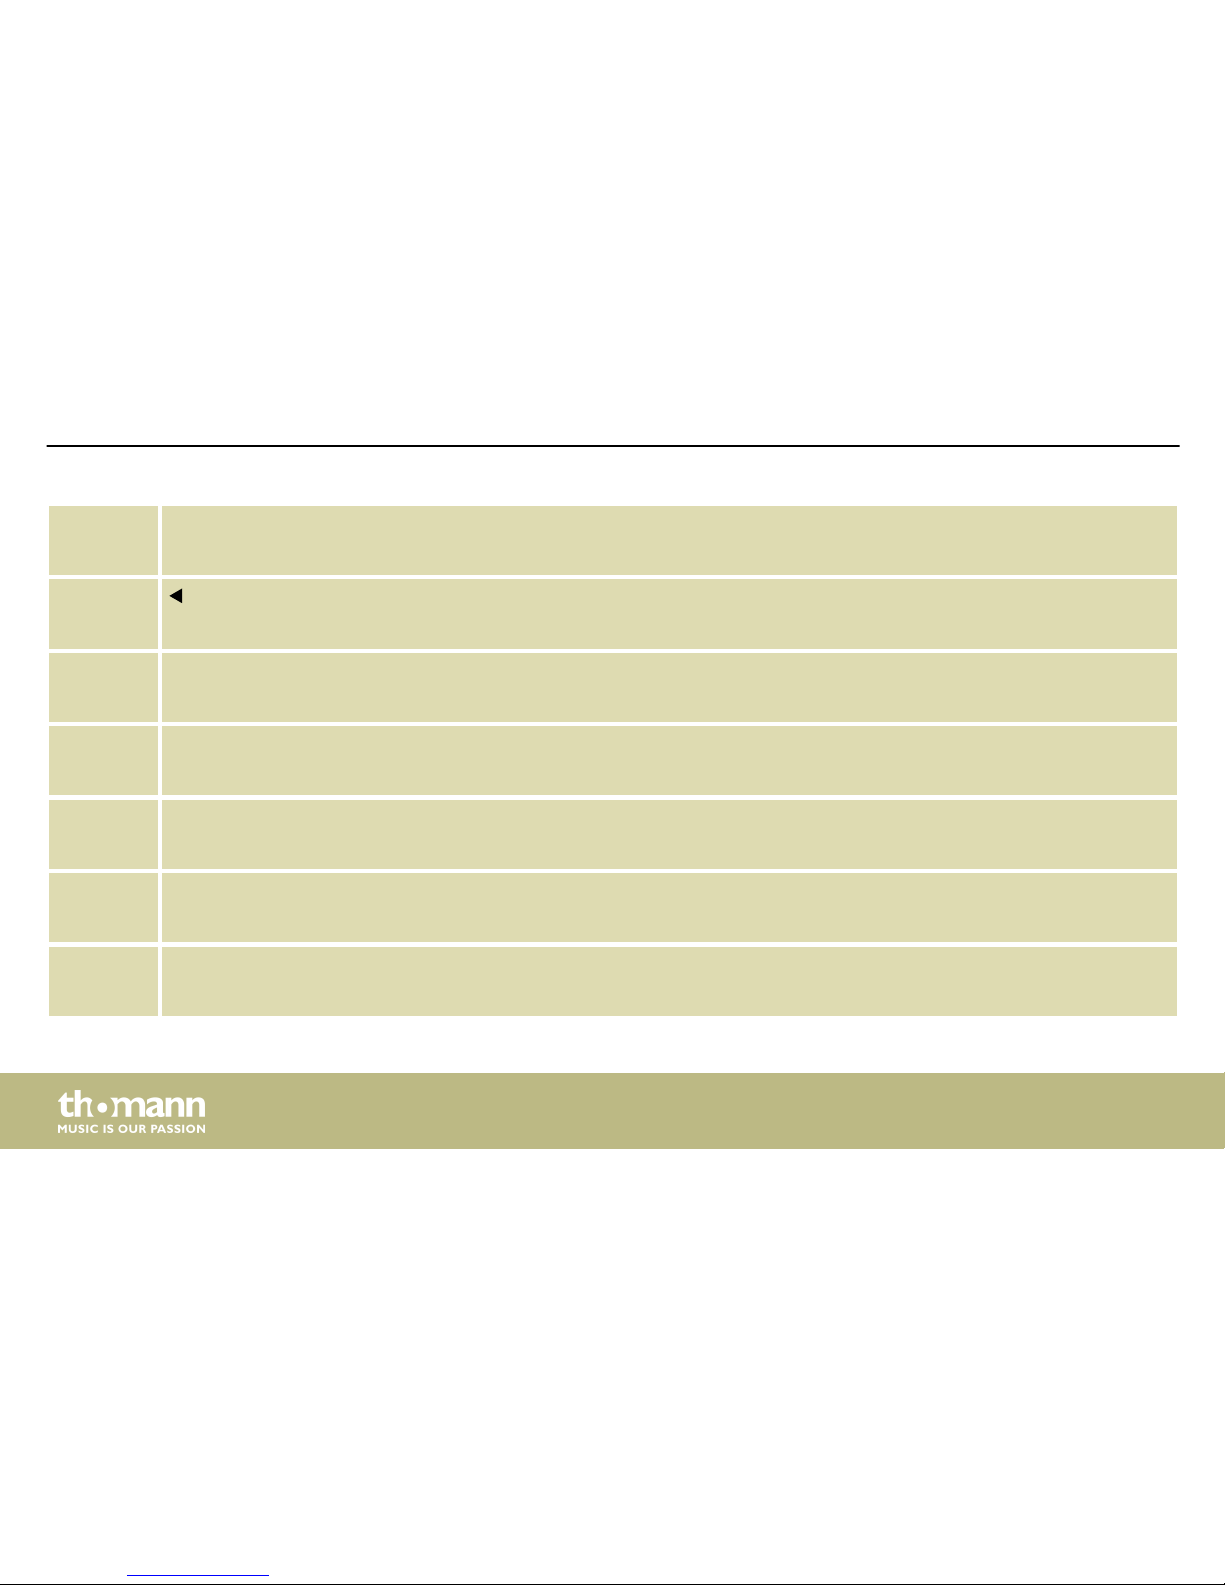
9 OK
OK button.
10
Arrow button ‘left’.
11 MODE / HAND SET
Mode selector | right / left-handedness switch.
12 POWER
On / off switch.
13 MIC
Microphone.
14 EARPHONE
Headphones socket.
15 VOLUME
Volume control.
Connections and operating elements
chord finder
14
Page 15
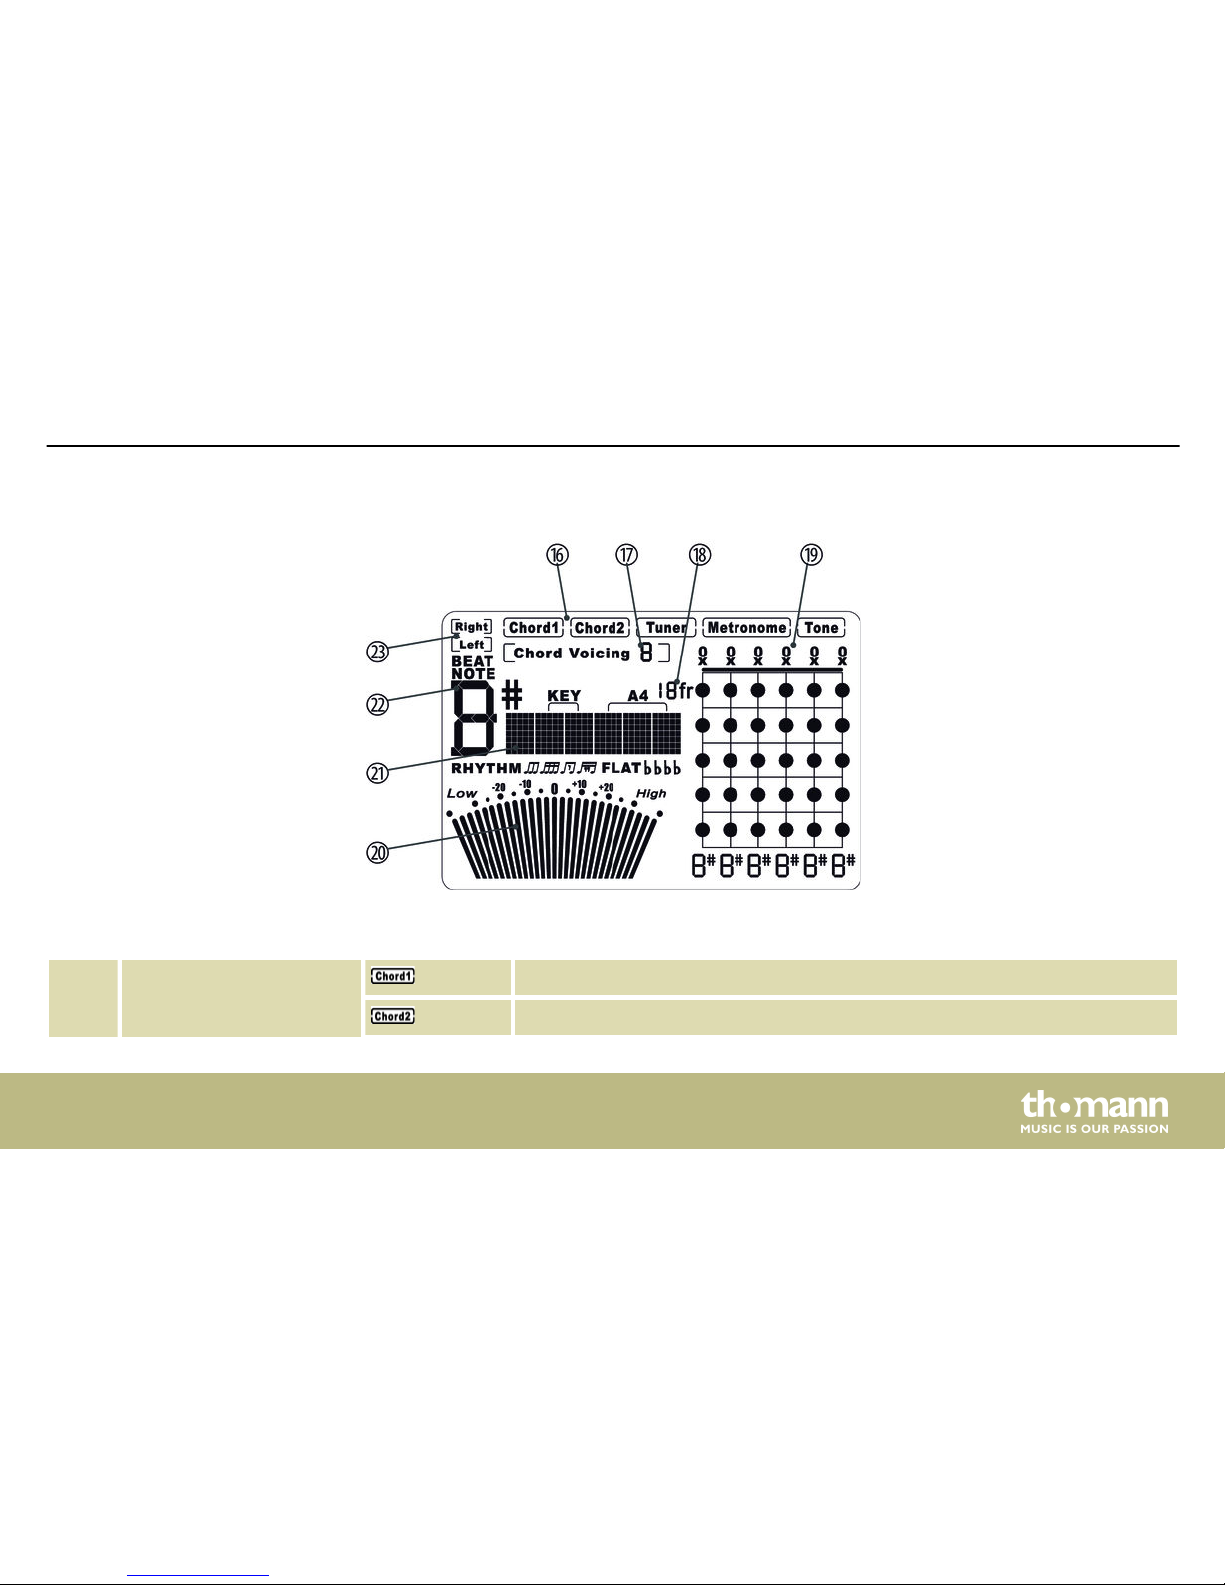
16 Mode display. Find chord position.
Find chord name.
Display
Connections and operating elements
Dr. Chord Pro
15
Page 16
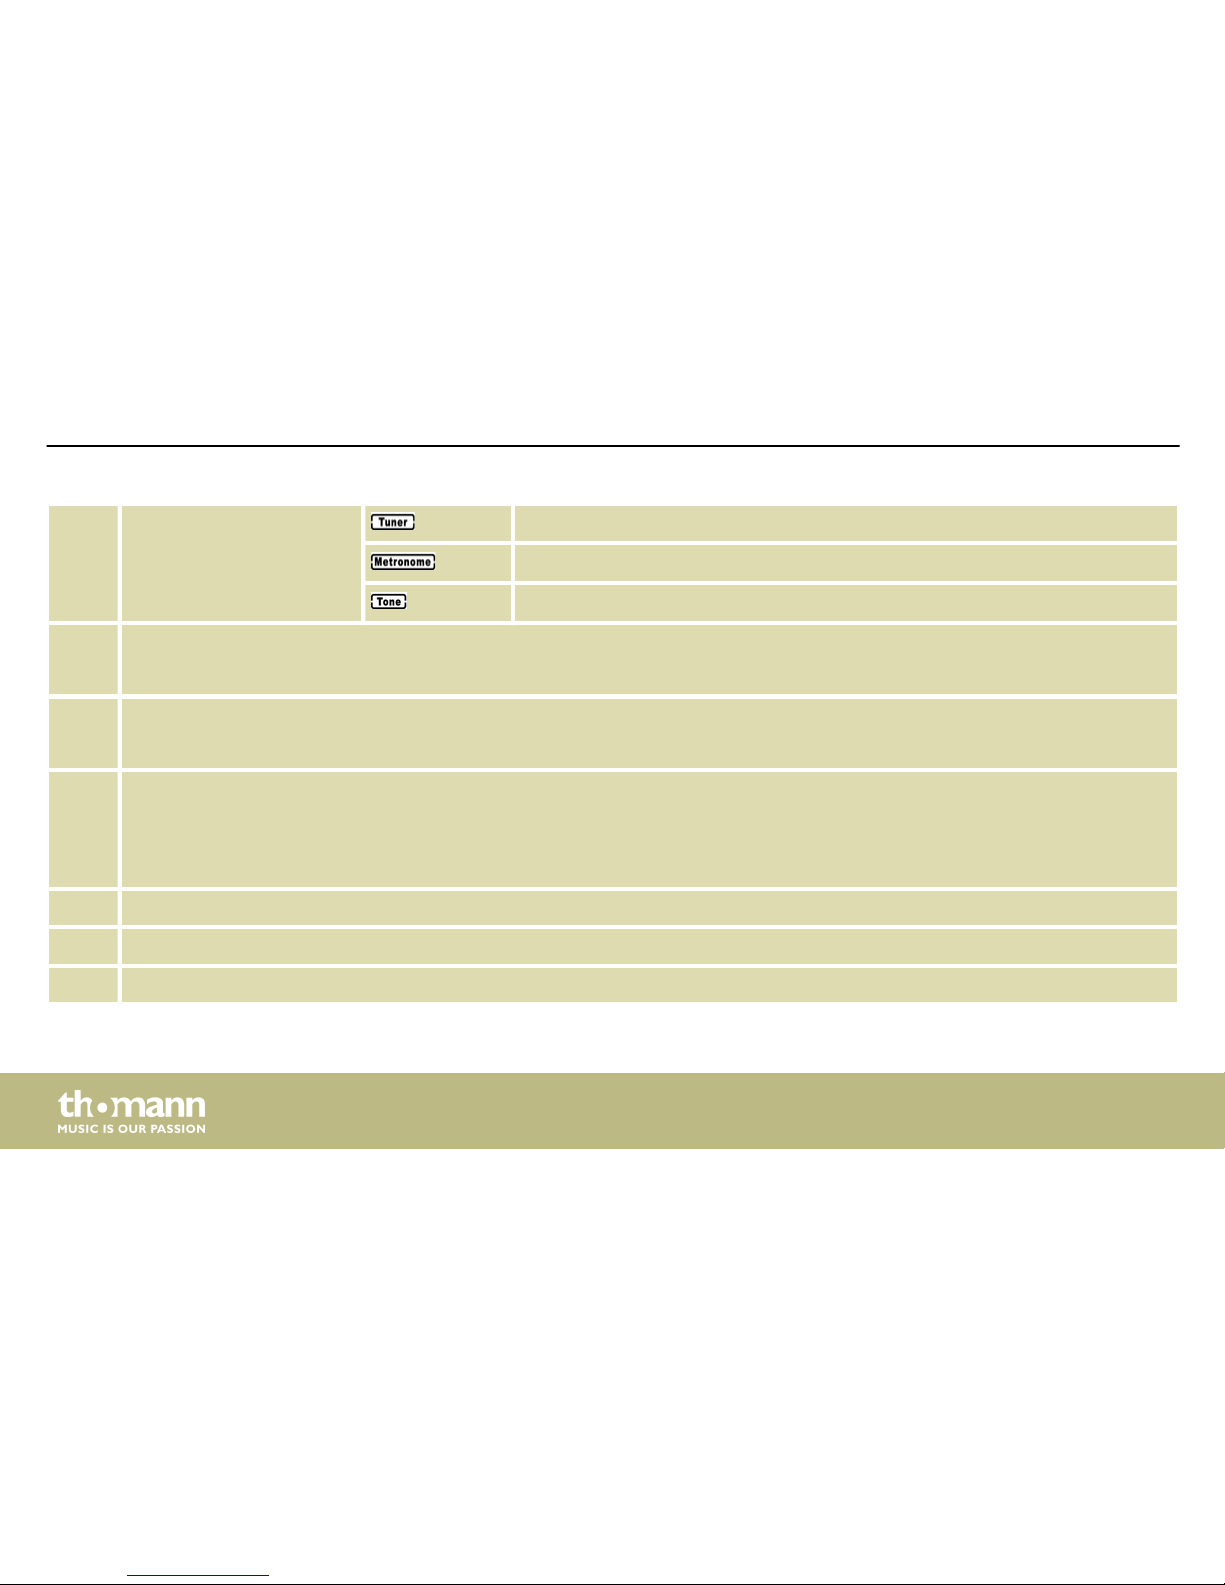
Tuner.
Metronome.
Tone generator.
17 Chord voicing display.
Shows the selected chord voicing.
18 Fret number display.
Shows the fret where you should put your fingers.
19 Guitar fretboard display.
The six vertical lines represent the six strings of the guitar, from low E to high E (if set for right-handed) or from high E to
low E (if set for left-handed). An ‘X’ indicates that this string should not sound. ‘O’ stands for an open string. The black dots
show the finger position. The note name appearing below each string tells you which note name you played.
20 Measuring pointer for tuner function.
21 Chord name display.
22 Root note display.
Connections and operating elements
chord finder
16
Page 17
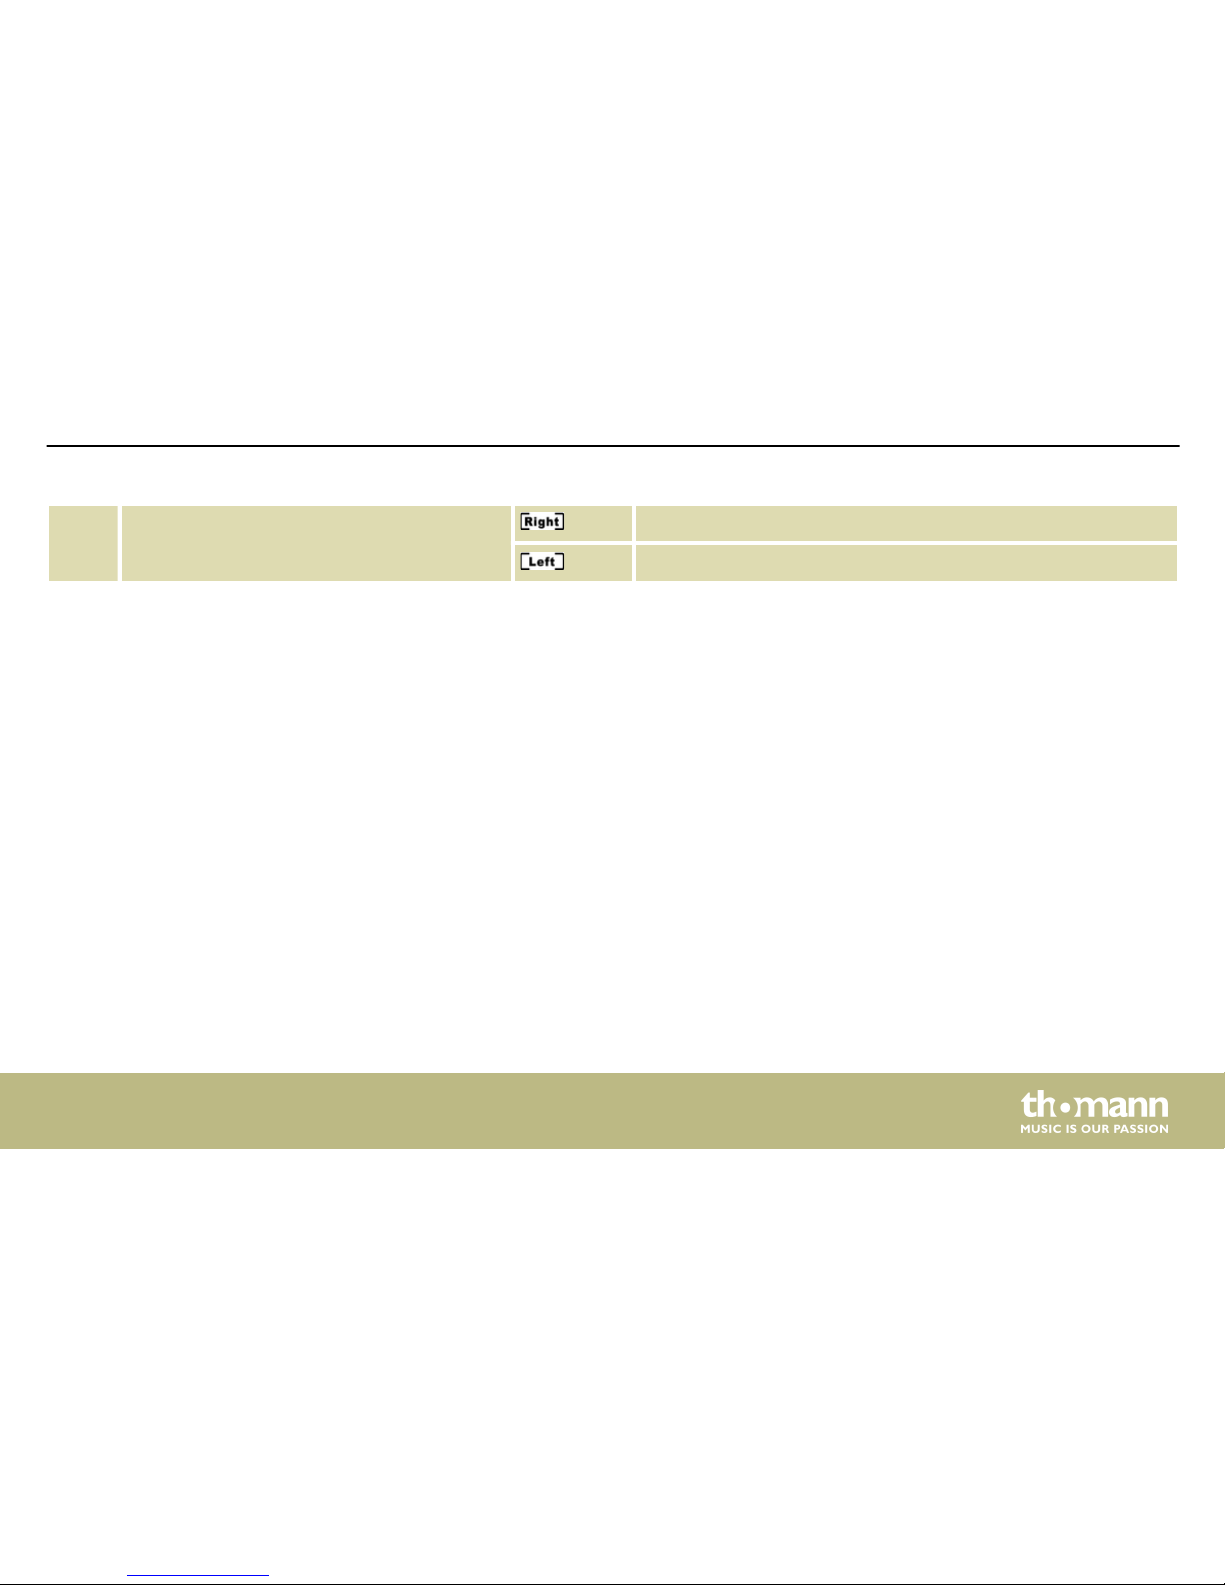
23 Right / left-handedness indicator. right-handed (default)
left-handed.
Connections and operating elements
Dr. Chord Pro
17
Page 18
6 Operating
6.1 Starting the device
Press [POWER] to turn the device on. After 5 minutes without any operation, the unit will auto‐
matically switch off. Press [POWER] again to turn the device off.
If you press [MODE] the mode selection menu appears in the display. The flashing outline
frame indicates the selected mode. Use
and to move the selection. When the desired
mode is selected, press [OK] to confirm. The device will then enter that mode If you don't con‐
firm the desired mode the device remains in the mode select status until it will automatically
power off.
Operating mode selection
Operating
chord finder
18
Page 19
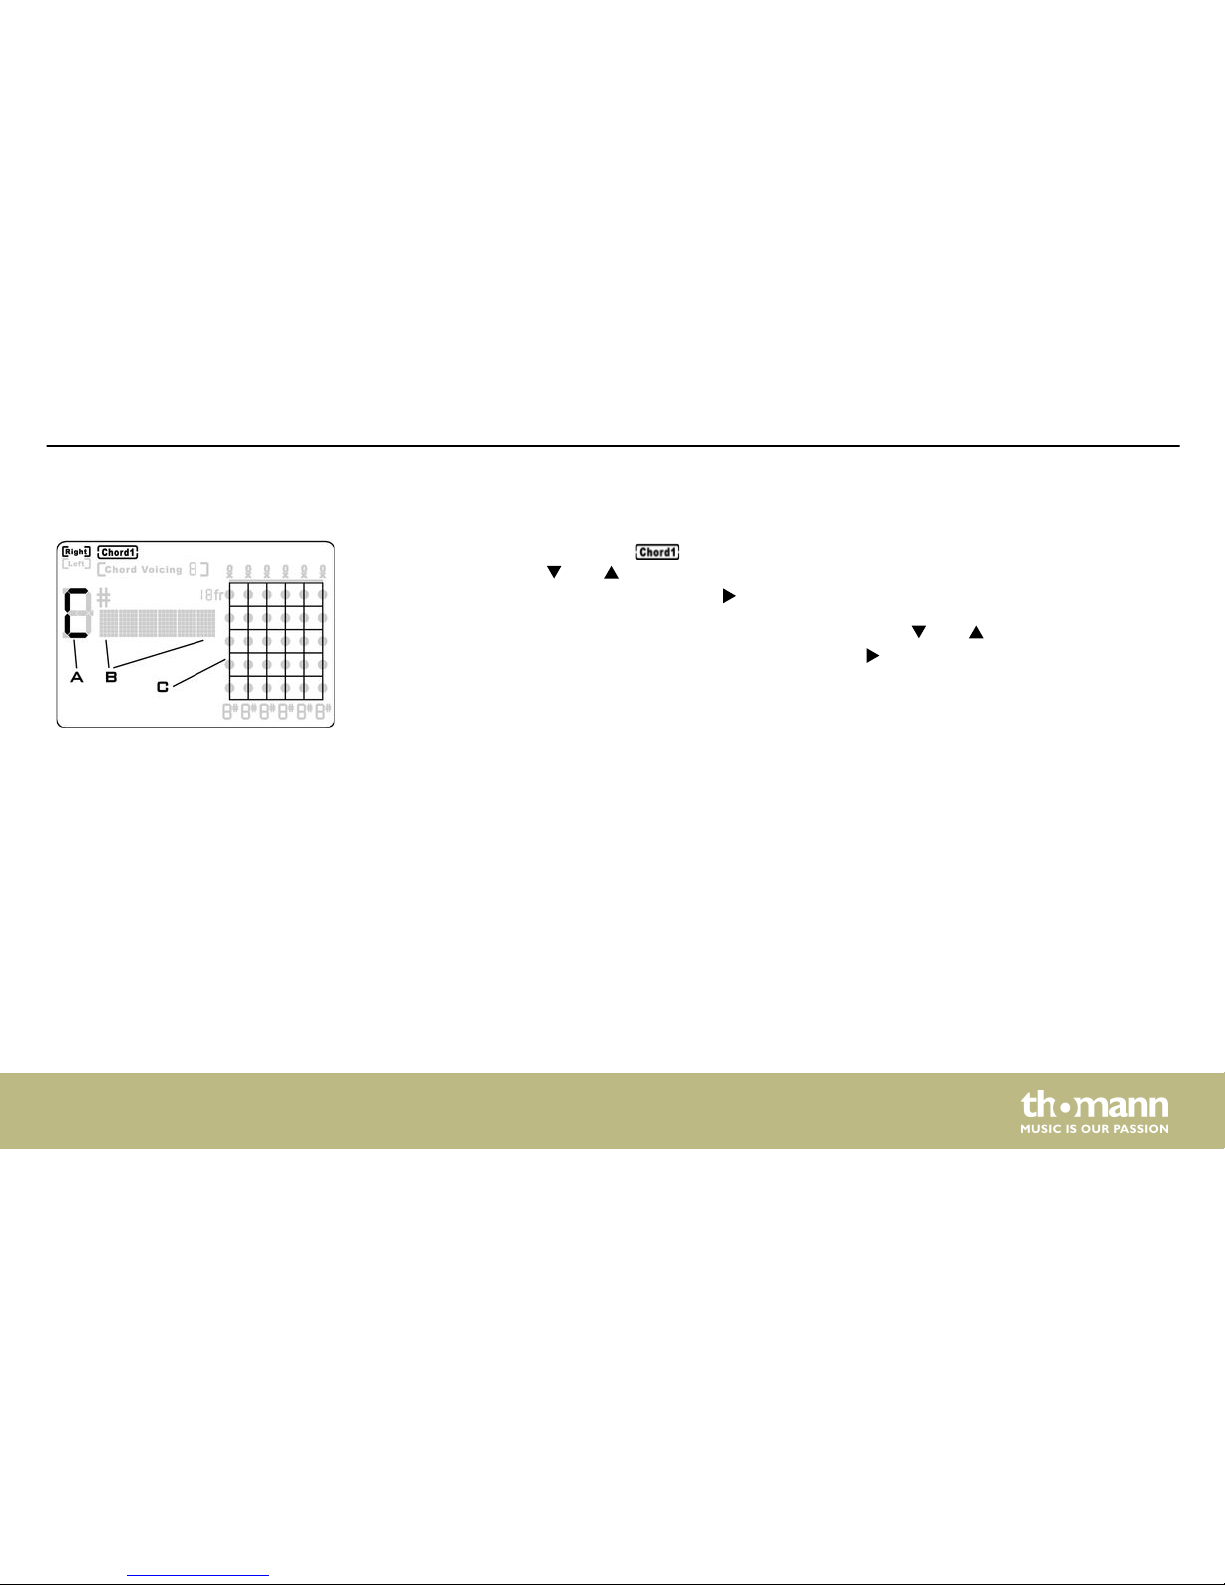
In this mode the display shows . On the left you see the selected root note. When it's
flashing you can use and to set the root note from C to B. When the desired root note is
displayed, press [OK] to confirm. Or press to move the selection to the next position.
When the area to the right of the root note flashes, you can use and to select chord quality
or type. When the desired value is displayed, press [OK] or to confirm your selection. Or
move the flashing cursor to the next chord type, if existing. If it does not exist press [OK] to
complete the chord name input. Then the chord position will be displayed in the fret board
area.
The device offers 44 chord types for each of the twelve root notes. You can find your desired
chord under its symbol. For example, if you want to find the chord C7b5#9, you should select
the chord root note as C, then select the first chord type as 7, and as second chord type b5.
Select #9 as the last chord type. For the chord name selecting process you do not need to
know the chord’s construction. You only need to know the symbols used for the chord name.
The following table present the chord types of the device:
Finding a chord position
Operating
Dr. Chord Pro
19
Page 20
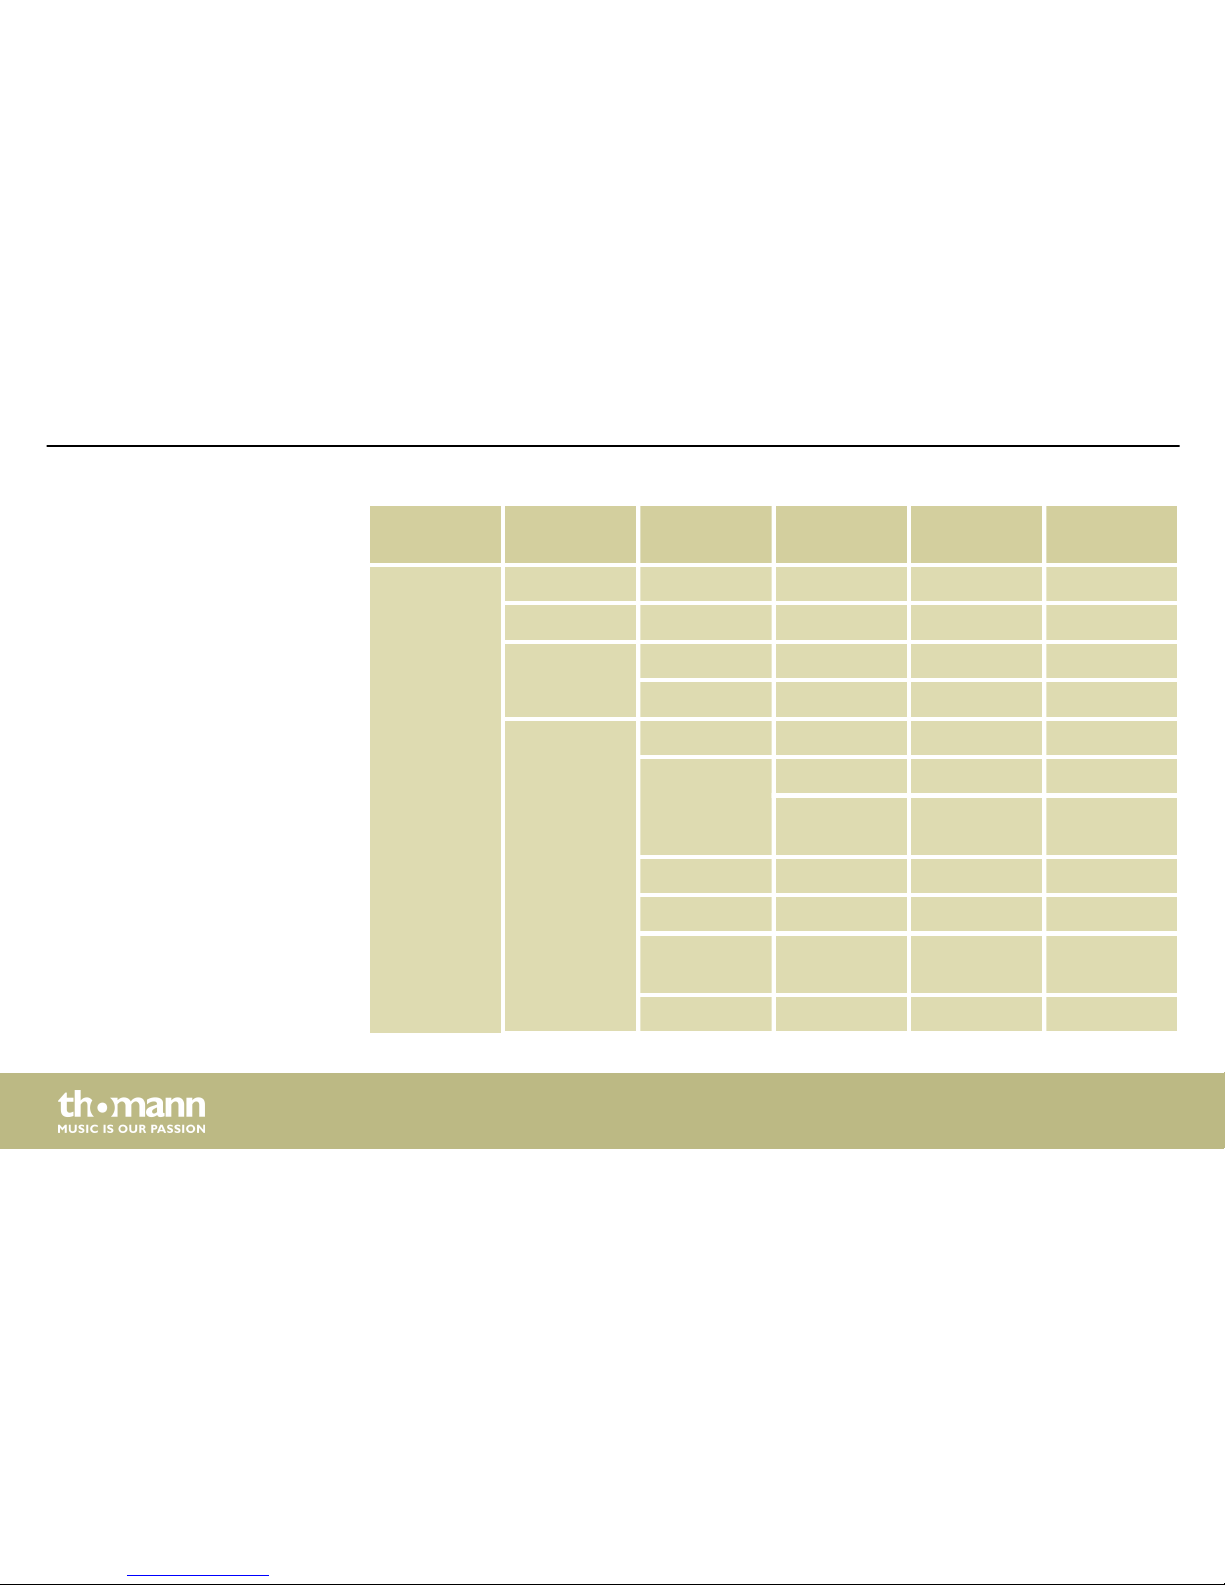
Root note Chord type 1 Chord type 2 Chord type 3 Name Other
description
From C to B maj
5 5
6 6
.9 6.9 6/9, 6add9
7 7 dom7
b5 7b5 7-5, dom7b5
#9 7b5(#9) 7-5(+9),dom7
b5(#9)
b9 7b9 7-9,dom7b9
#9 7#9 7+9,dom7#9
#11 7#11 7+11,dom7#
11
sus4 7sus4 7sus
Operating
chord finder
20
Page 21
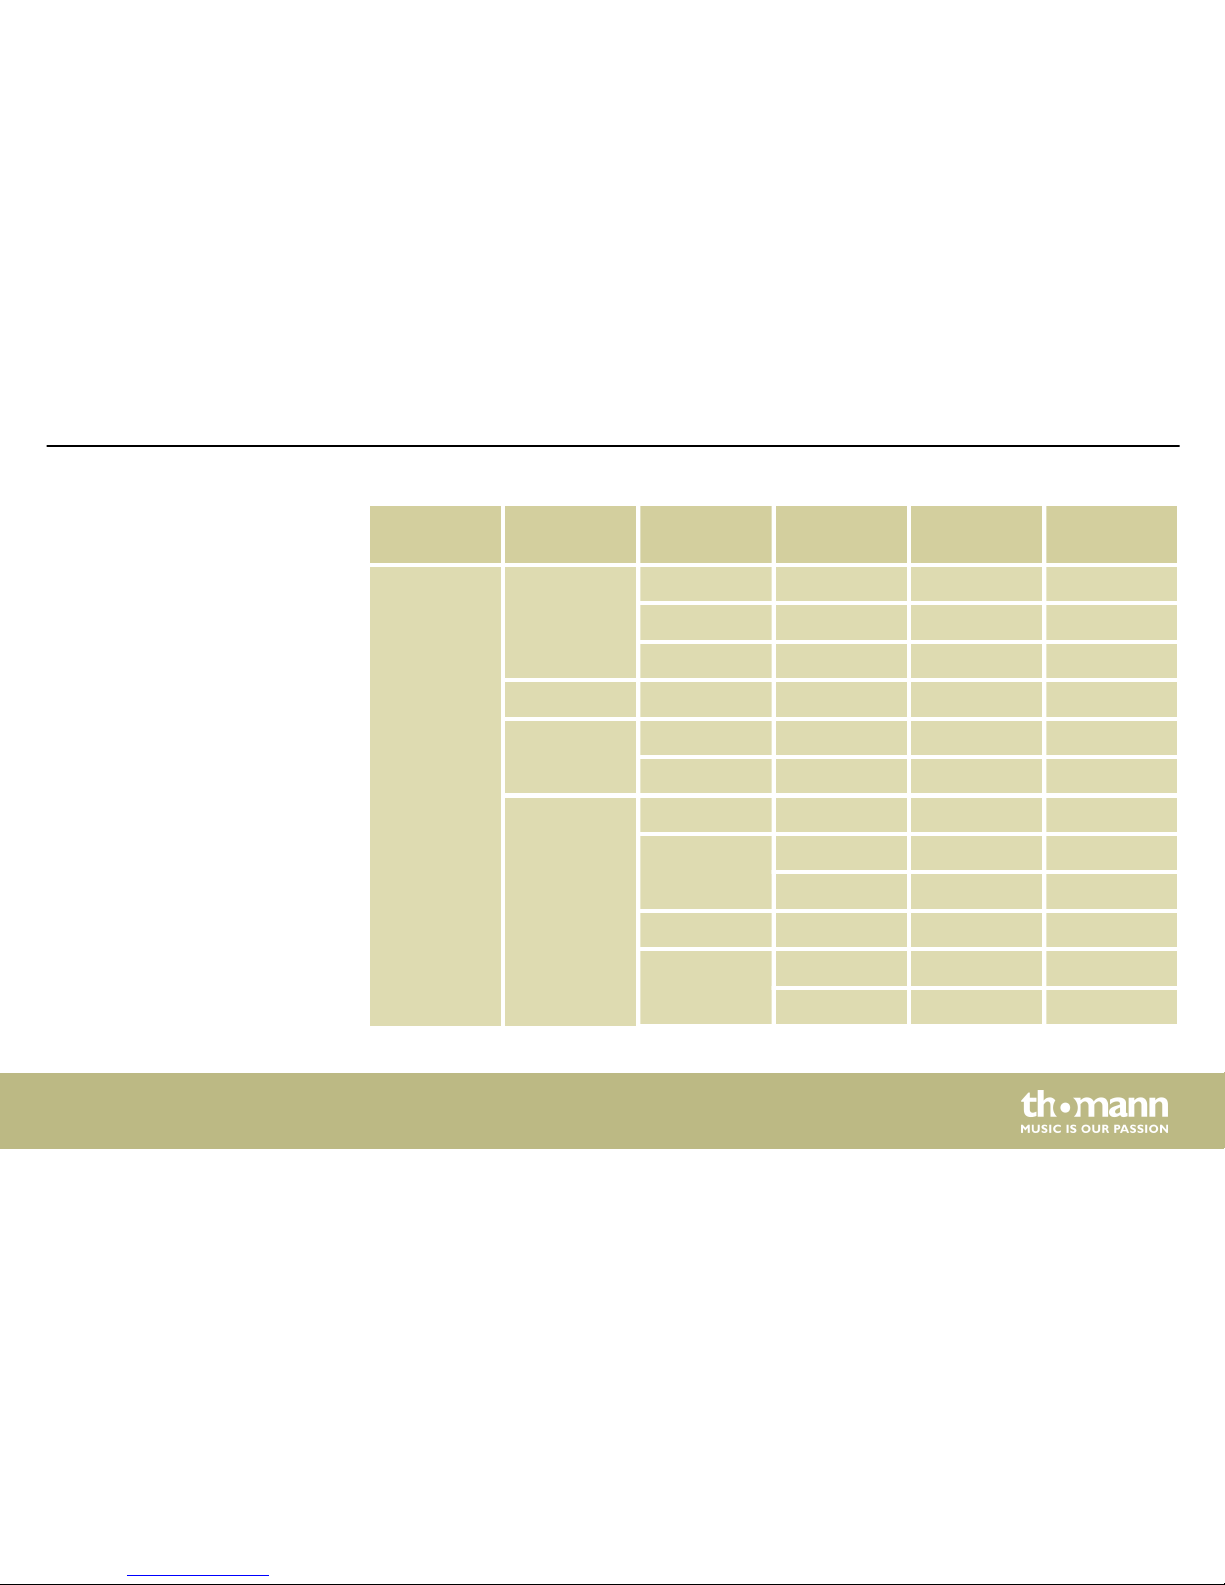
Root note Chord type 1 Chord type 2 Chord type 3 Name Other
description
9 9
b5 9b5 9-5,dom9b5
sus4 9sus4 9sus
11 11
13 13 dom13
sus4 13sus4 13sus
m m min,-
6 m6 min6,-6
.9 m6.9 m6/9
b6 mb6 -(b6),minb6
7 m7 -7(b5),min7-5
b5 m7b5 -9,min9
Operating
Dr. Chord Pro
21
Page 22
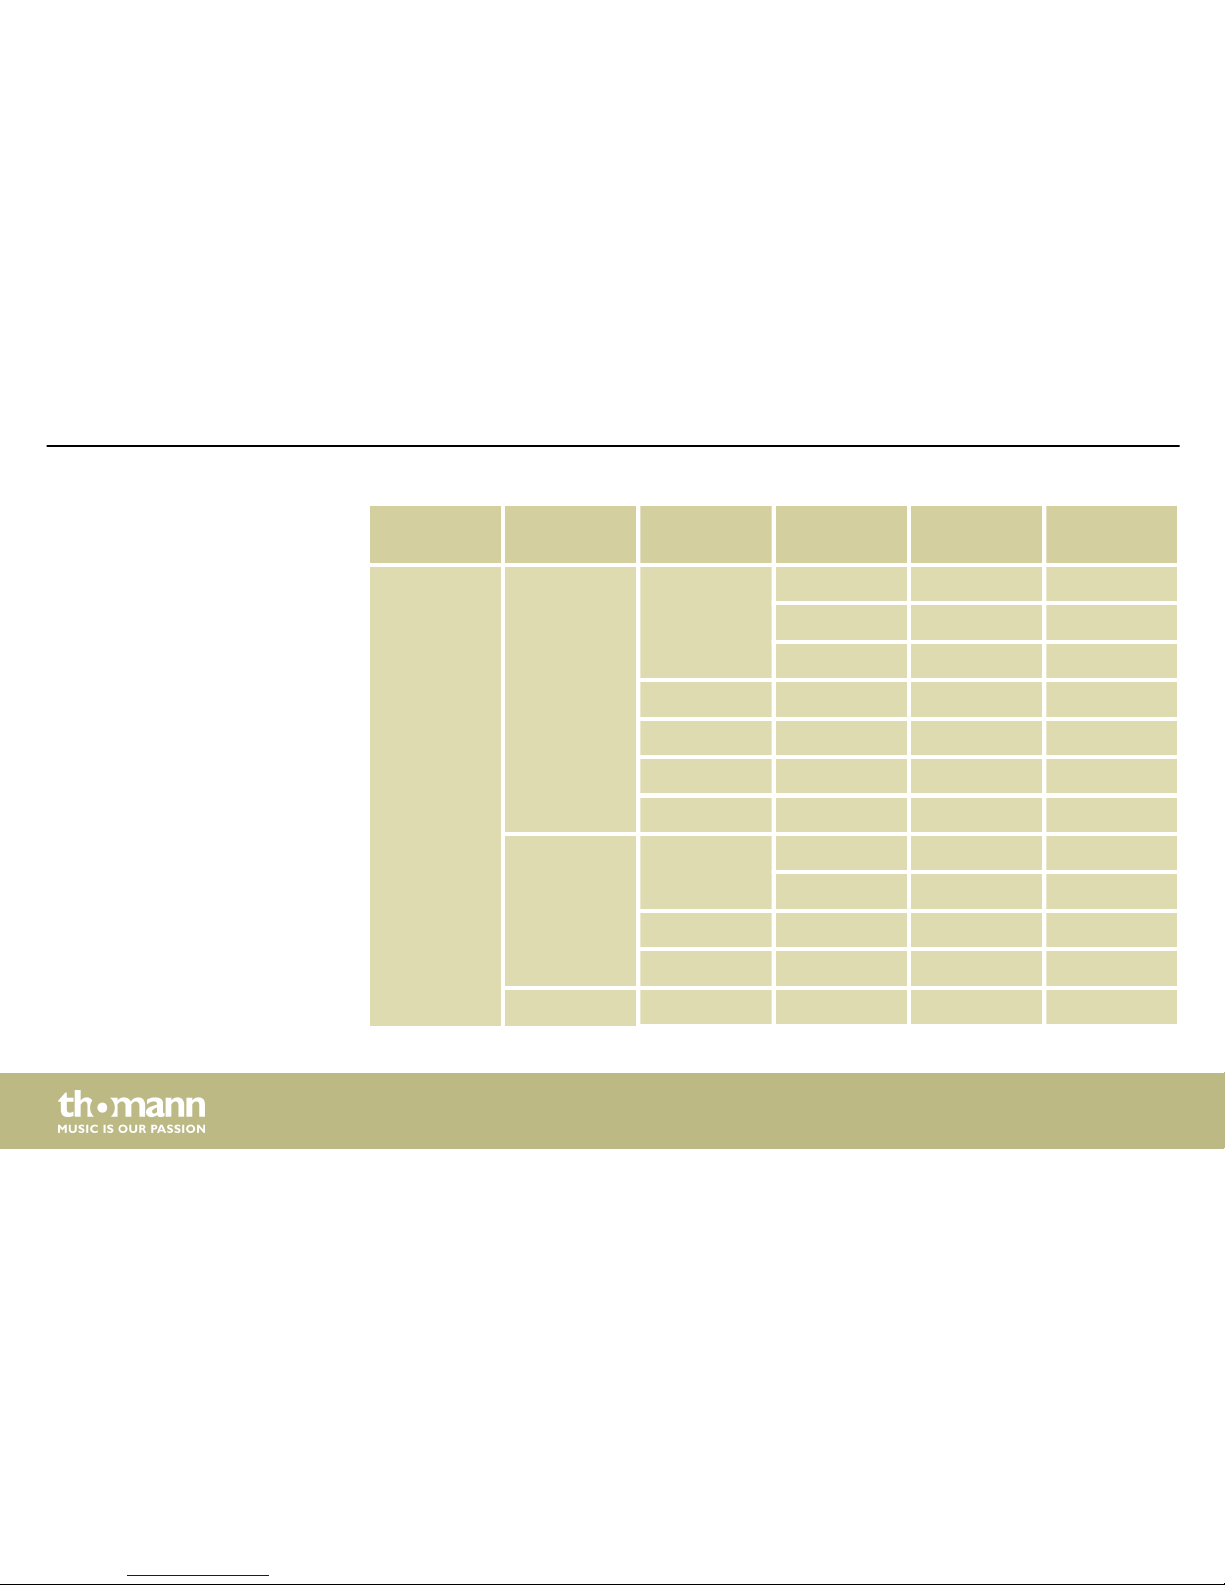
Root note Chord type 1 Chord type 2 Chord type 3 Name Other
description
9 m9 -9,min9
b5 m9b5 m9-5,min9b5
maj7 m9(maj7) m9+7,-9+7
11 m11 -11,min11
13 m13 -13,min13
add9 m(add9)
maj7 m(maj7) m(+7)
maj 7 maj7 M7
#11 maj7#11 M7#11
9 maj9 M9
13 maj13 M13
sus 2 sus2 5add2
Operating
chord finder
22
Page 23
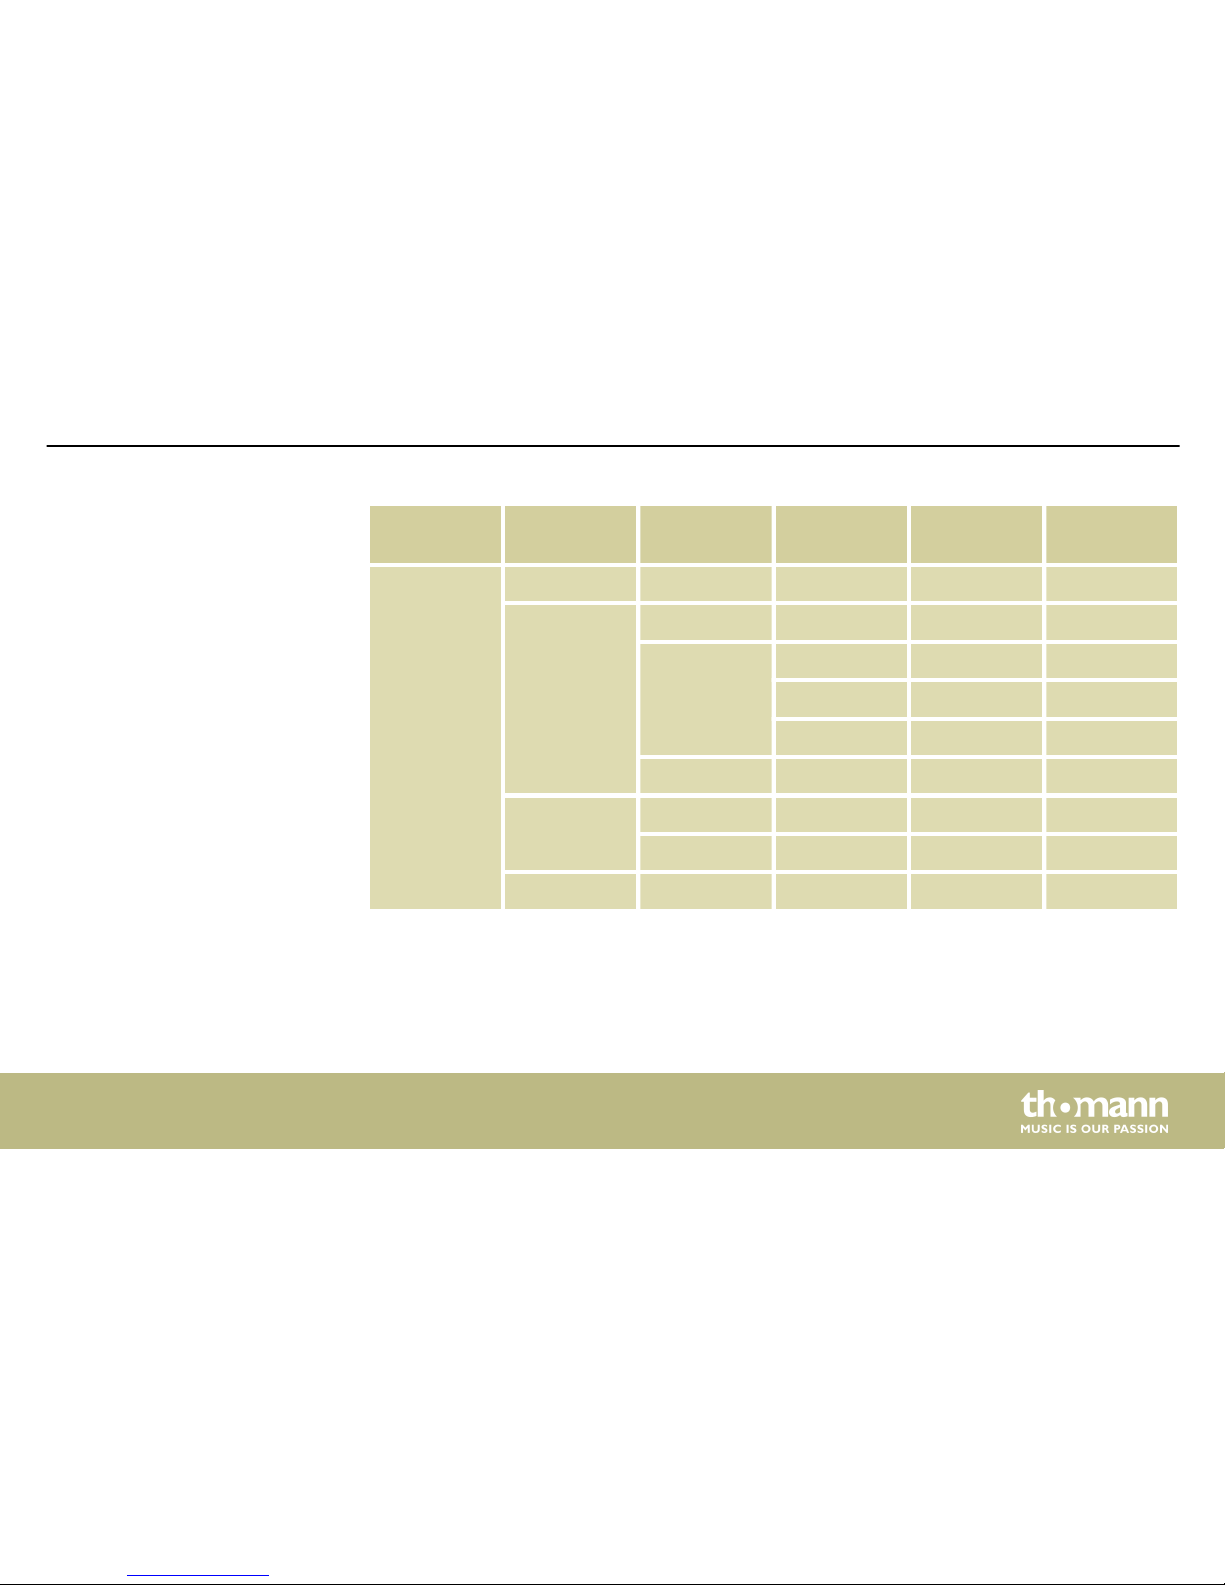
Root note Chord type 1 Chord type 2 Chord type 3 Name Other
description
4 sus4 sus
+ + aug.#5
7 +7 7#5
b9 +7b9 7+5(b9)
#9 +7#9 7+5(#9)
9 +9 9#5,9+5
dim 5 dim5 °
7 dim7 °7
add9 add9
Operating
Dr. Chord Pro
23
Page 24
Different chord voicings under the same chord name: One chord can have many different voic‐
ings. A voicing refers to how the chord notes are arranged. It depends on where the chord is
played on the guitar and on the fingering. The device provides 5 different voicings for each
chord. If the display shows a chord position and no cursor flashes, press or to start
entering chord names or chord voices. Then chord name or chord voicing flashes in the dis‐
play. When the chord voicing flashes, press [OK] to confirm. Then press and to select
voicing number 1 - 5. When selection is finished, press [OK] to confirm. The selected chord
voicing appears in the display. When the chord name flashes, press [OK] to enter a new chord
name. Repeat the above steps.
Operating
chord finder
24
Page 25
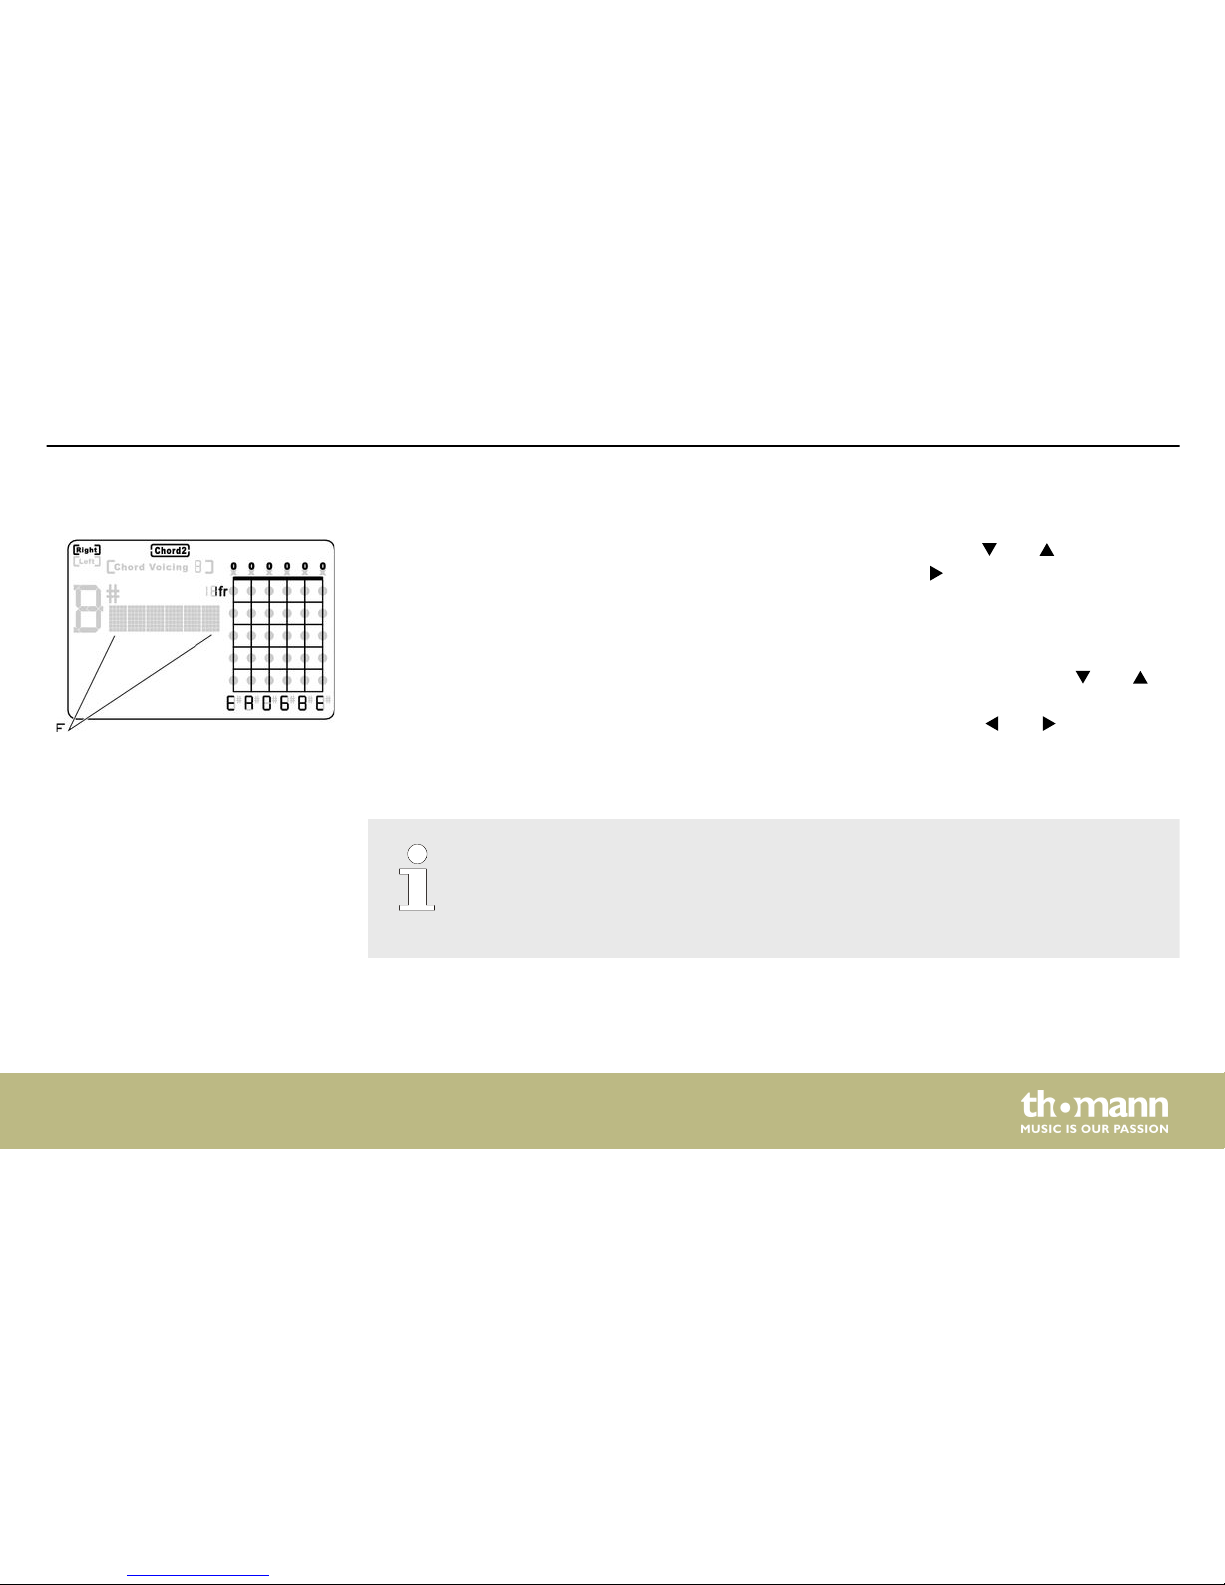
After entering this mode, the position ‘1fr’ will flash in the display. Press and to determine
the fret (from 1 to 15). Press [OK] to confirm the selection or press to enter the fingering for
each string. For a right-handed chord, the 6 vertical lines represent the strings: 6=E, 5=A, 4=D,
3=G, 2=B, 1=E from left to right. For a left-handed chord, the 6 vertical lines represent the
strings: 6=E, 5=A, 4=D, 3=G, 2=B, 1=E from right to left.
When you enter your fingering on the string, the cursor flashes on the string. Press and to
select the fingering on this string. ‘0’ stands for an open string, a string marked with ‘X’ should
not sound. The black dots show the finger positions. Now you can press and to select
other strings. When you are finished with the last string press [OK] to complete entering the
chord position. On the basis of these entries, the device now searches for the corresponding
chord name.
If you have pressed [OK] after completing the input for the last string, the cursor will
still move to the next string, so that you can make further entries here. The unit will
not start searching for names until you have made entries for the last string and have
then pressed [OK].
Finding the chord name
Operating
Dr. Chord Pro
25
Page 26
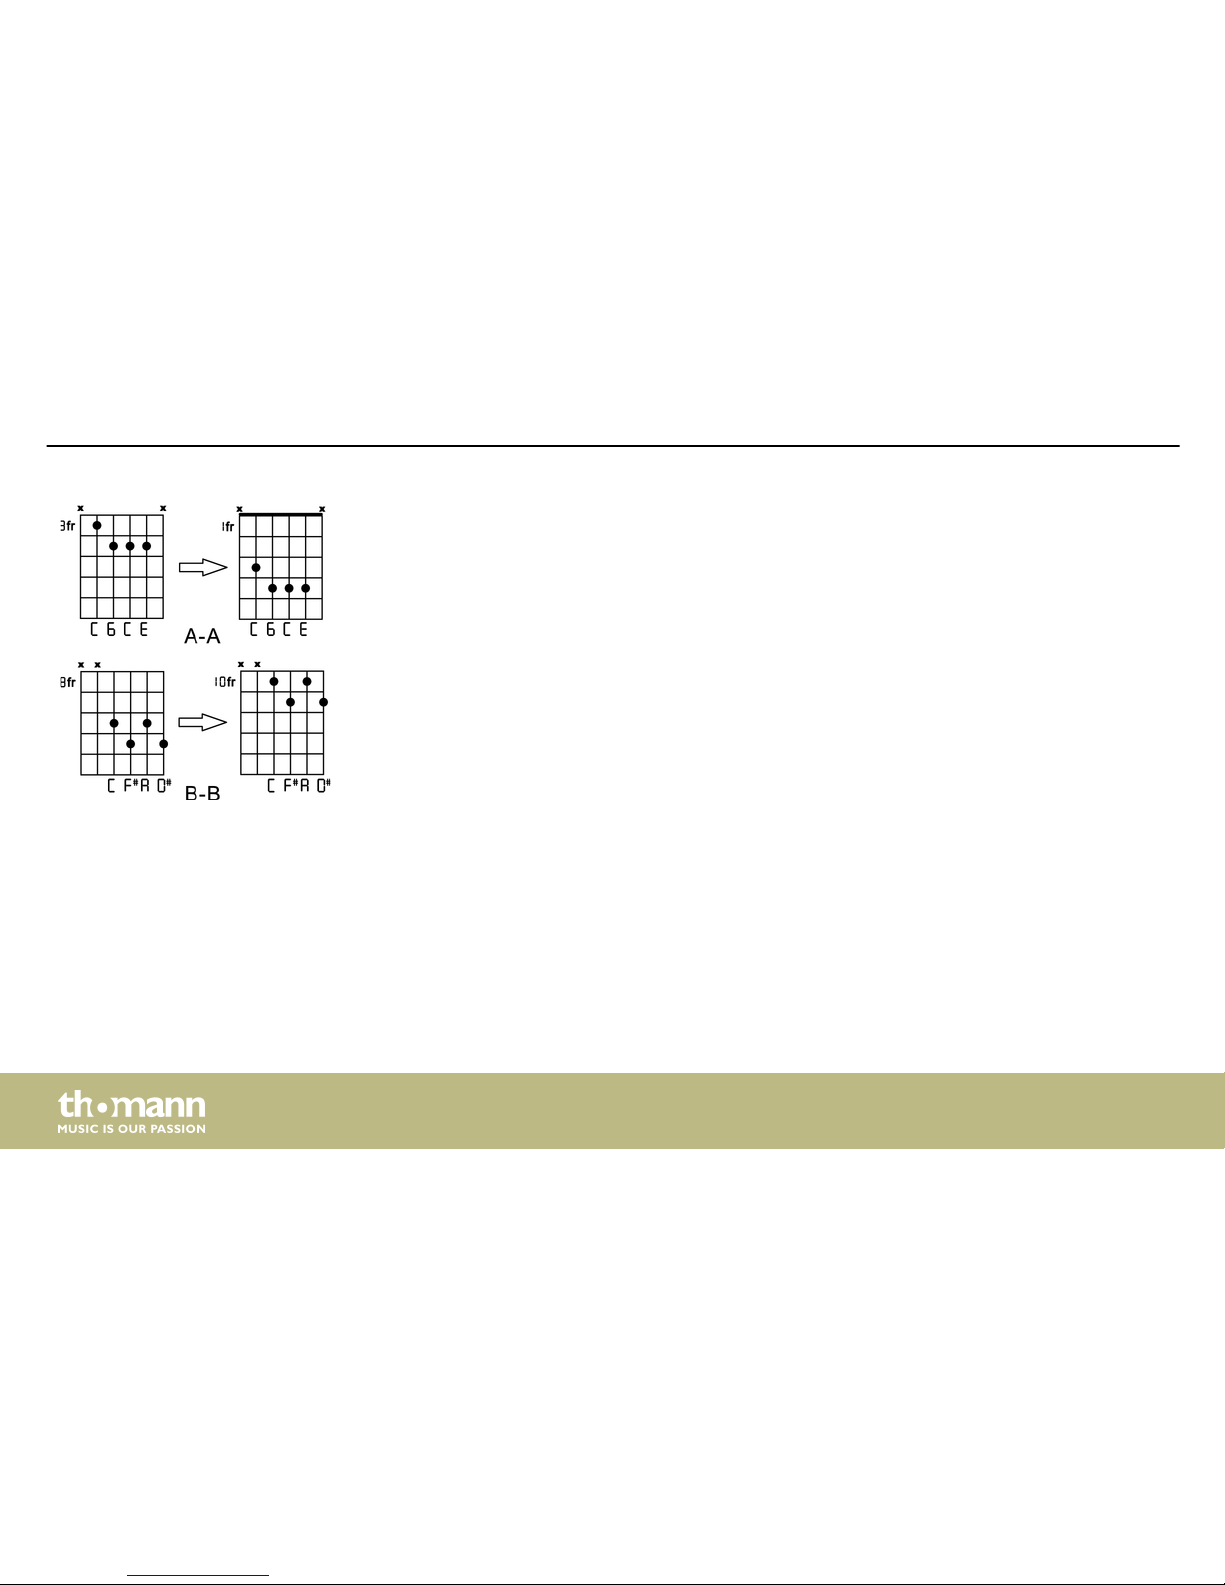
Transforming standard chords: When you have finished entering the chord position, press
[OK]. The device now performs a standard transformation of your inputs. This follows 2 rules:
(1) If the fret number can go back to 1, the unit will perform the transformation for fret 1, as
shown on the left (A-A). The left-hand figure shows your input, the right-hand figure shows the
chord position after the standard transformation, which stands for the same chord position.
(2) If the fret number is not 1 and can not go back to 1, the unit makes the first fret in which
strings are to be pressed to the first line. In the picture on the left, the left figure (B-B) shows
your inputs for the chord position. The right figure shows the position after the standard trans‐
formation, which represents the same chord position. The device shows the position image
after the standard transform in the display.
Operating
chord finder
26
Page 27
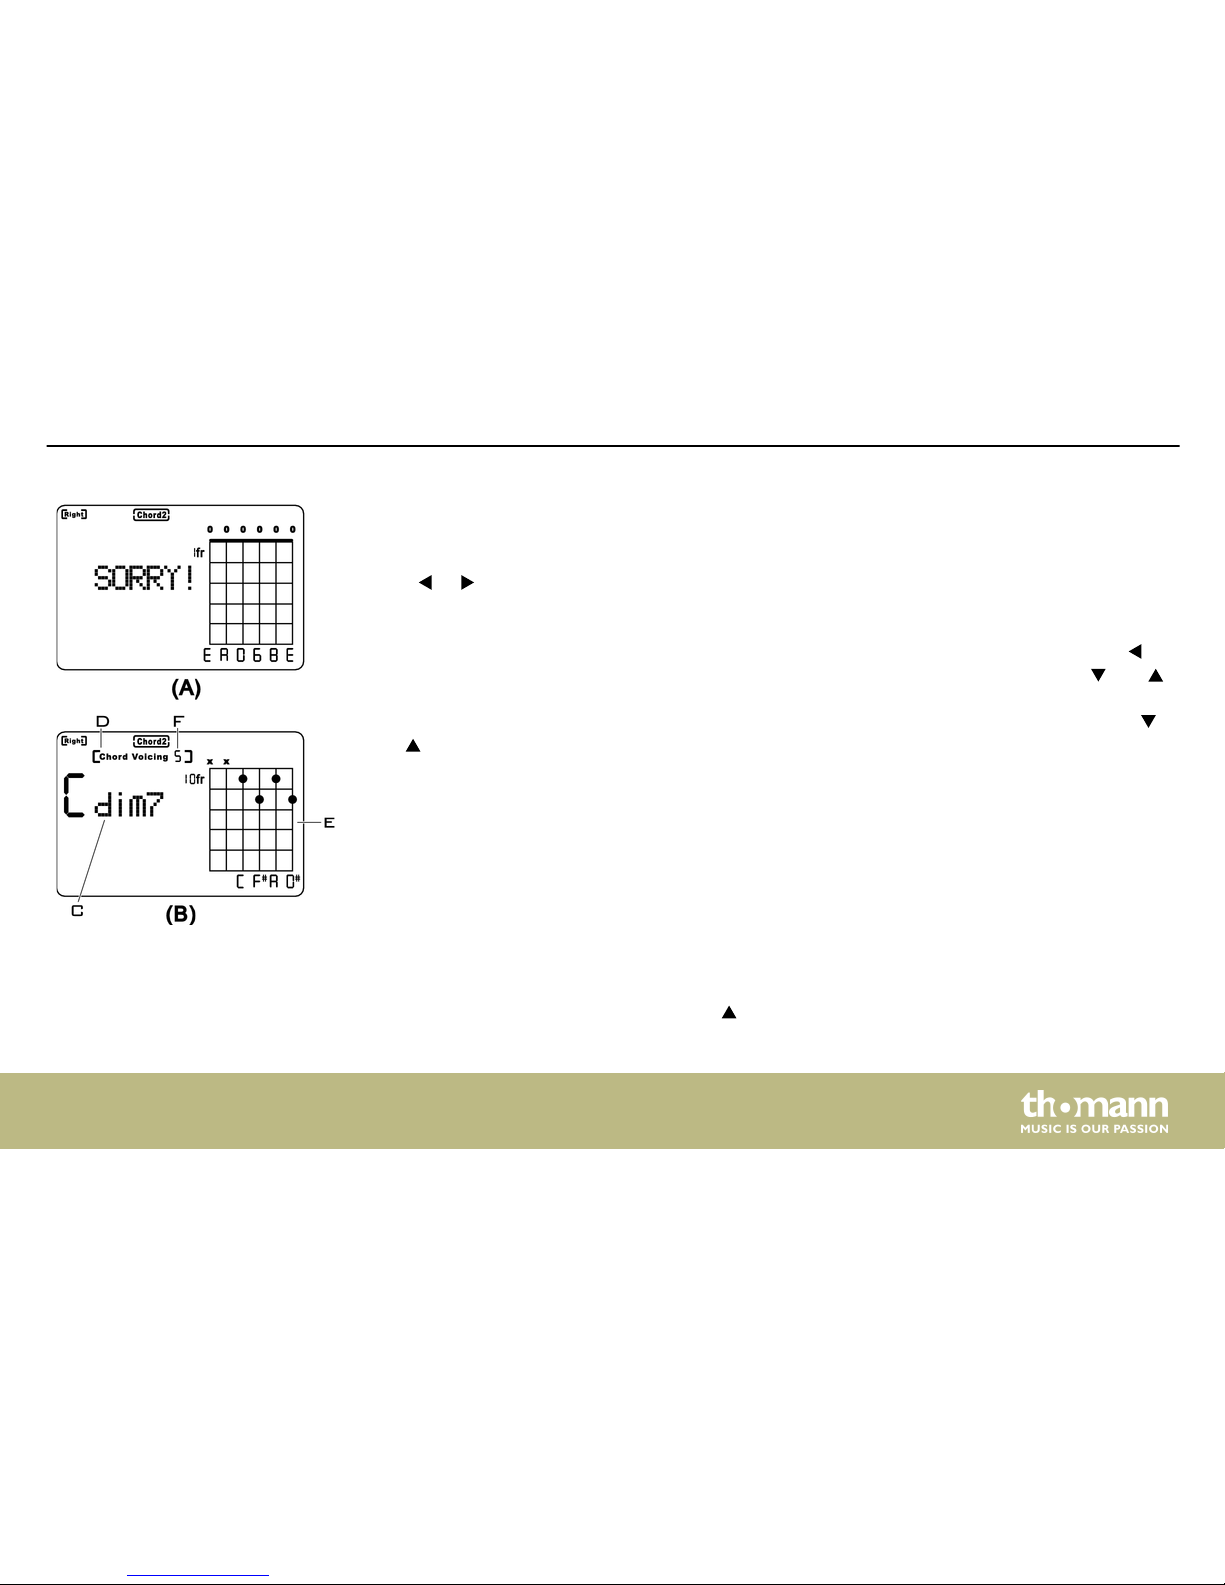
Display after chord name search: The device will search its memory for the chord name that
matches the fingering you have entered. If such a chord name can not be found, the display
will show the information outlined in the left figure (A). The word ‘SORRY!’ is flashing. Then
press or to reset the chord position. Repeat the above chord name search steps. If the
device can find the corresponding chord name, the display shows the desired information as
outlined in the figure on the left (B). The chord name is displayed in area (C). The chord posi‐
tion is displayed in area (D). If the search has delivered more than one chord name, press to
move the flashing cursor to position (C). The chord name flashes. You can now press and
to display further found chord names. The flashing cursor moves at positions (C), (D) and (E). If
position (D) is flashing, press [OK] to move the flashing selection to position (F). Now press
and to search for other chord voicings. Press [OK] to confirm. If with area (E) the entire chord
position is flashing, start a new chord position entry. Then, repeat the above steps for the new
search. If the search result contains only one chord name, the cursor will not change to posi‐
tion C in the display.
Chord settings for right / left-handedness: Regardless of whether the unit is in Chord1 or
Chord2 mode, press [MODE / HAND SET] for approximately 2 seconds to indicate ‘Right’ or ‘Left’
in the display. The selection flashes. With you select the desired mode. Then press [OK] to
confirm your choice and exit this setting.
Operating
Dr. Chord Pro
27
Page 28
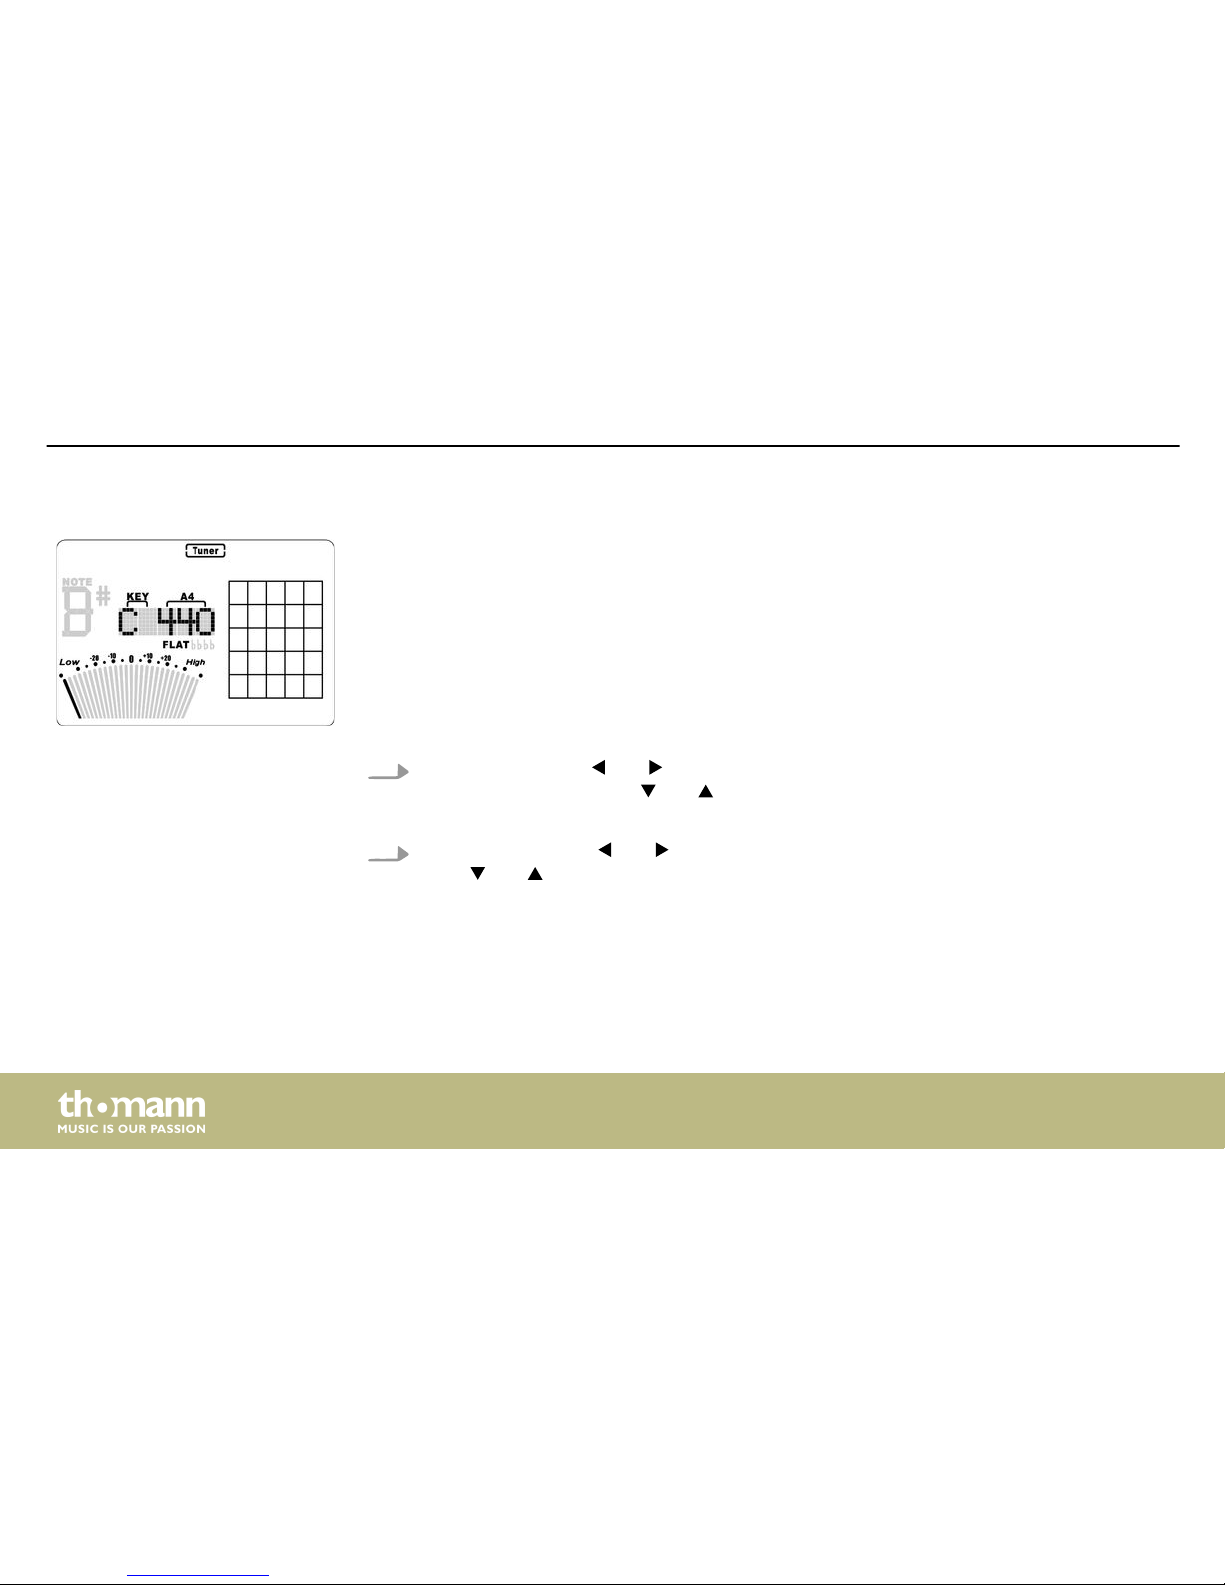
After you have called up this mode, you can start tuning with the device as soon as it detects a
signal input. The signal can be detected via the built-in microphone or the signal input. The
microphone is only active when there is no plug in the INPUT socket. Move the sound-pro‐
ducing part of the instrument as close as possible to the microphone of the instrument to get
the best possible tuning result. If you want to tune using a direct signal, connect the instru‐
ment to be tuned to the INPUT socket on the unit using a cable.
1.
Key selection: Press and to move the flashing selection to the ‘KEY’ position (see
figure above). Then press and to select the desired note. Choose from C, Bb, Eb and
F. The selected note is displayed in the ‘KEY’ position.
2.
A4 calibration: Press and to move the flashing selection to the ‘A4’ position. Then
press and to select the desired A4 frequency in increments of 1 Hz between 410 ~
480 Hz. Keeping the buttons pressed changes the frequency quickly. The set frequency
is shown in the ‘A4’ position in the display.
Operating mode ‘Tuner’
Operating
chord finder
28
Page 29
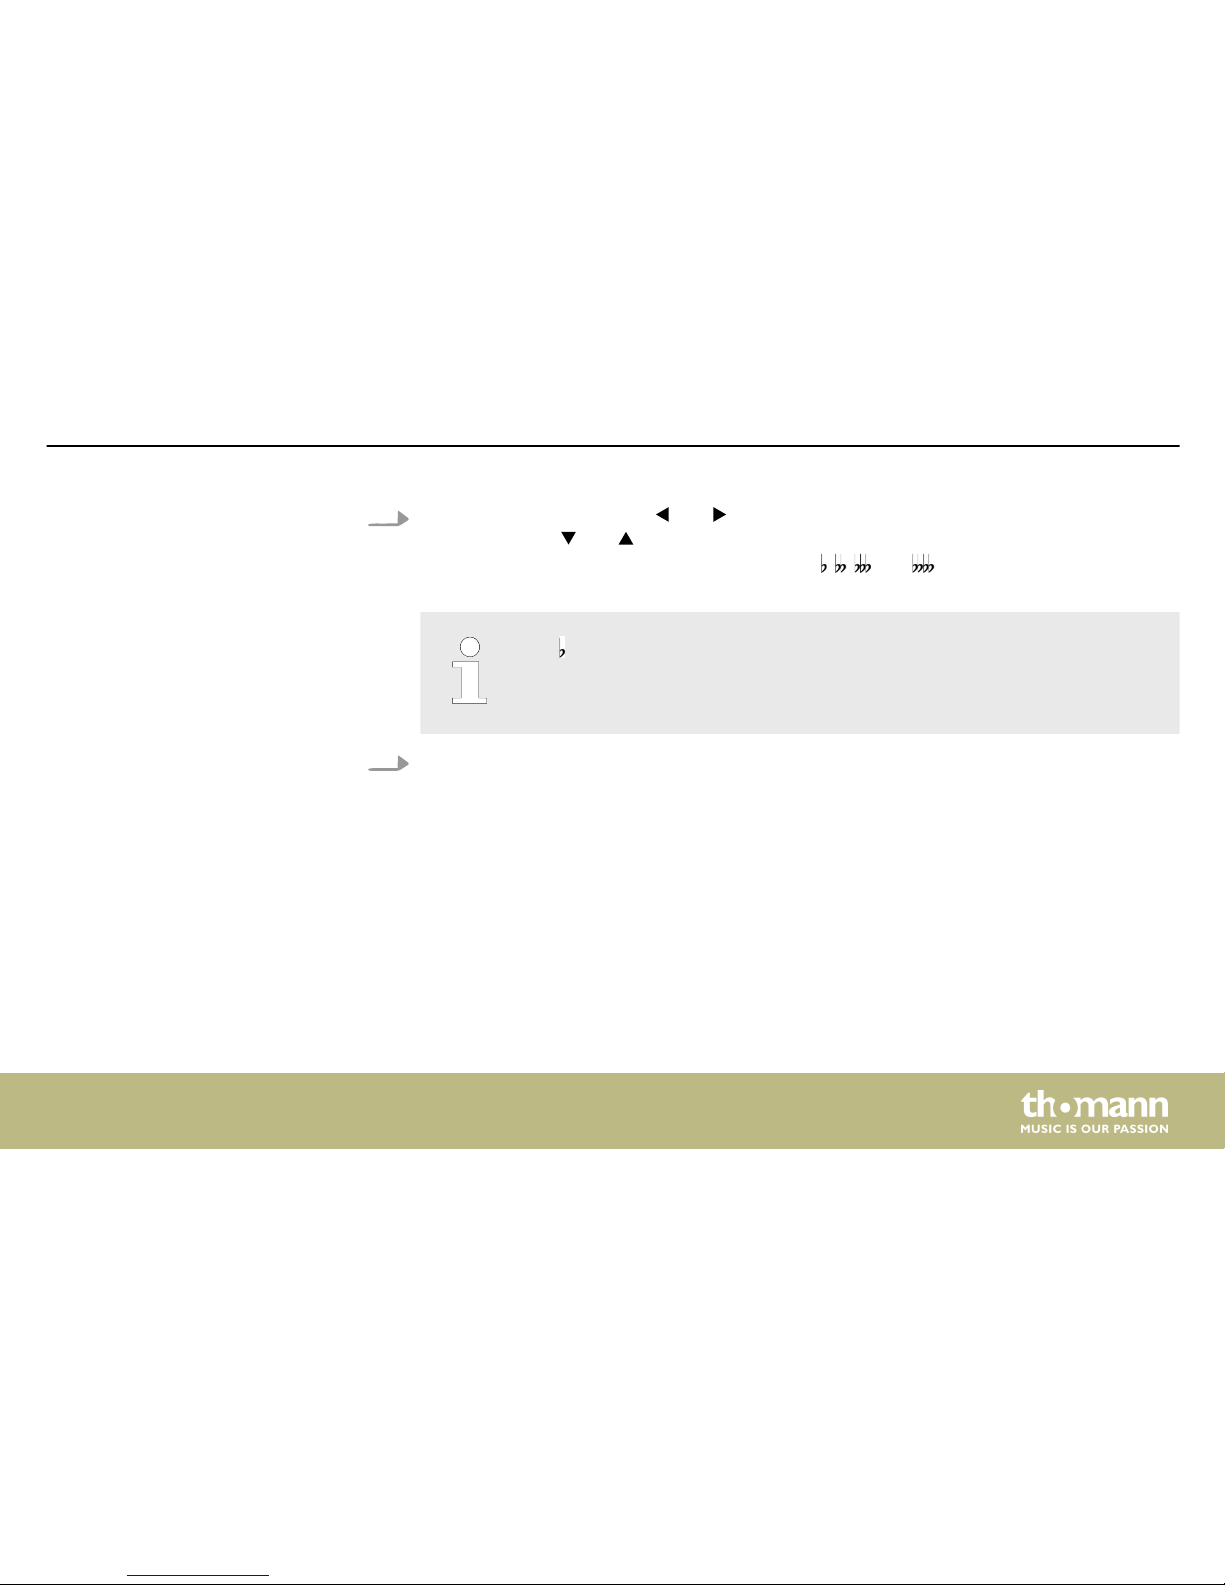
3.
FLAT tuning settings: Press and to move the flashing selection to the ‘FLAT’ posi‐
tion. Then press and to select the desired FLAT setting. You can choose Standard or
FLAT tuning. These FLAT tunings are available: , , and . The flat setting is shown
under the FLAT position in the display.
If no is displayed in the ‘FLAT’ position, the device is set to Standard tuning.
4. Start tuning: When tuning, make the instrument sound. The note name of this tone is
shown in position (A) in the display. Now vary the tension of the respective string until
the note name of the tone is displayed correctly. The measuring pointer moves accord‐
ingly in the display. If the tone is too high or too low, the LED will light red. If the tone is
exactly tuned, the LED indicator lights green and the measuring pointer is in the middle
position.
Operating
Dr. Chord Pro
29
Page 30
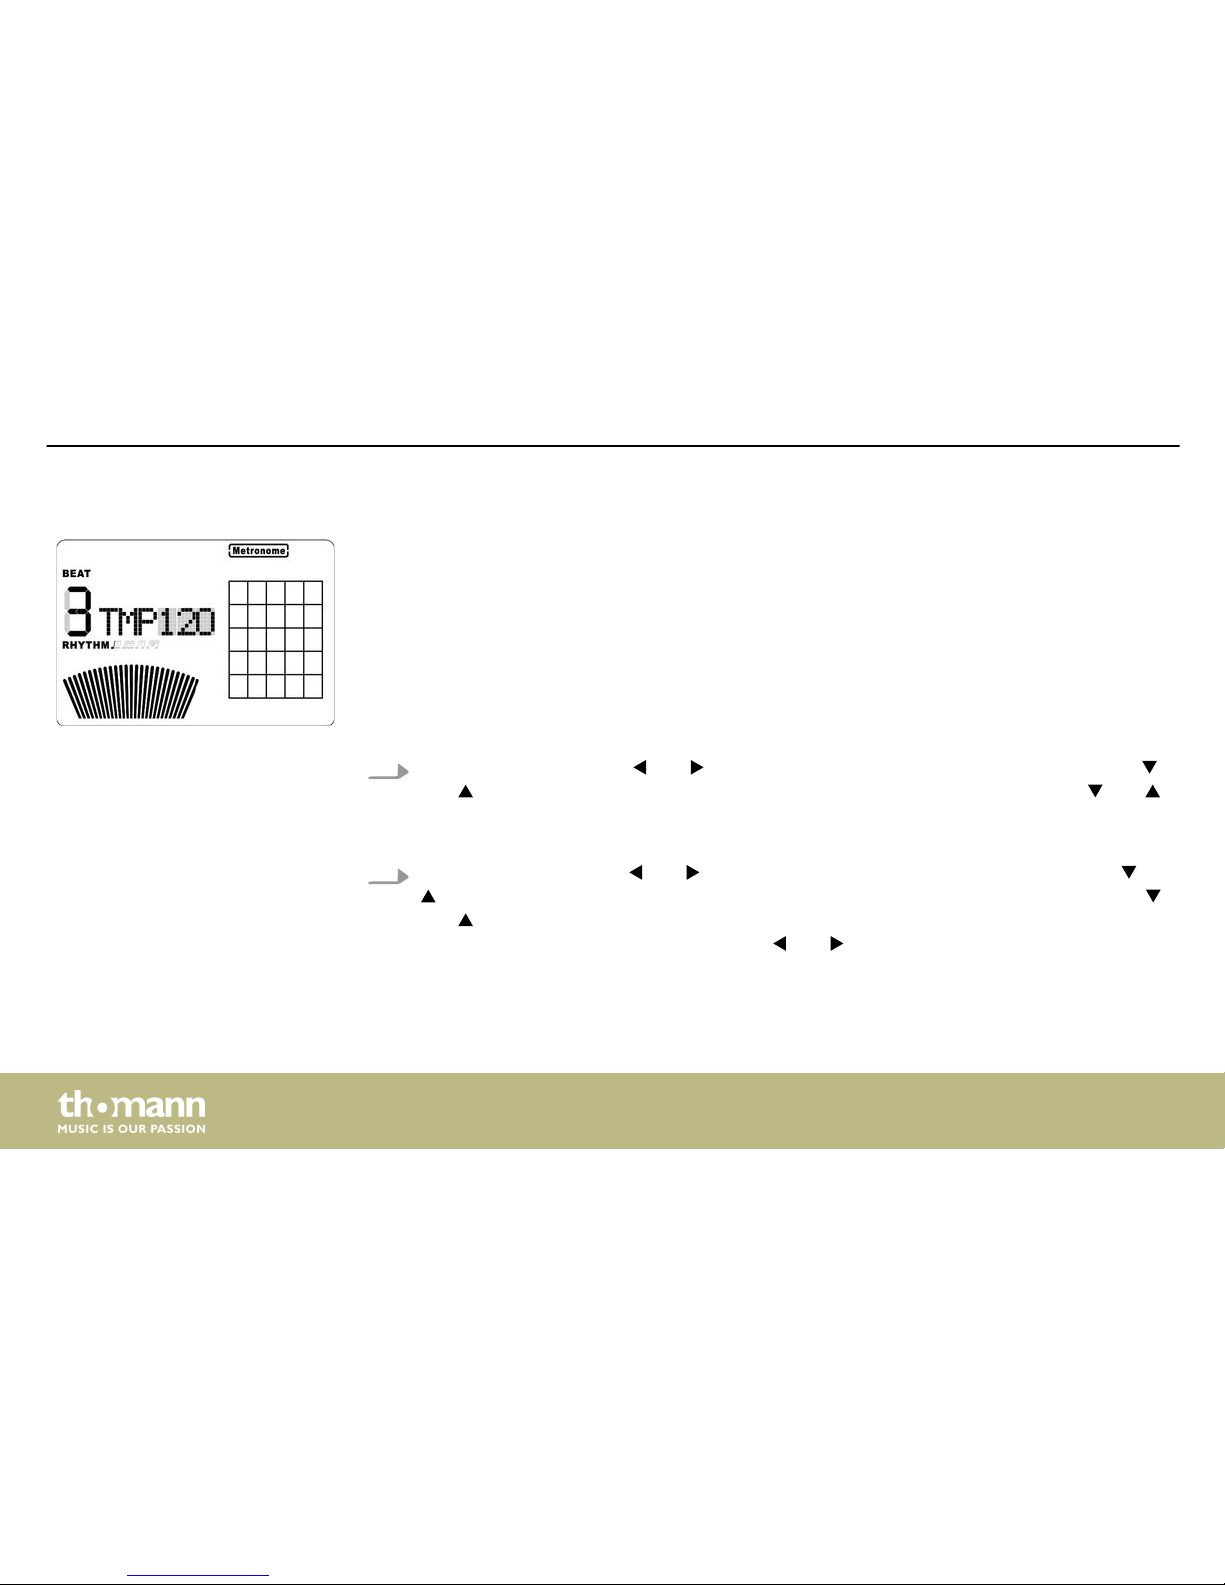
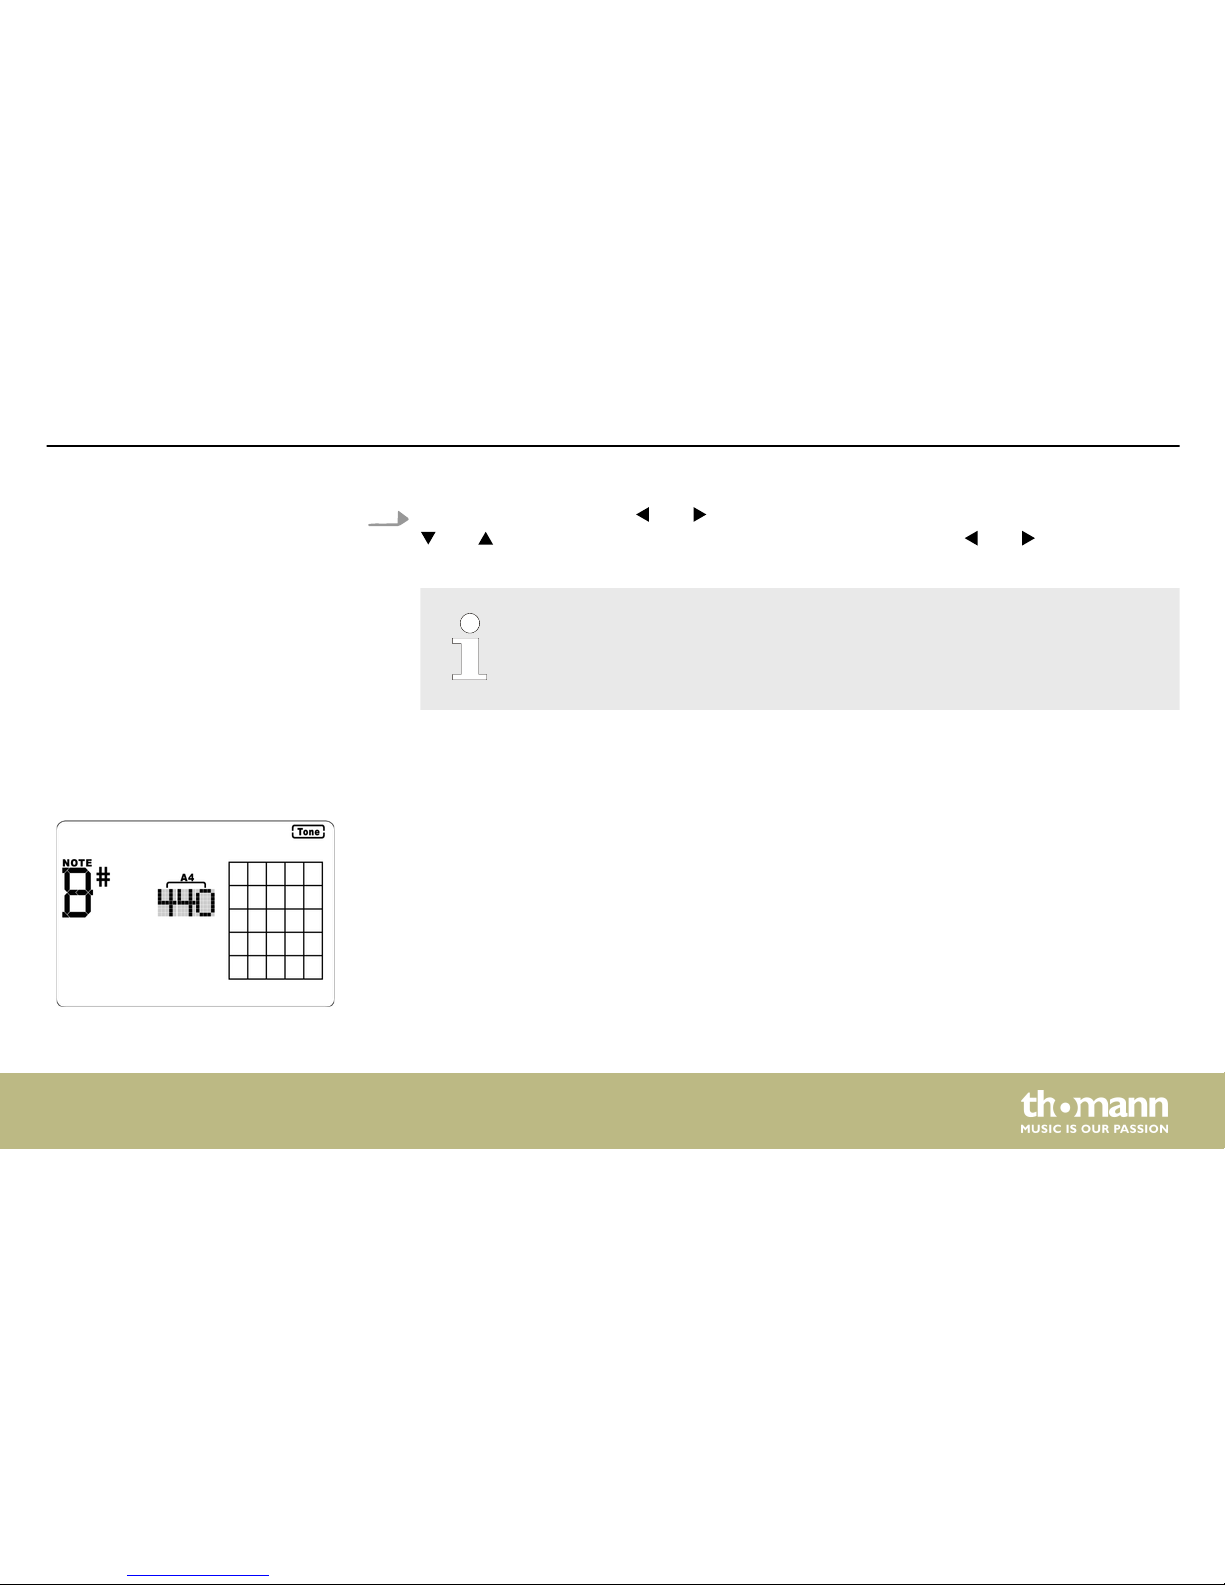
In this mode, the display appears as shown in the illustration on the left.
1.
Setting the ‘Beats’: Press and to move the cursor to ‘BEATS’ position. Then press
and to set Beat values between 0 and 9. You can then move the cursor with and
to the desired position to adjust other parameters. To finish these settings, press [OK] to
confirm.
2.
To set the Tempo, press and to move the cursor to ‘TMP’ position. Then press and
to adjust the Tempo in a range from 30 to 250 BPM (beats per minute). If you keep
and pressed, the Tempo is continuously increased or decreased in increments of 1
BPM. You can then move the cursor with and to the desired position to adjust other
parameters. To finish these settings, press [OK] to confirm.
Operating mode ‘Metronome’
Operating
chord finder
30
Page 31
3.
To set the Rhythm, press and to move the cursor to ‘RHYTHM’ position. Then press
and to set the Rhythm. You can then move the cursor with and to the desired
position to adjust other parameters. To finish these settings, press [OK] to confirm.
Whenever you have changed settings, press [OK] to save. Otherwise, the cursor
continues to flash.
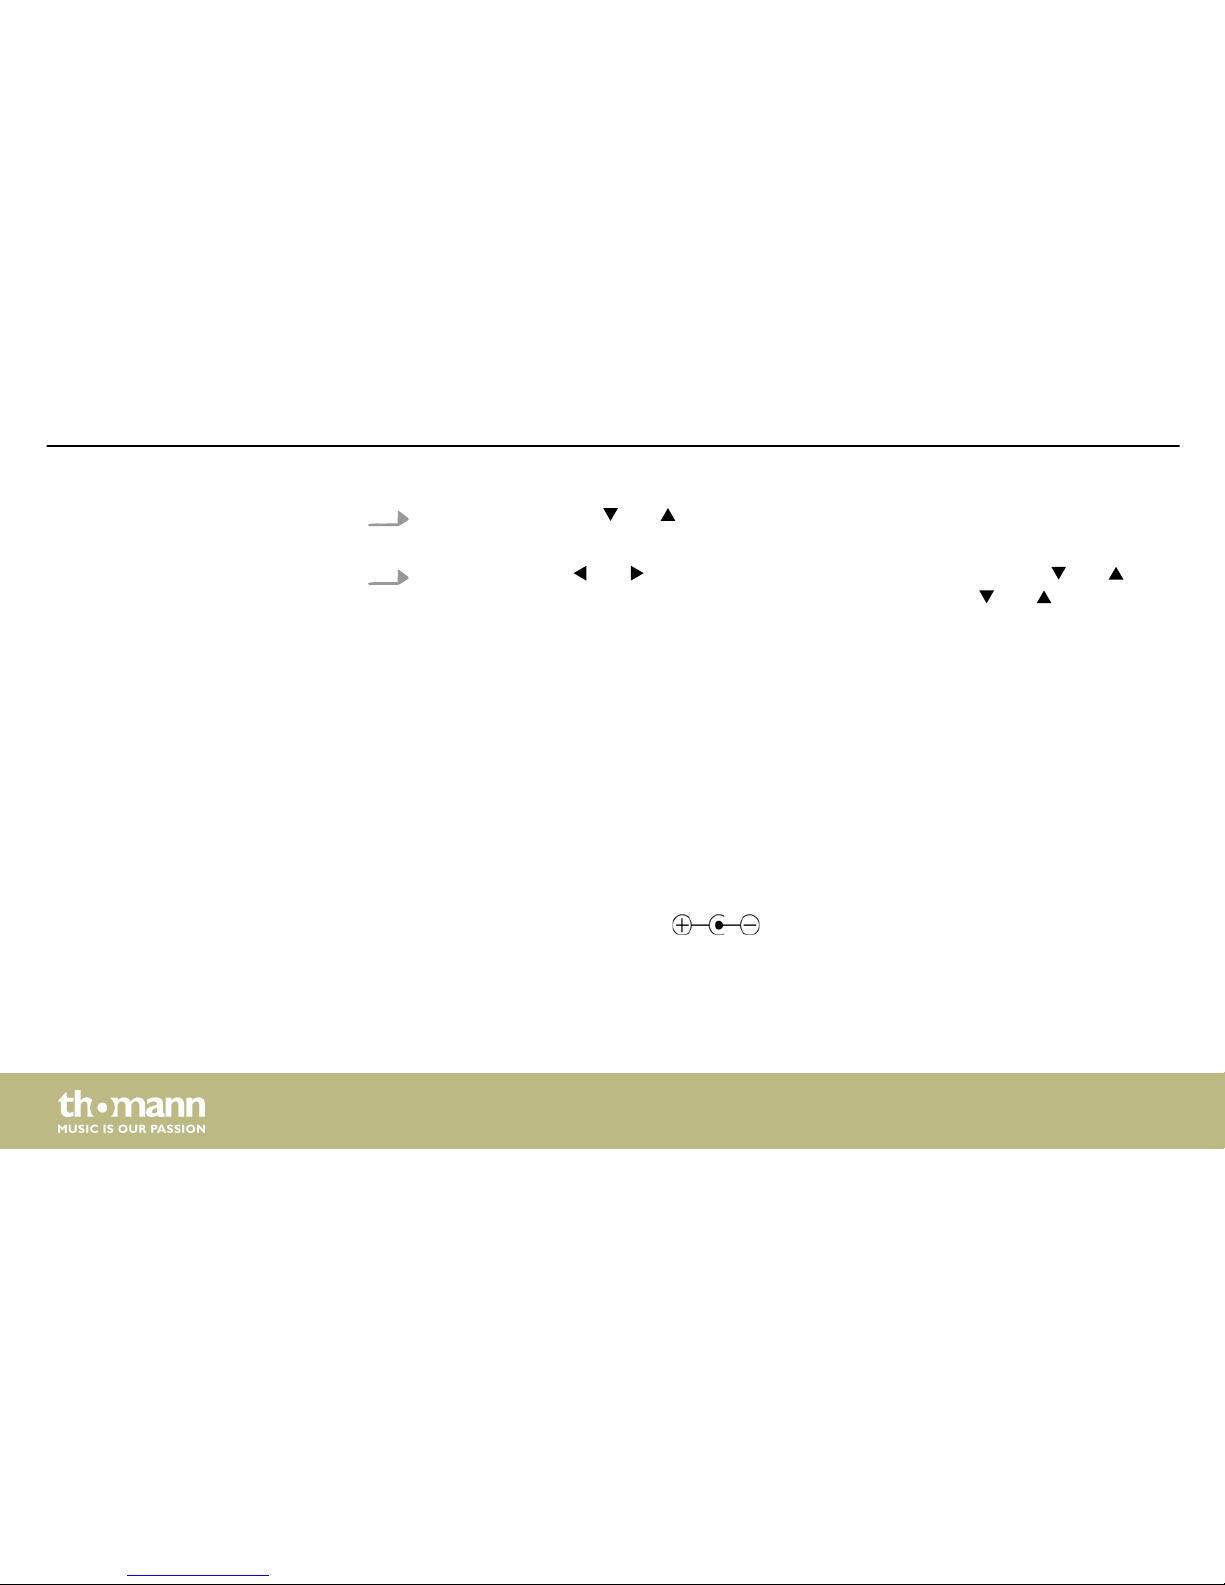
In this mode, the display appears as shown in the illustration on the left.
Operating mode ‘Tone gener‐
ator’
Operating
Dr. Chord Pro
31
Page 32
1.
Tone selection: Press and to select the desired tone from the 12 available notes
between C and B. The selected note name is displayed in the ‘NOTE’ area.
2.
Calibration: Press and to move the cursor to ‘A4’ position. Then press and to set
the A4 frequency to a value between 410 and 480 Hz. If you keep and pressed, the
frequency is continuously increased or decreased in increments of 1 Hz. To finish these
settings, press [OK] to confirm.
When the charge status drops, the display gets darker. If readability gets poor you should
change the battery. To do so, first turn off the device. Then open the battery compartment on
the back of the unit, remove the old battery and insert a fresh 9V battery (6F22). If you are not
going to use the unit for an extended period of time, remove the battery to prevent damage
from leakage.
You can operate the unit with a mains adapter that provides 9 V DC voltage with at least
150 mA. Connect the adapter to the DC 9V connector. The plug of the adapter must corre‐
spond to the polarity of the socket ( ).
You can also place the unit on a table. To do this, unfold the stand on the back of the device.
Battery change
Using the mains adapter
Unfold the stand
Operating
chord finder
32
Page 33
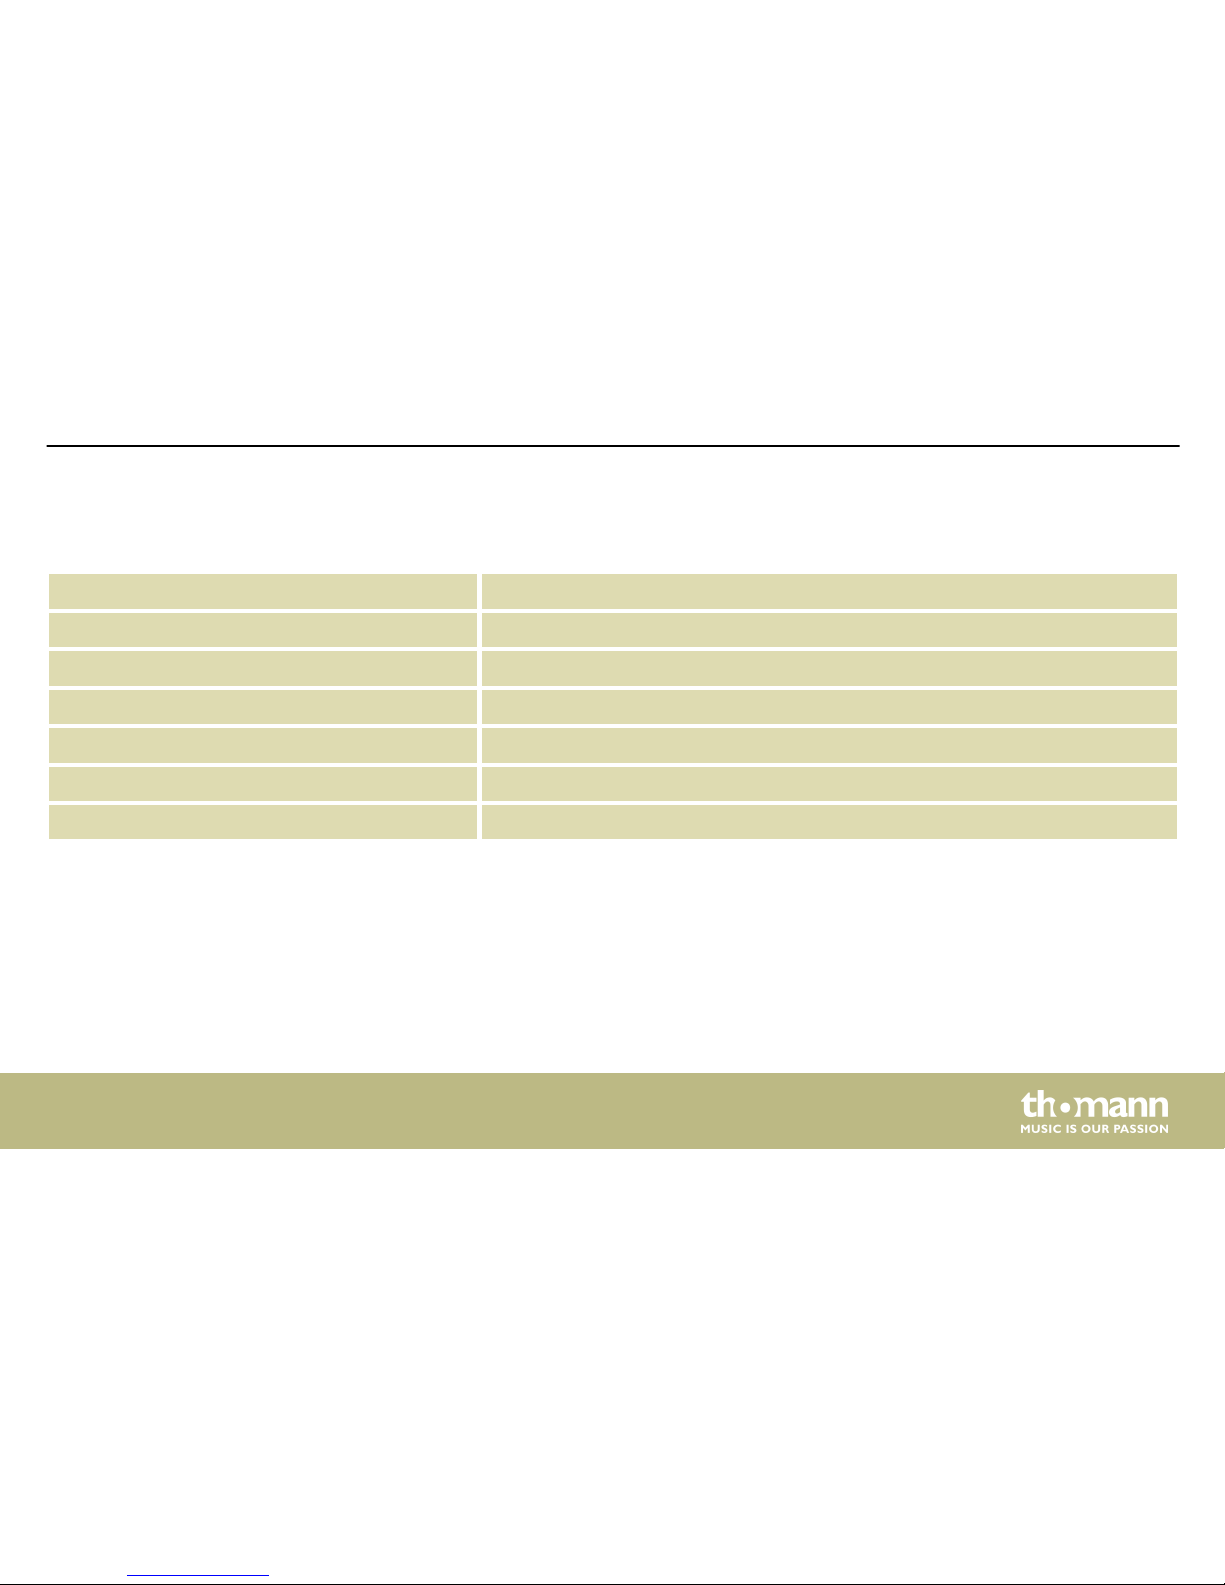
7 Technical specifications
Power supply 9V battery (6F22) or 9V power adapter (not supplied)
Tuning range A0 (27.5 Hz) - C8 (4186.01 Hz)
Calibration 430 - 450 Hz
Tone generator C4 (32.7 Hz) - B4 (493.883 Hz)
Metronome 30 - 250 bpm
Dimensions (B × H × T) 120 × 70 × 28 mm
Weight approx. 150 g (incl. battery)
Technical specifications
Dr. Chord Pro
33
Page 34
8 Protecting the environment
For the transport and protective packaging, environmentally friendly materials have been
chosen that can be supplied to normal recycling.
Ensure that plastic bags, packaging, etc. are properly disposed of.
Do not just dispose these materials with your normal household waste, but make sure that
they are fed to a recovery. Please follow the notes and markings on the packaging.
Batteries must not be disposed of as domestic waste or thrown into fire. Dispose of the bat‐
teries according to national or local regulations regarding hazardous waste. To protect the
environment, dispose of empty batteries at your retail store or at appropriate collection sites.
Disposal of the packaging mate‐
rial
Disposal of batteries
Protecting the environment
chord finder
34
Page 35
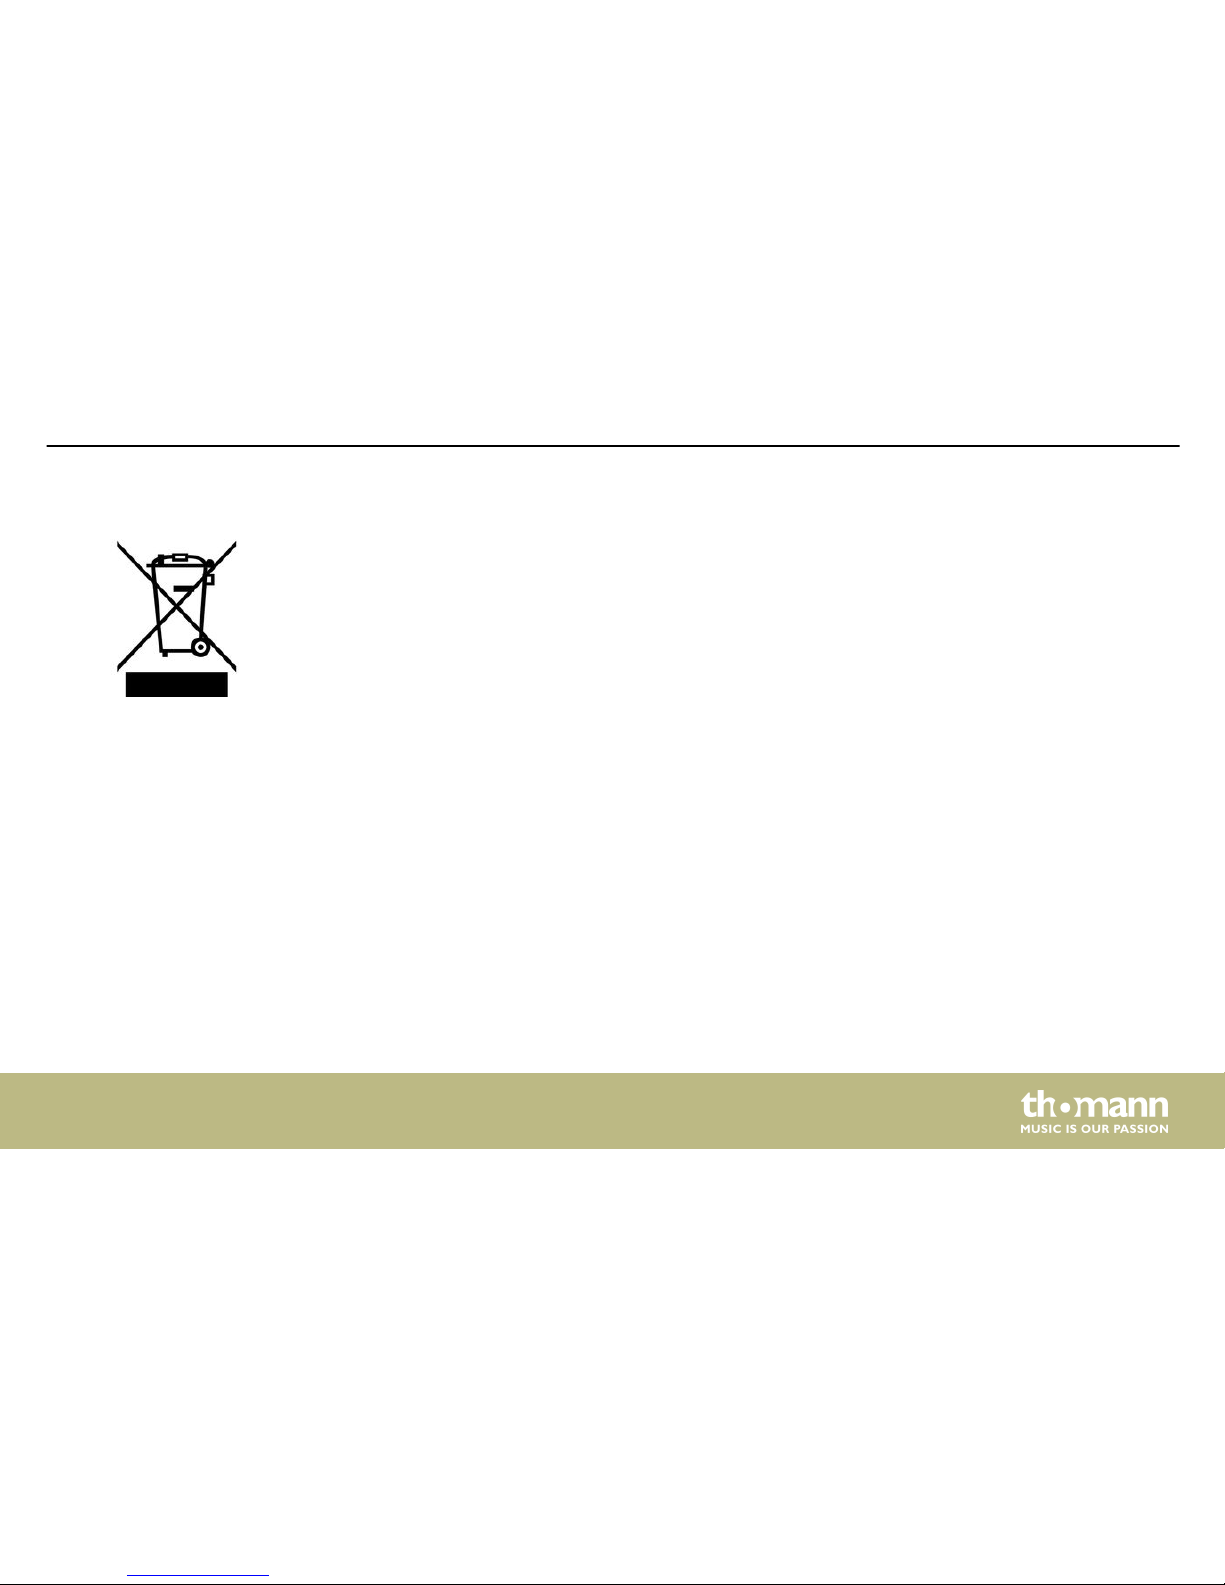
This product is subject to the European Waste Electrical and Electronic Equipment Directive
(WEEE). Do not dispose with your normal household waste.
Dispose this device through an approved waste disposal firm or through your local waste
facility. When discarding the device, comply with the rules and regulations that apply in your
country. If in doubt, consult your local waste disposal facility.
Disposal of your old device
Protecting the environment
Dr. Chord Pro
35
Page 36

Notes
chord finder
36
Page 37

Notes
Dr. Chord Pro
37
Page 38

Notes
chord finder
38
Page 39

Page 40

Musikhaus Thomann · Hans-Thomann-Straße 1 · 96138 Burgebrach · Germany · www.thomann.de
 Loading...