

Page 1
DMX Splitter 4 MKIII 19"
DMX splitter
user manual
Page 2

Musikhaus Thomann
Thomann GmbH
Hans-Thomann-Straße 1
96138 Burgebrach
Germany
Telephone: +49 (0) 9546 9223-0
E-mail: info@thomann.de
Internet: www.thomann.de
26.10.2015, ID: 357885
Page 3

Table of contents
Table of contents
1 General information................................................................................................................................. 4
1.1 Further information........................................................................................................................... 5
1.2 Notational conventions.................................................................................................................... 6
1.3 Symbols and signal words............................................................................................................... 6
2 Safety instructions..................................................................................................................................... 9
3 Features....................................................................................................................................................... 13
4 Installation.................................................................................................................................................. 14
5 Starting up.................................................................................................................................................. 15
6 Connections and operating elements........................................................................................... 18
7 Technical specifications....................................................................................................................... 22
8 Plug and connection assignment.................................................................................................... 23
9 Protecting the environment.............................................................................................................. 25
DMX Splitter 4 MKIII 19"
3
Page 4

General information
1 General information
This manual contains important instructions for the safe operation of the unit. Read and follow
the safety instructions and all other instructions. Keep the manual for future reference. Make
sure that it is available to all those using the device. If you sell the unit please make sure that
the buyer also receives this manual.
Our products are subject to a process of continuous development. Thus, they are subject to
change.
DMX splitter
4
Page 5
1.1 Further information
General information
On our website (www.thomann.de) you will find lots of further information and details on the
following points:
Download This manual is also available as PDF file for you to download.
Keyword search
Online guides
Personal consultation For personal consultation please contact our technical hotline.
Service
Use the search function in the electronic version to find the topics of
interest for you quickly.
Our online guides provide detailed information on technical basics
and terms.
If you have any problems with the device the
customer service will gladly assist you.
DMX Splitter 4 MKIII 19"
5
Page 6

General information
1.2 Notational conventions
This manual uses the following notational conventions:
Letterings
The letterings for connectors and controls are marked by square brackets and italics.
Examples: [VOLUME] control, [Mono] button.
1.3 Symbols and signal words
In this section you will find an overview of the meaning of symbols and signal words that are
used in this manual.
6
DMX splitter
Page 7
General information
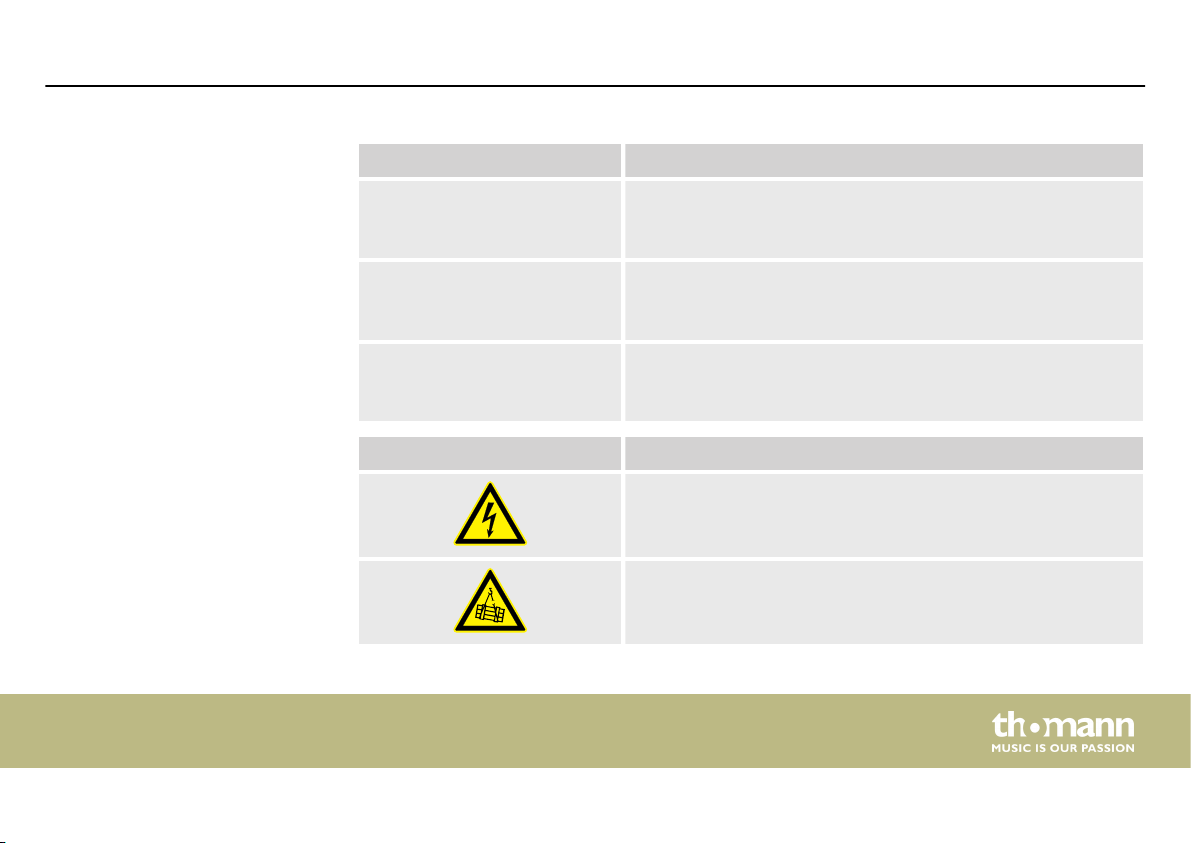
Signal word Meaning
DANGER! This combination of symbol and signal word indicates an
immediate dangerous situation that will result in death or
serious injury if it is not avoided.
WARNING! This combination of symbol and signal word indicates a pos‐
sible dangerous situation that can result in death or serious
injury if it is not avoided.
NOTICE! This combination of symbol and signal word indicates a pos‐
sible dangerous situation that can result in material and
environmental damage if it is not avoided.
Warning signs Type of danger
Warning – high-voltage.
Warning – suspended load.
DMX Splitter 4 MKIII 19"
7
Page 8
General information
Warning signs Type of danger
Warning – danger zone.
DMX splitter
8
Page 9

2 Safety instructions
Safety instructions
Intended use
This device is intended to be used for the distribution of DMX signals from one to multiple
DMX chains, or to extend a DMX chain. Use the device only as described in this user manual.
Any other use or use under other operating conditions is considered to be improper and may
result in personal injury or property damage. No liability will be assumed for damages resulting
from improper use.
Any other use or use under other operating conditions is considered to be improper and may
result in personal injury or property damage. No liability will be assumed for damages resulting
from improper use.
DMX Splitter 4 MKIII 19"
9
Page 10

Safety instructions
Safety
DANGER!
Danger for children
Ensure that plastic bags, packaging, etc. are disposed of properly and are not
within reach of babies and young children. Choking hazard!
Ensure that children do not detach any small parts (e.g. knobs or the like) from
the unit. They could swallow the pieces and choke!
Never let children unattended use electrical devices.
DANGER!
Electric shock caused by high voltages inside
Within the device there are areas where high voltages may be present. Never
remove any covers.
There are no user-serviceable parts inside.
10
DMX splitter
Page 11

Safety instructions
DANGER!
Electric shock caused by short-circuit
Do not modify the mains cable or the plug. Failure to do so could result in electric
shock/death or fire. If in doubt, seek advice from a registered electrician.
WARNING!
Risk of injury caused by falling objects
Make sure that the installation complies with the standards and rules that apply
in your country. Always secure the device with a secondary safety attachment,
such as a safety cable or a safety chain.
NOTICE!
Risk of fire
Do not cover the device nor any ventilation slots. Do not place the device near
any direct heat source. Keep the device away from naked flames.
DMX Splitter 4 MKIII 19"
11
Page 12

Safety instructions
NOTICE!
Operating conditions
This device has been designed for indoor use only. To prevent damage, never
expose the device to any liquid or moisture. Avoid direct sunlight, heavy dirt, and
strong vibrations.
NOTICE!
Power supply
Before connecting the device, ensure that the input voltage (AC outlet) matches
the voltage rating of the device and that the AC outlet is protected by a residual
current circuit breaker. Failure to do so could result in damage to the device and
possibly injure the user.
Unplug the device before electrical storms occur and when it is unused for long
periods of time to reduce the risk of electric shock or fire.
12
DMX splitter
Page 13

3 Features
Features
n Professional DMX splitter with following functions:
– Distribution of the DMX-512 signal to four DMX chains in active mode
– Looping the DMX-512 signal in passive mode
– Amplification of the DMX-512 signal for longer distances to the controlled DMX
devices
– Processing of attenuated or disturbed DMX-512 signals
– Reduction of reflections that can cause transmission interference
– The galvanic isolation of in and outputs and among the outputs ensures a protection
against damage from power surges of up to 2000 V
n 1 × DMX input
n 1 × passive DMX output
n 4 × active DMX outputs
n Each DMX in and output in three-pin and five-pin design
n 19" rack-mountable
DMX Splitter 4 MKIII 19"
13
Page 14

Installation
4 Installation
Unpack and carefully check that there is no transportation damage before using the unit. Keep
the equipment packaging. To fully protect the device against vibration, dust and moisture
during transportation or storage use the original packaging or your own packaging material
suitable for transport or storage, respectively.
NOTICE!
Possible data transmission errors
For error-free operation make use of dedicated DMX cables and do not use ordi‐
nary microphone cables.
Never connect the DMX input or output to audio devices such as mixers or ampli‐
fiers.
14
DMX splitter
Page 15

5 Starting up
Starting up
Establish all connections as long as the unit is switched off. Use the shortest possible highquality cables for all connections.
DMX Splitter 4 MKIII 19"
15
Page 16

Starting up
DMX connections
The following graphic illustrates how to integrate the unit into a DMX configuration.
Use the product (S) as the last part of the DMX chain that begins with your DMX controller (C).
Do do so, connect the output of the last device to the input of the DMX splitter.
You can connect one DMX chain to each active DMX output of the device (S) (DMX splitter).
Connect the output of the first DMX device to the input of the second and continue this way
until all devices are connected. Make sure that the output of the last DMX device in the chain is
terminated by a resistor (110 Ω, ¼ W). You can even expand the configuration of your DMX
network if you are running additional DMX splitters at the end of the DMX chains. Keep in
mind that the total number of usable DMX addresses in a ‘DMX universe’ is limited to 512.
On the passive DMX output, the signal is looped through to a connected device.
DMX splitter
16
Page 17

Starting up
Rack mounting
The unit has been designed for rack mounting in a standard 19-inch rack; it occupies one rack
unit.
DMX Splitter 4 MKIII 19"
17
Page 18

Connections and operating elements
6 Connections and operating elements
Front panel
18
DMX splitter
Page 19

Connections and operating elements
1 [ON/OFF]
Mains switch. Turns the device on and off.
2 [DMX IN]
DMX input in three-pin and five-pin design.
3 [DMX THRU]
Passive DMX output for looping the signal to a connected device, in three-pin and five-pin design.
4 [DMX OUT]
4 × active DMX outputs to buffer, amplify and distribute the signal to other DMX chains, three- and five-pin type with
control LEDs for the signals on the DMX data lines of the DMX outputs. The red LED indicates the operational readi‐
ness of the DMX outputs. The green LED lights up when a DMX controller is connected and a signal is transmitted on
the data line.
DMX Splitter 4 MKIII 19"
19
Page 20

Connections and operating elements
Rear panel
20
DMX splitter
Page 21

Connections and operating elements
5 Mains cable for power supply.
6 Fuse holder. If the fuse blows, replace it with a new fuse of the same type. You must first disconnect the device from
the power supply.
DMX Splitter 4 MKIII 19"
21
Page 22

Technical specifications
7 Technical specifications
Operating supply voltage
Fuse 5 mm × 20 mm, 1 A, 250 V, slow-blow
Dimensions (W × H × D) 483 mm × 44 mm × 157 mm
Weight 2.3 kg
AC 230 V , 50/60 Hz
DMX splitter
22
Page 23

8 Plug and connection assignment
Plug and connection assignment
Introduction
DMX connections
This chapter will help you select the right cables and plugs to connect your valuable equip‐
ment so that a perfect light experience is guaranteed.
Please take our tips, because especially in ‘Sound & Light’ caution is indicated: Even if a plug
fits into a socket, the result of an incorrect connection may be a destroyed DMX controller, a
short circuit or ‘just’ a not working light show!
The unit offers a 3-pin XLR socket for DMX output and a 3-pin XLR plug for DMX input. Please
refer to the drawing and table below for the pin assignment of a suitable XLR plug.
Pin Configuration
1 Ground, shielding
2 Signal inverted (DMX–, ‘cold signal’)
3 Signal (DMX+, ‘hot signal’)
DMX Splitter 4 MKIII 19"
23
Page 24

Plug and connection assignment
DMX connections
A five-pin XLR socket serves as DMX output, a five-pin XLR plug serves as DMX input. The
drawing below and the table show the pin assignment of a matching coupling.
Pin Assignment
1 Ground (shielding)
2 Signal inverted (DMX–, ‘cold’)
3 Signal (DMX+, ‘hot’)
4 unused / second connection (DMX–)
5 unused / second connection (DMX+)
DMX splitter
24
Page 25

9 Protecting the environment
Disposal of the packaging mate‐
rial
For the transport and protective packaging, environmentally friendly materials have been
chosen that can be supplied to normal recycling.
Ensure that plastic bags, packaging, etc. are properly disposed of.
Do not just dispose of these materials with your normal household waste, but make sure that
they are collected for recycling. Please follow the notes and markings on the packaging.
Disposal of your old device
This product is subject to the European Waste Electrical and Electronic Equipment Directive
(WEEE). Do not dispose with your normal household waste.
Dispose of this device through an approved waste disposal firm or through your local waste
facility. When discarding the device, comply with the rules and regulations that apply in your
country. If in doubt, consult your local waste disposal facility.
Protecting the environment
DMX Splitter 4 MKIII 19"
25
Page 26

Notes
26
DMX splitter
Page 27

Page 28

Musikhaus Thomann · Hans-Thomann-Straße 1 · 96138 Burgebrach · Germany · www.thomann.de
 Loading...