

Page 1
1
1.
Text Only
Instructions
A
GES 7 TO ADUL
T
Gears Set
Macaroni Racecar
Rubber Band
Powered!
YOU CAN
ALSO MAKE:
Cable Car
Motorcycle
Toy contains functional sharp point.
CHOKING HAZARD—Small parts.
Not for CHILDREN UNDER 3YRS.
This work is licensed under a Creative Commons Attribution-NonCommercial 4.0 International License. You are free to share
and build upon these les in your new creations, but you may not use these les for commercial purposes. For a complete
copy of the license, visit creativecommons.org/licenses/by-nc/4.0/.
2
DESIGNED BY ENGINEERS FOR BUDDING ENGINEERS!
Using your maker parts, have fun turning things from your recycle bin into
machines that move. In this set featuring gears, you can build a racecar, a
cable car, a three-wheeler, and a motorcycle. Once you’ve completed a build,
put your creative-thinking skills to the test by taking an Engineering Challenge.
There are two for each build plus two bonus challenges--you’ll have to think
like a true engineer as you design your solutions.
PARTS/INVENTORY
You’ll Also Need:
• Objects such as a macaroni box,
a water bottle and a yogurt cup.
• A pencil or pen
• Tape or glue
• Scrap Cardboard
• Scissors
• Decorations (paint, stickers,
glitter, etc.)
• Creativity!
(Note: Your recycle bin is a good place to look. The measurements we’ve listed
on the builds are just suggestions—use what you have.)
SIMPLE STEPS
Choose a build and gather the parts needed, including a recyclable
Follow the step-by-step assembly instructions. You may want to work with
an adult or older child to help with cutting some of the recyclable objects.
Maker Studio Gears Set
Page 2
This work is licensed under a Creative Commons Attribution-NonCommercial 4.0 International License. You are free to share
and build upon these les in your new creations, but you may not use these les for commercial purposes. For a complete
copy of the license, visit creativecommons.org/licenses/by-nc/4.0/.
3
adorn it with stickers, duct tape and glitter. Get creative and go for it!
Once you’ve had some fun with your creation, take the Engineering
Challenges (each build comes with two.) Note: you will need to alter your
build to solve each challenge. There is no single solution, so have fun
being innovative!
After completing all four builds in the set, use your new engineering skills
Go to www.ThinkFun.com/MakerStudio to see all the Maker Studio sets and
combine them for more building fun!
PARTS EXPLANATION
Before building, take note of how the parts listed below can be used.
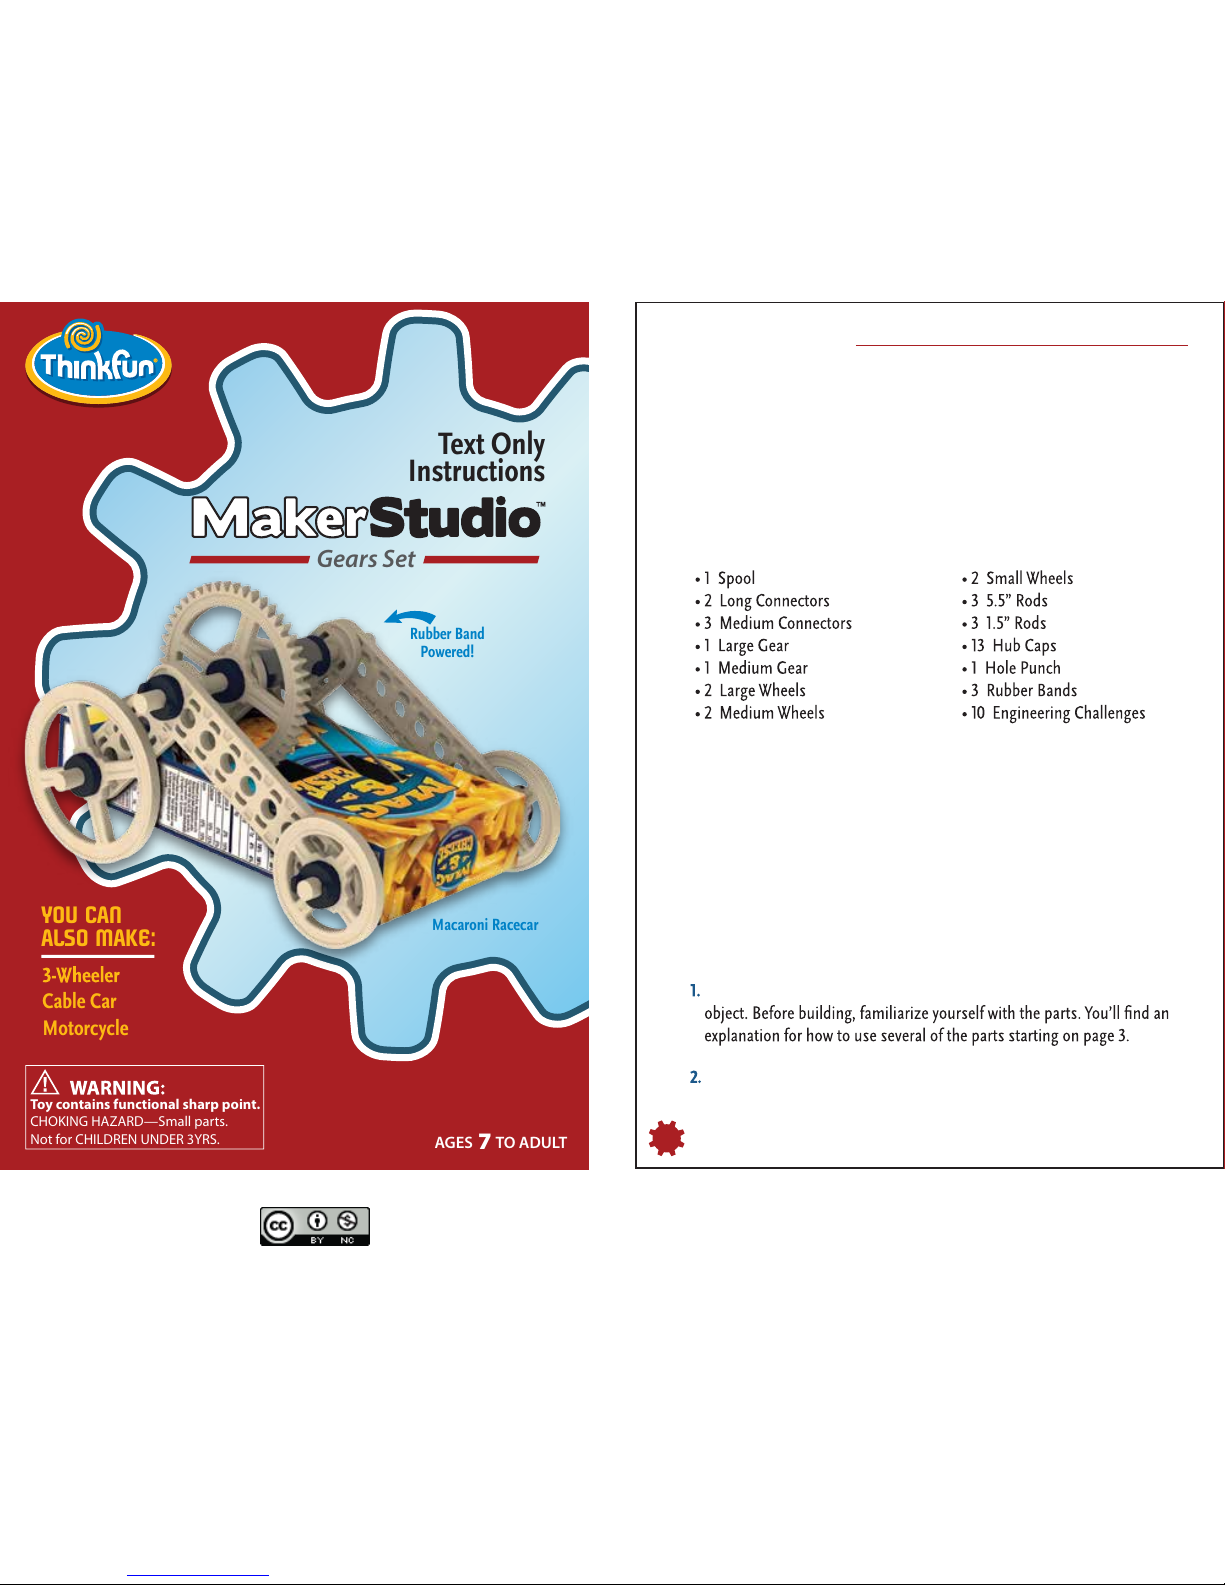
a. Spool: Use the spool to secure and wrap a rubber band, string, or similar
object around a rod. When wrapping and winding a rubber band around
the spool, you create tension which can be released to power a wheel
or gear.
To use the spool, tie a string or loop a rubber band around the small tab in the
center of the spool. Then wind the string or rubber band around the middle of
the spool.
When reading the assembly instructions, pay close attention to the direction the
tab is facing on the spool. This will be important to power the machine.
b. Connectors: Use the connectors to join multiple rods and allow some or
all of these rods to rotate in place.
444
c. Gears: Use the gears to change the direction of force, and transfer this
force between gears and wheels.
d. Rods: Use the rods to connect multiple parts along a single axis, often at
least one of those parts is intended to rotate around that axis.
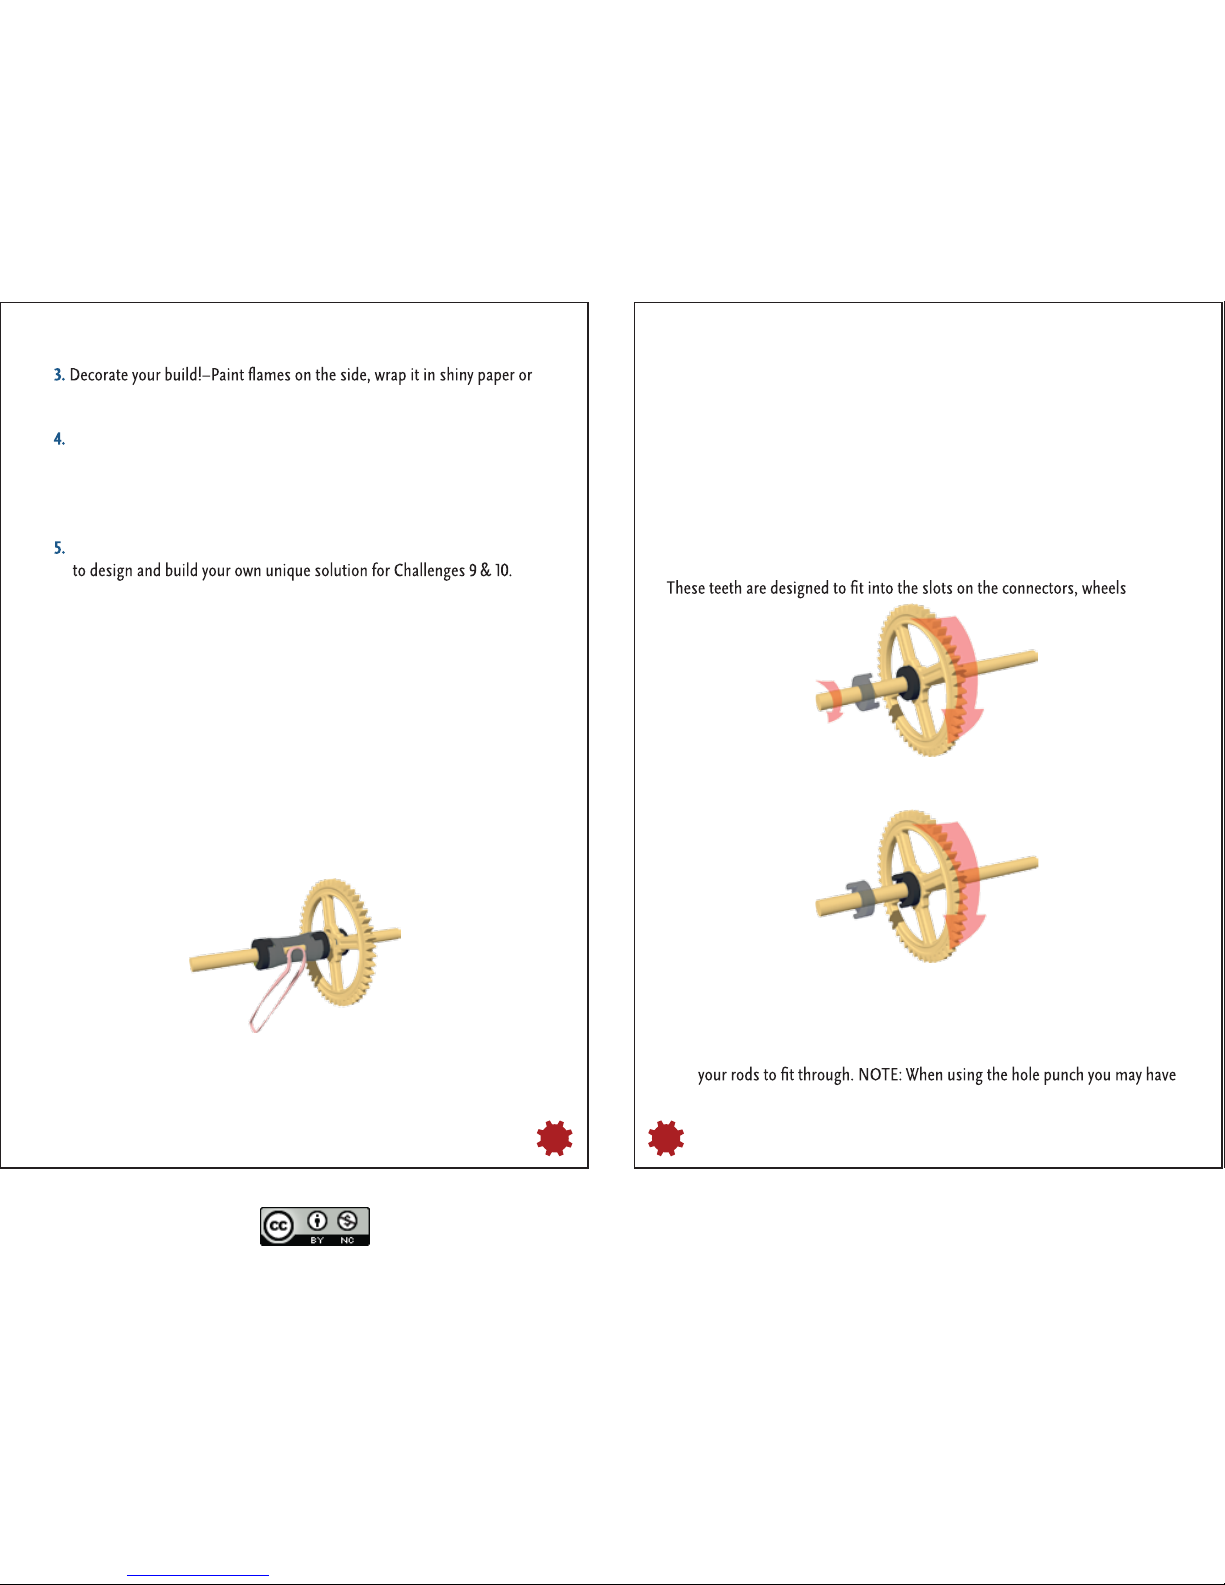
e. Hub Caps: Use hub caps to secure parts (i.e. wheels or gears) to a rod.
Based upon how you attach the hub cap, you can either lock a part in place
or allow the part to spin freely.
To lock a part in place, use the two teeth found on one side of the hub cap.
and gears.
To allow a part to spin freely, turn the hub cap so the teeth are facing out and do
not lock into the slots on the connectors, wheels or gears.
Note: When reading the assembly instructions, pay close attention to which
direction the teeth are facing.
f. Hole Punch: Use the hole punch to make holes in your recyclable
household items. This hole punch creates a hole that is the perfect size for
to support the object with your other hand so that it does not crumple;
however, take care not to place your hand directly opposite the pointy end
of the hole punch.
Gear and axle are
locked together and
spin together.
Gear spins freely
while axle is stationary.
Page 3

This work is licensed under a Creative Commons Attribution-NonCommercial 4.0 International License. You are free to share
and build upon these les in your new creations, but you may not use these les for commercial purposes. For a complete
copy of the license, visit creativecommons.org/licenses/by-nc/4.0/.
555
ABOUT THE INVENTORS
Parker Thomas has been a maker his entire life. He has built and sold two
companies, cofounded a public Montessori charter school and built two
airplanes. In his spare time he makes tree houses, zip lines, drones, boats,
pens, knives and anything else his two kids want to make. As a child, Parker’s
house was littered with the carcasses of old cameras, tape recorders, engines
to understand the power of making as a learning process. This led him to create
co-found a school based on the principles of Montessori, design thinking and
arts integration. He’s currently a consultant helping schools and other learning
organizations create maker mindsets and spaces that encourage creativity
and learning.
David Yakos: Driven by creativity and a background in Mechanical Engineering,
he pursued the world of consumer product design and prototyping. With an
the house which consisted of a cut-down dryer box full of empty shampoo
bottles, paper tubes, popsicle sticks and other building supplies. There, with his
imagination, he was able to begin his journey of design and invention. Today,
David continues to develop consumer products as Director of Creativity, and
nearly every day of his life inventing unique solutions for everyday problems.
Named on dozens of patents, he has helped develop hundreds of products for
startups and leading brands; from lines of wheelchairs for children to awardwinning dog toys; from breakthrough cryogenic valve technology for NASA, to a
prototype-of-the-year noted by Popular Science.
David and Parker met at the Hatch Experience and were inspired to share these
kits with the world #BecauseOfHATCH
6
1.
2.
3.
ThinkFun’s Mission is to
Ignite Your Mind!
®
ThinkFun® is the world’s leader in addictively fun
games that stretch and sharpen your mind.
From lighting up young minds to creating fun for
the whole family, ThinkFun’s innovative
games and mobile apps make you think while
they make you smile.
www.ThinkFun.com
6
ThinkFun’s Mission is to
Ignite Your Mind!
®
ThinkFun® is the world’s leader in addictively fun
games that stretch and sharpen your mind.
From lighting up young minds to creating fun for
the whole family, ThinkFun’s innovative
games and mobile apps make you think while
they make you smile.
www.ThinkFun.com
 Loading...