

The Whistler Group WH28 User Manual
User Guide
PRO3700
MAXIMUM
PERFORMANCE
Laser/Radar Detector
PRO3700

INTRODUCTION
Dear Whistler Customer,
If you have questions concerning the operation of this Whistler
product please call:
Customer Service
Monday - Friday • 8:00 am - 5:00 pm CT
Please keep the receipt in a safe place. You may register your
product online at www.whistlergroup.com. For warranty
verification purposes, a copy of your dated store receipt must
still accompany any unit sent in for warranty work. If the unit is
returned without a dated store receipt, an out-of-warranty service
charge applies.
NOTE: Your warranty period begins at the time of purchase. The
warranty is validated only by the dated store receipt! Please
record the serial number of the unit in the space provided in the
accessories section of the guide.
To fully acquaint yourself with the operation of your Whistler
detector and to better understand the differences between
detecting radar, laser, and safety radar signals, we recommend
reading this entire guide or visiting our FAQ page on our website
www.whistlergroup.com.
Enjoy your Whistler detector and please drive safely.
1-800-531-0004
or visit our website
www.whistlergroup.com
Sincerely,
The Whistler Group, Inc.
2

TABLE OF CONTENTS
Model Features Summary ........................................ 5 - 6
Operation .................................................................. 7 - 25
• Power On and Self-Test
• Memory/Beep Confirmation
• Audio Level Adjustment
• Auto Quiet/Quiet Modes
• City/City 1/City 2 Modes
• Highway Mode
• Selectable Signal Strength Meter
• Understanding the Display
• Temperature Display
• Dim/Dark Modes
• Horizontal/Vertical Viewing
• Vehicle Battery Saver
• TFSR/FDSR Rejection Modes
• Security Mode
• Filter Modes
• Ka Max Mode
• VG2
• Radar Signature ID (RSID)
• Laser Signature ID (LSID)
• Adjustable Laser
• Red Light/Speed Camera Detection
• Safety Warning System (SWS)
• Alert Priority
• Integrated Real Voice
• Option Select Mode
• Teach/Tutorial Mode
• POP™ Mode
• Stay Alert™
• Voice Port
• LED Port
• USB Port
• DISP Port
3

TABLE OF CONTENTS
• RADAR1 Port
• RADAR2 Port
• AUX Ports
• Laser Port
• GPS Port
• Setting Saver
Radar/Laser and SWS Alerts ................................ 26 - 27
• Radar Alerts
• Pulse Protection
• Safety Radar Audio/Visual Alerts
• Laser Audio/Visual Alerts
• Alert Priority
• Reset Features
Troubleshooting Guide ......................................... 28 - 29
FCC Information .............................................................29
Are Detectors Legal? ....................................................30
Speed Monitoring Technologies ......................... 30 - 33
• POP™ Mode
• Laser Facts
• Laser Tips
• Radar Facts
• Other Speed Detection Systems
• Radar Detector Detectors
Warranty Information ............................................ 34 - 37
Specifications ..................................................................38
Accessories ......................................................................39
®
4

WHISTLER FEATURES
Whistler’s ergonomic and user-friendly design provides a new
level of operating convenience and expandability.
Special features include:
• Voice Module – Provides distinct audio and voice warnings for
X, K, Ka band radar, safety warning system, Compass N, S, E,
W prompts, and laser. This module also adjusts the maximum
audio level.
• Laser-Radar Antenna – Compact, maximum performance
antenna receives laser as well as radar signals. PRO3700
detects the Laser Atlanta Stealth Mode laser gun!
• Control Panel – Provides distinct visual confirmation of signals
detected, signal strength, and indicates engaged modes of
operation. The display can also be mounted 3 different ways
and displayed correctly. Four buttons allow access to the unit’s
features.
• Interface Box (iBox) – Central module provides power and
communication to all modules.
• Alert/Security LED – Provides additional visual notification
of alerts. When selected in Option Select Mode, this LED
doubles as a faux security flashing LED.
NOTE: Specifications and appearance may change without
notice.
5
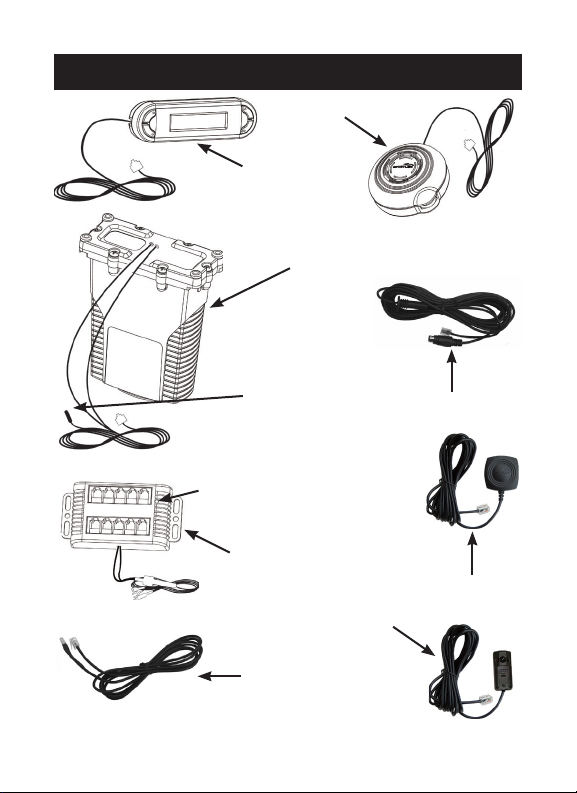
WHISTLER FEATURES
Voice Module
Control Panel
Laser/Radar Antenna
Temperature
Reset Button
Interface Box
Optional Front/Rear
Laser Module
Alert/Security LED
Probe
6
Interface Cable
Optional GPS
Module

OPERATION
Power On and Self-Test
Each time your Whistler detector is turned on, an automatic
self-test sequence confirms that the speaker and visual
displays are functional.
• Press PWR or apply Power.
Display shows:
WHISTLER, X-band, K-band, Ka-band, LASER, VG2 OFF, SR
OFF, VOICE ON, POP OFF, XK Filter 1, Ka Filter 1, TFSR ON,
FDSR OFF, HIGHWAY
To turn the unit off:
• Press and release PWR briefly and the display will show a
5-second count down before powering off. If you pressed the
power button by mistake, press the PWR button again during
this 5-second period to cancel power down.
• If the unit is powered by a switched 12 volt source the unit will
turn off when the ignition key is removed.
Memory/Beep Confirmation
All features selected (except Stay Alert and Quiet) are
retained in memory. Each time a button is pressed, one beep
confirms feature “on”, two beeps confirm feature “off”.
Audio Level Adjustment
To change the audio level:
• Move the Volume control on the voice module back to
increase the audio level.
• Move the Volume control on the voice module forward to the
decrease audio level.
7
OPERATION
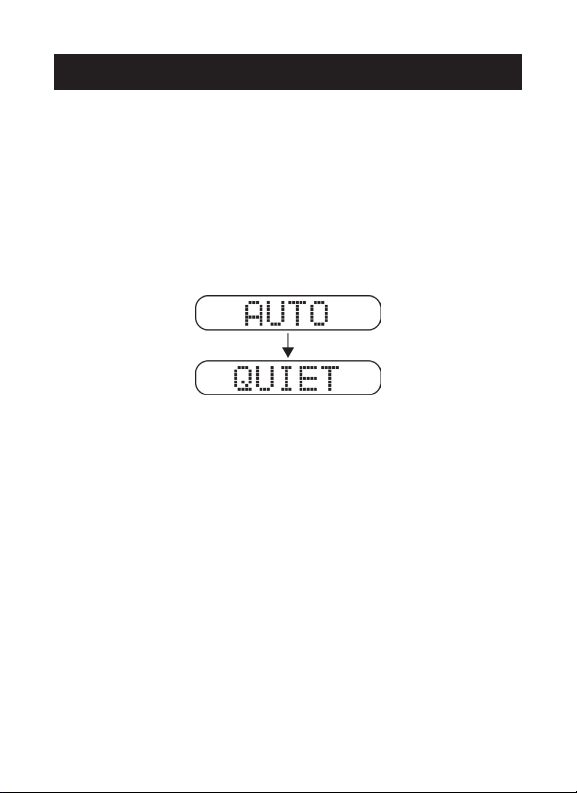
Auto Quiet Mode
Auto Quiet mode reduces the selected audio level
approximately 5 seconds after a radar or safety radar signal
is detected. The alert for any new signal within 20 seconds
will resume at the lower level. Auto Quiet mode does not
affect laser alerts.
• Press Quiet (before a signal is detected) to engage Auto Quiet
mode.
• Once the Auto Quiet mode is engaged, you may cancel the
audio alarm by pressing Quiet.
• Press Quiet (when the unit is not alarming) to cancel Auto
Quiet mode.
NOTE: Speed selectable Auto Quiet is available with the
optional RLC-360 GPS module.
Quiet Mode
Quiet mode cancels audio during an alert and any new alert
within 20 seconds. After 20 seconds of no radar signal
detected, the audio alerts are restored.
• Press Quiet to cancel the audio.
• Press Quiet a second time during an alert to restore the
standard audio alert pattern.
8
OPERATION
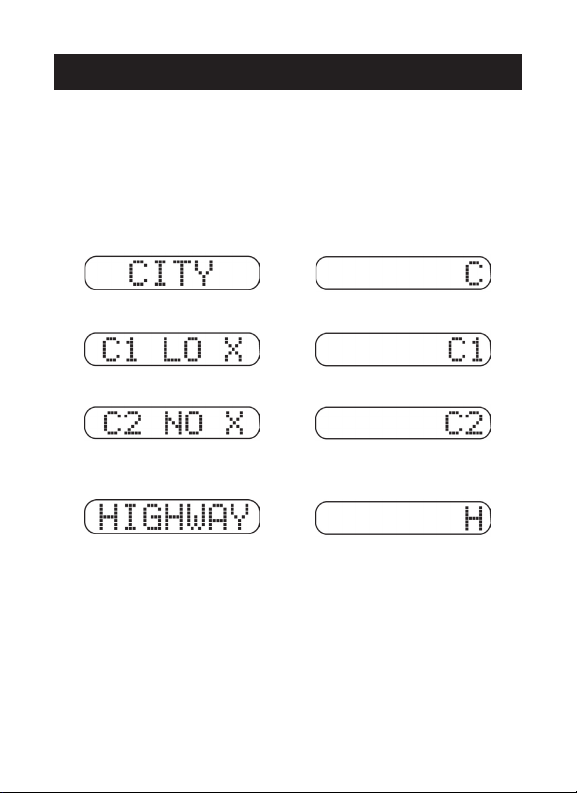
City/City 1/City 2 Modes
Whistler’s City Modes are designed to reduce the annoyance
of automatic door openers, intrusion alarms and other devices
which share frequencies with police radar. Generally, X band is
used for these devices.
• Press City to cancel Highway Mode and engage City Mode.
Normal Compass/Temp/Volt/Speed
• Press City again to enter City 1 Mode.
• Press City again to enter City 2 Mode.
• Press City a fourth time to cancel City 2 Mode and returns the
unit to Highway Mode.
In City Mode, weak speed/safety radar signals give an initial alarm
of two beeps, and then remain quiet until the signal becomes very
strong. When the signal strength increases, two additional beeps
are provided. City 1 and City 2 Modes operate the same as Highway
Mode, but in City 1 Mode, only the X band is lowered. In City 2
Mode, X-band is not detected.
CAUTION: Some towns/small cities may still be using X band
radar. City Modes do not change the audio alert for laser.
9
OPERATION
Highway Mode
Highway mode provides full audio warnings any time radar (X,
K, Ka, and Safety Radar) or laser signals are detected, and is
recommended for open road driving. For more information on
City and Highway modes, please visit our FAQ page on our
website: www.whistlergroup.com
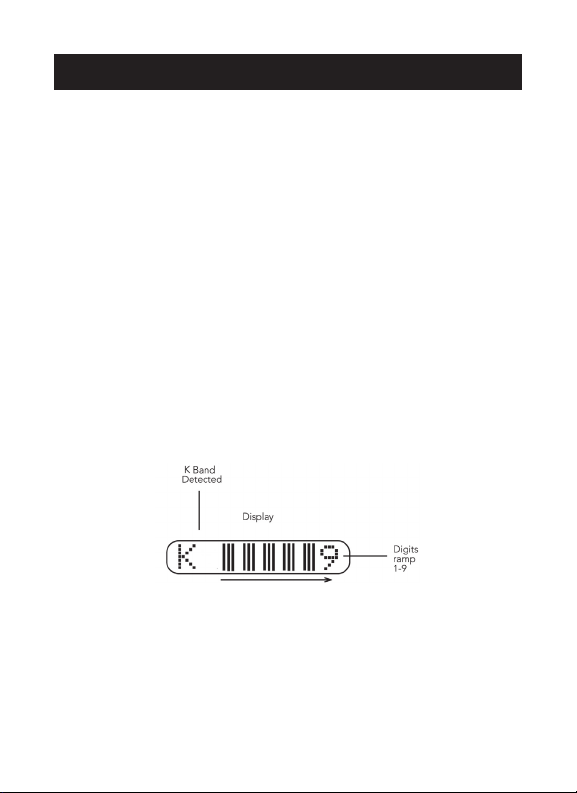
Selectable Signal Strength Display
There are two settings available in Option Mode that effect how
a received radar signal strength is displayed. The “RMP STD”
(ramp standard) option uses our standard signal progression
from level 1 to 9. The “RMP FST” (ramp fast) option increases the
progression from level 1 to 9. RMP FST increases the response of
the signal strength meter for all bands.
1 = weak signal, 9 = strong signal
10
OPERATION
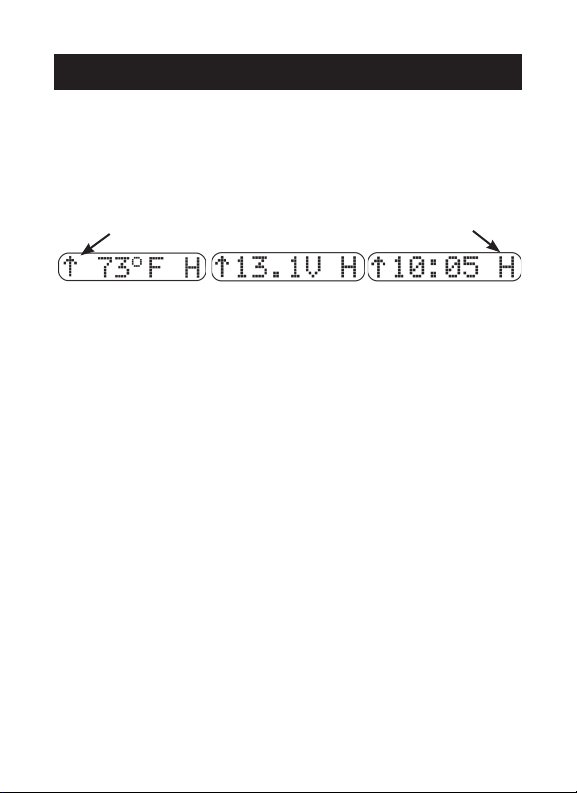
Understanding the Display
The PRO3700’s display can be set up to show Heading* and
Mode of Operation (Highway and City modes). In-between the
Heading and Mode of Operation one of the following can be
displayed;
Temperature, Voltage or Clock*.
Heading
Selecting the Default Feature to be Displayed
Press and hold the Dark button for four seconds or until 2 beeps
are heard. The display will change from Temperature to Voltage.
Pressing and holding the Dark button again for four seconds will
change the display to show the Clock. Repeat and Temperature
is once again selected.
Momentarily Display Features
Press and hold the Dark button for 2 seconds or until 1 beep is
heard and the unit will scroll and display the following for 3
seconds each: Temperature, Voltage, Clock and Vehicle Speed*
and then return to the default feature. Note: When unit is
displaying the vehicle speed the radar antenna is turned off!
Error Messages
Flashing character will be displayed in place of the Heading,
Clock or Speed when the GPS module is acquiring a signal.
Display showing “NO F”, “NO : ”, “NO V” indicates that
Temperature, Clock and Voltmeter have been turned off in
Option Mode.
*Heading, Clock and Speed are available with the optional
RLC-360 GPS module.
Mode of Operation
11
OPERATION
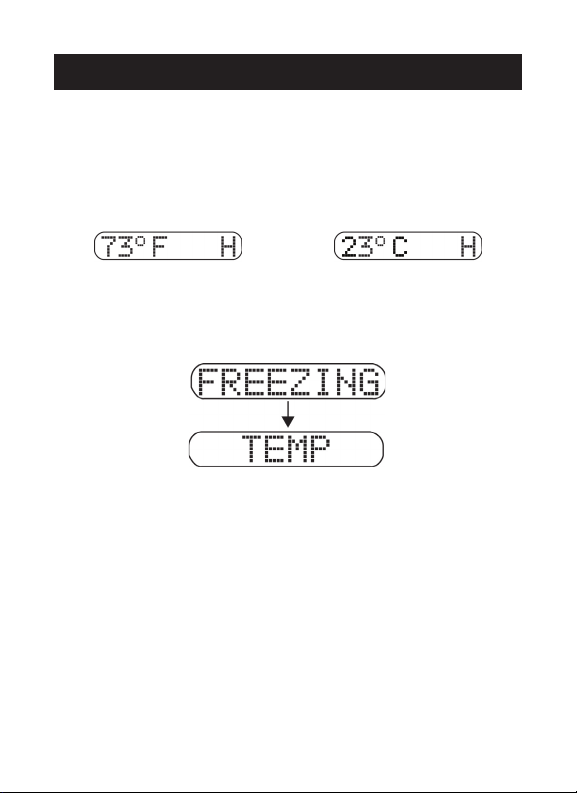
Temperature Display
The unit can be programmed to display either Fahrenheit or
Celsius. See Option Select Mode.
Display shows:
to
• Ice Warning Mode: When temperature drops to 32º F.
Display shows:
Unit then gives a unique warning tone. This will happen again if
the temperature rises to 35 degrees or above then falls below
32º.
When either Hi T or Lo T is displayed the limits of the
temperature sensor have been reached.
NOTE: Temperature may rise while vehicle is stopped and idling,
this is normal.
12
 Loading...