

Page 1
SMB-623
TOP LOADING CD PLAYER
WITH STEREO AM/FM
RADIO CD ALARM CLOCK
Instruction Manual
Please read before using this unit.
Page 2

IMPORTANT SAFETY INSTRUCT I ONS
WARNING:
TO PREVENT FIRE OR SHOCK HAZARD, DO NOT USE THIS PLUG WITH AN EXTENSION CORD,
RECEPTACLE OR OTHER OUTLET UNLESS THE BLADES CAN BE FULLY INSERTED IN ORDER
TO PREVENT BLADE EXPOSURE. TO PREVENT FIRE OR SHOCK HAZARD. DO NOT EXPOSE THIS
APPLIANCE TO RAIN OR MOISTURE.
CAUTION
RISK OF ELECTRIC SHOCK
DO NOT OPEN
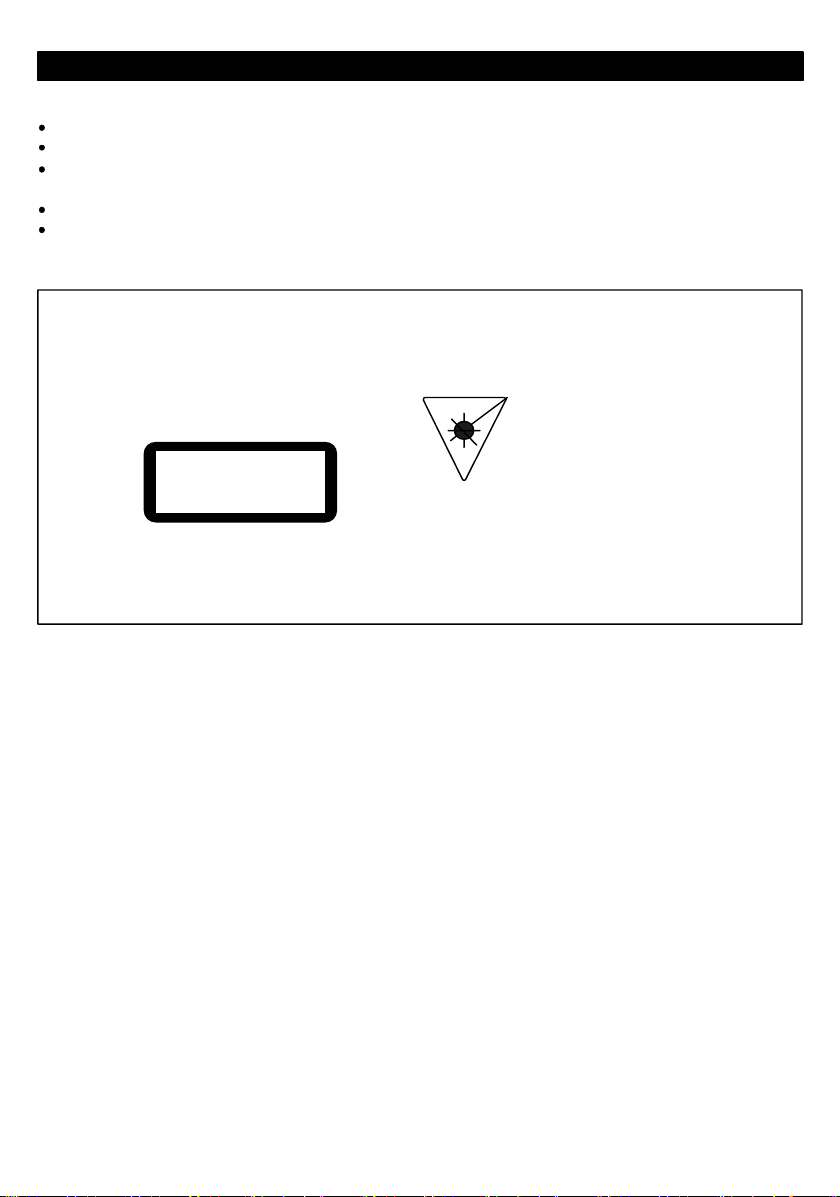
!
The s ymbol of a li ghtning
flash with arrowhead inside
an equilateral triangle is
intended to alert the user to
the presence of uninsulated
“dangerous voltage” within
the product’ s enclosure,
which may be of sufficient
magnitude to constitute a
risk of electric shock to
people
1.
Read these instructions.
2.
Keep these instructions.
3.
Heed all warnings.
4.
Follow all instructions.
5.
Do not use this appliance near water.
6.
Clean only with a dry cloth.
7.
Do not block any ventilation openings. Follow the manufacturer’s instructions for installation.
8.
Do not install near radiators, heat registers, stoves, or other heat sources, including
appliances that produce heat (e.g.: amplifiers).
9.
Do not defeat the safety purpose of the polarized or grounding-type plug. A polarized plug has
two blades, with one wider than the other. A grounding-type plug has two blades and a third
grounding prong. The wide blade or the third prong are provided for your safety. If the plug
that is provided does not fit into your outlet, consult an electrician in order to replace the
obsolete outlet.
10.
Protect the power cord from being walked on or pinched, especially at the plug, the outlet, and
the point where it exits from the appliance.
11.
Only use attachments/accessories that are specified by the manufacturer.
12.
Unplug the appliance during lightning storms or when it will not be used for long periods of
time.
13.
All servicing must be performed by qualified personnel. Servicing is required when the
appliance has been damaged in any way, for example, if the power cord or plug is damaged, if
liquid has been spilled or objects have fallen into the appl iance, if the appliance has been
exposed to rain or moisture, if the appliance does not operate normally, or if the appliance has
been dropped.
14.
Do not expose this appliance to dripping or splashing water, and do not place objects filled
with liquids, such as vases, on top of the appliance.
CAUTION: TO PREVENT ELECTRICAL SHOCK, MATCH THE WIDE BLADE OF THE PLUG TO THE
WIDE SLOT, AND INSERT IT FULLY.
Warning: to reduce t he risk of
electric shock, do not remove the
cov er (or t he back). There ar e no
user-serviceable parts inside.
Servicing should be perfromed by
qualified service personnel.
The exclamation point
inside an equilateral triangle
is intended to alert the user
to the presence of important
operating and maintenance
(servicing) i nstr uct i ons i n
the literature accompanying
the appliance.
1
Page 3
PRECAUTIONS
CAUTION:
To avoid electric shock, this appliance must not be exposed to dripping or splashing water
Maintain a minimum clearance around the appliance for sufficient ventilation;
Ventilation should not be impeded by covering the ventilation openings with items such as
newspapers, table-cloths, curtains, etc.
Do not place any source of open flame, such as a lighted candle, on the appliance;
Before discardingthe appliance, remove the batteries and place them in a proper battery
collection container.
CAUTION
CLASS 1 LASER PRO DUCT
Use of controls or adjustments, or
performance of procedures other than
those specified herein, may result in
hazardous radiation exposure.
CLASS 1 LASER PRODUCT
LUOKAN 1 LASERLAITE
KLASS 1 LASERAPPARAT
CAUTION
CLEANING:
Always disconnect the appliance from the power supply before attempting to clean it.
Use a soft cloth moistened with soapy water, and wipe gently.
Do not use solvents or abrasive materials.
LASER SAFETY
This appliance contains a laser. Only qualified
service personnel should attempt to repair it.
DANGER: INVISIBLE LASER RADIATION
WHEN THE APPLIANCE IS OPEN AND
THE INTERLOCK IS FAILED OR
DEFEATED. AVOID DIRECT EXPOSURE
TO THE BEAM.
CAUTION: HAZARDOUS LASER
RADIATION WHEN THE APPLIANCE IS
OPEN AND THE INTERLOCK IS
DEFEATED.
2
Page 4

5
4
6
7
8
3
9
10
2
1
11
12
20
1.
FUNCTION Switch (CD/RADIO/BUZZER)
2.
PLAY/PAUSE Button
3.
VOLUME Control
4.
LED Display
5.
CD Door/REPEAT ALARM
6.
CD Door Open Lid
7.
POWER Button
8.
TUNING Control
9.
ALARM 2 Button
10.
ALARM 1 Button
11.
DISPLAY Button
19
18
17
15
13
1416
12.
BAND Switch (AM/FM)
13.
SLEEP Button
14.
PROG Button
15.
RANDOM/REPEAT Button
16.
CLOCK Button
17.
SKIP FORWARD Button
18.
SKIP BACKWARD Button
19.
STOP Button
20.
FM Antenna Wire
21.
AC Power Cord
21
3
Page 5

22.
Battery Compartment
23.
AUX IN Jack
22
23
POWER SUPPLY
This unit works with AC 120V~60 Hz.
Connect AC power cable to wall outlet with 120V supply .
1.
Insert two 1.5V batteries into battery compartm ent (22) for time back up in case of
2.
power failure.
RADIO OPERATION
Press POWER button (7).
1.
Set FUNCTION switch (1) to RADIO position.
2.
Tune to your desired station with TUNING Control (8).
3.
Adjust VOLUME (3) to suit your personal listenin g prefere nce.
4.
To turn off the unit, press POWER button (7) again.
5.
ANTENNA
This unit has a built-in Ferrite Antenna. For best results - turn unit to improve reception.
AM:
FM:
For FM reception, fully extend the external FM wire antenna (20) and adju st direction for
optimum reception. Do not connect this wire to any outdoor antenna.
CD OPERATION
This unit is capable of playing standard CDs.
1.
Press POWER button (7).
2.
Select FUNCTION switch (1) to CD posi tion .
3.
Lift up the CD door open lid (6) to open CD door (5).
4.
Insert a CD disc in the CD compartment with label facing upwar ds.
5.
Close the CD door (5). The total number of tracks will be displayed. If a disc is inserted
incorrectly, dirty, damaged or not music CD - display will show “no” and player will stop.
6.
Press PLAY/PAUSE but to n (2) to begin playback.
7.
Press STOP button (19) to stop playback.
4
Page 6

PAUSE
The PLAYBACK can be stopped temporarily at any time by pressing PLAY/PAUSE button
(2) once. Press PLAY/PAUSE but ton (2) once more to resum e playb ack.
FORWARD/REVERSE/SKIP
1.
Press SKIP FORWARD button (17) to skip ahead to the beginning of the next track.
Press this button again for each additional track you want to skip.
2.
Press SKIP BACKWARD button (18) to skip back to beginning of the current track.
Press this button again to the beginning of the previous track.
DISPLAY
In CD or RADIO mode, press the DISPLAY button (11), the display will shown the number of
current tracks and the current station.
RANDOM/REPEAT
The CD player can play “RANDOM”, “REP.” , “REP. ALL” and “RAND OM RE P. ALL” by press
RANDOM/REPEAT button (15) repeatedly.
PROGRAM
The programming function is used to pre-set the order of the tracks to be played.
Press the POWER button (7).
1.
Set the FUNCTION switch (1) to the CD position.
2.
Lift up the CD door lid (6) in order to open the CD door (5).
3.
Insert the CD, with the label facing upward.
4.
Close the CD door (5). The total number of tracks on the CD will be shown on the display.
5.
If the disc is inserted incorrectly, or if it is dirty or damaged, or if it is not a music CD, the
display will show “nocd”, and the player will stop.
Press the PROG. button (14). The “01 ” and “PROG ” icon will be shown on the display,
6.
and will be blinking.
Press the SKIP / button (17)/(18) in order to choose the track that you would like to
7.
play. Press the PROG. button (14) again in order to finish the programming for the first
track.
Repeat step “ 7 ” in order to program the other tracks. A maximum of 20 tracks can be
8.
programmed.
To clear the program memory, press the STOP button (19).
9.
Once you have finished programming, press the PLAY/PAUSE button (2). The tracks
10.
will play in the programmed order, and the corresponding track number will be displayed.
You can move forward and backwards th rough the programm ed tracks (see Forward/
11.
Backward/SKIP), or temporary stop playback (see Pause). To stop playback, press the
STOP button (19).
Note: Pressing the SKIP / button (17)/(18) during programmed playback
will only skip through the tracks that have been programmed.
5
Page 7

AUX IN
You can connect an external audio player to this jack in order to use the playback function.
Note: When a device is connected to the AUX IN jack, the curren t source from the CD or
RADIO will be cut off automatically.
SETTING THE CLOCK TIME
1.
The CLOCK uses the 12 HR format.
Press and hold the CLOCK button (16). The hour digit will begin to flash. Press the SKIP
2.
/ button (17)/(18) in order to adjust the hour.
3.
Press the CLOCK button (16) again, the minute digit will begin to flash. Press the SKIP
/ button (17)/(18) in order to adjust the minutes.
4.
Press the CLOCK button (16) once more in order to confirm the clock set ting.
SETTING THE ALARM TIME
1.
This appliance can be set to two ALARM times for CD or RADIO or BUZZER.
2.
Set the FUNCTION switch (1) to the CD or RADIO or BUZZER position.
3.
Press and hold the ALARM 1 or ALARM 2 button (10) or (9). The hour digit will begin to
flash.
4.
Set the ALARM 1 and ALARM 2 time following the same procedur e used to set the clock
time.
5.
While CD track flashing, press / button to select your desired track for alarm wake-up
Note:
To cancel the ALARM for next day, press the ALARM buttons unt il the “AL1” or “AL2”
icons disappear from the display.
REPEAT ALARM
When the buzzer sounds or your CD or Radio comes on, you can press the REPEAT ALARM
(5) to turn them off for 6 minutes. The alarm buzzer or radio or CD will then turn itself on
again. This function can be repeated for 60 minutes, it will then be silent until the next alarm
or until the CD/Radio On/Off button has been pressed (this means tha t your Alarm, R adio or
CD is set to wake you up the same time the following day).
SLEEP
Press the SLEEP button (13), the display will show “90” “80” “70” “10”. Select
the amount of time that you desire. The power will will be turned off when the selected
amount of time has elapsed.
TECHNICAL DETAILS:
Power: AC 120 V ~ 60 Hz
Radio Frequency: AM: 540 - 1700 kHz
FM: 88 - 108 MHz
Speakers: 2 x 8 Ohm
6
Page 8

www.bratz.com
C
TM & MGA Entertainment,Inc.
All Right Reserved. Used under license by
The Singing Ma chi ne Co ., Inc.
The Singing Machine Company, Inc.
6601 Lyons Road, Bldg. A7, Coconut Creek, FL33073-9902, USA.
TEL: (954) 596-1000 FAX: (954)596-2000
VISIT OUR WEB SITE www .singingmac hine.com
623-0706-ENG01
PRINTED IN CHINA
 Loading...