

Page 1
Important Safety Information
WARNING: Failure to follow these safety instructions could result
in re, electrical shock, other injury or damage.
Battery Replacement
The rechargeable battery in the EasyLog product should only be
replaced by ThermoWorks.
Repairing or Modifying
Never attempt to repair or modify EasyLog products. Dismantling
EasyLog products, including the removal of external screws, may
cause damage that is not covered under the warranty. Servicing
should only be provided by ThermoWorks. If the EasyLog product has
been submerged in water, punctured, or seriously damaged do not
use it before returning it to ThermoWorks.
Charging
Only use a USB Power Adaptor or a USB port on another device
to charge EasyLog products. Read all safety instructions for any
third party products and accessories before use with this product.
ThermoWorks is not responsible for the operation of any third party
accessories or their compliance with safety and regulatory standards.
We do not recommend charging the battery when the unit is at 104˚F
(40˚C) or above. Some of our products employ safety features to
prevent this.
Using Connectors and Ports
Never force a connector into a port; check for obstruction in the
port, make sure that the connector matches the port and that you
have positioned the connector correctly in relation to the port. If the
connector and port do not join with reasonable ease they probably do
not match and should not be used.
Disposal and Recycling Information
You must dispose of EasyLog products according to relevant laws and
regulations. EasyLog products contain electronic components and LiPo batteries and therefore they must be disposed of separately from
household waste.
1
Getting Started
The sensor will arrive partly charged but ideally you should charge it for 24 hours before use for optimum
performance. The sensor will automatically start recharging while connected to a PC or USB charger using the
USB cable provided.
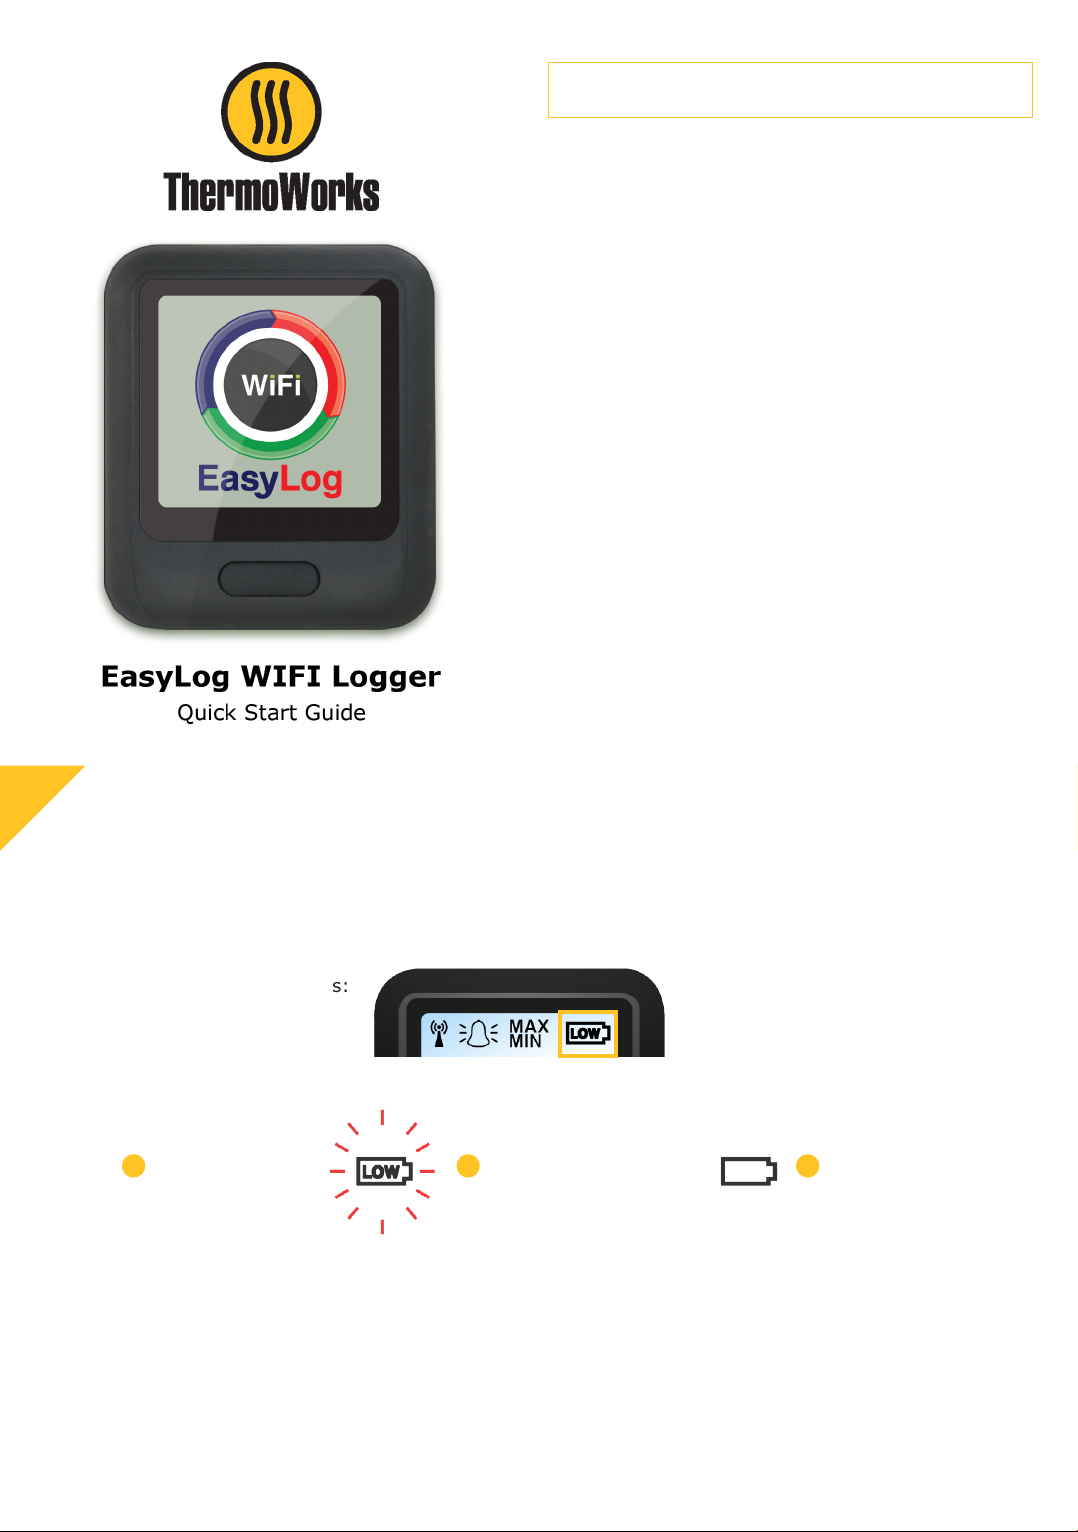
The battery icon has three states:
1
Not Displayed
Battery OK
2
Flashing
Battery Low - Recharge!
3
Solid
Battery Charging
Installing software
The sensor may already be displaying a reading but it will not be congured or connected to your WiFi network
until you complete the product set-up.
To set up the unit use our free EasyLog WiFi PC software available to download from the ‘Software’ section at
www.thermoworks.com/software.
Page 2
2
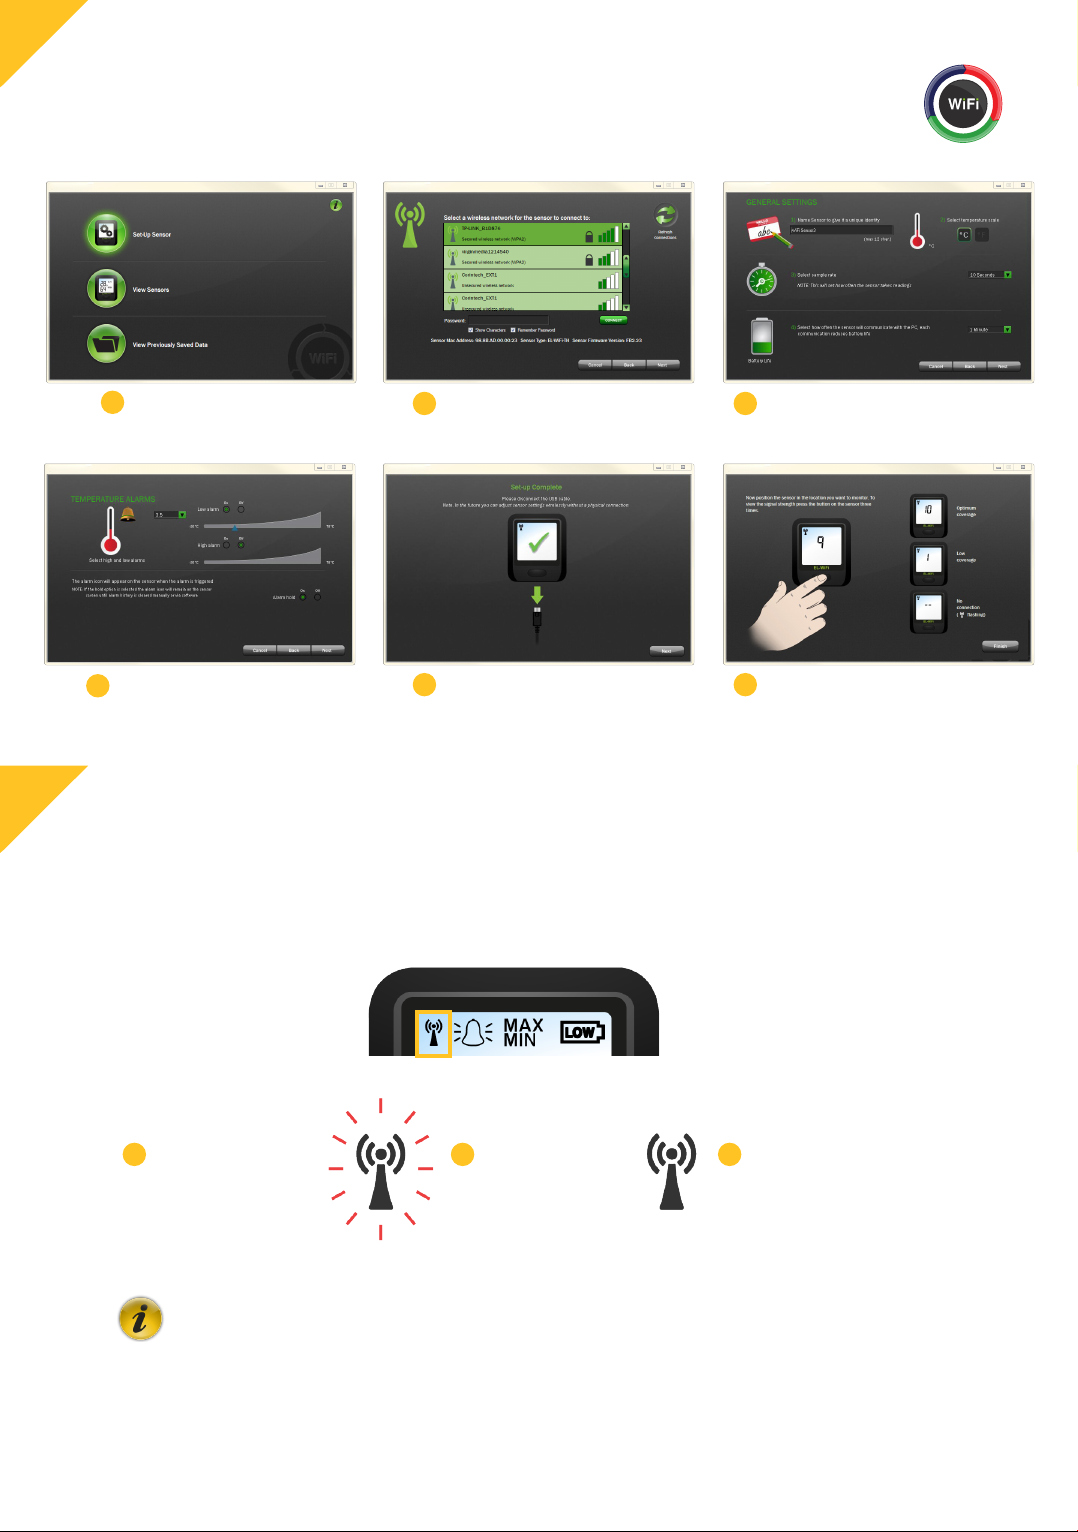
Sensor Set-up
Connect the TW-WiFi Sensor to the PC’s USB port with the USB cable provided.
Double click on the EasyLog WiFi icon on your Windows™ desktop. This will load the wizard
conguration software. Follow the on-screen instructions to set up your sensor.
Click on the ‘Set-Up
1
Sensor’ button
Click on your network
2
and enter your password
if required
Name your Sensor, Select
3
Temperature Scale, Sample
Rate & Transmission Rate
EasyLog WiFi
Set High & Low Alarms
4
Note: These screens will vary depending on which sensor model purchased.
5
Sensor Set-up is now
complete
Position your Sensor where
6
you wish to take readings
3
Sensor Placement
When placing the sensor consider local heat sources and radio obstructions. Any physical obstructions between
router and sensor will affect the signal range.
The signal icon has three states:
2
Not Displayed
1
the sensor has not
yet been set-up
and congured to
a WiFi network
Flashing
2
the sensor is not
communicating
with the EasyLog
WiFi software
Solid
3
the sensor is successfully
communicating with the
EasyLog WiFi software
Hints and Tips
Use the button on the home screen to get more help on setting up your sensors.
Changing Sensor Settings over Air
Sensors can be congured over the air without reconnecting the USB cable.
Version 01 - 2.12.2013
 Loading...