

Thermonet 5259ESG Easy Setup Manual

WWW.
If you have any questions or queries regarding this product, or any other products or services
you can view our complete range online, WWW.THERMOGROUPUK.COM
5259ESGEASY SETUP GUIDE: TOUCHSCREEN THERMOSTAT 5259 (5257, 5255)
1
Step 1 Set time & date
Step 2 Advanced setup
Step 3 Manual mode
Step 4 Heating schedule
1. Tap the “power” button to switch unit on.
2. The backlight will fade after around 10 seconds.
3. Tap the “Clock” button to switch it back on at any point.
4. Press and hold the “Clock” button for around 7 seconds or until the minutes
begin to flash.
5. Use the “Up” and “Down” arrows to select the correct minute.
6. Tap the “Clock” button to switch to hour and use “Up” and “Down” to select the
correct hour.
7. Tap the “Clock” button again to edit the day.
8. Use the “Up” and “Down” arrows to select the correct day number:
1 = Mon 7 = Sun.
9. Tap the “Clock” button to save your time and date settings.
1. To access advanced settings switch the unit off by tapping the “Power” button.
2. Then press and hold both the “Power” and “Menu” button.
3. Tap the “Menu” button to switch to Sensor mode (2SEN) and set to OUT
4. Tap “Menu” x3 to switch to Frost Protection Mode (SLrP).
5. Set this to “On” using the “Up/Down” arrows.
6. Tap the “Menu” button to set your program days.
7. Tap “Up/Down” to set the program days.
8. Program options include:
6 days same & 1 separate day
7 days same
5 days & weekend (recommended)
Program off
9. Tap the “Menu” button and switch off to save your settings.
Step 1 Set the correct time & date
Contents
Step 2 Advanced settings
Touchscreen Thermostat: Easy Setup Guide
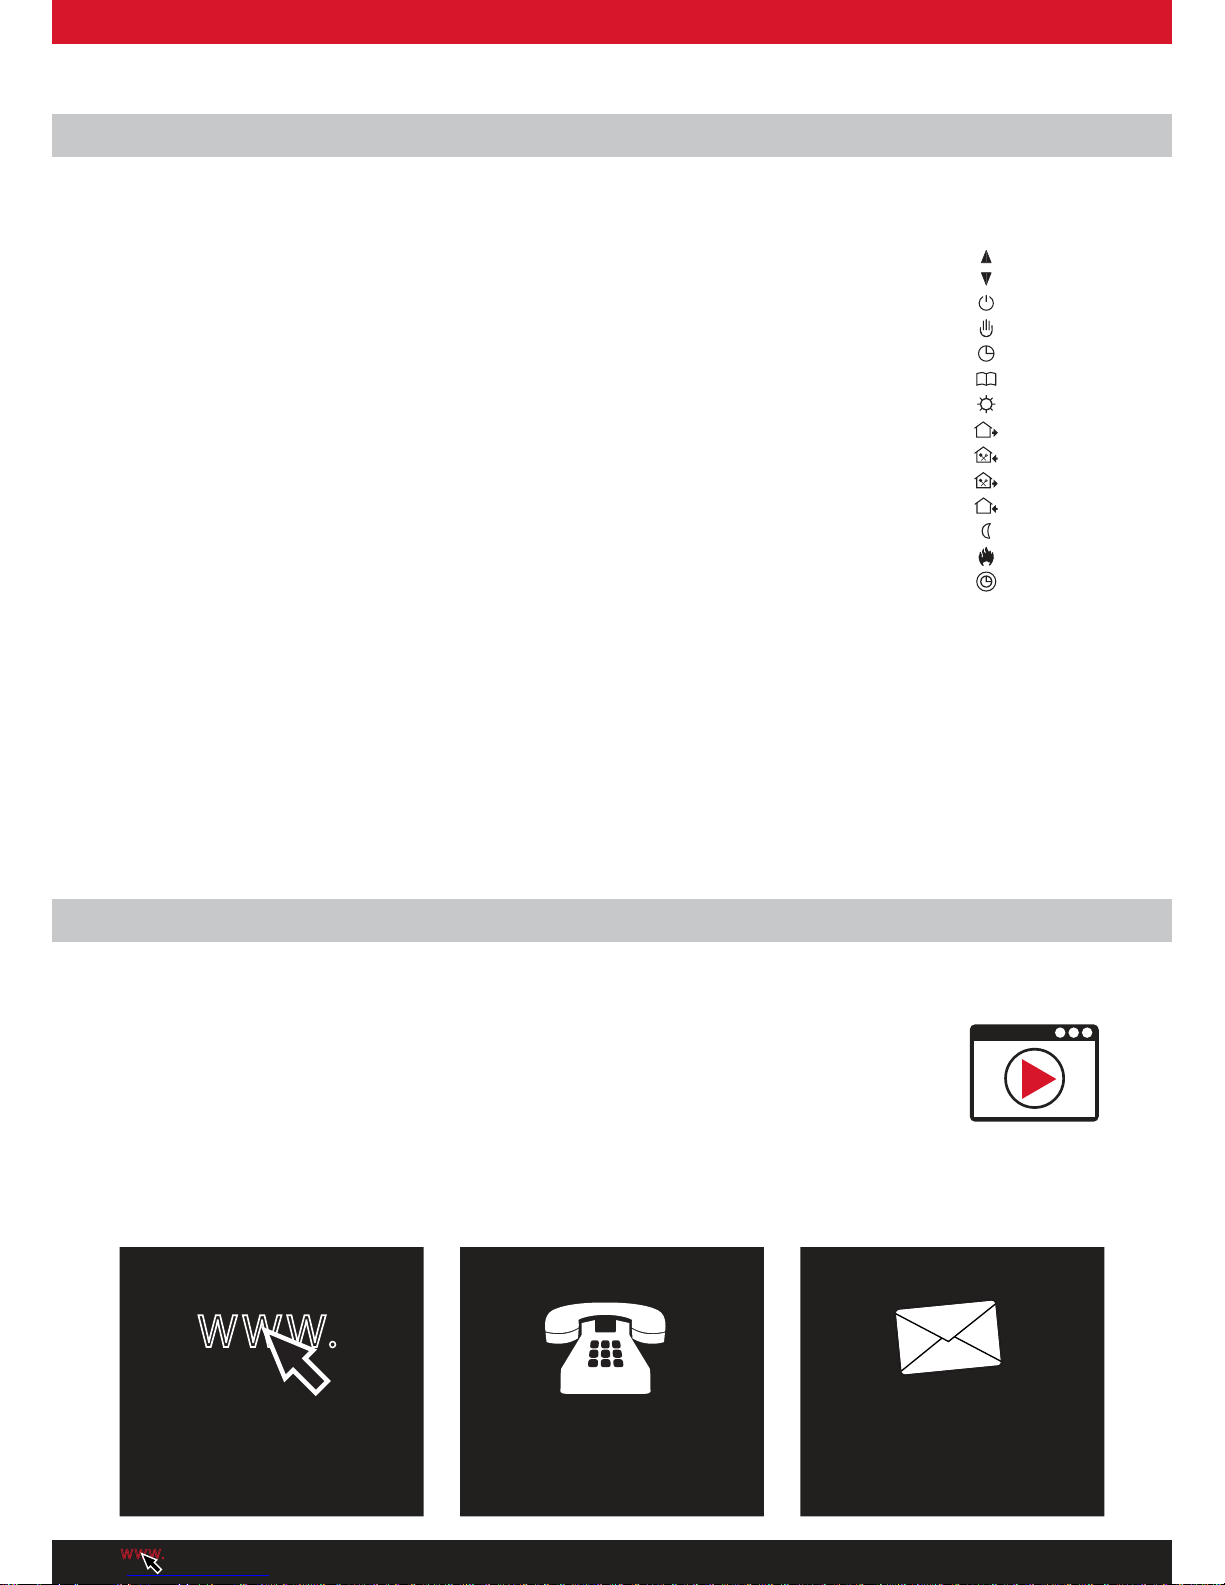
Icon key:
- Up
- Manual control mode
- Period 1
- Period 4
- Down
- Program mode indicator
- Period 2
- Period 5
- Heating on
- Power
- Menu button
- Period 3
- Period 6
- Clock Button
Step 3 Manual mode
1. You can switch between Manual and Schedule by tapping “Menu”.
2. When in Manual mode, set a target temperature manually using the “Up/Down” arrows.
3. When the target temperature is set above the ambient temp, you will see the HEAT symbol (flame) below the
target temp.
Step 4 Advanced settings
1. Tap “Menu” to switch the unit into Schedule mode.
2. You will see both the CLOCK and HOUSE symbols displayed.
3. Press and hold “Menu” for 7 seconds to edit your schedule.
4. Firstly, set the start time for period 1 using the “Up/Down” arrows.
5. Tap “Menu” to save your start time and set the Comfort Temperature to between 20 and 250C.
6. Tap “Menu” to advance to period 2 and select the desired time using “Up/Down”.
7. Tap “Menu” to save your start time and set the Eco Temperature between 18 and 200C.
8. Tap “Menu” to advance to period 3 and select the desired time using “Up/Down”.
9. Tap “Menu” to save your start time and set the Comfort Temperature to between 20 and 250C.
10. Tap “Menu” to advance to period 4 and select the desired time using “Up/Down”.
11. Tap “Menu” to save your start time and set the Eco Temperature between 18 and 200C.
12. Tap “Menu” to advance to period 5 and select the desired time using “Up/Down”.
13. Tap “Menu” to save your start time and set the Comfort Temperature to between 20 and 250C.
14. Tap “Menu” to advance to period 6 and select the desired time using “Up/Down”.
15. Tap “Menu” to save your start time and set the Eco Temperature between 18 and 200C.
16. Now you have a set schedule for 5 days. Tap “Menu” to set your weekend heating.
17. Select a later start time if you like a lie in. This time will apply to both days.
18. Tap “Menu” to save your start time and set the Comfort Temperature between 20 and 250C.
19. Tap “Menu” to save your temperature and advance to Period 2.
20. Set the desired start time and set the Eco Temperature between 18 and 200C.
21. You should now have a complete 7 day heating schedule!
22. Simply tap “Power” to activate your schedule and you’re done.
This schedule is a guide only and your 5259 should be programmed to fit your personal lifestyle.
For help setting up your personal heating schedule, contact our support team:
support@thermogroupuk.com
Thank you for choosing Thermonet Underfloor Heating
WARRANTY: Touch screen thermostat (5259) - 3 years
EASY SETUP GUIDE: TOUCHSCREEN THERMOSTAT 5259 (5257, 5255) 5259ESG
WWW.
If you have any questions or queries regarding this product, or any other products or services
you can view our complete range online, WWW.THERMOGROUPUK.COM
Icon key:
- Up
- Manual control
mode
- Period 1
- Period 4
- Down
- Program mode
indicator
- Period 2
- Period 5
- Heating on
- Power
- Menu button
- Period 3
- Period 6
- Clock Button
WWW.
Browse our full product range, watch videos,
download product literature and get a quote,
all on the Thermogroup UK website.
WWW.THERMOGROUPUK.COM
CONTACT US ONLINE
0800 019 5899
CONTACT US BY PHONE
Got a question or query? Call our UK support
line free from your land line.
Open 07:30 – 16:30 Mon - Fri
CONTACT US BY MAIL
Thermogroup UK, Bridge House,
Hop Pocket Lane, Paddock Wood,
Kent. TN12 6DQ.
Need to find us or want to write a letter to say
hello? Feel free to contact us at Bridge House.
Watch the video online
WWW.THERMOGROUPUK.COM
 Loading...