

Thermaltake VG6000BNS, SoprranoRS 100, VG6000 Series, VG6000BWS User Manual

2007 Thermaltake Technology Co.,Ltd. All Rights Reserved. www.thermaltake.com
C
All other registered trademarks belong to their respective companies.
VG6000 Series
User's Manual

ContentsContents
Chapter1. Product IntroductionChapter1. Product Introduction
Chapter 1. Product Introduction
1.1 Specification
4.1 RSI Cooler (Optional)
4.2 RSI Power Supply (Optional)
Chapter 4 RSI Cooler and Power Supply
Chapter 2 Case Mechanical Operation
1
2
3
3
5
5
7
8
9
11
12
12
13
13
14
15
2.1 How to open the side panel
2.8 Front fan installation (optional)
2.2 How to install PSU
2.3 5.25" device installation
2.5 3.5" device installation
2.6 Motherboard installation
2.4 HDD installation
2.7 PCI slot usage
Chapter3 Motherboard & Leads Installation
3.1 Motherboard Installation
3.2 Case LED connection
3.4 eSATA connection
3.5 Audio Connection
3.3 USB 2.0 connect
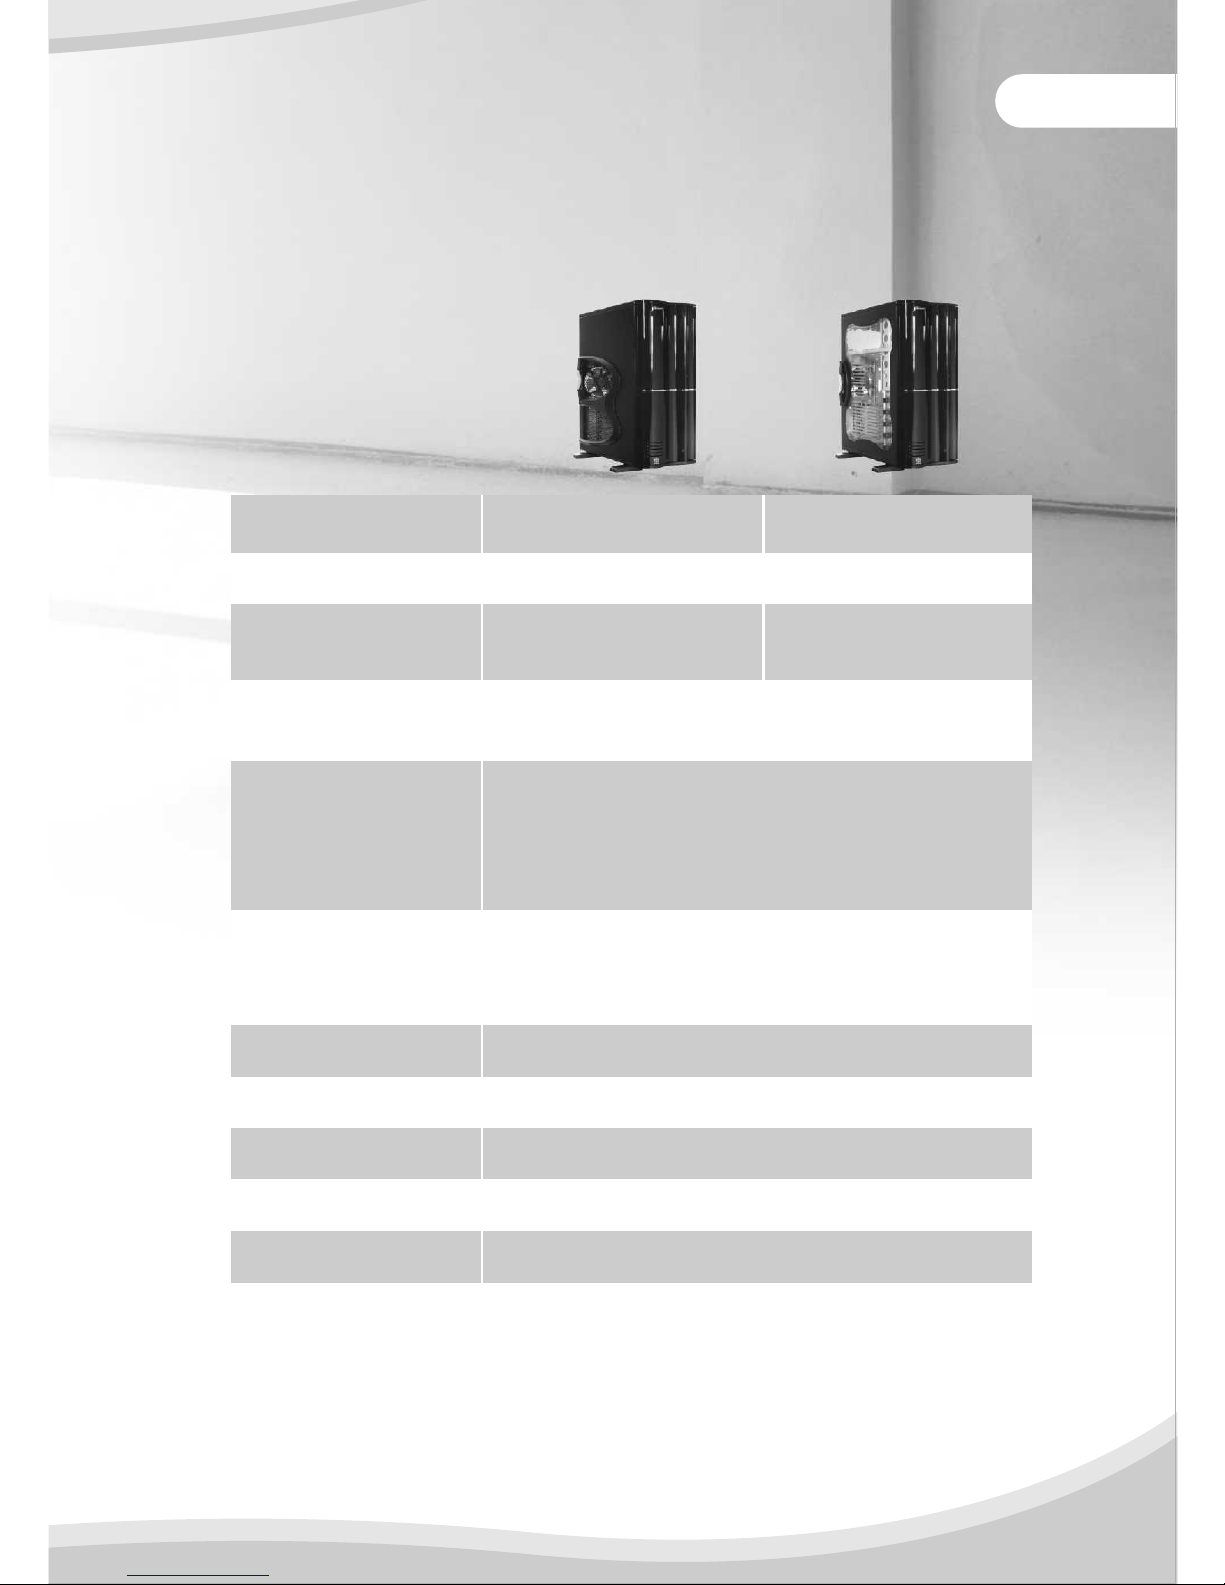
Chapter1. Product IntroductionChapter1. Product Introduction
1.1 Specification
1
Micro ATX , Standard ATX Motherboards
Transparent window
Side Panel
Front (Intake) :
120 x 120 x 25 mm (optional)
Rear (Exhaust) :
120 x 120 x 38 mm, 1200rpm, 17dBA
VG6000BNS
Standard ATX PSII (Option)PSU
USB 2.0 x 2,
e- SATA connector x 1, HD Audio
I/O Ports
VG6000BWS
540.0 x 205.0 x 496.0 mm
(21.3 x 8.1 x 19.5 inch)
Black
Full TowerCase Type
7Expansion Slots
Color
SECCMaterial
12
5 x 5.2 5 , 2 x 3.5
5 x 3.5
Drive Bays
- Front accessible
- Internal
Cooling System
Dimension
(H*W*D)
Model
Micro ATX , Standard ATX Motherboards
Transparent window
Honeycomb see -
through window
Side Panel
Front (Intake) :
120 x 120 x 25 mm (optional)
Rear (Exhaust) :
120 x 120 x 38 mm, 1200rpm, 17dBA
VG6000BNS
Standard ATX PSII (Option)PSU
USB 2.0 x 2,
e- SATA connector x 1, HD Audio
I/O Ports
VG6000BWS
540.0 x 205.0 x 496.0 mm
(21.3 x 8.1 x 19.5 inch)
Black
Full TowerCase Type
7Expansion Slots
Color
SECCMaterial
12
5 x 5.25", 2 x 3.5 "
5 x 3.5 "
Drive Bays
- Front accessible
- Internal
Cooling System
Dimension
(H*W*D)
Model

2
11
11
22
22
Chapter 2 Case Mechanical OperationChapter 2 Case Mechanical Operation
2.1 How to open the side panel
To remove the side panel, please
remove upper and bottom thumb
screws on the back of the case.
Push the handle then swing out the side panel.
Transparent side panel
Honeycomb see-through side panel
To remove the side panel,
please remove upper and
bottom thumb screws on the
back of the case.
Insert the provided key and
turn it clockwise.
Push the handle then swing out the side panel.
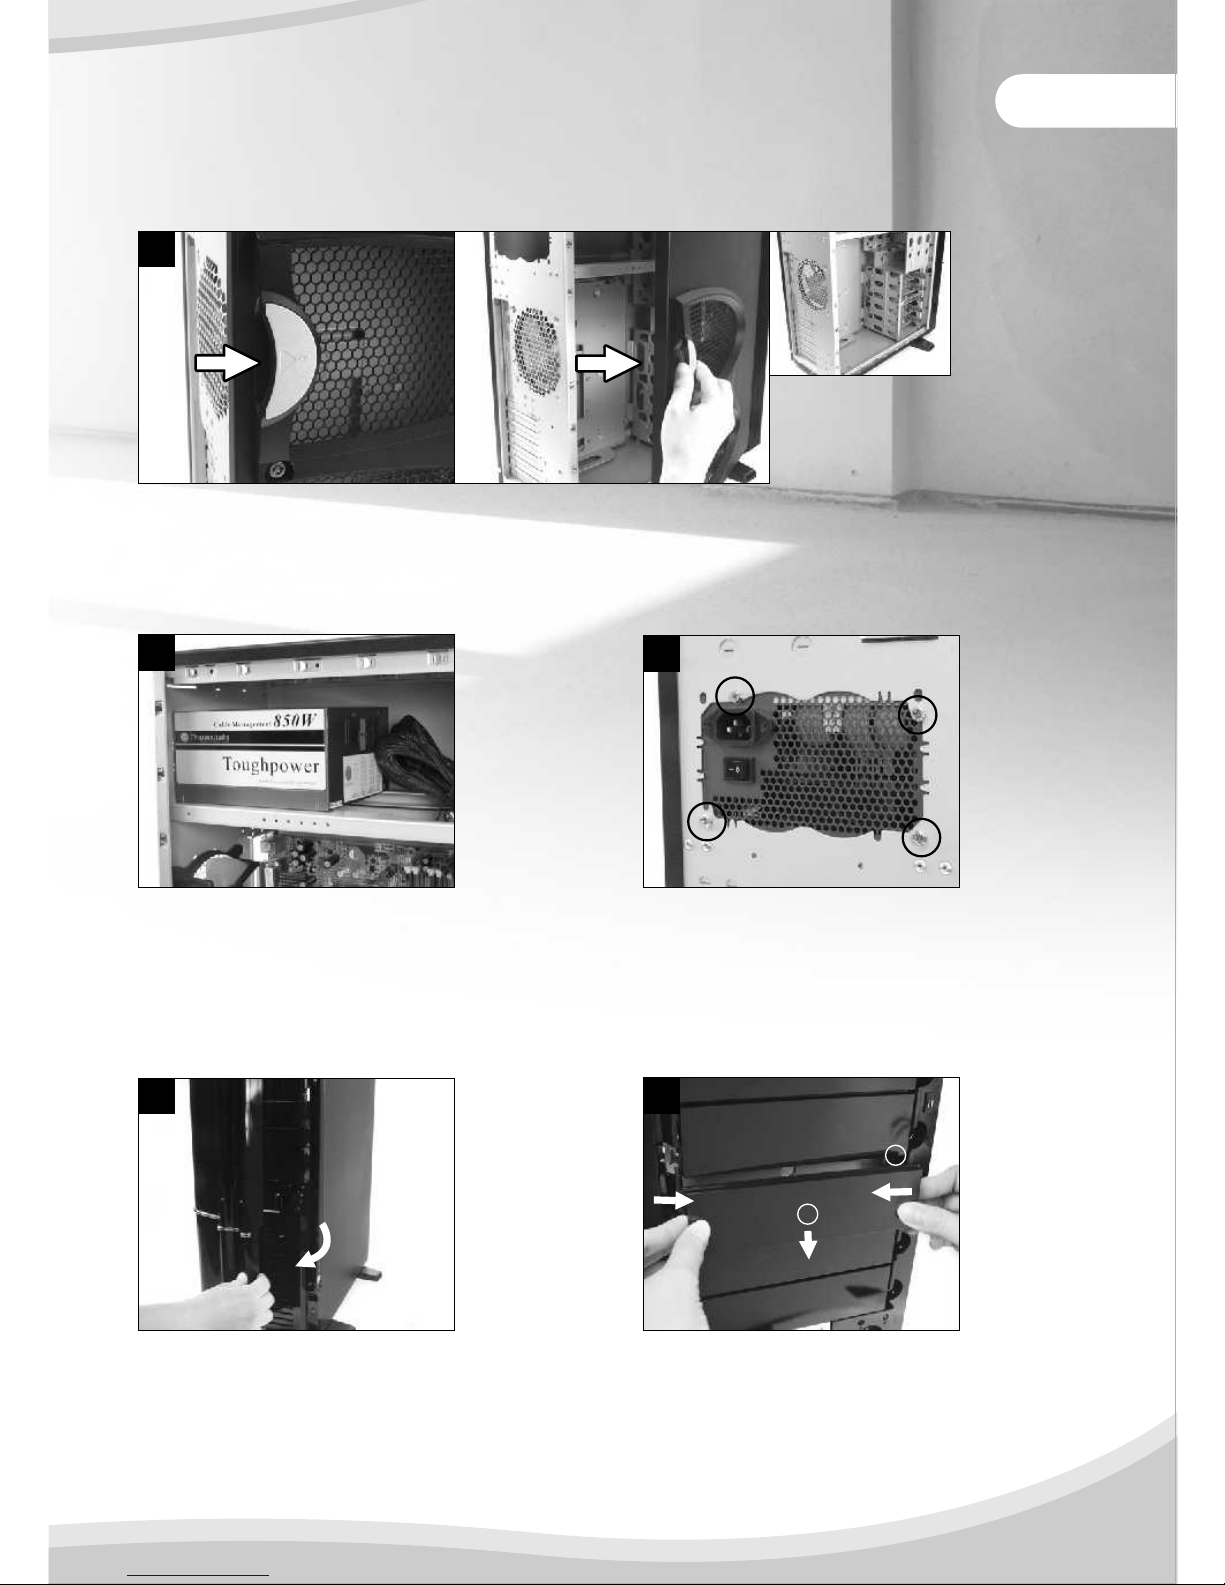
2.2 How to install PSU
Place power supply unit
in the right position.
2.3 5.25" device installation
Open the front door first.
3
11
11
33
22
22
Push the handle then swing out the side panel.
2.2 How to install PSU
Place power supply unit
in the right position.
2.3 5.25" device installation
Open the front door first.
Remove the 5.25" drive bay plastic
cover by pressing it at the bottom
corner .
Secure it by screws as shown.
2
1
 Loading...