

Page 1
Lesson One:
Sample
Getting Started with
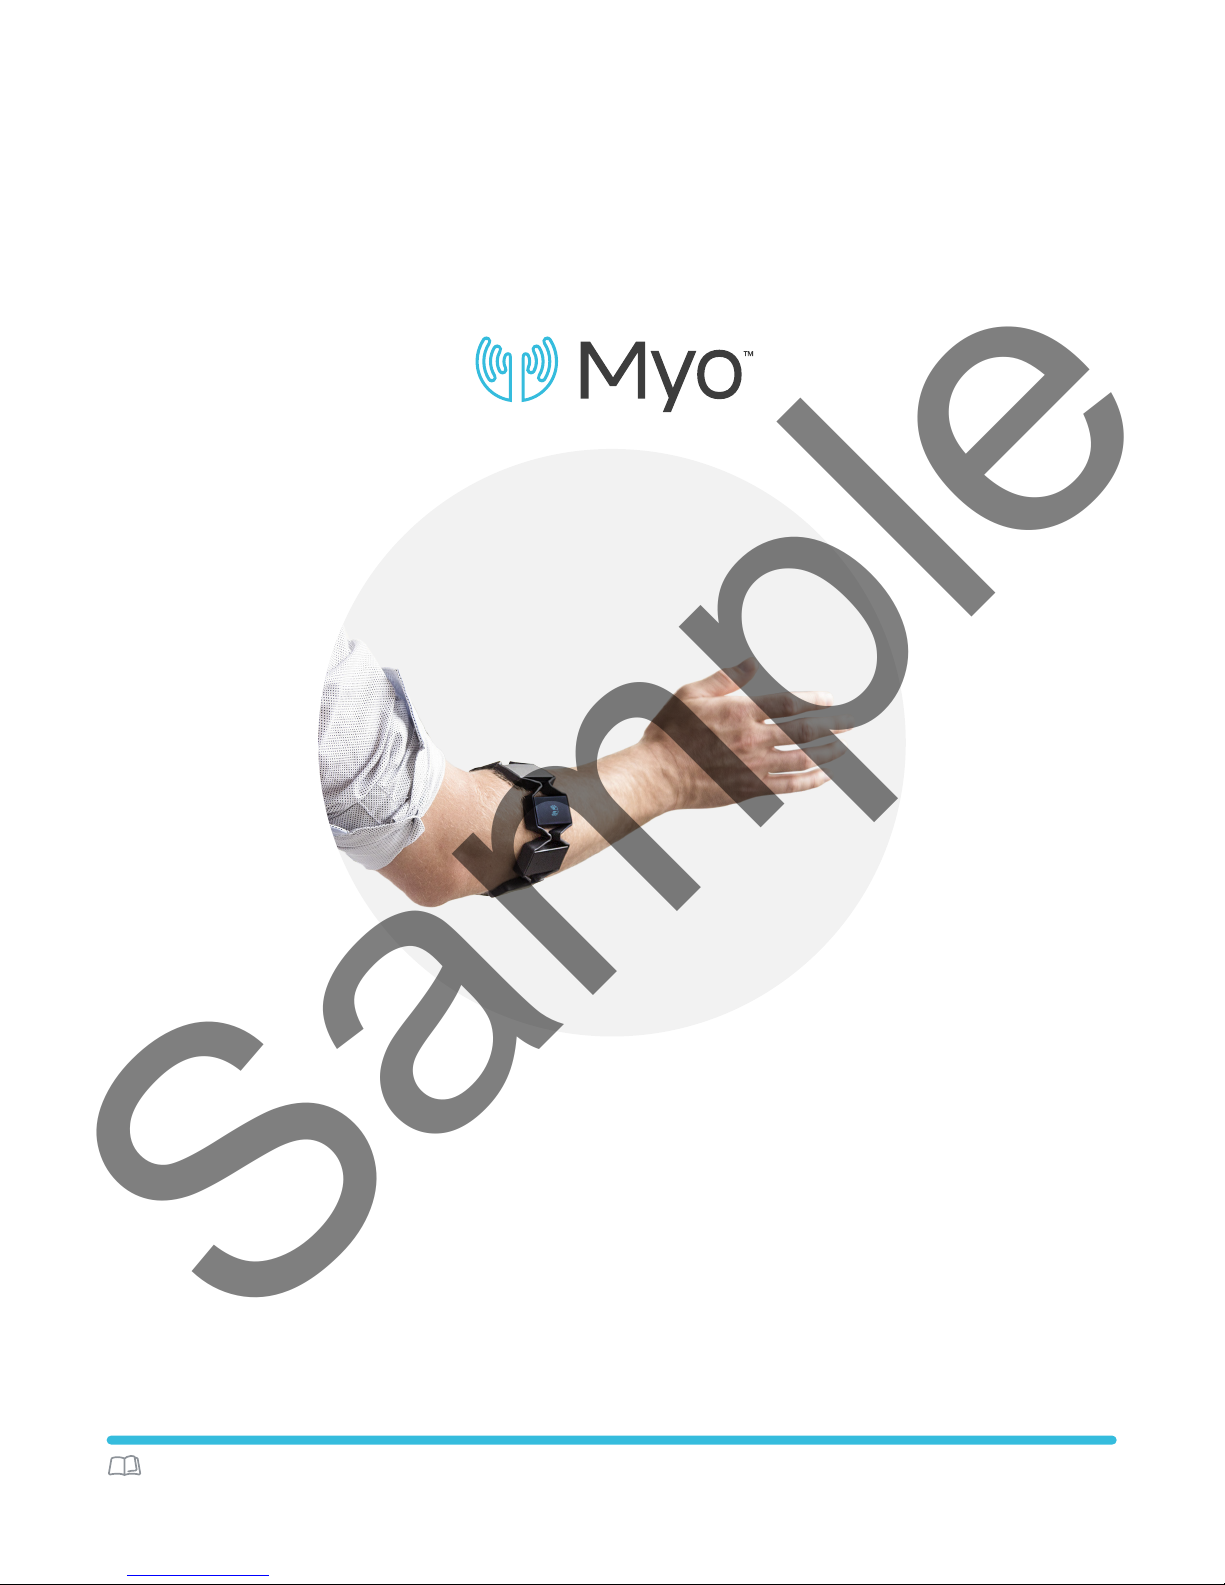
WHAT DOES THE MYO (MY-OH) ARMBAND DO?
The Myo armband reads the muscle activity in your forearm
and gives you touch-free control of technology with hand
gestures and motion.
PAG E 01MYO GESTURE CONTROL ARMBAND - LESSON ONE
Page 2
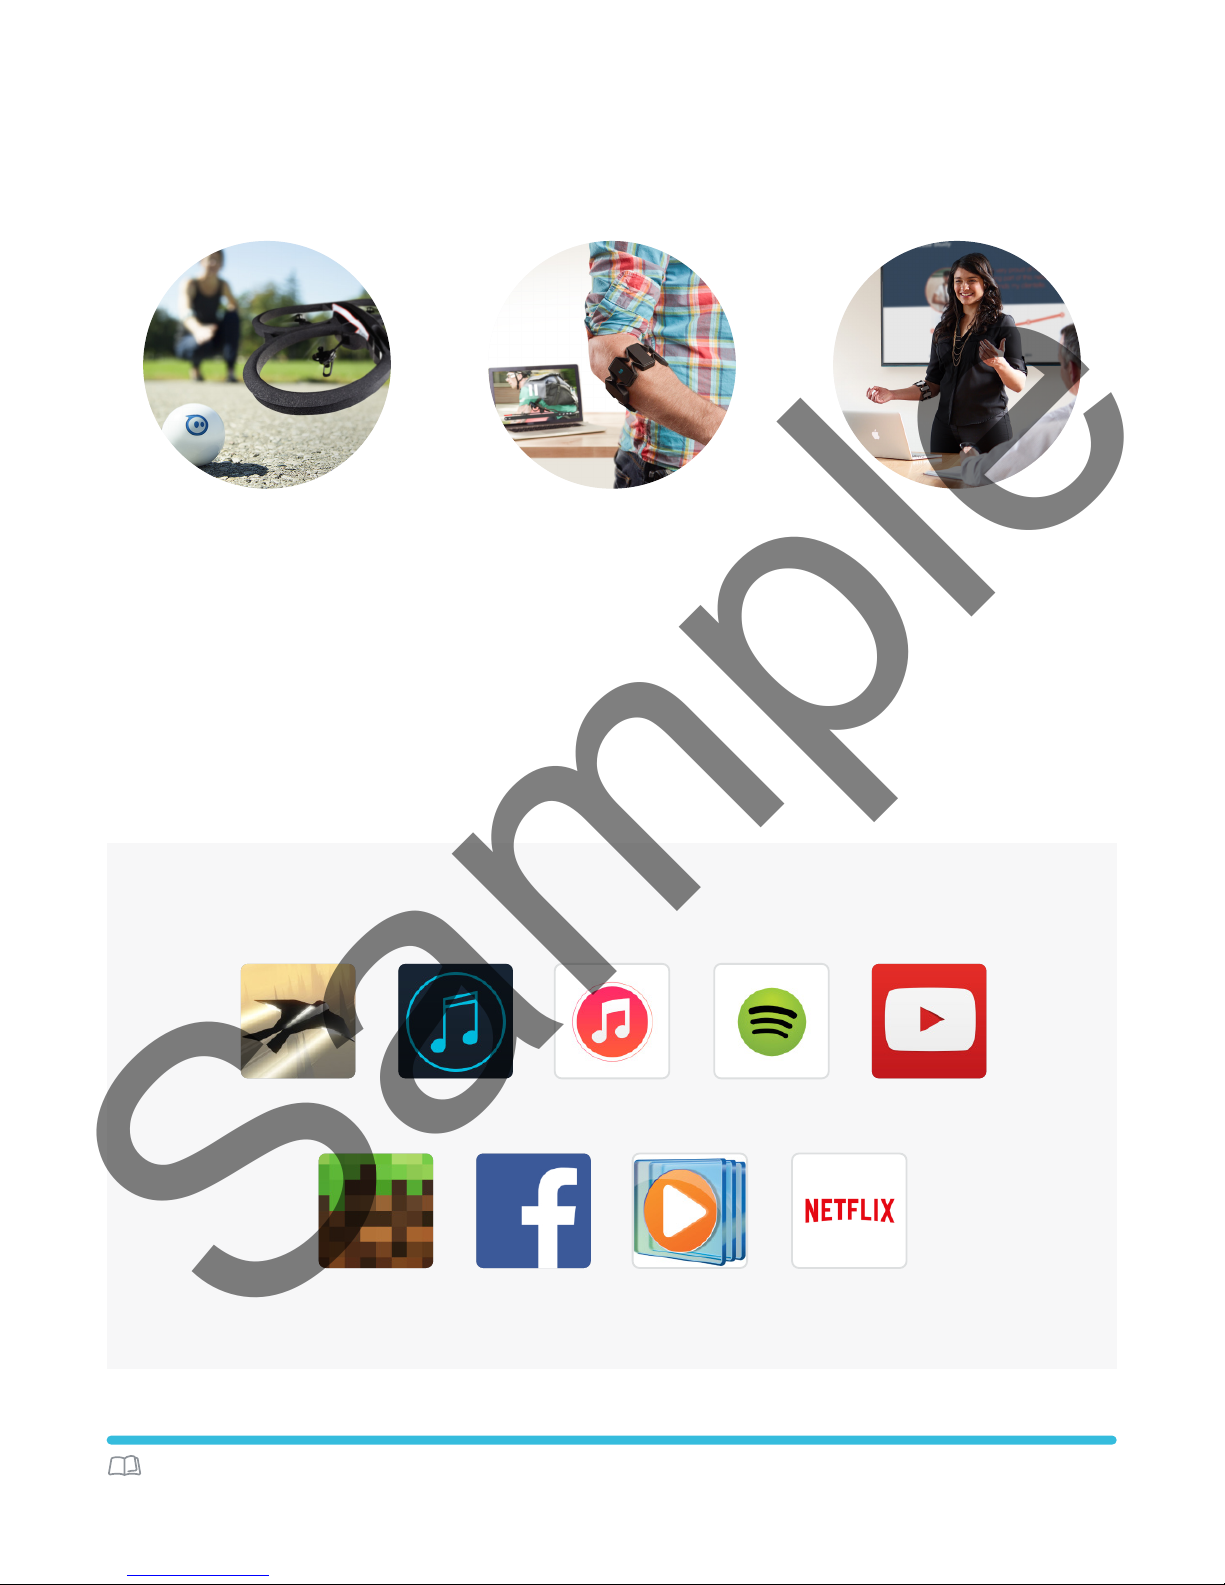
WHAT CAN YOU DO WITH MYO?
Sample
PLAY
Fly your Parrot Drone or drive your
Sphero to take your radio control
experience to the next level.
Race the Sun Myo Music iTunes Spotify YouTube
CONNECT
Step away from your computer
and control your digital world
with gestures: browse the web,
play videos, switch between
applications, and more.
DISCOVER MYO MARKET
PRESENT
Blow your audience away with
exclusive presentation features:
control a digital pointer and zoom in
on your slides, touch-free.
Minecraft Facebook Windows Media
Netix
Player
PAG E 02MYO GESTURE CONTROL ARMBAND - LESSON ONE
Page 3
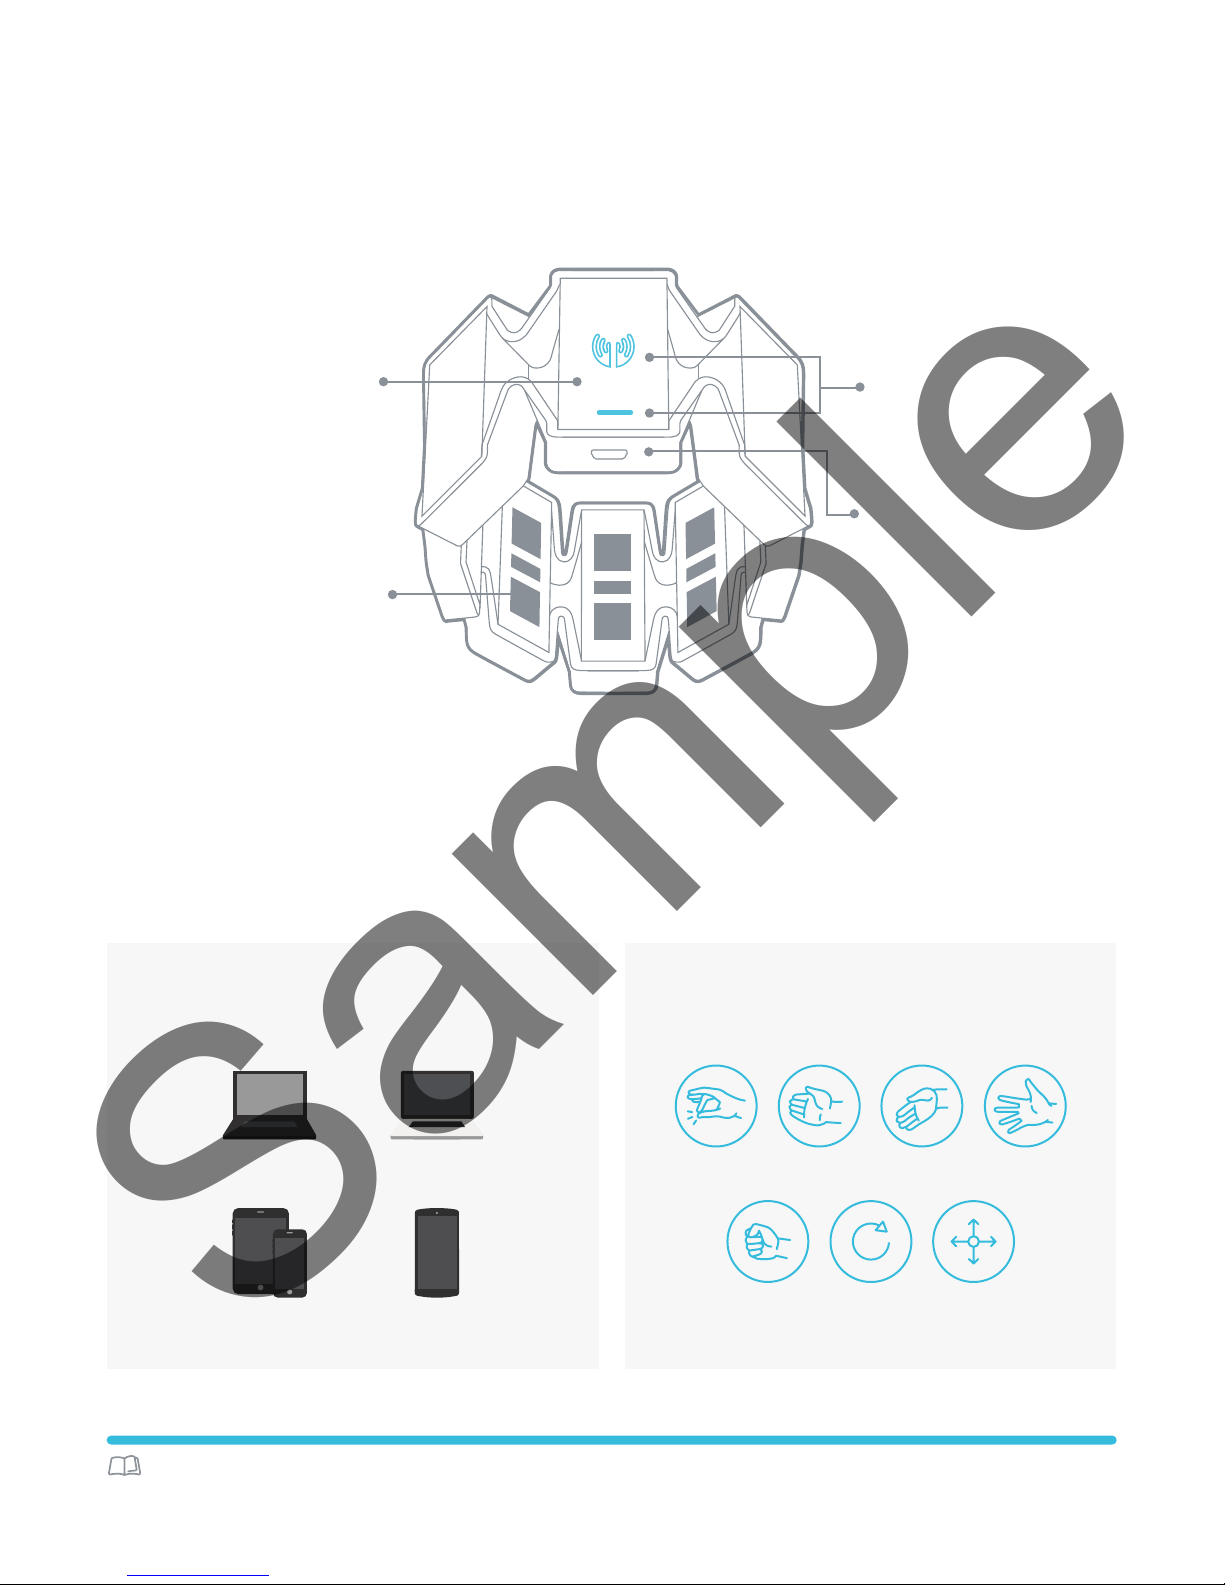
Tech Specs
Sample
Nine-axis IMU tracks
motions and rotations
Muscle activity sensors
detect hand gestures
Comfortable design allows for one-size ts all
Expandable between 7.5in - 13in (19-34 cm)
Built-in rechargeable lithium ion battery
Bluetooth Smart connection
For ages 12
+
Dual indicator LEDs
Standard Micro-USB
recharging
COMPATIBILITY GESTURES
Windows
iOS
Android
Mac
DOUBLE TAP WAVE RIGHT
MAKE A FIST ROTATE MOVE
WAVE LEFT SPREAD FINGERS
PAG E 03MYO GESTURE CONTROL ARMBAND - LESSON ONE
Page 4
Lesson One:
Sample
Getting Started with Myo
Overview
The Myo armband uses the electrical activity of your muscles to wirelessly control your computer,
phone, and other favorite digital technologies. With the wave of your hand, you can transform how you
interact with your digital world.
Objective
This lesson will walk you through the basics of using the Myo armband and teach you how gestures
and motion can be combined to create endless possibilities.
Goals
• Set up the Myo armband
• Familiarize yourself with Myo Connect
• Browse Connectors and Applications in Myo Market
• Complete the Getting Started Guide
Lesson Length (Time)
60 Minutes
Equipment Required
• Myo Gesture Control Armband
• Myo Bluetooth USB Adapter
• Micro-USB Cable
• Myo Sizing Clips
• A Windows (7 or above) or Mac (OS X 10.10 or above) computer
The same equipment will be used in all future lessons.
PAG E 04MYO GESTURE CONTROL ARMBAND - LESSON ONE
Page 5
PART 1: SETTING UP THE MYO ARMBAND
Sample
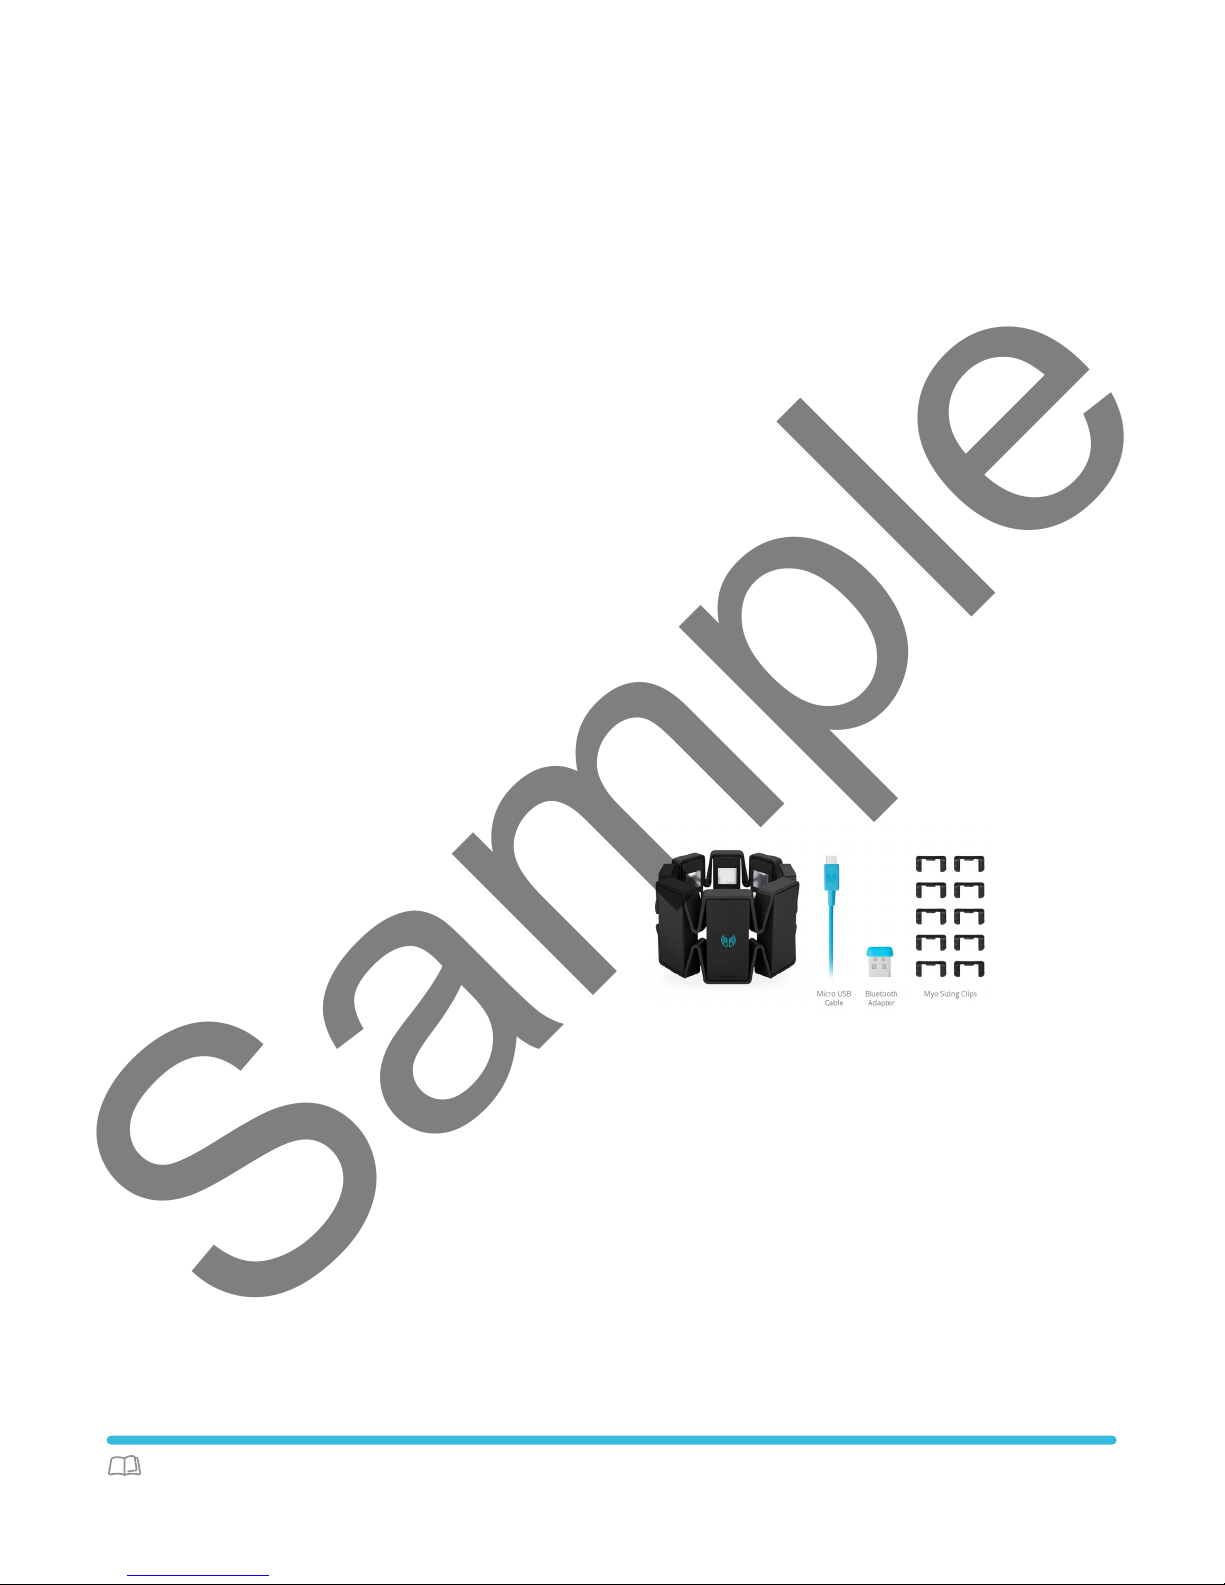
First, let’s review the items you have received:
• Myo Gesture Control Armband
• Standard Micro-USB Cable
• Bluetooth USB Adapter
• Myo Sizing Clips
The micro-USB cable is used to charge your Myo armband and update its rmware. You will also need
it to turn your Myo on if you have turned it o.
The USB Bluetooth adapter should be plugged into your Mac or Windows computer.
If you nd that your Myo armband does not t snugly on your forearm, Myo sizing clips will allow you
to adjust Myo for a secure and comfortable t on your forearm. Attach the sizing clips
ex in-between the pods.
PART 2: MYO CONNECT
1
to the rubber
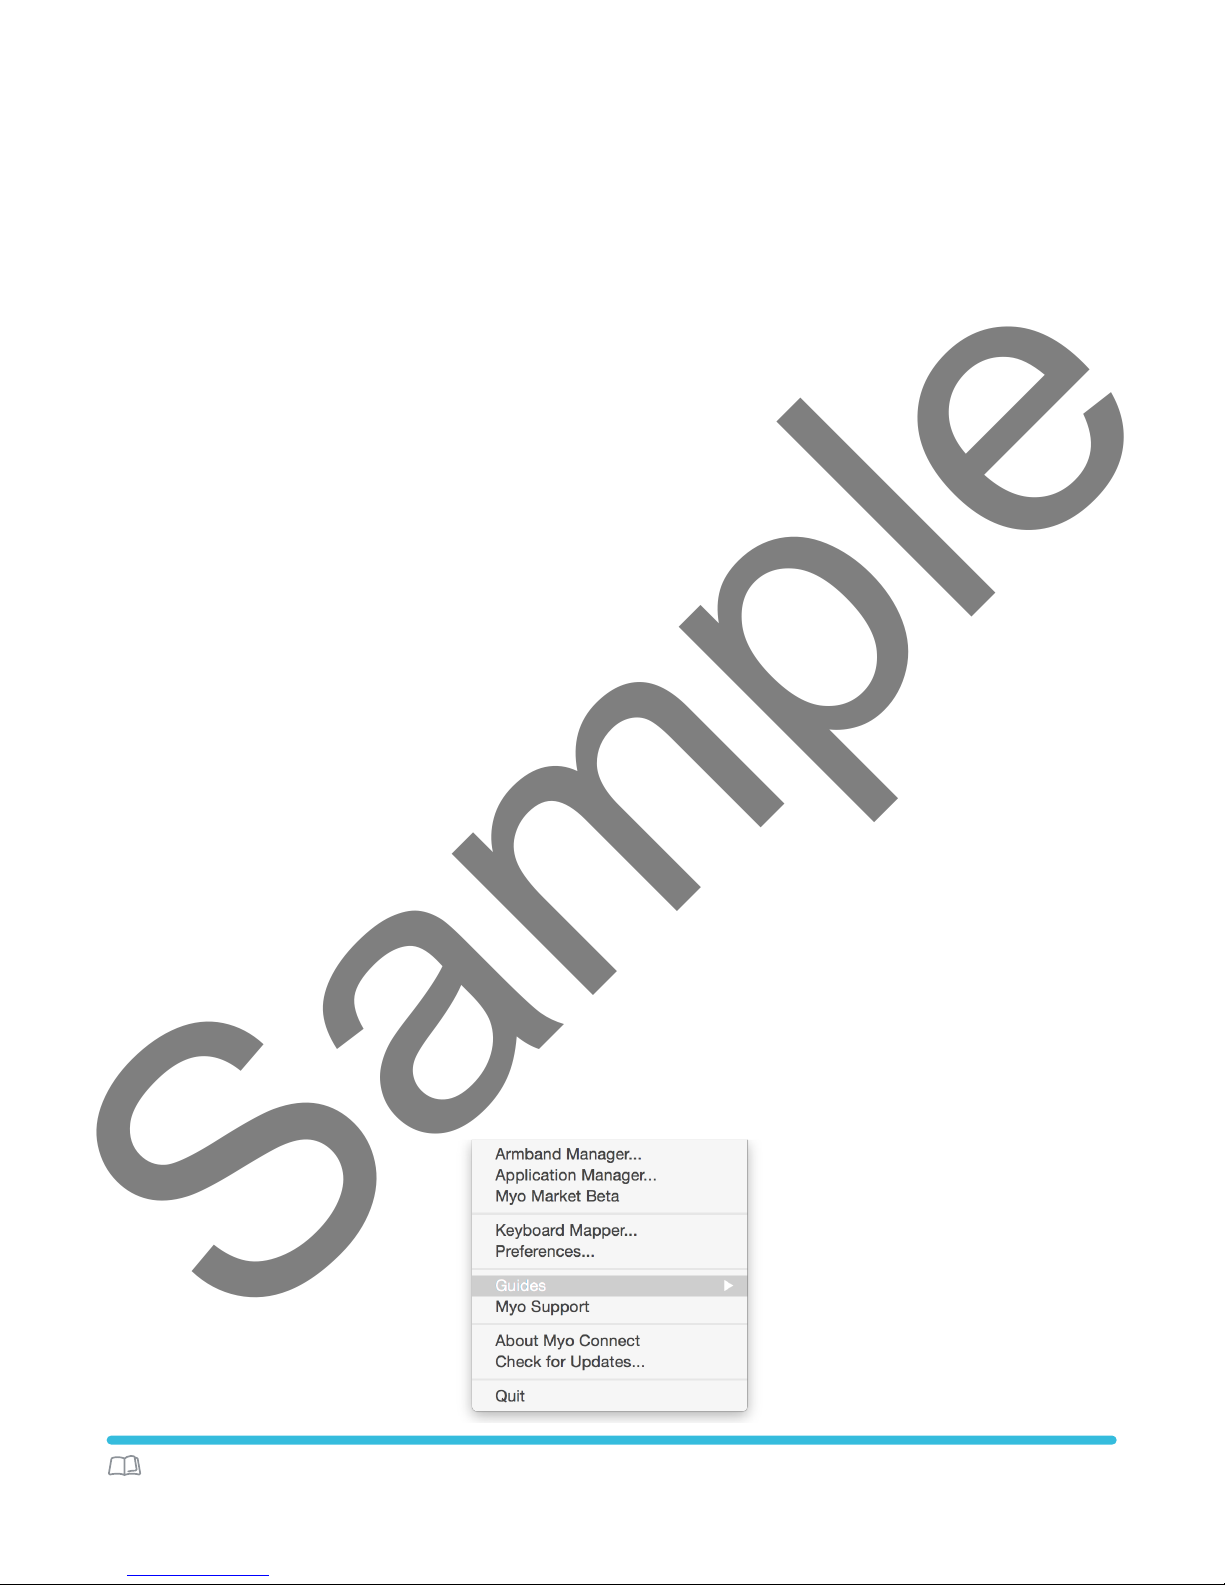
Myo Connect allows you to connect your armband to your computer to access Myo guides,
personalization options, gesture recognition, and more. Download Myo Connect from myo.com/start
and install it on your computer.
On the rst launch of Myo Connect, the Getting Started Guide should open automatically. You can
access the Getting Started Guide at any time under Guides through the Myo Connect menu. This
guide will show you how to wear the Myo armband properly and how it works, in addition to leading
you through connecting and syncing.
The Getting Started Guide will introduce the ve basic gestures that Myo recognizes: Double Tap,
Fist, Finger Spread, Wave Right, and Wave Left. Once you reach the end of the guide, you are ready to
use the Myo armband!
2
PAG E 05MYO GESTURE CONTROL ARMBAND - LESSON ONE
Page 6
PART 3: MYO MARKET
Sample
The Myo Market is the place to discover new applications and connectors.
You can access the Myo Market at market.myo.com
This will open up a browser tab to Myo Market with pages of featured applications! There are over
100 Myo connectors and applications to choose from, and each will be automatically added to your
Application Manager if you choose to download it.
The market is categorized into ve categories: Connected Things
7
Multimedia
, and Presentations8.
3
or from the shortcut in the Myo Connect menu.
4
, Games5, Tools and Productivity6,
PAG E 06MYO GESTURE CONTROL ARMBAND - LESSON ONE
Page 7
Challenge Activities
Sample
Myo Market
1. In Myo Market, browse through each category to see all the applications and connectors that
are available. Name and install one application that you found interesting from each category:
Connected Things:
Games:
Tools and Productivity:
Multimedia:
Presentations:
Games
2. Take the application that you found in the Games section and start using it with the Myo
armband. Try all of the gestures while playing and share your experience below:
Which gesture was the most natural to perform? Which gesture did you nd the most dicult?
___________________________________________________________________________________________________________
___________________________________________________________________________________________________________
___________________________________________________________________________________________________________
___________________________________________________________________________________________________________
PAG E 07MYO GESTURE CONTROL ARMBAND - LESSON ONE
Page 8
Myo Diagnostics Page
Sample
3. The Myo Diagnostics page9 is a website application that allows you to take a deeper
look at the data streaming from your Myo armband. Just connect your armband to
your computer, open up the diagnostics page, and you’re good to go! A connector is not
required in the application manager.
10
A complete list of controls can be found on Myo Market Application page
a) Find the following:
Battery Life
Connection Status
Indicator for which arm Myo is on
Locked Status
b) Take a look at the EMG Graphs and Gesture Feed sections. For both sections perform the
following:
.
Double Tap
Finger Spread
Wave Out
Wave In
Fist
4. Take the Myo armband o and set it on the table. Under the Manual Overrides section,
there is an Orientation header with a button to set origin, and under the IMU Graphs
section you will see a cube. By moving the Myo armband, you can see the orientation of
the cube move as well.
Play around with the Set Origin button and the Myo armband until the cube and armband move
in the same manner (rotating the Myo armband will rotate the cube in the same direction).
PAG E 08MYO GESTURE CONTROL ARMBAND - LESSON ONE
Page 9
Relevant Links
Sample
[1] https://www.youtube.com/watch?v=BKhKUcpIWPU
[2] https://www.myo.com/start/
[3] https://market.myo.com/
[4] https://market.myo.com/category/connected-things/
[5] https://market.myo.com/category/games/
[6] https://market.myo.com/category/productivity/
[7] https://market.myo.com/category/multimedia/
[8] https://market.myo.com/category/presentations/
[9] http://diagnostics.myo.com/
[10] https://market.myo.com/app/5547e2fae4b061c0340c4d5c/myo-diagnostics-page/
PAG E 09MYO GESTURE CONTROL ARMBAND - LESSON ONE
 Loading...