

TFC HWPRS User Instruction Manual
HWPRS
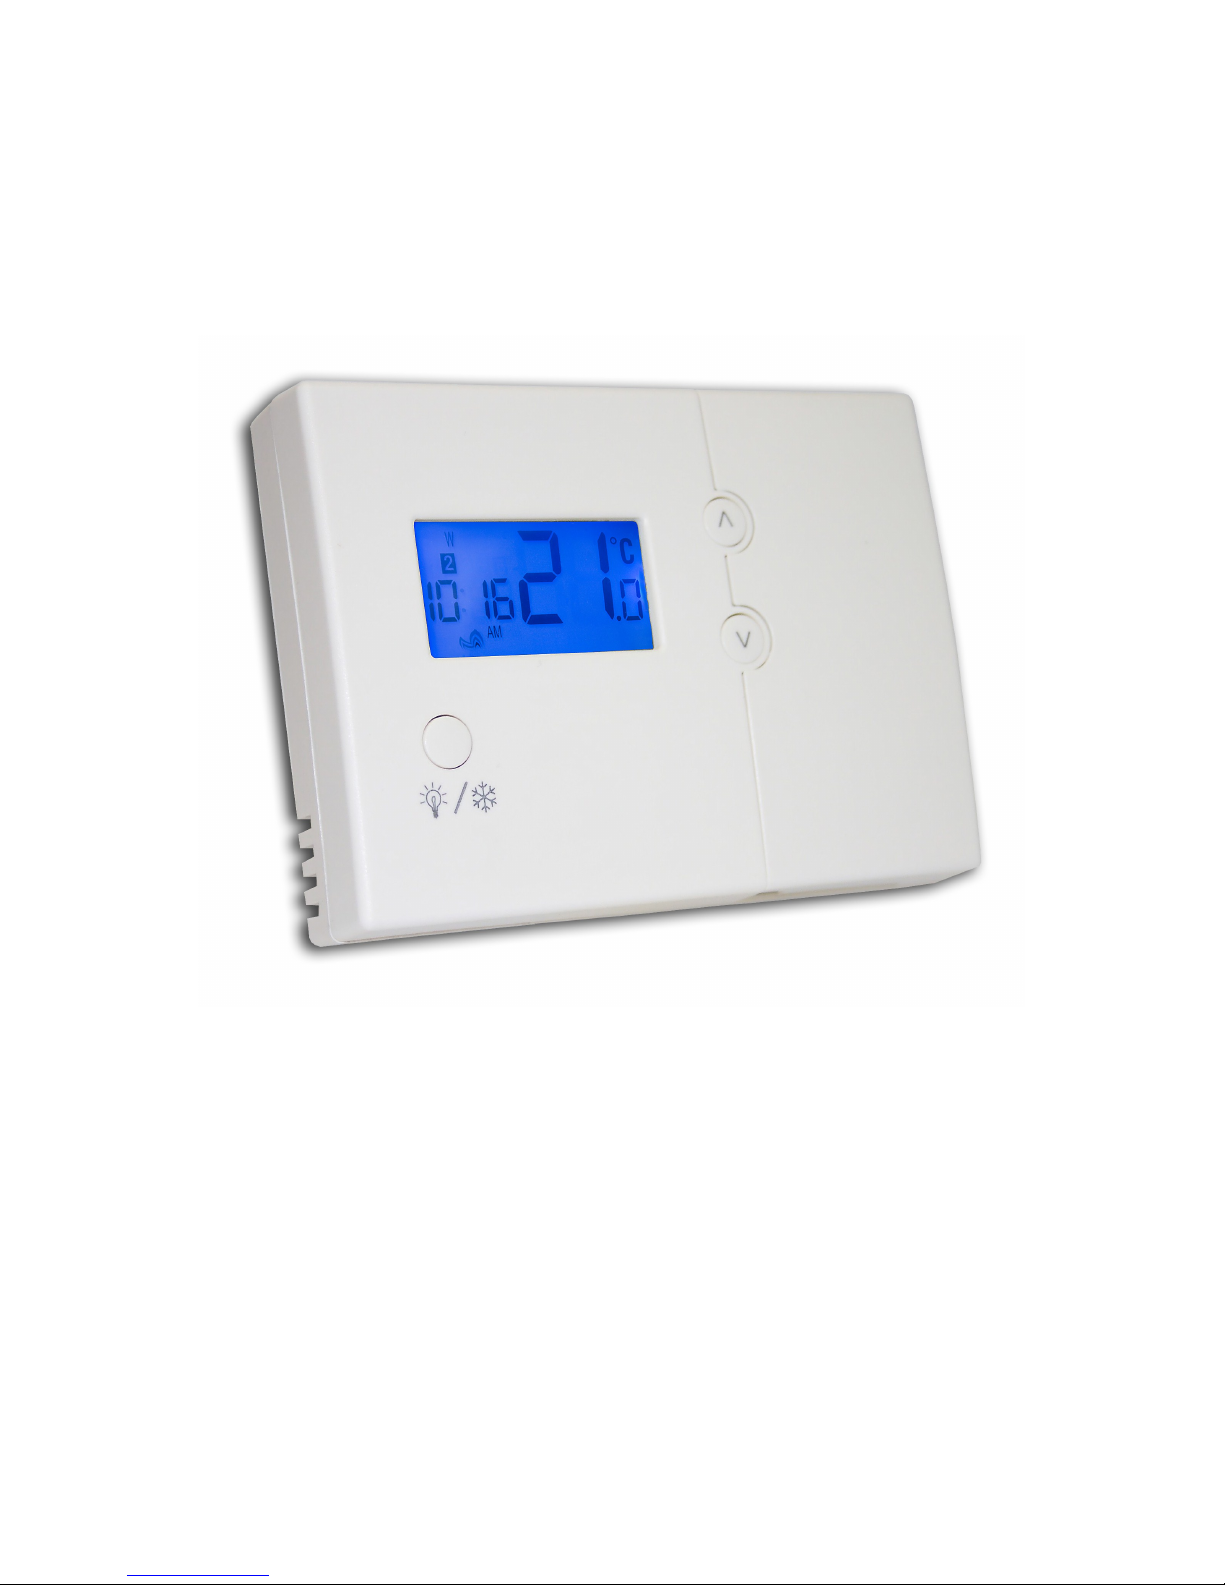
Programmable thermostat
User instruction manual

Programmable Thermostat type HWPRS
IntroductionIntroductionIntroduction
This thermostat can replace any standard room thermostat, and is designed for use with gas or oil heating systems. If you
wish to control electric heating note that the current rating is 3A resistive.
The thermostat is battery-powered and designed for wall mounting, using the backplate supplied. The HWPRS provides a
volt-free contact to switch any load up to 3A @ 230V 50Hz and can be positioned wherever you would normally fit a room
thermostat.
Set time and weekday:Set time and weekday:Set time and weekday:
Insert the batteries into the thermostat; make sure that the batteries are inserted with polarity as indicated in the battery
compartment. Press and hold the select and set buttons for 3 seconds. The hour will flash—adjust with the up or down
arrow button, confirm with select button. Adjust the minute and the weekday in the same way. Press the Set button to
return to normal running mode.
Function and wiring of the receiverFunction and wiring of the receiverFunction and wiring of the receiver
1. All wiring should be carried out by a skilled person. Disconnect power before wiring. Fit a 3 Amp fuse to the receiver
supply.
2. The default temperature display shows the current room temperature. Press the up button until the set temperature is 2
degrees higher than the current room temperature.
3. Wait for a few seconds. The animated flame symbol should be seen in the bottom left-hand corner of the display.
4. The heating system should now be running.
5. Press the down button on the transmitter to reduce the temperature below the current room temperature. Wait for a few
seconds. The animated flame symbol should disappear, and the heating should switch off.
6. If responses do not occur as expected during steps 1—4 above, press the reset button on the thermostat and repeat
steps 1 – 4.
Wiring information:Wiring information:Wiring information:
Using the crimp connectors and insulating boots provided, connect wiring to the receiver as shown below. For conventional heating installations, connections will be required to terminals L, SL & Earth.
L Live In
SL Switched Live Output
Earth Earth Park
Wiring:Wiring:Wiring:
Push button functionPush button functionPush button function
Key Function
Increase setpoint temperature
Decrease setpoint temperature
Turn on backlight for 5 seconds.
Activate / deactivate Frost Protection
SET Key for confirming and program setting
SELECT Key for program setting
RESET System reset
111
 Loading...