

Page 1

1 / 11
802.11N Wireless USB Adapter
Model NO.:WA3070-06
Thank you for using Texet Products
Quick Installation Guide
Package Content
◆ Wireless USB Adapter
◆ Quick Installation Guide
◆ Driver CD
Page 2

2 / 11
Thank you for Purchasing this TEXET Wireless Adaptor, WA370-06, please
read this Instruction Manual carefully before using and retain for future
reference.
I. Driver Installation
Please follow the following instructions to install your new wireless
USB Adapter:
1. Insert the USB wireless network adaptor into an empty USB 2.0
port of your computer when computer is switched on. Never use
force to insert the adaptor, if you feel it’s stuck, flip the adaptor
over and try again.
2. The following message will appear on your computer , click ‘Cancel
/ Close’.
Under Windows XP
Under Windows Vista and Windows 7
Page 3
3 / 11
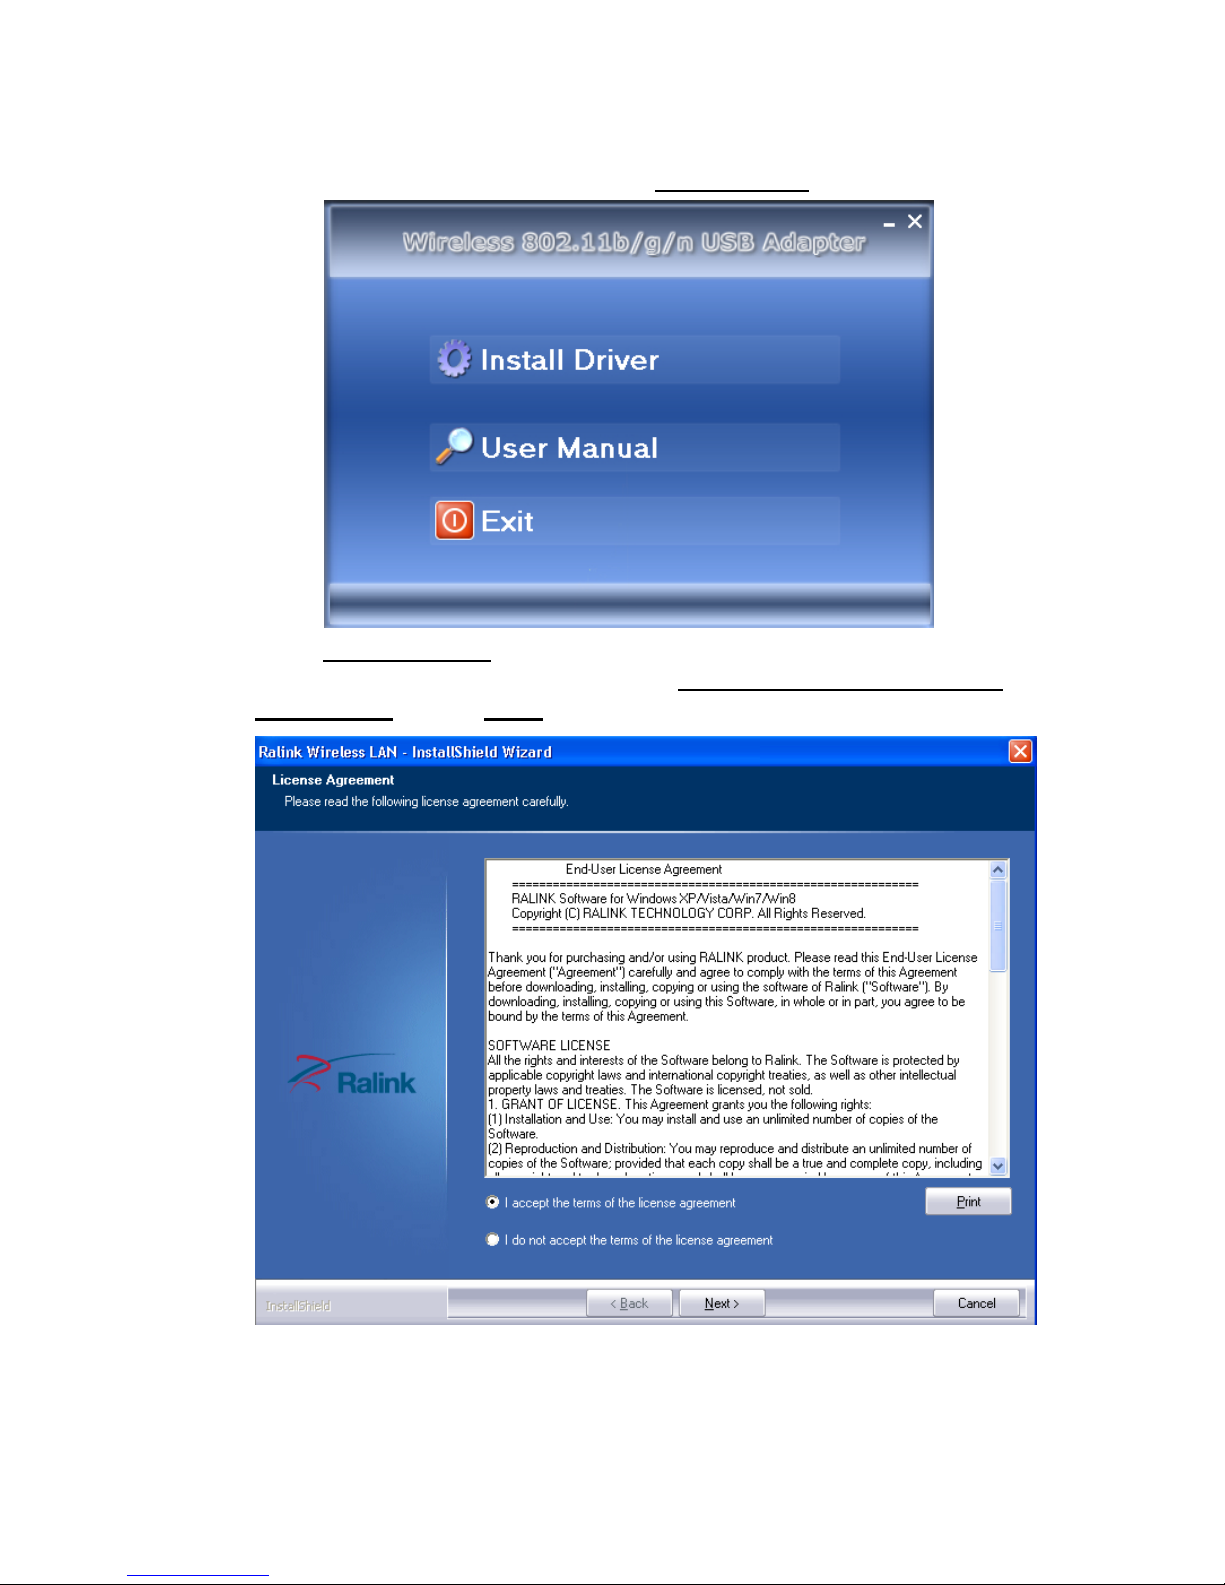
3. Insert the driver CD into your CD-ROM. Y ou can see autorun screen
below. if not, you can double click ‘autorun.exe’ on CD.
Click ‘Install Driver’ to start the installation procedure.
4. Installation descriptions shown. Click I accept the of the license
agreement , Click ‘Next’ to continue.
Page 4
4 / 11
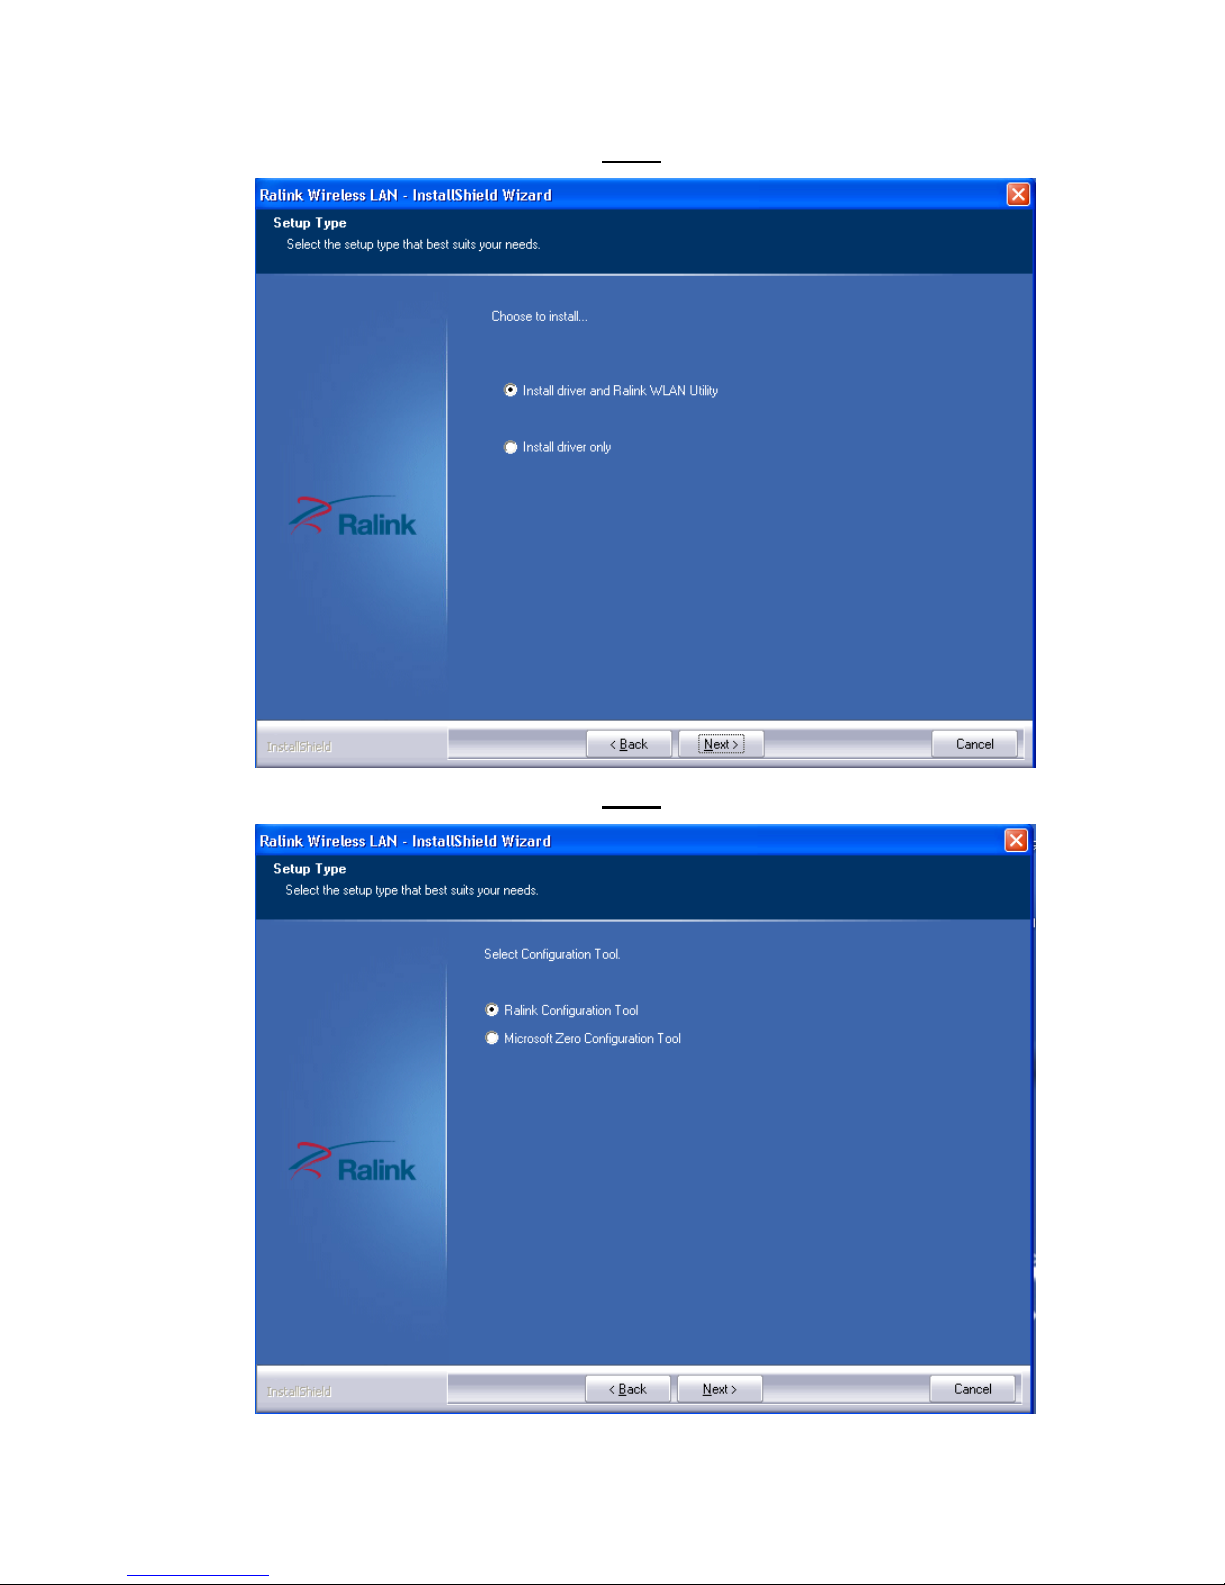
5. Show following window, Click ‘Next’ to continue.
6. Show following window, Click ‘Next’ to continue.
Page 5

5 / 11
7. Show following window, Click ‘Install’ to continue.
8. Show following window, click ‘Finish’ to finish the installation.
Page 6

6 / 11
II. Connecting to a Wireless Network
The Software lets you connect to a wireless network, hotspot,
access point (AP), or wireless router, and even lets you connect to
the Internet. Follow the steps below to connect to a wireless
network.
1. Open the Software by double-clicking on the icon
in the taskbar
in the bottom right corner of your screen.
2. When the software opens it will automatically connect to any
available open wireless networks. Check the name of the network
to which you are connected. If this is the correct network, no
further steps are required.
3. To connect to an alternative network, click the Available Networks
button.
4. In the Available Networks window that appears, select the name of
the network to which you are connecting. Then click the connect
icon and wait several seconds while the Software sets up a
connection.
Page 7

7 / 11
5. The Software automatically detects and displays the security settings
of the network to which you are connecting in the Profile Settings
screens.
WPA-PSK or WPA2-PSK
A. If the Software shows that WPA-PSK or WPA2-PSK security is detected, click
the right arrow to save your settings.
B. In the screen that displays, in the 'WPA Preshared Key' field,
type a security key, the same as that used by the AP or wireless
router to which you are connecting. Click the right arrow to save
your settings and connect to the network.
WEP
A. If the Software shows that WEP security is detected, click the
right arrow to save your settings.
Page 8

8 / 11
B. In the 'WEP Key' field, type the same WEP key as that
configured on the AP or wireless router to which you are
connecting, and ensure that 'Default Tx Key' and 'Key Format'
settings are also the same. Click the right arrow to save your
settings and connect to the network.
802.1X, WPA, or WPA2
A. If the Software shows that 802.1x, WPA, or WPA2 security is
detected, click the right arrow to save your settings.
Page 9

9 / 11
B. Select the EAP Method (Extensible Authentication Protocol) and
Tunnel Authentication method, and if required, the Tunnel ID
method and Tunnel Mode, and enter the user name and
password, using the settings provided by your organization's
network administrator. Click the right arrow to save your
settings.
WAPI-PSK
A. If the Software shows that WAPI-PSK security is detected, click
the right arrow to save your settings.
B. In the 'WPA Preshared Key' field, type a security key, and select
a Key Format setting, the same as that used by the AP or
wireless router to which you are connecting. Click the right
arrow to save your settings and connect to the network.
Page 10

10 / 11
WAPI-CA
A. If the Software shows that WAPI-CA security is detected, click
the right arrow to save your settings.
B. If you have a WAPI certificate already installed, in the Select
Mode field, select Auto and click the right arrow to save your
settings and connect to the network. Otherwise, if there is no
WAPI certificate in your system, go to Setting Up Enterprise
Wireless Security.
No Security
If your network has no security (not recommended), no further
settings are required. Click the right arrow to save your settings
and connect to the network
Page 11

11 / 11
6. Once you are connected the Available Networks screen shows the
status of your connection.
7. For more settings help, click view.
Note: If you are still unable to connect to the wireless router, even
though all the settings are correct, then click on the network
connected icon on your taskbar and then click tcp/ip settings and
make sure that options for “Obtain an IP address automatic” and
“Obtain DNS server address automatically” are selected. If there are
some IP address keyed in 2nd option then this will prevent the device
from connecting to the wireless networks. Where possible, always use
the dynamic address.
For any further help, please refer to www.texet.com for more
information.
 Loading...