

Page 1
Read these instructions carefully before using the Laminator.
Please keep for future reference.
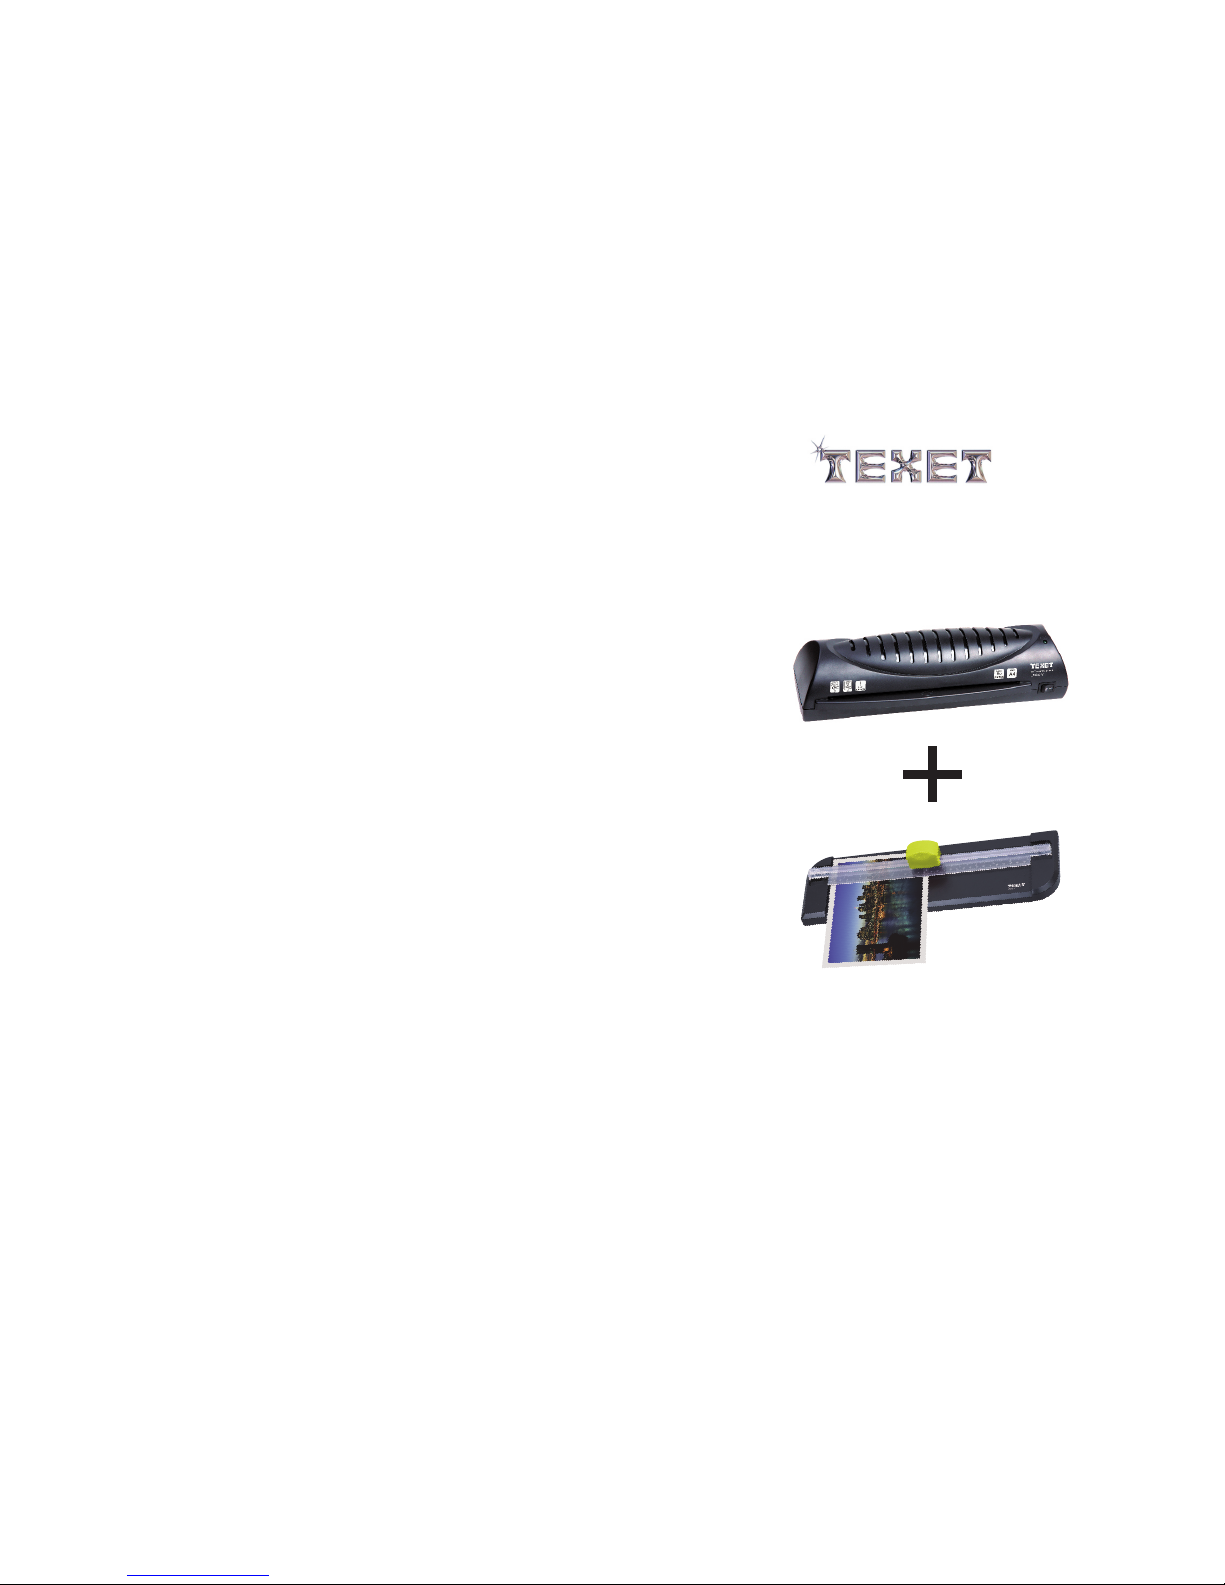
LMA4 VP T
Lamin ator and Trimme r Value Pack
Page 2
LMA 4- V Lam inator Instruc tion manual
Tha nk you fo r choos ing a TEXE T lam inator. We ai m to su pply qu ality m achin es
tha t creat e excel lent re sults . Befor e opera ting th e lamin ator – please read an d
keep the use r instr uctio ns for referen ce.
Whe n usi ng el ectri cal a ppl iance s, ba sic precau tio ns sh ould alway s be fo llo wed to
red uce risk of injur y or elect ric s hoc k, incl udi ng th e fol lowin g:
1. Al way s unp lug the appl ian ce wh en no t in us e.
2. Th is ap pli ance is not inten ded f or us e by pe rso ns, (inclu din g Child ren ), wi th
red uce d phy sical , sen sor y or me ntal capab ili ties or lack of experi enc e or kn owled ge.
They should b e giv en su per visio n and i nst ruc tion in the use of the applia nce , by a
per son r esp onsib le fo r the ir sa fety.
3. Th e lam ina tor wil l bec ome v ery h ot in u se an d car e sho uld be taken when hand lin g
the mach ine .
4. Pr ote ct ag ainst t he ri sk of elec tri cal hazard s. Do n ot im mer se the power cord , plu g
or ap pli anc e in wa ter or other liqu ids , or us e nea r wat er.
5. Do n ot in ser t any m eta l objec ts or othe r for eig n objects su ch as jewe lle ry, ha ir,
fin ger s or cl othin g int o the appl ian ce.
6. Re mov e pap er clip s and stap les b efo re lami nat ing .
7. Do n ot op era te th e app lianc e wit h a dam age d plu g or po wer cord or after the
app lia nce has malf unc tio ned or becom e dam age d in so me ma nner.
8. If the Po wer C ord i s dam aged , it mu st be r epl aced by a qu alifi ed En gin eer in order
to avoid a haza rd,
9. Th e app lia nce sho uld b e ins tal led near the outl et so cke t and t he so cket shoul d be
eas ily a cce ssibl e.
10. O nly l ami nate pa per o r boa rd. D o not l ami nate unusu al ob jec ts.
11. Do not use aer oso l dus ters or cl eaner s.
12. D o not s pra y any thing into o r lub ric ate the ap plian ce.
Setup :
1. Op era te th e machi ne on a flat and stabl e sur fac e.
2. En sur e the re is enough clea r spa ce at t he re ar of t he ma chi ne fo r the lamina ted p ouc h to
exi t the m ach ine.
3. The LMA4-V o per ate s with lamin ati ng po uches 100 (2 x 50 ) micron – 160 (2 x 80) mi cro n
thi ck, ( Cre dit car d siz e to A4 siz e)
Ope ra ting the lam inato r:
The L MA4 -V is o perat ed by a rocker sw itc h, lo cated at the righ t han d sid e of th e app lia nce.
There are 2 positi ons O N (l) a nd OF F (O)
1. Pl ug th e mac hines cabl e int o a con ven ient 13 Amp d ome stic suppl y out let .
2. To Lami nate selec t the O N (I) s ett ing , lamin ati ng ca n beg in wh en the Green “Rea dy”
lig ht co mes o n, wh ich indica tes t he La minat or is hot enoug h to la min ate,
(Al low a ppr ox 3-5 minut es fo r the L ami nator to warm up).
7
TTA4-V
Speci fi ca tions/Te chnical D at a
A4 PAPER TRIMMER
Cutti ng l en gth
Cutti ng c ap acity
Cutti ng s iz e
Net Wei gh t
Produ ct s iz e (WxD xH )
310mm
Strai gh t cu tting bla de
Perfo ra te d cutting b la de
Wav y cutting b la de
A4 / A5 / A6 / A7
0.25k g
390 x 60 x 12 0m m
5 sheet s (7 0g sm )
3 sheet s (7 0g sm )
3 sheet s (7 0g sm )
Vis it w ww. te xet.com f or d etails on other Texet p ro du ct s.
Page 3

6
3. Pr epare the la min ating pouc h for i nsert ing i nto the mach ine . See H ow to l oad a
lam ina ti ng po uch b elow Do not use pou che s thi cker th an 16 0mic (2x80 mic
per side )
4. Wh en th e machi ne ha s rea ched opera ting tempe ratur e, yo u may i nse rt the pouch ,
(se aled edge fi rst ), sq uarel y int o the machin e unt il it engage s wit h the r oller s.
Nev er in sert a pouch open e dge f irst into th e mac hin e.
5. The pou ch wi ll mo ve thro ugh t he ma chine and ex it at t he re ar.
6. Du ring the pro ces s the R EADY light m ay go o ut as h eat i s abs orbed b y the
lam ina ting po uch . Thi s is no rma l.
7. Do n ot cu t dow n Lamin ati ng Po uches t o Lam inate smal ler sizes of Pape r,
sma lle r sizes of Pou che s are a vaila ble , see below, pleas e use t hese.
8. Tur n the l ami nator t o OFF ( O) af ter u se.
9. Alw ays r emove the pl ug fr om th e pow er supp ly, when the Lam ina tor is not in use
IMP ORTANT!
Do no t tou ch the top of the mac hin e dur ing use , as it will g et ve ry ho t and take
app roxim ate ly 3-4 hours t o coo l dow n. Do not plac e ite ms on t op of t he ma chine a t
any t ime.
Lam ina ting Pouch Size s:
A4 – 303 x 216mm
A5 – 216 x 154mm
A6 – 154 x 110mm
A7 – 80 x 111mm
ID Ca rd – 90 x 60 mm
Cre dit Card – 86 x 54m m
Lam ina ting capac ity :
The L MA4 V is a perso nal l ami nator desi gne d for h ot la min ation so is onl y sui table
for h ome a nd sm all o ffi ce us e onl y. Do not u se th e app lia nce with pouches thi cke r
tha n 160 m icr ons in thi cknes s. Ma xim um La min ation thic kne ss is 0 .45 mm, exclud ing
the p ouc h.
How t o loa d a lamina tin g pou ch:
The l ami nating pouch is seal ed al ong o ne si de. O pen t he po uch a nd pl ace t he pa per
to be lami nat ed ce ntral ly in sid e the p ouc h as cl ose t o the seal ed ed ge as p oss ibl e.
Ens ure there is an e qua l bor der all ro und the paper (e.g.: A4 pa per should have a
3mm b ord er). The s eal ed ed ge (n ot th e ope n edg es) is pla ced into the en try slot to
sta rt th e lam ination proce ss. Al way s wat ch th e pou ch du ring the
Lam inating proce ss to e nsu re it c ome s out t he ot her s ide o f the Lami nat or.
It ma y wra p aro und t he ro lle rs if n ot pl ace d squ arely and centr all y in th e ent ry sl ot.
In th e unl ike ly ev ent the po uch become s jam med i n the Lami nat or, pl eas e swi tch off,
do no t ope n the appl ian ce. Only a qual ified serv ice e ngi neer shoul d rep air t he
app liance.
Warr anty & ser vice:
Nev er se rvice the produ ct yo urs elf . The appl ian ce is g uar antee d for 12 months from
dat e of pu rch ase, subje ct to norm al us e. If the lamin ato r is un der w arr anty then retur n
it to the point of pur cha se fo r rep lac ement or repair.
●
● Now, pul l th e cu tting hea d in a c on stant m ov em ent and wit h sl ig ht down wa rd p ressure
along t he c ut ting rule r.
Instr uc ti on to chang e bl ad e
Do not to uc h th e edge of the b la de s as they a re v er y sharp!
● Remov e th e ca p at the back o f th e cu tting h ea d an d open by tur ni ng l ever to wa rd s
”OPEN ” (f ig ure 1).
● Place t he c ap w ith the Bla de i n a sa fe plac e so y ou d o not injur e yo ur self ( Fi gu re 2).
Press t he c ut ting rule r on to t he mate ri al a nd with one h an d, h old it in p la ce .
(Figure 1) (F ig ur e 2)
●
● The spa re B la des are kep t in t he Yel low hou si ng .
● To remove o ne o f th e sp are Bla de s sl ide ope n th e ho us ing lid a nd r em ove the B la de
caref ul ly
● Inser t th e re placed Bl ad e in to the bl ad e ho using and c lo se t he lid.
● Tur n the trimm er b ac k over ag ai n on to a flat sur fa ce .
● Inser t th e ne w Blade int o th e cu tting h ea d. The ax is o f th e Blade mus t be i ns erted
prope rl y in to the midd le o f th e cutti ng hea d (Fig ur e 3 & Fi gure 4 ).
Tur n the Paper Tr im me r over on to a n on -slip sur fa ce .
(Figure 3) (F ig ur e 4)
●
locks i nt o pl ace (F ig ur e 5) .
Place t he c ap b ack onto th e cu tt ing hea d an d tu rn it towar ds “L OC K” until i t
Thi s ha nd o perat ed t ri mmer is onl y su it able fo r pe rs ons aged 16 +; p er sons ov er
the age o f 12 y ea rs but unde r th e ag e of 16, ma y ho we ver use the d ev ic e
while u nd er t he s uperv is io n of an adu lt .
(Fig ur e 5)
ww w.t exe t. co m
Page 4

5
4
LMA4V L am in ator Spec if ic ation :
Rolle rs : 2 Ro ller (hot s ho e)
Entry w id th : 236mm
Min lam in at io n thick ne ss : 100(2 x5 0) m icron
Max lam in at ion thick ne ss : 160 (2x 80 ) mi cron
Min pou ch s iz e: Credit c ar d si ze (54x 86 mm )
Max pou ch s iz e: A4 size (30 3 x 21 6m m)
Max lam in at ion Thi ck ne ss: 0.4 5m m, e xclud in g th e Pouch.
Lamin at io n sp eed: 25 cm / m in
War m-up: 3-5 m in ut es
Power c on su mption: 2 20 Wa tt s
Input : AC 22 0- 240V, 1. 0amp
Dimen si on s: 330 x 118 x 8 8 mm ( L x D x H)
ModelL MA 4V
TypeLam in at or
Compl ia nt w ith:-
BS EN 609 50 -1 : 2006 &
EMC - EN 55 01 4- 1: 2006
EN 5501 4- 2: 1 99 7+ A1
EN 6100 0- 3- 2: 2006
EN 6100 0- 3- 3: 2008
MADE IN C HI NA
Vis it o ur Webs it e at w ww.tex et .c om , to see our f ul l ra nge of pr od uc ts.
Dispo sa l:
UK: Waste Elec tr ic al prod uc ts /batter ie s sh ould no t be d is posed
of with h ou se hold wast e. F ac iliti es e xi st, for you r ne ar est
facil it ie s see www.re cy cl e-mor e. co .uk or in sto re f or d etail s.
TTA4 -V A4 P ap er Tr immer Ins tr uc tion Ma nu al
Thank y ou f or c hoosing a Tex et photo/ pa pe r trimm er.
Befor e op er ating the t ri mm er, plea se r ea d and keep th e in st ructi on s fo r referen ce .
Parts d es cr iption: As per b el ow p ictur e in di ca tes:
Cutti ng H ea d.
Wor ki ng t able ba se .
Access ib le o pen / close c ap f or c hangi ng b la de.
Cutti ng R ul er
Presc ri be d use
The rot ar y tr immer is de si gn ed for th e cr ea tive cutt in g of p aper, fi lm a nd o ther suit ab le
soft ma te ri als. It is po ss ib le to cut u p to 5 s he ets (70g/ mm ) at t he same
time.
Safet y in st ruction s
In case o f an y da mage caus ed b y th e failu re t o ob serve the se o pe ratin g in st ruction s,
or any im pr op er use or ope ra ti on, or th e fa il ure to obse rv e th e safet y in st ruction s,
then th e gu ar antee for t hi s pr oduct , wi ll b e invalid .
●
● Do not ov er lo ad the Pape r tr im mer. Do no t in se rt more she et s or
stron ge r sh eets than s ta te d in the Tech ni cal dat a.
● Do not to uc h th e edge of the b la de s as they a re v er y sharp!
● Pleas e ke ep t his opera ti ng m anual f or f ur ther refe re nc e!
● If you pa ss t hi s device on t o th ir d parti es , pl ease forw ar d th is
opera ti ng m anual as we ll .
Do not us e th e cu tting hea d to c ar ry the tr im me r.
Opera ti on
Do not cu t ha rd m aterial s uc h as m etal st ri ps , glass e tc . Alw ay s op erate t he
devic e wi th b oth hands . Us e th e devic e on a s ta ble, fl at a nd e ve n surfa ce o nl y.
Befor e ea ch c ut please c he ck t hat the B la de i n the cutti ng h ea d is secu re .
● .
● Push th e cu tt ing head to t he t op o f the rul er.
● Place t he m at erial to be c ut u nd er the cu tt in g ruler and b ri ng i t into th e re qu ired
posit io n.
Place t he P ap er Trimmer o nt o a no n-sli p surfa ce
1
2
3
4
3
4
1
2
 Loading...