

Page 1

USB2.0 Plug & Play Webcam User Manual
Introduction
Thank you for choosing our new generation webcam (pc camera)! It is a high performance Webcam (pc camera)
product guaranteed by our technology and quality. It is a PNP (Plug and Play) product for real-time data
transmission to PC via USB Port. It has a high resolution and fast transmission rate, and it is also nice-looking and
easy to carry with you, it just brings intimate and convenient life experience with your distant friends and families.
Parameters and features
300k pixels resolution
High resolution CMOS color sensor
Video mode: 24bit true color
Large video capture size: 640 × 480
Interface: USB2.0 high-speed
Transmission Rate: 640 × 480 up to 30fps
Noise-signal ration: greater than 48db (30fps 220LUX)
Dynamic range: greater than 72db
Optional flicker: 50Hz or 60Hz
Image focus: 5cm to infinity
Build-in image compression
Automatic brightness adjustment
Automatic color compensation
Manual focus
Computer Requirement
Hardware:
Desktop PC or laptop PC with USB2.0 interface
Pentium 200 or higher CPU
64MB or higher memory
Software:
Operation system:
Windows XP service pack 2;
Windows Vista and Windows 7 compatible.
Camera Installation (without driver software)
1. Check your operation system. Right click on “My Computer” find out “Properties”, to see the operation system
of your computer from the below picture
.
Page 2
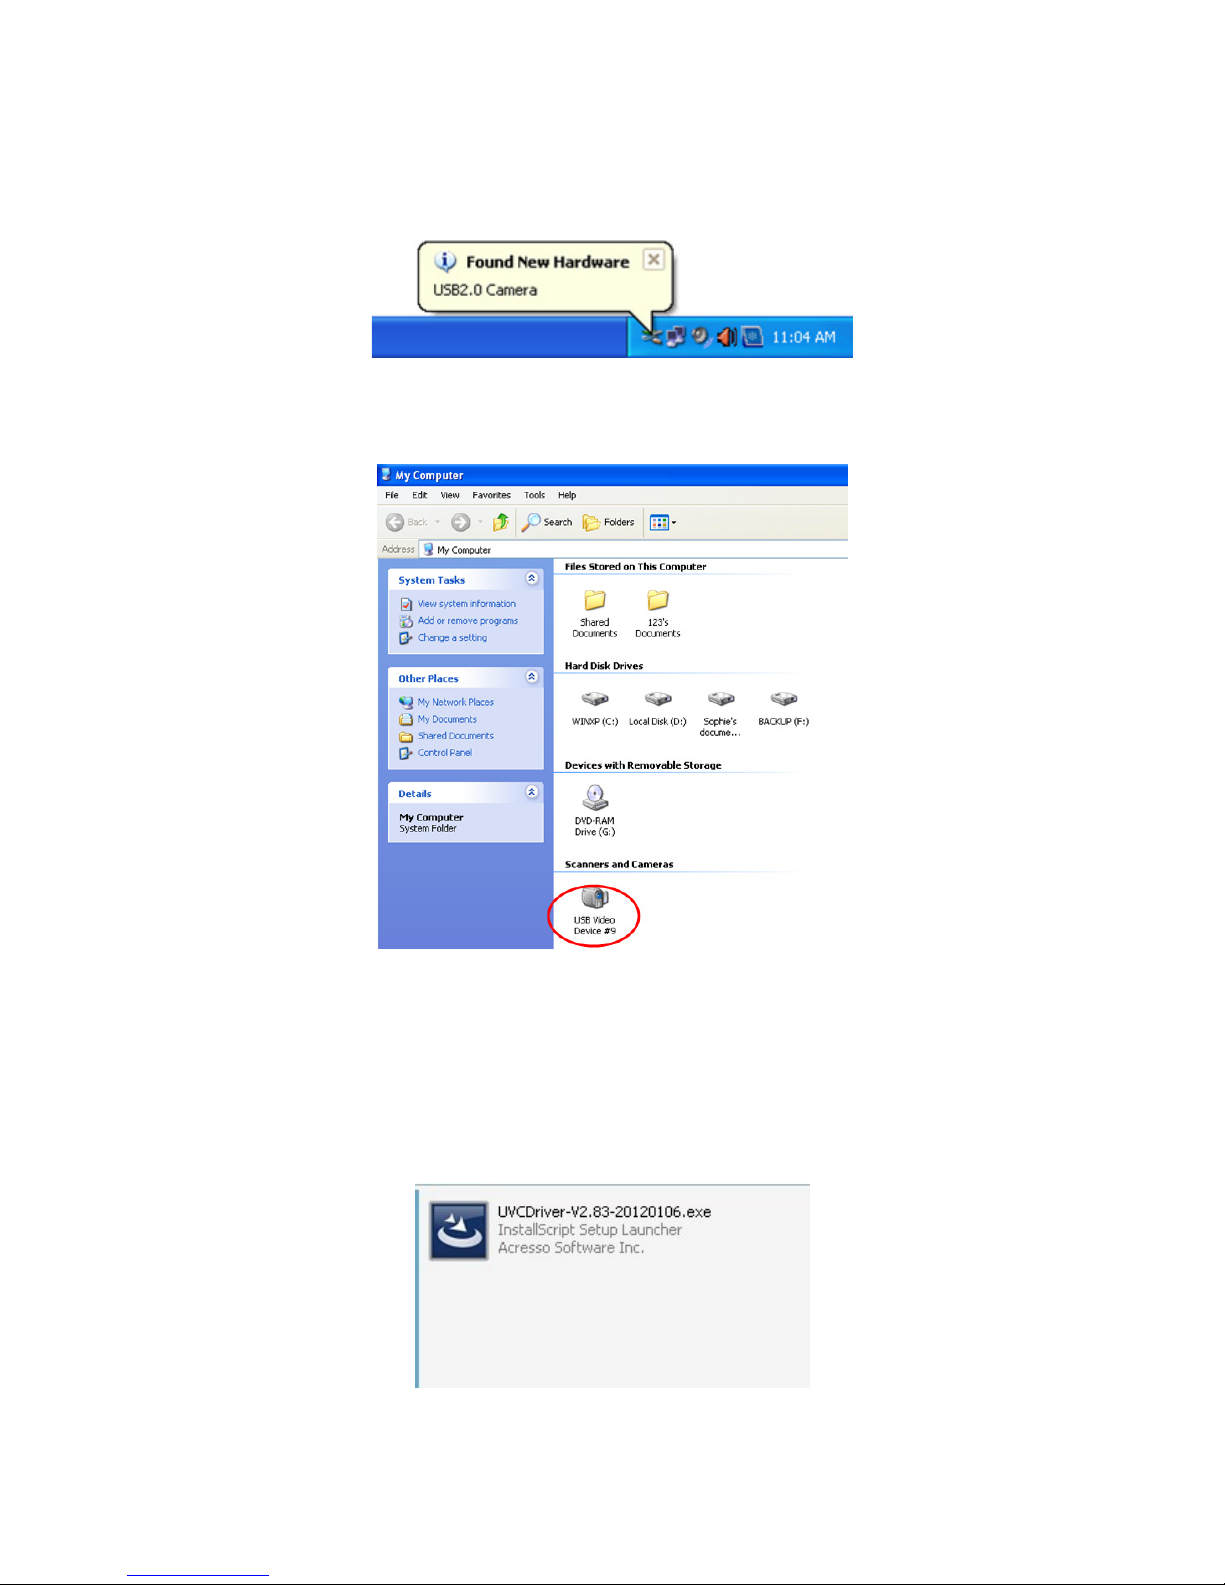
2. If you have checked out your OS is the version of Windows XP service pack 2 or above, than you can plug the PC
camera into the USB interface, on the computer will show as below picture “Found New Hardware USB2.0 Camera”,
this is to say your PC camera hardware can be used now.
3. Where you can preview the PC camera video capture?
Double click on “My Computer” on the desk, then you will find “USB Video Device #*” from the following window:
4. Double click on “USB Video Device #*”, then you can preview the video capture.
Camera Driver Software Installation
1. Insert the software CD to your CD-ROM drive, and find the software from the CD ROM as below, double click it to
start the driver installation.
2. Then, click on the “Next” to continue for webcam driver installation
Page 3
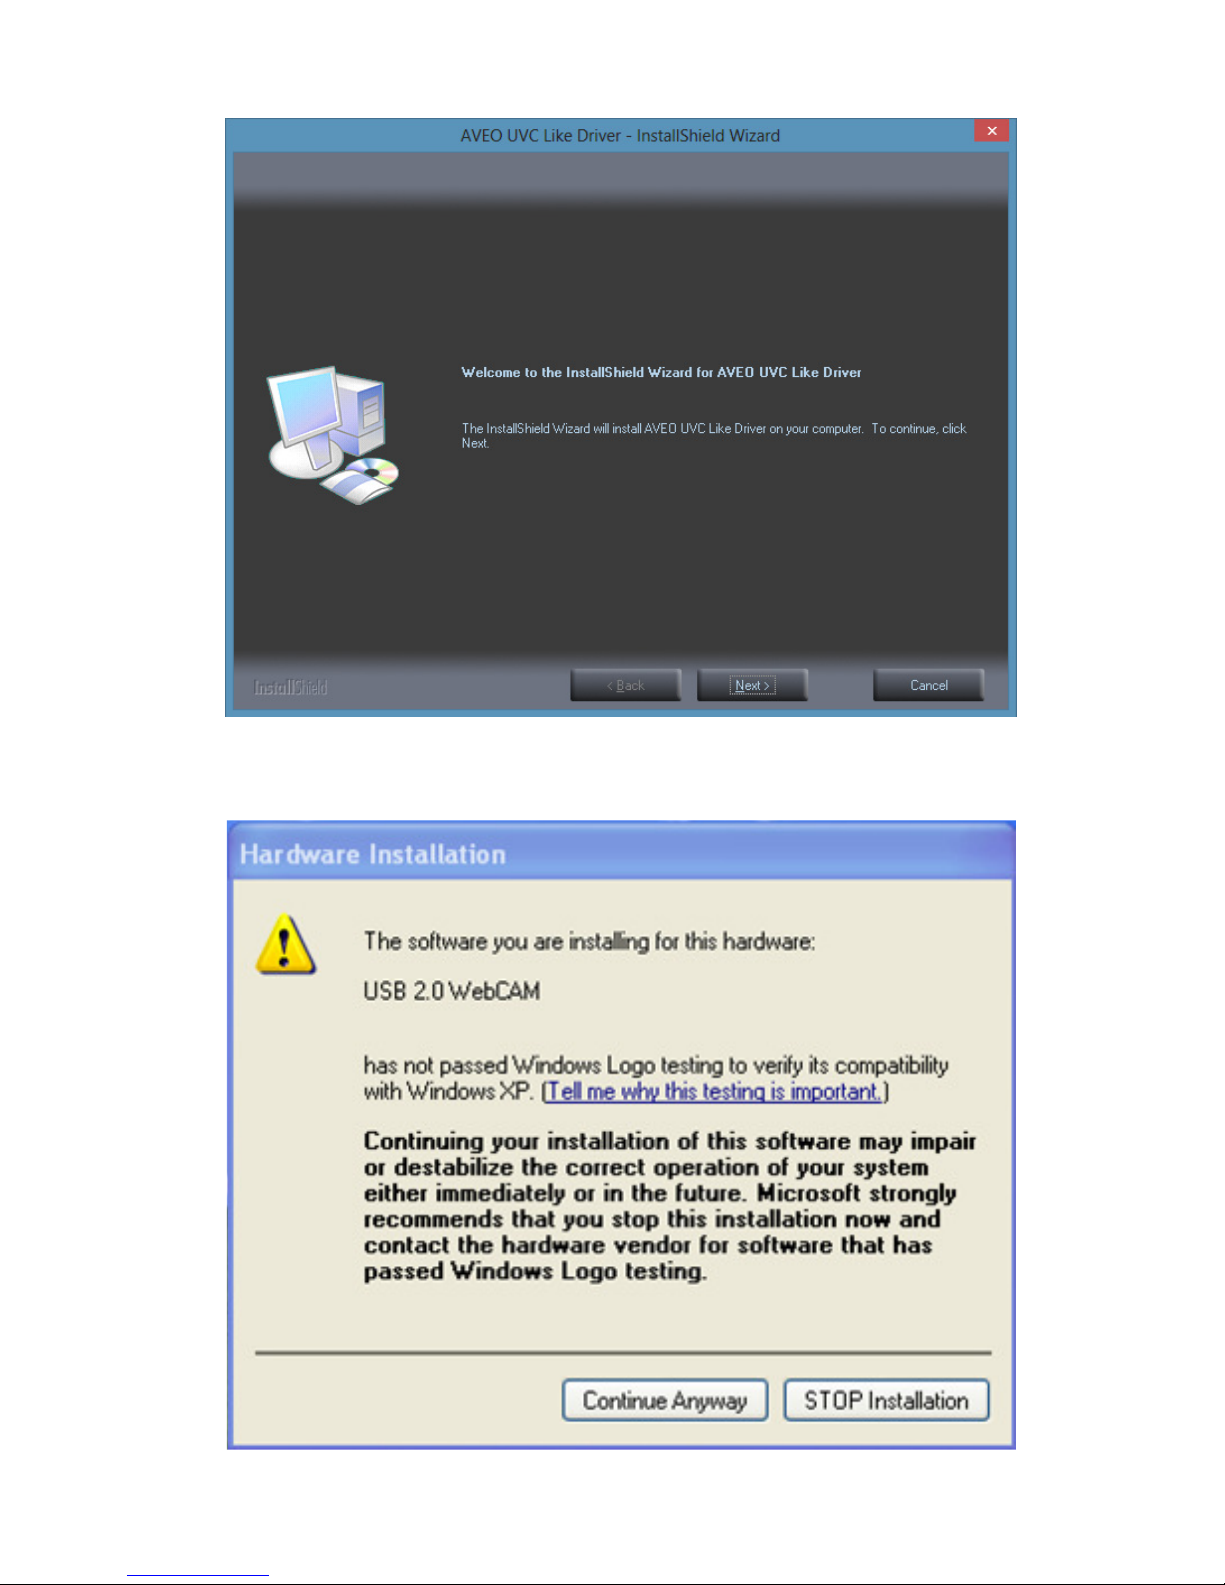
3. Choose “Continue Anyway” to continue, when this window appears, and then the driver installation will be
finished.
Page 4

4. Click “Finish’
5. On the desktop, find out the icon “CamAPP”
6. Start the video capture, and choose the “Video Capture Pin…” from the “Options” to adjust the capture picture
size
Page 5

.
7. To adjust the video image size from 160 x 120 to 2560*1920
8. Then choose the “Still image capture” from the “Capture” to adjust the image capture resolution from 300k to
50M.
Page 6

9. From the “File” you can set capture / snapshot file folder, to place the captured video and snapshot images in
certain folder created by you.
10. From the “Options” choose the “Video Capture Filter…” to setup the Video Proc Amp, Camera control, Basic
settings and Special effects
Page 7

11. Special effects and frames
Cautions
Do not touch the lens with your hand, sharp or roughness things; make use of clean and soft materials for cleaning.
Do not use it in hot, cold and dusty or humid circumstances.
Avoid any tumbling while in use. Severe falling may cause damages to the lens, malfunction of scratches to the surface
Accessories:
Installation CD
Webcam User Manual
 Loading...