

USERS MANUAL MP3 Player
MP 2800
MP3 Player
Thank you for choosing to purchase one of our TEVION® products, we appreciate your business and believe
that we have provided you with a product that is both reliable and value for money. We encourage you and your
friends to choose from our range of TEVION® products again in future.
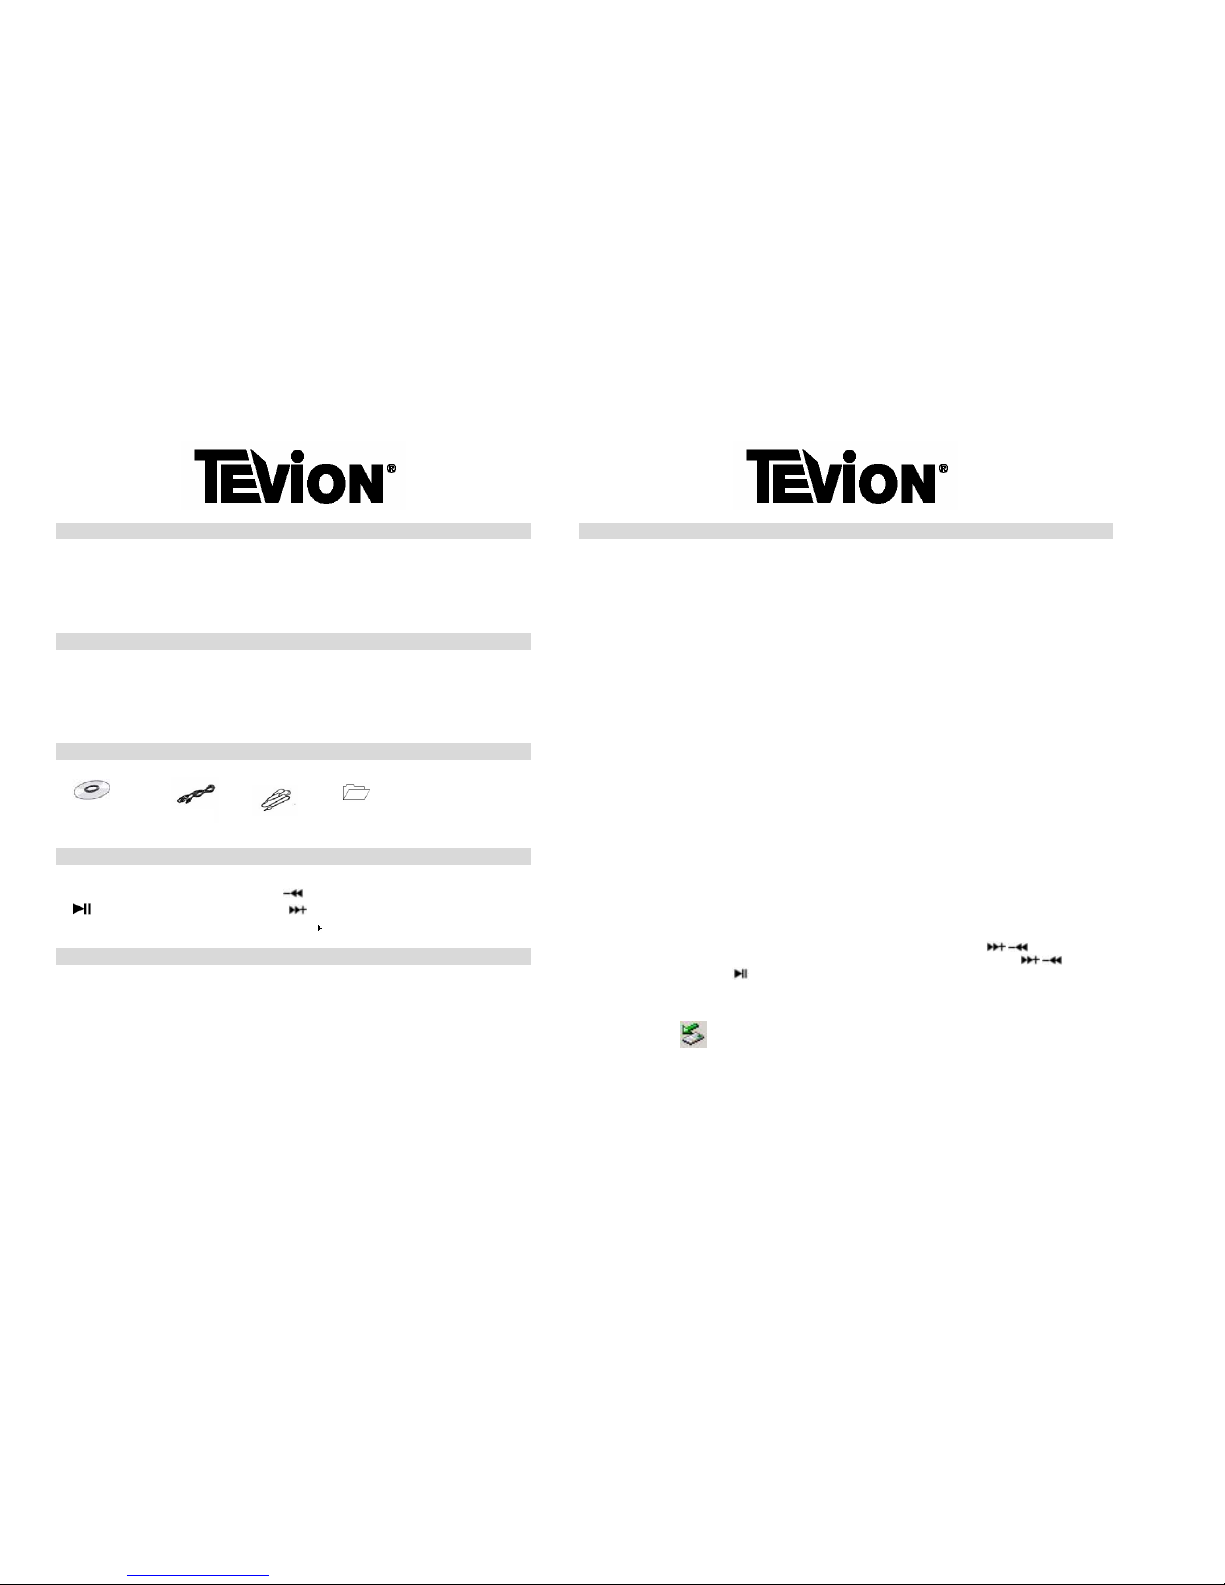
PACKAGE CONTENTS
1 MP3 Player
2 Earphones
1 USB Cable
1 CD Driver
1 Instruction manual
Confirm all parts before disposing of carton.
For any customer query or in the unlikely event of a product failure, please phone or
email the helpline contact details below for assistance.
DO NOT RETURN THE PRODUCT TO THE RETAILER.
Toll Free Help line: 1300 366 144
Email: info@telefixsales.com.au
1
SAFETY INSTRUCTIONS
Carefully read this manual before using this equipment. Make sure that you know how the unit
functions and how to operate it. Maintain this product in accordance with the instructions to ensure
that it functions properly. Keep this manual with the unit. If this equipment is to be used by a third
party, this instruction manual must be supplied with it. The safety instructions, by themselves, do not
eliminate danger completely, and proper accident prevention measures must always be used.
BEFORE INITIAL USE
Remove all packaging. Carefully wipe the outer case with a soft damp cloth and dry it afterwards
with a dry towel. This will remove any dust from the unit that may have built up during transit. Do
not immerse any part of the equipment in water or any other liquid. Check for any damage that may
have occurred during transit. Do not use if the unit is damaged in any. Contact the service details at
the beginning of this manual for assistance.
ACCESSORIES
BUTTON FUNCTION DESCRIPTION
R/V: Record mode or volume mode.
: Backward.
: Play/Pause/confirm button. : Forward.
M: Menu button. HOLD
: MP3 lock button.
SET UP
The Driver CD should only be required when using an older operating system for your computer. If
you are running Windows 98 SE or older, you will need to use the Driver CD. To use the Driver
CD, Insert the CD into your Disc Drive and open the Windows Driver and click on the SET UP EXE
icon. Select the language and press OK. Installation will commence.
Connect your MP3 Player to your computer as shown on page 3. This will charge the battery of your
MP3 Player. The Battery Charge Level Indicator will show the battery charge level.
NOTE: The battery will charge only when your computer is switched on.
NOTE: For the first charge of your battery, you should charge the MP3 Player for approx. 10 hours.
2
ADDING & REMOVING MP3 FILES
Connecting your MP3 Player to your Computer
Remove the cap from the USB Connector on your MP3 Player. This is located at the opposite end to the
Earphone Jacks.
Plug the USB Connector into the USB Extension Cable if needed. Then Plug the USB Extension Cable into an
available USB Port on your computer.
Accessing your MP3 Player on your Computer
Once your MP3 Player is connected to your computer, a Window should appear asking you what action you
would like to take next. This should show the option of “Open folder to view files”. If your computer displays
this option, click on this.
If your computer does not display this window, or does not display the above option, click on the “My
Computer” Icon that should be on your computers “Desktop” or “Main Screen”.
Your MP3 Player will be displayed in your “My Computer” folder as “Removable Disk” followed by a letter.
Click on this “Removable Disk” to enter in the MP3 Player folder.
Transferring Files from your Computer to your MP3 Player
Open the folder in your computer that your MP3 or other files are stored in.
With both your MP3 Player folder open and the folder in your computer where your MP3 of other files are stored
open, you can simply drag and drop your files from your computer folder to your MP3 Player folder, or you can
copy and paste from your computer folder to your MP3 Player folder.
USB Cable
Installation CD
Quick Start
Dual Earphone
NOTE: While you can transfer almost any file to your TEVION® MP3 Player, only MP3 and WMA files are
able to be played back through your MP3 Player.
Deleting files from your MP3 Player
To delete a file on your MP3 Player, simply highlight the file on your computer, and press the delete key.
NOTE: If you want to keep a copy of the file on your computer, make sure to copy the file to your computer
before deleting it from your MP3 Player (see above instructions for transferring files).
You are also able to delete files from your MP3 Player when you are not connected to your computer.
Follow the instructions on page 5 to access the “File Browse” function. Short press the
/ buttons to select
the file that you wish to delete. Press the R/V button to delete the selected file. Short press the
/ buttons
to select “YES”. Short press the
button to confirm.
Removing the MP3 Player from your Computer
Before you disconnect your MP3 Player from your computer, be sure to close the USB Storage’s (MP3 Players)
folder (right click on
icon). Follow the on screen instructions to safely remove the MP3 Player from your
computer.
You are now able to unplug the USB Extension Cable from your Computer.
Remove the USB Extension Cable from your MP3 Player, and replace the Cap that covers the USB Connector.
3
OPERATION
NOTE: Before beginning any operation, ensure that the HOLD buttons is set to the left in the
‘HOLD off’ position.
To Start:
Connect the Earphone 3.5mm Plug to one of the 3.5mm Earphone Sockets.
Push the “HOLD
” switch to the ‘no lock’ position.
Long press (hold down for 2 approx 2 seconds) the
button to turn on the MP3 Player. (The
default mode is “Music” mode)
Short press button to play music.
Short press
button to pause / stop music.
Long press
button to stop and turn off the MP3 Player.
Basic button operation:
To Pause play: Short press
button.
To resume play: Short press
button again.
To change tracks: use / buttons.
To enter record mode: long press R/V button. The MP3 Player will immediately start to record.
To turn unit off: Long press button.
Music Options: (Repeat, Equalizer, 3D, Play Rate, Intro, Display, A-B, File Browse)
In the play mode, short press M to enter into the MUSIC sub menu.
Short press the
/ buttons to select your desired mode.
Short press the
button to enter.
Short press the
/ buttons to select your desired setting.
Short press the
button to confirm.
To return to the main-Menu: Long press the M button.
Repeat Mode:
The Repeat mode allows you to Repeat some or all tracks. You can choose from the following
selections:
- No Repeat: Does not repeat any tracks (normal playback).
- ONE: Repeats the selected one track.
- All: Repeats all tracks stored on the MP3 Player in order.
- Random All: Repeats all tracks stored on the MP3 Player in a random order.
- Dir Repeat: Repeats all tracks in the directory once.
- Dir All Repeat: Repeats all tracks in the directory over and over again.
- Dir Random Repeat: Repeats all tracks in the directory in a random order.
Select Repeat mode and short press
button to enter into.
Short press the / buttons to select your desired option (e.g. No Repeat, ONE, All, Random
All, Dir Repeat, Dir All Repeat, Dir Random All).
Short press the button to confirm.
4
Equalizer Mode:
The Equaliser mode allows you to change the Equaliser Settings of the MP3 Player. There are 6 Pre-Set Settings
(listed below), plus a custom setting. The custom setting allows you to set your own Equaliser settings.
Select Equalizer mode and short press
button to enter into.
Short press the
/ buttons to select your desired option (e.g. Normal, Pop, Rock, Classic, Jazz, Bass,
Custom EQ).
Short press the
button to confirm.
If you select Customer EQ (Custom Equaliser Settings), short press the R/V button to select which Setting you
would like to adjust (-2, -1, 0, 1, 2). ALL: Adjusts all of the settings together.
Short press the
/ buttons to adjust the setting you have selected. Short press to confirm.
3D Mode:
The 3D mode allows you to listen to music in a 3D Sound effect.
Select 3D mode and short press
button to enter into.
Short press the
/ buttons to select your desired option (On-Off)
Play Rate Mode:
The Play Rate mode allows you to speed up or slow down the Play Rate of the music.
Select Play Rate mode and short press
button to enter into.
Short press the
/ buttons to select your desired option (e.g. 1.00X, 1.14X, 1.33X, 0.67X, 0.80X)
Short press the
button to confirm
Intro Mode:
The Into mode allows you to play the first short section of a piece of music.
Select Intro mode and short press the
button to enter into.
Short press the
/ buttons to select your desired option from “00” to “15”. The lesser the number, the
shorter the time that will be plated.
Short press the
button to confirm.
To turn off this selection set the Intro mode to “00”.
Display Mode:
The Display mode allows you to change the graphical display of the music on the Display.
Select Display mode and short press the
button to enter into.
Short press the
/ buttons to select your desired option (e.g. Off, Wave Motion, Stereo).
Short press the
button to confirm.
A-B Repeat Mode:
The A-B Repeat mode allows you to set a start point and a finish point in a piece of music to be repeated.
Select “A-B” mode and short press the
button to enter.
Short press the R/V button to select the “A” point and short press R/V button again to select the “B” point.
Short press the R/V button a third time to cancel “A-B” Repeat mode.
5

File Browse:
The File Browse mode allows you to view the list of files stored on your MP3 Player, and also to
delete files if required.
Select the File Browse mode and short press the
button to enter into.
Short press the
/ buttons to select your desired file.
Short press the R/V button to delete the file, short press
/ button to select “Yes” or “No”
Short press
button to confirm delete.
Short press
button to play your desired file.
Volume Adjustment
In MP3 Play, RPL mode or FM mode, short press the R/V and short press the
/ buttons to
adjust the volume up or down.
RPL: (Record mode and Play the record mode)
Long press the M button to enter into the main menu.
Short press the
/ buttons to select the RPL mode.
Short press the
button to confirm.
Long press the R/V button start to record.
Short press the
button to pause record.
Short press the R/V button to save the record file.
Short press the
button to play the recorded piece.
Short press the M button to enter into the sub menu when in the record mode (Repeat, Play Rate,
Intro, Display, A-B, File Browse).
Short press the
button to confirm.
FM Radio
Long press the M button to enter the main-Menu
Short press the
/ buttons to select the FM Radio mode
Short press the
button to enter the FM Radio mode
Short press the / buttons to select your desired stations
Short press
button to enter sub menu (e.g. Preset, Auto Search, Manual Search, Save, Exit)
Short press
button to confirm
Preset
The Preset mode allows you to select FM radio stations that you have saved to your MP3 Player.
Short press
/ button to select the preset stations saved onto your MP3 Player.
If no preset stations are found, short press the
button to enter the sub menu (e.g. Preset, Auto
Search, Manual Search, Delete, Delete all, Exit) to select “Auto Search” or “Manual Search” mode.
Here you can search for radio stations then save them on your MP3 Player.
6
Auto Search
The Auto Search mode allows you to scan FM Radio Stations automatically.
Select the Auto Search mode and press the
button to begin the Auto Search.
The FM Tuner will search stations automatically
To save a Radio Station, short press the
button to enter the sub menu.
Short press the
/ buttons to select the Save function and press the button.
Short press the / buttons to select an empty or non-wanted Preset Space (e.g. 01, 02, 03, etc.).
Short press
button to save
Press M button to return to menu at any time
Manual Search
The Manual Search mode allows you to scan FM Radio Stations manually.
Select the Manual search mode and short press the
button.
Short press the / to select the desired station frequency by 0. 1MHz..
Short press the
button to enter sub menu and follow the below instructions to save the Radio Station.
Save
The Save mode allows you to save your favourite FM Radio Stations onto your MP3 Player.
Select your desired FM Radio Station
Short press the
button to enter into sub menu
Short press the / buttons to select Save
Short press the
button to enter into and short press the / buttons to select an empty or non-wanted
Preset Space (e.g. 01, 02, 03, etc.). You can store up to 30 FM Stations.
Short press the
button to save.
Record FM
The Record FM mode allows you to record songs from the FM Radio onto your MP3 Player.
Select your desired FM Radio Station.
Long press the R/V button to enter the Record mode.
Short press the R/V button to exit the FM Record mode.
SYS: (system)
Long press M button to enter main menu.
Short press the
/ buttons to select SYS mode
Short press the
button to enter into.
Short press the
/ buttons to select your desired mode (e.g. Power, Language, Display, Sys Tools)
Short press the
button to confirm.
Power:
The Power setting allows you to set an Auto-Off time for the power to go off if no action is taken.
Long press the M button to enter the main menu.
Short press the
/ buttons to select the SYS mode. Then short press the button to enter
Short press the
/ buttons to select the Power mode, and short press the button to confirm
Short press the
/ buttons to select “Auto off: 000” on or off (tick or no-tick).
If you select “Auto off: 000”, short press the M button to set your desired “Auto off” time.
Short press the
/ buttons to adjust the “Auto off” time, then press short press the M button to select the
next digit. The system default “Auto off” time is 2 minutes (002).
7

Power (Continued).
To select “Always on in playback” short press the
/ buttons to select this setting on or off
(tick or no-tick). The default setting is on.
Language:
The Language setting allows you to set the on-screen language for your MP3 Player.
Long press the M button to enter the main menu.
Short press the
/ buttons to select the SYS mode.
Short press the
button to enter into.
Short press the
/ buttons to select the Language mode, and short press the button to
confirm.
Short press the
/ buttons to select your desired option.
Short press the
button to confirm.
Display:
The Display setting allows you to adjust the backlight and contrast for the display.
Long press the M button to enter the main menu
Short press the
/ buttons to select the SYS mode
Short press the
button to enter into.
Short press the
/ buttons to select the Display mode, and short press the button to
confirm.
Short press the
/ buttons to select Contrast or Backlight, and short press the button to
enter into..
Short press the
/ buttons to adjust the setting by increasing or decreasing the number.
Short press the
button to confirm.
Sys Tools:
The Sys Tools setting allows you to check and alter information about the MP3 Players system.
Long press the M button to enter the main menu
Short press the
/ buttons to select the “SYS” mode
Short press the
button to enter
Short press the
/ buttons to select the Sys Tools mode, and short press the button to
confirm.
Short press the
/ button to select your desired option (Del File, Format, Reset, System Info)
Del File (Delete File)
This setting allows you to delete files from your MP3 Player.
Short press the
button when Del File is displayed on the screen.
Short press the
/ buttons to select the file that you wish to delete.
Short press the
button to delete this file.
Short press the / buttons to select “Yes” or “No”
Short press the
button to confirm
8
Format
This setting allows you to format the flash memory drive.
Warning: Formatting your MP3 Player will delete ALL files stored on the MP3 Player.
Short press the
button when Format is displayed on the screen.
Short press the
/ buttons to select Quick or Complete.
- Quick: Quick Format (Fast)
- Complete: Complete Format (Slower)
Short press the
button to enter into.
Short press the
/ buttons to select “Yes” or “No”
Short press the
button to confirm
Reset
This setting allows you to reset all of the MP3 Players settings to the default settings.
Warning: Resetting your MP3 Player will return all settings to the default factory settings.
Short press the
button when Reset is displayed on the screen.
Short press the
/ buttons to select “Yes” or “No”
Short press the
button to confirm
System Info
This setting allows you to view the MP3 Players system information.
Short press the
button when System Info is displayed on the screen.
The following information is displayed:
- FW: This is the software used.
- CHIP: This is the chipset used.
- FREE: This is the amount of free space left on your MP3 Player (in MegaBytes).
9

CD Driver Use Specification:
USB Flash Disk driver for Windows 98SE (If your computer’s Operating System is Windows 98SE,
please install the driver).
Put the CD disc into the CD drive.
On the CD disc, open the file “CD disk/driver/MP3/SETUP.EXE” file.
Click “NEXT” to enter into the next screen.
Click “NEXT” to enter into the next screen.
Choose “Finish” to finish setup program. Restart your computer and the computer will now
recognise your MP3 player as a ‘Removable Disc’.
MP3 Notes
• Remember to turn off the LOCK function before attempting to use the MP3 Player.
• The Equaliser Settings (EQ) will not obviously change the sound of the music when
playing WMA format music.
• The MP3 Player will not register sub-folders or sub-directories, pas the 6
th
sub folder.
• Do not leave the player in a place subject to moisture or temperatures higher than 35ºC or
lower than 5ºC
• Do not use the earphones while driving an automobile or riding a bicycle.
• Take care when listening to your MP3 Player while walking down the street, especially
crossing at intersections.
• Do not turn up the volume too high, as doctors warn against prolonged exposure to high
volumes.
• Stop using the device or turn the volume down if you start to hear a ringing sound.
• The WMA format does not support the “Play rate” mode.
10
Technical Specification
No. Name Description
1
Capacity of Flash
Memory
1 GB Build-in Flash Memory
2 USB Interface USB2.0(High speed)
3 Display
128x64, 2-color (yellow and blue)
OLED
4 Power supply Li-Polymer battery
5 S/N ratio >85dB
6
Audio Frequency
Range
20hz – 20khz
7 EQ
Normal, Pop, Rock, Classic, Jazz, Bass,
Custom EQ
8 Decoding Format
MP3 (MPEG 1.0/2.0/2.5, Layer 1/2/3,
ID3 display supported) and WMA
9 File System FAT16, FAT32
10 File number/folder 9999 files (max)/5
11
Operating
Temperature
5OC ----35 OC (41 OF---95 OF)
12 Operating Moisture 10%—75%
11

Warranty Card
This product is guaranteed against faulty materials and workmanship for a period of twelve months
from the date of purchase. This warranty becomes void if the product has been tampered with,
damaged by accident, damaged in any other way by improper use or has been purchased second
hand. All production orders have quality inspections.
For any customer query or in the unlikely event of a product failure, please
phone or email the helpline contact details below for assistance.
DO NOT RETURN THE PRODUCT TO THE RETAILER.
WARRANTY FOR APPLIANCES USED COMMERCIALLY LIMITED TO 90 DAYS
Product: ______________________________________________________
Model No.: _____________________________________ Purchase Date:_________
Product Purchased From: ________________________________________________
_________________________________________________________________________
Your Name: _____________________________________________________________
Address: ________________________________________________________________
______________________________________________ Phone Number: __________
IMPORTANT!
Please retain this warranty card along with your purchase receipt. Please do not
post to the retailer
Toll Free Help line: 1300 366 144
Email: info@telefixsales.com.au

 Loading...