


SAFETY INSTRUCTIONS
General Warnings
– Please observe the following safety instructions carefully before putting the unit into
operation. Take note of the warning labels on the unit and in this manual.
– Always keep the instruction manual near at hand. If you sell or pass on the product,
make sure you include this manual together with the unit.
– This device is not intended for use by young children or infirm persons without super-
vision. Do not let children or infirm persons use electrical devices unattended.
– Swallowing batteries can be fatal. Always keep the unit and any batteries inaccessible
for young children or infirm persons. If a battery has been swallowed, consult a physician immediately.
– Keep any plastic packaging out of the reach of children or infirm persons to avoid the
danger of suffocation.
– Do not attempt to repair this product yourself as opening or removing covers may
expose you to dangerous voltages or other hazards. Attention: RISK OF ELECTRIC
SHOCK!
– In case of malfunction or repair, please call the MEDION Help Desk at 1300 884 987
during opening hours to get advice and support or contact a qualified repair shop in
your vicinity.
Setting up the Device
Operate the device in a safe and suitable environment. It is highly recommended to choose
a flat and stable surface to put the device on. In order to operate the device satisfactorily,
please ensure the following:
– At least 10 cm of space should be left around the device for sufficient ventilation. The
ventilation should not be impeded by covering the ventilation slots of this device with
items such as newspapers, curtains, table cloths and the like.
– Do not expose the device to direct sunlight or any other direct heat source (e.g. ven-
tilators).
– To reduce the risk of electric shock or risk of fire do not expose the device to rain,
moisture or drip/splash water. No objects filled with water (e.g. vases) shall be placed
on the device.
– To avoid fire, no naked flame source, such as lit candles, should be placed on the
device.
– Do not push objects of any kind into the device as they could touch current carrying
parts or short-circuit parts resulting in fire, electric shock and/or damage to the device.
– Unplug the device from the AC power outlet when it will not be used for a long time
period. When there is lightning (thunderstorm) unplug the device form the AC outlet
immediately. Also disconnect the aerial from the socket to avoid any damage to the
device.
MD 29401 3

Getting Started
– Connect the unit to an easily accessible power socket (240 V ~ 50 Hz) close to the
unit. In the event that the device has to be disconnected quickly, the plug has to be
within easy reach.
– In order to avoid tripping, refrain from using an extension lead. Power supply cords
should be routed safely to prevent property damages and personal injury.
– In the event that the power supply cord or the unit is damaged, pull out the AC mains
plug immediately.
– Keep the device away from radiators and other heat sources.
– When the device is being moved in from a cold place, it needs some time for the dew
inside the device to evaporate fully. Please allow sufficient time before turning on the
device.
Operating Ambient Temperature Range
The operating ambient temperature range is 5°C – 40°C (41°F – 104°F) with humidity of
20 – 80%. When using the unit on a rack, ensure that the ambient temperature of the rack
(inside of the rack) does not exceed the stated temperature ranges.
Battery Disposal
Empty batteries do not belong with the household waste. Empty batteries must be disposed
of at a designated disposal/recycle point. Contact your local authorities to locate your
nearest battery disposal point.
Cleaning the Device
– Always disconnect the AC mains plug before cleaning the unit.
– When cleaning the unit, only use a moistened, soft cloth. Do not apply any chemical
solvent or cleaning agent, as these solvents/agents may damage the surface and/or
labelling on the device.
– The device feet may cause changes to the colour of sensitive furniture surfaces or
can cause scratches. In order to protect your furniture it is highly recommended to
place the device on a suitable underlay.
Australian EMC Framework
N11652
The device has been thoroughly checked by an Australian test laboratory. This is certified
by the Australian C-Tick label and the supplier’s identification number shown. This device
complies with the EMC framework of Australia.
4 MD 29401

Contents
SAFETY INSTRUCTIONS 3
Contents 5
First Use 6
Connecting the Digital Set Top Box 7
Operating the Digital Set Top Box 8
Basic Settings 9
General operation of the Digital Set Top Box 10
Operation front panel buttons 11
Channel selection 12
Channel list 13
EPG – Electronic program guide 14
Hard disk recording (PVR) 15
OSD Teletext 17
Timer 18
Selection of audio channel 19
Games 20
Configuration of the Digital Set Top Box 21
Basic settings 21
Editing the channel list 22
Automatic search 24
Signal strength indicator 26
MD 29401 5

First Use
After unpacking
Please check the following items have been included with delivery:
– SD Digital Set Top Box with 160 GB HDD
– Remote control
– This manual
– 2 alkaline batteries (LR03, Size AAA)
– Adapter cable: SCART to RCA/S-Video
6 MD 29401
Connecting the Digital Set Top Box
TV-SCART
Connect your TV to the TV-SCART connector/jack using a
SCART/SCART cable or make use of the supplied SCART-RCA/S-Video
adapter cable. For best results we recommend using a double-coated
high quality shielded Euro SCART cable if your TV would be equipped
with a SCART socket.
RF-IN
Connect the cable of your regular terrestrial TV aerial to this connector.
power cable
Connect this moulded power cable and socket to an available power
socket.
L/R (AUDIO)
If you wish to hear superior sound through your Hi-Fi Stereo system
you can do so by using a stereo-cinch-cable. Please pay attention that
the audio channels of your stereo system are connected to the correct
connectors (L/R to L/R).
SPDIF
For the best possible sound reproduction – Digital audio output.
Connect your amplifier with an S/PDIF IN socket using this connection.
Use a shielded S/PDIF cable for best results (not included).
VIDEO
Composite video out. Connect to your TV or VCR. Your TV or VCR must
support Composite IN (check your TV / VCR user manual). A composite
video cable is not included.
RF-OUT
If you wish to send the regular terrestrial aerial signal to your TV or
VCR connect the RF cable here.
RX/TX
For authorised service use ONLY.
The following connections must be made before you can use the Digital Set Top Box to
watch digital TV. On the backside of the Digital Set Top Box you will find the following markings. Please follow these steps for the correct setup of the Digital Set Top Box:
Optional devices
MD 29401 7
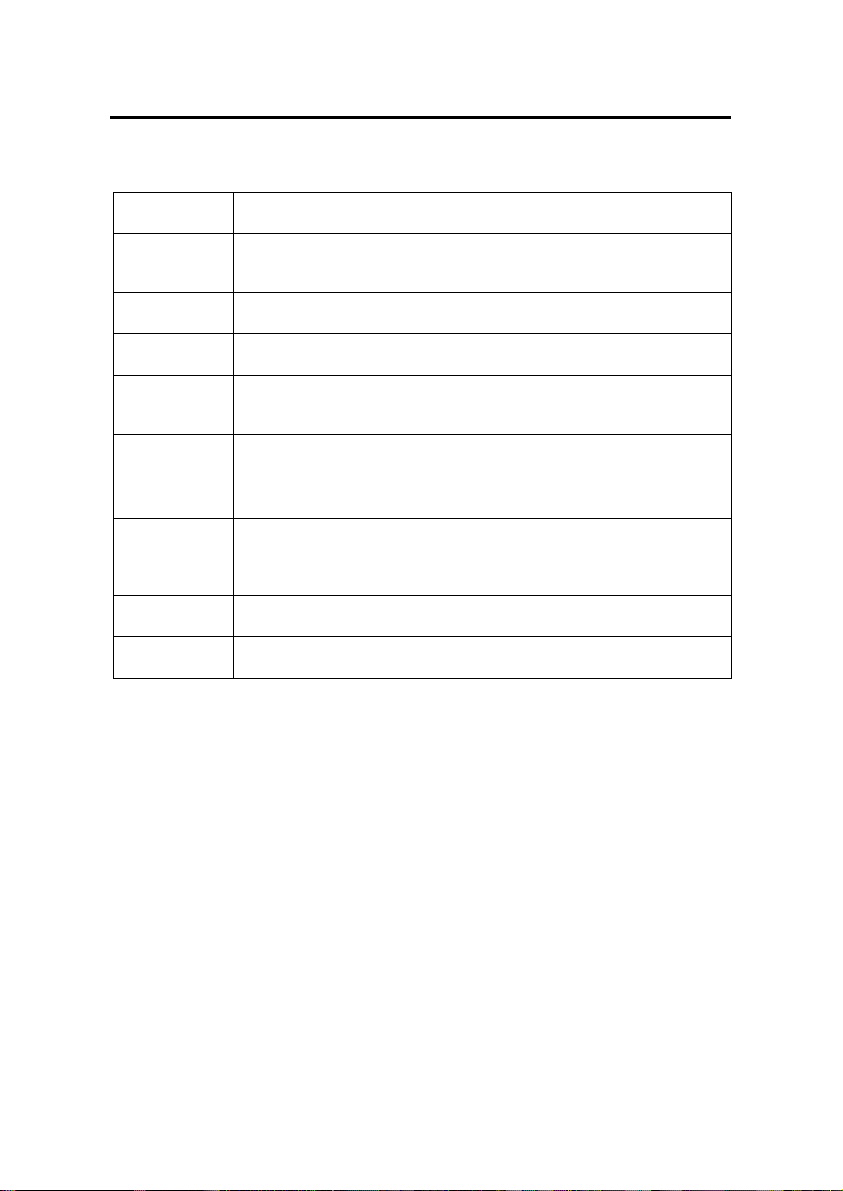
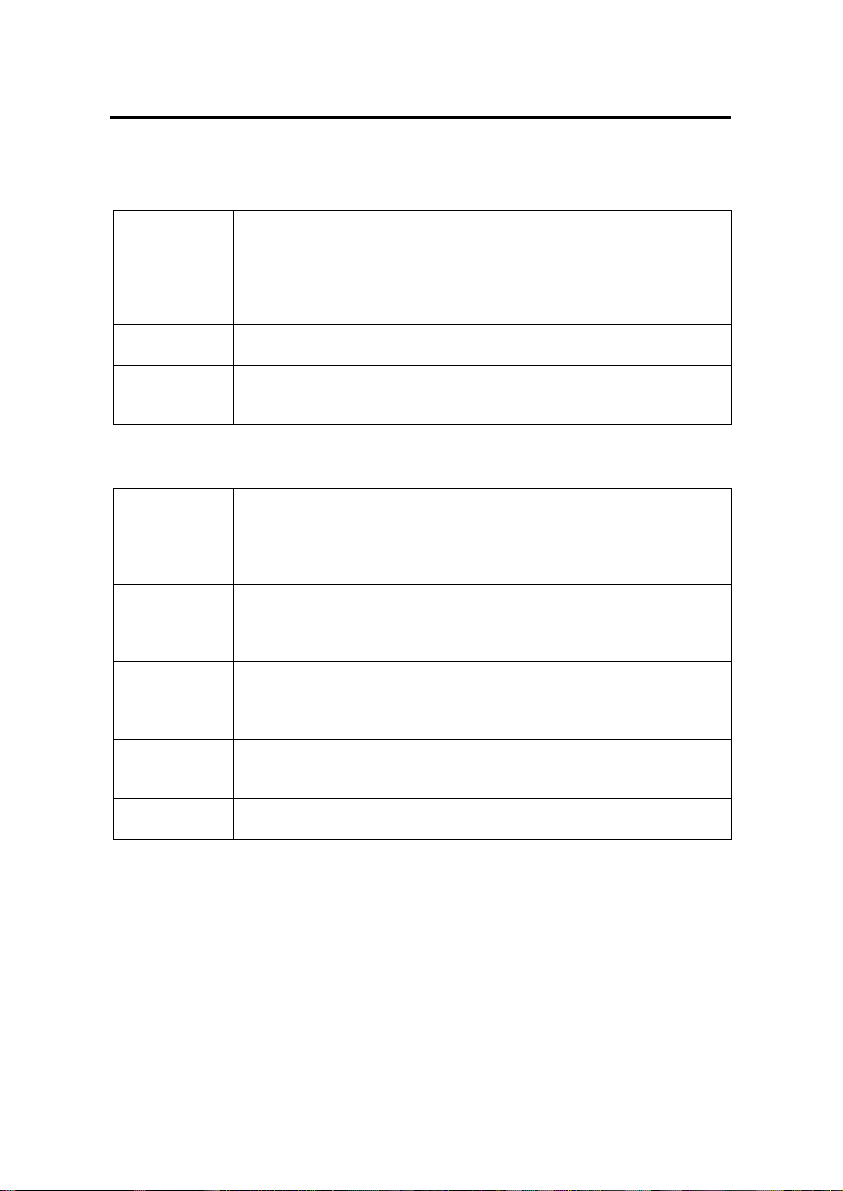
Operating the Digital Set Top Box
P+ / P–
Moves the selection in the menus up- and down.
– / +
In lists: pages up- and down
In input fields: changes between the entry options
OK
Open, submit or edit the currently marked entry.
EXIT
Leave the active menu
SWAP
In menus with more than one window you can change between the
windows using SWAP.
MENU
Press MENU once for menu options to current event.
Press MENU twice to open the main menu.
INFO / EPG
Press once to open the EPG for information on the current program.
Press INFO/EPG twice for information on all programs transmitted
today.
LIST
Press LIST for the TV channel list.
PVR
Opens the PVR menu to control the hard disk recording functions.
Operating the Digital Set Top Box is done using the supplied remote control. Navigation
within the on screen menu (OSD) is carried out using the buttons shown below:
8 MD 29401

Basic Settings
1. Open the ―Main menu‖.
Press MENU
button
twice
2. Go to ―Edit Settings‖
3. Go to ―Signal Output‖. Select the screen format for your TV.
– / +
4. If you wish to control the volume through your Digital Set Top Box
go to point 5 of these instructions.
Reduce the volume of your TV and amplifier (Hi-Fi) to its minimum
before carrying out the following steps.
If you wish to control volume from the connected device (amplifier,
TV, etc.) go to the heading ―Volume-Bypass‖ and choose the out-
puts for the source of the full volume level.
– / +
OK
5. Leave the ―Signal Output‖ menu by pressing EXIT and move to the
heading ―Save Settings‖. Press OK and wait until the menu disappears.
After switching on the Digital Set Top Box for the first time or after using the Factory Reset
function you will be asked to choose your OSD language and your geographical location.
The Digital Set Top Box will also offer you the choice to perform a channel scan or if available to use a pre-programmed channel list for your location. Note: these channel lists are
only up-to-date when the Digital Set Top Box is produced or a software update has been
performed. Afterwards you should perform the following steps:
MD 29401 9
 Loading...