

Tevion INTERNET RADIO & MEDIA PLAYER User Manual
INTERNET RADIO & MEDIA PLAYER
User’s Guide
After Sales Support
Now you have purchased a Internet Radio & Media Player you can rest
assured in the knowledge that as well as your 3 year parts and labour
warranty you have the added peace of mind of dedicated helplines and
web support:

Contents
03 Introduction
03 General Information and Safety Instructions
05 Assembly and Parts List
06 Getting Started – Internet Radio
08 Getting Started – Media Player
09 Features
09 Instructions
31 FAQ
32 Other Useful Information
34 Warranty Card
35 Fault Report Card
Helpline No.: UK/N. Ireland: 08000 324976 Rep. of Ireland: 1800 523188 2
Web Support: www.unisupport.net

INTRODUCTION
INTERNET RADIO QUICK START GUIDE
What you need before you can use your Internet radio
Before you can use your Internet radio, you need the following:
• A broadband Internet connection.
• A wireless access point (Wi-Fi) connected to your broadband Internet, preferably via a
router.
• If your wireless network is configured to use Wired Equivalent Privacy (WEP) or Wi-Fi
Protected Access (WPA) data encryption then you need to know the WEP or WPA code so
that you can get the Internet radio to communicate with the network.
The Internet radio should work anywhere within a distance of up to between 30 - 100 meters of
the wireless access point depending on the wireless conditions.
Before you continue, make sure that your wireless access point is powered up and connected to
your broadband Internet. To get this part of the system working you must read the instructions
supplied with the wireless access point.
MEDIA PLAYER QUICK START GUIDE
The Media Player allows you to play audio files (AAC, AIFF, AU, MP3, RM, WAV and WMA)
and playlists (M3U) stored on a networked PC. It has been verified to work on Windows 2000,
Windows XP and Windows Vista.
GENERAL INFORMATION AND SAFETY INSTRUCTIONS
Controls
Helpline No.: UK/N. Ireland: 08000 324976 Rep. of Ireland: 1800 523188 3
Web Support: www.unisupport.net
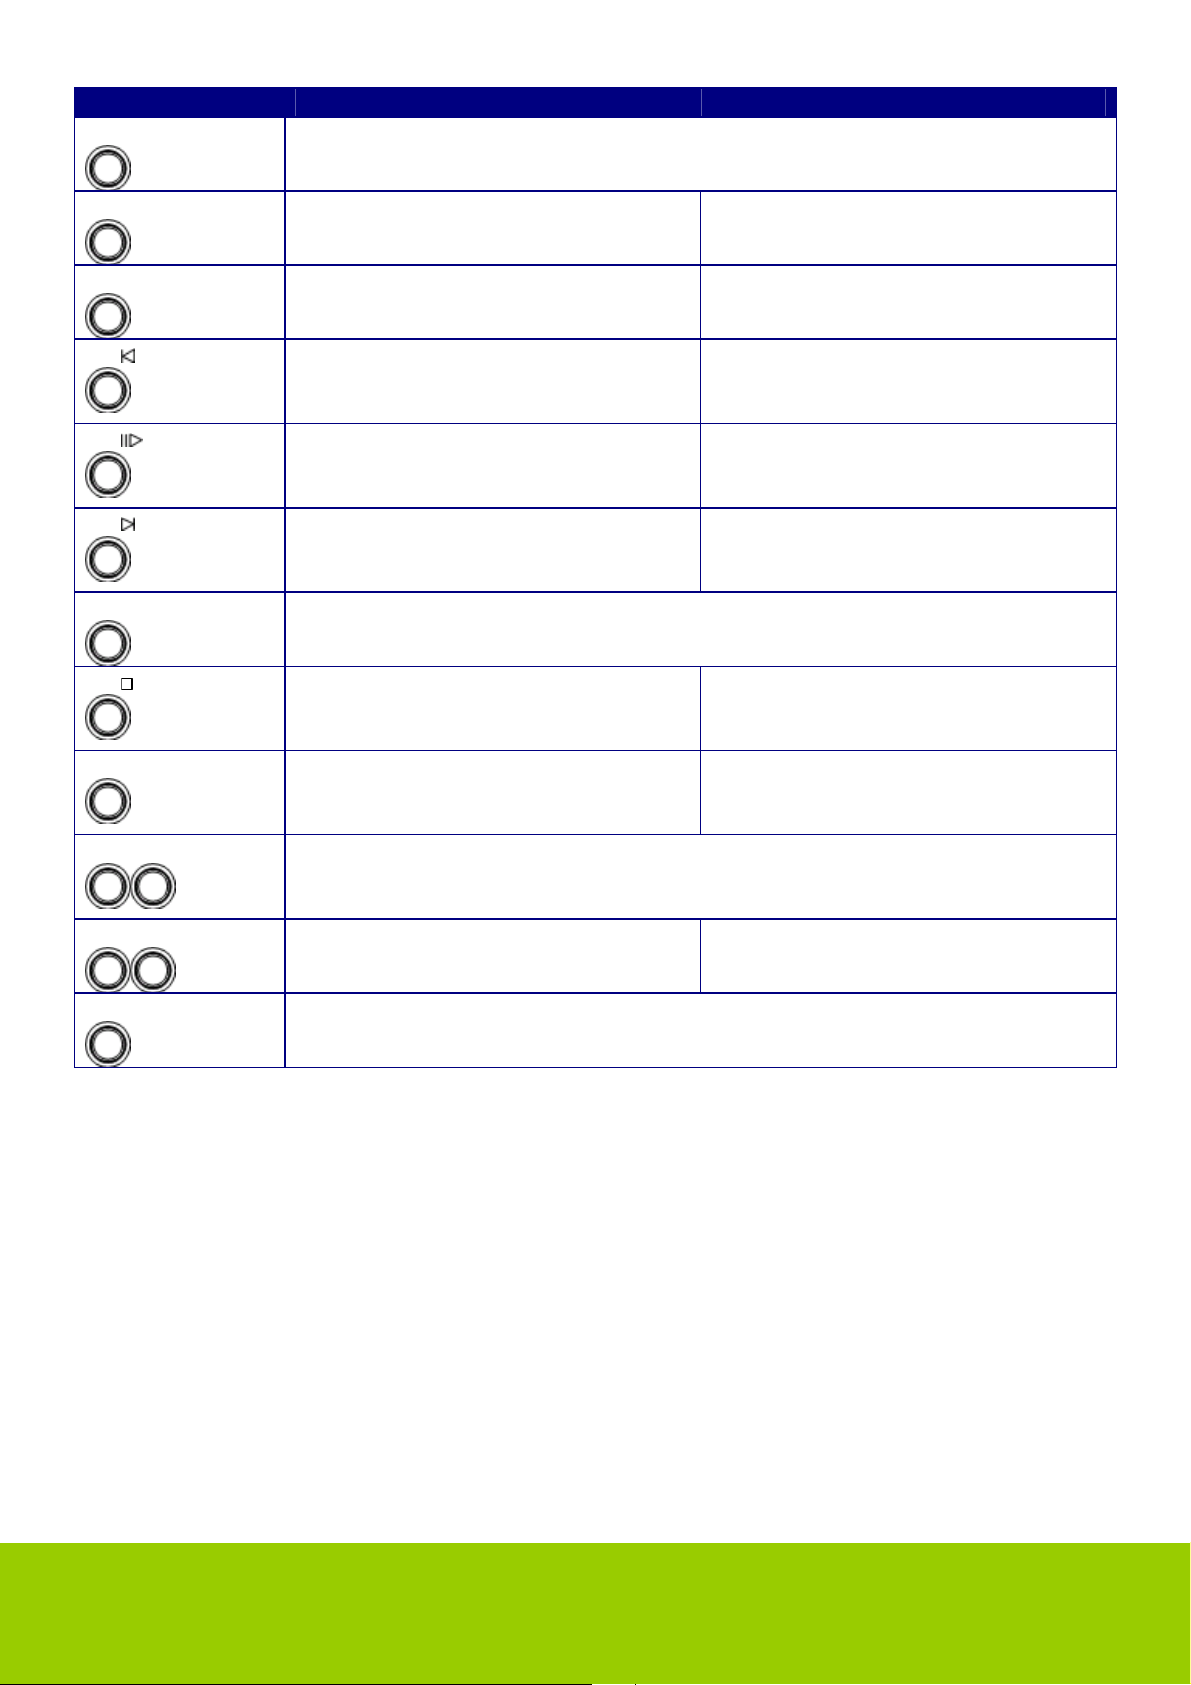
Control Internet Radio mode Media Player mode
IR/FM
Press to switch between Internet Radio and FM mode.
Press and hold to turn on/off the Internet Radio
Browse
No function Display Queue information
Reply
No function at present No function at present
P1
Press and hold to save Preset
Previous Track
station P1
P2
Press to load Preset station P1
Press and hold to save Preset
Play/Pause
station P2
P3
Press to load Preset station P2
Press and hold to save Preset
Next Track
station P3
Back
Press to load Preset station P3
Go back to previous menu page
P4
Press and hold to save Preset
Stop
station P4
P5 MODE
Vol- Vol+
Press to load Preset station P4
Press and hold to save Preset
station P5
Press to load Preset station P5
Increase volume by pressing the VOL+
Repeat On/Off
Shuffle On/Off
Decrease volume by pressing the VOL-
< >
Press to change options. No function
SELECT
Press to SELECT.
Press and hold SELECT to enter the menu system.
Helpline No.: UK/N. Ireland: 08000 324976 Rep. of Ireland: 1800 523188 4
Web Support: www.unisupport.net

Please read this before installation.
If this Internet radio has been moved from a cold place to a warm place, DO NOT plug it in for
2-3 hours (e.g. from a cold car boot to a warm room). There is a possibility that moisture may
have condensed in the Internet radio, which can cause damage to your Internet radio. To avoid
damage please unpack your Internet radio and allow it to stand at room temperature for 2-3
hours before use. This will help any moisture evaporate and prevent unnecessary damage to
your Internet radio.
DO ensure that the mains plug is easily accessible.
Covers - Do not remove any fixed covers as this may expose dangerous voltages.
Weather - It is advisable to unplug an external aerial during a thunderstorm.
Ventilation - The ventilation holes on the casing of your Internet radio prevent it from over
heating. Do not block or cover these holes, especially with cloth or paper.
Do allow a minimum distance of 5cm around the apparatus for sufficient ventilation.
Damage - Never use your Internet radio if it is damaged in any way. Always place your Internet
radio on a flat level surface avoiding anywhere, which may be subject to strong vibration.
Temperature - Avoid extremes of temperature, either hot or cold, place your Internet radio well
away from heat sources such as radiators or gas/electric fires.
DO NOT use this apparatus in tropical climates.
Moisture - Do not allow your Internet radio to be exposed to rain, moisture or dust. If any liquid
is spilt into your Internet radio it can cause serious damage. If you spill any liquid into your
Internet radio switch it off at the mains immediately. Contact your store immediately.
CAUTION –Do not open any covers and do not repair yourself. Qualified personnel must carry
out repair work.
ASSEMBLY AND PARTS LIST
The Tevion Internet Radio is assembled and ready for use.
Pack content:
1 x Tevion Internet Radio
1 x Manual
1 x Power Adaptor
Helpline No.: UK/N. Ireland: 08000 324976 Rep. of Ireland: 1800 523188 5
Web Support: www.unisupport.net
GETTING STARTED – INTERNET RADIO
Steps for connecting your radio to your wireless network
Step 1 - Power up the radio
First, connect to the AC Power. In use, the radio can be switched on or off with the standby
button.
The display on the front of the radio will light up and say:
Internet
Radio
After a few seconds, this will change to show:
Initialising
Network
After a few seconds, this will change to show:
< Scan for networks >
Step 2 - Scan for a wireless network connection
When the display says <Scan for networks>, press the SELECT button.
(Note: if you make a mistake at any point, press the BACK button to go back to the previous
screen.)
The radio will now scan for all available wireless networks and will display:
Scanning
If it can’t find one, then the display will say:
No Wireless
Networks Found
If this happens then you will have to get your wireless access point working - see the
instructions supplied with it.
Helpline No.: UK/N. Ireland: 08000 324976 Rep. of Ireland: 1800 523188 6
Web Support: www.unisupport.net
When the radio finds your wireless network, it displays the ESSID for the access point on the
screen - this is a name that is allocated to the access point by the person who set up the
network - for example:
< My Home Network >
It is possible, and in some locations highly likely, that your radio will find more than one wireless
access point, in which case you can choose which one you want to connect to. Press the
< or > button on the radio to see the ESSID for each access point the radio has found.
Step 3 - Connect to the wireless network
When the ESSID for the access point you want to connect to is displayed on the screen, press
the SELECT button.
If your network is not configured to need an encryption code, the screen should say:
Connecting to
network
Then:
Network OK
If the screen displays either:
Enter WEP key
Or:
Enter WPA key
Then the network is using one of the encryption systems: Wired Equivalent Privacy (WEP) or
Wi-Fi Protected Access (WPA). You therefore need to enter the correct WEP or WPA code into
the radio to get it to communicate with your network.
Helpline No.: UK/N. Ireland: 08000 324976 Rep. of Ireland: 1800 523188 7
Web Support: www.unisupport.net

Only the person who set up the network in the first place knows this code; if that person is not
you then you need to find out what it is.
After 3 seconds, the display goes into the code entry mode. To enter the code, use the < and >
button to select each character of the code in turn, pressing the SELECT button after each
character. Note that WEP and WPA codes are sensitive to upper and lower case characters so
you must enter them exactly.
After the final character, use the < or > button to select the END character and press the
SELECT button.
The radio should now be able to connect to the network.
GETTING STARTED – MEDIA PLAYER
The Media Player allows you to play audio files (AAC, AIFF, AU, MP3, RM, WAV and WMA)
and playlists (M3U) stored on a networked PC. It has been verified to work on Windows 2000,
Windows CP and Windows Vista.
Set up your Windows PC to allow the radio to access your audio files via Windows
Shares
1. Please ensure that your PC is available on the network for your Internet radio, then, using
Windows Explorer, locate the folder where your audio files are stored.
2. Right click on the folder.
3. Select ‘Properties’.
4. Click on ‘Sharing’.
5. Select ‘Share this folder on the network’ and ‘Allow network users to change my files’.
Please note, do not try to make ‘My Documents’ or any of its sub-folders (e.g. ‘My Music’)
shareable.
Helpline No.: UK/N. Ireland: 08000 324976 Rep. of Ireland: 1800 523188 8
Web Support: www.unisupport.net

FEATURES
Two line display.
Supports RealAudio, MP3 and Windows MediaTM streams.
FM radio.
Speakers: 2 off. Full range. Stereo.
WI-FI security is supported by WEP or WPA encryption.
Output power (RMS): 2 watts.
Total power: 4 watts.
Radio presets: 10 with station name display.
INSTRUCTIONS
Internet Radio
Choosing a radio station to listen to
1. Press the SELECT button to return to the top-level menu.
(Note: If you make a mistake at any point, press the BACK button to go back to the previous
screen.)
< Stations >
2. If the screen does not say < Stations > as shown above, turn the < or > button until it does.
3. Press the SELECT button.
4. Press the < or > button to choose from <Location> or <Genre>.
<Location> enables you to choose from the radio stations provided by any country, which
you choose from the list.
<Genre> enables you to choose radio stations according to their content, for example
Classic Rock, Sport, News, etc.
5. Press the SELECT button to choose the option you want.
<Location>
1. Press the < or > button until the display shows the region you want (or select ‘All’ to display
all countries).
2. Press the SELECT button.
3. Press the < or > button until the display shows the country you want.
4. Press the SELECT button.
Helpline No.: UK/N. Ireland: 08000 324976 Rep. of Ireland: 1800 523188 9
Web Support: www.unisupport.net

5. Press the < or > button until the display shows the station you want.
6. Press the SELECT button and wait until the radio connects to that station.
Note that some radio stations do not broadcast 24 hours per day, and some stations are not
always on-line.
If this station has on-demand content (that is, it gives the option of listening to programs, which
have already been broadcast), see “Stations which enable you to choose what you listen to”.
<Genre>
1. Press the < or > button until the display shows the type of content you want, then press the
SELECT button.
2. Press the < or > button until the display shows the station you want.
3. Press the SELECT button and wait until the radio connects to that station.
Note that some radio stations do not broadcast 24 hours per day, and some stations are not
always on-line.
If this station has on-demand content (that is, it gives the option of listening to programs, which
have already been broadcast), see “Stations which enable you to choose what you listen to”.
Changing the volume
Whilst a radio station is playing and is displayed on the radio’s screen, you can change the
volume simply by pressing the VOL + or VOL- button. If a radio station is being played and the
Internet Radio is in its menu-browsing state, then you can change the volume if you keep
pressing the BACK button until the radio leaves its menu and displays the current station and
then press the < or > button.
Returning to the menu while a station is playing
When the Internet radio is playing a radio station it will display the station’s name and bit rate.
You can return to the radio’s menu section at any time by either pressing the SELECT button –
which will take you to the ‘Stations’ menu - or the BACK button to return to the previous menu
item.
Helpline No.: UK/N. Ireland: 08000 324976 Rep. of Ireland: 1800 523188 10
Web Support: www.unisupport.net

Storing a radio station in a preset
Whilst a radio station is playing, hold down one of the preset buttons (numbered 1 to 5) until the
screen says
Assigned to
Preset #
Where # is the number of the button you held down.
To assign a radio station to one of the presets numbered 6 to 10, press SHIFT and then press
and hold one of the preset keys.
Playing a preset radio station
When a radio station is playing, briefly press one of the preset buttons, 1 to 5, for the station you
want. To play a station assigned to one of the presets, 6 to 10, press SHIFT followed by the
preset button. (Note, do not hold the button down - if you do then the station currently playing
will overwrite the one stored in the preset; be careful).
Requesting a station that is currently unavailable
If you want to listen to a particular radio station, which is currently not available online, you can
visit the Reciva website at http://www.reciva.com/ and put in a request to add the station to the
list.
Stations which enable you to choose what you listen to
Some radio stations can provide a number of options associated with their station; for example,
some stations enable you to listen to programs that have already been broadcast. When you
select a radio station that has this facility, the station does not start playing immediately, but
instead the display shows:
< Live >
Helpline No.: UK/N. Ireland: 08000 324976 Rep. of Ireland: 1800 523188 11
Web Support: www.unisupport.net
 Loading...