


Model Number: GPS-4301
After Sales Support
TEL: 1300 88 6649
GPS Receiver
Instruction Manual
N13275

Getting Started
Australia 1300 88 6649
Congratulations on choosing to buy a Tevion® product. By doing so you now have the assurance
and peace of mind that comes with purchasing a product made by one of the leading manufacturers. All products brought to you by Tevion® are manufactured to the highest standards of
performance and safety, and, as part of our philosophy of customer service and satisfaction, are
backed by our comprehensive 1 Year Warranty. Please
in the Warranty Card and store in a safe
place along with your proof of purchase.We hope you will enjoy using your purchase for many
years to come.
i.

Contents
i.
02
04
05
07
07
08
10
10
11
11
12
12
13
13
13
14
14
16
17
18
19
19
Getting Started
Precautions
1. Welcome
1.1 Packing List
1.2 How to use this manual
2. Introduction
2.1 Product appearance
2.2 Power supply and charging your navigator
2.2.1 Power Supply
2.2.2 Charging with a power supply
2.2.3 Charging with a vehicle power adaptor
2.3 Basic Operation
2.3.1 Switching on/off & hot start
2.3.2 Pressing the power key fails to switch on/off the device
2.3.3 Using the vehicle bracket to fix a navigator
2.3.4 Using a touch pen
2.3.5 Using SD/MMC Memor card (optional)
2.4 Connecting to a computer
2.5 Description of main interface and main functions
2.6 Maintaining the GPS Navigator
3. Audio Playing Function
3.1 Features
3.2 Interfaces and Operations
22
22
23
26
26
26
30
30
30
34
35
37
38
39
41
42
45
46
4. Image Viewing Function
4.1 Features
4.2 Interfaces and Operations
5. Ebook Reading Function
5.1 Features
5.2 Interfaces and Operations
6. Video Playing Functions
6.1 Features
6.2 Interfaces and Operations
7. System Setting
7.1 Volume Setting
7.2 Power information
7.3 Brightness Setting
7.4 Date and Time Setting
7.5 Language Setting
7.6 System Information
8. Technical Specifications
9. Troubleshooting
Australia 1300 88 6649

2
Precautions
01. Do not shake or knock the device. Rough handling may lead to damage or missing of
the data and failures to play files.
02. Keep the device away from direct sunlight or high temperature, to prevent
overheating of the batteries and device body which may cause failures or dangers.
03. Keep the device away from moisture and raindrops. If water gets inside, the wet
condition may cause the device to break down or even render it beyond repair.
04. Do not dismantle the device by self.
05. Keep the device away from sand dusts or environment of dusts.
06. Operating the device near strong radio wave or radioactive rays may affect the
performance of the device.
07. Insert the plug fully into the electrical outlet to prevent static electricity.
08. Ensure that all cables are connected to the device safely and orderly, to prevent
falling and damages of the device caused by the messy arrangement.
09. Do not press the LCD screen hard; keep the LCD screen away from sunlight, or
failures to the device may occur. Clean up dusts on the screen surface with soft cloth.
10. If the device fails, please send it to an authorized agent for repair.
11. Backup the data on the SD/MMC card --- -- optional
12. Pay attention to the compatibility of media files. Only files conforming to the design
rules of the device can be played.

3
13. Films, music, and images may be copyr ighted. Playing those files without permission
would violate the copyright law
14. Do not use metal objects to short-circuit a charger or device input. This may result in
device failures.
15. Keep the device away from heat source.
16. Operate the device by placing it on a level desk. Operating by placing it on a blanket,
pillow, or carpet will render working temperature too high for the device, and may
damage it.
17. When the system executes the read-write operation for the memory card, do not take
it out, or data in the card may be destroyed or missing. This may even cause the system
to break down.Card not supplied
18. Do not power off when you are navigating, play ing films and music, and viewing
pictures.
19. Do not store the batteries or charge the batteries in cold or hot areas, or the
performance of the batteries may be damaged.
20. Keep the battery or charger out of the reach of children.
21. Mistakes in changing batteries may cause an explosion. Dispose the old batteries
according to instructions.
22. Use the battery specified by the original manufacturer on changing batteries.
23. Keep the device out of reach of children when it is being charged.

4
24. Violent collision or drop may damage the device or spoil its appearance. Please take
care.
25. Do not use an earplug with over high volume, or it will hurt your hearing and even
cause permanent hearing impairment.
26. Please do not set the volume of an external loudspeaker too high for a long time.
Longstanding use may cause an output distortion of the loudspeaker.
27. While watching videos, repetitive actions may result in discomfort in hands, arms,
shoulders or other parts of your body.
Chapter 1 Welcome
Welcome to use the navigator. Centered on GPS navigation function, the navigator
supports such optional functions as video playing, audio playing, image viewing, and
Ebook reading, etc.
The application of processor features high performance.
The user-friendly interface features simple and easy operation.
Power management guarantees reliable and durable service of the product.
Data transmission: Communicate with a computer via USB interface.
Excellent reception: Accurate positioning provides satisfied navigation service.
Entertainment provider: entertainment functions can relieve your tiredness.
You can use it almost anywhere and anytime, like when driving, walking, bicycling or

5
waiting for a meeting. The perfect “GPS + entertainment” functions provide you with a
colorful work and life.
1.1Packing List
Make sure all the items are included in the package of the navigator:
Main equipment Vehicle power adaptor

6
Mini USB cable Power adaptor (Optional) Earphone (Optional)
Touch pen Bracket SD card storing maps (Optional)

7
In case there is any divergence between the above and the real products, the real products
will prevail.
For any defective items, please contact your dealer or agent who sold you the product as
soon as possible.
1.2 How to Use This Manual
To make best use of the navigator, read the Product Manual thoroughly to know the
operation details.
While reading, you may see some supplement as following:
[Note]: This indicates corresponding interpretation or explanations.
[Reference]: This indicates corresponding extended info rmation.
[Caution]: This indicates corresponding notices and warnings. Please place importance
on the information and follow the corresponding instructions, or it may cause destructive
impact against you and other people.
The Product Manual applies to the GPS only.
Chapter 2 Introduction
This chapter provides information on the external elements and basic instructions,
allowing you to get familiar with the basic operations.

8
2.1 Product Appearance

9
1 Sleep key System hot start or sleep.
2 Menu key This is used to return to the system interface
3 SD/MMC card slot Inside holds a SD/MMC memory card. This card is
optional and is not required to operate the navigation
aspects of this device. It is for back –up and
multi-media.. Do not take it out during operation, if
inserted.
4 Loudspeaker This is used to play audio, like navigation prompt voice
and music
5 Touch pen This is used to click and write on the screen; take it out
for using and put it back afterward
6 Power key This is used to power on/off the system
7 Earphone interface This is used to connect a stereo earphone
8 Mini USB interface This is used to communicate with a computer via a
mini USB cable
9 MIC
10 Indicator Light Blue light indicates blue tooth function (Keep light
indicates connect with the unit, flicker indicates
disconnect with the unit); Red light indicates charging;
green light indicates the charging is complete.
11 Touch screen Display the screen content, Click the screen to operate.

10
2.2 Power Supply and Charging of a Navigator
When the GPS navigator is used for the first time or no used for a long time, the batteries
must be completely charged with a MINI USB cable. Recommended to charge overnight
for 12 hours for first time use or on long dr ive with car adaptor
2.2.1Power supply
The navigator can be powered in two ways, i.e. batteries and MINI USB supply.
When not connected to the charger adapter, the GPS navigator is powered by the lithium
batteries. The power icon [
] on the top right corner of the system interface or the
power bar [
] in the power-setting interface indicates the remaining battery power .
When connected to the MINI USB charger adapter (or via MINI USB to connect
computer), the GPS navigator is powered by the external power.
[Note] This navigator uses built-in, not the removable lithium polymer battery power
supply. Generally (for example, backlight brightness setting is low), completely fills the
electricity, the battery can supply power continually about for 3 hours. It regards you to
use the GPS to decide, battery's actual supply time will be different. Some functions
(audio, video, high luminance back light) m ust consume the massive electrical energies,
will obviously reduce power supply time.
[Caution] This unit uses built-in, not the removable lithium battery. In order to avoid
being on fire or the burn danger, please do not disassemble, pierce, collide or discard the
battery in the fire or water. The battery can burst, blast, or release danger chemical

11
substance.
2.2.2 Charging with a power adapter
Used for the first time or no used for a long time, the GPS navigator must be completely
charged by a MINI USB charger adaptor.
1. Connect the DC terminal of the adapter to the power terminal on the bottom side of a
GPS navigator.
2. Connect the other terminal to the power socket (or computer)to charge and power the
navigator at the same time.
[Note] If the charging indicator flashes in red, it indicates the navigator is charging.
Please wait until the device is completely charged. Do not remove the adapter during
charging. The indicator will flash in green when the device is completely charged. Please
charge the battery in time when the power is insufficient or exhausted in the future.
2.2.3 Charging with a vehicle power adaptor
1. Connect one end of the vehicle adapter to the MINI USB interface of the GPS
navigator.
2. Connect the other end to vehicle cigarette lighter to power and charge the GPS
navigators at the same time.
[Caution] Please plug the vehicle adapter after the car is started, avoiding damages to the
navigator caused the instant current at start time.

12
2.3 Basic Operation
2.3.1 Switching on/off & hot start
1. Switching on/off
Press the power switch key [
] at the back of GPS, ON represent starting, OFF
represent closing.
[Caution] When transports the main unit from a place to another place, only after main
unit adapt to the circumstances, can start to use. Because the humidity fluctuation or the
humidity possibly cause the main unit interior short circuit.
2. Hot start
Please press power key [
] on the top of the navigator to switch off when you
finish application. The system enters state of dormancy. When you switch on again, the
device will maintain the operation status last time you switch off.
[Note] If you want to save battery energy, you may switch downward the switch to cut
off the main power supply.
2.3.2 Restarting the system
When the system have no response, press power switch key to shut the sy stem and restart
the system.
[Reference] The following cases may cause system failure:
1. Delay and stagnation occur while switching over images;
2. After long running time it fails to activate the click function;

13
3. Pressing the power key fails to switch on/off the device.
[Caution] If the system fails, you will miss the system information not yet saved by
restarting the system.
2.3.3 Using the vehicle bracket to fix a navigator
A vehicle bracket is composed of a bracket and a support. Please fix the device using the
vehicle bracket onto the front windshield or dashboard while using the GPS navigator in
vehicle.
[Caution] Place the vehicle bracket carefully. Ensure the GPS navigator would not block
your driving vision. Ensure the navigator is fixed instead of being placed randomly. Do
not fix it where the air bag is placed. Do not place it within the bag's inflation range.
2.3.4 Using a touch pen
The touch pen is used to operate the GPS navigator.
1. Click: Click the screen once with the nib.
2. Double click: Click the screen twice quickly with the nib.
3. Dragging: Click one place with the nib, then, moves the nib.
[Caution] The touch pen with a broken nib, ballpoint pen, as well as any sharp and rough
objects may scratch and damage the LCD screen. Please use a touch pen with a nib in
good condition. Do not use the touch pen if the nib is broken.

14
2.3.5 Using SD/MMC Memory card Optional
Insert the card properly into the slot.
[Caution] Do not take out the card at random when the system is running a navigation
program or playing a media file.
1. Do not press hard or bent the SD/MMC card. Prevent SD/MMC card from falling and
bumping.
2. Do not store the card in hot or high-humidity areas. Keep the card away from high
temperature and direct sunlight. Keep the card away from liquid and corrosive materials.
3. Pay attention to the slot position for inserting the card. Inserting randomly may cause
damages to the slot and the card.
2.4 Connecting to a Computer --note Computer not necessary to operate navigation

15
Access a computer via the mini USB interface on the right side of the navigator, and you
can copy files from the navigator to the computer and vice versa or backup the data in
the navigator to the computer for future use.
1. Ensure the navigator is on;
2. Ensure the mini USB end [
] is connected to the mini USB interface on the left
side of the device and the standard USB end [
] is connected to the USB host
interface of the computer;
3. On completing connection, the computer will automatically identify the new hardware
unit.
4. On completing communication, remove the mini USB cable and the navigator returns
to run like before.
[Caution] Data security: Please backup the system data to an external storing device
before updating. The company assumes no responsibility for damages or missing of the
data.
[Caution] While accessing a computer, the following operations will interrupt the
communication between the system and the computer. Then, the unfinished transmission
data will be missing.
1. Unplug the mini USB cable;
2. Press the power key to switch off;
3. Restart the system via the power switch.

16
2.5 Description of the Main Interface and Main Functions
1. System interface:
4301 System interface
2. Description of functions:
Navigation
Open navigation map-----then go to quick start guide or detailed
instruction manual in cd disk
Media
Video player: This is to play wmv/mpeg/mpg/mp4/3gp/asf and avi
format video files; this supports progress adjustment, pause, and
full-screen play function

17
Audio player: This supports WMA9, MP3 and WAV format audio
files and random play, orderly play and cycling play.
Image
Image viewer: This is to view JPG、JPEG、BMP and PNG format
files; this allows you to rotate, scale up/down and automatically
display images
eBook
Ebook: This allows you to read TXT-format files; this allows you to
select pages
System
This is to set the volume, power supply, back light, date and time,
languages as well as system information
2.6 Maintaining the GPS Navigator
Proper maintenance allows the GPS navigator to be your reliable partner for navigation
and entertainment. Please maintain the navigator following the skills below to make sure
that you can use it without failures for a long term.
Screen protection: Press the touch screen hard may damage it. Please use the touch pen
to click the screen of the GPS navigator. Clean the screen gently using soft cloth
sprinkled with little commercial glass cleaner, avoiding sprinkling the cleaner directly to
screen.
[Caution] please do turn off the GPS navigator first before you clean touch screen.Do not

18
drop: hard falling and bumping may dama ge the display screen and other precision parts.
[Caution] Accidental damages are beyond the warranty coverage. Avoid operating in the
following circumstances: flash variation in temperature, high temperature (60°C above),
low temperature (0°C below), high voltage, dustiness, static interference, moisture. Keep
the device away from erosion by corrosive liquid and do not dip it in any liquid.Avoid
radiated interference: The radiated interference from other electronic equipment may
affect the performance of navigator's display screen. Remove the source of interference,
and the screen display will be back to normal.
[Caution] If air transport is required, it is recommended for the navigator to go through
the X-ray detection system for security check with your luggage. Prevent the navigator
from being checked by a magnetic head detector (the passage you per sonally go through)
or magnetic bar (the hand device of the check viewer).
These devices may cause system data missing, for which the company assumes no
responsibility.
Avoid direct strong light: Keep the GPS navigator away from strong light and ultraviolet
radiation to increase the service life.
Chapter 3 Audio Playing Function
This chapter describes how to use the audio player of the GPS navigator to play your
favorite music, making it your mobile MP3 player.

19
3.1 Features
The audio player supports WMA, MP3 and WAV format files. You can set the play order
at random. Please copy your audio files to any folder in the memory card before playing.
3.2 Interfaces and Operations
1.Click the "Media"\"Music" button; click the selected song to activate the audio player,
as shown in Figure 3-1.
Figure 3-1 Audio player
Close Click to close the audio player
Play This indicates that a song has been paused or
20
stopped playing; click to continue
Pause This indicates a song is being played; click to pause
Stop Click to stop playing
Last Click to play the last file
Next Click to play the next file
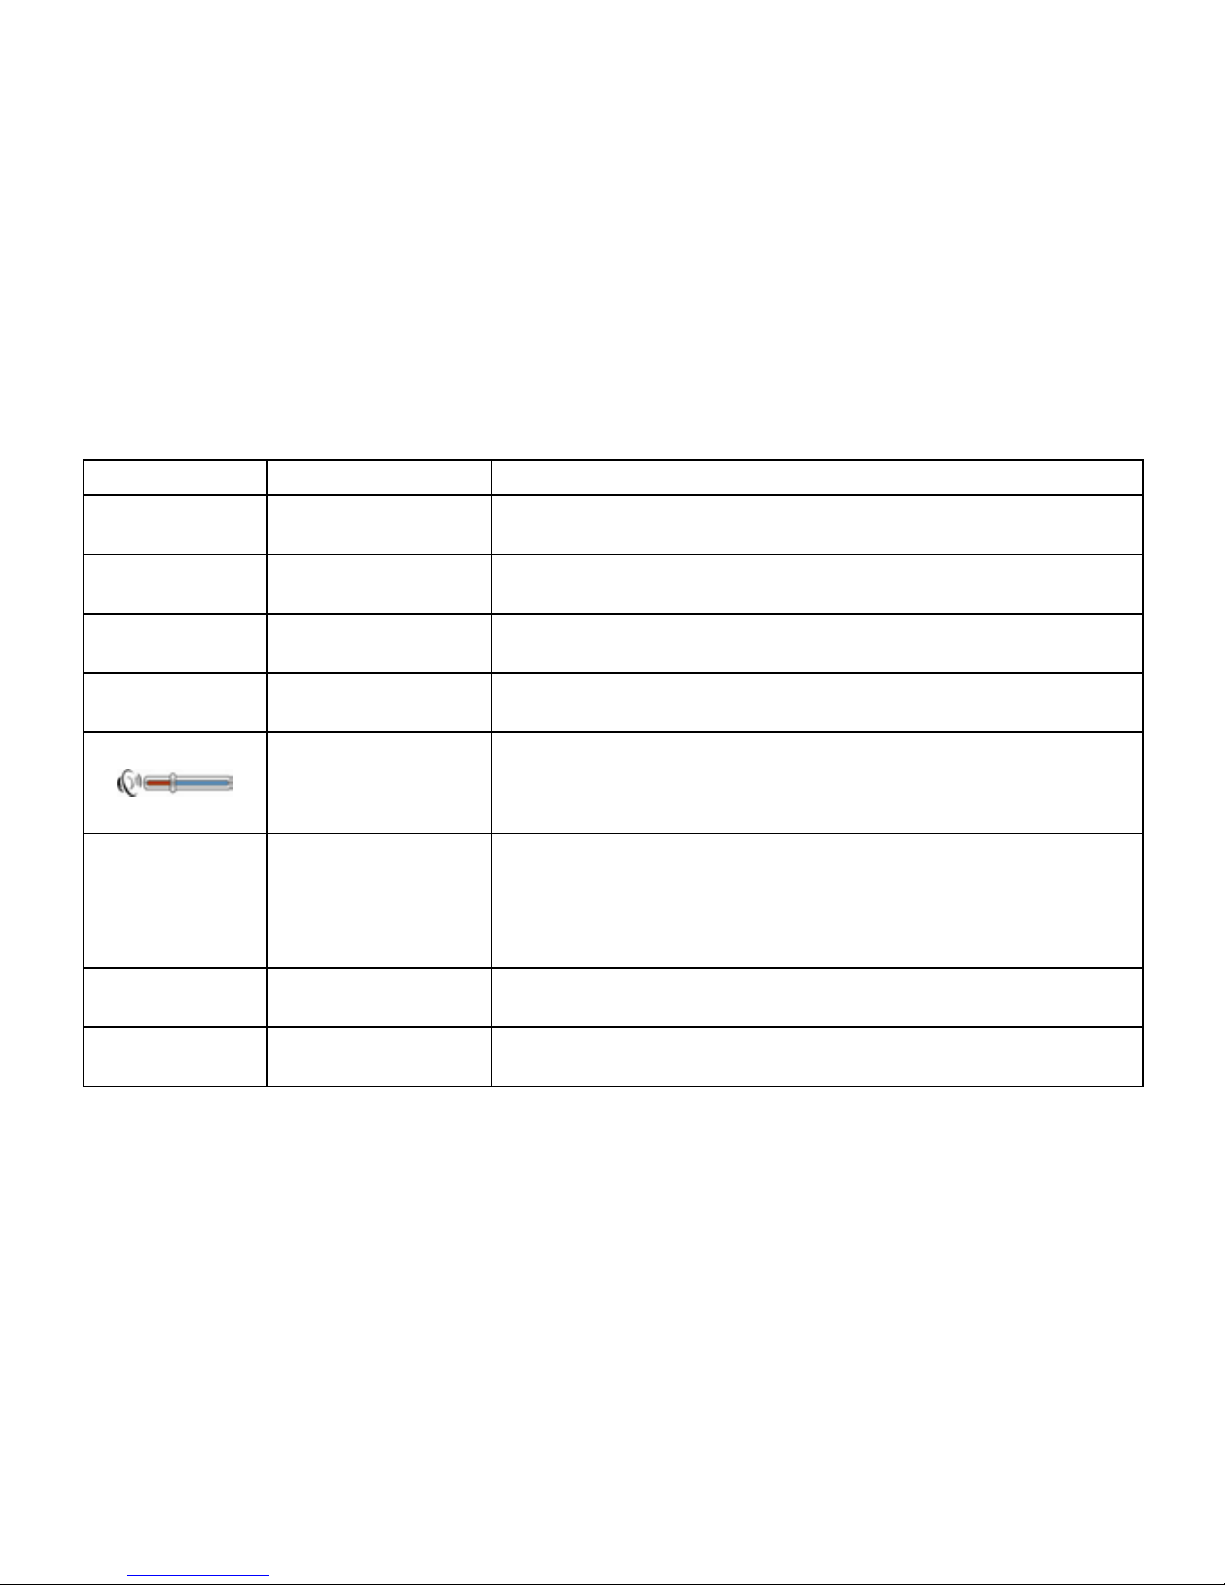
Volume
adjustment
Drag the nib of the touch pen on the screen
leftward/rightward to adjust the volume. Drag
leftward to decrease and rightward to increase
Progress
adjustment
Drag the nib of the touch pen on the screen
leftward/rightward to adjust the progress. Drag
leftward to back to a certain time and rightward to
advance to a certain time to play
Back Click to show files of a folder
Elapsed time Click to show the elapsed time
21
Cycling play Cycling play current songs of a folder
Random play Random play current songs of a folder
2. Refer to Figure 3-2 for the audio folder
Figure 3-2 the audio folder
Close Click to close the current folder
22
Last Click to show the last page
Next Click to show the next page
Back Click to back to mother folder
Name and format of
a track
Click to show the track name and its formats
Chapter 4 Image Viewing Function
This chapter provides information on how to view images with the image viewer of the
GPS navigator.
4.1 Features
1. Support images featuring formats like JPG, JPEG, BMP and PNG.
2. Allow you to rotate, full screen display and automatically display all images.
Please copy your image files to any folder in the memory card before viewing.

23
4.2 Interfaces and Operations
1. Click the “Photo” button in the system menu, click the selected image to activate the
viewer, as shown in Figure 4-1.
Figure 4-1 the image viewer
Close Click to close the image viewer

24
Full screen Click to full screen display the picture
Rotate clockwise Click to rotate the current picture clockwise of 90°
Rotate
counterclockwise
Click to rotate the current picture counterclockwise
of 90°
Last Click to view the last picture in the same folder
Next Click to view the next picture in the same folder
Back
Click to switch to the image folder interface to
select your favorite pictures
Automatically
display
Click to automatically display the pictures in the
same folder
File name and
format
Click to show the name and format of current
picture
2. Refer to Figure 4-2 for the image folder interface

25
Figure 4-2: Interface of picture folder
Close Click it to close the current folder
Last Click it to show last page
Next Click it to show the next page
Back Click it to back to m other folder
Picture's name and
format
Click to show the picture's name and format

26
[Note] When glance over the picture, except press button can show the entire screen
picture, double click picture demonstration region, can also show entire screen, double
click again, resume the normal demonstration. When show entire screen, single click the
right half part of picture region to browse next pictur e; single click the left half part of
picture region to browse last picture.
Chapter 5 Ebook Reading Function
This chapter provides information on how to use the GPS navigator as an Ebook r eader.
5.1 Features
1. Support file. TXT;
2. Support scrolling, skipping and folder selection
Please copy your txt. file to any folder in the memory card before reading.
5.2 Interfaces and Operations
Click the "Ebook" button; click the selected txt to activate the viewer, as shown in Figure
5-1:

27
Figure 5-1: the viewer of txt
Close Click it to close the e-Reader.
Last Click it to read the last page
Next Click it to read the next page
Page selecting Click to prompt "page-selecting interface", skip to
any page for reading
Back Click to back to the current folder’s interface to
select the required book
Name and format Click to show the name and format of the current

28
of a text file text file
Page/pages The page of the current text file or the total pages
2. Refer to Figure 5-2 for page-selecting interface:
Figure 5-2: Page number selection interface
Close Click to quit
Number keypad Composed of 10 figures from 0 to 9, the keypad
supports any figure between 0 to 99999999
Figure display
zone
This is to show the typed-in figure

29
Backspace Click to delete the last figure automatically
Zero Click to reset figures
Skipping Click to skip to the current page shown in the figure
display zone to read the page
3.Refer to Figure 5-3 for the text file folder
Figure 5-3: Text file folder interface
Close Click it to close the current folder.
Previous page Display the contents of the previous page.

30
Next page Display the contents of next page.
Return Return to the previous-level folder.
File name Display the name of the folder.
Chapter 6 Video Playing Function
This chapter provides information on how to use the GPS navigator to play video.
6.1 Features
1. Support wmv, mpeg, mpg, mp4, 3gp, asf and avi files;
2. Support full-screen play, progress selection and file selection
Please copy your video files to any folder in the memory card before playing.
6.2 Interfaces and Operations
Click the "Multimedia"\"MP4" button; click the selected image to activate the player, as
shown in Figure 6-1.

31
Figure 6-1 the media player interface
Close Click to close the video player
Play This indicates a film is being played; click to pause
Pause This indicates that a film has been paused; click to
continue
Stop Click to stop playing
Fast forward Click to fast play a film; click again to continue
normal play

32
Full-screen
play
Click to play a video file in full-screen mode
Volume
adjusting
Drag the nib of the touch pen on the screen
leftward/rightward to adjust the volume. Drag
leftward to decrease and rightward to increase
Progress
adjustment
Drag the nib of the touch pen on the screen
leftward/rightward to adjust the progress. Drag
leftward to back to a certain time and rightward to
advance to a certain time to play
Back Click to back to the video file folder interface to
select your favorite films
Elapsed time This is to show the elapsed time or the total time of
the film
2. Refer to Figure 6-2 for the video folder

33
Figure 6-2 the video folder interface
Close Click to close the current folder
Last Click to show last page
Next Click to show the next page
Back Click to back to mother folder
Film's name
and format
This is to show the film's name and its format

34
[Note] When play the movie, double plays click movie’s demonstration region, show
entire screen movie, double click again, and resume the normal demonstration.
Chapter 7 System Setting
Click the "Setting" button to enter the "setting" menu; then, you can implement
relevant settings. The settings cover "volume", "power", "brightness", "data and time",
"language" and "system inform ation", as shown in Figure7-1:
Figure 7-1: Setting interface

35
Volume Click to adjust the loudspeaker's volume
Switch on/off screen click sound
Power Click to check current battery status
Brightness This is to adjust the back light brightness
Time and date This is to set the system time and date and show the system time
zone
Language This is to set the prompt language
System
information
This allows you to reset the device to factory defaults, and
implement GPS reset and touch screen calibration.
7.1 Volume Setting
The volume setting is shown as Figure 7-2:
1. Loudspeaker's volume adjustment; 2. Setting of "Screen Click Sound”.

36
Figure 7-2: Setting of volume interface

37
Close Click to quit the volume adjusting application;
Volume - The system provides ten-grade volumes (from silence
to maximum); click to decrease the volume in one
grade;
Volume + The system provides ten-grade volumes (from silence
to maximum); click to increase the volume in one
grade;
Screen Click
Sound
Select it to activate the “Screen Click Sound” and
click it again to switch off the Sound
Current
volume
The red bars refer to the volume grade with one bar
indicating one grade
7.2 Power information
The main functions for power information is to check the current remaining energy
of the battery and whether it is charging now, as shown in Figure 7-4:

38
Figure 7-4: Power information interface
Close Click to quit the power information application
Battery
status
The yellow bars refer to the remaining energy of the battery; if
the battery is being charged, the dynamic red bars will fill the
grid from left to right
7.3 Brightness Setting
The back light setting is to adjust the brightness, as shown in Figure 7-5:

39
Figure 7-5: The setting of brightness interface
Close Click to quit the brightness setting application
Brightness down Click to decrease the brightness level by level until
it is minimized
Brightness up Click to increase the brightness level by level until it
is max imized
Brightness display The yellow bars refer to the current brightness
7.4 Date and Time Setting
The time and date settings are shown as :

40
1. System date setting; 2. System time setting.
Figure 7-6: Setting of Date and Time interface
1. Click the [
] button to enter the "Date" interface (as shown in Figure 7-7), and
you can click [ ] or [ ] to set the year, month and day.
Figure7-7: Setting of Date interface
2. Click the [
] button to enter the "Time" interface (as shown in Figure 7-8), and

41
you can click [ ] or [ ] to set the hour and minute.
Figure7-8: Setting of Time interface
7.5 Language Setting
The language setting is shown as Figure7-9:
Figure 7-9: Setting of language interface
Click the button [
] or [ ] in the language bar to select a system language. The

42
system provides English.
7.6 System Information
The system information setting is shown as Figure 7-10:
1. Factory defaults setting; 2. GPS resetting; 3. Touch screen calibration.
Figure 7-10: Setting of system information interface
Click the button [
] to prompt the "Factory Defaults" interface (as shown in Figure
7-11); click the button [
] to reset the device to factory defaults; click [ ] to close
the “Factory Defaults” interface.

43
Figure 7-11: Factory Defaults interface
Click the button [
] to prompt the "GPS Resetting" interface (as shown in Figure
7-12); click the button [
] to implement GPS resetting; click [ ] to close the
"GPS Resetting" interface.
Figure7-12: GPS Resetting interface

44
Click the button [ ] to prompt the “Touch Screen Calibration” interface (as shown
in Figure 7-13); click the cross center with the touch pen and the cursor moves towards
the center, top left corner, bottom left corner, top right corner and bottom right corner
until successful positioning. The system will close the interface automatically and back
to system interface.
Figure 7-13: Touch Screen Calibration

45
Chapter 8 Technical Specifications
The specification of this product is subject to change without previous notice.
Dimension s 128mm X 82mm X 21mm
Weight About 250 grams
Supported memory card
and capacity
32M/64M/128M/256M/512M/1G/2G
Battery Embedded lithium battery, 1300mAH/3.7V
Loudspeaker 2W@4ohm
Earphone 20 mW/32ohm
Audio WMA/MP3/WAV
Video AVI\MPEG\MPG
Images JPG/JPEG/BMP/PNG
Ebook TXT
Working temperature 0 °C ~ 60 °C
Temperature for storage
and transportation
-20 °C ~ 60 °C
Permissible RH 20% ~ 80%(40°C)
Permissible RH for
storage and
transportation
20% ~ 80%(40°C)
Atmospheric pressure 86KPa ~ 106KPa
Language English

46
Chapter 9 Troubleshooting
If your GPS navigator fails to work, please check it following the solutions below. If the
problem still exists, please contact our customer service center.130088664 9
Failures Causes Solutions
The battery
energy is
insufficient
Power the system with external power
source and charge the battery at the
same time
The device does not
turn on
The battery switch
is off
Switch upward the battery switch
The device turns off
during use
The battery
energy is
insufficient
Power the system with external power
source and charge the battery at the
same time
The device fails to
display; The display
contents are not clear
The back light
brightness is too
low, The back
light is turned off
automatically
Adjust the brightness using the touch
pen to click the LCD screen. The back
light will be on again.
No right actions occur
on clicking the button
The touch screen
is not calibrated.
Calibrate the touch screen again

47
The volume is set
too low
Increase the volume There is no sound
while playing
The earphone is in
poor contact
Plug the earphone properly
The device can not
access a computer
The USB cable
fails to connect
Connect the USB cable properly
The device can not
receive the GPS
signals
Unit freezes
It depends on whether local GPS
satellite signals are strong or weak.
Wait for three minutes above to
receive signals
Hit reset switch
The map data is
missing inadvertently
1. There are map files stored in the
disk.
2. Contact your agent or dealer to ask
for a password that is required when
the navigation function is activated
again.
 Loading...