

Page 1
For further information www.tessilmare.com
Visit our video channel www.youtube.com/tessilmare
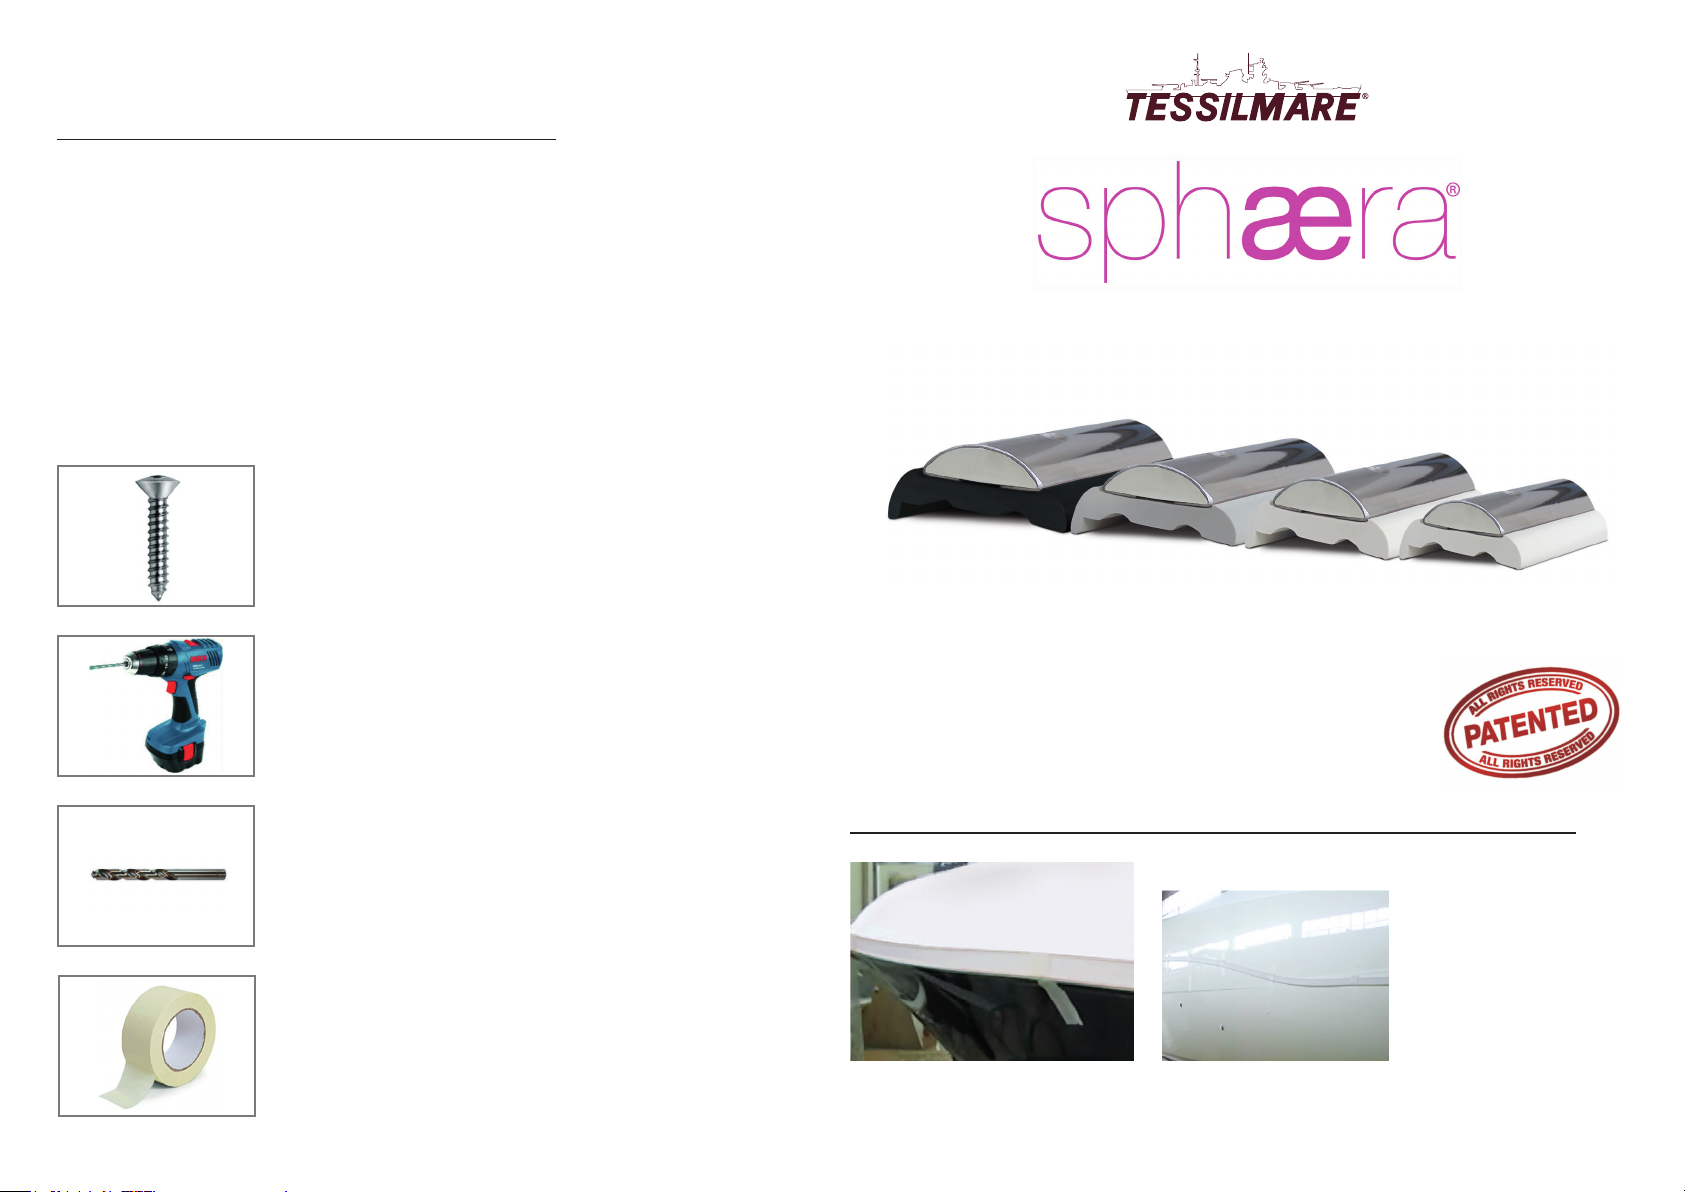
TOOLS
A4 TYPE SELF-DRILLING SCREW
Oval head style (TGS)
Phillips Screw Size N.10, Head 9.5 Mm, Shank 4.8
Mm Specic codes: din7983 or uni6956, also iso 7051
WARNING: A2 TYPE SCREWS NOT TO BE USED
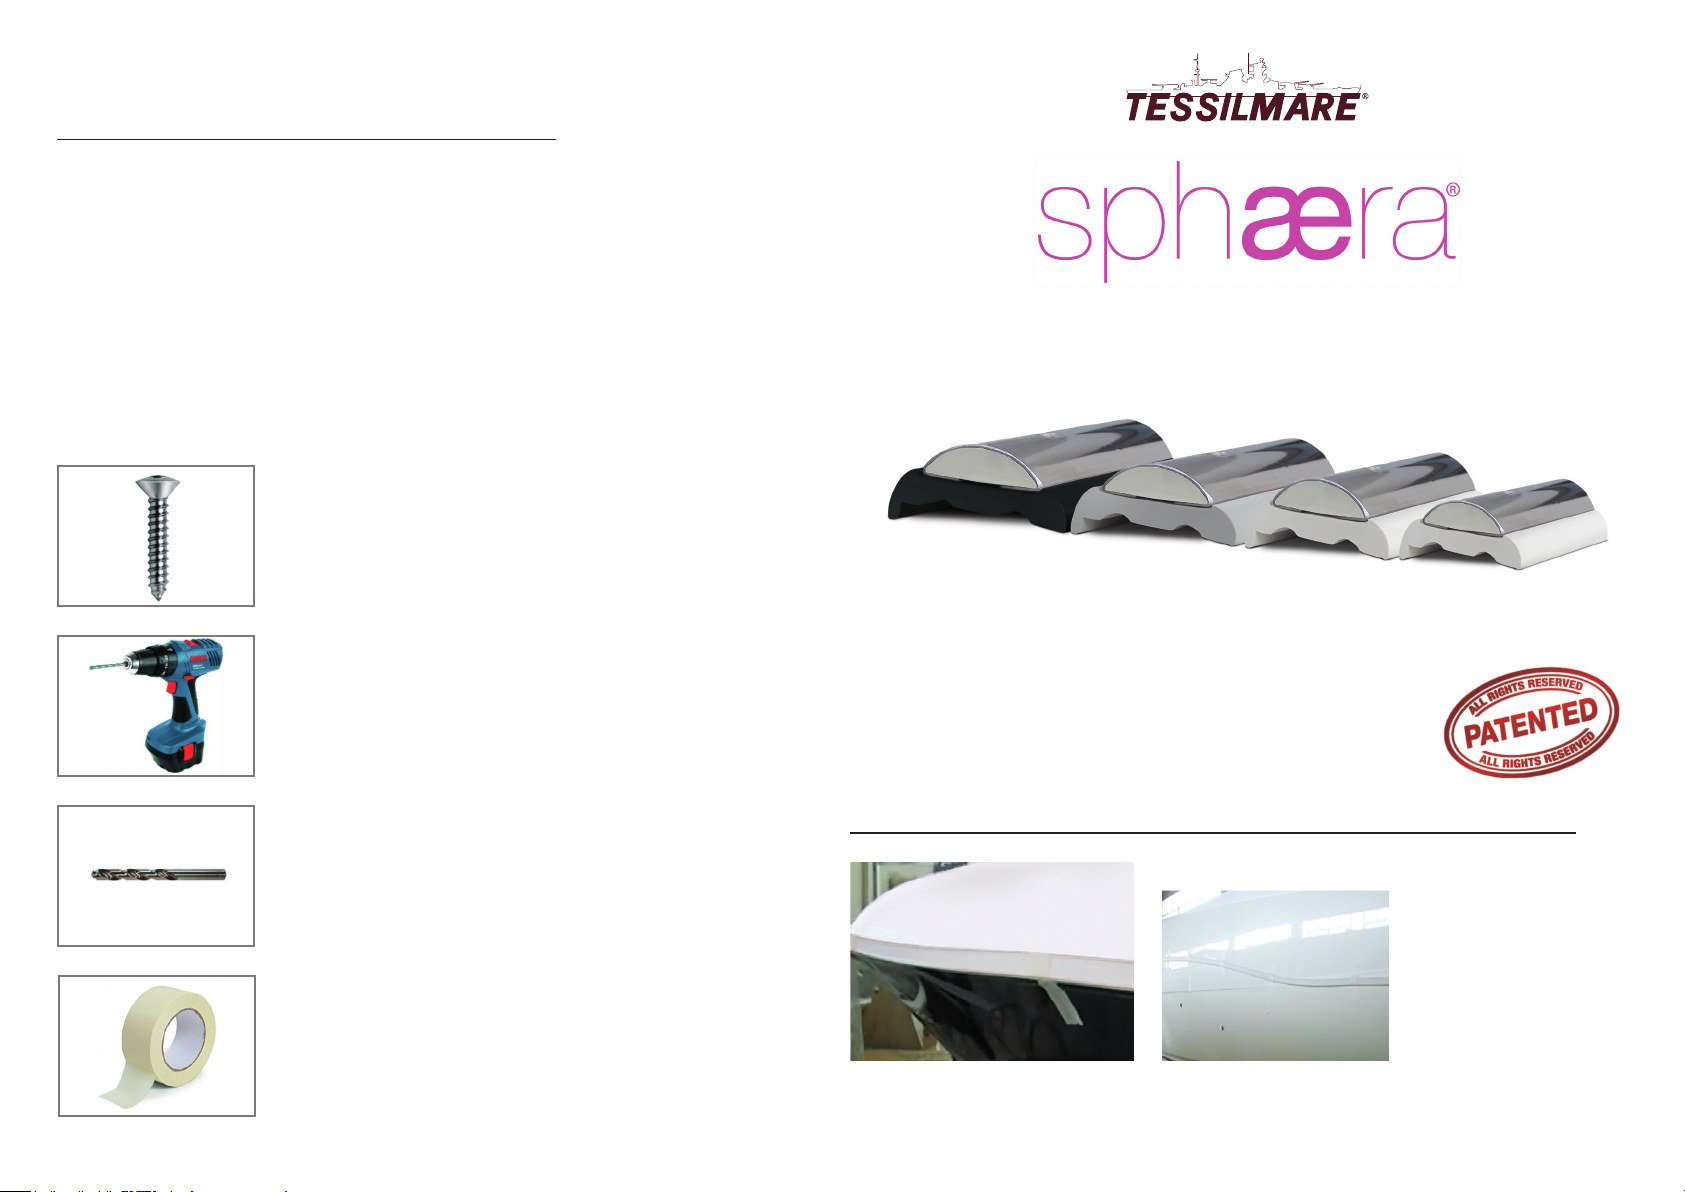
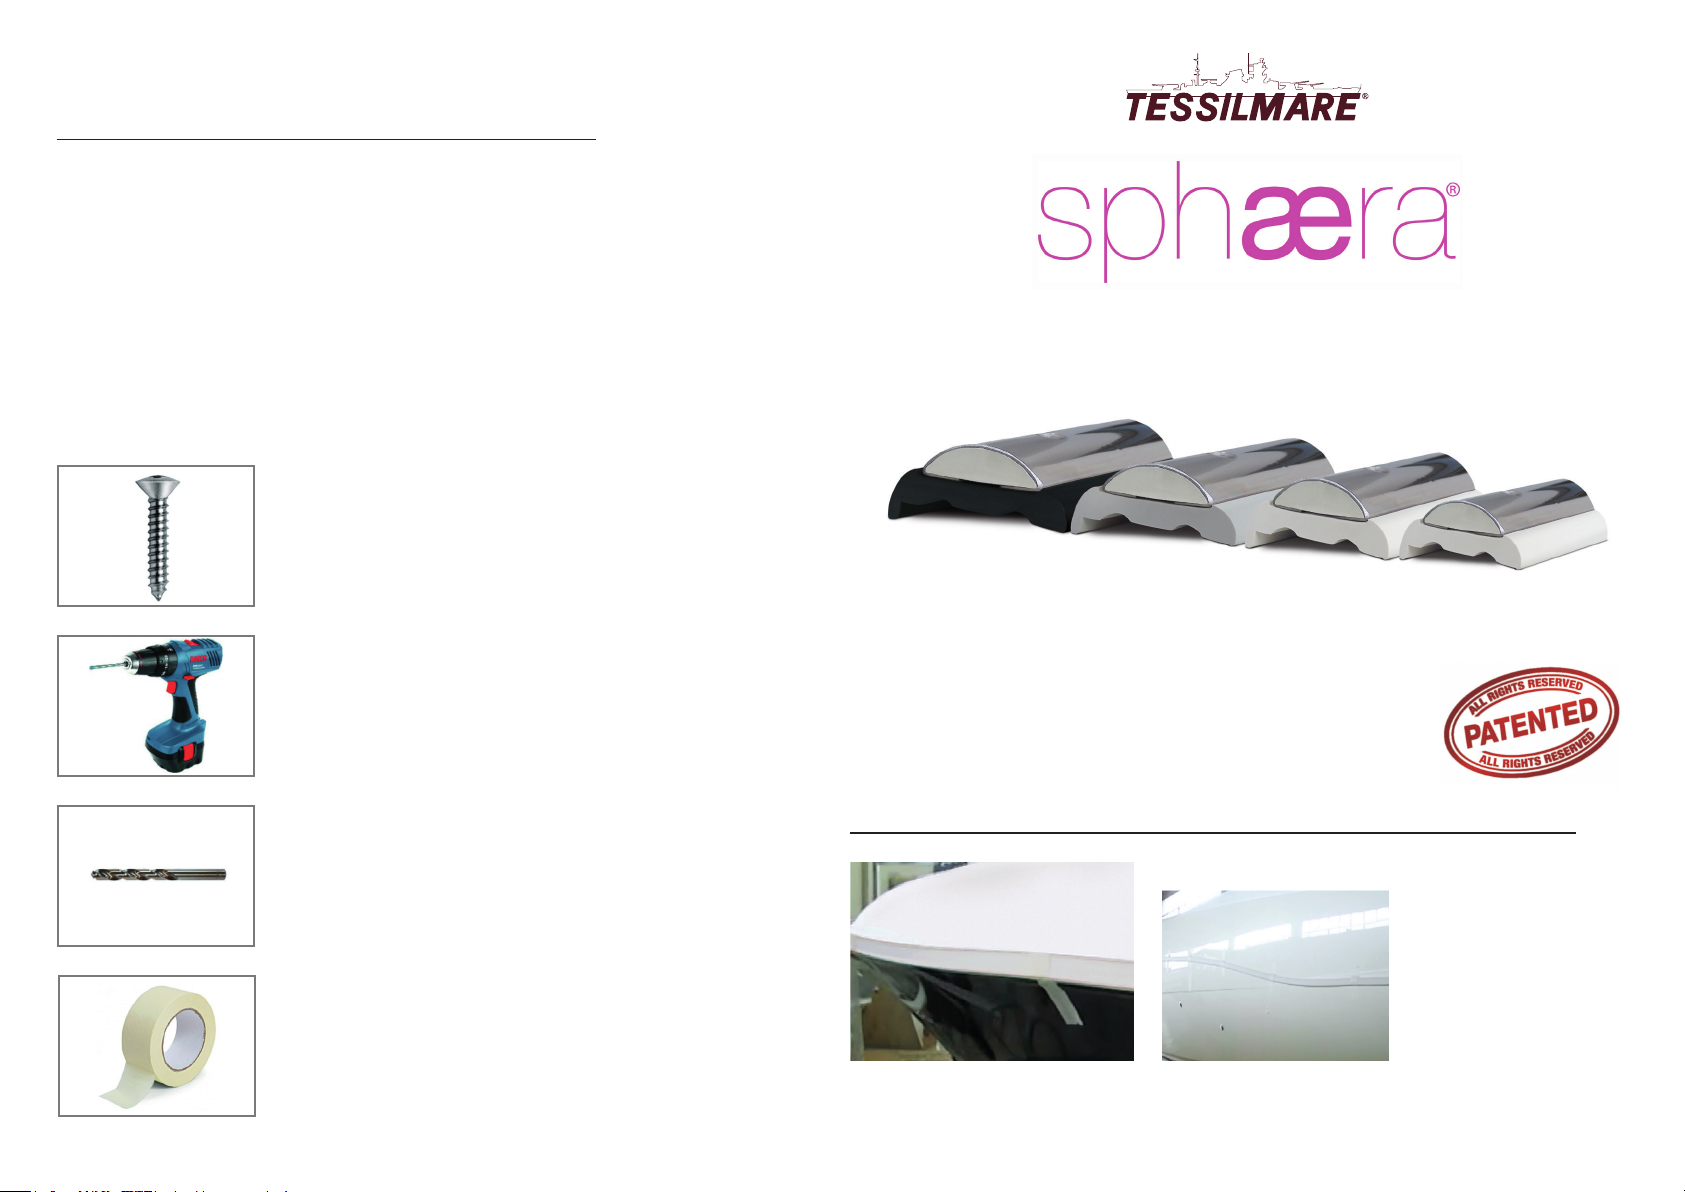
SPHAERA PROFILES – ASSEMBLY INSTRUCTIONS
PROJECTED AND DESIGNED BY TESSILMARE IN ITALY
PATENTED
Drill and screwdriver
Tip 4/4.2 Mm
Gummed tape
1. APPLICATION OF PVC BASE
TIP: warming up the
prole base will
simplify the procedure.
This can be obtained
by keeping the base in
a warm environment
for 8-12 hours.
Prop the soft prole of the base against the entire length of the boat
and hold in place with vertical strips of gummed tape
Page 2
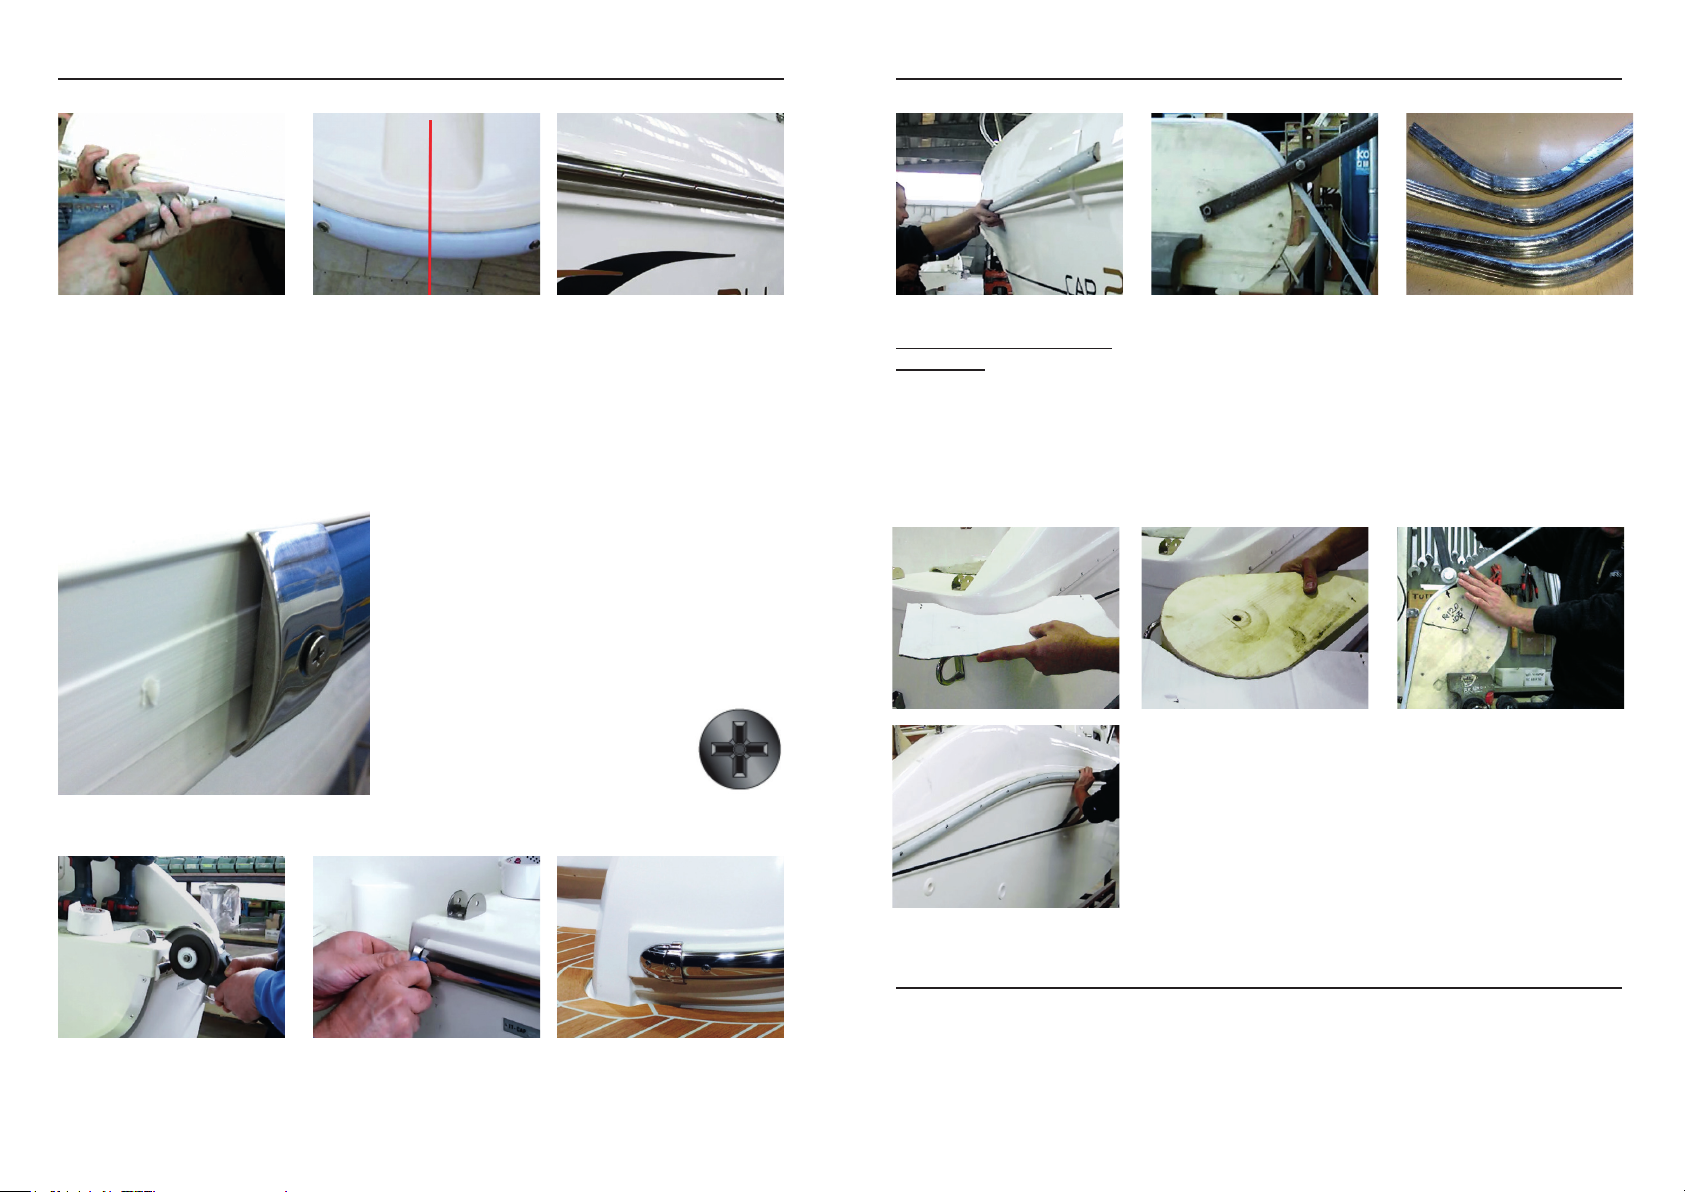
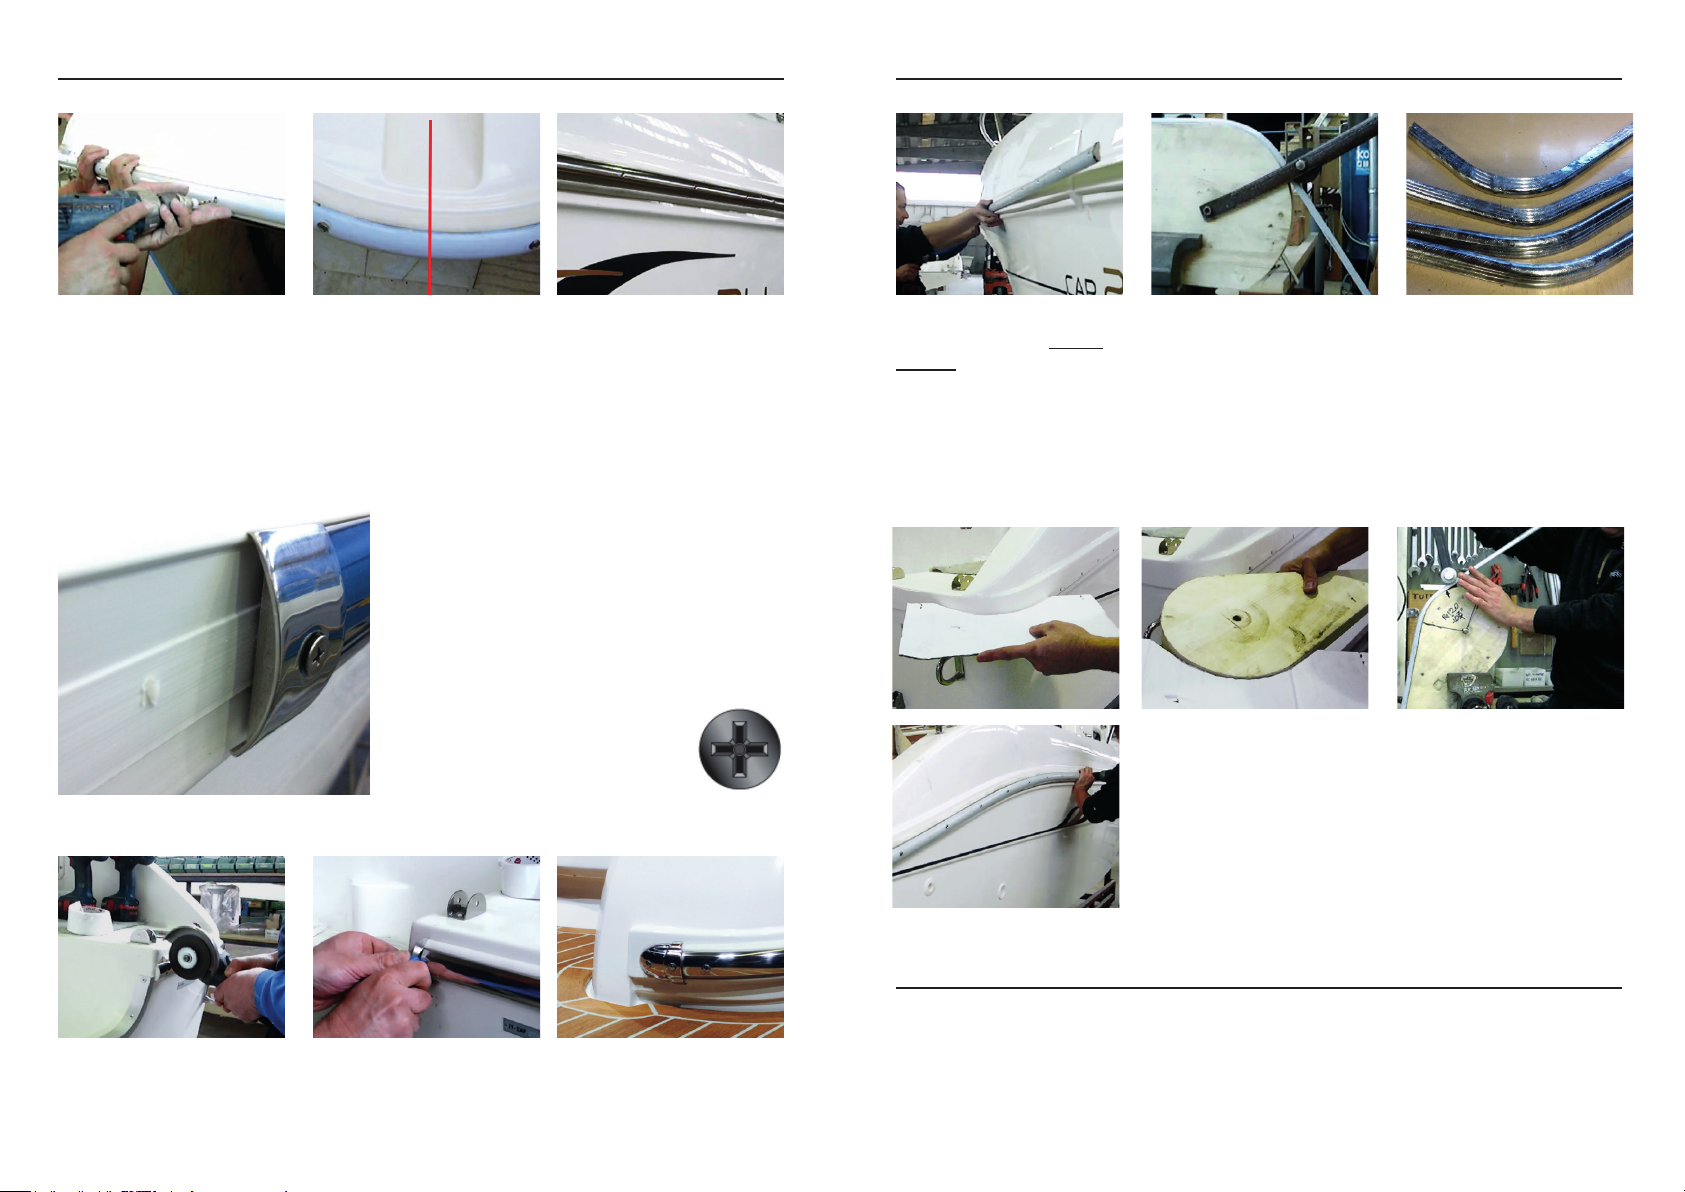
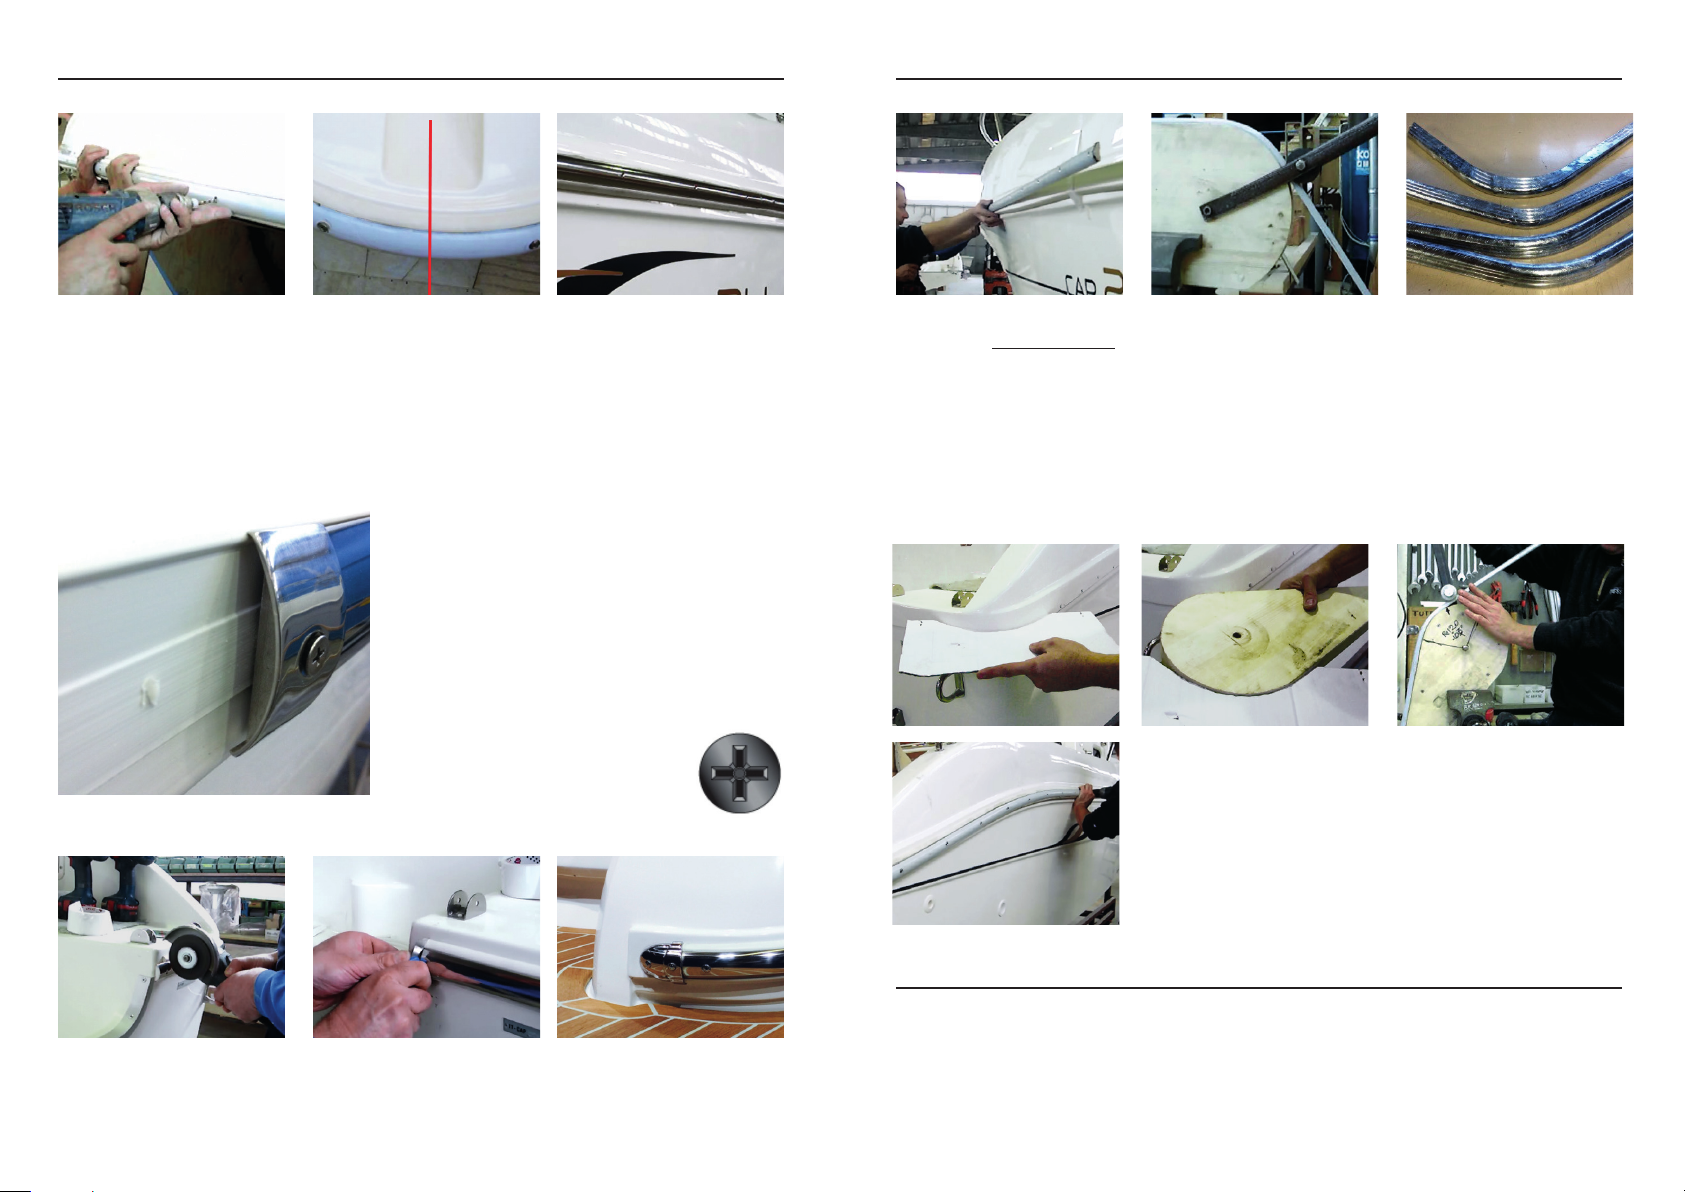
2. APPLICATION OF THE STAINLESS STEEL BOARD
3. STAINLESS STEEL PROFILE BENDING
We recommend starting
from the bow.
Bend the board in the
middle so that both sides
have about the same length.
For technical reasons,
do not place a hole in the
center of the bow bend or
in the center of the stern
corners.
The drill spindle must not touch the countersink
of the screw: we recommend inserting a plastic
or aluminum stop buffer on the drill bit; this
simple operation will prevent the iron material of
the spindle from damaging the steel.
It is advisable to apply silicone to the hole making
screwing smoother and sealing the hole itself.
According to an
ancient sailing tradition, screws
should be tightened so that the
heads form a cross and not an X.
Then cut the side strips
to the correct size and
complete the installation
using the supplied joint
covers.
Horizontal bends with a
radius of curvature greater
than 40 cm can be performed
directly on the boat by
alternatively bending and
screwing the prole into
place. The boat itself will act
as template and guideline.
Bow and the stern bends with a radius of curvature less
than 40 cm can be performed using simple tools by cutting
in series equal lengths of horizontal or vertical bended
proles; optionally, Tessilmare offers a custom-cut and
-bending service.
Small side bends can be performed directly on the boat.
In case of very sharp or difcult
bends, please contact our technical
ofces.
We recommend the use of
cut-off wheels for stainless
steel only.
Cut any loose pvc material
with a box cutter.
When done put the end
covers into place.
4. CLEANING
Use polish cream on stainless steel and polish to a high gloss.
Use liquid degreaser on pvc.
WARNING
Some pvc degreasing products if not diluted properly will damage the prole irreparably.
Page 3
Pour plus de renseignements www.tessilmare.com
Visitez-vous notre canal video www.youtube.com/tessilmare
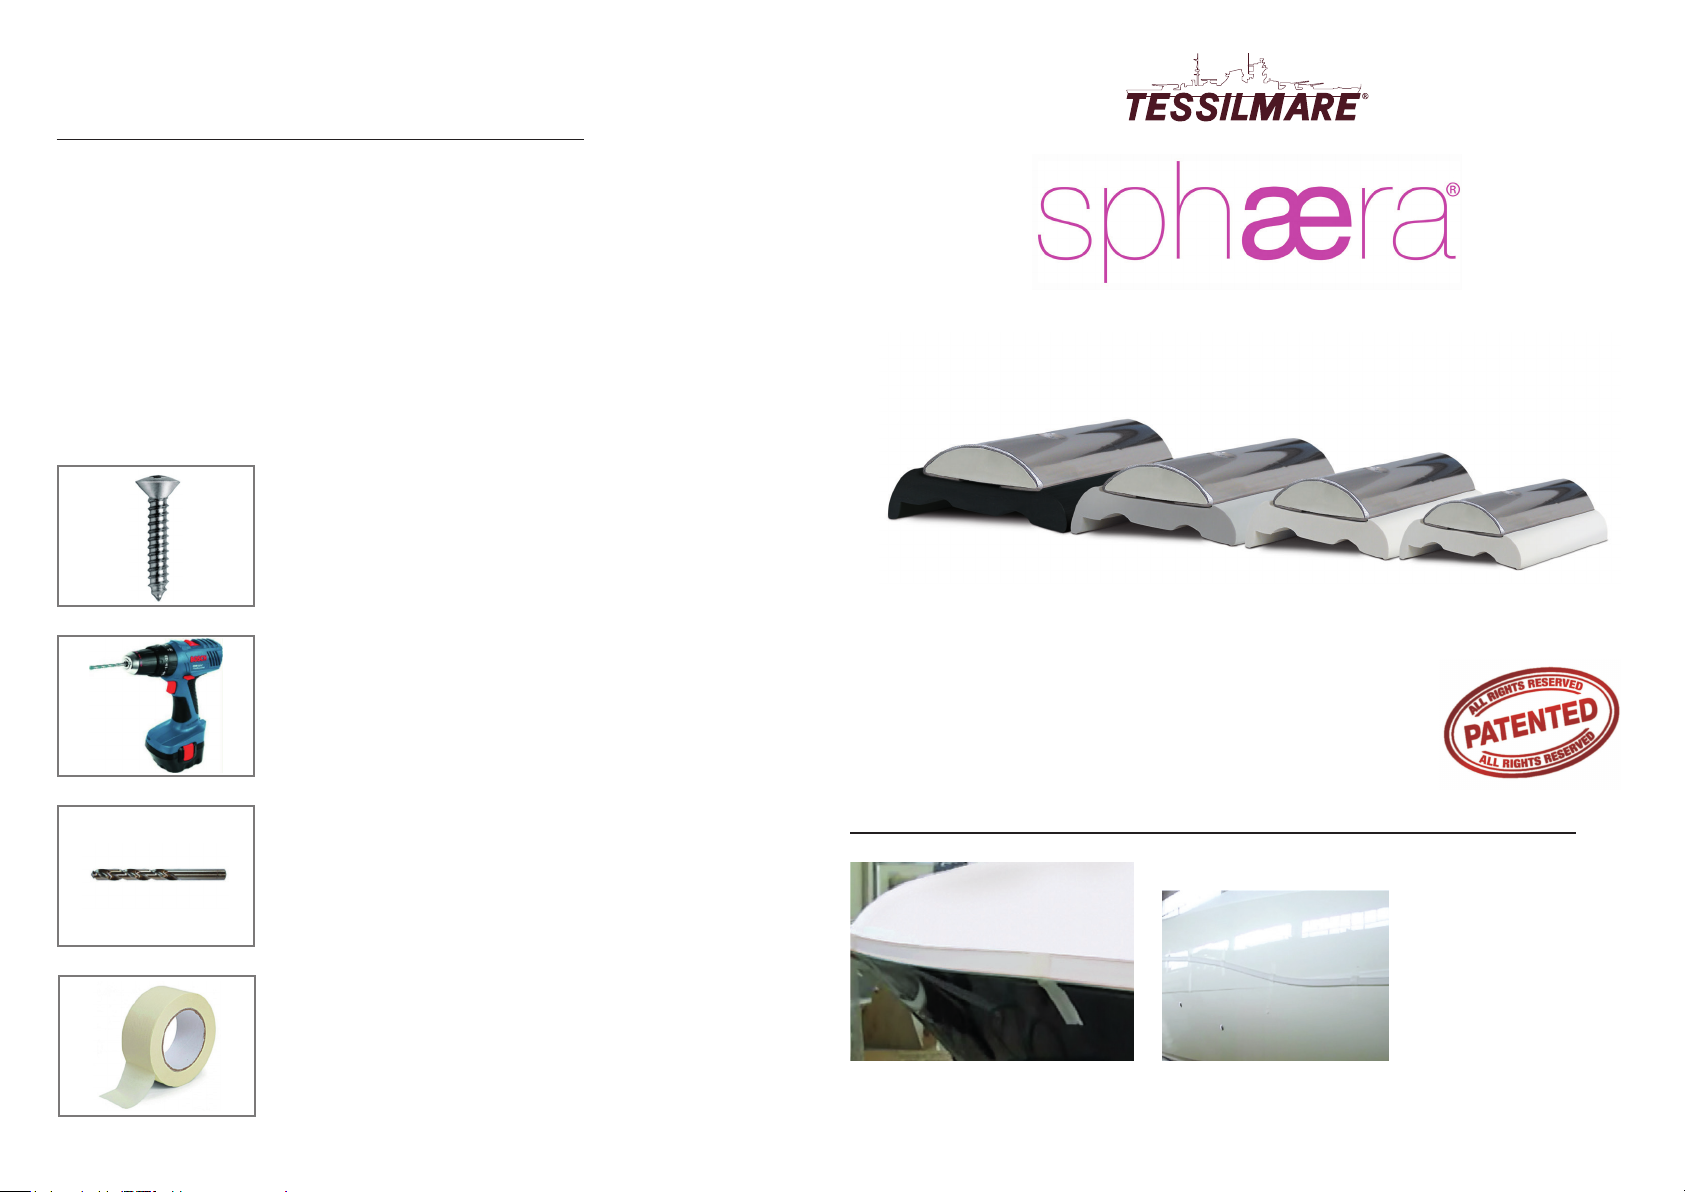
OUTILLAGE
VIS INOX TYPE A4 Vis-autotaraudeuse
Tête fraisée
Taille à croix mesure n.10, Tête 9,5 mm, Pied 4,8 mm
Sigles spéciques: DIN7983 ou UNI6956 et aussi ISO 7051
ATTENTION: Ne pas utiliser Vis A2
MONTAGE DES LISTONS SPHAERA
PRODUIT ET PROJETE PAR TESSILMARE EN ITALIE
BREVETE
Perceuse et Visseuse
Foret 4/4,2 mm
Ruban adhésif papier gommé
1. APPLICATION DE LA BASE EN PVC
CONSEIL:
l’opération devient
plus simple si vous
réchauffez le liston
de base: en hiver une
nuit dans un bureau
chauffé sera sufsante
à cet égard.
Le liston souple de base sera appuyé au bateau pour son développement
entier et bloqué avec des bandes verticales de papier gommé.
Page 4
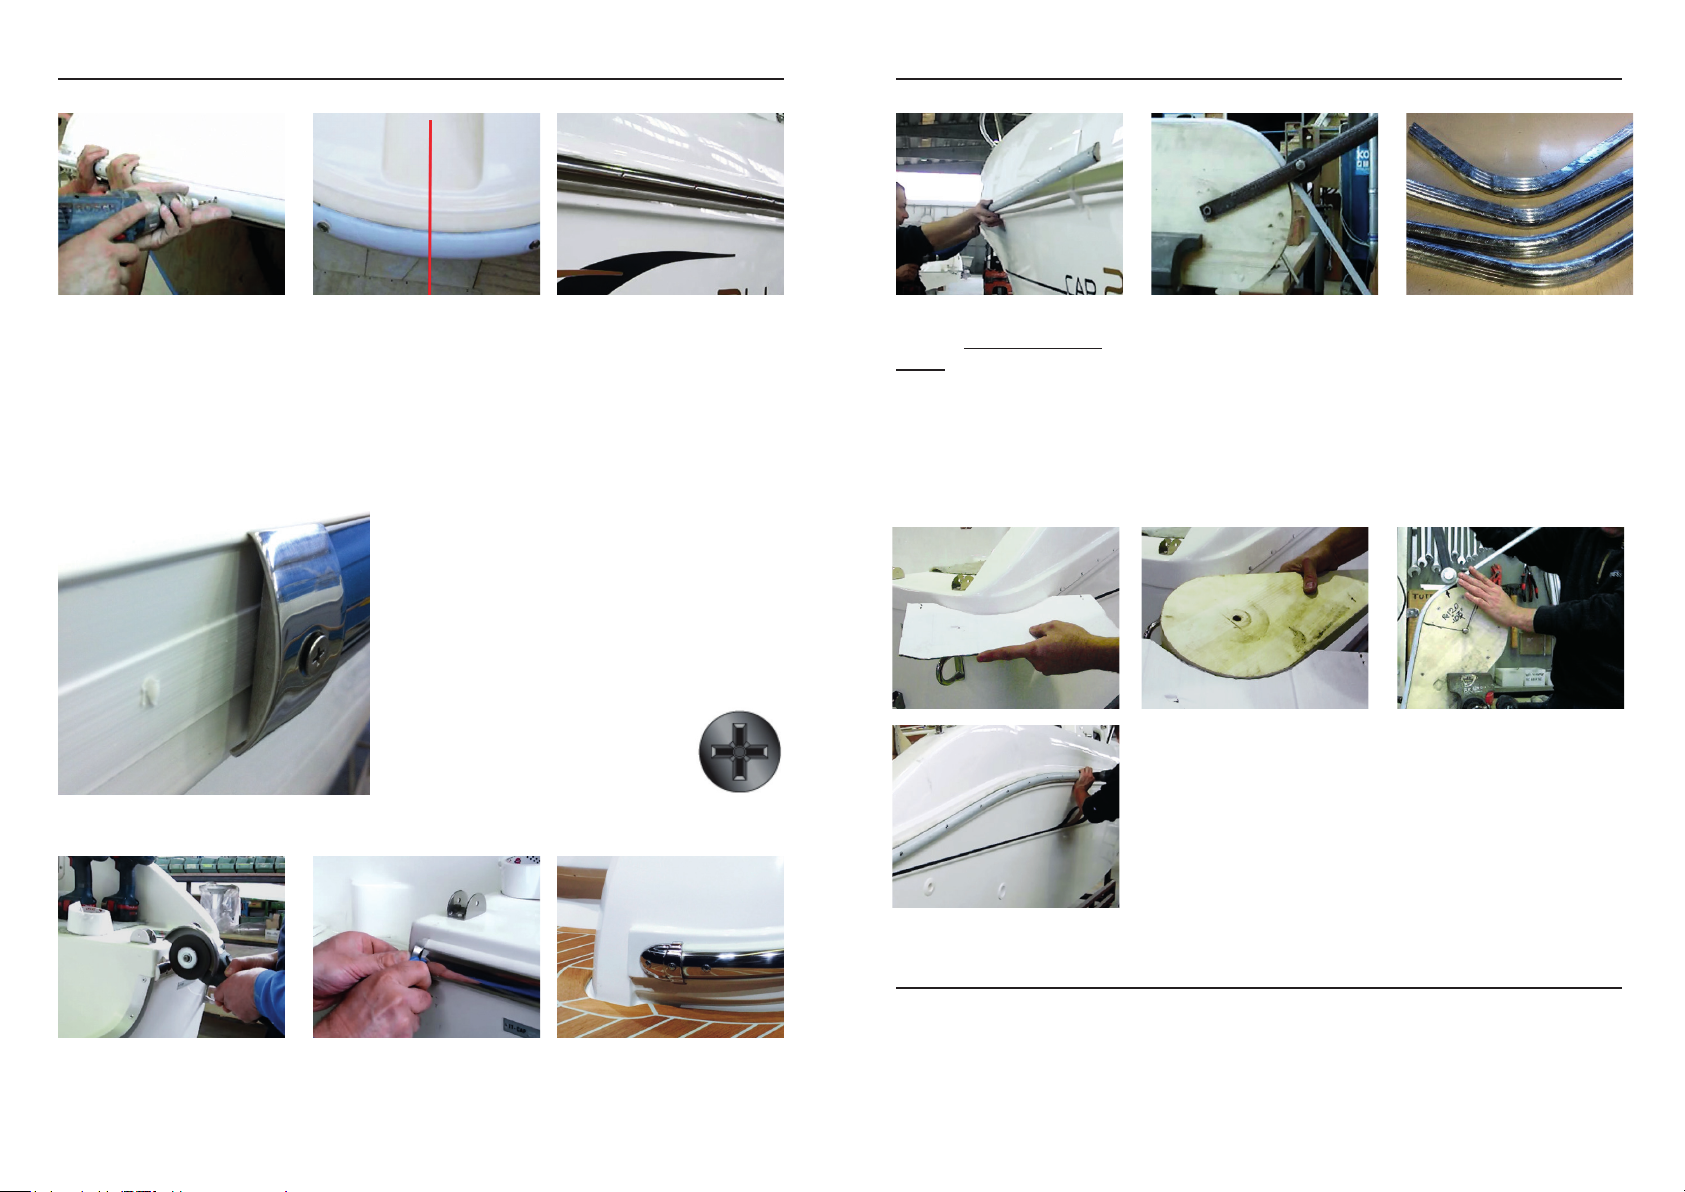
2. APPLICATION DE LA BARRE INOX
3. CINTRAGE DU LISTON INOX
Pour appliquer les barres en
acier nous vous conseillons
de partir de la proue, en
pliant une barre à sa moitié
de façon que la longueur
à gauche et à droite soit
presque la même.
Pour des raisons techniques
il faut éviter qu’un trou soit
fait au centre de la courbe
de proue ou au centre des
angles de poupe.
Il faut faire attention que le mandrin de la
perceuse ne touche pas l’évasement de la vis;
à ce propos nous conseillons de mettre sur le
foret un tampon de n de course en plastique ou
aluminium, cette simple opération évitera que le
matériel ferreux du mandrin entame l’inox. On
conseille d’appliquer de la silicone dans le trou,
outre à sceller cela rend le vissage plus doux.
Selon une ancienne
tradition nautique les vis devraient
être serrées de façon que la tête
dessine une croix et pas une X.
Ensuite on va terminer
le montage des barres
latérales coupées à mesure,
toujours interposant les
couvres-joint fournis.
Les courbes horizontales
avec un rayon de plus de
40 cm pourraient être faites
directement sur le bateau en
vissant et en pliant à chaque
fois jusqu’à terminer la
courbe; le bateau même aura
la fonction de gabarit et de
ligne directrice.
Pour réaliser des courbes de proue et poupe avec un
rayon inférieur à 40 cm Tessilmare offre un service de
cintrage précoupé à dimension; comme alternative avec
un simple outil il sera possible d’effectuer soit des courbes
horizontales que verticales, toutes égales, en série.
Des courbes latérales légèrement accentuées peuvent être
faites directement sur le bateau.
Pour l’exécution de courbes accentuée out
difciles à mettre en oeuvre, vous pouvez
contacter nos bureaux techniques.
Nous recommandons
l’utilisation de disques à
coupe spéciques pour
l’inox.
Coupez les parties excédentaires de PVC avec un
simple cutter.
Pour achever le travail
appliquer les respectifs
embouts nals.
4. NETTOYAGE
Les parties en Inox retournent luisantes avec une pâte à polir.
Les parties en PVC peuvent être nettoyées à l’aide d’un dégraissant liquide.
ATTENTION
Certains produits spéciques pour le nettoyage due PVC peuvent endommager
irrémédiablement le liston s’ils ne sont pas dilués correctement.
Page 5
For further information www.tessilmare.com
Visit our video channel www.youtube.com/tessilmare
INSTALACIÓN
TORNILLOS INOX TIPO A4 Autorroscante
Cabeza oval (TGS)
Estilo a cruz medida n.10, Cabeza 9,5 mm, Vástago 4,8 mm
Siglas especícas: DIN7983 o UNI6956 y también ISO 7051
ADVERTENCIA: no usar tornillos A2
MONTAJE PERFILES SPHAERA
PRODUCIDO Y PROYECTADO POR TESSILMARE EN ITALIA
MARCA REGISTRADA
Taladro e Destornillador
Punta 4/4,2 mm
Cinta adhesiva de papel
1. APLICACIÓN DE LA BASE DE PVC
SUGERENCIA:
la operación será más
fácil si se calienta
un poco el perl de
base: en invierno por
la noche será más
que suciente en una
ocina calentada.
Se apoya el perl suave de base a la embarcación por todo su
desarrollo y se lo ja con listas verticales de cinta adhesiva
Page 6
2. APLICACIÓN DE LA BARRA INOX
3. COMBADURA DEL PERFIL DE INOX
Para la aplicación del acero
aconsejamos empezar de
la proa doblando una barra
en la mitad de su longitud
de manera que tenemos la
misma medida a la derecha
y a la izquierda.
Por causas tecnicas es
necesario evitar que un
agujero esté en el medio
de la curva de proa y en el
medio de las esquinas de
popa.
Será necesario tener cuidado que el mandril del
taladro no toque el hueco del tornillo, así acon-
sejamos introducir encima de la punta un tampón
di ne corsa de plástico o aluminio, esta fácil
operación evitará mellar el inox con el material
hierroso del mandril. Se aconseja poner silicona
sobre el agujero y también sellar, así renderà
l’avvitamento più morbido.
Por una tradición antigua
de la náutica, los tornillos tienen que
ser cercadas de manera que la testa
haga una cruz y no una X.
Así se va a terminar el
montaje con las fajas
laterales cortadas a medida,
siempre ponendode
por medio los perles
tapajuntas.
Curvas horizontales con
radios mayores de 40 cm
de rayo, se podrán hacer
directamente sobre la
embarcación atornillando y
doblando de vez en cuando
hasta que la curva sea
completa, el barco tendrá
función de plantilla y directriz.
Para efectuar curvas de proa y popa que tienen rayo
inferior a 40 cm, Tessilmare ofrece un servicio de piezas
curvas ya cortadas a medida, o en alternativa, con un
equipo sencillo, se podrán efectuar curvas horizontales y
verticales, todas iguales, en serie.
Curvas laterales no muy marcadas se podrán hacer
directamente sobre la embarcación.
Para hacer curvas marcadas o diciles
de realizar, poneos en contacto con
nuestras ocinas tecnicas.
Se sugiere el uso de discos
de corte especícos para
inox.
Cortar eventuales partes de
PVC que no sirven con una
simple guillotina.
Cuando se termina el
trabajo, perfeccionar con los
respectivos embecelledores.
4. LIMPIEZA
Las supercies de acero se pueden limpiar con pasta abrillantadora, las en PVC con desengrasante liquido.
CUIDADO
Algunos productos especicos para la limpieza del PVC, van a dañar irremediablemente el
perl, si no los diluye correctamente.
Page 7
Für weitere Informationen www.tessilmare.com
Besuchen Sie unsere Videokanal www.youtube.com/tessilmare
BENÖTIGTES MATERIAL
EDELSTAHLSCHRAUBE TYP A4, selbstschneidend
Senkkopfschraube Tropfen Talg (TGS)
Kreuz Schlitz, Größe 10, Kopf 9,5 mm, Schaft 4,8 mm
Ähnlich: DIN7983 oder UNI6956 und auch ISO 7051
ACHTUNG: Benützen Sie auf keinen Fall A2 - Schrauben
MONTAGE DER SPHAERA SCHEUERLEISTEN
HERGESTELLT UND PROJEKTIERT VON TESSILMARE IN ITALIEN
PATENTIERT
Bohrmaschine und Schrauber
Bohrer 4/4,2 mm
Klebestreifen (zur Fixierung)
1. FIXIEREN DER PVC BASIS
EMPFEHLUNG:
Ein vorgewärmtes
Basisprol vereinfacht
die Anbringung: im
Winter für eine Nacht
in einem beheizten
Raum abstellen ist
ausreichend.
Das weiche Grundprol soll am Stück rund um Ihr Schiff verlegt und
mit vertikalen Klebestreifen xiert werden.
Page 8
2. BEFESTIGUNG DER EDELSTAHLLEISTEN
3. BIEGUNG VON EDELSTAHLSCHEUERLEISTEN
Um die Edelstahlleisten zu
xieren empfehlen wir, dass
Sie vom Bug her anfangen,
einen Barren (Leiste) in der
Mitte leicht vorbiegen, damit
es an Bord selber so rechts
und links dieselben Längen
ergeben.
Aus technischen Gründen
ist es zwingend notwendig,
dass es kein Loch in der
Mitte der Bugkrümmung,
bzw. im Zentrum der Kanten
beim Heck gibt.
Bitte beachten Sie, dass möglichst kein Bohrer
mit den Edelstahlteilen in Berührung kommen
soll, denn oftmals können Eisenbohrer das
Edelstahl oberächlich verletzen und so kann
es zur Rostbildung kommen. Wir empfehlen
daher zudem, dass Sie das Loch mit Silikon oder
Sikaex abdichten, da dies abdichtet und isoliert,
sowie die Verschraubung weich an den Rumpf
anschmiegt.
Nach einer alten, nautischen
Tradition sollten Sie die Befestigung
mit Kreuz-Kopfschrauben und nicht mit
einem einer Schlitzschraube
befestigen angezogen worden.
Überall dort wo ein Stoss
zwischen den Prolen ist,
soll eine Abdeckkappe
angebracht werden, die den
Stoss abdeckt.
Horizontale Kurven mit
Radien von mehr als 40 cm
Radius können direkt an dem
Boot gebogen werden. Stück
für Stück soll so gebogen und
xiert werden. Arbeiten Sie
sich so langsam und immer
xierend durch die Radien
hindurch.
Das Boot übernimmt hier die Vorlage für die exakte Linienführung.
Tessilmare bietet einen Biegeservice an, bei dem Sie
gegen Bezahlung fertig zugeschnittene Einheiten für Bug
und Heck mit kleineren Radien als 40 cm erhalten können.
Alternativ, können Sie auch mit Biegescheiben selber
horizontale und vertikale Kurven anfertigen, die die gleiche
Funktion erfüllen.
Leicht geschwungene Radien und Kurven können Sie direkt
an der Bordwand des Bootes herstellen.
Für die Ausführung der engen Kurven und Radien dürfen
Sie sich gerne auch an unser technisches Büro wenden.
Gegen Bezahlung fertigen wir für Sie diese Teile.
Wir empfehlen die
fachmännische Verwendung
von speziellen, für Edelstahl
bestimmten Scheiben, oder
Flexgeräten, zur Ablängung.
Schneiden Sie alle
übersstehenden PVC Teile
mit einem Teppichmesser
bitte bündig ab.
Zum Schluss werden die
Endkappen befestigt.
4. REINIGUNG
Die Edelstahloberächen sollen nochmals mit einer Polierpaste behandelt werden.
Die PVC-Oberächen mit Entfettungsmittel reinigen. Regelmäßige Pege mit einer
Polierpaste erhält den Wert und das strahlende Aussehen Ihrer Edelstahlleiste.
ACHTUNG
Verwenden Sie keine scharfen Reiniger oder ätzende Mittel – dies können die Scheuerleisten
beschädigen und zerstören.
 Loading...