

Terrco 2000 Operating Instructions Manual
®
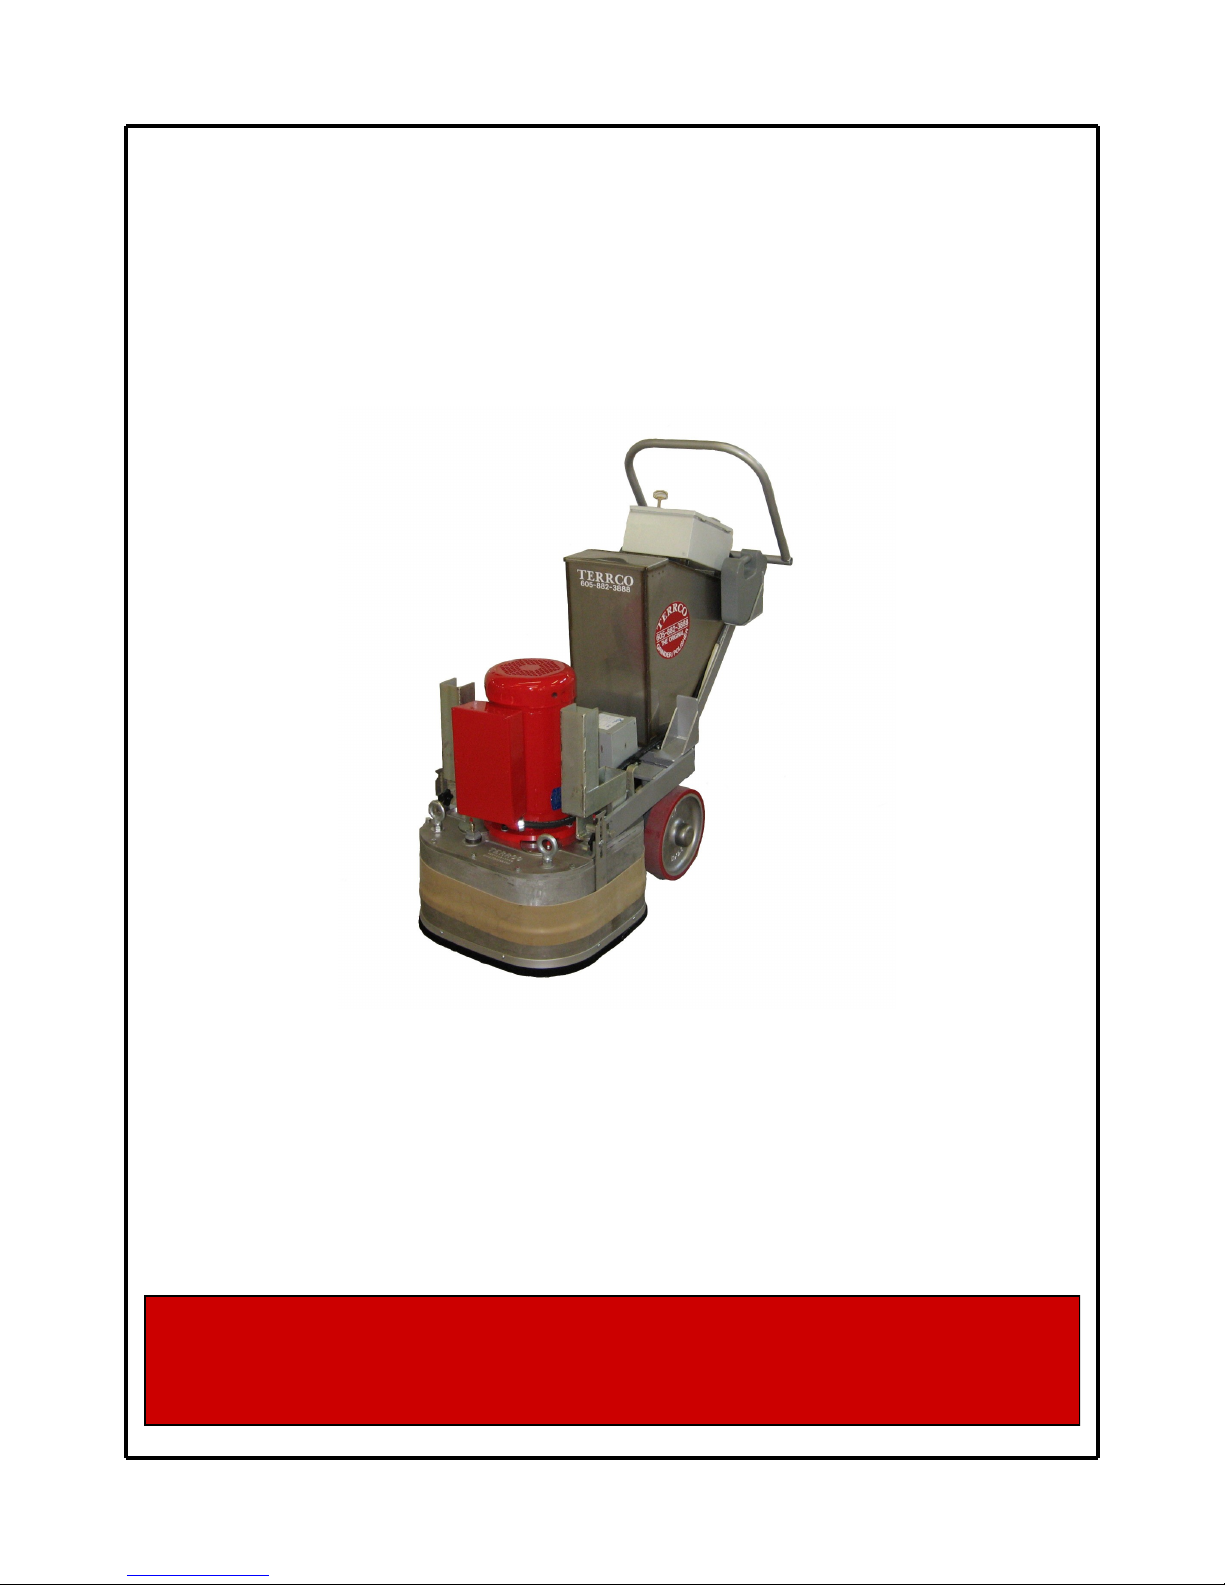
Terrco
Model 2000
, Inc.
OPERATING INSTRUCTIONS
MAINTENANCE INSTRUCTIONS
ILLUSTRATED PARTS LIST
222 1st Avenue NW • Watertown, SD 57201
Phone: (605) 882-3888 • Fax: (605) 882-0778 • Email: info@terrco.com
Terrco®, Inc.
Model 2000
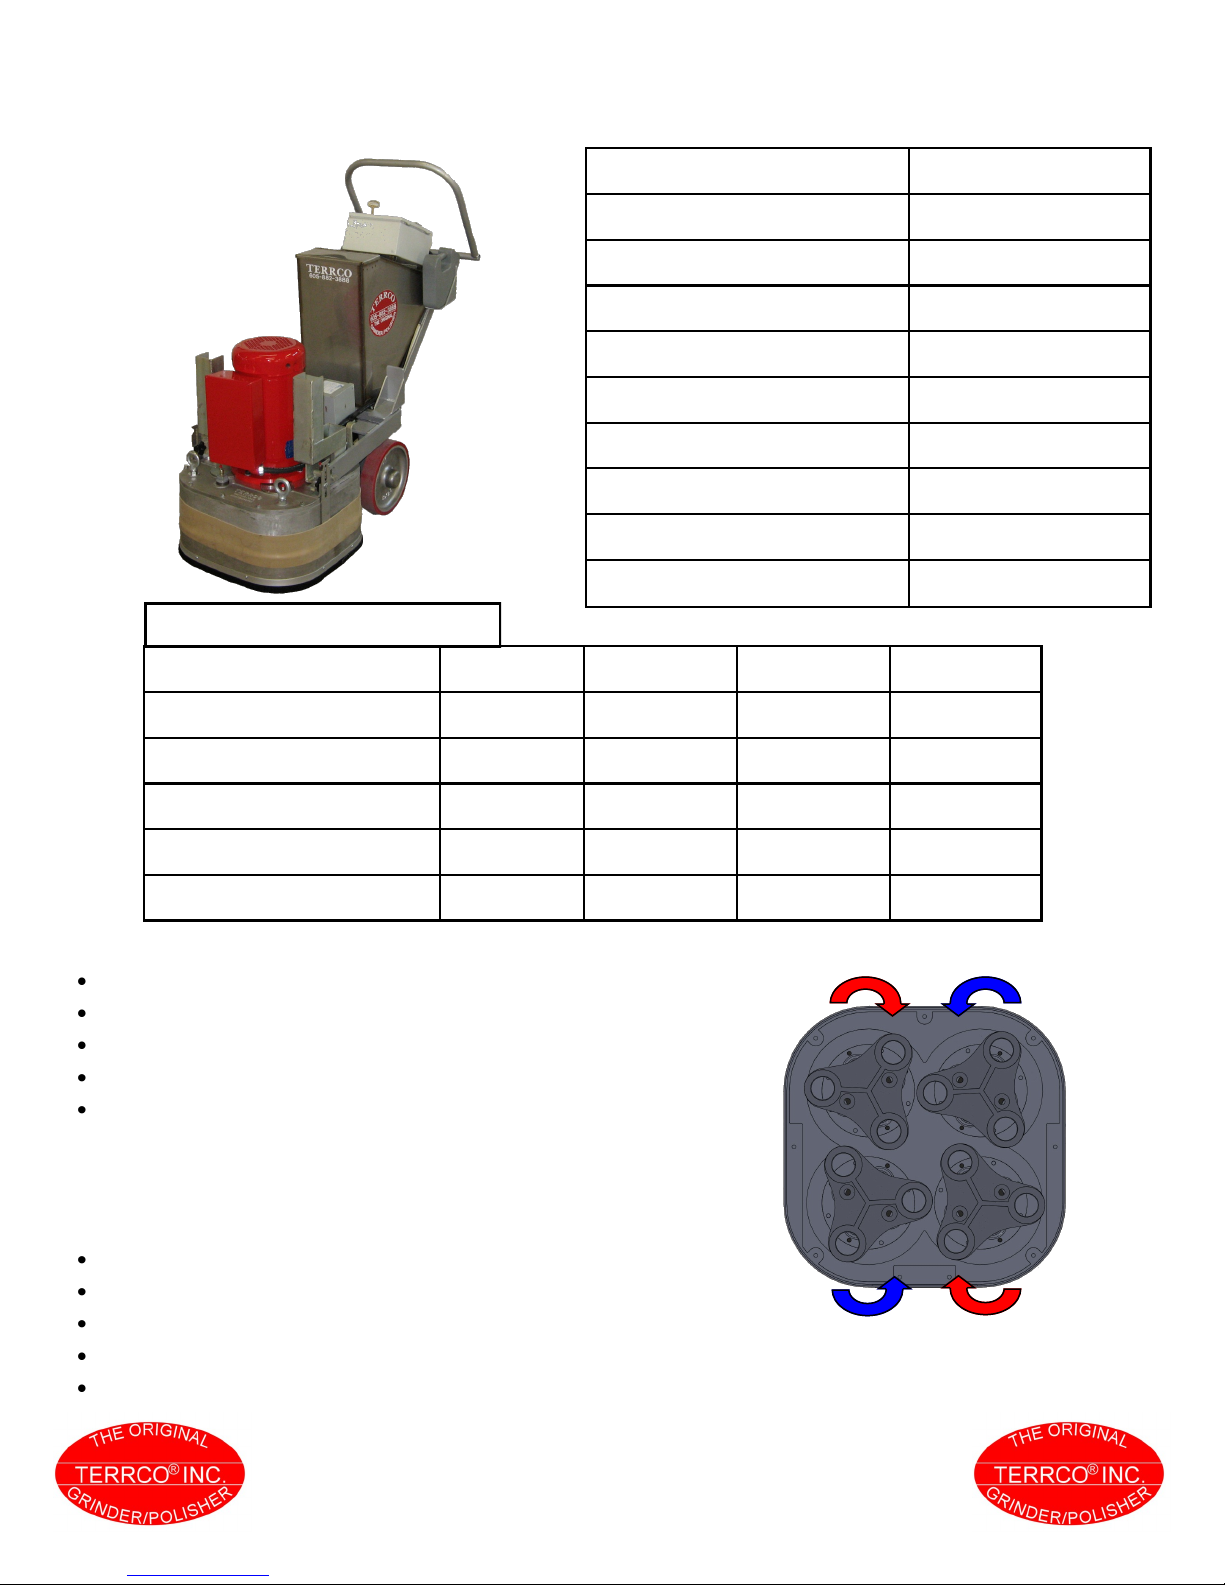
HP/KW 15/11.2 or 10/7.5
SWEEP OF DISCS 22-1/2” (571.5 mm)
ABRASIVE PRESSURE 650 LBS (295 kg)
WIDTH OF MACHINE 24” (610 mm)
LENGTH OF MACHINE 67-1/2” (1715 mm)
HEIGHT OF MACHINE 48” (1219 mm)
NET WEIGHT 800 LBS (363 kg)
SHIPPING WEIGHT 975 LBS (442 kg)
WATER TANK 20 gallon (75,7 L)
POWER CORD (6-3) 100 ft. (30,5 m)
ELECTRICAL OPTIONS
VOLTAGE 230 230 460 230
PHASE 1 1 3 3
DRIVE MANUAL VARIABLE VARIABLE MANUAL
AMP DRAW 40 40 14 37
BREAKER (AMPS) 60 60 30 60
STONE HOLDER RPM 550 500-740 500-740 550
VALUES BASED ON A 10 HP MOTOR
Optimal for jobs exceeding 5,000 sq. ft.
Stainless Steel Guards and Water Tanks
Wet/Dry Setup
Direct Drive, No Belts
Uses Plug Stone Shape, Bolt on to Universal Tool
Plate, or Speed Shift System
Production Rates
Mastic removal rate of 800 sq. ft. per hour
Thin-Set removal rates of 1,200 sq. ft. per hour
Thin-Mil coatings removal of 600 sq. ft. per hour
Concrete polishing rates of 2,000 sq. ft. per polishing pad per hour (depending on grit)
Rough Terrazzo rate of 1,000 sq. ft. per day
222 1st Avenue NW • Watertown, SD 57201
Phone: (605) 882-3888 • Fax: (605) 882-0778
Email: info@terrco.com • Website:www.terrco.com

INTRODUCTION:
Operating Instructions
This manual has been prepared to assist you in
the proper operation and maintenance of your
machine. Please bear in mind that your
TERRCO® 2000 is a precision piece of
machinery manufactured to exacting standards.
In order for you to obtain maximum use of your
TERRCO® 2000, we suggest that you read this
manual completely and thoroughly before
attempting to operate your machine. A parts
diagram and parts reference sheet are included
to assist you in ordering the proper parts.
Always give the machine number and model
number when ordering repair parts.
PLELIMINARY PROCEDURES TO FOLLOW BEFORE PUTTING THE 2000 IN OPERATION FOR
THE FIRST TIME.
A. Delivery of the Machine
1. On delivery, the contractor should very
carefully examine the shipping crate to see that
no part of the machine is damaged. If damage
is noted, request an inspection immediately and
request a copy of the claim report. When
accepting the machine from the delivering
carrier, note the damage on the Freight Bill
before signing. TERRCO® WILL NOT honor
any claims for broken, damaged, or missing
parts that may have occurred in shipment, as
each machine is checked and inspected for the
same, before leaving our plant.
B. Installation and Replacement of Grinding
Stones
1. Move the counterbalancing weights to the
upper weight baskets.
2. Tilt machine back so that the caster wheel
rests on the floor.
3. Clean mounting surface both on plug
stone and stone holder. On 2” or 3” diameter
plug stone, push stone in the hole and give the
stone a slight twist to be certain it is securely in
place.
4. Grasp machine handle and lower machine
to the floor slowly so that all stones are resting
on the floor. Make certain no stones have
fallen or loosened while lowering the machine
to the floor.
C. Transport of Machine
1. With counterbalancing weights in the
upper weight baskets, tilt the machine so that
the caster wheel is firmly on the floor. You can
push from gear case side.
D. To operate the 2000
1. Disconnect electrical source.
2. Install stones per instructions in #1B.
3. After stones are installed, lower the
machine until it is in operating position.
CAUTION - Never attempt to start the machine
while lowering machine to the floor, as rear
stones will strike on corners resulting in thrown
stones and possible damage to the machine.
4. Before plugging into the electrical
system, check the voltage at the source. The
minimum acceptable voltage is (208 Volt, 60
HZ, single phase), (210/420 Volt, 60 HZ, 3
phase), or (380 Volt, 50 HZ, 3 Phase).
Anything lower than this can result in blown
heaters and possible motor burnout.
5. If the machine is to operate in an area
more than 100 feet from the source, it will be
necessary to use the next larger size cable (#4-
4) from the source to the 100 feet of #6-4 wire
cable that was furnished with the machine.
6. After you have the cable in place, relieve
pressure on the stones by applying your weight
on the handle and push the start button on the
starter switch, then releasing pressure on the
handle to lower the machine to the floor.
7. We recommend that the first pass over
the floor be made with the weights in the upper
weight baskets. After the floor is “roughed”
out, move the weights to the weight baskets
located on the gear case for maximum abrasive
pressure.
8. Be sure to periodically check stone wear,
to prevent grinding with the steel plugs, rather
than the stones.
 Loading...