

Teres Turntable Kit Owners manual
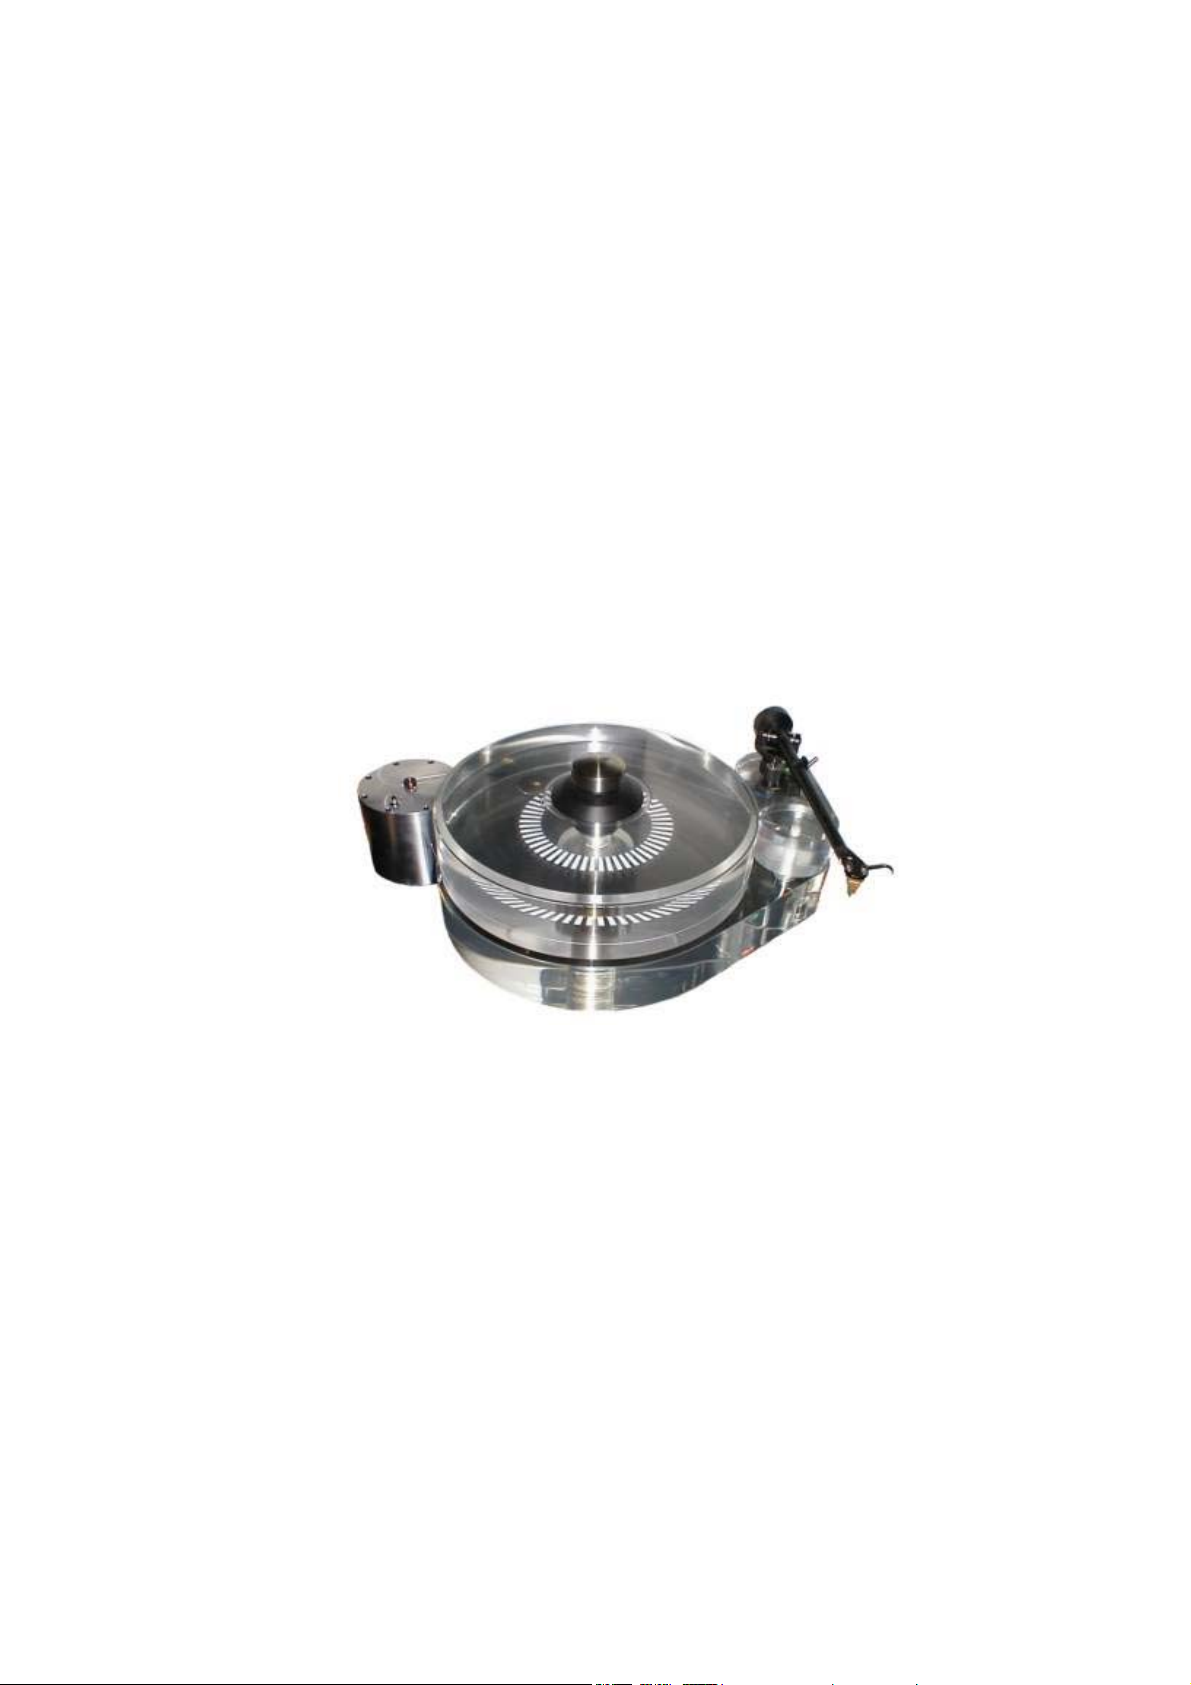
Teres Turntable
Kit Manual
17-Apr-2002

I. Base & Armboard Polishing
The acrylic bases and armboards come "as machined" and have prominent machining
marks that need to be sanded. The initial sanding should be done with 150 grit
sandpaper. This may be done by hand but an orbital sander will speed up the process.
Once the surface is smooth and uniform the polishing may begin. Starting with 220 grit
"wet or dry" sandpaper wet sand the previously sanded surfaces. Wet sanding is done by
keeping both the sandpaper and the surface being sanded wet by periodically dipping the
sander in water. Regularly rinsing the sandpaper keeps it from clogging up. Using
progressively finer sandpaper (320, 400, 600, 1000 and 1500 grit) continue to wet sand
the base spending 5 to 10 minutes with each sandpaper grade. Don't forget to polish the
inside of the bearing mounting hole since it will be clearly visible.
After the sanding has been completed use a polishing compound to create a glossy
polished finish. Blue polishing compound from a plastics supplier is recommended but
regular automotive rubbing compound also works well. The final polishing may be done
by hand however an inexpensive automotive buffer will save both time and effort. The
polishing process is simple. Using a damp rag apply the polishing compound and then
buff with a power buffer or by hand.
If you want a frosted finish then just stop with either the 400 or 600 grit sandpaper.
However some care is required to get a uniform finish. Professional bead or sand
blasting may provide a more uniform and appealing surface texture.
II. Installation and Setup
1.Place the base on the supplied rubber feet or the optional Black Diamond Racing cones.
2.Install the infared sensor into the ¼” hole in the base. A
simple wood gauge is supplied to set the sensor height. Using
the gauge as shown set the senor to the proper height and
secure in place with adhesive (a drop of super glue works
well). The top of the sensor should be about 3/32” above the
surface of the base. The sensor's orientation does not matter.
3.Assemble and install the bearing by carefully following the directions in section III.
4.Insert the armboard mounting bolt into the bottom of the base and thread into the
armboard. Tighten enough to hold the armboard steady but loose enough that it can be
adjusted by hand.
5.Install the tonearm and cartridge and adjust the overhang by rotating the armboard.
6.After the overhang adjustment is complete tighten the armboard bolt. Tighten only
enough to hold the armboard firmly in place. Do not over tighten!
 Loading...