

Teres 320 Owners manual
Contents
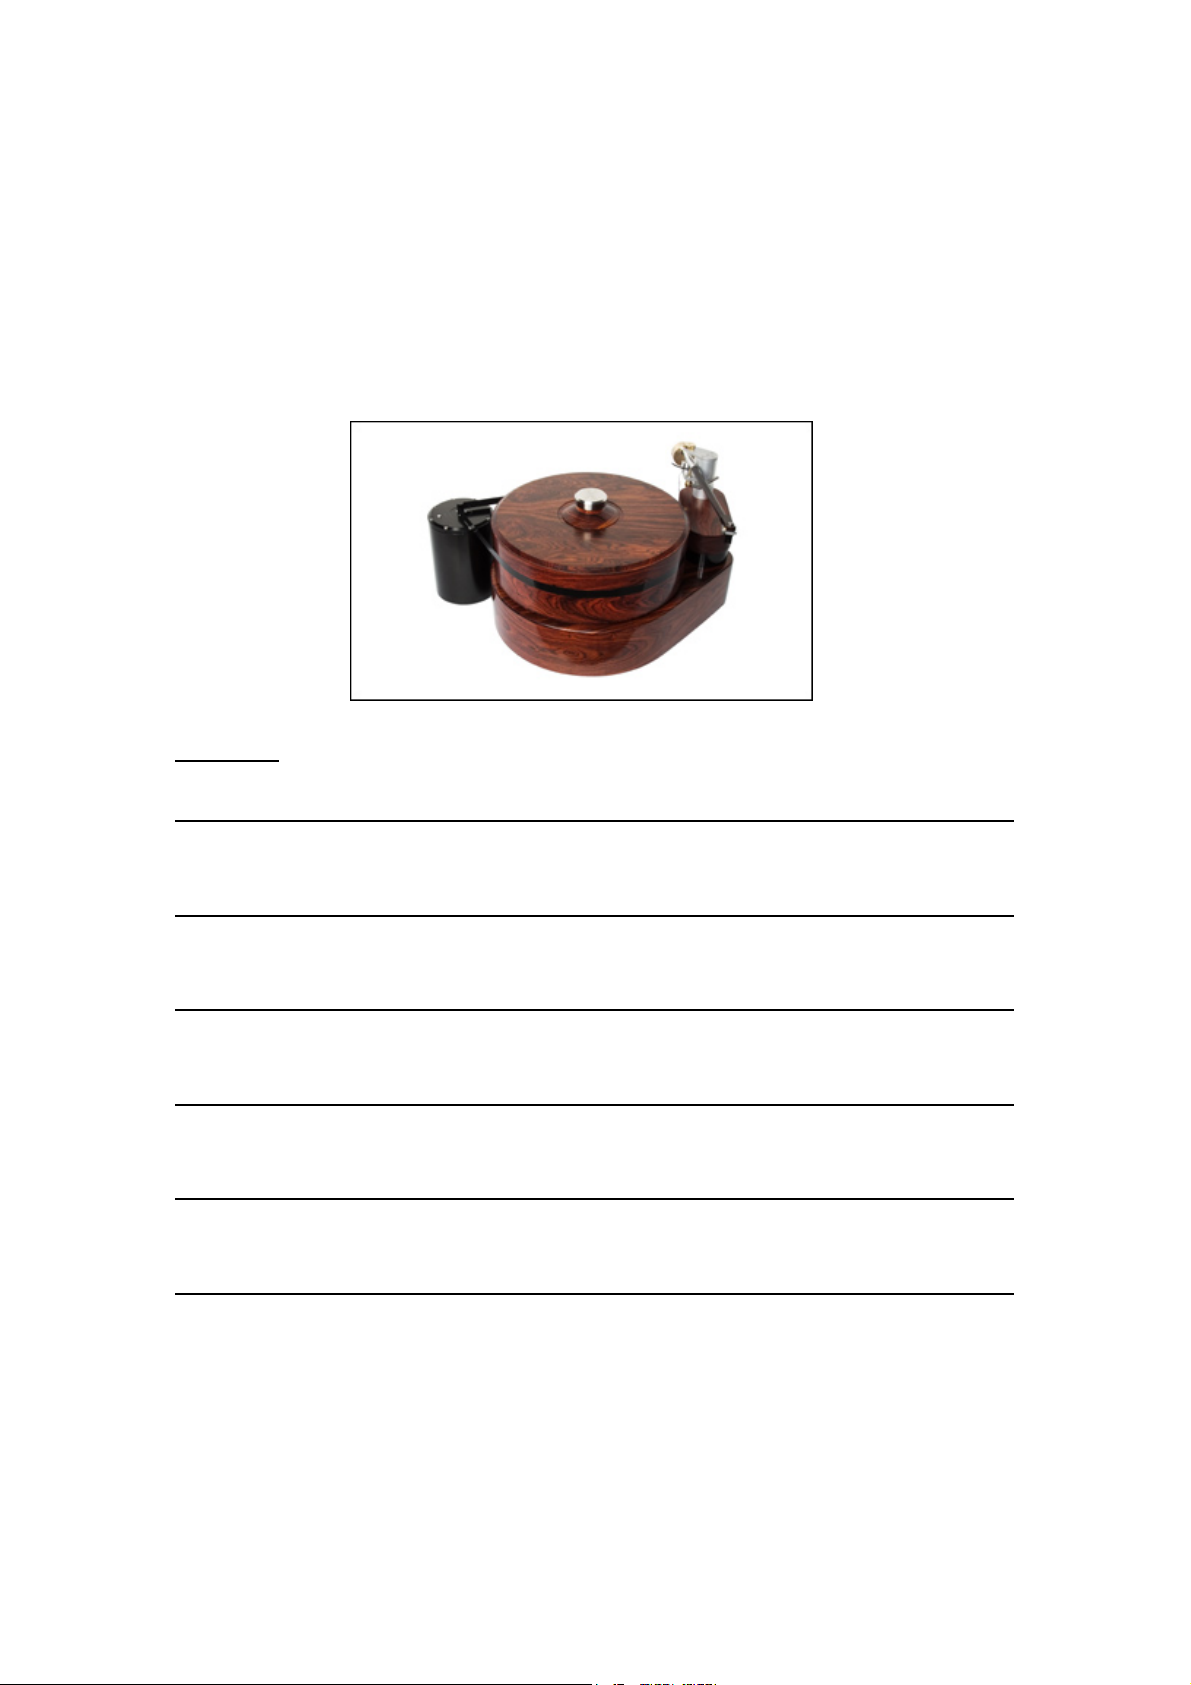
Teres Model 320
Turntable Manual
21-Aug-2004
I. BEARING ASSEMBLY 2
II. TURNTABLE SETUP 3
III. OPERATION 3
IV. PLATTER REMOVAL 4
V. DRIVE BELTS 4
VI. ADDITIONAL INFORMATION 4
1
I. Bearing Assembly
The Teres bearing was designed to have a lot
of viscous damping. This damping helps
swamp the effects of stylus drag, resulting in
better speed stability. For this reason heavy oil
(30 weight) is provided. With heavy oil the
bearing will turn smoothly but there will be a
lot of resistance. This is by design.
Please read this information carefully before
assembling your bearing. The Teres bearing
has been machined with very close tolerances.
The radial clearance in the bearing is only 4 to
5 ten-thousandths. This tight tolerance results
in superb stability reducing rocking to
microscopic levels. However, with these
tolerances it is imperative that the bearing is
clean and that proper procedure is used for
assembly. The objective is to have the bearing
completely full of clean oil, including the
recess in the top of the bearing housing. If air
becomes trapped in the bearing it will not seat
properly. The bearing must be assembled dry
to avoid trapping air. The procedure:
1.Using the included 6-32 screw attach the
bearing ground wire to the bottom of the
brass bearing housing. Pointing the crimp
connector toward the center of the bearing
will make it easier to install the bearing into
the base.
2.Attach the brass bearing housing to the base
using the supplied 1-1/8" nut. Hold the
bearing housing tightly in one hand and
tighten the bearing nut with a large wrench
or pliers. The bearing nut should be snug
but not excessively tight.
3. Clean the bearing housing and spindle
thoroughly. Wiping down the bearing
surfaces with rubbing alcohol on lint free
cloth works well.
4. Fill the recess in the bottom of the spindle
with oil and press in the ball bearing. This
displaces air in the recess and will hold the
ball bearing in place. Be sure to completely
wipe away any excess oil.
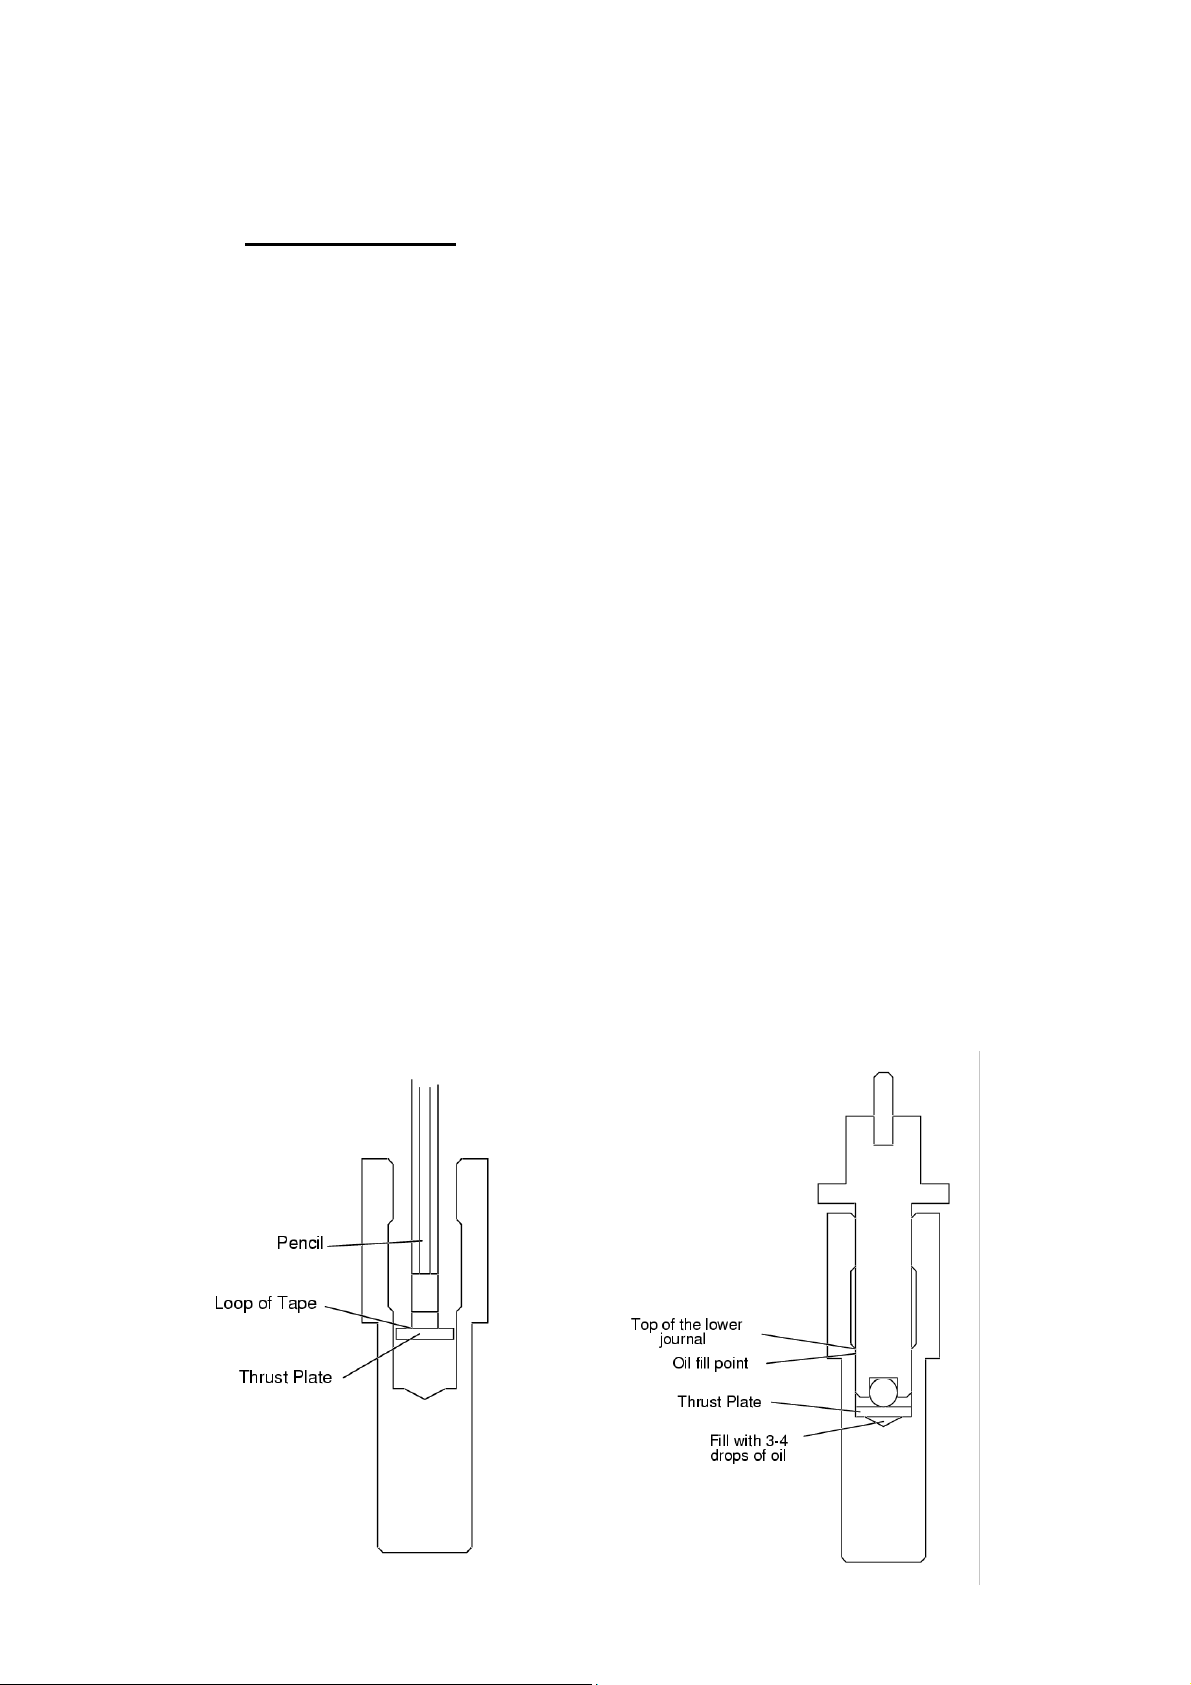
5. Place the brass thrust plate in the bottom of
the bearing housing with the white Delrin
button facing upward. The thrust plate needs
to be held flat as it is lowered into the
bearing. A simple method is to attach a
small loop of tape to the end of a pencil.
Then stick the thrust plate to the pencil and
lower it in place. Be sure that the Delrin
button is facing up!
6. Carefully pour about 5ml of oil into the
bearing housing without getting any oil on
the sides of the bearing. A syringe or
eyedropper makes this much easier. The oil
level should be just slightly below the top
edge of the lower journal as shown in the
illustration. This is slightly more oil than is
2
 Loading...