


Tenway ESL System
UserManual
Revision V0.9
Tenway (Shanghai) Co., Ltd
2015.5.5

ESL System Document User’s Installation Guide
Table of Contents
User Manual Guide ............................................................................................ 错误!未定义书签。
1 Hardware configuration ............................................................................................................... 2
1.1 System components .................................................................................................... 2
1.2 System installation ....................................................................................................... 3
2 Software installation .................................................................................................................... 4
2.1 Choose language .......................................................................................................... 4
2.2 Install database ............................................................................................................. 4
2.3 Install ESL server ......................................................................................................... 5
3 Software user’s guide ............................................................................................................... 8
3.1 AP management ........................................................................................................... 9
3.2 Goods management .................................................................................................... 10
3.3 Template Designer ..................................................................................................... 12
3.4 Labels Management ................................................................................................... 12
3.5 Updating monitor ..................................................................................................... 13
3.6 Users management ..................................................................................................... 13
4 Operate system using barcode scanner....................................................................................... 15
4.1 Wake up price tag ....................................................................................................... 15
4.2 Bind price tag to goods .............................................................................................. 15
4.3 Check stock of goods ................................................................................................. 16
4.4 Disable tag .................................................................................................................. 16
All rights Reserved. Subject to change without notice. 1 / 17
ESL System Document User’s Installation Guide
Thank you for choosing Tenway (Shanghai) co.,ltd for theElectronic Shelf Label (ESL)
System.Please refer to this User Manual forset up and properly use of the ESL System.
1 Hardware configuration
1.1 System components
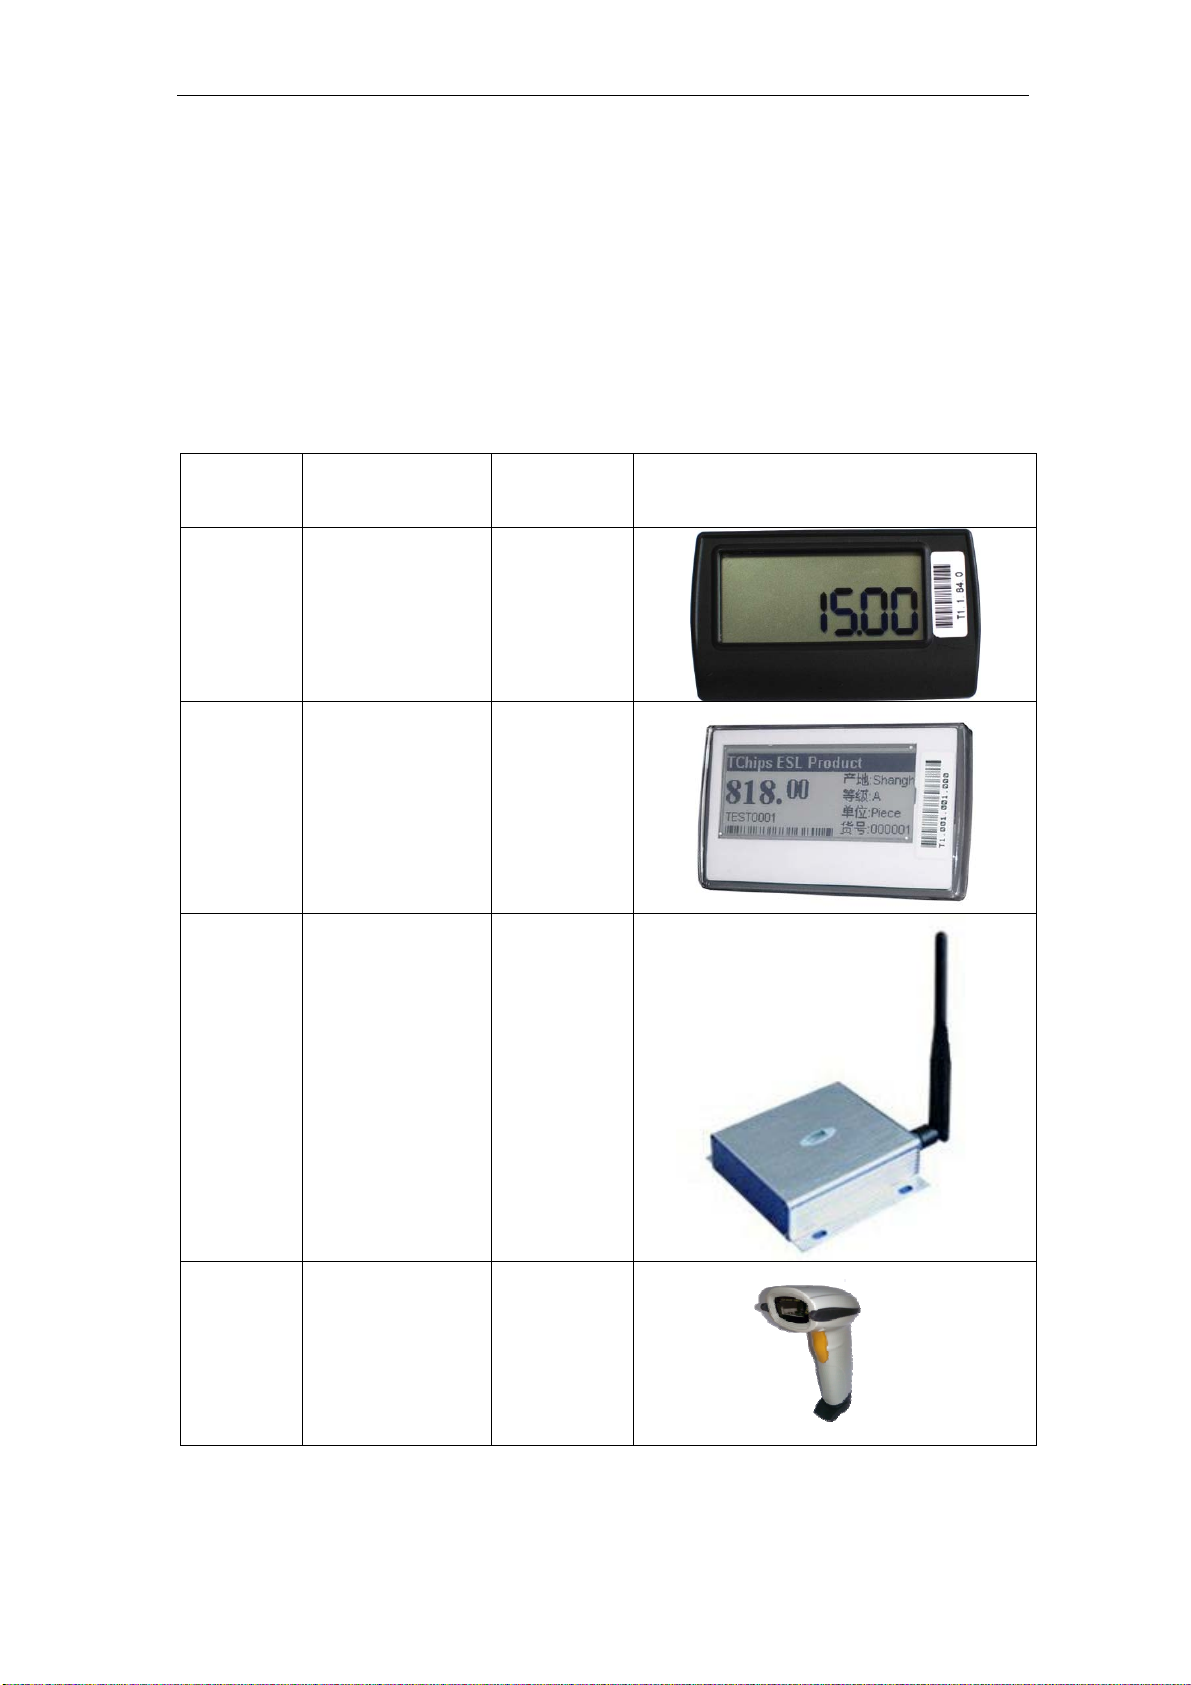
Part
Number
IVY-E-L20
(Price
Tag)
IVY-E-E21
(Price
Tag)
TC100
(Access
Point)
Description Option Picture
Segment LCD tag
which displays
price and flags
EPD tag which
displays price and
flags
Access point
which distributes
price information
to price tags.
mandatory
mandatory
mandatory
TG100
(Wireless
Barcode
Scanner)
All rights Reserved. Subject to change without notice. 2 / 17
Wireless barcode
scanner which is
a handy tool that
operates the ESL
system.
mandatory
ESL System Document User’s Installation Guide
TH100
(ESL
Server)
ESL system hardware components can be selected according to budget and needs.
System and
database server
which interfaces
to POS/ERP and
manages the ESL
system.
Optional
1.2 System installation
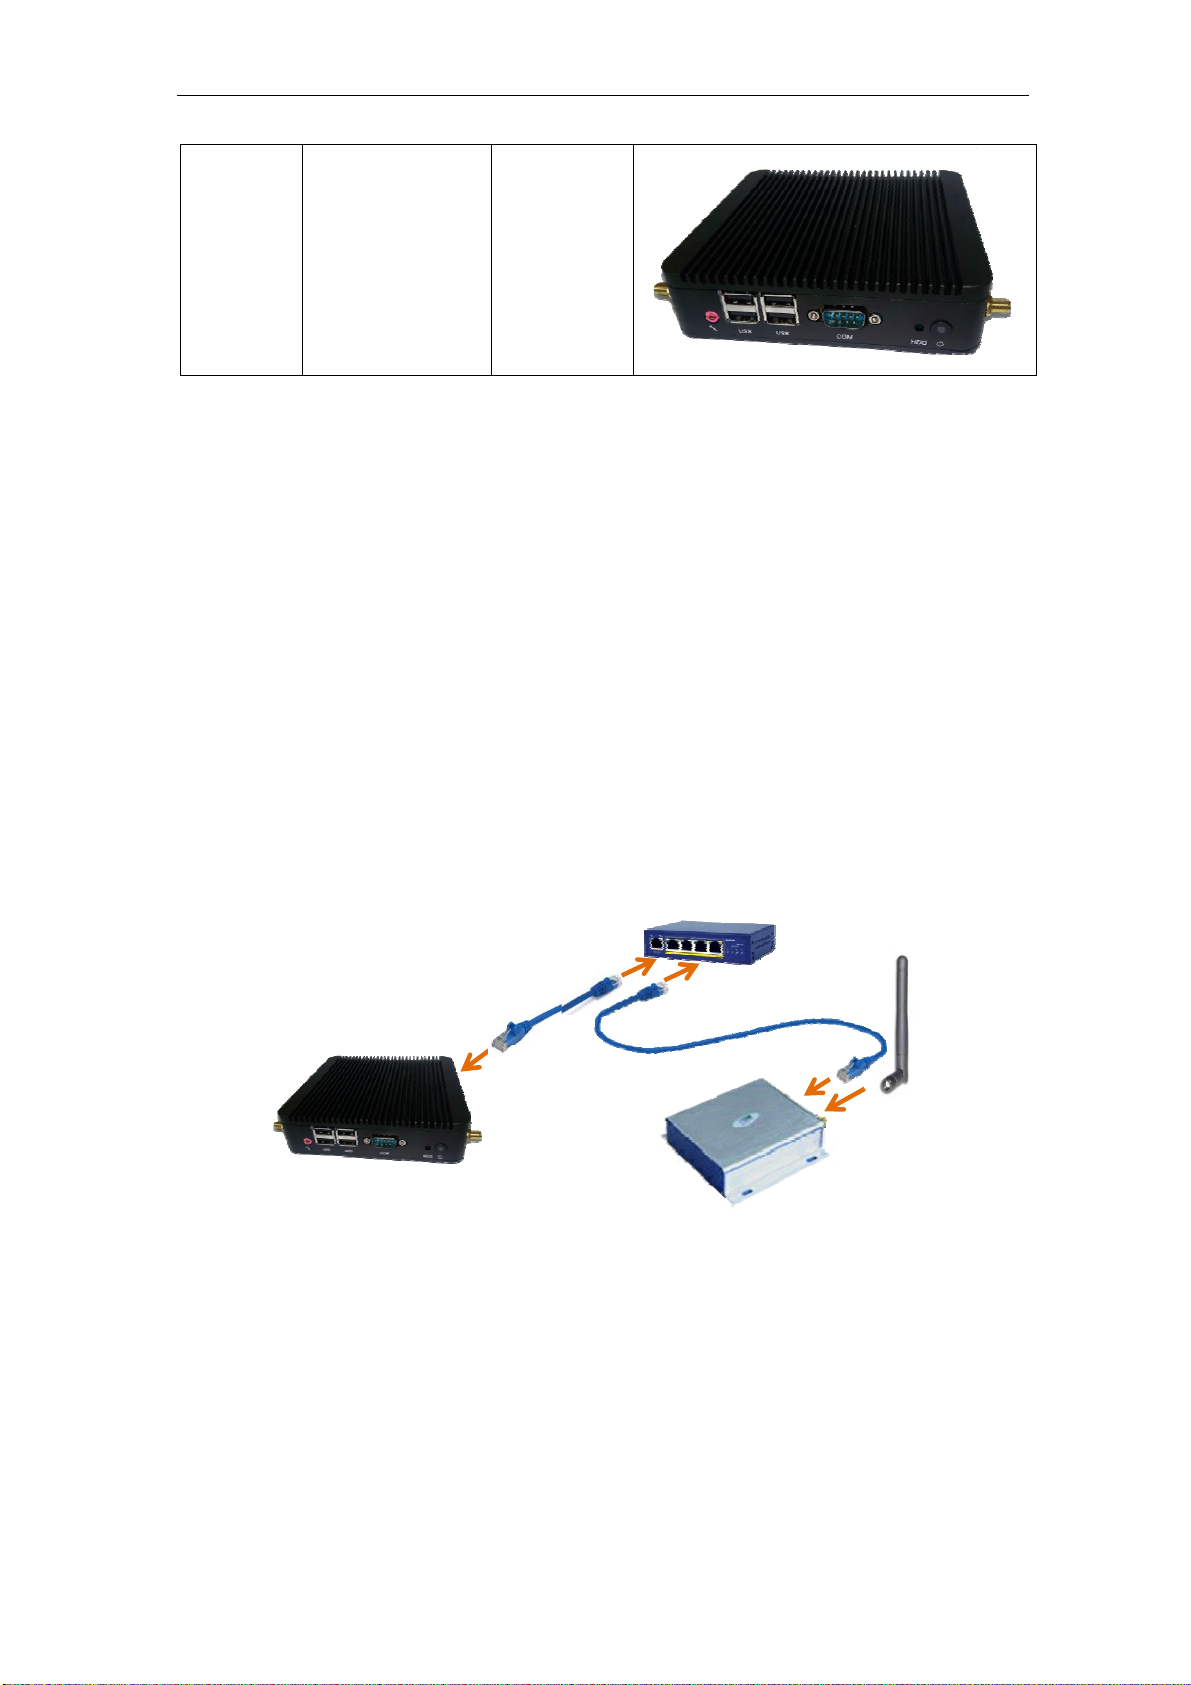
Tenway’s ESL hardware system is a plug & play system, plug in power cords and it is up
and running already.
Here are a few steps to setup the ESL system. Please see figure 1 for
1. Attach power cord to ESL server
2. Attach Ethernet cable between server and network switch
3. Attach Ethernet cable between AP and network switch
4. Attach power adapter to network switch
5. Attach antenna to the access point (AP)
6. Attach 5V DC power adapter to AP
Figure 1 system setup
All rights Reserved. Subject to change without notice. 3 / 17
ESL System Document User’s Installation Guide
2 Software installation
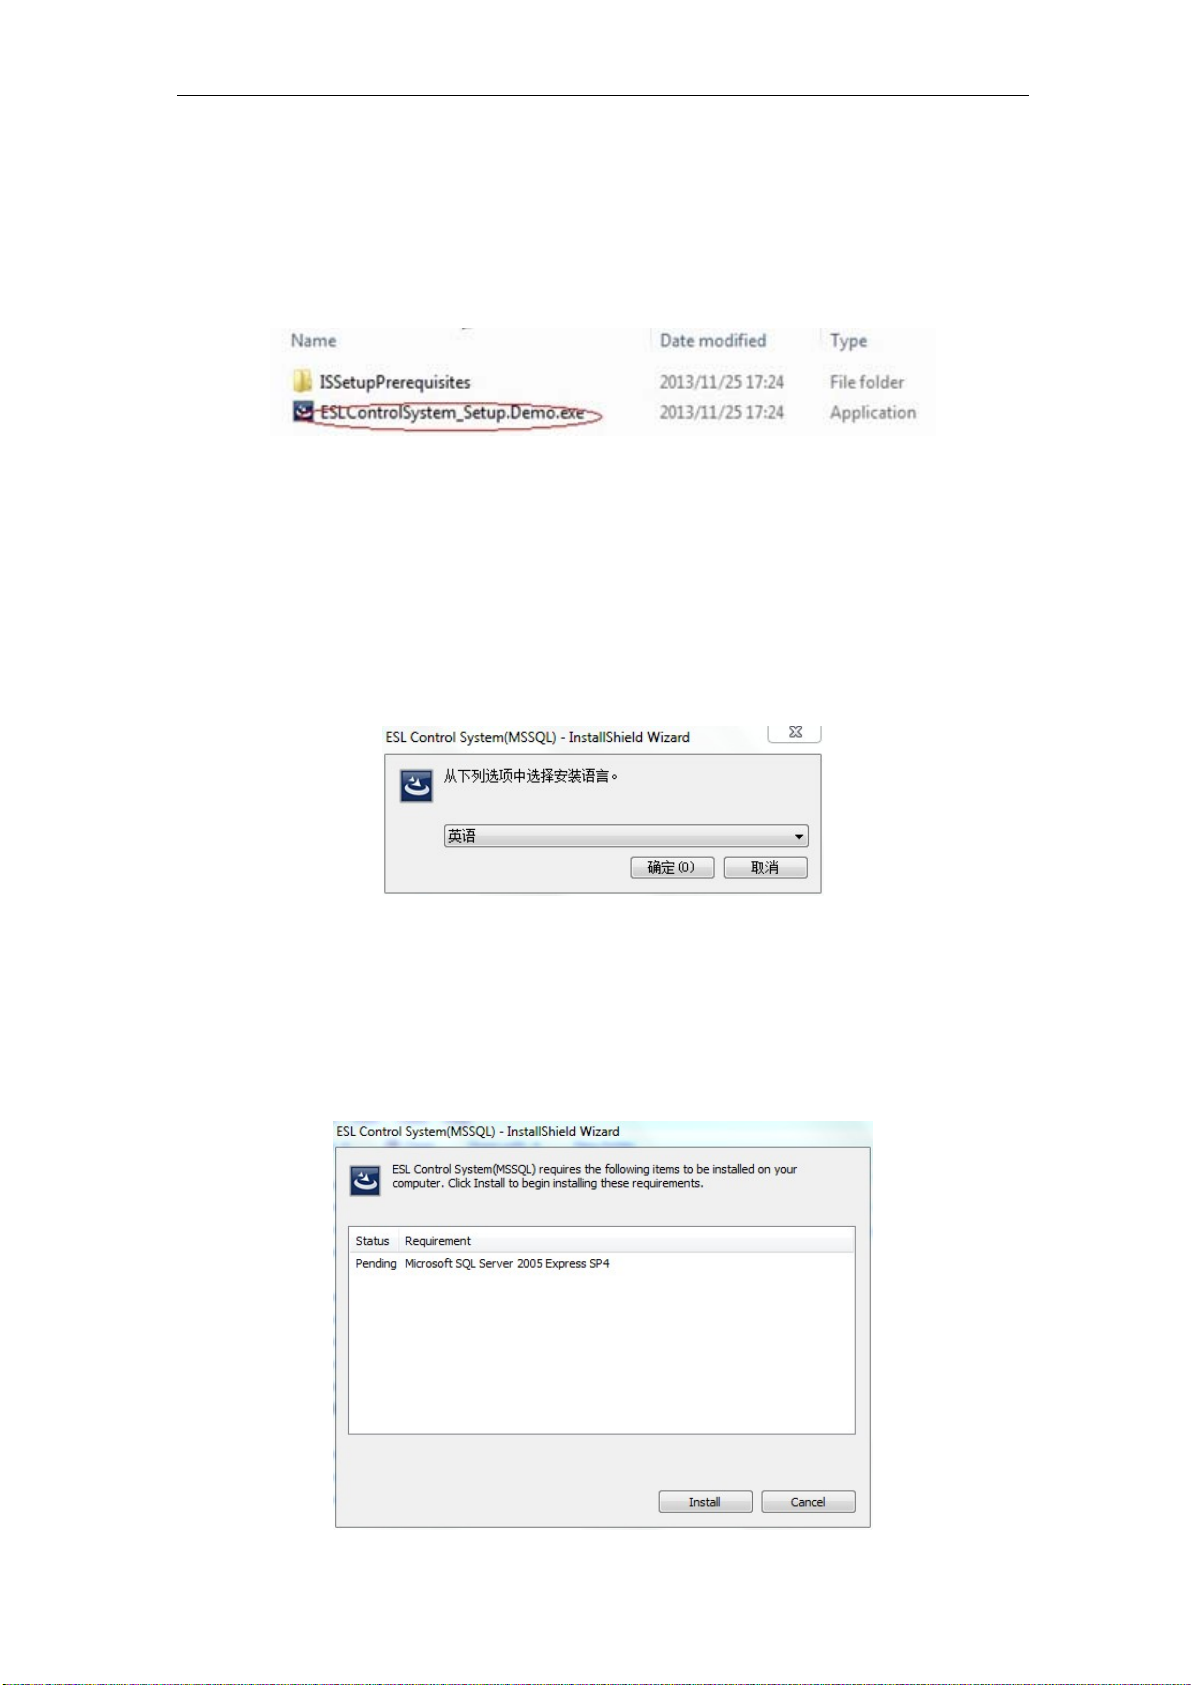
Open file folder where “ESLControlSystem_Setup.MSSQL.exe” located. Double click the
filename to start installation. (Figure 2).
Figure 2 Find the ESL Server software installation wizard
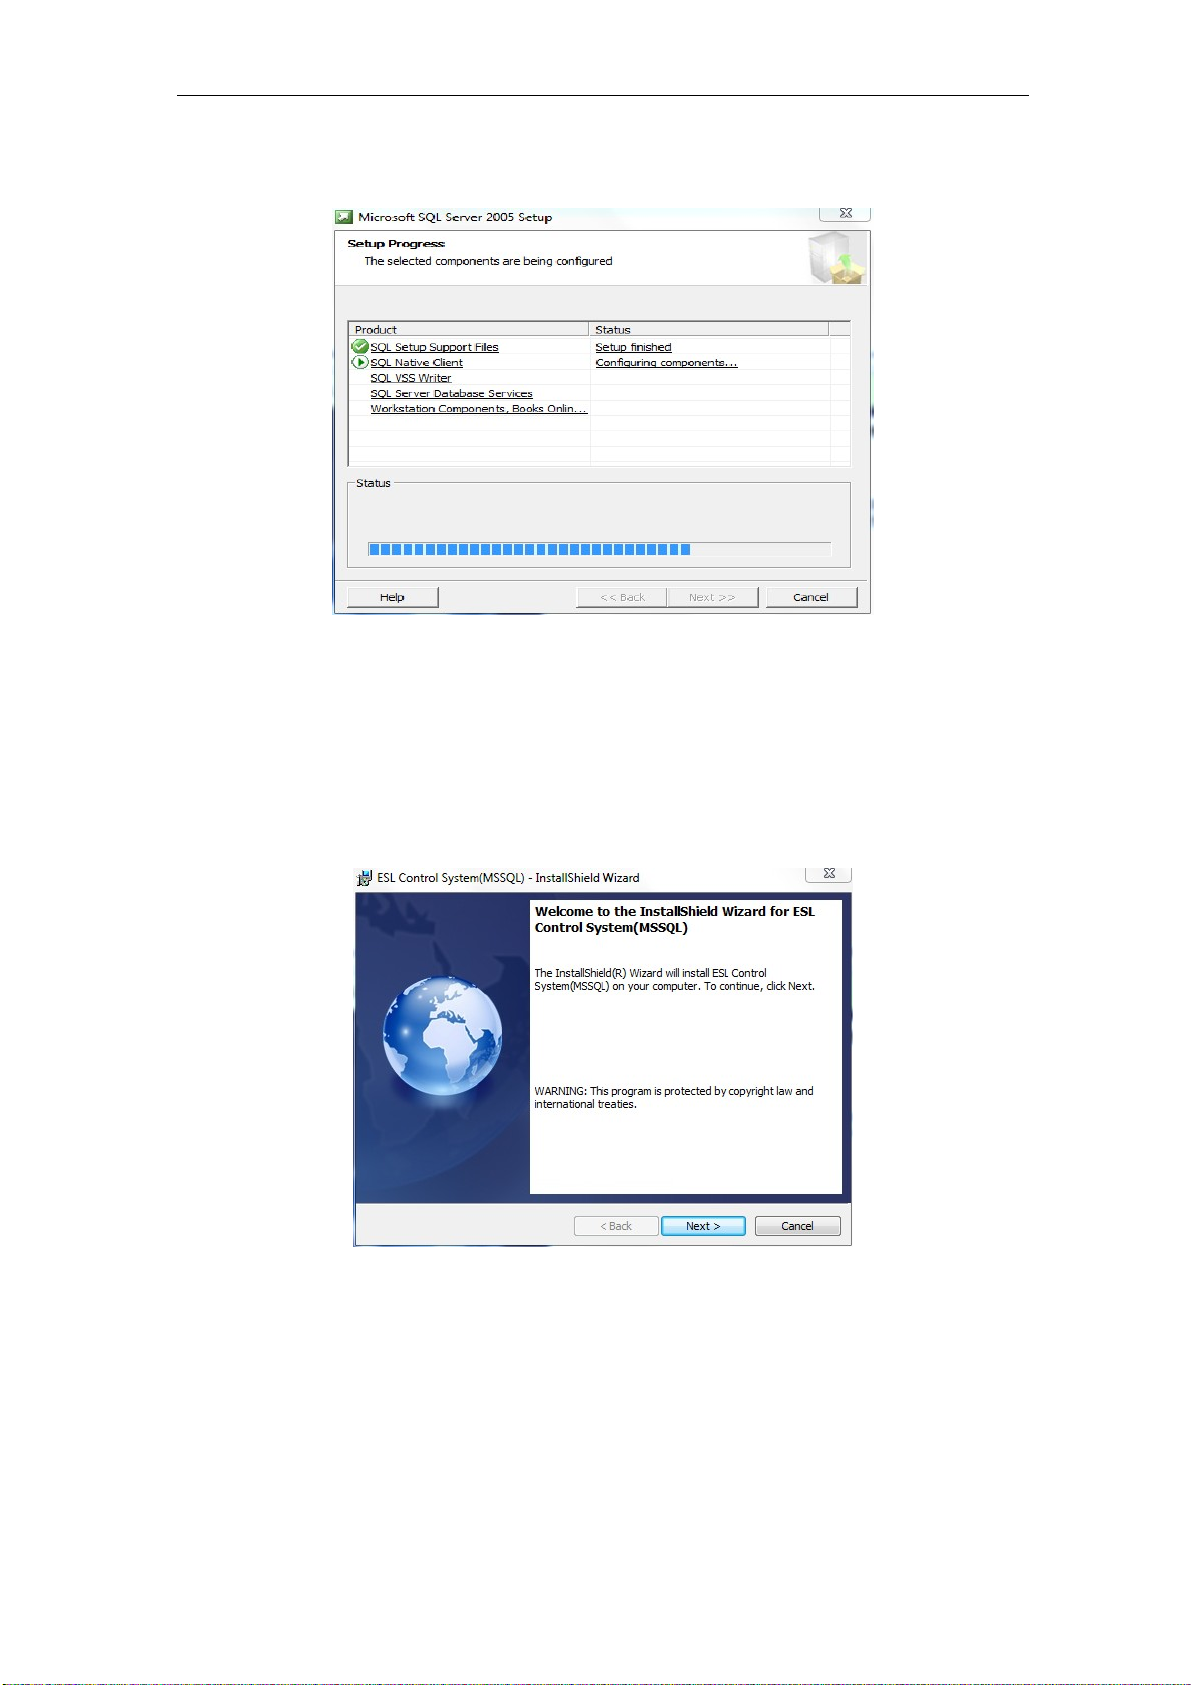
2.1 Choose language
You can choose English, simplified Chinese and Traditional Chinese as program language
when you see a pop up window as below. Choose your language in the drop-down list,
click "ok" button to continue.
Figure 3 Choose language
2.2 Install database
Tenway ESL server uses Microsoft SQL Server 2005 Express SP4 as database server,
click “install” when you see this:
Figure 4 install database
All rights Reserved. Subject to change without notice. 4 / 17
ESL System Document User’s Installation Guide
Wait until this finish. Then click “next”…
Figure 5 Installation of database
2.3 Install ESL server
The installation wizard will start the installation of ESL SYSTEM software after
finish installation of SQL server. Click “next” when you see figure 6.
Figure 6 install ESL server
Fill in your user information, then click “next”
All rights Reserved. Subject to change without notice. 5 / 17

ESL System Document User’s Installation Guide
Figure 7 user information
Click "next" when you see figure 8.
Figure 8 database server configuration
Choose “complete”,then click “next” when you see figure 9
All rights Reserved. Subject to change without notice. 6 / 17

ESL System Document User’s Installation Guide
Figure 9 Installation type
Follow instructions on screen to finish installation.
Figure 10 finish of installation of ESL server software
All rights Reserved. Subject to change without notice. 7 / 17

ESL System Document User’s Installation Guide
3 Software user’s guide
After installation of Tenway’s ESL system software, a program shortcut will be generated
on your desktop. Double click this icon to launch ESL system management program.
Figure 11 “ESL system management” icon
Figure 12 Login interface
Default login name is: "admin" with no password.
Homepage is divided into three areas: the function list area, interactive area and
information area.
All rights Reserved. Subject to change without notice. 8 / 17

ESL System Document User’s Installation Guide
Figure 13 Opening page
3.1 AP management
Click "AP management" entry which is located at lower part of area 1, a tab will be shown
as in figure 14.
Figure 14 AP management
Move mouse cursor to “Information area”, right-click to pop a dropdown list. Choose “New”
to add new AP to the system. Fill in information in the “control Panel” window(Area 2), then
click “save”. An AP record will be generated. Information you need to fill in include: “MAC
address” (Provided by vendor), IP address (Provided by user IT administrator) and Port
number (This number should be fixed to 8000 though).
All rights Reserved. Subject to change without notice. 9 / 17

ESL System Document User’s Installation Guide
Figure 15 AP management
Once AP and other system hardware properly connected, you can check AP connection
status by click “Transmission Control”. Figure 16 will show up.
Figure 16 AP connection status
Caution: status must be “Connected” for the system to work properly
3.2 Goods management
Click "Goods management" entry to open up a table shown in figure 17. Move cursor to
area 4 (Information area), right click, User has 3 choices: “Refresh”, “Modify” and “Delete”:
All rights Reserved. Subject to change without notice. 10 / 17

ESL System Document User’s Installation Guide
Figure 17 Goods management
Click “Refresh” will update information to the latest time point;
Click “Modify” will put area 3 into editing mode. Back ground of some area will change from
gray to white. Two more buttons will show up at bottom.
Click “Delete” will erase the item highlighted.
There is one more function “Add” which needs special privilege to active. Use this function
to create new goods record. (Not recommended usually)
=>
Figure 18 Modify goods information
On the upper part of the area 2, there is a real time label preview window that shows what
will label looks like on the tag.
All rights Reserved. Subject to change without notice. 11 / 17

ESL System Document User’s Installation Guide
3.3 Template Designer
Click the “Template Designer” entry brings out a template tool to change the display on
price tag (EINK tag only).
TBD
3.4 Labels Management
Click the "Labels Management" entry will bring out information shown in figure 19.
Figure 19 Labels Management
There are two areas in this page: “Goods list” and “Label list”. Goods list area will show all
goods in database, label list will show all labels which are activated.
Click an item in goods list will bring that item to highlight mode, its name will be shown in
upper window. Click an item in label list will bring that item to highlight mode, its name will
be shown in upper window too.
Figure 20 Label management
Buttons shown in figure 20 have the following definitions:
Pair: bind highlighted goods with highlighted label. Price of corresponding goods will be
displayed on selected label after this button pressed.
Unpair: remove binding relationship of paired goods and label.
Disable: Put a price tag into sleep mode.
Enable: Bring a disabled price tag into working mode.
Delete: Delete a price tag from list.
Export: TBD
All rights Reserved. Subject to change without notice. 12 / 17

ESL System Document User’s Installation Guide
Import: TBD
3.5 Updating monitor
Click the “Updating monitor” entry brings out a window which shows data transmission
information of price tags. Please prefer to Figure 21 for detail. The 5 “view” button are used as filter
templates.
Figure 21 realtime information of labels
3.6 Users management
Click the “Users Management” entry brings out page shown in figure 22.
Figure 22 Users management
Move cursor into area 3, right click, a list is shown as figure 23.User is able to “Add”,
“Modify”, “Delete” users of ESL system.
All rights Reserved. Subject to change without notice. 13 / 17

ESL System Document User’s Installation Guide
Figure 23 manage user
User privileges could be chosen by check/uncheck permissions in area 2. Password could
be changed in password area.
All rights Reserved. Subject to change without notice. 14 / 17

ESL System Document User’s Installation Guide
4 Operate system using barcode scanner
Tenway ESL system is easy to operate just by a wireless barcode scanner.
Below are several important functions this system can do:
4.1 Wake up price tag
Operate: hold the barcode scanner, touch the middle bottom area of price tag
needs to be waked up, as shown in figure. Price tag will be registered to ESL
system after been waked up.
Figure 24 wake up price tag
4.2 Bind price tag to goods
Operate: T wo actions:
z Scan barcode on goods package
z Touch tag middle bottom area
Beep sound indicates operation status. Two beeps from the barcode scanner means succeed, one
long beep means failure of binding, three beeps means goods is not in database.
Price will show on tag in a few seconds once operate succeed.
Figure 25 binding
All rights Reserved. Subject to change without notice. 15 / 17

ESL System Document User’s Installation Guide
4.3 Check stock of goods
Figure 26 Check stock using barcode scanner
4.4 Disable tag
Figure 27 Disable tag using barcode scanner
FCC Notice to Users
The following statement applies to all products that have received FCC approval.
This device complies with part 15 of the FCC Rules. Operation is subject to the following two
conditions: (1) This device may not c ause harmfu l interfer ence, and (2 ) this device must accept
any interference received, including interference that may cause undesired operation.
Changes or modifications not expressly approved by the party re sponsible for compliance
could void the user’s authority to operate the equipment.
NOTE: This equipment has been tested and found to comply with the limits for a Class A digital
device, pursuant to part 15 of the FCC Rules. These limits are designed to provide reasonable
protection against harmful interference when the equipment is operated in a commercial
environment. This equipment generates, uses, and can radiate radio frequency energy and, if
not installed and used in accordance with the instruction manual, may cause harmful
interference to radio communications. Operation of this equipment in a residential area is likely
to cause harmful interference in which case the user will be required to correct the interference
at his own expense.
All rights Reserved. Subject to change without notice. 16 / 17
 Loading...