

Tentel K 311 User Manual
1
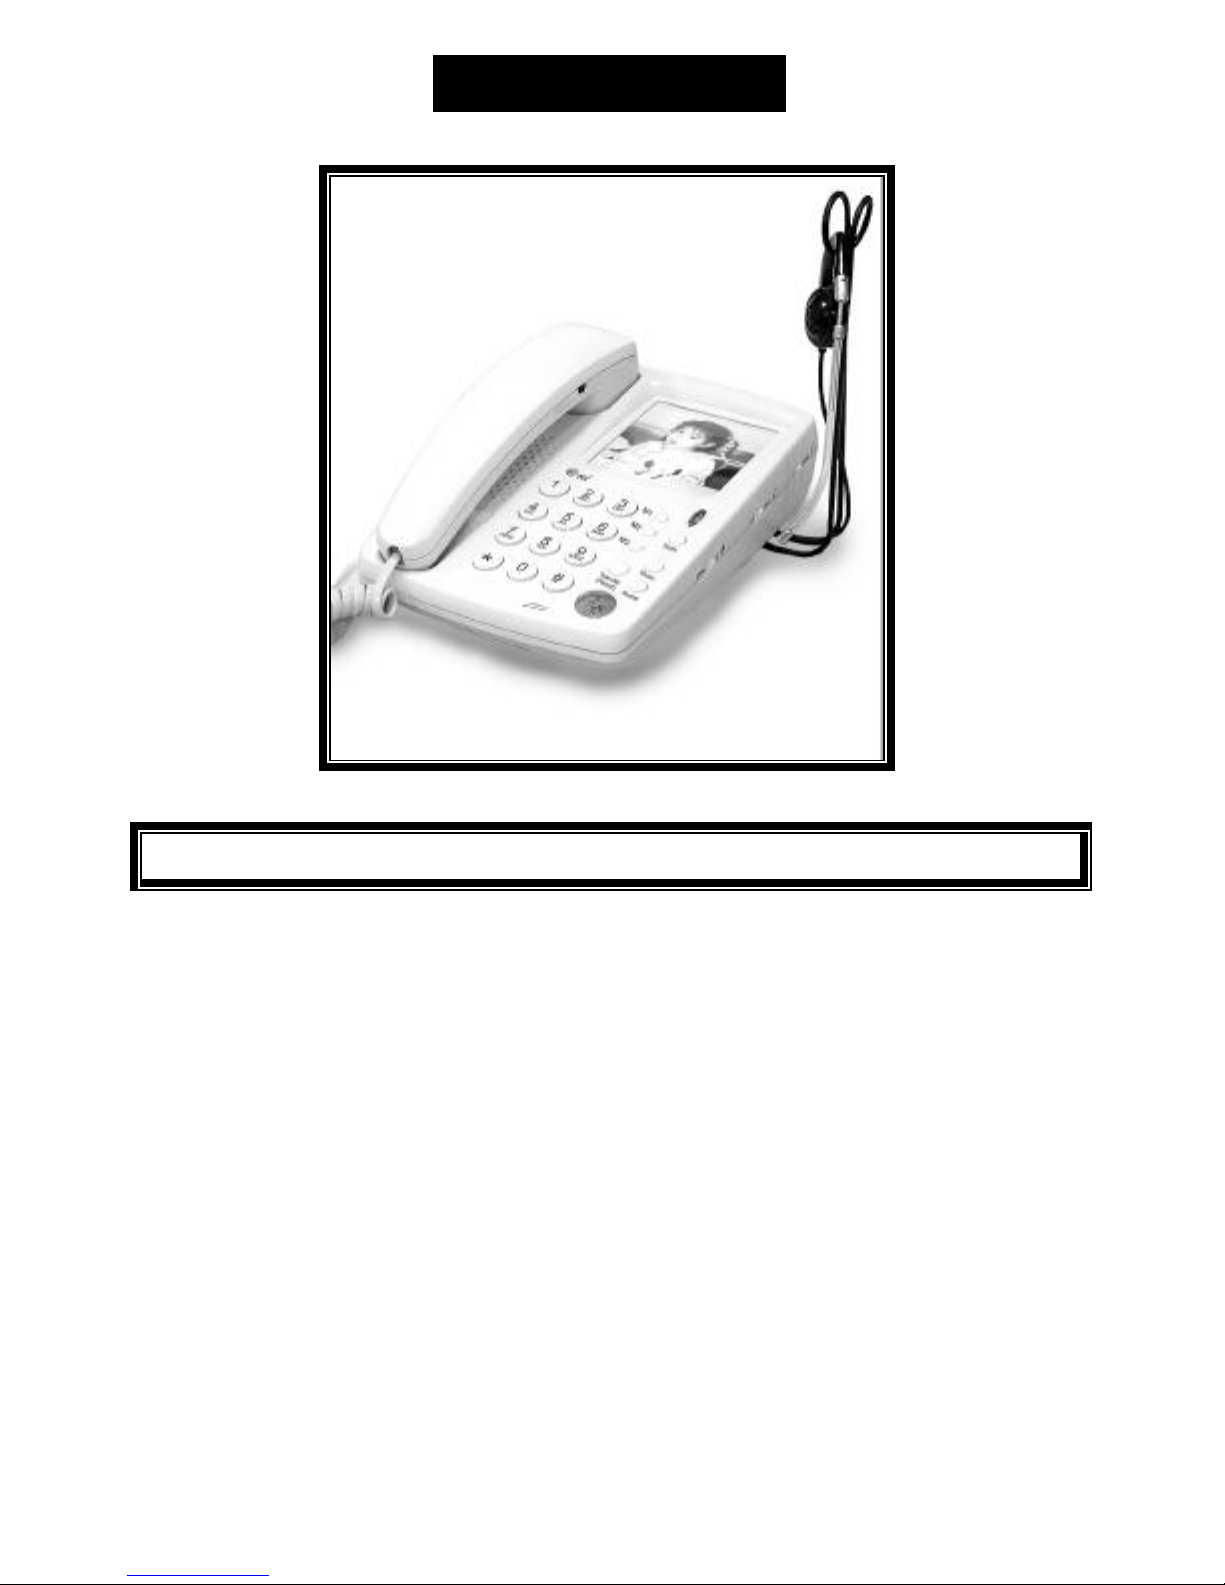
USER MANUAL
FEATURES
n Hands-free dialing with
Indicator
n Headset operation with
Indicator
n Automatic headset / handset
mode detection
n Headset / Handset operation
n Headset transmitter / receiver
volume control
n Handset receiver volume control
n Speaker volume control
n Ringer volume control
n Ringer tone control
n Three speed dial memory keys
n Last number redial
n Music on hold
n Message Waiting indicator
n Tone / Pulse switchable
n Auto hook delay for PABX
n Transfer/Recall ( Flash ) key
n Faceplate area for customer
Design
n Headset hanger
n The Modem connector
n PABX compatible
n Desk / Wall mountable

INSTALLATION
PARTS LIST
Each phone is shipped with the following parts :
1. Handset
2. Coiled cord
3. Flat telephone cord
4. Jack box
5. Wall socket (optional)
6. Headset hanger (optional)
INSTALLING
1. Plug one end of the coiled cord into the handset and the other end into the
telephone.
2. Plug one end of the flat telephone cord into the telephone and the other end
into the wall-socket. Use the enclosed wall-socket if the existing wall-socket
in your office/home is not compatible with the telephone cord.
3. When you want to use the headset, just plug the headset into the headset Jack
on the phone.
4. Plug the headset hanger into the relevant slot at the bottom of the phone.
5. If you wish to mount your phone on the wall, you must make sure that you
remove the wall-mount clip by sliding it out of the slot, rotate it 180 degrees
and re-insert it back into the slot. This will hold the handset in place when the
phone is mounted on the wall.
6. You can insert a picture or photo of your favorite person onto the faceplate by
simply removing the plastic window.
3
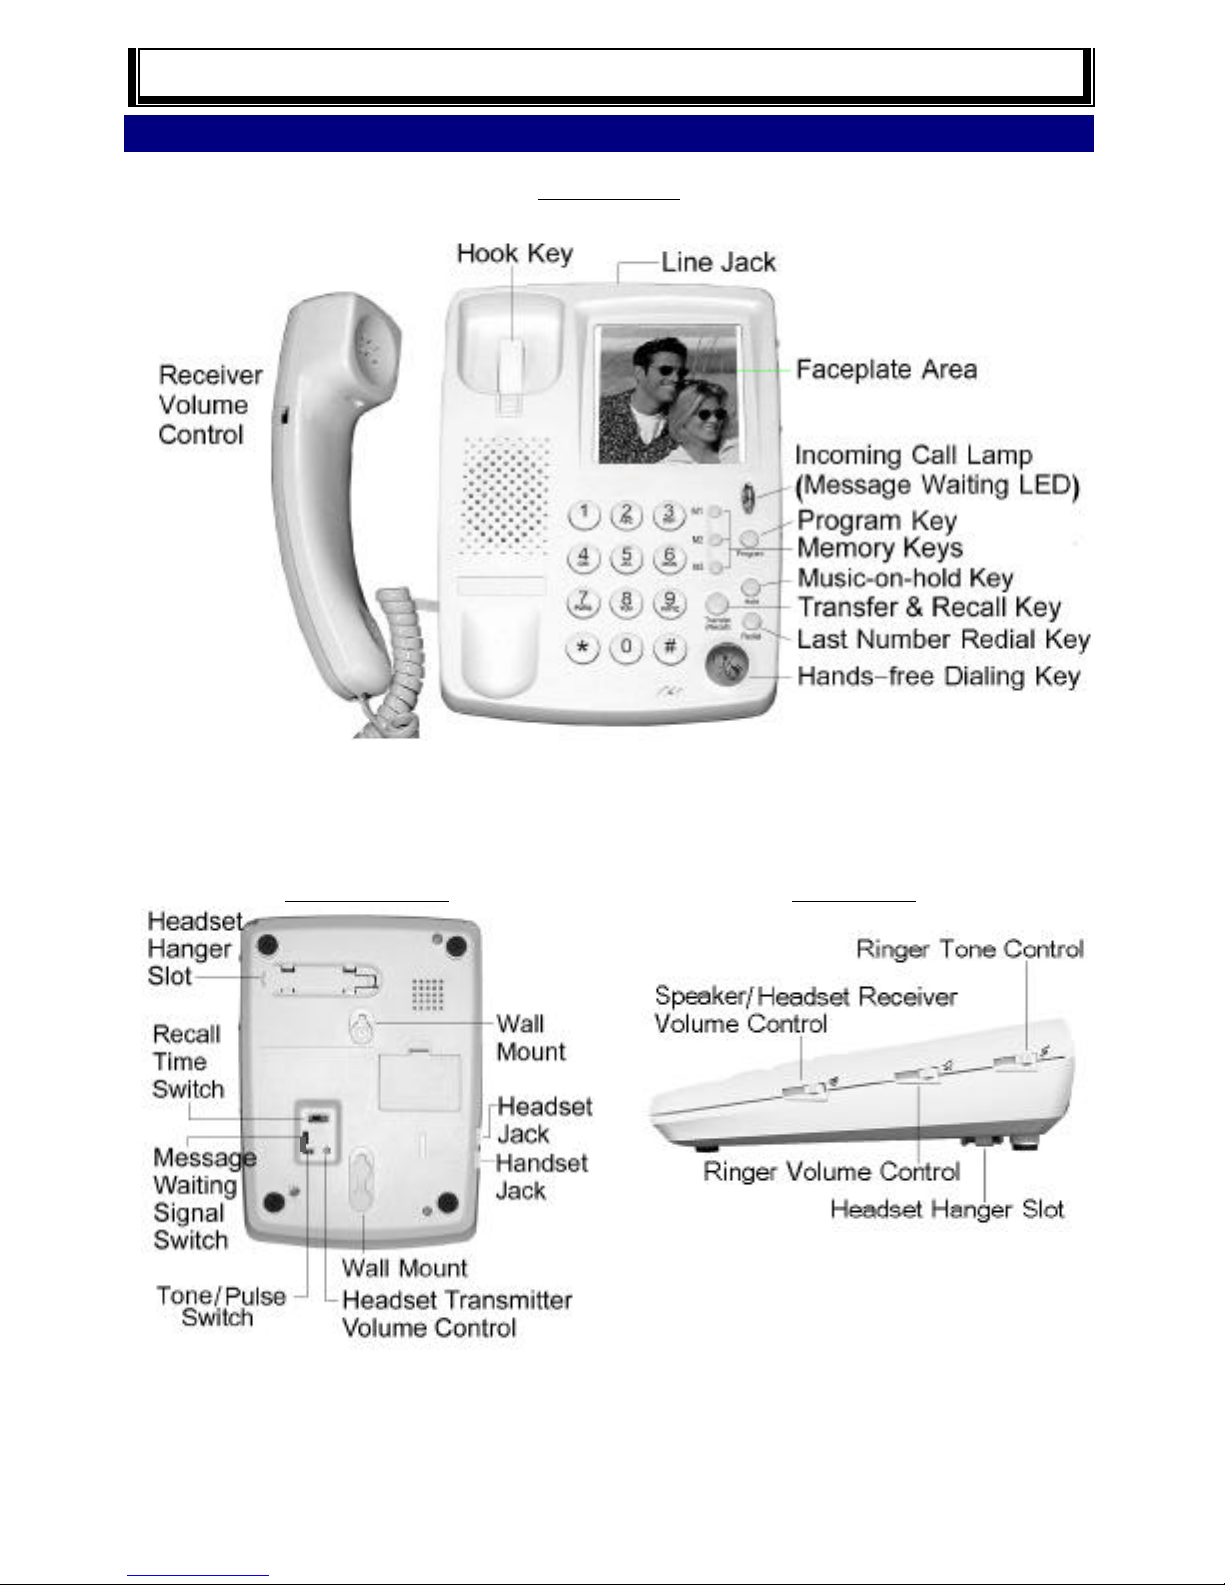
DIAGRAM
Front View
Bottom View Side View
INSTALLATION
 Loading...