

Page 1
Temperature / Humidity Meter
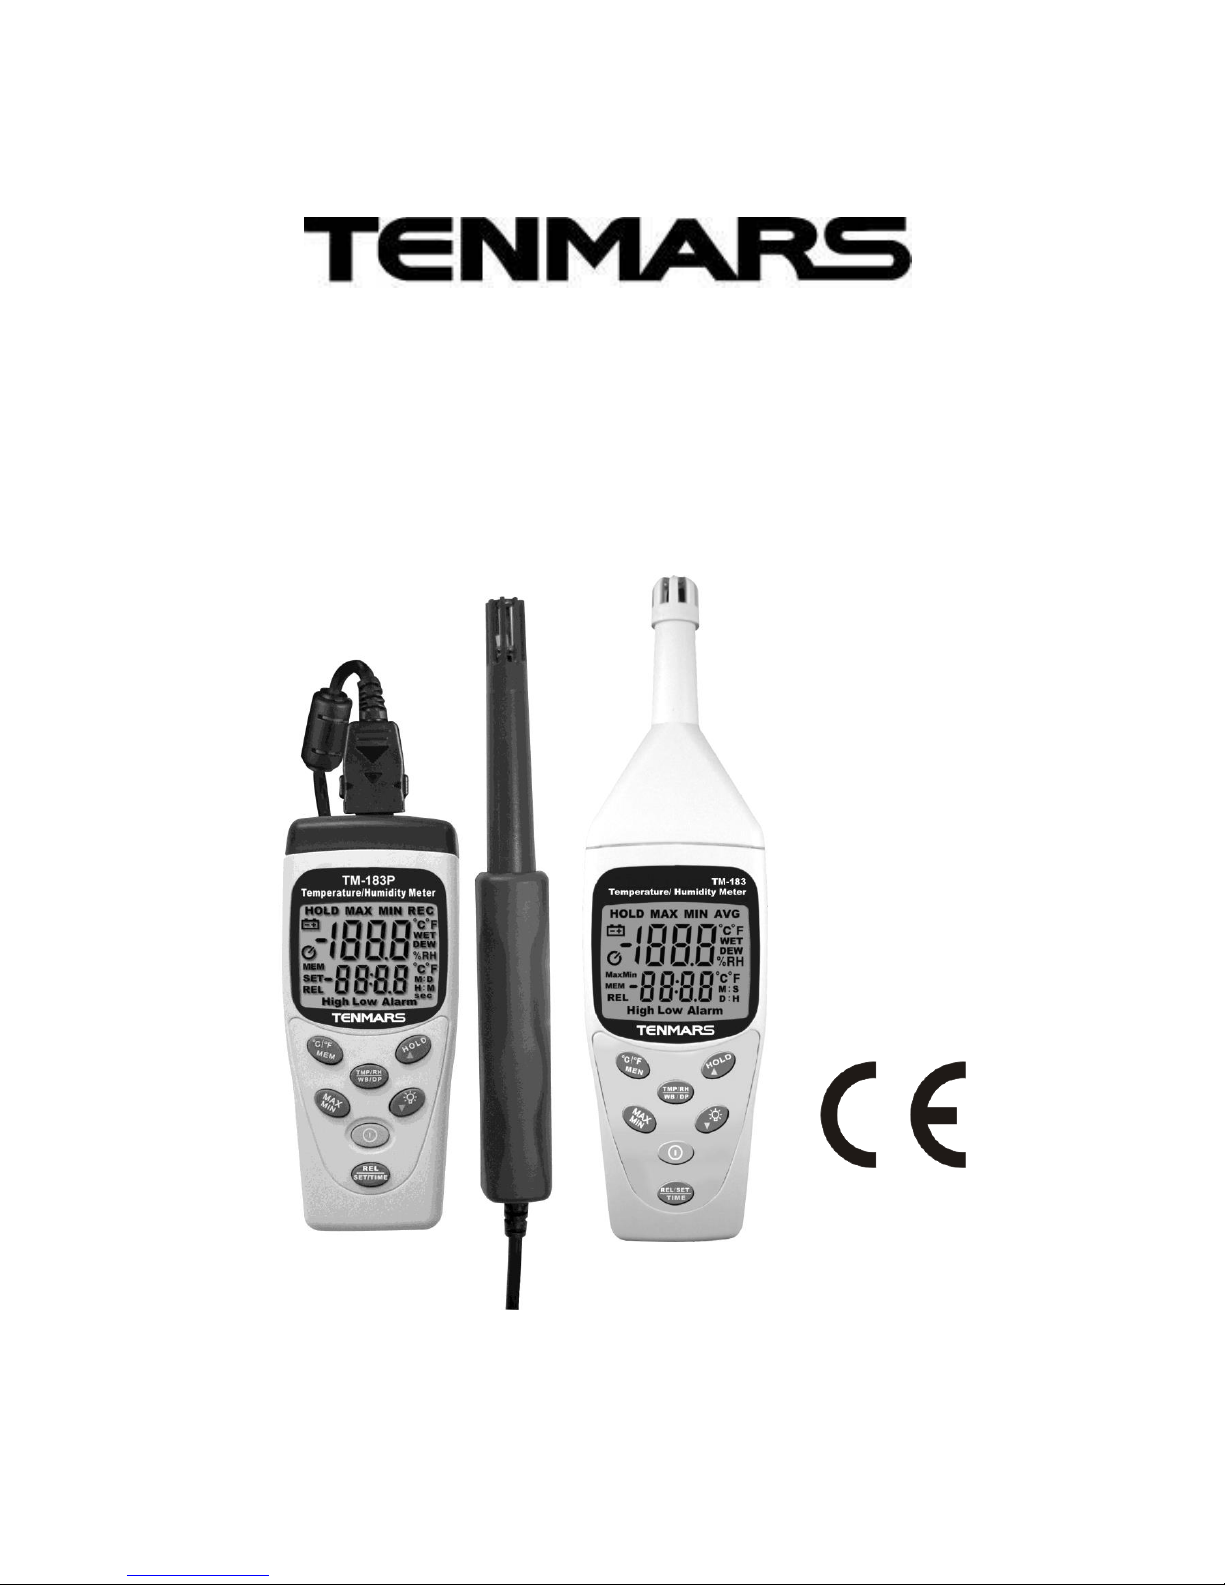
TM-183/TM-183P
H
HB2TM1830002
User’s
Manual
TENMARS ELECTRONICS CO., LTD
Page 2

CONTENTS
1 PREFACE ...................................................................................1
2 CHARACTERISTICS ..................................................................1
3 SPECIFICATIONS ......................................................................2
3.1 General Specifications ...........................................................2
3.2 Electrical Specification: ..........................................................2
3.3 Accuracy: ...............................................................................2
4 OPERATING INSTRUCTIONS ...................................................3
4.1 LCD Display Functions: .........................................................3
4.2 Button function: ......................................................................4
4.3 Switch Temperature Scale (°C/°F) .........................................4
4.4 Data Hold Button ...................................................................4
4.5 MAX/MIN/AVG Mode .............................................................4
4.6 Backlight ................................................................................5
4.7 Power ON/OFF ......................................................................6
4.8 DEW-POINT /WET-BULB/Relative Humidity Switching.........6
4.9 Relative Deduction Value(REL): ............................................7
4.10 Alarm Intimate Setting Button ................................................7
4.11 Alarm Setting Mode ...............................................................8
4.12 Enable or Disable Auto-Power Off Function ..........................8
4.13 Saving and Reading the Measured Data (℃/℉/MEM ) .........8
4.13.1 Saving Measurement Data ...............................................8
Page 3

4.13.2 Reading the Measurement Data Mode ............................9
4.13.3 Delete the stored data ......................................................9
5 Check before Using ................................................................10
6 Measurement Method .............................................................10
7 CAUTIONS ............................................................................... 11
Page 4

Page 5

TM-183/TM-183P
1
1 PREFACE
Thank you for your patronage. Please read these operating
instructions carefully so that you may correctly operate the
Temperature / Humidity Meter, allowing it to perform all its
intended functions at optimum level.
The Temperature /Humidity Meter uses a highly accurate
sensor chip to measure relative humidity and temperature.
It is perfect for many industrial applications, laboratory and
other types of work locations.
2 CHARACTERISTICS
Dual display of temperature and humidity.
Select between different temperature scales (°C / °F).
Simultaneously hold both temperature and humidity
readings.
Simultaneously hold both Maximum and Minimum and
Average readings (MAX/MIN/AVG) with time marks.
Relative subtraction value (REL) function.
Alarm alert (SET) function.
Auto-power off.
DEW-POINT and WET-BULB temperature
measurement.
Stores up to 200 readings
Page 6

TM-183/TM-183P
2
3 SPECIFICATIONS
3.1 General Specifications
Display : Dual LCD display. The maximum value on the
primary display is 1999.
The maximum value on secondary display is 9999.
Low Battery Indicator : When the LCD displays
symbol, please replace the battery.
Sampling Rate : 1 sample per second.
Power Supply : One 9V battery, NEDA 1604, IEC 6F22
or JIS 006P.
Battery Life : 200 hours during consecutive use.
Dimensions : 200 × 55 × 38 mm (L×W×H)(TM-183)
130 × 56 × 38 mm (L×W× H)(TM-183P)
Weight : 200g (excluding the battery)
Accessories : User manual, battery, carrying case ,
Temperature and humidity probe(TM-183P).
Operating Temperature and Humidity :
0°C ~ +60°C, <95% RH. (non-condensing)
Storage Temperature and Humidity:
-10 to 60°C, <70% RH. (non-condensing)
3.2 Electrical Specification:
(Temperature: 25°C, Humidity : <90% RH)
Temperature Measurement Range :
-40.0°C ~ +60.0°C(-40.0°F - +140.0°F).
Humidity Measurement Range: 0% ~ 100%RH.
3.3 Accuracy:
Humidity : ±3% (20~80%RH,@25℃)
±5% (<20%>80%,@25℃)
Temperature : ± 0.8℃, ±1.5℉.
Page 7

TM-183/TM-183P
3
4 OPERATING INSTRUCTIONS
4.1 LCD Display Functions:
1. Data Hold
2. MAX Data Hold
3. MIN Data Hold
4. AVG Reading
5. Primary Display
6. °C Temperaure Scale
7. °F Temperture Scale
8. WET-BULB
9. DEW-POINT
10. Relative Humidity
11. °C Temperature Scale
12. °F Temperature Scale
13. Minute/Second
14. Day/Hour
15. Secondary Display
16. Alarm Indicator
17. Low Alarm Indicator
18. High Alarm Indicator
19. Relative Subtraction
Value
20. Stored Data Records or
Historical Data Records
21. Record MAX, MIN, and
AVG Enable
22. Auto-Power Off Indicator
23. Low Battery Detect
Page 8

TM-183/TM-183P
4
4.2 Button function:
1. Hold or Set to turn
upward Button.
2. DEW-POINT/WET-BULB/
Temperature/Relative
Humidity Switch Button.
3. Backlight or Set to turn
downward button.
4. On/Off Button.
5. REL/Alarm Set/Time
Display Switch Button.
6. MAX/MIN/AVG Reading
Button.
7. °C/°F Temperature Scale
Switch and Store Reading
Record Button.
4.3 Switch Temperature Scale (°C/°F)
Press button to change the temperature ℃/℉ unit.
4.4 Data Hold Button
Press button to enter the Data Hold mode. The LCD
will display “HOLD” symbol and hold both the temperature
and humidity readings at the same time. Press button
again to exit this mode.
4.5 MAX/MIN/AVG Mode
In normal mode, press the button more than
one second to enter the MAX/MIN mode, and start
to count time; the LCD primary display shows the
current measuring temperature, the LCD secondary
Page 9

TM-183/TM-183P
5
display shows the recorded time; in the MAX/MIN
mode, press the button more than 1 second
will exit the MAX/MIN mode.
In the MAX/MIN mode, press the button
repeatedly less than one second, the LCD primary
display loop shows the MAX → MIN → AVG
→current measured value.
In the MAX/MIN mode, press the button
repeatedly, the LCD primary display loop shows the
℃→℉→%RH→DEW→WET.
In the MAX/MIN mode, press the button, the
LCD secondary display will switch to the
Minute/Second ( M/S ) or Day/Hour ( D/H ); press the
button to stop the count time, press again to
continue count time.
4.6 Backlight
Press the button to turn on the backlight, press
this button again to turn it off. The auto-off backlight
time is about 15 seconds.
※In the Reading Measured Data Mode, need to
press the and button together to turn on or
turn off the backlight.
Page 10

TM-183/TM-183P
6
4.7 Power ON/OFF
Press the button to turn on or turn off the meter.
The button uses as the combination button to
operate other functions while the thermometer on, the
power off function is useless while the other button and
Power button are pressed at the same time, that mean it
executes other functions.
The combination button as below:
In normal mode:
Press the and the button less than one
second --------TO read measuring records latest.
Press the and the button more than one
second --------To delete saved records.
Press the and the button less than one
second--------TO turn on or turn off Auto power-off
function.
In the Reading Measured Data Mode:
Press the and the button -------TO turn on
or turn off the backlight.
4.8 DEW-POINT /WET-BULB/Relative Humidity
Switching
In normal mode or MAX/MIN mode, press the
button to switch temperature→dew-point→wet-bulb→
relative humidity.
Page 11

TM-183/TM-183P
7
4.9 Relative Deduction Value(REL):
In normal mode, press the button less than one
second to turn on or turn off REL function; when the REL
function is turned on, the temperature/humidity meter will
store current measured readings and reset the LCD
display to 0 and will take the stored reading as the
reference value and subtract it form subsequent readings.
4.10 Alarm Intimate Setting Button
In normal mode, press the button more than one
second to enter high temperature alarm mode setting; in
the Alarm Intimate Setting mode, press the button
repeatedly less than one second, the LCD will show the ℃
High Alarm →℃ Low Alarm →%RH High Alarm→ %RH
Low Alarm in sequence。The setting alarm value isn’t
cleaned up when the thermometer turn off.
Press the or the button less than one second
to increase or decrease current setting value; Press the
or the button more than one second to
continuously increase or decrease current setting value,
after continuously increasing or decreasing 20 decimal
figure that it will increase or decrease on single digit
directly.
Page 12

TM-183/TM-183P
8
4.11 Alarm Setting Mode
When it ring an alarm, if the temperature is over the
setting value, the ℃ or ℉ on LCD will be flickering; if the
humidity is over the setting value, the “ %RH ” on LCD will
be flickering, if you want to cancel the sound function of the
alarm, please press the “ HOLD “ button more than one
second to cancel, the sound is closed, the HIGH or LOW
Alarm sign will disappear, and the alarm will set
automatically as follows and save the setting.
LOW and HIGH Temperature Alarm: 0.0C/+60.0C.
LOW and HIGH Humidity Alarm: 0.0%RH/99.0%RH
Temperature Alarm Range:
-40.0C~ +60.0C(-40.0F ~ +140.0F)。
Humidity Alarm Range: 1.0%RH~99.0%RH。
4.12 Enable or Disable Auto-Power Off Function
The Auto-Power Off function is enable when the
thermometer on and Auto-Power Off symbol shoes. If stop
any operating after 15 minutes that will execute
Auto-Power off function. Press and button at the
same time to enable or disable Auto-Power Off function
and the Auto-Power Off symbol with the previous setting
will appear or disappear.
4.13 Saving and Reading the Measured Data ( ℃/℉
/MEM )
4.13.1 Saving Measurement Data
When measuring, press the button more than one
second to the LCD will display “ MEM “ flickering 2
Page 13

TM-183/TM-183P
9
seconds then disappeared, saving the current
measuring of displayed. The instrument can save at
most 200 sets of data. When the data are full of 200 sets
and can save the data again, the latest data will cover
the earliest data, it just only can save the latest 200 sets
of data.
4.13.2 Reading the Measurement Data Mode
Press and button at the same time to enter
reading mode. The LCD primary display shows the MEM,
and the secondary display shows the current record
number. Press the button to switch displayed
temperaturerelative humiditydew-pointwet-bulb in
sequence. Press or button to look forward or
rearward current recording number and value. Long
press or button to look forward or rearward
current recording value continuously. When increase or
decrease 20 recording numbers continuously, then
increase or decrease at ten digits.
4.13.3 Delete the stored data
Press and button more than one second at
the same time, the LCD will display “ CLr “, the stored
data already be deleted.
Page 14

TM-183/TM-183P
10
5 Check before Using
Make sure the battery is installed properly. If the LCD
displays , please replace the battery.
When turning on the thermometer, all LCD displayed
items will be lighted about 1 second.
Make sure all the function switches are positioned
correctly. ( Make sure the “HOLD” sign is not displayed
on the LCD. )
6 Measurement Method
Power on the Temperature / Humidity Meter. If you want
to disable the auto-power off function, please refer to
4.12 section.
Put the Temperature / Humidity Meter into the place wait
for measuring.
Keep the thermometer still about 15 minutes to
achieve the best readings. ( According to measuring
space and the measuring temperature and humidity
maybe increase or decrease of readings. )
Page 15

TM-183/TM-183P
11
7 CAUTIONS
Please avoid using the Temperature / Humidity Meter in
an environment with drastic temperature and humidity
changes. Do not put the thermometer in an environment
prone to high temperature, high humidity, or vigorous
vibrations. Avoid exposing the thermometer in a
chemical-contaminated environment.
When do not use the Temperature / Humidity Meter for
an extended period of time, remove the battery to avoid
damage to the thermometer due to the leaking battery
fluid.
Cleaning and Checking of temperature sensor : Pay
attention to smoke、dust on the humidity sensor will let
the sensor’s response time slow down, and causing
inaccuracy when measuring. Clean up the sensor
periodically by simply blowing away the dust particles.
Do not use water、alcohol or other chemical solvent
when cleaning.
Do not put the Temperature / Humidity Meter in any
liquid to prevent damage to the thermometer.
Page 16

TENMARS ELECTRONICS CO., LTD
6F, 586, RUI GUANG ROAD, NEIHU,
TAIPEI 114, TAIWAN.
E-mail: service@tenmars.com
http: //www.tenmars.com
Professional Electrical and Environment
Test & Measurement Instruments:
Battery Capacity / Impedance Tester/ TACHO Meter
LED light meter, Temperature & Humidity meter
Infrared Thermometer, Sound level meter
Light meter, EMF meter, UV Light meter, RF meter
Hot wire Anemometer, CO meter
Anemometer, Lan cable tester, CO2 meter
Solar power meter, Radiation meter,
Clamp meter, Multimeter
Phase Rotation tester, Digital Insulation tester
Our products of high quality are selling well
all over the world
 Loading...