

Teltonica RUT100, RUT104 Quick Start Manual
4
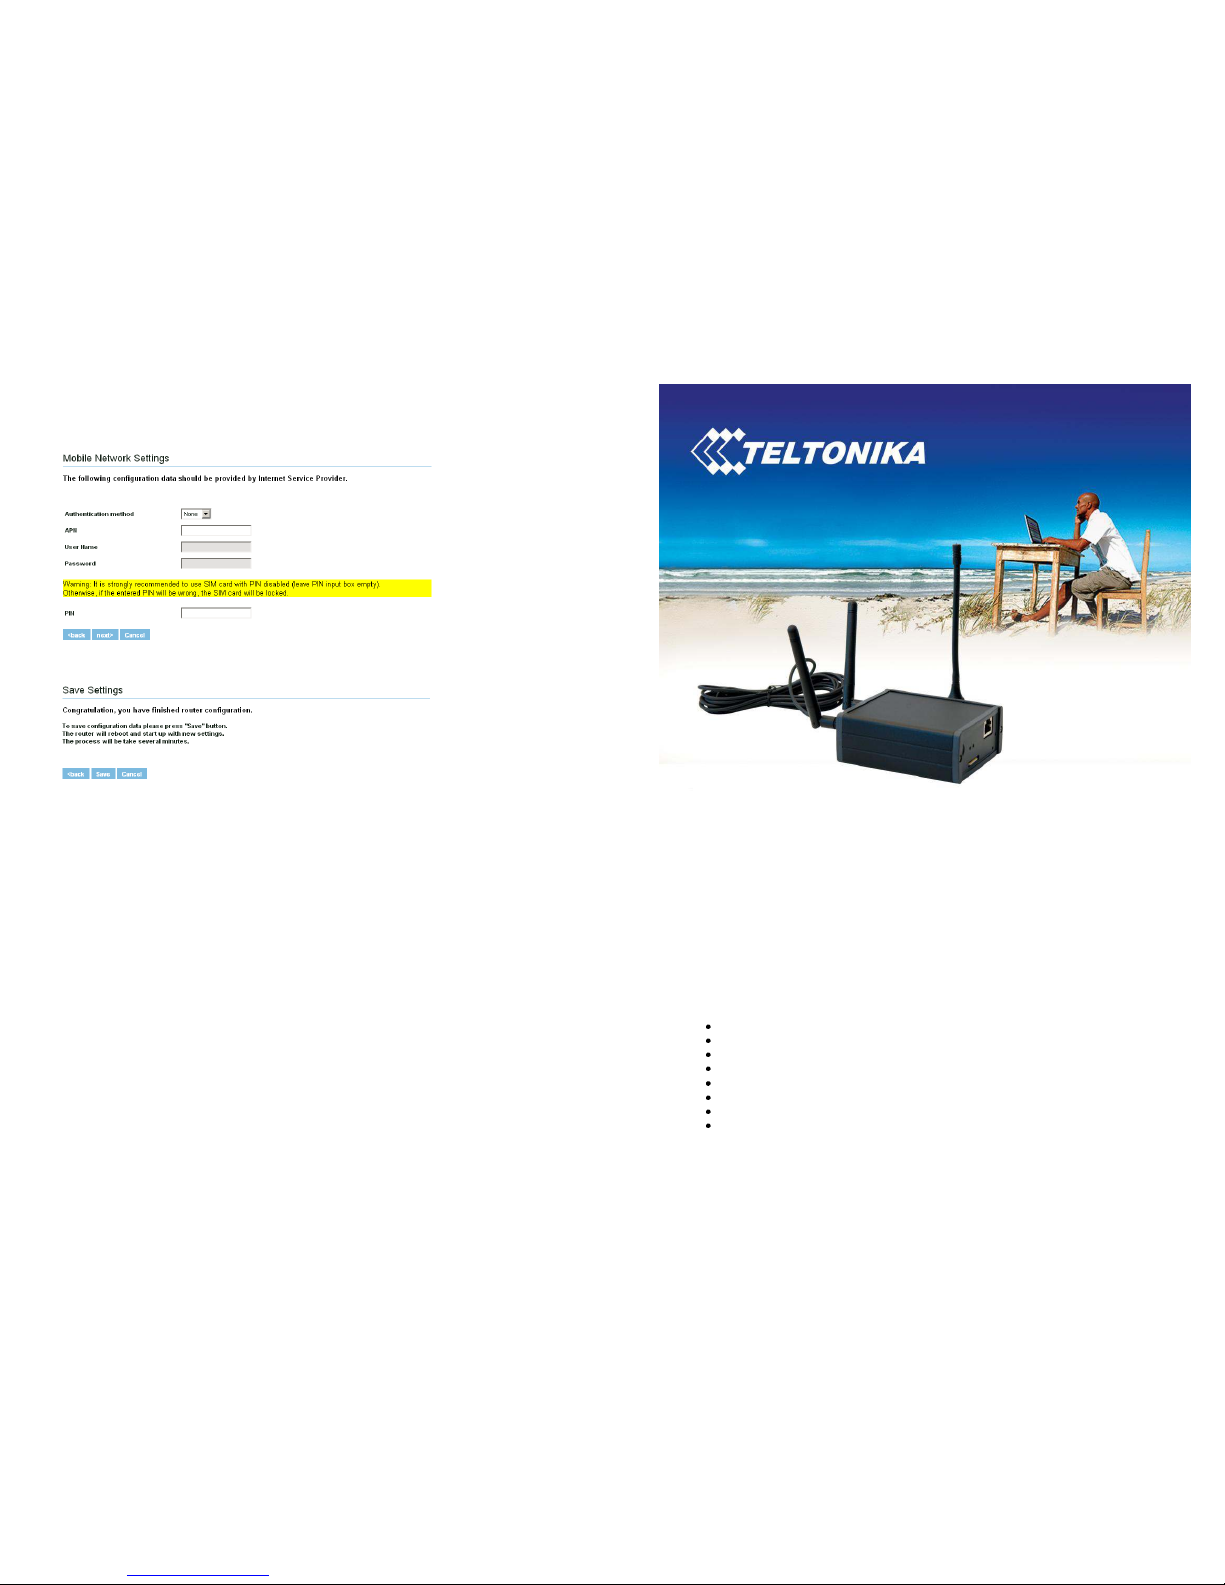
STEP 6. Configure GSM network settings
The configuration data must be provided by your internet service provider.
STEP 7. Save settings
RESTORING FACTORY DEFAULT SETTINGS
To restore factory defaults settings press reset button for 15 seconds with the router powered on.
The process will take few minutes. Dot not plug off the power during reset to factory default as otherwise
router internal software may be corrupted.
LEGAL NOTICE
Copyright © 2009 TELTONIKA Ltd. All rights reserved. Reproduction, transfer, distribution or
storage of part or all of the contents in this document in any form without the prior written permission of
TELTONIKA Ltd is prohibited.
Other product and company names mentioned herein may be trademarks or trade names of their
respective owners.
TELTONIKA
3G Mobile Router (RUT100, RUT104)
Quick Start guide v2.10
Thank you for purchasing our device! We hope it will satisfy your expectations and you will
enjoy its particular features. Please find some minutes to read this Quick Start guide before beginning
operate RUT100 or RUT104. This would make the installation and use of the device easier.
This quick setup guide describes how to quickly setup your 3G Mobile Router. For advanced
setup and configuration, please refer to device User Manual. The manual CD is supplied with device. It also
may be downloaded from the Teltonika Web page (www.teltonika.eu)
PACKAGE CONTENTS CHECKLIST
3G Mobile Router (RUT100 or RUT104)
Two detachable external Wireless LAN antennas
One detachable external GSM antenna (RUT100)
Two detachable external GSM antennas (RUT104)
AC/DC Power adapter
CAT5 LAN cable
CD with User Manual
Leaflet “Quick Start Guide”
2 3
FRONT PANEL
Figure 1. Router front panel view.
1. GSM LED. A solid light indicates proper connection to the GSM network.
2. Reset button.
3. Ethernet socket.
4. Ethernet LED. A solid light indicates proper connection, blinking light - data transfer.
5. Power LED. A solid light indicates a proper connection to the power supply.
6. SIM card socket.
7. Power adapter socket.
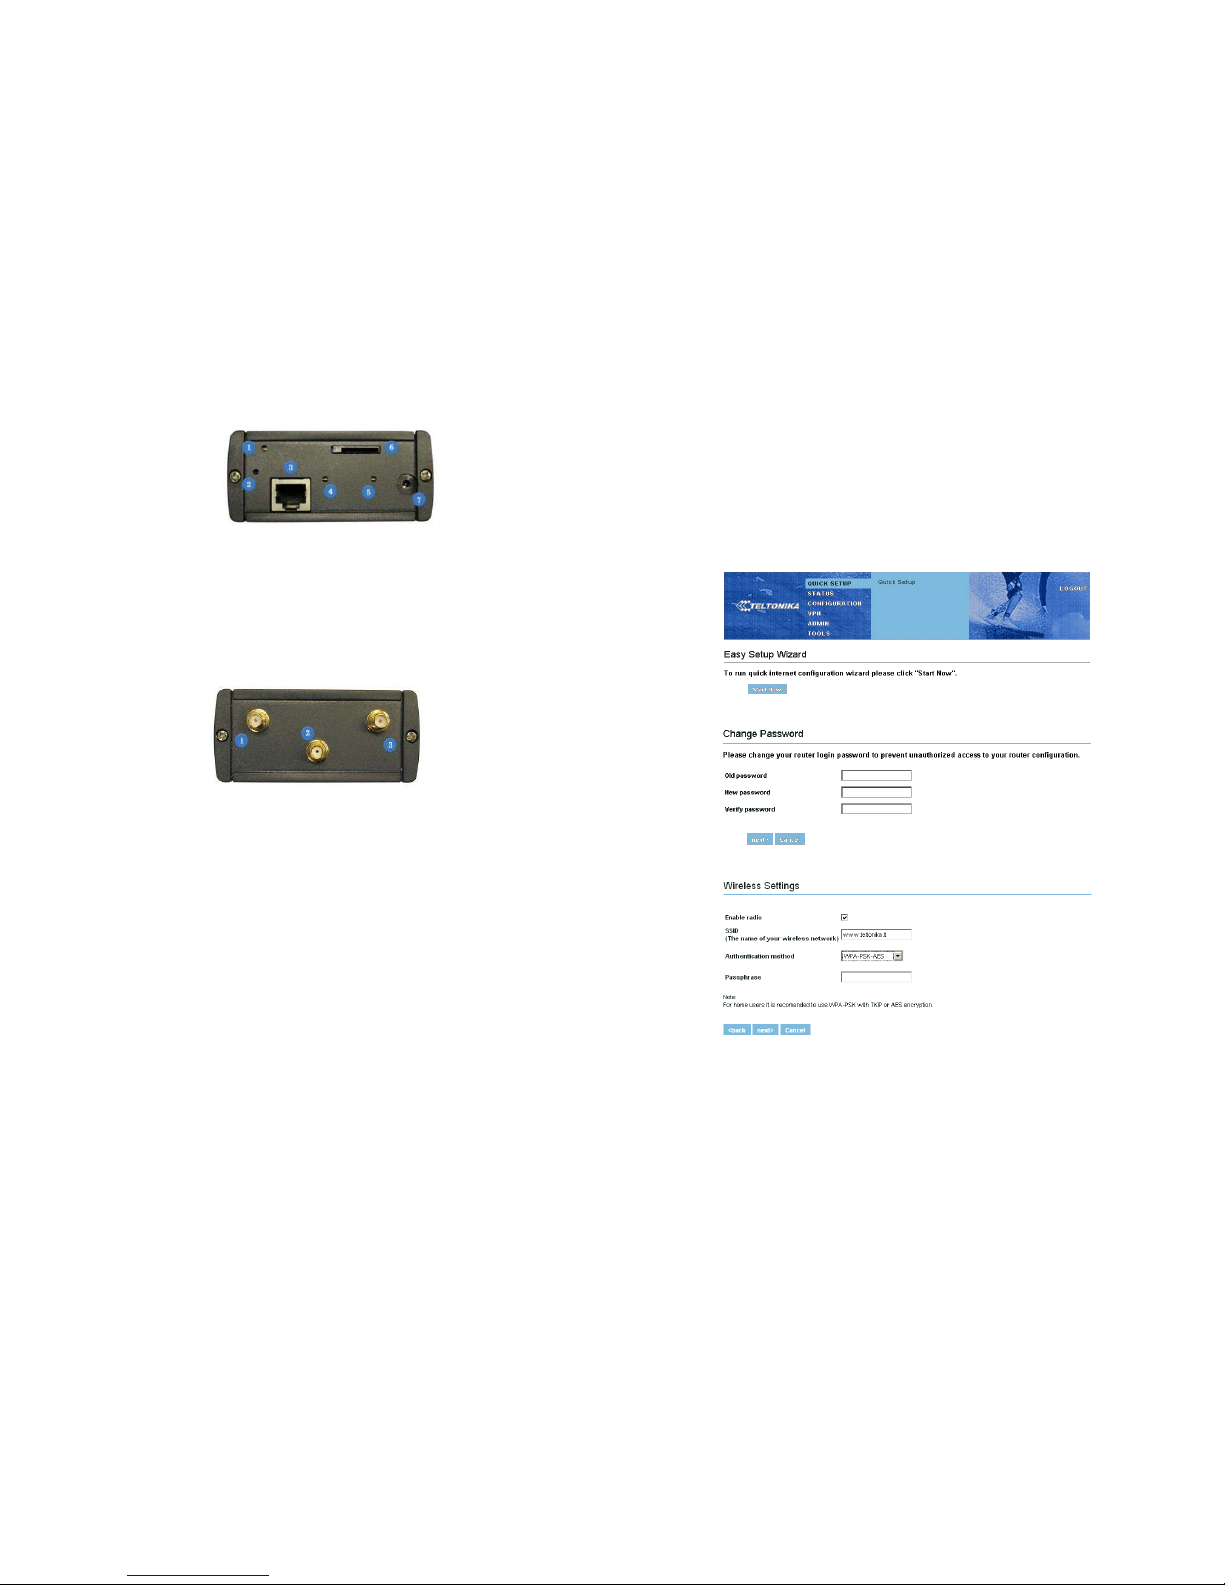
BACK PANEL (RUT100)
Figure 2. Router back panel view.
1. Wireless LAN antenna connection.
2. GSM antenna connection.
3. Wireless LAN antenna connection.
STEP 1. Preparing 3G Mobile Router
1. Attach Wireless LAN and GSM antennas.
2. Insert the SIM card which was given by your ISP (Internet Service Provider).
3. Connect LAN cable to the computer and 3G Mobile Router
4. Connect the power adapter to the receptor on the front panel of 3G Mobile Router. Then plug the
other end of the power adapter into a wall outlet or power strip.
STEP 2. Configure your computer
1. Click Start => Settings => Control Panel (The Control Panel should be in Classic view).
2. Double click on the Network Connections icon.
3. Right click on the Local Area Connection and select Properties.
4. Scroll down to Internet Protocol (TCP/IP) and press Properties.
5. Select Obtain IP address automatically and Obtain DNS server address automatically if they
are not selected.
6. Click OK to close Internet Protocol (TCP/IP) properties.
7. Close Network Connections and Control panel windows.
STEP 3. Access device Web configuration tool
1. Open the Web browser and type IP address 192.168.0.1.
2. Enter the 3G Mobile Router administrator login details to access the Web management:
The default administrator login settings are:
Login: admin
Password: admin01
The main Web management menu is displayed after successful login into the system. To start
quick setup wizard click button Start Now.
STEP 4.
Change router login password
STEP 5. Configure wireless network settings
It is recommended to use WPA-PSK with TKIP or AES data encryption. The passphrase for data
encryption must be 8-63 characters long and can include symbols (!?*&_) and spaces. This passphrase must
be the same as Network key in the PC wireless network security settings.
Note: If Open system will be chosen it will let anyone within the range and with proper equipment to
connect to your network.
 Loading...