

Page 1

Telstra
Smart Wi-Fi
™
Booster
Follow this easy set-up guide
for improved Wi-Fi coverage in
and around your home.
Page 2
Step 1: Connect your rst
Telstra Smart Wi-Fi™ Booster
Connect any Wi-Fi B ooster from its yellow Ethern et
port to any of your mo dem’s yellow LAN ports, u sing
the yellow-tipped Et hernet cable.
Insert the Powe r Adaptor into the Wi-Fi Booster, and
plug the adaptor into a power po int. Turn the Wi-Fi
Booster on at the p ower button and wait for the
indicator light to turn solid b lue. This could take up
to 90 seconds.
Step 2: Connect additio nal
Telstra Smart Wi-Fi Boosters
Place a second Wi-Fi Booster or additional Wi-Fi
Boosters where you’re having Wi-Fi issues, making
sure you have access to a free power point.
Insert the Powe r Adaptor into the Wi-Fi Booster,
and plug the adaptor into the pow er point. Turn
Booster on by pre ssing the power button, and wait
for the indicator light to tur n solid blue.
Note: If the light is amber, keep moving closer to
the rst Booste r to try and get a blue light.
Step 3: Reconnect your dev ices
You can now reconnect d evices to this new Telstra
Smart Wi-Fi net work. The network nam e and
password are on the ba ck of each Wi-Fi Booster.
On your device, se lect the new Wi-Fi network nam e
and enter in the passwor d.
Or to keep your curr ent Wi-Fi network name:
You can also use the same Wi-Fi ne twork name
you currently have paire d on your devices:
1. On any d evice connected to your new Telstra
Smart Wi-Fi net work, type telstra.wi in any
browser. Login using the admin password , Telstra.
2. In the top menu click ‘Set tings’ and in the
‘Network Name/S SID’ eld, type in your current
Wi-Fi name. Enter your curre nt password in
the‘Securit y Key’ eld, click ‘Save’.
3. Next, change your G ateway Wi-Fi network
name. Using the web addres s on the back of
your modem, login to your m odem’s control
panel from any devic e connected to the modem.
Then change the Wi-Fi n etwork name to
something diffe rent. You are now connected to
your Telstra Smart Wi-Fi net work.
No App. No problem.
Follow these steps to complete set-up without the App.
Please ensure you already have a Wi-Fi network set up, with working Internet.
To connect to your
Wi-Fi Boos ters scan
this unique QR code.
Get ready to Wi-Fly
With the Telstra Home Dashboard™ App you can set up,
manage, and diagnose your network, even without a P C.
See next page for handy installation diagram.
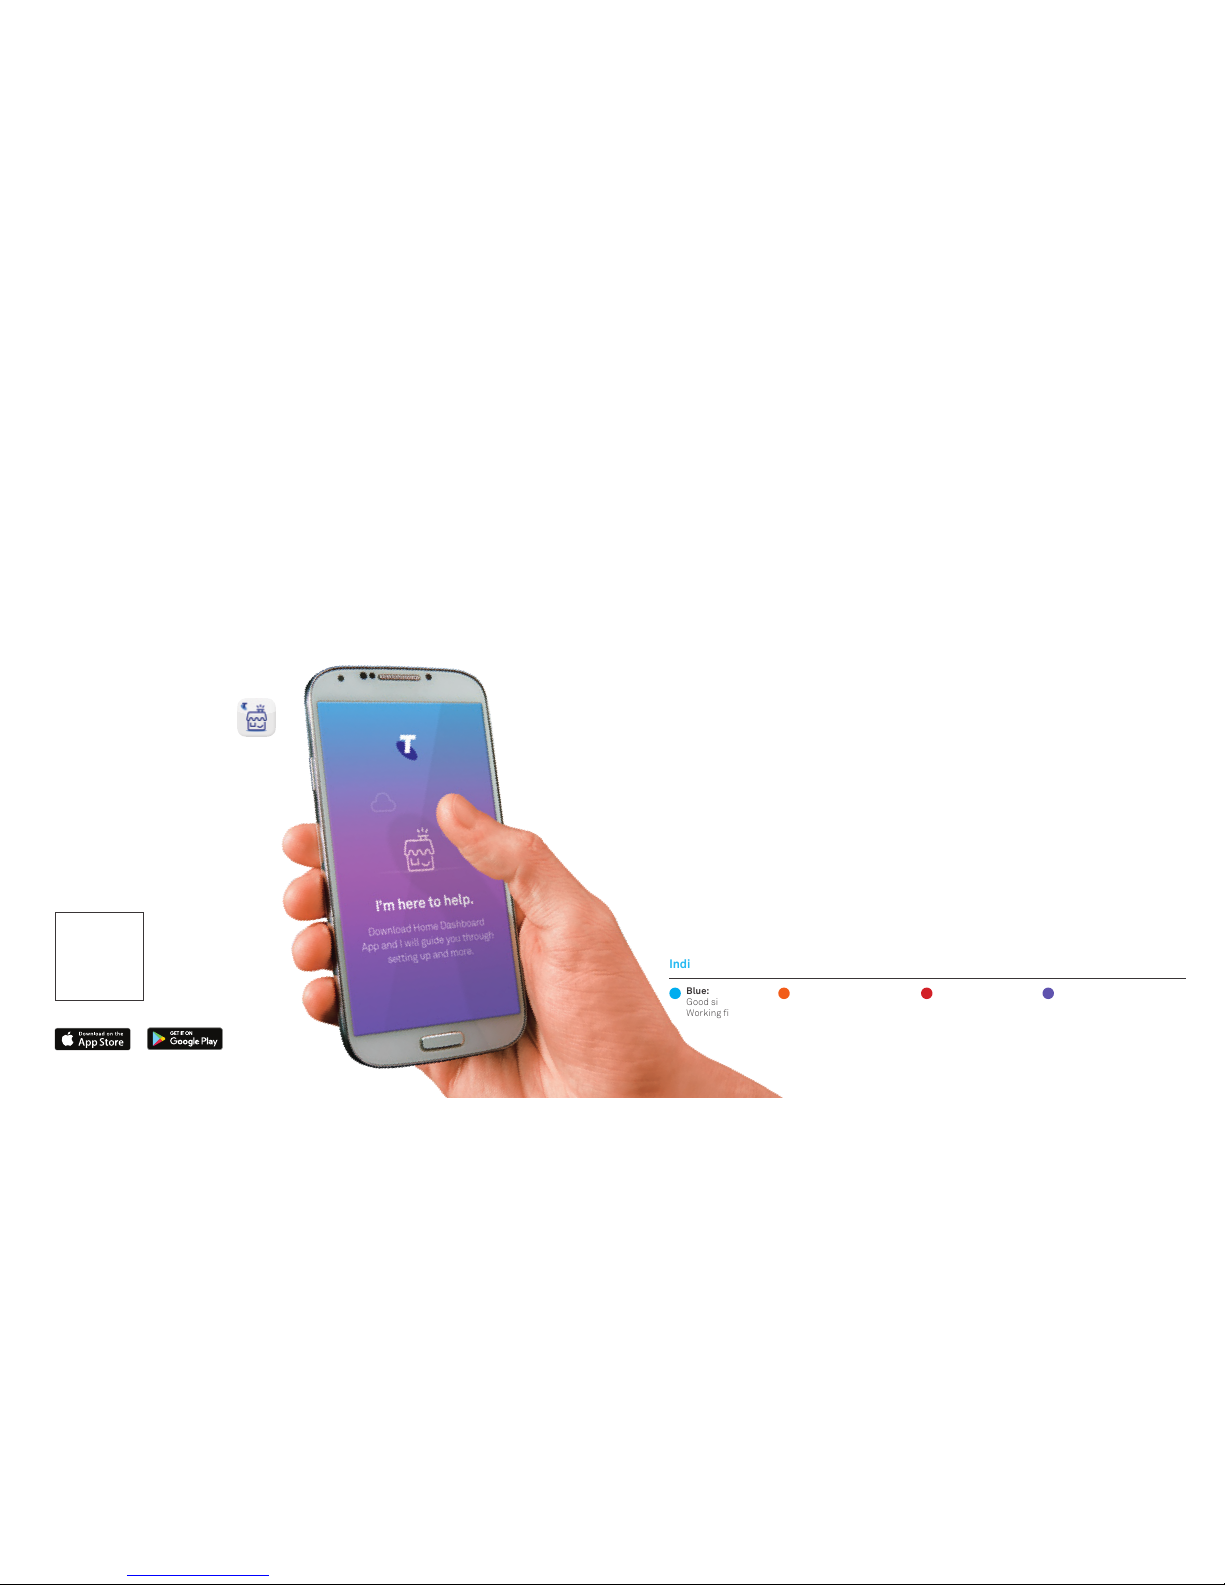
Indicator light colours
Blue:
Good signal.
Working ne.
Red:
No connection.
Check installation.
Amber:
Poor signal.
Try moving closer.
Purple:
Softwa re updating, syncing
or starting u p. Keep device on.
Step 1: Download the Telstra Home
Dashboard™ App on a compatible
iPhone or Android smartphone. If you
already have this App installed, you can
access the set-up steps by
clicking on the Support tab and
selecting “Set up a device.”
Step 2: Scan the QR code below,
or on the back of the Wi-Fi
Booster.
Step 3: Follow the step-by-step
instructions on the App to get
online.
Page 3

The spectrum device and ™ are trade marks and ® are registered trade marks
ofTelstra Corporation Limited, ABN 33 051 775 556.
Power PointModem
WPS Pairing On/Off Button
QR Code
If you require more assistance,
please call 13 22 00.
Need more help?
Troubleshooting tipsTroubleshooting tips
Use the Telstra Home Dashboard™
App to manage your network. The
App can diagnose issues and offers
troubleshooting solutions.
If you are having trouble, check the
colour of the light on the Telstra
Smart Wi-Fi™ Booster. If it is red or
amber, try moving them closer to
your rst Wi-Fi Booster.
Try restarting your Wi-Fi Boosters
by turning them off. Wait at least
30 seconds before turning them
on again.
 Loading...