

Page 1
1
M1
M3
M2
1
4
G
H
I
7
P
Q
R
S
*
2
A
B
C
5
J
K
L
8
T
U
V
0
3
D
E
F
6
M
N
O
9
W
X
Y
Z
#
Memory
Mute
Recall
Redial
Ringer
Pause
Program
M1
M2
M3
1
2
3
4
5
6
7
8
9
0
Tel .
M1
M2
M3
l
l
l
l
l
l
l
l
l
l
l
l
l
l
l
l
l
l
l
l
l
l
l
l
l
l
l
l
l
l
l
l
l
l
l
l
l
l
l
l
l
l
l
l
l
l
l
l
l
l
l
l
l
l
l
l
l
l
l
l
l
l
l
l
l
l
l
l
l
l
l
l
l
l
l
l
l
l
l
l
l
l
l
l
l
l
l
l
l
l
l
l
l
l
l
l
l
l
l
l
l
l
l
l
l
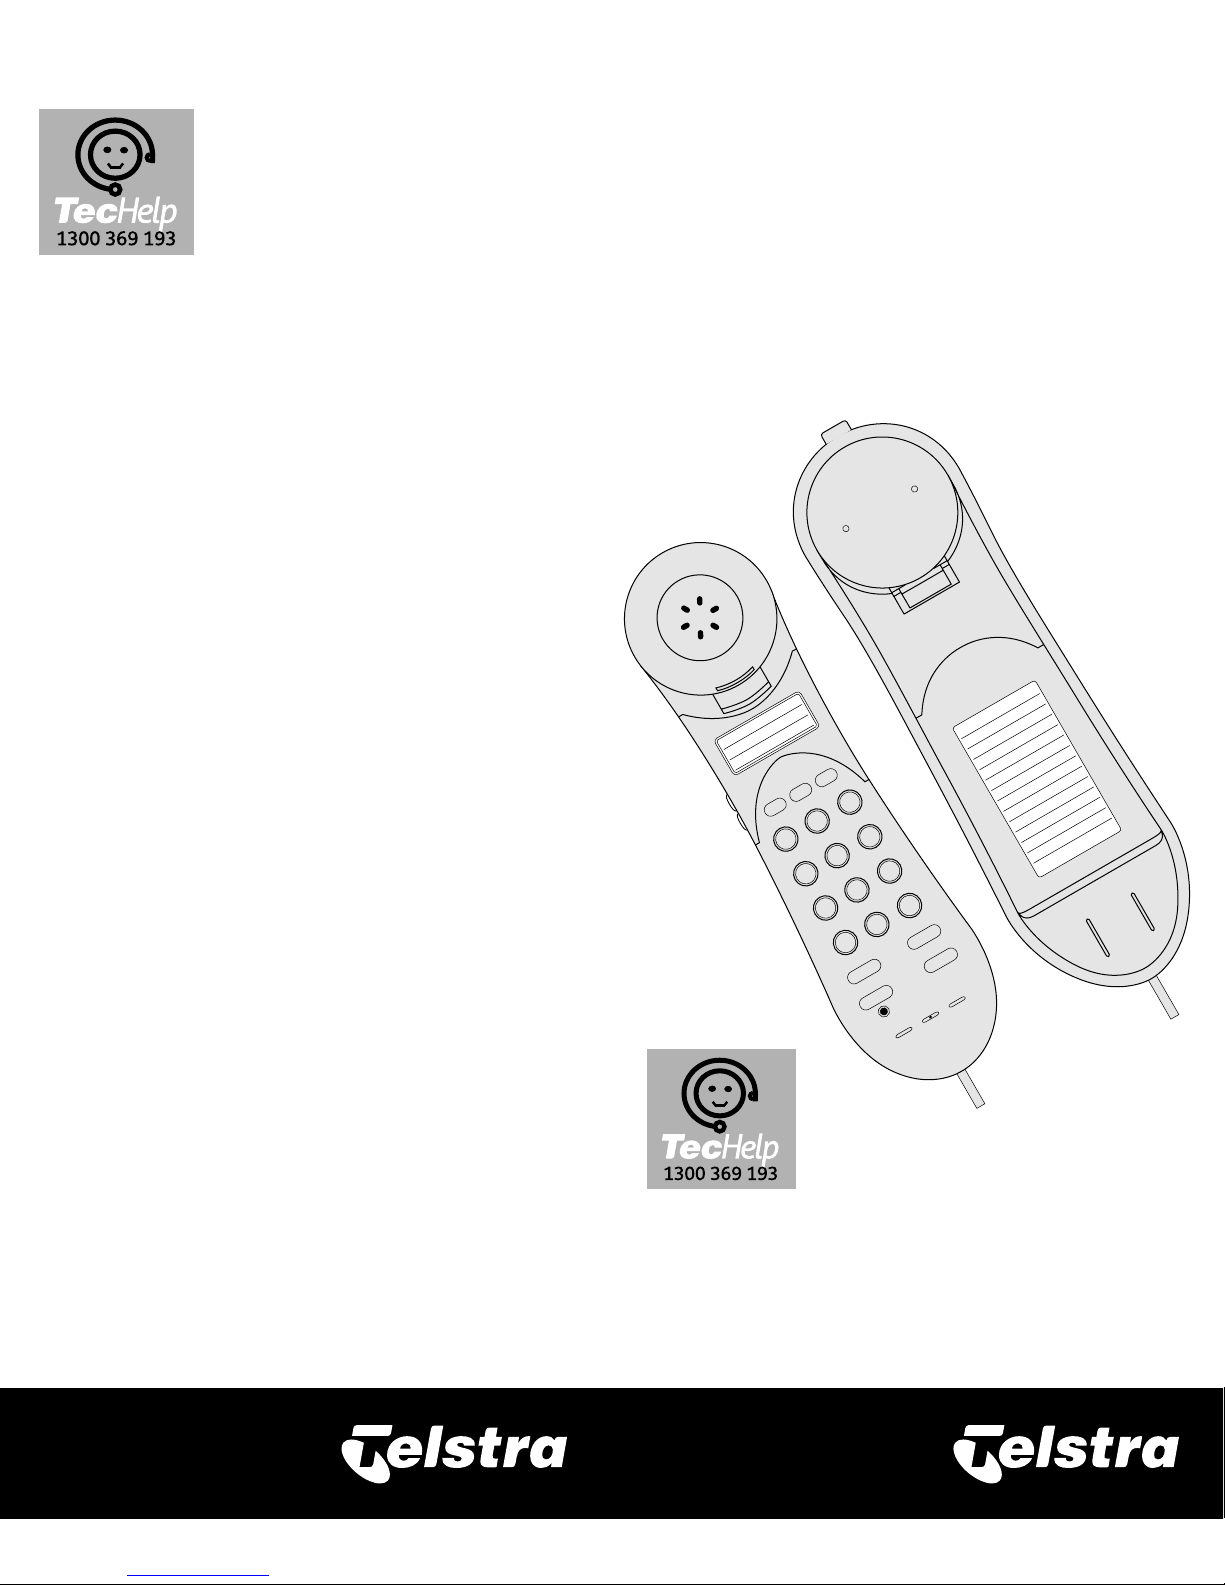
Slimline™25
Telephone
User Guide
If you have any problems with
your phone, firstly refer to the
Troubleshooting section of this
User Guide or call our Techelp line
on 1300 369 193.
© COPYRIGHT 2001 Telstra Corporation Limited
This work is copyright. All rights reserved. Other than for purposes
and subject to conditions prescribed under the Copyright Act, no part
of it may in any form or by any means (electronic, mechanical, photo
copying, microcopying, scanning, recording or otherwise) be
reproduced,stored in a retrieval system or transmitted without prior
permission from Telstra Corporation Limited ABN 33 051 775 556
™ Trade Mark of Telstra Corporation Limited
® Registered Trademark of Telstra Corporation Limited
Techelp is our commitment to
Making Life Easier for it’s customers
by providing superior service for our
Corded and Cordless Telephones,
Answering Machines and
accessories.We support this by
providing the following:
• Product Information Line 1300 369 193
• 12 Month Product Warranty
• Referral service for product repairs outside
of warranty
Page 2
2
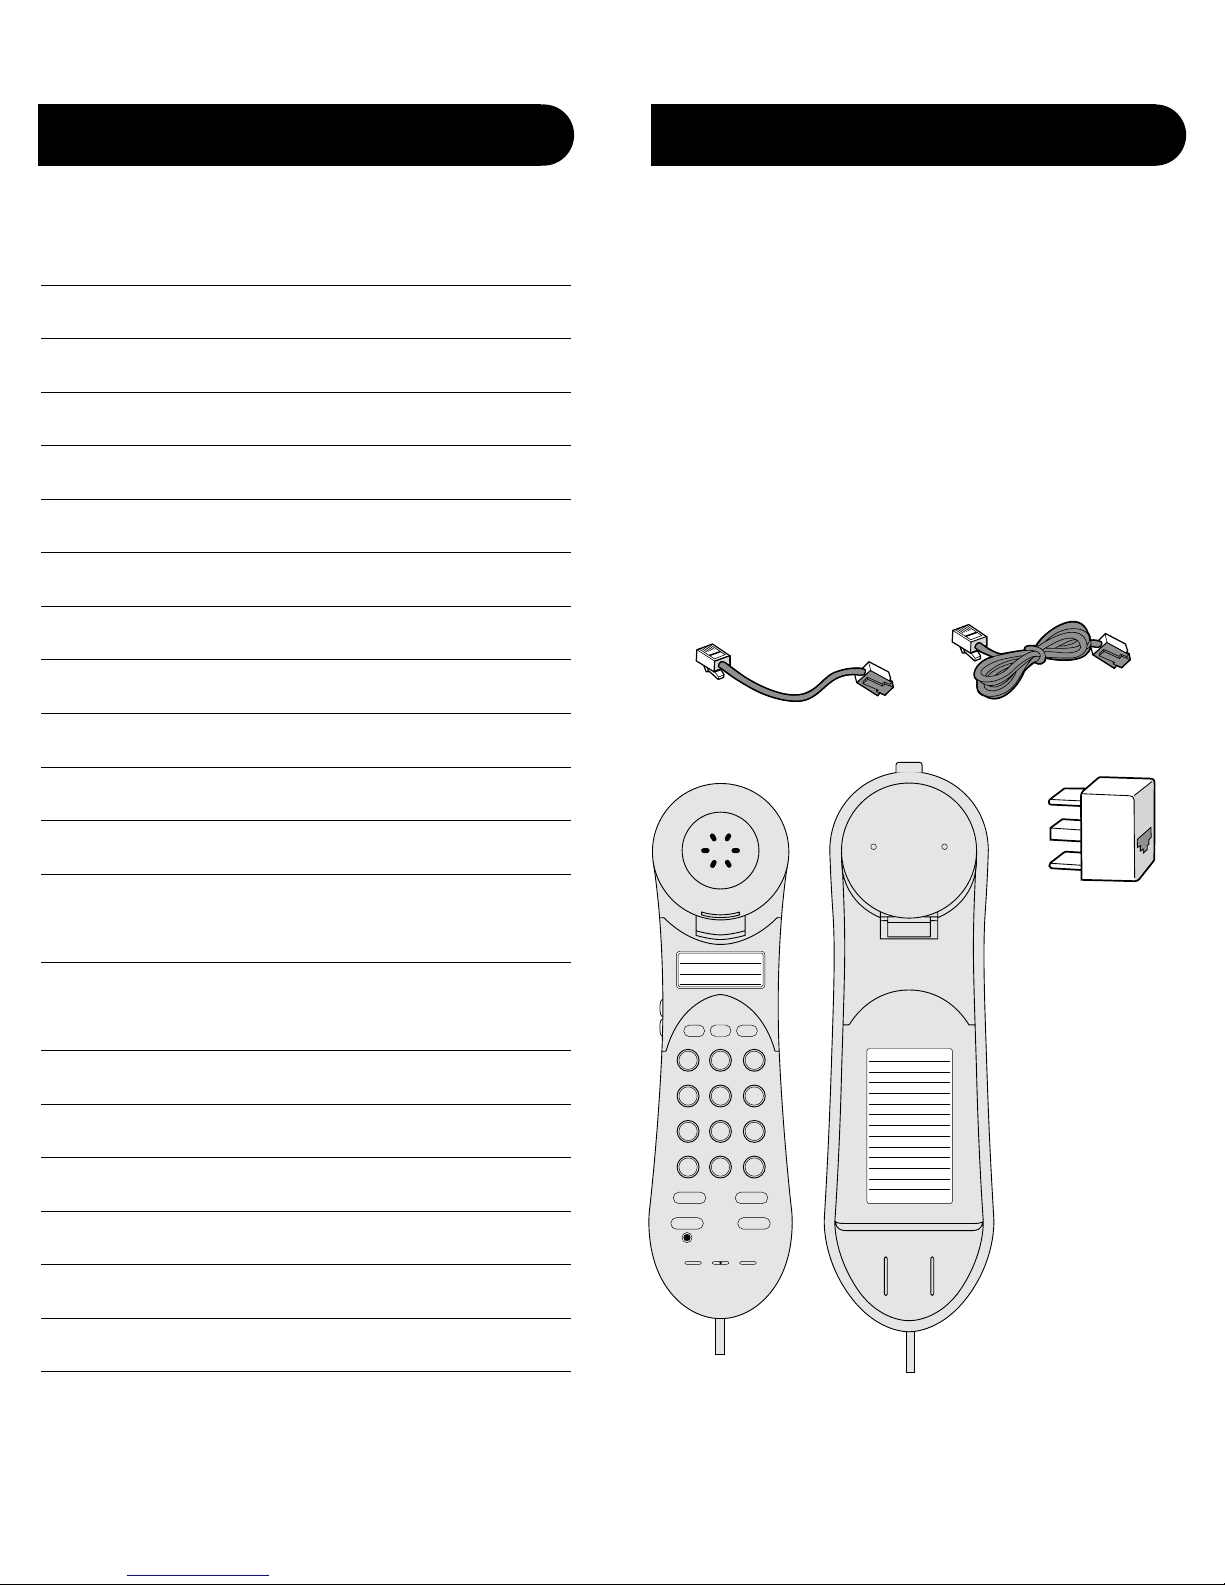
Slimline™ 25 parts checklist
M1 M3
M2
1
4
G
H
I
7
P
Q
R
S
*
2
A
B
C
5
J
K
L
8
T
U
V
0
3
D
E
F
6
M
N
O
9
W
X
Y
Z
#
Memory
Mute
Recall
Redial
Ringer
Pause
Program
M1
M2
M3
1
2
3
4
5
6
7
8
9
0
Tel .
M1
M2
M3
l
l
l
l
l
l
l
l
l
l
l
l
l
l
l
l
l
l
l
l
l
l
l
l
l
l
l
l
l
l
l
l
l
l
l
l
l
Introduction
Congratulations on your purchase of the Slimline™ 25
Telephone.
The Slimline™ 25 is an exciting addition to Telstra’s
range of stylish, efficient communication equipment.
To obtain the full benefit from this telephone,please
read these instructions and keep them handy for
future reference.
Slimline™ 25
Handset & Base with
Telephone Handset
Cord attached.
Short Line Cord
Telephone Line Cord
Adaptor Plug
Contents
Introduction 2
Slimline™ 25 parts checklist 2
Installing your Slimline™ 25 3
Wall Mounting 4
Slimline™ 25 Features 4
Using your Slimline™ 25 5
To make and end a call 5
To redial the last number 5
To switch mute on and off 5
To adjust the speaker volume 5
To adjust the ringer tone and volume 6
To use the Recall button 6
To store a number using the memory buttons 7
(M1, M2,M3)
To dial a number stored using the memory 7
buttons (M1, M2, M3)
To store a number using the Memory 7
To dial a number stored using the Memory 8
Troubleshooting 8
General Information 8
Important Safety Instructions 9
Product Warranty & Customer Service 10
Page 3

M1 M3
M2
1
4
G
H
I
7
P
Q
R
S
*
2
A
B
C
5
J
K
L
8
T
U
V
0
3
D
E
F
6
M
N
O
9
W
X
Y
Z
#
Memory
Mute
Recall
Redial
Ringer
Pause
Program
M1
M2
M3
l
l
l
l
l
l
l
l
l
l
l
4
Slimline™ 25 Features
Wall Mounting
Using the Short Line Cord included, connect the
Slimline™ 25 to the Phone Wall Plate(optional).
Position holes on the rear of the telephone over the
studs on the Phone Wall Plate and push down.
Note: Ensure the short line is located in the channel groove before
pushing down onto phone wall plate.
Hang Up Switch
Memory Label
M1-M3 Buttons (memory)
Speaker Volume Buttons
Recall Button
Memory Button
Mute/Program Button
Redial/Pause Button
3
Using the Handset Cord,plug one end into the end of
the Handset and the other end into the small socket at
the end of the base.
Connect one end of the Telephone Line Cord into the
socket at the bottom of the base.
Connect the other end of the Telephone Line Cord into
the Adaptor Plug (if required),and plug this into the
telephone wall socket. Alternatively, use the Short
Line Cord if you are wall mounting the telephone
near a telephone wall socket.
Make sure all the connections are firmly in place. Your
telephone is now ready to use.
Installing your
Slimline™ 25
Phone socket
Page 4

6
To adjust the ringer tone and
volume
The Slimline™ 25 has 3 ringer tones to
choose from at 3 different volume levels.
One button sets both the tone and
volume setting. See the table below to
help you select the right setting.
Press the MUTE (Program) button. The
LED will start to flash.
Press the # (Ringer) button.
Press the keypad button,O to 9, for the
tone/volume you want You will hear a
beep from the handset which is not
audible unless held up to the ear,e. g.
Press 5 = Tone 2 at medium volume (see
table).
Press the MUTE (Program) button. The
LED will stop flashing. Your selected
setting is now stored.
Vol 1 Vol 2 Vol 3
Tone Quiet Medium Loud
Tone 1 1 2 3
Tone 2 4 5 6
Tone 3 7 8 9
No Tone 0 = Silent
To use the Recall button
You may need to use the RECALL button if
you are connected to a switchboard/PABX
(Private Branch Exchange),contact your
PABX supplier for further information.
You can store up to 10 numbers in the
memory (O to 9) and a further 3 numbers
using the (M1, M2 and M3) buttons .
Mute
Program
Mute
Program
#
Recall
Keypad
When the ringer is switched off the ring indicator light will
continue to flash to indicate an incoming call. The ringer will
remain switched off until you lift the handset again. It is not
possible to switch the ringer off permanently
Your Slimline™ 25 comes with memory labels which can be
used to keep a note of your stored numbers.
5
Using your Slimline™25
To make a call
Lift the handset. You will hear a dial tone.
Enter the telephone number The number
will be dialled.
To end a call
Replace the handset.
To redial the last number
The last number dialled is stored in the
redial memory
Press the REDIAL button. The number is
dialled automatically
To switch mute on and off
When on a call you can talk to someone
in the same room,without your caller
hearing.
During a call press the MUTE (Program)
button.The LED will flash to indicate that
mute is on. You can talk and your caller
will not hear you.
To resume your call press the MUTE
(Program) button again. The LED will stop
flashing.
To adjust the speaker volume
The speaker volume cam only be adjusted
when the telephone is off the base.
The switch can be found on the left hand
side of the telephone.
There are 5 levels. 1 = quietest. 5 = loudest.
The volume will remain at the level you
have set between calls until you adjust it
again.
Press up to increase the volume.
Press down to decrease the volume.
Redial
Pause
Mute
Program
Mute
Program
If you are redialling a number when connected to a
switchboard,wait until you hear a dial tone, then press the 9
button,wait again for a dial tone and then press REDIAL This
applies even if 9 is stored in REDIAL.
Page 5

Troubleshooting
If The Slimline™ 25 Will Not Operate
Check the telephone installation. See page 3.
Check that the Ringer Switch is set ON.
Unplug the Slimline™ 25 and connect a telephone
that is known to be working.
General Information
This Unit complies with Australian Communications
Authority Technical Standards.
If the quantity of ringing devices connected to the
telephone line exceeds a REN of 3, it may result in
some devices not ringing in response to an incoming
call. To check the REN of each device, refer to the base
label.
8
To dial a number stored using the
Memory
Lift the handset.
Press the MEMORY button and then the
number (0 to 9) under which the number
you want is stored. The number is dialled
automatically.
If disconnected from the telephone line,
numbers stored in the memories will be
retained for a minimum of 10 minutes.
Memory
Keypad
You cannot delete stored numbers but it is possible to
overwrite them simply by storing another number in the same
memory location.
7
To store a number using the
memory buttons (M1, M2, M3)
Press the MUTE (Program) button. The
LED will start to flash.
Press the (M1,M2, or M3) button under
which you want to store the number
Use the keypad to enter the telephone
number.
Press the MUTE (Program) button. The
LED will stop flashing. The number is now
stored.
To dial a number stored using the
memory buttons (M1, M2, M3)
Lift the handset
Press the (M1,M2, or M3) button under
which the number you want is stored. The
number is dialled automatically
To store a number using the
Memory
Press the MUTE (Program) button. The
LED will start to flash.
Press the MEMORY button and then a
number, 0 to 9, under which you want to
store the number
Use the keypad to enter the telephone
number
Press the MUTE (Program) button. The
LED will stop flashing. The number is now
stored.
Mute
Program
M1
Memory
M1M2M3
Mute
Program
Mute
Program
Mute
Program
Keypad
To store a pause in the dialling sequence of a memory number,
e.g, 9,pause,6, press the REDIAL button.Please note that if a
pause 6 entered in a memory location in any of the 1st 5 digits
it will cause a 2 second pause. If a pause is stored after the 5th
digit dialling will stop until the REDIAL (pause) button is
pressed
Page 6

10
Product Warranty
Telstra Guarantees your
product for 12 months from
date of purchase against any
defect in materials or
workmanship under conditions
of normal use and service and
subject to proof of the date of
purchase being provided and
subject to the conditions
specified below.
The benefits conferred by this
warranty are in addition to all
other rights and remedies in
respect of the product that the
consumer has under the Trade
Practices Act and similar State
and Territory laws.
Warranty Service Conditions
Subject to your statutory rights
referred to above,Telstra
expressly limits its liability with
respect to its products to the
person who purchases the
Product from the Telstra
authorised retailer.
Subject to your statutory rights
referred to above,Telstra
expressly limits its liability with
respect to its products to
whichever is the lowest amount
out of:
A. The cost of having the goods
repaired
B. The cost of replacing the
goods: or
C. The cost of obtaining
equivalent goods.
Subject to your statutory rights
referred to above,in the event
of the goods requiring service
under warranty, the owner is
responsible for the cost of
transportation to the
authorised service organisation.
Whilst in transit the goods are
at the owner’s risk.
Subject to your statutory rights
referred to above,should the
goods be found to be in sound
working order by the
authorised service organisation
the owner may be charged
service fee.
Subject to your statutory rights
referred to above,the goods will
not be eligible for service if:
A. Proof of date of purchase
cannot be provided:
B. The goods are not branded
Telstra:
C. The goods have been rented
to another person;
D.The defect was caused by an
accident, misuse,abuse,
improper installation or
operation, lack of reasonable
care,unauthorised
modification, loss of parts,
tampering or attempted
repair by a person not
authorised by Telstra.
E. The product has been
damaged by lightning or a
mains power surge.
Do you really need service?
Before calling for service under
this warranty have you :
Checked that all cables are
securely connected as detailed
in the User Guide.
Referred to the User Guide to
ensure that the features are
being used correctly.
If you are trying to access a
network service such as Call
Waiting,confirmed with your
network provider that you have
access to this feature.
If You Require Warranty
Service
To obtain service during the
terms of this warranty:
Call the Product Information
Line (1300 369 193) for advice
and assistance on the repair of
your product, or contact us by
E-mail at:
tcpsupport@techpac.com
After consulting our operators,
should it be deemed necessary
to have the product serviced,
the operator will inform you of
your nearest authorised service
organisation and provide a
Return Authority Number.
Please ensure that :
A. You provide proof of the date
of purchase
B. That your product is suitably
packaged (Preferably in
original packaging)
C. That you have included all
components from the
original purchase:
D.That you provide details of
the Return Authority Number
IMPORTANT
Please retain this booklet with
your sales receipt as proof of
the date of purchase.
Product warranty & Customer service
9
Read and understand all instructions.
Follow all warnings and instructions marked on this
product.
Do not use this product during an electrical storm, as
it is possible to get a shock.
Do not use this product when near water, or when
wet.
Make sure the line cords are protected from damage.
Keep the product away from heaters and away from
sunlight.
Do not use this telephone near flammable gases or
liquids.
Slots and openings in the cabinet are provided for
ventilation, to protect it from overheating. Ensure
these are not blocked or covered.
Do not open the unit. There are no user serviceable
parts inside. Warranty conditions will not apply if the
unit has been opened.
Unplug this unit before cleaning. Do not use
detergents or sprays. To clean the outside plastic
parts, use only a damp cloth.
Do not push objects into ventilation openings. This
could cause an electrical shock.
Important Safety
Instructions
 Loading...