

Page 1
Telstra Commander@ El 05/208+
System- User Guide
Serial Item
546/262
Issue 1
I
Page 2
9-L
...........................................................................................
apo~
laspsaH
S-L
.............................................................................................
IIe3a‘d
x~~
S-L
..........................................................................................
91”~sIa
loN
oa
P-L
....................................................................................
~rsn~
punolcJy3ea
P-L
.......................................................................
~urIIsu~~
s
auo~
ol
~Ipe3aa
E-L
.......................................................................................
a”o~
a3uaprJuo3
E-L
...........................................................
slaq*nN
re!a
pa~el~alqq~
cJu~lols
Z-L
.....................................................................
slIaqur”N
re!a
paa(jS
~u!lojs
C-f
................
.
.....
.
...............................................
wiw~
Jaw0
2
6-9
.........................................................................................
a3ualaJuo3
IIB3
8-9
..............................................................................................
laJSUel~
IIe3
L-9
...............................................................................................
c&p~Efi
11~3
s-9
.............................................................
lark\su~
oN _
“o!sla*la
11~3
P-9
.......................................................................
Xsna _
“o!~a*la
1183
E-9
...............................................................
ale!pauIurI
_
“o!sla*!a
11~3
E-9
...........................................................................................
uolSla~!a
IIeC)
z-9
...................................................................................................
y3~~
IIeC)
L-9
.....................................................................
samlead
laluaa -9
s-s
........................................................................
a-jualajuo3
uIo31al”I
P-S
....................................................
/cWd
ap!slng
ue q~lM
a3”alaJuo3
P-S
.......................................................................................
s11”3
a~ualaJ”03
E-S
..................................................................................
a%ed
a~y-laa~
z-s .....
...........................................................................
,$JEd
uo~~ss~IIv
z-s
........................................................................................................
@ged
L-S
.................
.
.....
.
.............................
sllea
awarajuo3
pue
6u!6ed
.g
E-b .”
...................................................................................
sIIe3
cJuFuaJsuelL
Z-P
............................................................................................
SIIe3 8ulpIoH
1-P
.................
.
.....
.
............................
Sill?3
fiU~JJa~SUf?J~
PM?
fill!plOH
‘p
S-E
. . . . . . . . . . . . . . . . . . . . . . . . . . . . . . . . . . . . . . . . . . . . . . . . . . . . . . . . . . . . . . . . . . . . . . . . . . . . . . . . . . . . .
sIIe3
uo!ll?ls
Jooa
S-E
. . . . . . . . . . . . . . . . . . . . . . . . . . . . . . . . . . . . . . . . . . . . . . . . . . . . . . . . . . . . . . . . . . . . . . . .
cJurII”Ia
pale!*alqq~
P-E
...’
. . . . . . . . . . . . . . . . . . . . . . . . . . . . . . . . . . . . . . . . . . . . . . . . . . . . . . . . . . . . . . . . . . . . . . . . . . . . . .
~ulIIeta
paadS
P-E . .
. . . . . . . . . . . . . . . . . . . . . . . . . . . . . . . . . . . . . . . . . . . . . . . . . . . . . . . . . . . . . . . . . . . . . . . .
IeIPa~
laquInN
Is~!?
E-E
.‘.’
. . . . . . . . . . . . . . . . . . . . . . . . . . . . . . . . . . . . . . . . . . . . . . . . . . . . . . . . . . . . . . . . . . . . . . . . . .
gu!IIEM
yooy-ug
E-E .
. . . . . . . . . . . . . . . . . . . . . . . . . . . . . . . . . . . . . . . . . . . . . . . . . . . . . . . . . . . . . . . . . . . . . . . . . . . .
%uLII”Ta
yooq-jjo
E-E
. . . . . . . . . . . . . . . . . . . . . . . . . . . . . . . . . . . . . . . . . . . . . . . . . . . . . . . . . . . . . . . . . . . . . . . . . . . . . . . . . . . . . . . . . . . . .
sIIe3
aprslnO
Z-E
. . . . . . . . . . . . . . . . . . . . . . . . . . . . . . . . . . . . . . . . . . . . . . . . . . . . . . . . . . . . . . . . . . . . . . . . . .
II”3
a3lo*
uro31aluI
Z-E
. . . . . . . . . . . . . . . . . . . . . . . . . . . . . . . . . . . . . . . . . . . . . . . . . . . . . . . . . . . . . . . . . . . . . . . . .
IIy)
pzUB!S
uI031wq
z-s
.
. . . . . . . . . . . . . . . . . . . . . . . . . . . . . . . . . . . . . . . . . . . . . . . . . . . . . . . . . . . . . . . . . . . . . . . . . . . . . . . . . . . . . . . . . .
SIpq)
ux031wl~
l-8
.‘.....,................,.......................................,........
siiw
6ww
2
,
E-Z
. . . . . . . . . . . . . . . . . . . . . . . . . . . . . . . . . . . . . . . . . . . . . . . . . . . . . . . . . . . . . . . . . . . . . . . . . . . . . . . . . .
sIIe3
uopejS
Jooa
z-z
.,....................................................................,..........,...........
sIIe3
apys~ng
Z-Z
. . . . . . . . . . . . . . . . . . . . . . . . . . . . . . . . . . . . . . . . . . . . . . . . . . . . . . . . . . . . . . .
uoy,els
laqlouv
le
cJuguyx
z-z
.‘.
UOI]E]S
1noA
It? al@l~~
z-z
. . . . . . . . . . . . . . . . . . . ...:::::::::::::::::::::::::::::::::::::::::::::: . . . . . . . . . . . . . . . . . . . . . . .
SIpQ
LIIo31a1q
S-Z
. . . . . . . . . . . . . . . . . . . . . . . . . . . . . . . . . . . . . . . . . . . . . . . . . . . . . . . . . . . . . . . . . . . . .
slleg
Gu!JaMSu\(
-z
9-I
..........................................................................................
samlead
Ialua3
S-I
..........................................................................................
%uva
ssaD3v
S-I
..............................................................................................
auoL a31*“aS
P-I
.........................................................................................
s@uQ
a141P”V
P-I
...............................................................................
.............
S[wl8!S
plS!~
E-I
........................................................................................
uop~!13saa
Aax
z-1
...................................................................................
um%wa
uogu~sdq
1-c
................................................
rapueuuuo3
JnoA
mouy
016u!llag
.
1
Page 3

8. General Information
. . . . . . . . . . . . . . . . . . . . . . . . . . . . . . . . . . . . . . . . . . . . . . . . . . . . . . . . . . . . . . . .
8-1
Care of Your Commander
. . . . . . . . . . . . . . . . . . . . . . . . . . . . . . . . . . . . . . . . . . . . . . . . . . . . . . . . . . . . . . . . . . . . . . . . .
8-2
Service Problems.
. . . . . . . . . . . . . . . . . . . . . . . . . . . . . . . . . . . . . . . . . . . . . . . . . . . . . . . . . . . . . . . . . . . . . . . . . . . . . . . . . . . . . .
8-2
Power Failure . .
. . . . . . . . . . . . . . . . . . . . . . . . . . . . . . . . . . . . . . . . . . . . . . . . . . . . . . . . . . . . . . . . . . . . . . . . . . . . . . . . . .
8-2
Other Difficulties
. . . . . . . . . . . . . . . . . . . . . . . . . . . . . . . . . . . . . . . . . . . . . . . . . . . . . . . . . . . . . . . . . . . . . . . . . . . . . .
8-3
System Enhancement . . . . . .
. . . . . . . . . . . . . . . . . . . . . . . . . . . . . . . . . . . . . . . . . . . . . . . . . . . . . . . . . . . . . . . . . . . . . . . . . . .
8-3
Page 4
Page 5

GettrngtoKnow
Your
Commander
Geltmg ToKnow YourCommander
Keystation Diagram
D
iB
5
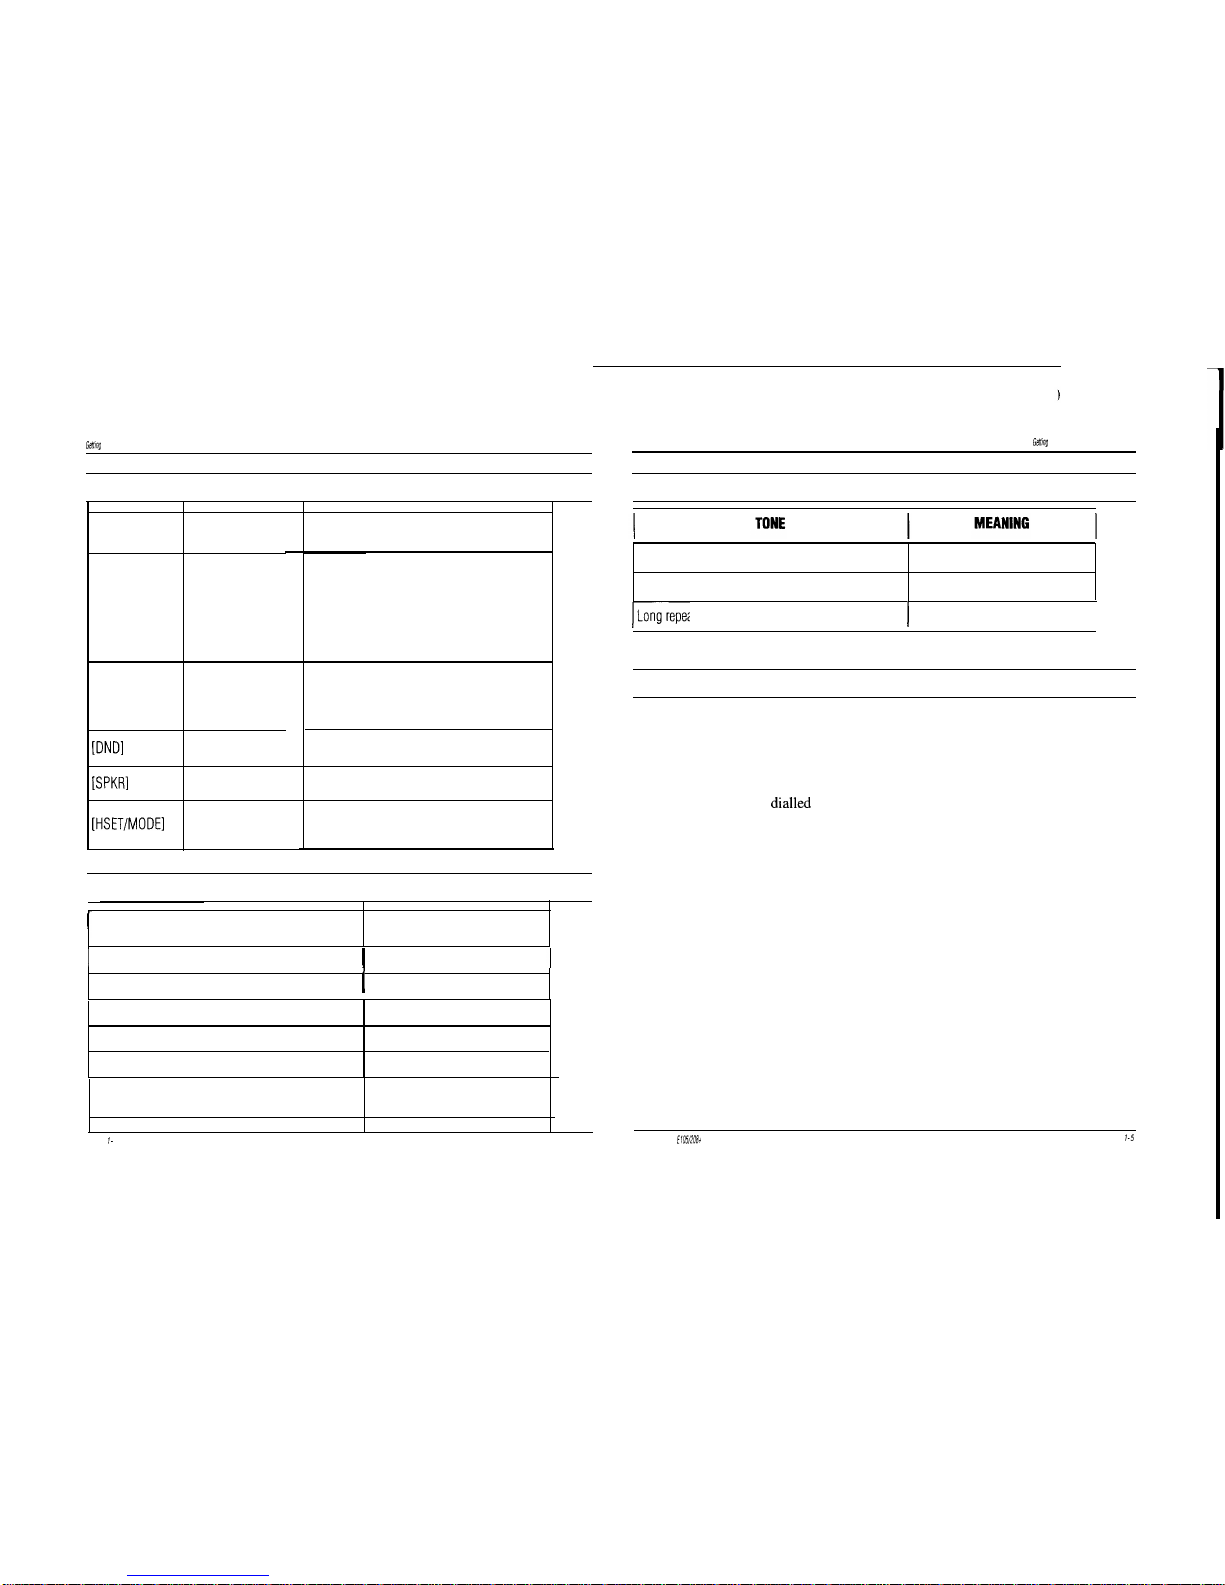
Key Description
0 HSET/MODE
Key
a) Headset Mode Activation
b) Dialling Mode Change
Change from decadic to tone signalling after a
call is established.
0
LINE Key
To access outside line.
a
SPEAKER Key
To activate the speaker - calls can be initiated
without lifting handset,
0
DND Key
(Do Not Disturb) To block all audible signals
from incoming calls.
@
HOLD Key & INTERCOM Lamp
a) To place calls on hold.
b) To indicate intercom status.
@
REDIAL Key
To automatically redial the last number dialled.
@DIRECT ACCESS Keys
These keys have two functions:
a) Direct Station Selection (DSS)
When the handset is lifted, or the station is in
‘off-hook’ mode, these keys are used to make
intercom calls to other stations.
b) Speed Dial
When the handset is lifted or the station is in
‘off-hook’ mode, and the exchange line is also
selected, these keys are used to select preprogrammed speed dial numbers.
0
DOOR Key
a) To monitor the door station or answer calls
from the door station.
b)
Call Transfer - Exchange calls
To control the
Centel@/EasycallTM
transfer
function.
@PAGE Key
a) To establish an all station page.
b) Call Conference - Exchange Calls
To control the
CenteVEasycall
conference
function.
@MEMORY Key
To program speed dial and abbreviated dial
memory locations.
@RECALL Key
a) If your system is a PABX extension: to
allow access to the host PABX facilities.
b) To control
EasycallKentel
functions.
@
CONFERENCE Key
To establish multi station conferences on the
exchange line.
@CALL BACK Key
To control the
CenteUEasycall
call back
function.
$
CALL DIVERT Key
To control the
CenteUEasycall
call diversion
functions.
@
CALL WAITING Key
To control the
CenteUEasycall
call waiting
function.
Page l- 2
CommandaE105/208tSys/emUserGwde
Page
l-3
Page 6
Genmg
to Know Your Commander
Visual Sianals
LAMP
[LINE]
Intercom
Off
(located in the
Steady glow
[HOLD] key)
Slow flash
WNDI
Steady glow
[SPKRI
[HSET/MODEl
LAMP STATUS
Off
Steady glow
Slow flash
Medium flash
Rapid flash
Steady glow
Off
Steady glow
MEANING
Line free
Line busy
Line on hold
Line ringing
Conference in progress
Intercom link free
Intercom link busy
Incoming intercom call
Do Not Disturb activated
On-hook dialling activated
Handset Mode off
Headset Mode activated
Audible Signals
1
SIGNAL
MEANING
1
Normal ring
Continuous short ring
1
Outside call
I
1
Intercom call
Short beep followed by voice
Two long beeps
Double chime
Intercom voice call
All-station page
Door Station call
Two short bursts of ring repeated at 90 seconds
intervals
Hold recall
Geffing
Jo
Know Your Commander
Service Tone
Continuous short tone
Slow repeating tone
Intercom ring
Busy
r-
Long repeating tone
I
Error
I
Access Barring
During installation each station will be allocated one of two modes of call
barring:
l Unrestricted mode
l Restricted mode
Numbers dialled are compared to an exception table. If a match is found
the call is allowed.
This table consists of two areas:
A programmable area consisting of eight entries of four
digits each, and;
A non-programmable area with fixed emergency numbers, etc.
Page f- 4
Commander
ElOWOEt
System User Guide
Page
7-5
Page 7
Gelffng
to Know
Your
Commander
Centel Features
The Commander
E105/208+
is compatible with CenteVEasycall facilities
provided the system has been programmed to meet the following conditions:
l DTMF Dialling
l Stations must have Unrestricted access.
Subject to Centel connection the Commander
E105/208+
has five
preprogrammed keys which control the Centel/Easycall functions:
l Call Back
l Call Diversion
l Call Waiting
l Call Transfer
l Call Conference
Details of each function are covered in Section 6 - Centel Features.
For further information on operation and programming of Centel facilities refer
to Centel/Easycall User Guide.
Page
l-6
Page 8
c
Page 9
Intercom Calls
Ringing at Your Station
To Answer Intercom Calls Ringing at Your Station:
l
Hear the intercom ring signal
The intercom lamp flashes slowly at your station.
l
Lift the handset.
Ringing at Another Station
To Answer Intercom Calls Ringing at Another Station:
l Hear the intercom ring signal at another station
The intercom lamp glows steadily at your station.
l Lift the handset at your station
l Press [CONF].
Outside Calls
AmwerIrlo
cans
If Automatic Exchange line Answer is Programmed:
l Hear the normal ring signal
l Lift the handset
-
the call is answered.
(If more than one call is ringing, the call ringing the longest is answered.)
If more than one call is ringing, a particular call may be answered first by
pressing the [LINE] key and then lifting the handset.
Door Station Calls
To Answer Calls From the Door Station:
l Hear the Door Station chime
l Lift the handset
l Press [DOOR].
The intercom lamp glows steadily at all stations.
A call from the Door Station cannot be answered from a station if the intercom
link is already in use.
Door Station calls will only chime at stations programmed to receive paging.
To Answer Outside Calls:
l Hear the normal ring signal
l
Lift the handset
l Press the appropriate medium flashing [LINE].
During installation, stations can be programmed to have no audible signal, if
required. However, calls can still be answered by pressing the appropriate
[LINE].
Page
2-2
Commander
E1051206t
System User
Gufde
Page 2-3
Page 10

I
-
1
I
-
Page 11

Intercom Calls
Outside Calls
Intercom Signal Call
To Make an Intercom Call that will Ring at the Called Station:
l
Ensure that the intercom lamp is extinguished
l
Lift the handset
l
Press required DSS key [l-8]
The intercom
lamp
glows steadily at all other stations.
l
Hear the intercom ring tone
l
Speak when called party answers.
If the called station is busy or in Do Not Disturb mode, you hear a busy tone.
Intercom Voice Call
To Make an Intercom Call in which your Voice Sounds Through the Called
Station’s Speaker:
l
Ensure that the intercom lamp is extinguished
l
Lift the handset
l Press required DSS key [l-8]
The intercom lamp glows steadily at all other stations.
l
Press DSS key again [l-8]
l
Hear a short beep
l
Page the called party.
Off-hook Dialling
To Make an Outside Call with the Handset Off-hook:
l Lift the handset
l
Press a free [LINE]
The selected [LINE] lamp glows steadily at all stations.
l
Hear the dial tone
l
Dial the required number
l
Speak when the called party answers.
On-hook Dialling
To Initiate an Outside Call Using the On-hook Facility:
l
Press a free [LINE] without lifting the handset
The [SPKR] lamp glows steadily at your station.
The selected [LINE] lamp glows steadily at all stations.
l
Hear the dial tone through the station speaker
l
Dial the required number
.
Lift the handset to speak when the called party answers.
The [SPKR] lamp extinguishes.
To Cancel an Outside Call Made with the On-hook Facility if the Called Party
is Busy or Does Not Answer:
l Press [SPKR].
The [SPKR] lamp extinguishes.
The selected [LINE] lamp extinguishes.
CommanderE105/208tSysfem
UseiGuide
page3-3
Page 12

Makmg Cal/s
last Number Redial
Abbreviated Dialling
To Initiate Automatic Redialling of the last Number Dialled with the Handset
Off-hook:
l
Lift the handset
l Press a free [LINE]
The selected [LINE] lamp glows steadily at all stations.
l Hear the dial tone
l Press [REDIAL].
The last number dialled is automatically redialled.
Last number redial calls can also be initiated using the on-hook facility.
Speed Dialling
This facility allows each station to access eight speed dial numbers previously
stored in that station.
For speed dial number storing procedures, see page 7-2
To Dial a Stored Number:
l
Lift the handset
l
Press a free [LINE]
The [LINE] lump glows steadily at all stations.
l
Hear the dial tone
l
Press required speed dial key [l-8].
The stored number is
dialled
automatically.
You can also initiate speed dialling using the on-hook facility.
MakIng Cal/s
This facility allows each station to access two abbreviated dial numbers
previously stored in that station.
For abbreviated dial number storing procedures, see page 7-3.
To Dial a Stored Number:
l Lift the handset
l
Press a free [LINE]
The [LINE] lump glows steadily at all stations.
l
Hear the dial tone
l Press [MEMORY]
l Press required abbreviated dial key [0 or
91.
The stored number is
dialled
automatically.
You can also initiate abbreviated dialling using the on-hook facility.
Door Station Calls
To Call the Door Station:
l
Ensure that the intercom lamp is extinguished
l Lift the handset
l Press [DOOR].
The intercom lamp glows steadily at all stations.
Page 3-
4
Commander
E10.5/20&
System User
Gurde
Page 3- 5
Page 13

Page 14

Holding Calls
To Place an Outside Call on Hold:
l
Ask the outside party to wait
l Press [HOLD]
Transferring Calls
Any outside call can be transferred to another station.
To Transfer a Call:
The [LINE] lamp flashes slowly at all stations.
The outside
party
hears music.
(If
programmed.)
l
The handset can be replaced.
To Retrieve a Held Call from Any Station:
l
Lift the handset
l
Press the appropriate slowly flashing [LINE].
If a call on hold is not retrieved within 90 seconds, the hold recall signal rings.
This signal will repeat at 90 second intervals until the call is retrieved.
Ask the outside party to wait
Press [HOLD]
The [LINE] lamp flashes slowly at all stations.
The outside pat-8 is placed on hold and hears music.
Ensure that the intercom lamp is extinguished
Press the required DSS key [l-8]
The intercom lamp glows steadily at all other stations.
Announce the transfer
Replace the handset.
To Make an Inquiry Call while a Call is on Hold:
l
Ask the outside party to wait
l Press [HOLD]
The call is answered at the called station bp pressing the appropriate
slowly flashing [LINE].
The [LINE] lamp flashes slowly at all stations.
The outside party hears music.
l
Press required DSS key [
l-81
or make an outside call on the other line if
equipped
l
Make your inquiry
l
Press the appropriate slowly flashing [LINE] to return to the held call.
page4-2
CommanderElO5/2OBtSvs/em
User
Gwde
page4-
3
Page 15

Page 16

PagmgandConference
Calls
-
Paging
PagmgandConverence
Calls
Meet-Me Page
Announcements can be made through the speakers of all idle stations in the preprogrammed paging zone.
All-Station Page
To Make a General Announcement to all Stations in the Paging Zone:
l Ensure that the intercom lamp is extinguished
l
Lift the handset
l Press [PAGE]
The intercom lamp glows steadily at all stations.
Two beeps are heard through the speakers of all idle and page included
stations.
l Make the announcement
l
Replace the handset.
To Request a Specific Person to Contact the Originator of a Page Immediately
After an Announcement:
l
Ensure that the intercom lamp is extinguished
l Lift the handset
l Press [PAGE]
The intercom lamp glows steadily at all stations.
Two beeps are heard through the speakers
of
all idle stations.
l Make an announcement, requesting that the person contact you
l
Leave the handset off-hook.
The paged person presses [PAGE] to automatically connect to your
station.
Page 5- 2 CommandeiEiO5/208tSyslem
UserGufde
Page53
Page 17

Paging and
Conlerence Calls
Conference Calls
Conference calls can be conducted between an outside party and two stations, or
between three stations.
Conference with an Outside Party
To Set Up a Conference Call with an Outside Party:
l Ask the outside party to wait
l Press [CONF]
l
Press required DSS key [l-8]
The [LINE] lamp flashes slowly.
The intercom lamp glows steadily at all other stations.
The outside party is placed on hold and hears music.
(If
programmed.)
l Ask the new party to wait
l Press [CONF].
The [LINE] lamp flashes rapidly.
All parties are connected to the conference call.
The intercom lamp extinguishes.
If the person at the station is busy, does not answer or does not wish to join the
conference, you can return to the outside party by pressing the flashing [LINE].
Press [CONFERENCE] again and press another DSS key to try another station.
If one of the stations leaves the conference, the [LINE] lamp will change to a
steady glow.
Pagmg
and
Converence &i/s
Intercom Conference
To Set Up an Intercom Conference Call:
l
Ensure that the intercom lamp is extinguished
l
Lift the handset
l
Press required DSS key [l-8]
The intercom lamp glows steadily at all other stations.
l
Ask the party to wait
l Press [CONF]
l
Press the second DSS key [l-8].
When the call is answered, the conference call is automatically
connected.
Page 5 4
Commander
ElW208t Syslem
User
Gurde
Page 5- 5
Page 18

Page 19

Call Back
Call Diversion
Refer to Centel User Guide for a complete description of this feature.
To Set Call Back:
l
Lift the handset
l
Press a free [LINE]
The selected [LINE] lamp glows steadily at all stations.
l
Hear the dial tone
l
Dial the required number or press the appropriate speed dial key [l-8]
l
If you hear busy tone press [CALL BACK]
The dial sequence
*37#
is automatically sent to line.
l
Replace the handset.
To Cancel Call Back:
l
Lift the handset
l
Press a free [LINE]
The selected [LINE] lamp glows steadily at all stations.
l Press [CALL BACK]
The dial sequence #37# is automatically sent to line.
l
Replace the handset.
The
E105/208+
will not ring with the distinctive Centel call back cadence. Call
back calls are presented as normal calls.
Refer to Centel User Guide for a complete description of this feature.
Call Diversion - Immediate
To Store Call Diversion - Immediate:
l Press [CALL DIVERT]
l Press
[l]
l
Lift and replace the handset.
The divert immediate code is now stored under the [CALL DIVERT] key.
To Set Call Diversion - Immediate:
l
Lift the handset
l
Press a free [LINE]
The selected [LINE] lamp glows steadily at all stations.
l Press [CALL DIVERT]
l
Dial number to which calls are to be diverted or press speed dial key
The dial sequence
*21
is sent to line automatically before the telephone
number:
l
Press [CALL DIVERT]
The dial sequence # is sent to line.
l
Replace the handset.
Page 6- 2
Page6-3
Page 20

To Clear Call Diversion - Immediate:
l
Lift the handset
l
Press a free [LINE]
The selected [LINE] lamp glows steadily at all stations.
l Press [CALL DIVERT] twice
The dial sequence #21# is sent to line.
l Replace the handset.
Call Diversion - Busy
To Store Call Diversion - Busy:
l Press [CALL DIVERT]
l Press
[2]
l Press [CALL DIVERT]
The dial sequence # is sent to line.
l Replace the handset.
To Clear Call Diversion - Busy:
l Lift the handset
l Press a free [LINE]
The selected [LINE] lamp glows steadily at all stations.
l
Press [CALL DIVERT] twice
The dial sequence #24# is sent to line.
l Replace the handset.
Call Diversion - No Answer
l
Lift and replace the handset.
The divert on busy code is now stored under the [CALL DIVERT] key.
To Set Call Diversion - Busy:
l Lift the handset
l Press a free [LINE]
The selected [LINE] lamp glows steadily at all stations.
To Store Call Diversion - No Answer:
l Press [CALL DIVERT]
l Press
[3]
l
Lift and replace the handset.
The divert on no answer code is now stored under the [CALL DIVERT] key.
l Press [CALL DIVERT]
l Dial number to which calls are to be diverted or speed dial key
The dial sequence
*24
is sent to line automatically before the telephone
number:
Page 6-4
Commander
ElOW08t
System User Guide
Page 6- 5
Page 21

To Set Call Diversion - No Answer:
l
Lift the handset
l
Press a free [LINE]
The selected [LINE] lamp glows steadily at all stations.
l Press [CALL DIVERT]
l
Dial number to which calls are to be diverted or speed dial key
The dial sequence
*61
is sent to line automatically before the telephone
number
l Press [CALL DIVERT]
The dial sequence # is sent to line.
l Replace the handset.
To Clear Call Diversion - No Answer:
l
Lift the handset
l
Press a free [LINE]
The selected [LINE] lamp glows steadily at all stations.
l Press [CALL DIVERT] twice
The dial sequence
#6l#
is sent to line.
l
Replace the handset.
Call Waiting
Refer to Centel User Guide for a complete description of this feature.
To Hold the Original Call and Answer the Waiting Call:
l Press [CALL WAIT].
The dial sequence ‘recall 2’ is sent to line.
The original call is placed on hold and the waiting call is answered.
To Return to the Original Call:
l Press [CALL WAIT].
The dial sequence ‘recall 2’ is sent to line.
The second call is placed on hold and the original call is reconnected.
To Alternate Between Calls:
l Press [CALL WAIT].
The dial sequence ‘recall 2’ is sent to line.
This process can be repeated indefinitely to alternate between the two calls as
required.
To Release Current Call and Reconnect the Waiting Call:
l Press [RECALL]
l Press [I]
The current call is released and the waiting call reconnected.
Page 6-
6
Commanoer El05/2Db’+
System User
Go/de
Page 6-7
Page 22

Call Transfer
Call Conference
Refer to Centel User Guide for a complete description of this feature.
Refer to Centel User Guide for a complete description of this feature.
To Transfer Exchange Call:
l Press [RECALL]
l Dial number to which the call is to be transferred
l
Speak to the called party
*
Press [DOOR]
The dial sequence ‘recall 4’ is sent to line.
l Replace the handset.
To Cancel Exchange Call Transfer if Called Party Does Not Answer:
l Press [RECALL]
0
Press
[l].
The call transfer feature may only be used in conjunction with other system call
handling functions, on stations programmed as ‘unrestricted’. If used in
conjunction with other call handling functions on restricted stations, the access
barring system will not allow dialling to the transfer number.
To Establish Conference Call While on an Exchange Call:
l Press [RECALL]
l Dial the second number which is to be included in the conference call, or
press speed dial
l Press [PAGE].
The dial sequence ‘recall 3’ is sent to line.
Conversation in now possible between all three parties.
The call conference feature may only be used in conjunction with other system
call handling functions, on stations programmed as ‘unrestricted’. If used in
conjunction with other call handling functions on restricted stations, the access
barring system will not allow dialling to the wanted conference number.
Page 6-
8
Commander
E105/208t
System User
Gude
Page 6-
9
Page 23

1
I
-
Page 24

Other
Fao/~hes
Storing Speed Dial Numbers
Storing Abbreviated Dial Numbers
You can programme and store up to eight speed dial numbers in each station
You can programme and store two abbreviated dial numbers in each station
which can be used only at that station. You can access each of these numbers by
which can be used only at that station You can access these two numbers by
presmg
the appropriate speed dial key.
dialling the appropriate one-digit memory code.
For speed dialling procedures, see page 3-4.
For abbreviated dialling procedures, see page 3-5.
To Store a Speed Dial Number in a Station’s Memory:
1
Lift the handset
*
Press [MEMORY]
*
Press a speed dial key [l-8]
*
Dial the telephone number to be stored.
A maximum of 19 digits can be programmed for each telephone number. It is
not possible to store [RECALL] as part of a speed dial number.
If a station has been designated as a PABX extension, a three-second pause is
automatically inserted after the first digit. The pause can also be inserted in a
speed dial number by pressing [REDIAL] while storing the number.
To Add Further Speed Dial Numbers:
*
Press [MEMORY] again
9
Press another speed dial key [l-8]
l
Dial the next telephone number to be stored
l
Continue this sequential procedure until you have stored all required
numbers.
When you have finished entering numbers:
l Replace the handset.
To Store an Abbreviated Dial Number in a Station’s Memory:
l
Lift the handset
l Press [MEMORY]
l
Press dial key [0] or
[9]
l Dial the telephone number to be stored.
A maximum of 19 digits can be programmed for each telephone number. It is
not possible to store [RECALL] as part of an abbreviated number.
If a station has been designated as a PABX extension, a three-second pause is
automatically inserted after the first digit. The pause can also be inserted in an
abbreviated dial number by pressing [REDIAL] while storing the number.
Confidence Tone
You can programme your station to emit a low-level tone indicating when a key
has been pressed.
To Activate or Cancel the Confidence Tone:
l
Press [*] without lifting the handset.
Page 7- 2
Commander
E105/20&
System User
Gude
Page 7-
3
Page 25

Decadic to Tone Signalling
Do Not Disturb
If your system is programmed for decadic signalling, you can change to tone
signalling to access services such as telephone banking and personal remote
paging.
To Activate Tone Signalling:
l
Access the desired service
l
Press [HSET/hIODE] to change from decadic to tone signalling
l
Dial the numbers required by the service
l Complete your transaction
l
Replace the handset.
Decadic signalling automatically resumes on the next call.
Background Music
-
If your system has access to music from an external source, this music can be
played through your station speaker when your station is idle.
To Activate the Background Music:
l
Press [#] twice within one second without lifting the handset.
To Cancel the Background Music:
l
Press [#] once without lifting the handset.
Background music is temporarily disabled if the handset is lifted, a call is
received, or any station uses the intercom link.
This facility allows you to programme your station to block all audible signals
from incoming calls.
To Activate Do Not Disturb:
l
Press [DND] without lifting the handset.
The [DND] lamp glows steadily at your station.
All audible signals from incoming calls are blocked at your station.
Stations trying to call your station hear a busy tone.
Outside calls can still be answered in the normal manner while Do Not Disturb
is activated.
To Cancel Do Not Disturb:
l
Press [DND] without lifting the handset.
The [DND] lamp extinguishes.
Audible signals from incoming calls will be heard at your station.
PABX Recall
If your system is an extension of a PABX, you can transfer calls to other stations
on the PABX. or access other PABX facilities.
To Contact the Host PABX while Connected to a line:
l Press [RECALL]
l
Hear the PABX dial tone
l
Follow the instructions in your PABX User Guide.
CommanderE105/208+
SyslemUserGu~Ue
Page
7~5
Page 26

Headset Mode
A keystation handset may be replaced by a suitable Austel permitted headset.
When connected and activated, the [SPKR] key is used to perform the off-hook
function. Headset mode is protected against accidental activation and deactivation by a two-key activation sequence.
To Activate Headset Mode:
With the handset on-hook:
l
Press and hold
[HSET/MODE]
l
Press and release [SPKR].
To De-Activate Headset Mode
With the handset on-hook:
l Press and hold
[HSET/MODE]
l
Press and release [SPKR].
To Select Headset Mode Once Activated:
l Press
[HSET/MODE].
The [HSETMODE] key will glow.
To De-Select Headset Mode Once Activated:
l
Press [ HSET/MODE] .
The [HSET/MODE] key will go out.
When Headset mode is selected, the handset function is controlled by pressing
the [SPKR] key.
When in Headset mode the station cannot be operated in off-hook mode.
Page 7-
6
Page 27

I
-
I
-
Page 28

Care of Your Commander
Commander telephone systems are manufactured to meet the highest quality
standards.
Follow these common-sense guidelines to help maintain trouble-free service:
l
Handle your keystation with care. Avoid dropping or knocking it.
l
Avoid subjecting the equipment to temperature extremes or damp, steamy
or greasy conditions.
l
Never immerse the equipment in water. Clean the surface with a slightly
damp cloth. Do not use detergents, polishes or commercial cleaners.
*
Do not tamper with your Commander in any way. Interference with its
sensitive electrical components could render it unsafe to use.
*
Service Problems
Power Failure
To prevent loss of service during power failure, an optional facility is available
which will automatically connect the first outside line to a specially provided
single-line telephone.
If this special telephone is not provided, calls cannot be received or made under
power failure conditions.
In the event of a power failure, the system will retain all programmed data for a
mimmum of 24 hours.
Other Difficulties
If operating difficulties occur, first determine if power is available. If
difficulties persist, and your equipment is covered by a Telstra Maintenance
Agreement, call Service Difftculties
(13 2999).
System Enhancement
If you require additional key stations or a larger system, please contact your
local Telstra Representative or call the nearest Telstra Business Office listed in
the information pages of the telephone directory.
 Loading...