

Page 1
MODEL TEL80G
BAR CHILLER
OPERATING
INSTRUCTIONS
* The manufacturer is continuously developing their
products and reserves the right to modify designs, products
and technical data without further notice.
Page 2
PARTS DESCRIPTION
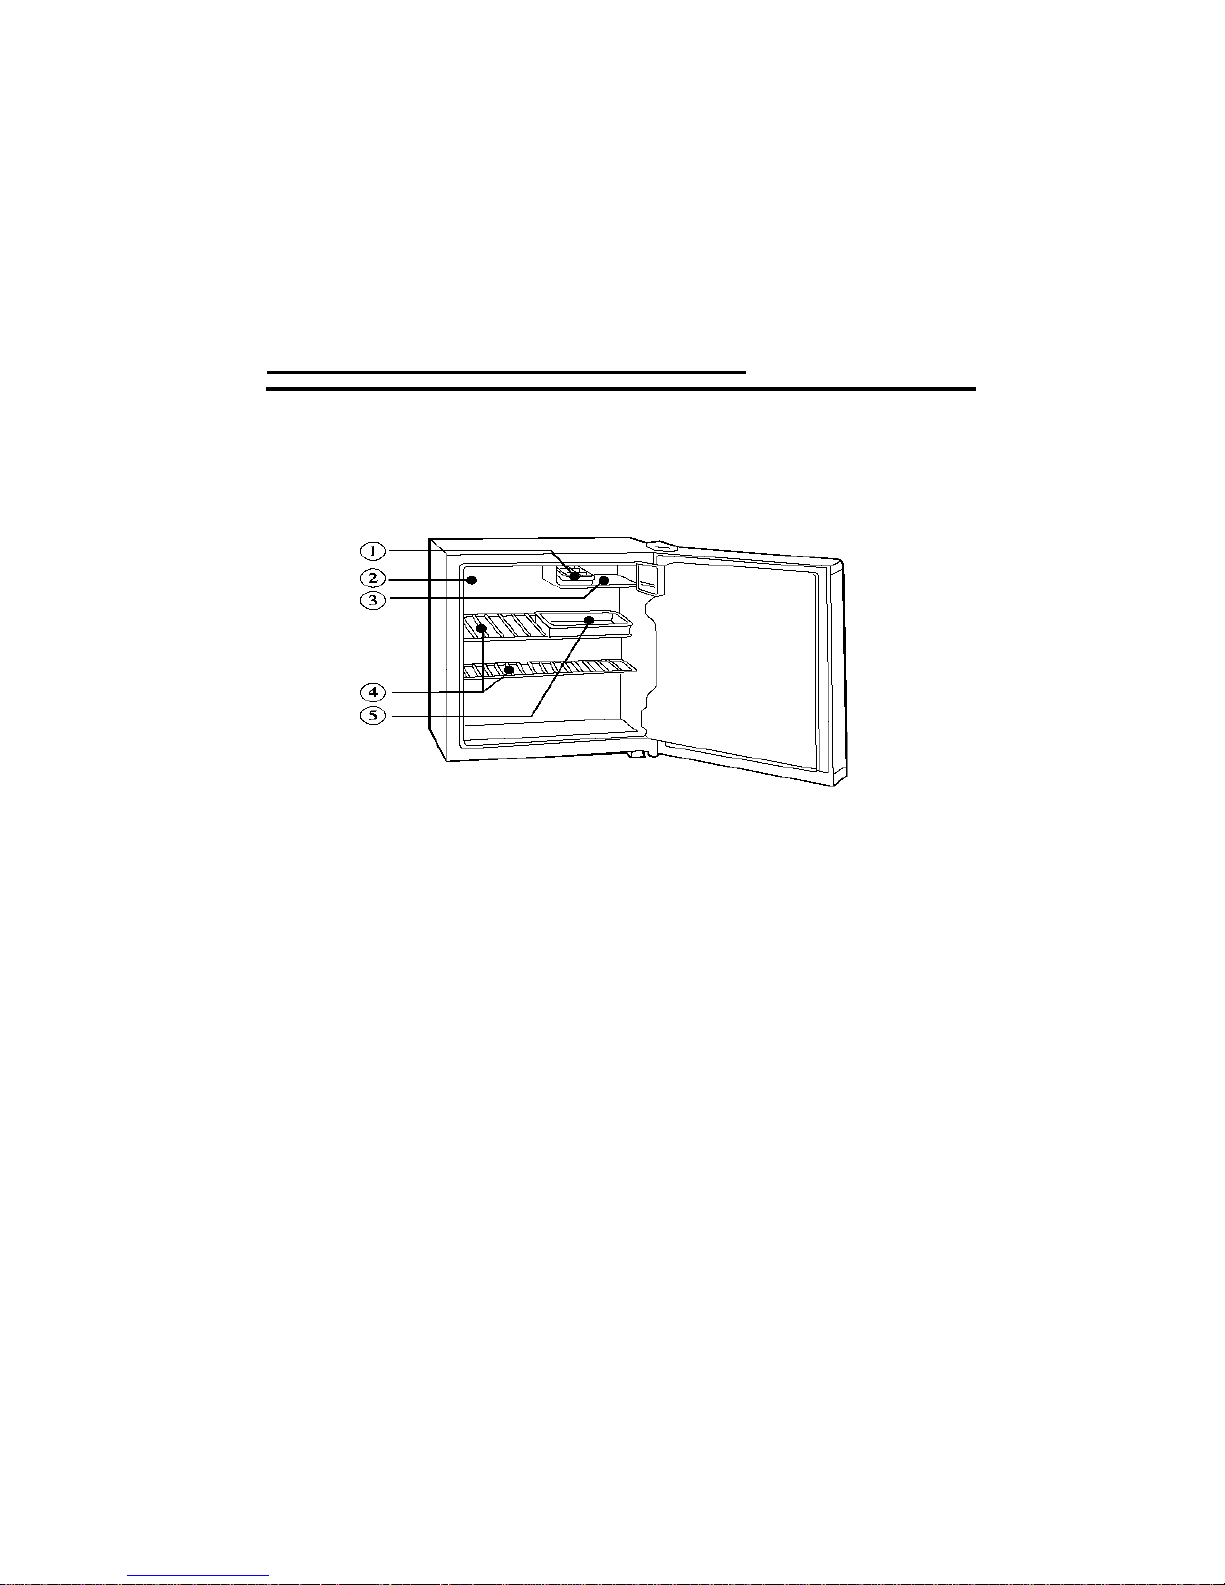
1. Ice Tray
2. Thermostat with Defrost Button
3. Evaporator
4. Shelf
5. Drip Tray
Page 3
NOTICE
SETTING UP
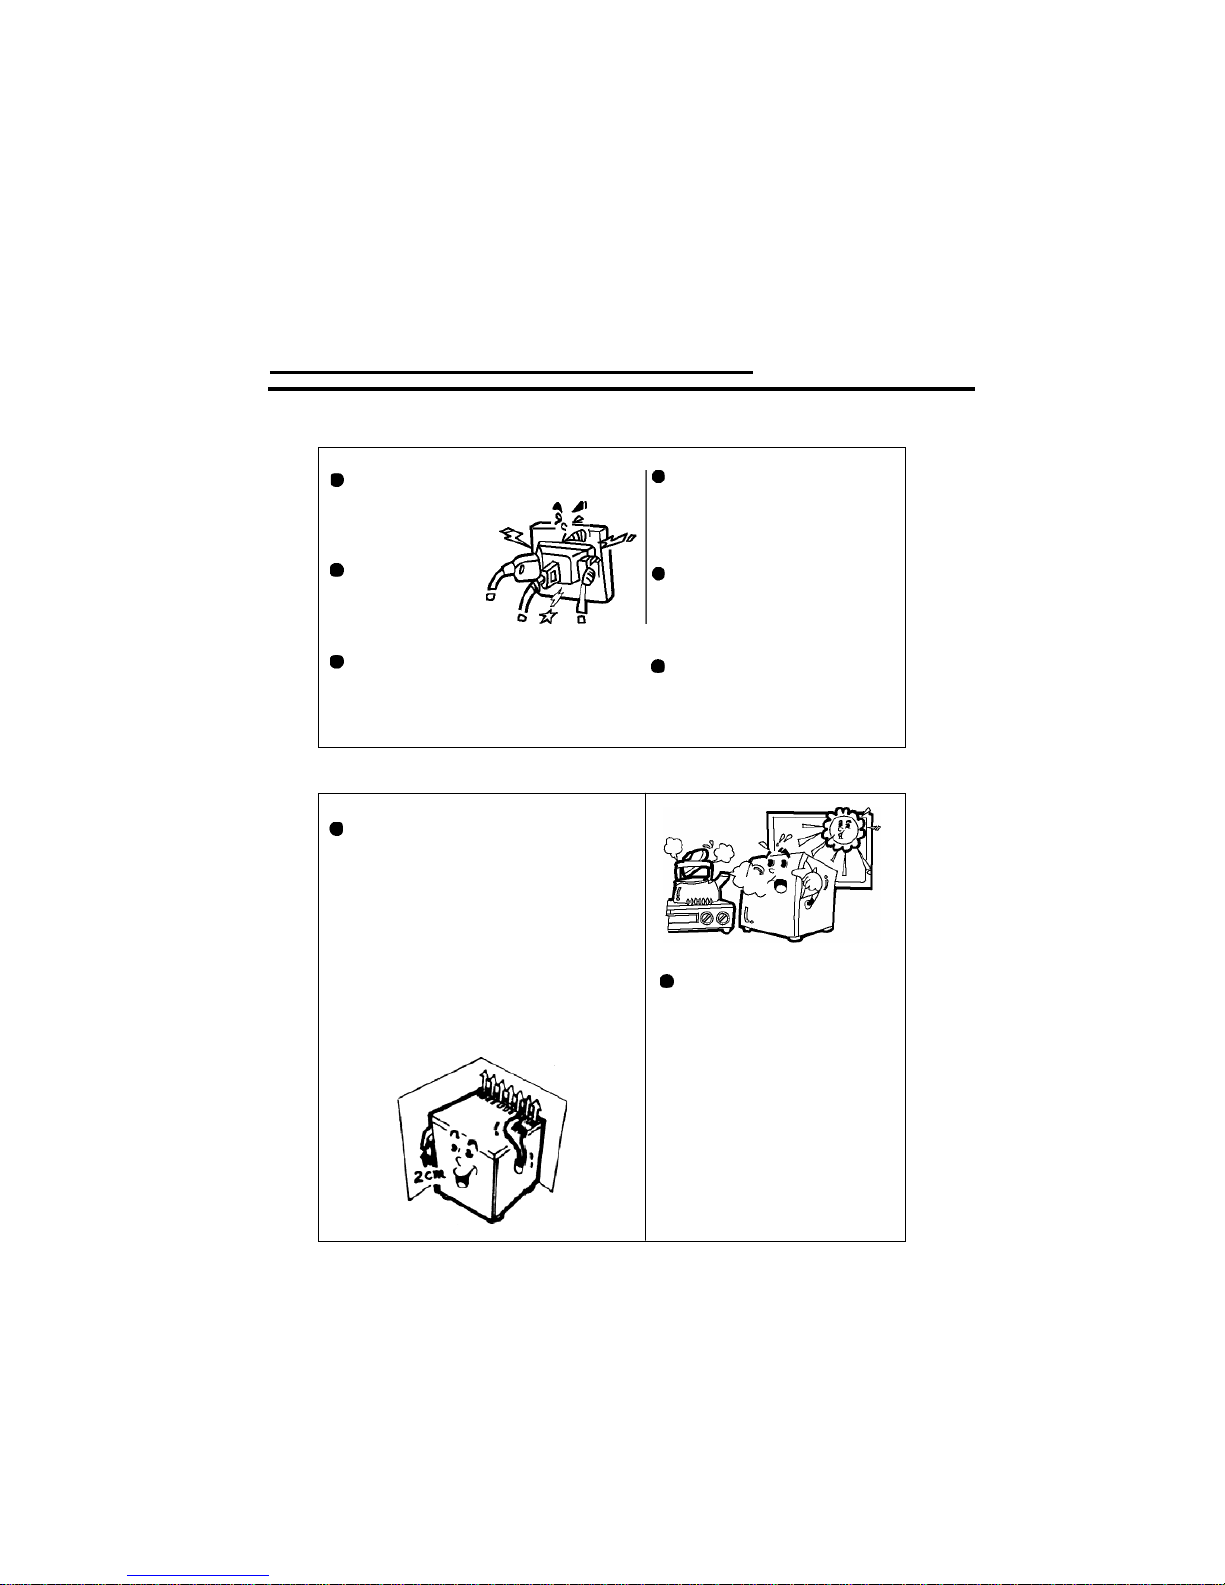
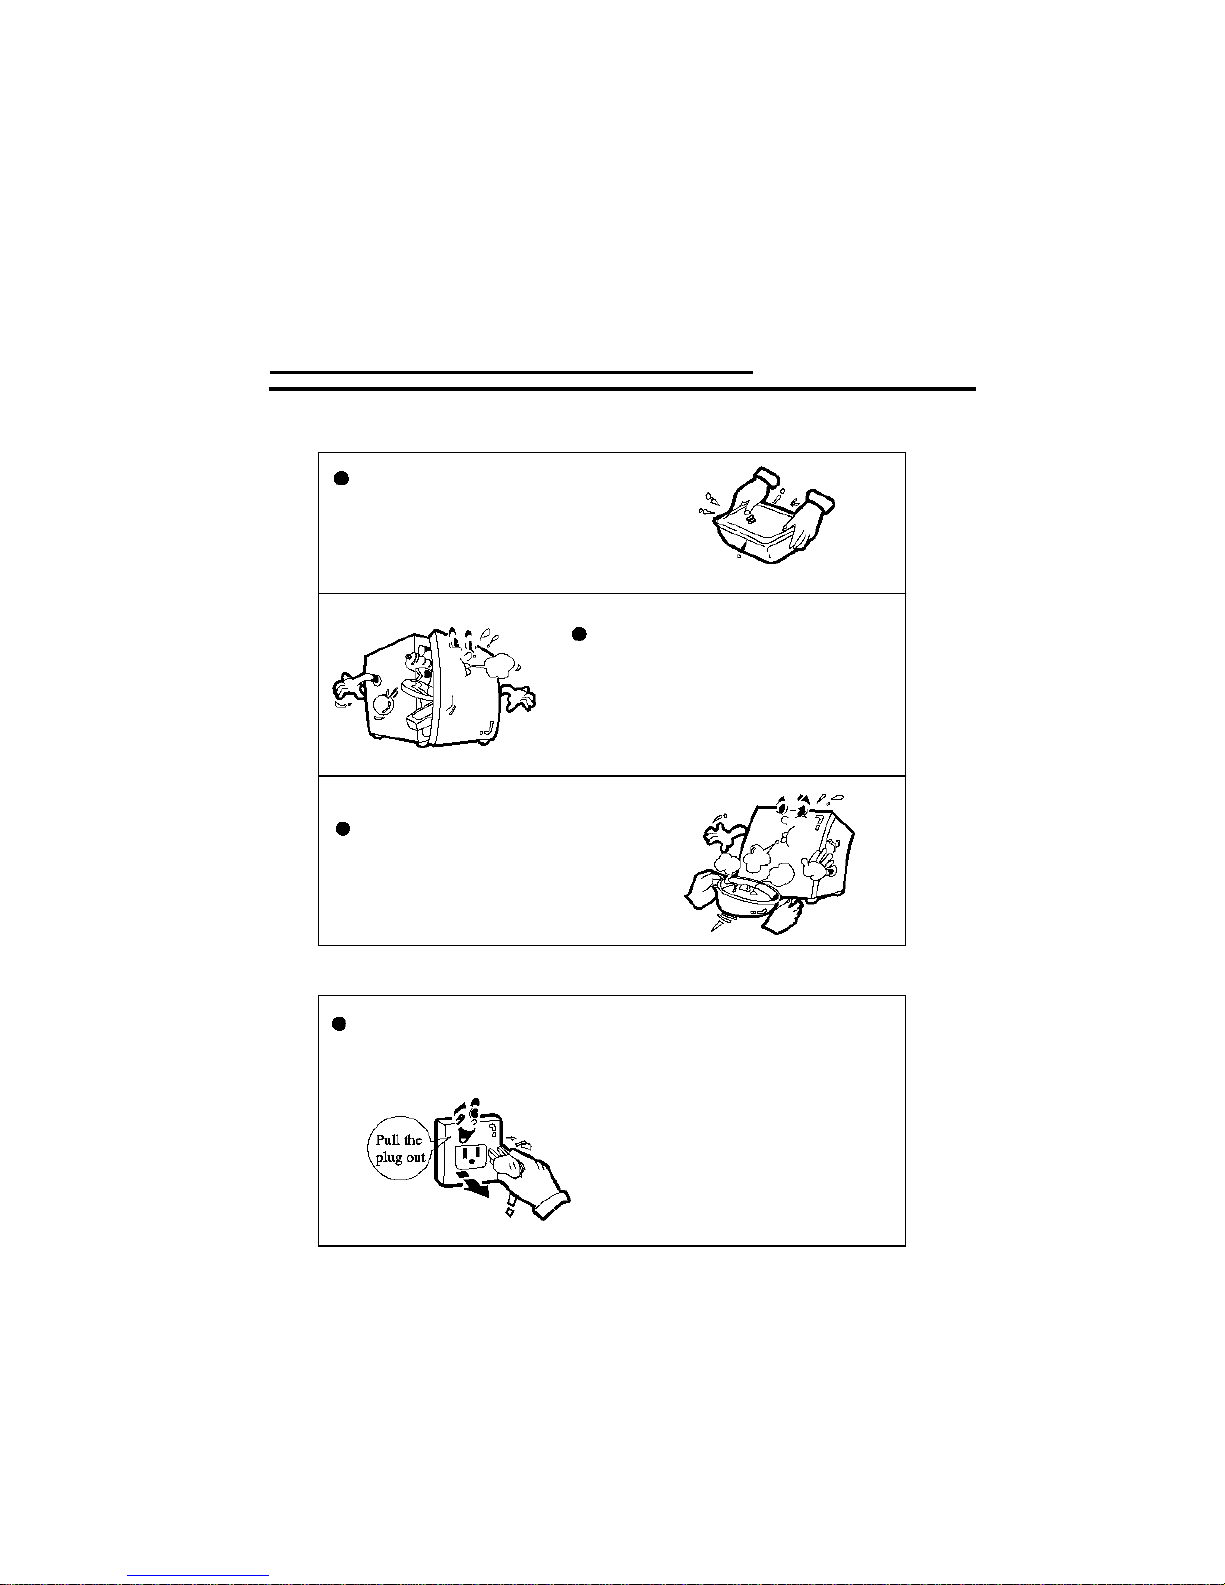
The appliance can be placed with its
rear panel directly against the wall.
For good air circulation, the vent grille
at the back of the worktop must not be
blocked.
Install on flat and firm surface to
minimise noise.
Minimum Space required
Above : 40mm
Sides : 50mm
Back : 19mm
Poorly ventilated rooms
are unsuitable. Avoid
installing the appliance in
direct sunshine or exposed
to similar sources of heat.
The power supply
for appliance is
220-240V, 50Hz
single phase.
It is not
recommended
to use extension
cords.
Connect the appliance to a properly
earthed three pin plug and socket.
Do not connect to a multiple outlet.
combustibles,
explosives, strong acid or
alkali. etc. in this appliance.
It is not intended for use by
persons without supervision.
Young children should be
supervised to ensure that they
do not play with the appliance.
Page 4
THERMOSTAT
STORING FOOD
ICE MAKING
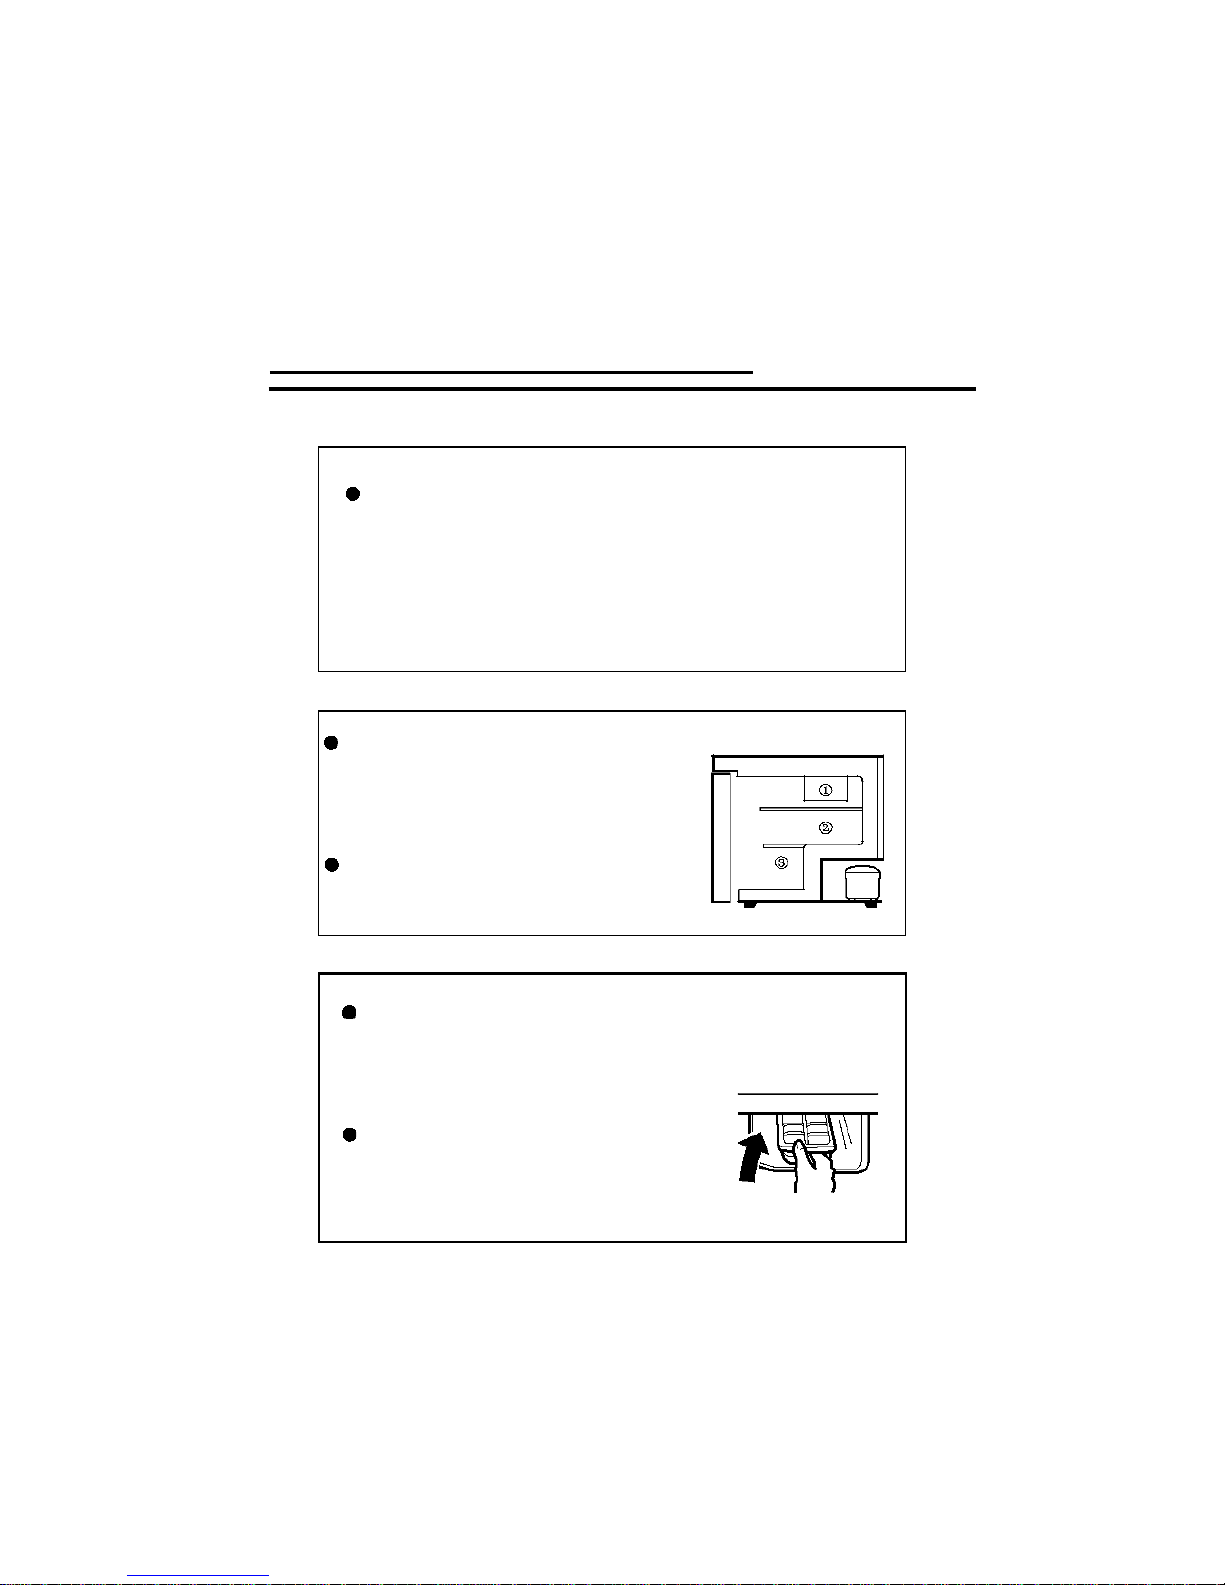
When making ice,
until 4/5 full with the grid in it and place it
on the bottom of the ice chamber. Twist the
tray or place it briefly in warm water to
remove the ice cubes.
NOTE
Do not use a knife or any sharp
instrument when removing the ice
tray.
The knob graduations are: 0, 1, 2, 3, 4, 5, 6, 7.
The numbers on the thermostat dial do not represent the actual
temperature.
The higher the number, the cooler the temperature in the fridge
and vice versa. Usually it is best to start the thermostat in
Position 1 - 3, and then turn it to a higher setting if required.
Position ‘0’ is off.
The temperatures in different areas inside
the refrigerator vary. Thus when storing
food, select the appropriate position to
meet your needs.
The coldest position is ‘1’ and the
warmest is ‘3’
Page 5
FOOD STORAGE
CLEANING
The appliance should only be cleaned when the plug is removed.
Use lukewarm water containing a little detergent.
Do not use hot water, a corrosive scouring agent or anything rough.
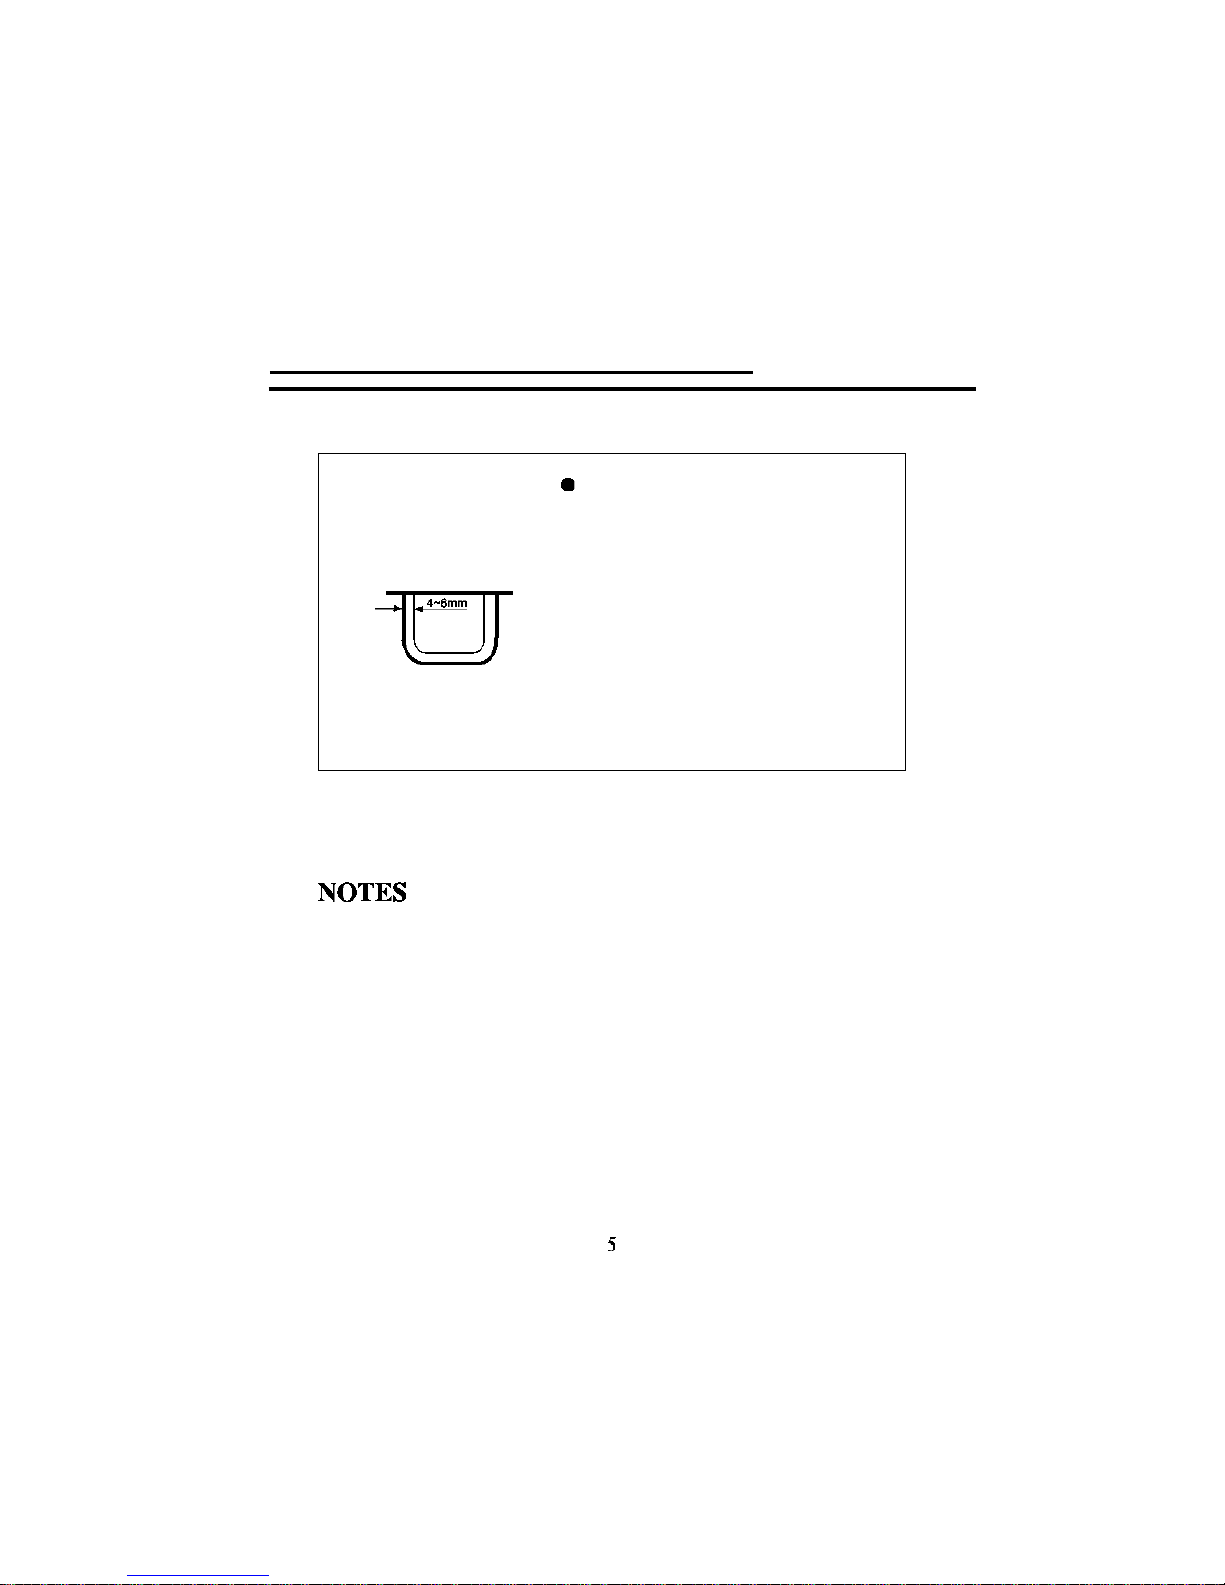
Food should be packed in bags to
avoid giving off strong odours or
getting freezer burn.
food.
Allow space amongst the food for
air circulation and better cooling.
Hot food or liquid must be allowed
to cool to room temperature
before placing it in the refrigerator.
Page 6
DEFROSTING
If the appliance is going to be out of use for any length of time or put into
storage, unplug and clean the interior as described in the previous page.
Dry thoroughly and store with the door open.
To reduce energy consumption, do not leave the door open for too long and
don’t open it too often.
In the event of a power failure, try to keep the door closed to keep the cool
air inside for as long as possible.
To defrost,
remove the food and ice cube
tray from the freezer section. Make sure
the drip tray is under the freezer section
and push the defrost button in on the
thermostat. Defrosting may take a few
hours. When the defrosting process is
complete, the drip-tray should be
emptied. Replace the food and switch on
the appliance.
Page 7
In the event of a fault occurring during operation, check the following
list to ensure the fault is not due to an operation error before calling for
service.
You can repair the following faults yourself.
The appliance does
not run.
1. Is it switched on properly?
2. Is the plug properly inserted
in the socket?
3. Is the thermostat knob set to
position “0”.
4. Is the supply voltage too low.
5. Is the thermostat set in the defrost
mode?
The temperature inside
the appliance is not
cool enough.
1. The appliance is overstocked with
food.
2. The appliance is located too near
a source of heat.
3. The door is not properly closed or
is opened too frequently.
4. The vent grille is covered.
Excessive noise
from the appliance.
The appliance is not standing
securely on the ground.
If none of these circumstances applies and you are not able to repair
the fault, please phone 0800 TELMANN (0800 835 6266) for an
authorised service agent.
Page 8
LEFT or RIGHT HINGED DOOR
If a left hand hinge configuration is required, follow these
instructions.
1) Remove the top door hinge and bracket from the cabinet, lift
the door off the lower hinge then remove the lower hinge and
bracket from the cabinet.
2) Remove the bungs from the holes on the left hand side of the
cabinet and door.
3) Refit the lower hinge to the left hand side of the cabinet
using the screws removed from the right hand mounting.
4) Remove the shaft from the lower hinge bracket and refit into the
hole on the left hand side of the bracket and fasten securely.
5) Install the door onto the refitted lower hinge bracket and refit
the top hinge bracket onto the left hand side of the cabinet.
6) Change the door handle from the left side of the door to the
right using the same screws.
7) Refit the bungs removed from the left hand side of the cabinet
and door to the holes now visible on the right hand side.
This product is assembled with a right hand hinged door. The
right hinge together with its mount is fixed on the right side of the
door. Remove the door handle from the accessory pack and fix it
to the left side of the door. The two holes on the right side of the
door will be capped with the bungs from the accessory pack.
Page 9
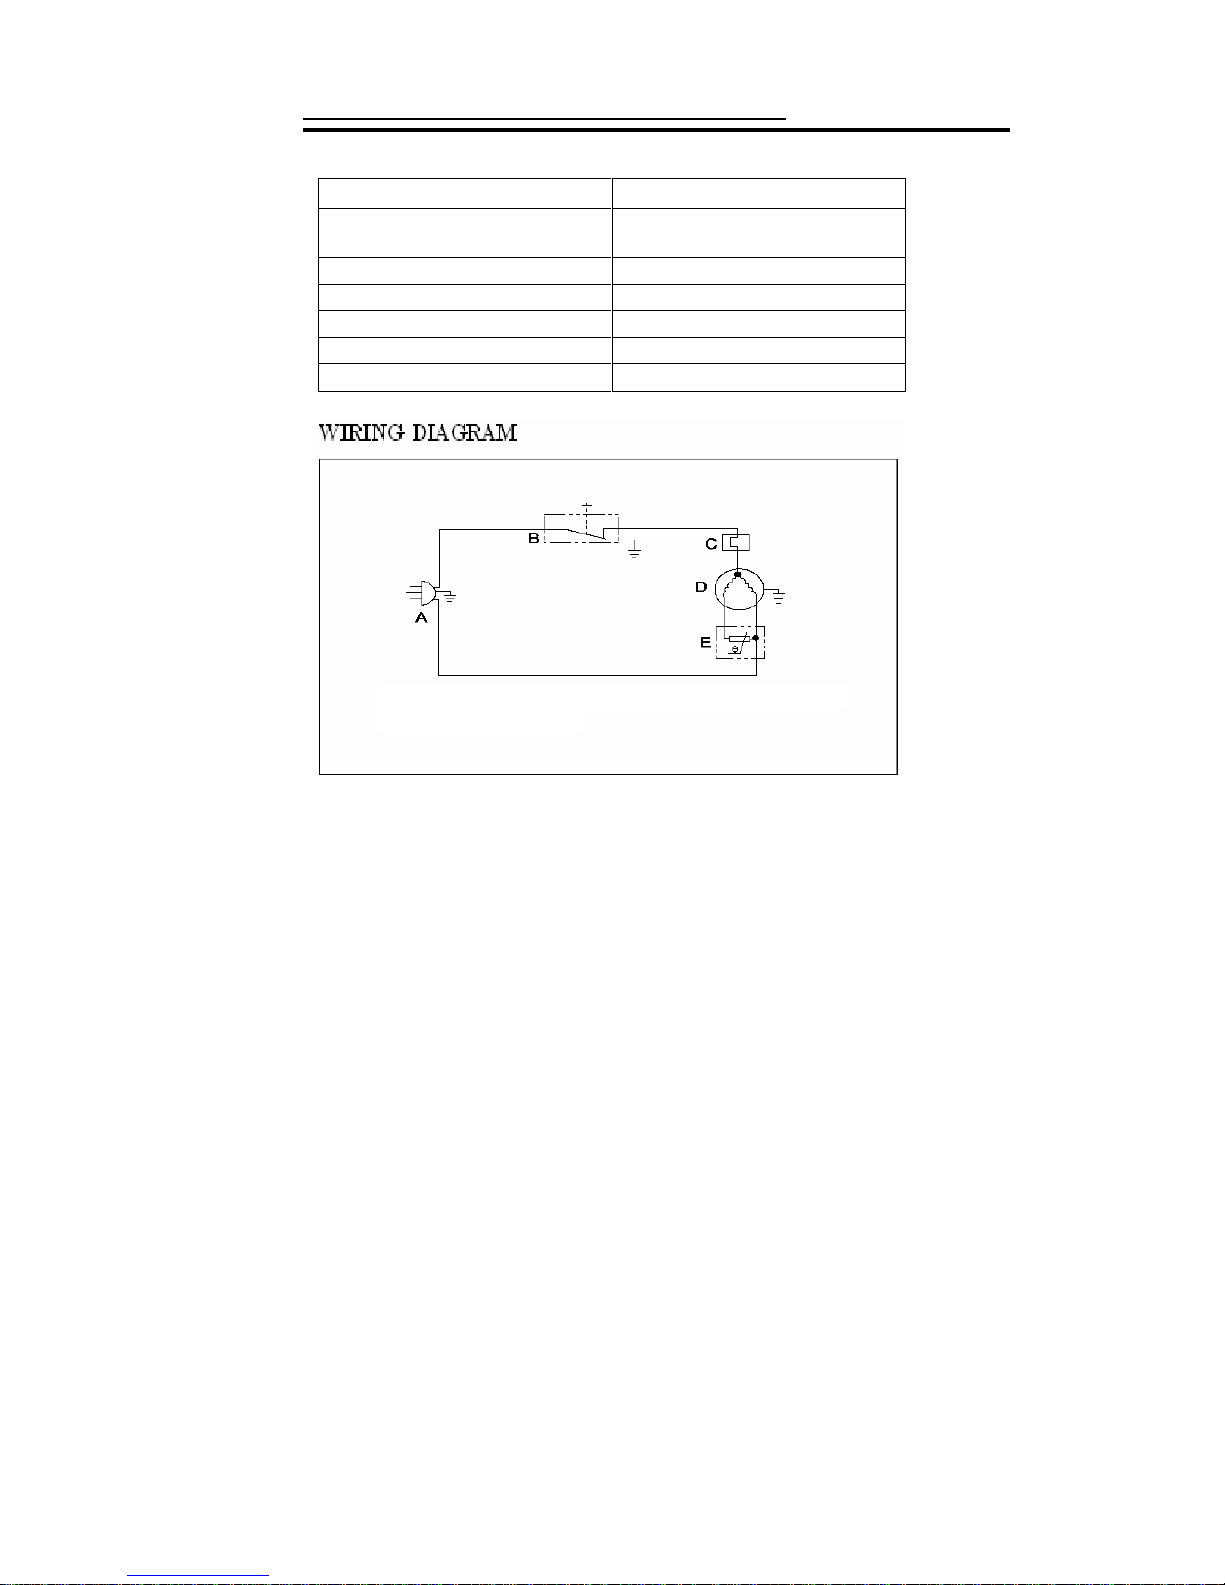
TECHNOLOGY DATA WIRING DIAGRAM
Model TEL80G
Anti-shockSafety
Classification
I
Net Capacity 76L
Gross Capacity 80L
Voltage 220-240V~,50Hz
Watts
90W
Refrigerant R134a 46g
A.P LUG B .THE RMO ST AT C. OVER LOA D PR OTEC TOR
D.CO MPR ESS OR E. PTC
Page 10
 Loading...