

Telkom Ultimate Slim D205 User Manual

1
Contents
General Instructions .................................................
1. User Controls ...........................................................
2. Setting Up .................................................................
2.1 Important information ...............................................
2.2 Contents of package .................................................
2.3 Connecting the base station and charging base ......
2.4 Replacing the batteries .............................................
2.5 Charging the batteries ..............................................
2.6 Tone dialing ..............................................................
2.7 Setting the day and time ...........................................
2.8 Wall mounting the phone ..........................................
3. Normal Use ...............................................................
3.1 The display ...............................................................
3.2 Receiving incoming calls .........................................
3.3 Dialing a number ......................................................
3.4 Call timer ..................................................................
3.5 Turning the handset on and off .................................
3.6 Range indications......................................................
3.7 Muting the handset microphone ...............................
3.8 Setting the receiver volume ......................................
3.9 Redial .......................................................................
3.9.1 Copying a number from the redial list into the
phonebook ................................................................
3.9.2 Deleting individual numbers from the redial list ........
3.9.3 Deleting all numbers from the redial list ...................
3.10 Keypad lock ..............................................................
3.11 Paging the handset from the base station ................
3.12 Inserting a pause ......................................................
4. The Phonebook ........................................................
4.1 Entering numbers in the phonebook .........................
4.2 Viewing a number in the phonebook .....................
4.3 Modifying numbers stored in the phonebook ...........
4.4 Deleting individual numbers from the phonebook ....
4.5 Deleting the entire phonebook ..................................
4.6 Storing a phonebook entry in the quickdial
memory .....................................................................
4.6.1 Dialing a number from the quickdial memory ...........
4.6.2 Deleting a number stored in the quickdial memory ..
4
6
7
7
7
8
8
8
9
9
10
10
10
11
11
12
12
12
13
13
13
14
14
15
15
15
15
16
16
17
18
19
19
19
20
20

2
5. Calling Line Identification
(IdentiCall subscription required) .............................
5.1 The list of callers ......................................................
5.2 Storing a number from the list of callers
into the phonebook ..................................................
5.3 Deleting individual numbers from the list of callers ..
5.4 Deleting the entire list of callers ...............................
6. Advanced Settings ...................................................
6.1 Recall time ...............................................................
6.2 Call barring ...............................................................
6.2.1 Switching call barring on and off ..............................
6.2.2 Setting a number to be barred .................................
6.3 Baby call ..................................................................
6.3.1 Switching baby call on and off ..................................
6.3.2 To change the baby call number ..............................
6.3.3 Dial a baby number ..................................................
6.4 ECO mode ...............................................................
6.4.1 Switching ECO mode on and off ..............................
6.5 Auto prefix ................................................................
6.6 Turning intrusion on and off .....................................
7. Additional Functions .................................................
7.1 Setting ring melodies on the handset .......................
7.2 Setting the ring melody volume on the handset .......
7.3 Setting a group melody ............................................
7.4 Setting auto pick up answer .....................................
7.5 Setting auto hang up ................................................
7.6 Change handset name .............................................
7.7 Turning the key tone on and off ...............................
7.8 Changing your PIN number .....................................
7.9 Setting the display language ....................................
7.10 Setting the babysit mode .........................................
7.11 Setting the alarm ......................................................
7.12 Setting the alarm tone ..............................................
7.13 Factory reset ............................................................
7.14 Menu structure .........................................................
8. Multiple Handsets ....................................................
8.1 Internal calls .............................................................
8.2 Transferring external calls to another
handset ....................................................................
8.2.1 Adding an outgoing external call to an internal
conversation .............................................................
21
21
22
22
22
23
23
23
23
24
24
24
25
25
25
25
26
26
27
27
27
28
28
29
29
29
30
30
31
31
32
32
33
35
35
35
36

3
8.3 Registering and de-registering handsets .................
8.3.1 Registering handsets ...............................................
8.3.2 De-registering handsets ...........................................
8.4 Additional base stations ...........................................
9. Troubleshooting Guide .............................................
10. Important Information ...............................................
10.1 Technical data ..........................................................
36
36
37
37
39
41
41

4
General Instructions
Rechargeable batteries
! When replacing the batteries, use rechargeable type AAA,
Ni-MH 1.2 Volt batteries, with a minimum rating of 550mAh.
Contact 2C Telecoms (Pty) Ltd on 0860 22 43 57 for
replacement batteries if your nearest dealer cannot supply
you.
! Do not throw batteries in a fire or immerse them in water.
! Should the handsets become warmer when charging there is
no cause for alarm, as this is quite normal.
! Only charge the handset on the base station or supplied
charging base. The use of other charging bases may cause
damage to the batteries or handset.
! Use only the 3-pin AC power adaptor that was supplied, other
power adaptors may cause damage.
Location of the base station
! The base station must be located within reach of a 230 Volt
power outlet socket. To avoid interference problems, do not
place the base station in the immediate proximity of other
electrical equipment such as a microwave oven or hi-fi
system. The location of the base station can significantly
influence the proper functioning of the telephone. It is also
beneficial to prevent the use of multi-power adaptors as these
can induce electrical interference.
! Place the base station on a level, non-slip surface. The feet of
the base station will not normally mark the surface on which it
stands. However, the wide range of surface finishes in use,
renders it impossible to exclude marking of any surface.
! Do not use the handset in areas where there is a danger of
explosion.
! Avoid excessive exposure to smoke, dust, vibration,
chemicals, humidity, high temperature or direct sunlight.

5
! Choose a central location for your base station. For maximum
range the base station should be placed in the centre of the
area in which you would like to use your handset.
Temperature and ambient conditions
! Your telephone is designed for indoor use and an operating
temperature range of -10 C to 50 C.
! The base station must not be installed in humid areas such as
bathrooms. Avoid proximity to sources of heat such as
radiators and do not expose the unit to direct sunlight.
Cleaning and care
! The outer surfaces of the unit can be cleaned with a soft, dry,
lint-free cloth. Never use cleaning agents or solvents. Apart
from occasionally cleaning the outer surfaces, no further care
is required. The rubber feet of the base station are not
resistant to all cleaning agents. Telkom cannot, therefore, be
held responsible for damage to furniture etc.
NOTE: Your telephone is guaranteed for a period of 12 calendar months
from the date of purchase as indicated on your till slip. Keep your till slip
in a safe place as it will be required for guarantee repairs. It is however
not guaranteed against damage caused by misuse, riot damage,
lightning or power surge damage, damage caused by using the unit for
purposes other than which it was intended or any damage that can be
deemed an act of God.
NOTE: No calls can be made or received during a power failure or if
your power adaptor is disconnected from the 230 volt supply.
°
°
6
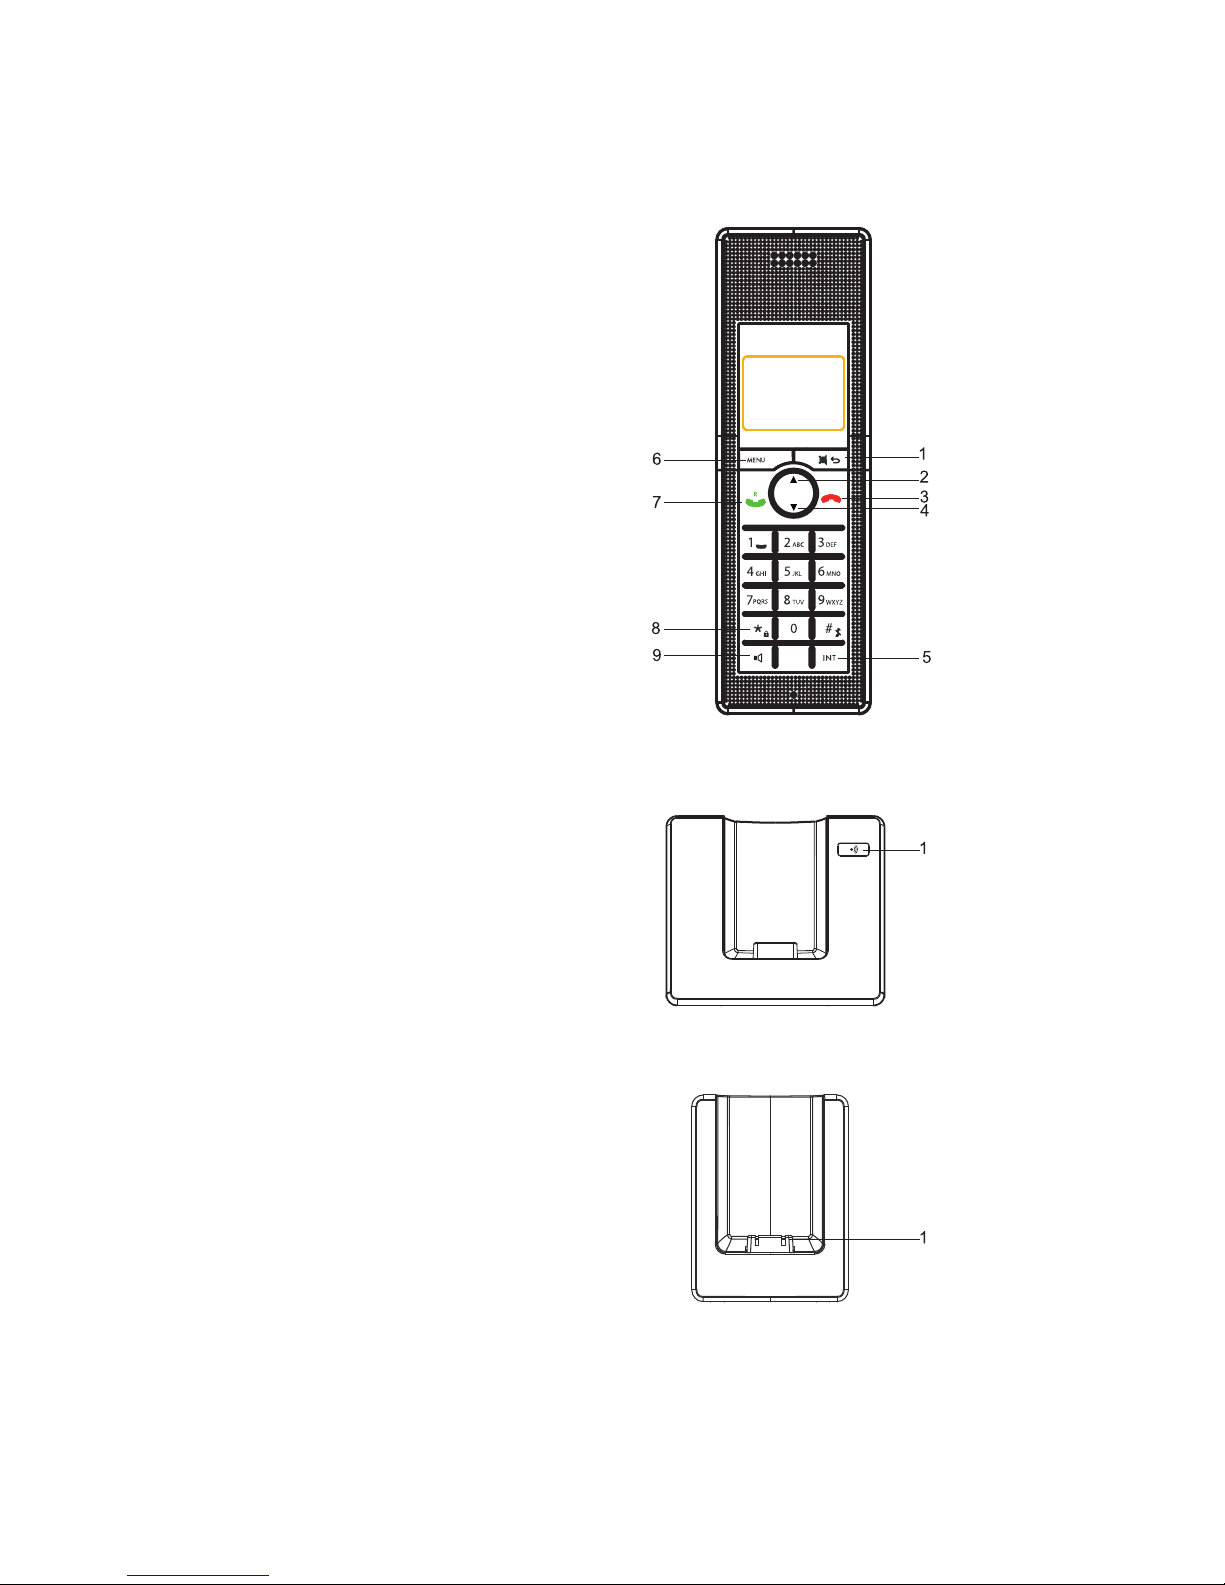
1. User Controls
Handset
1. Redial /Clr./Mute button
2. Up/Calls list button
3. End call/Power/Exit button
4. Down/Phonebook button
5. Internal calls button
6. Selection/Menu button
7. Call / Recall button
8. Keypad lock button
9. Handsfree button
Base station
1. Page button
Charging base
1. Charging contacts
2. Setting Up
2.1 Important information
NOTICE: Before switching on, please read the general instructions at
the beginning of this manual.
2.2 Contents of package
The package contains:
Base station, one base station stand, one charging base, one charging
base stand, two handsets, four batteries, two power adaptors with
power cords, one telephone line cord, and this instruction manual.
7
Bottom View
Bottom View
Bottom View
Bottom View

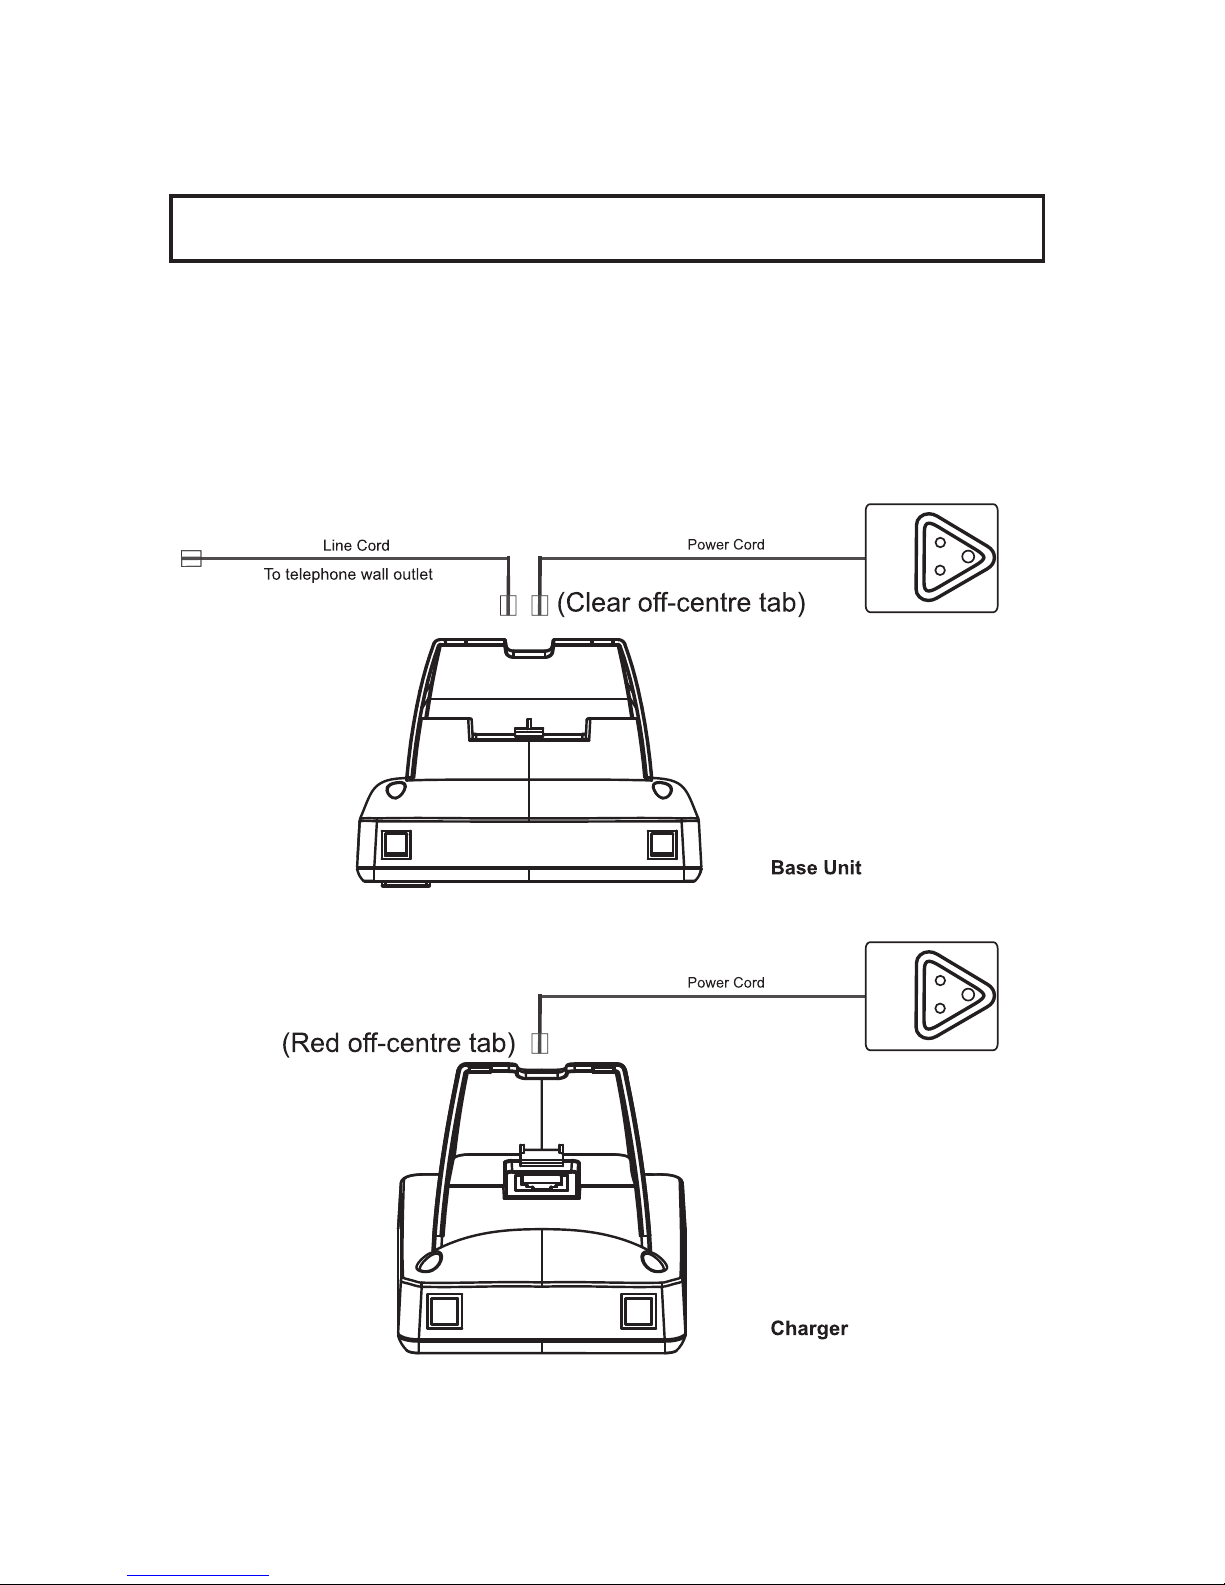
2.3 Connecting the base station and charging base
Set-up your telephone’s base station and charging base within reach of
a telephone socket and power outlet socket.
1. Insert the relevant cord from the1st power adaptor (with the
clear off-centre tab) into the socket at the back of the base
and the 2nd power adaptor (with the off-centre tab on the red
plug) into the socket at the back of the charging base. Plug
the power adaptors into a conveniently located power socket.
2. Connect the telephone line cord between the telephone
socket at the back of the base station and the telephone wall
socket.
3. Clip the base station stand into position over the cables by
sliding it into position from above. This step must be omitted if
you intend two wall mount your phone. (See 2.8)
2.4 Replacing the batteries
! When replacing the batteries, use rechargeable AAA
Ni-MH 1.2 Volt batteries of at least 550mAh. Replacement
batteries are available from your nearest Telkom Direct Store
or major retail outlet.
! To fit the batteries into the handsets, press down on the upper
edge of the battery compartment cover and slide it away from
the handset. Remove the faulty batteries and then fit the new
batteries. In doing so, be careful to ensure that the polarity is
correct as indicated. Carefully replace the cover and slide it
back until it clicks into position.
IMPORTANT NOTICE - Charging the batteries for the first time :
Place the handset on the base station and charging base for at least 16
hours. If the batteries are not properly charged, the telephone may fail to
function correctly.
2.5 Charging the batteries
The rechargeable batteries in your telephone’s handset provides
sufficient power for a maximum standby time of 100 hours and talk time
of up to 10 hours.
8
9
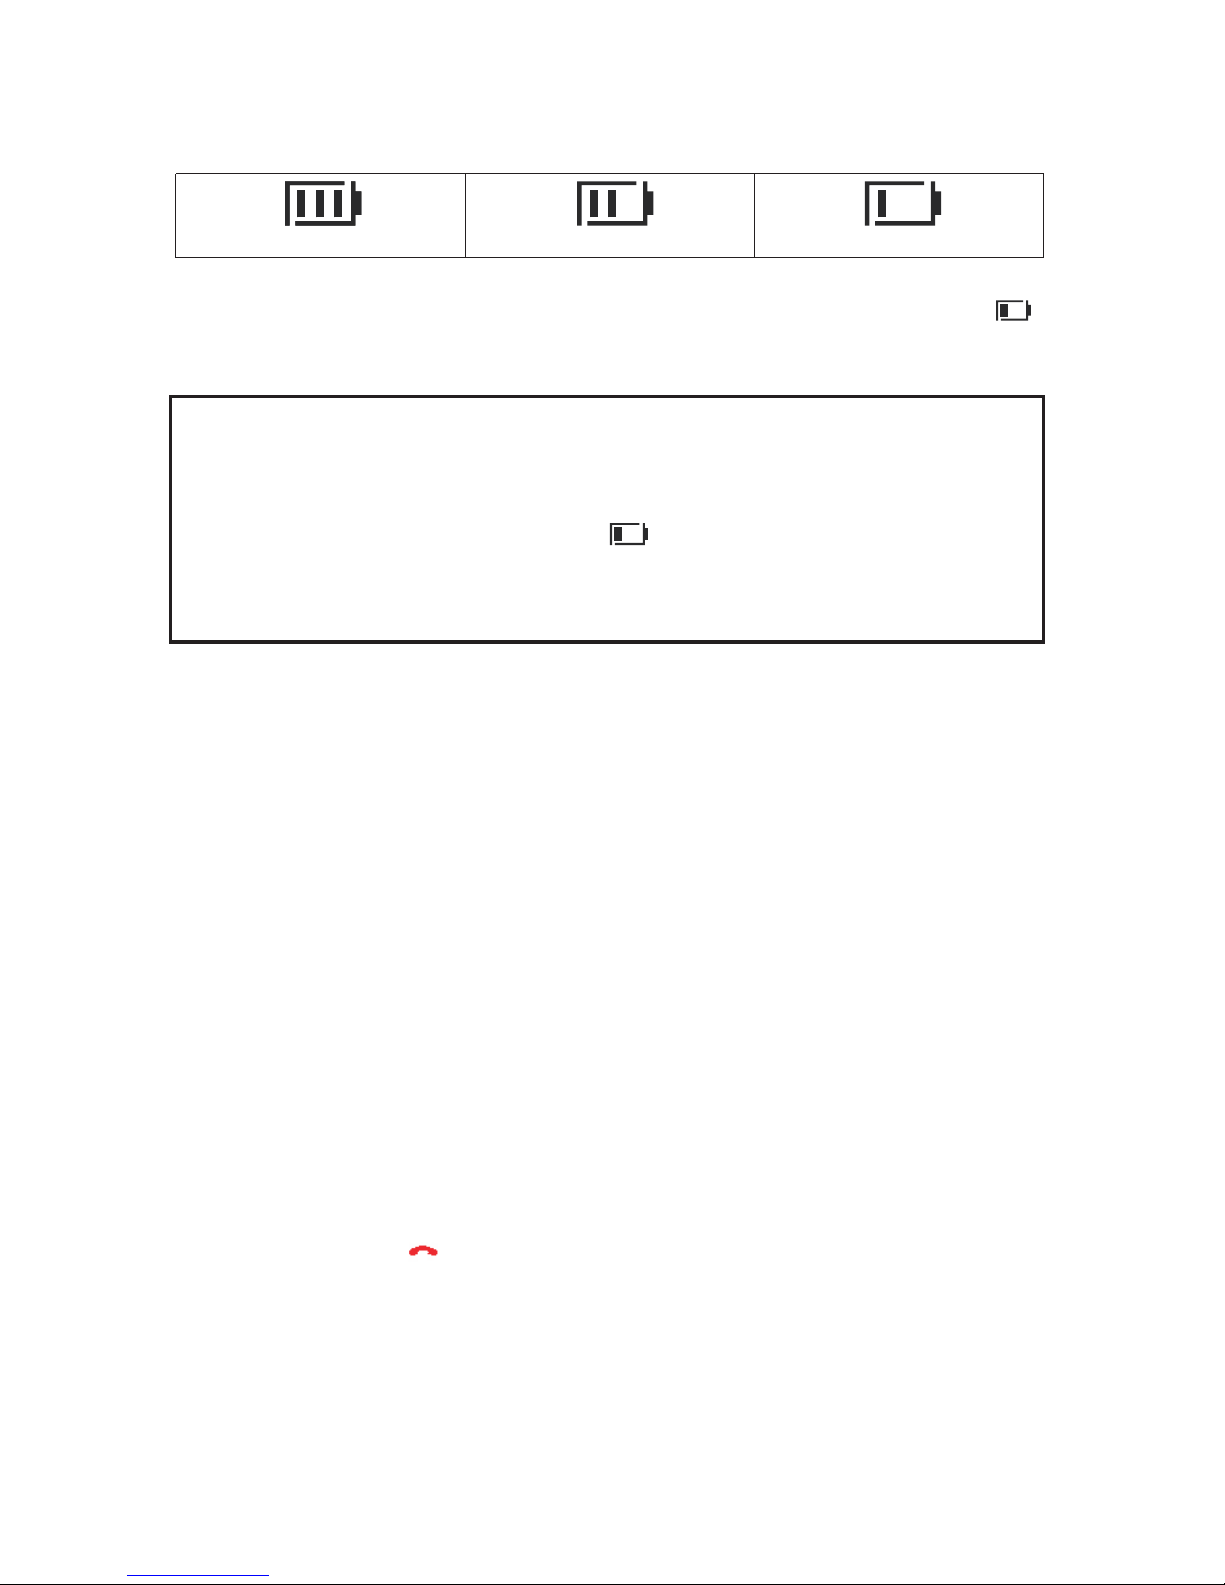
The actual condition of the batteries are shown on the LCD display with
the battery capacity symbol shown below :
Full
Half
Low
If the remaining charge in the batteries is too low, the symbol on the
display will blink.
NOTICE: Like your car battery, the rechargeable batteries suffer from a
certain, unavoidable ageing effect. You can, however, minimize this by
exercising the batteries correctly. As you use your telephone, always
start with the fully charged batteries and continue using it until they are
“empty” as indicated by the blinking symbol on the display. Then
recharge them fully. This will maintain maximum battery capacity for as
long as possible. Repeated partial charging and discharging will cause a
“memory effect” which will result in reduced capacity.
2.6 Tone dialling
Your telephone makes use of tone dialling.
2.7 Setting the day and time
1. Press the MENU button.
2. Use the p and q buttons to select CLOCK/ALARM. Press
the MENU button.
3. The display shows DATE & TIME. Press the MENU button.
4. Enter the date, e.g. 16 04 for 16th April. Press the MENU
button.
5. Enter the time, e.g. 09 30 for 9:30am. Press the MENU button.
6. You can then select further menu functions or exit by holding
down the button.
10
2.8 Wall mounting the phone
You can mount your telephone directly against a wall, or place it on a
shelf, desk or table.
The unit can be mounted to any wall surface using two self-tapping
screws (not supplied). In order to mount your phone on a wall, the base
station stand must not be fitted (See 2.3).
1. Drill two holes in the wall 45mm horizontally apart using a
8mm drill bit.
2. Insert wall plugs into each hole.
3. Then thread a screw into each hole, letting the heads extend
about 5mm from the wall. Position the base over the two
screw heads and push downwards.
3. Normal Use
3.1 The display
During normal operation, the display shows the date, time in hour and
minutes and HANDSET 1. The default name can be re-programmed any
time, see chapter 7.6.
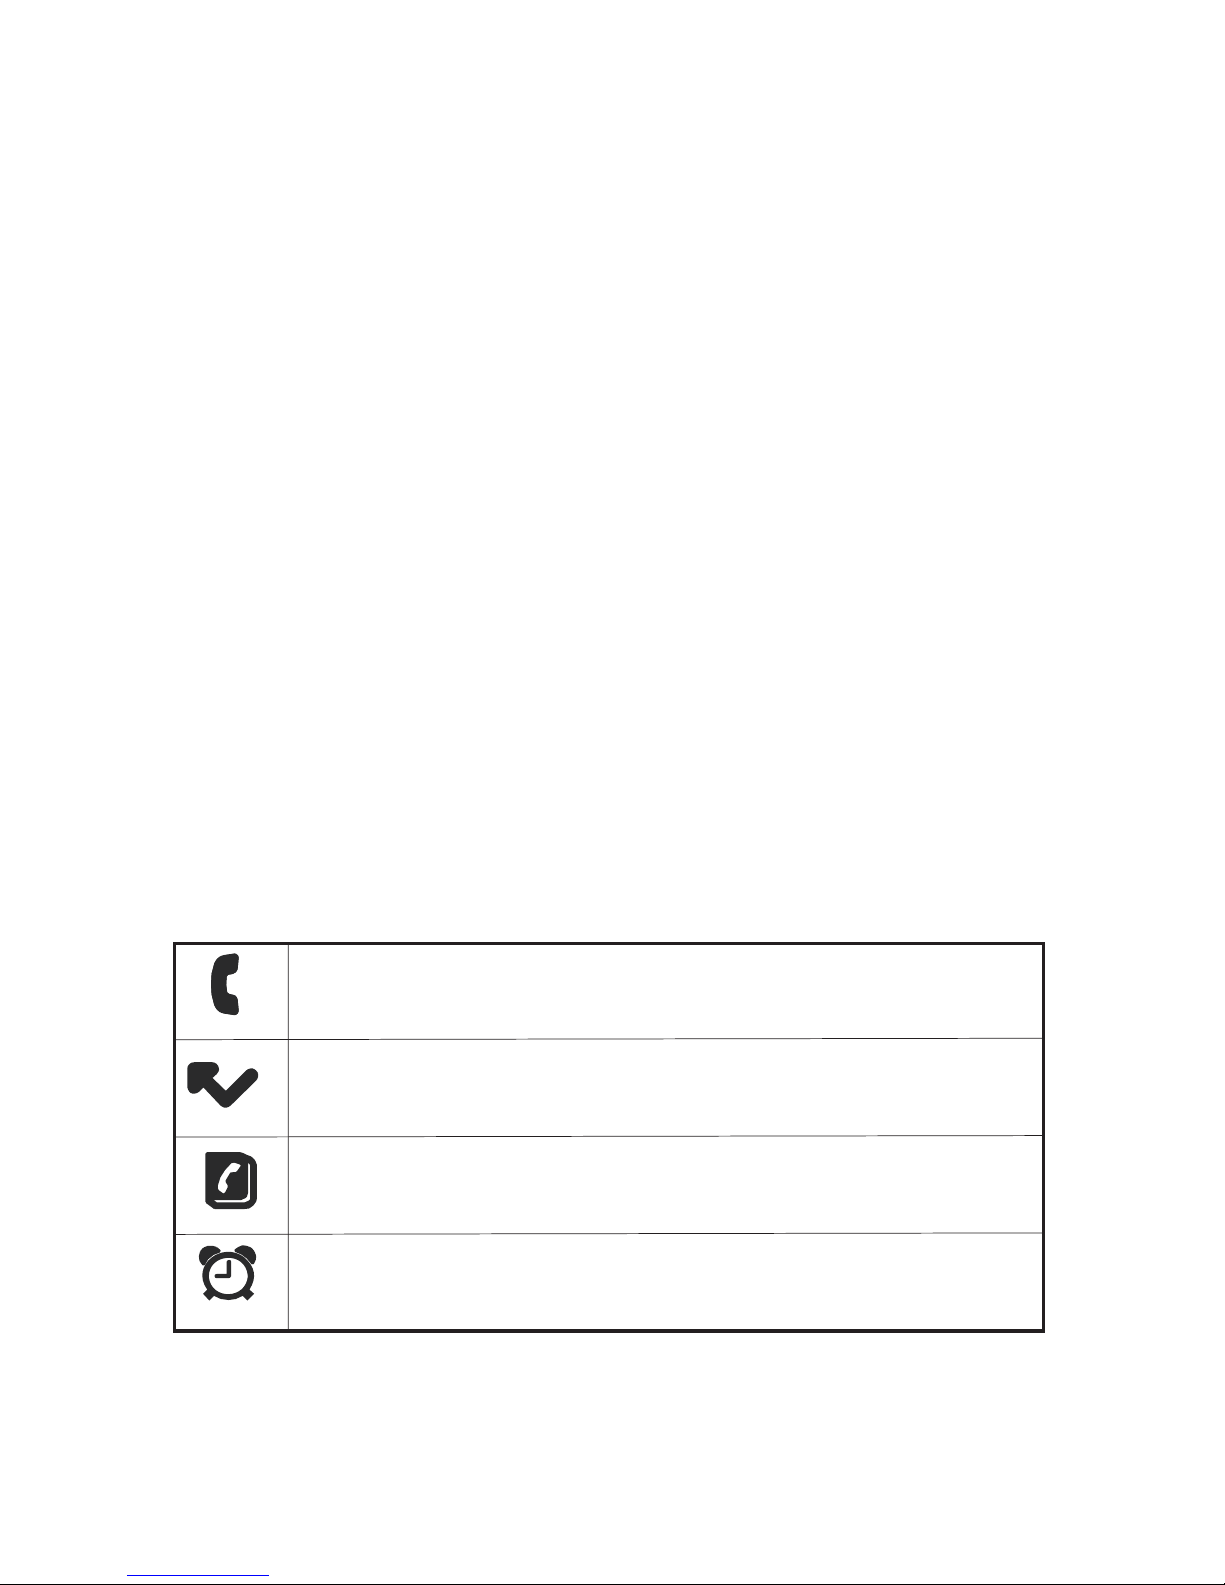
The display also provides symbol representation of all the main
functions and the current status of the phone.
Steady: You are making a call.
Blinking: There is an incoming call.
Steady: There are missed calls and new calls have been
stored in the CLI list.
Steady: Shows phonebook in use.
Steady: The alarm has been set.

Steady: You are in handsfree mode.
Steady: The handset ringer is off (set to silent).
Steady: The signal strength is sufficient.
Blinking: The signal strength is getting weaker.
Steady: Indicates the battery charge level.
Blinking: Batteries low. Please recharge.
11
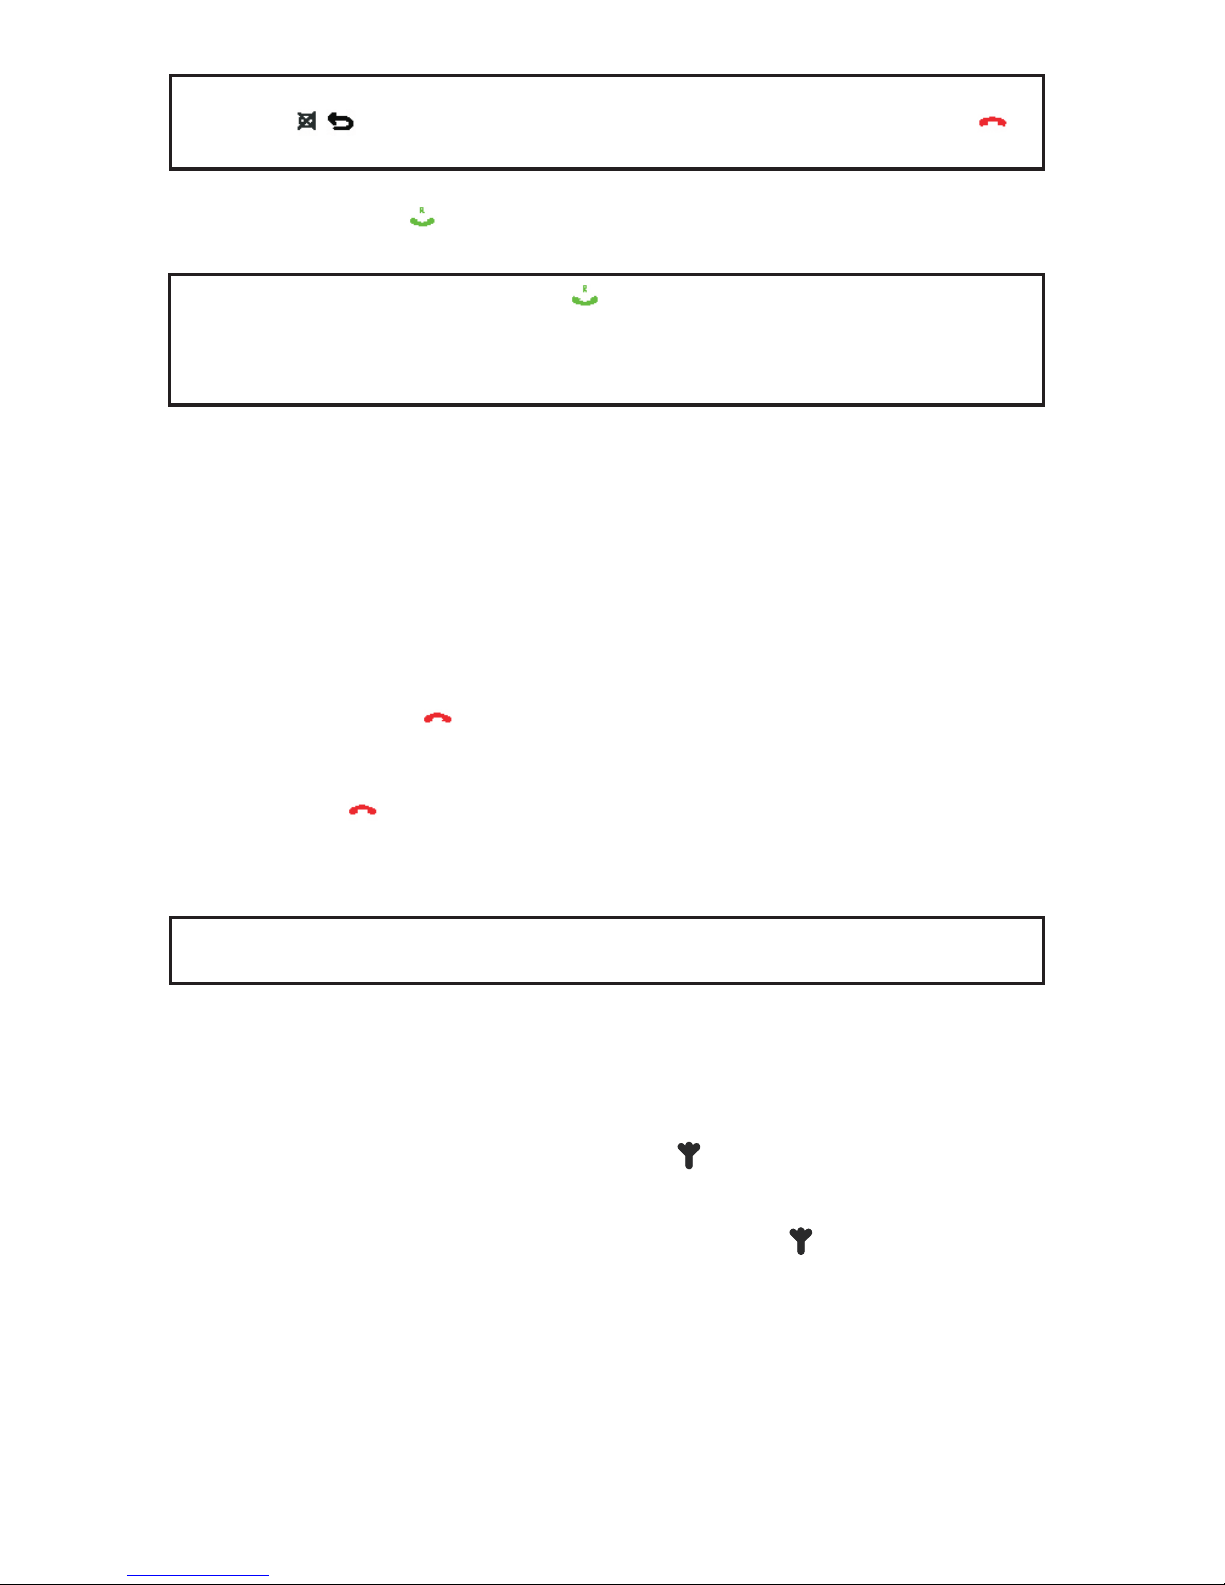
3.2 Receiving incoming calls
If you receive an incoming call, the handset will emit a ring signal and
the handset display shows CALL followed by the callers telephone
number (Identicall subscription required) and the symbol flashes on
the display.
Notice: While the handset is ringing you can use the p and q buttons
to adjust the ring volume.
Press the button on the handset to take the call or the button to
answer the call in handsfree mode. If the handset is on the base, simply
lift it and speak (if auto pick up answer is on).
To end the call, replace the handset on the base station or press the
button on the handset.
You will find information on Calling Line Identification in chapter 5.
When automatic answering is switched on, the call will be automatically
taken as soon as you lift the handset from the base station. To find out
how to turn the automatic answer function on and off, see chapter 7.4.
3.3 Dialing a number
1. Use the keypad to enter the desired telephone number. Up to
24 digits may be entered. The digits dialed will be shown on
the display. Since the display can only display 11 digits, only
12
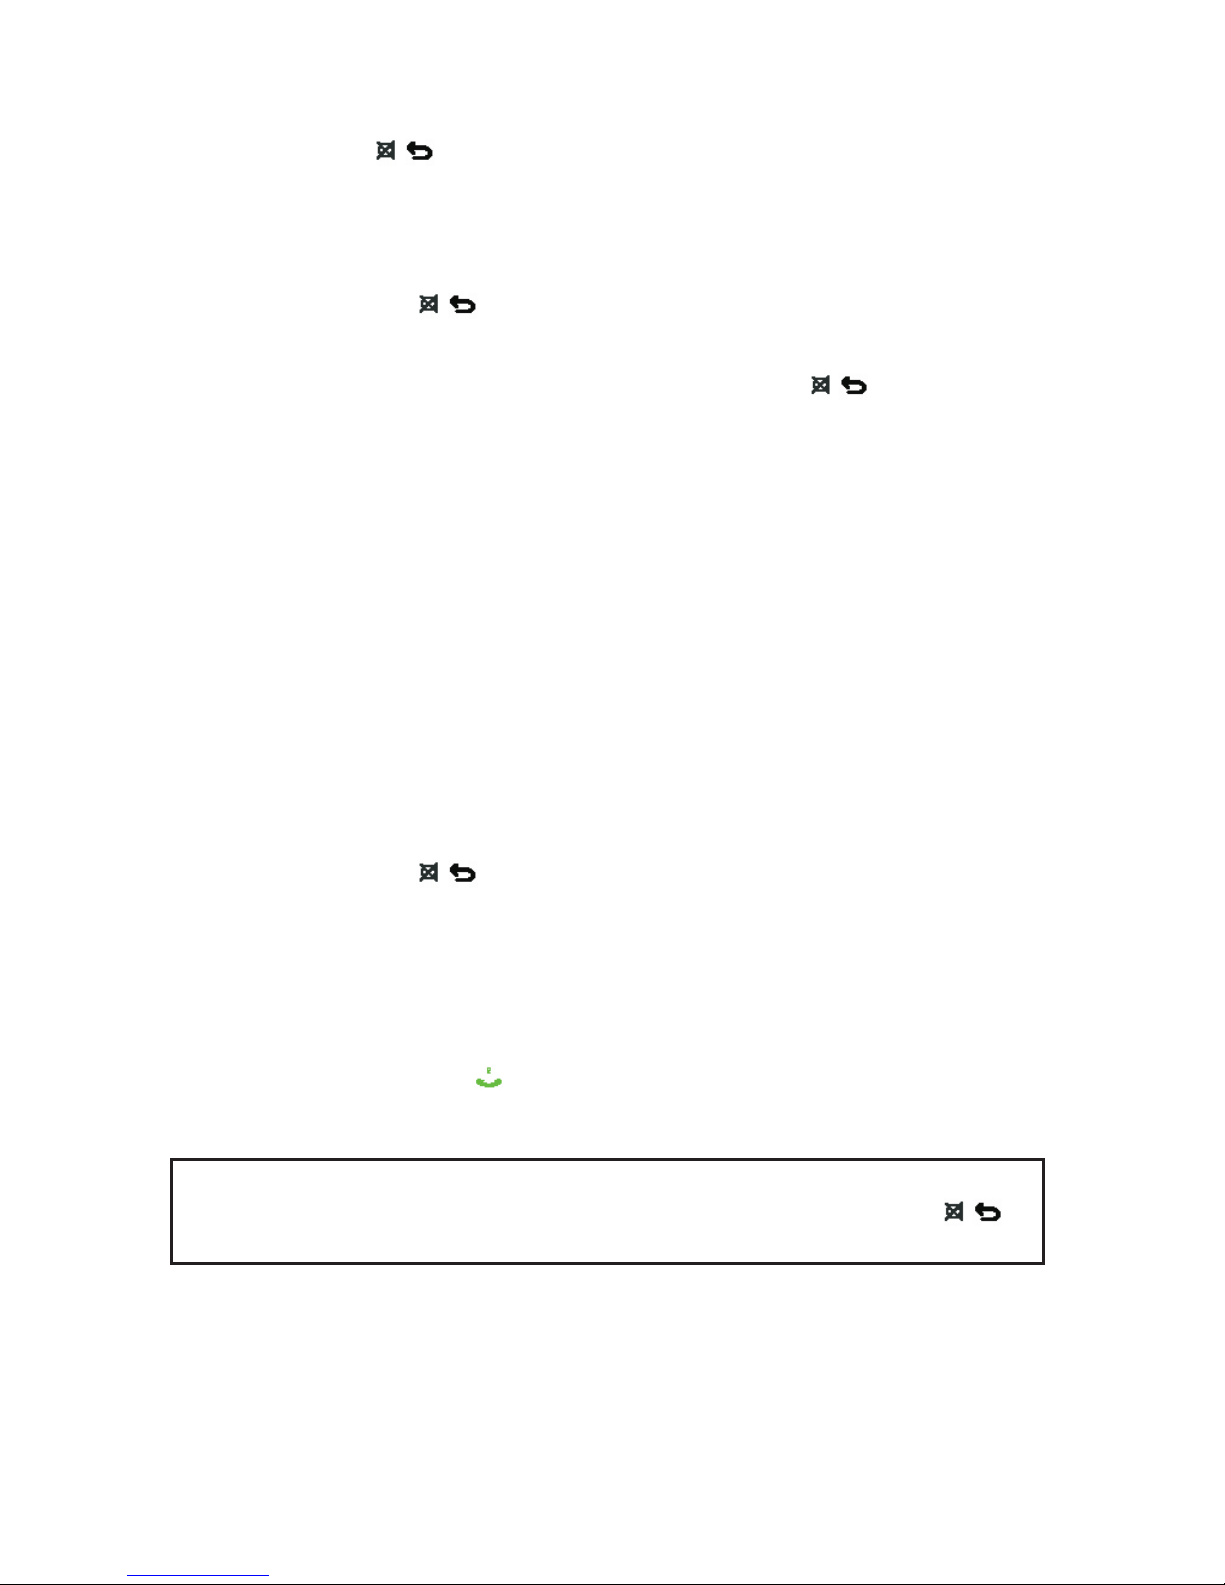
NOTICE: With Pre-dialing, if you dial the wrong digit you can briefly
press the button to delete one digit at a time. If you press the
button, the entire number will be deleted.
2. Press the button on the handset to dial the number.
NOTICE: You can also press the button first, you will then hear dial
tone. As you enter the digits of the desired number, your telephone will
dial the number immediately. The correction of individual digits is only
possible in the pre-dialing mode.
3.4 Call timer
During a call, the duration of the call is displayed in minutes and
seconds. 5 Seconds after dialling, the display changes from the number
dialed to display the call duration. The call timer will display the call
duration for a few seconds after completion of the call.
3.5 Turning the handset on and off
By holding down the button, you can turn off the handset. If the
handset is turned off, there is no drain on the battery.
Hold down the button again to turn the handset back on. The
message, SEARCHING will flash on the display and the handset will be
ready for use after a brief delay.
NOTICE: No calls can be made or received if the handset is switched
off.
3.6 Range indications
The range of the handset is a maximum 50 metres in enclosed areas
and up to about 300 meters in open areas (line of sight). If a strong
signal is available from the base station a symbol will appear on the
display.
If you move too far away from the base station, the symbol will blink
and you will hear warning beeps. In this case you should move closer to
the base station to avoid losing the connection.
For best performance ensure that the base station is located in the
centre of the area in which the handset will be used most frequently.
This will ensure optimum range and performance.
13
3.8 Setting the receiver volume
The receiver speaker (earpiece) can be adjusted to your preference.
During a call, you can use the buttons, p and q, to adjust the speaker
volume. You can select one of five volume settings.
3.9 Redial
The redial function is especially useful if a number is engaged or the
person does not answer. Your telephone stores the last ten dialled
numbers.
1. Press the button and the last number dialed will appear
on the display.
2. By pressing the p button, you can display the previous
number called. Use the q button to move through the list in
the opposite direction.
3. Next press the button to dial the number shown on the
display.
NOTICE: If a number in the redial list matches a phonebook entry, the
programmed name will replace the number on the display. The
button can be used to toggle between the name and number.
3.7 Muting the handset microphone
You can use the button to turn off the handset microphone during
a call. You can then speak without being heard over the telephone
(secret function). The receiver in the handset remains switched on so
that you can still hear the caller.
1. Press the button during a call. MUTE ON will appear on
the display.
2. To turn the microphone back on, press the button briefly
once again. The words MUTE ON will disappear and you can
continue your call.
 Loading...