

Page 1

INTERNET PHONE
(Model : Teliphone3200)
Administrator Manual
Version 1.6
Page 2

Internet Phone User Manual
2
SAFETY INFORMATION
Meticulous care had been devoted to ensure highest safety standards in
manufacturing of your Internet Phone. Safety is the major factor in designs of every
set. But, safety is your responsibility too.
Use only the adaptor that came with the Internet Phone. (Output: DC 5V/1.5A)
To reduce the risk of electric shock, do not disassemble this product. There are no
user serviceable parts. Opening or removing covers may expose you to hazardous
voltages. Incorrect reassembly can cause electric shock when this product is
subsequently used.
Never push objects of any kind into the equipment through housing slots since they
may touch hazardous voltage points or short out parts that could result in a risk of
electric shock. Never spill liquid of any kind on the product. If liquid is spilled,
however, refer servicing to proper service personnel.
Use only Unshielded Twisted Pair (UTP) Category 5 Ethernet cable to RJ-45 port of
the Internet Phone.
FCC Compliance Statements
Note: This equipment has been tested and found to comply with the limits for a
Class B digital device, pursuant to part 15 of the FCC Rules. These limits
are designed to provide reasonable protection against harmful interference in a
residential installation. This equipment generates, uses and can radiate radio
frequency energy and, if not installed and used in accordance with the
instructions, may cause harmful interference to radio communications.
However, there is no guarantee that interference will not occur in a particular
installation. If this equipment does cause harmful interference to radio or
television reception, which can be determined by turning the equipment off and
on, the user is encouraged to try to correct the interference by one or more of
the following measures:
• Reorient or relocate the receiving antenna
• Increase the separation between the equipment and receiver.
• Connect the equipment into an outlet on a circuit different from that
to which the receiver is connected.
• Consult the dealer or an experienced radio / TV technician for help.
Warning : Your are cautioned that any change or modifications to the equipment not
expressly approved by the party responsible for compliance could void your
authority to operate such equipment.
Page 3

Internet Phone User Manual
3
TABLE OF CONTENTS
INTERNET PHONE ................................................................................................. 1
Administrator Manual ............................................................................................... 1
1. INTRODUCTION ........................................................................................... 6
1.1. Overview......................................................................................... 6
1.2. Internet Phone Models .................................................................... 6
1.3. Features........................................................................................... 6
1.4. Specification.................................................................................... 7
1.5. Application Diagram....................................................................... 9
1.6. Structure of Internet Phone.............................................................11
1.6.1. Keypad.................................................................................11
1.6.2. LCD Display........................................................................13
1.6.3. LED Display........................................................................15
1.6.4. Port Structure.......................................................................15
2. PRE-INSTALLATION CHECK LIST ............................................................16
2.1. Power Requirements ......................................................................16
2.2. Storage Requirments ......................................................................17
2.3. User Requirements.........................................................................17
2.4. Component Check List...................................................................18
3. INSTALLATION ............................................................................................19
3.1. Connecting Cables .........................................................................19
3.2. Booting Up process........................................................................19
3.3. Quick Setup....................................................................................20
4. GETTING STARTED WITH MENU.............................................................21
4.1. Menu Structure...............................................................................21
Page 4

Internet Phone User Manual
4
4.2.
Setup ..............................................................................................25
4.2.1. My Phone ............................................................................26
4.2.2. Network Setup.....................................................................30
4.2.3. Call Setup ............................................................................59
4.2.4. Modem.................................................................................68
4.2.5. Time.....................................................................................73
4.2.6. PSTN ...................................................................................77
4.2.7. Default.................................................................................80
4.3. Call Log .........................................................................................83
4.4. Phone Book....................................................................................85
4.4.1. Find Number........................................................................86
4.4.2. Add ......................................................................................89
4.4.3. Memory Dial .......................................................................90
4.4.4. Delete All.............................................................................91
4.5. Ring/Volume ..................................................................................92
4.5.1. Ring Selection .....................................................................92
4.5.2. Ringing tone Volume ...........................................................93
4.6. Information ....................................................................................94
4.6.1. Network...............................................................................94
4.6.2. Version.................................................................................97
4.6.3. Mac Address ........................................................................97
4.7. Reboot............................................................................................99
5. Using Internet Phone.....................................................................................100
5.1. Making a call in Broadband Mode...............................................100
5.1.1. On Hook mode (Pre-dial) ..................................................100
5.1.2. Placing a call in the Off Hook mode..................................101
Page 5

Internet Phone User Manual
5
5.2.
Making a call in Dial-up Mode ....................................................102
5.3. Making a call in PSTN Mode.......................................................104
5.4. Making a call in Phone Book mode .............................................105
5.5. Making a call in Call Log mode...................................................105
5.6. Redial the last number dialed.......................................................105
5.7. Memory Dial................................................................................106
6. Troubleshooting Guide..................................................................................107
7. Safety Notices ............................................................................................... 111
Certification of Warranty........................................................................................ 114
Page 6

Internet Phone User Manual
6
1. INTRODUCTION
1.1. Overview
The Internet Phone(Teliphone3200) is an one-port VoIP(Voice over Internet
Protocol) phone for the home or small-medium size businesses. The Internet Phone
supports ITU-T H.323 protocol for data communication. It is a stand-alone device,
which means no PC connection is necessary to use it.
The Internet Phone allows users to make long distance call or international call at
low cost.
Using standard protocol, Internet Phone can interoperate with most Internet devices
for communication over the Internet.
1.2. Internet Phone Models
Model No. Ethernet Dial-up NAT PSTN
Teliphone3200-V20
●
●
Teliphone3200-D21
● ● ● ●
1.3. Features
• Easy to use, simple to activate
• VAD (Voice Activity Detection)
• Volume control
• Speed dialing keys
Page 7

Internet Phone User Manual
7
• Phone book
• Last number redial
• LCD display
• Call Mute
• Silence suppression
• Echo cancellation/compensation
• Excellent voice quality DSP technology
• Network management with SNMP-based NMS
• Software updates/upgrades via remote access
• Interoperable with standards-based gatekeepers and gateways
• Configurable phone number assignment to match dial plan
• Remote management via SNMP, Telnet and HTTP
• OEM customization available
• 1-year warranty
1.4. Specification
LAN Interface
Standards
ITU H.323 v4, H.225, H.245
ITU G.711, G.723.1, G.729.A
IEEE 802.3
10/100 base-T
PPPoE, DHCP
Management
Page 8

Internet Phone User Manual
8
Telnet, RS-232, http, LCD display
CODEC Options
G.711, G.729.A, G.723.1
Power
12VDC, 600mA
Dimensions
14cm W × 4.3cm H × 17.5cm D
Weight
0.73kg
Operating Temperature
32℉ to 131℉ (0℃ to 55℃)
Operating Humidity
10% to 85% noncondensing
Storage Temperature
32℉ to 149℉ (0℃ to 65℃)
Storage Humidity
5% to 90% noncondensing
Page 9

Internet Phone User Manual
9
Dial-up Interface
• Data Rates from 300 bps to 56k bps. (If needed in use, the rate can be limited by
software)
•Data Modulation Standards V.90, V.34, V.432bis, V.22bis, V.22, V.23, V.21 and V.23
reversible (Minitel), Bell 212, Bell 103 Dialup Modem V.42 Error Control
• Country Code support
• V.42 Error Control
• V.42bis Compression
• Protected Against Surge and Over voltage on the Telephone Line
Standard
• ITU H.323 v4, H.225, H.245
• ITU G.723.1
Codec
• G.723.1
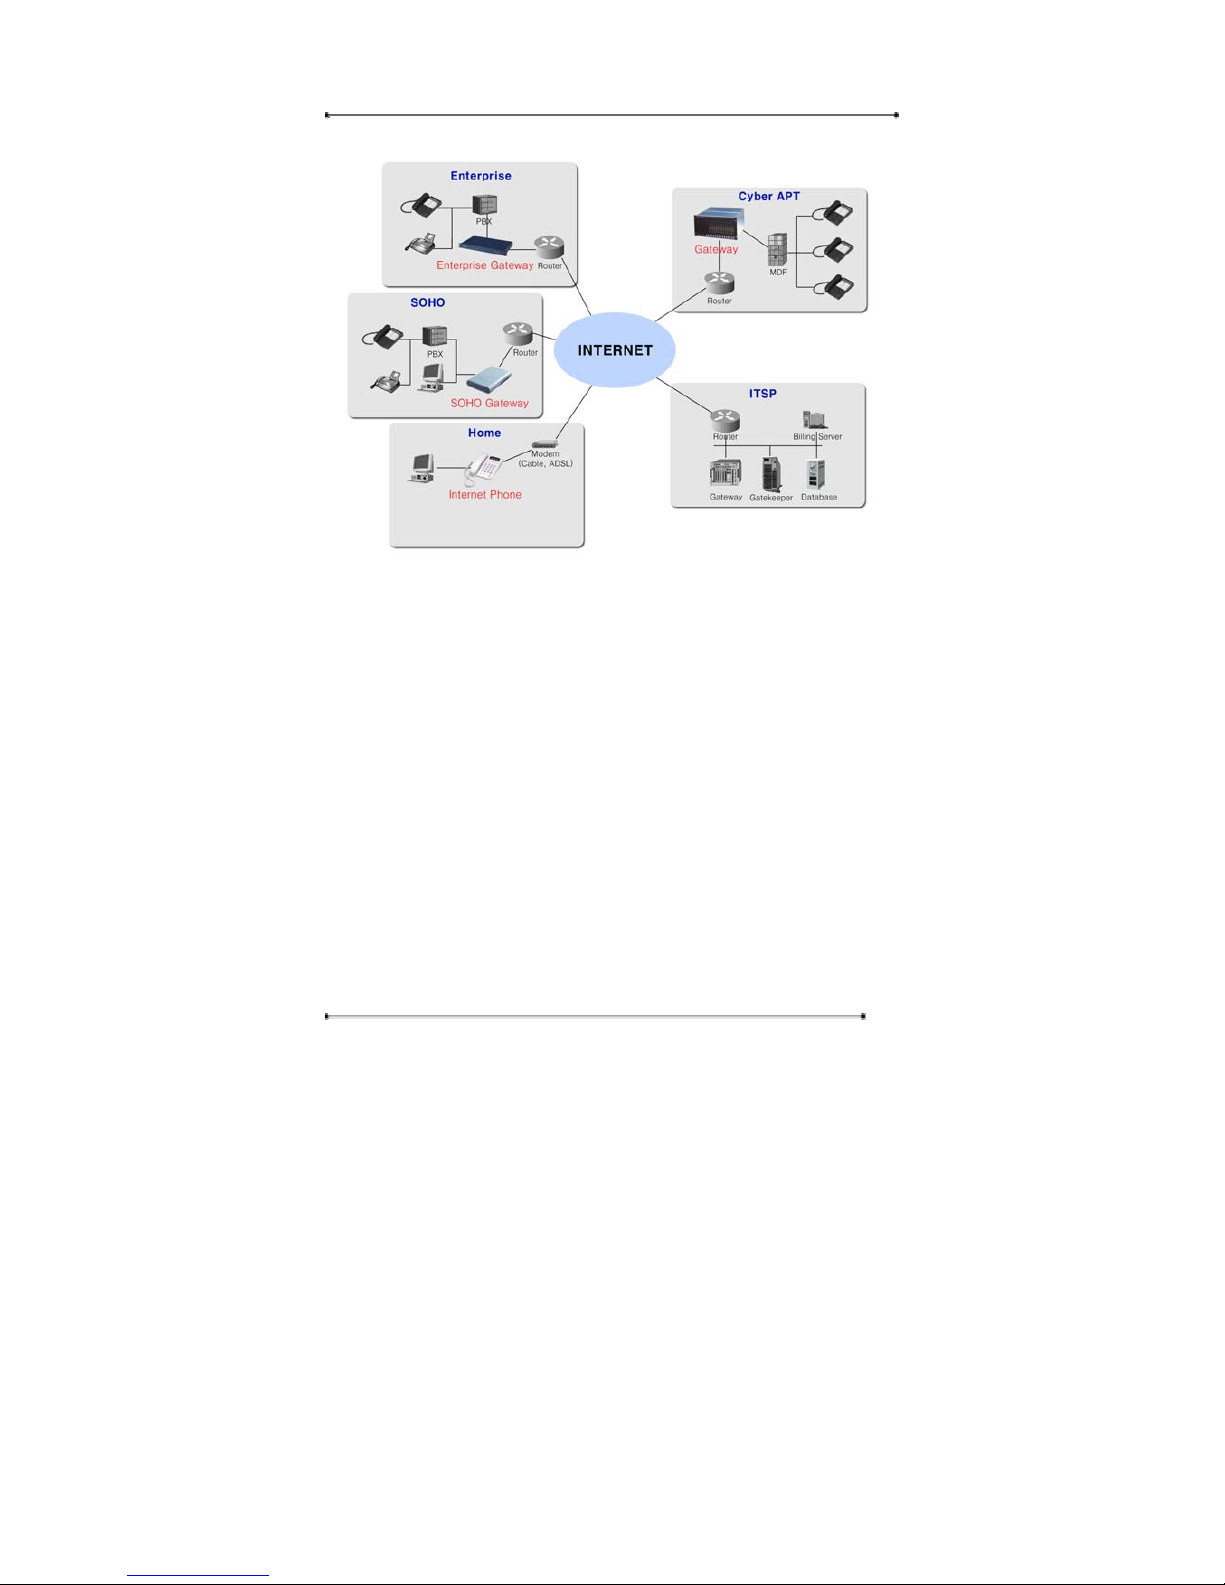
1.5. Application Diagram
This product makes voice telecommunication possible by offering an analogue
interface (handset, microphone, speaker) and an interface (VoIP) linking it with the
packet switch network.
Page 10
Internet Phone User Manual
10
Figure 1) Application Diagram
Page 11
Internet Phone User Manual
11
1.6. Structure of Internet Phone
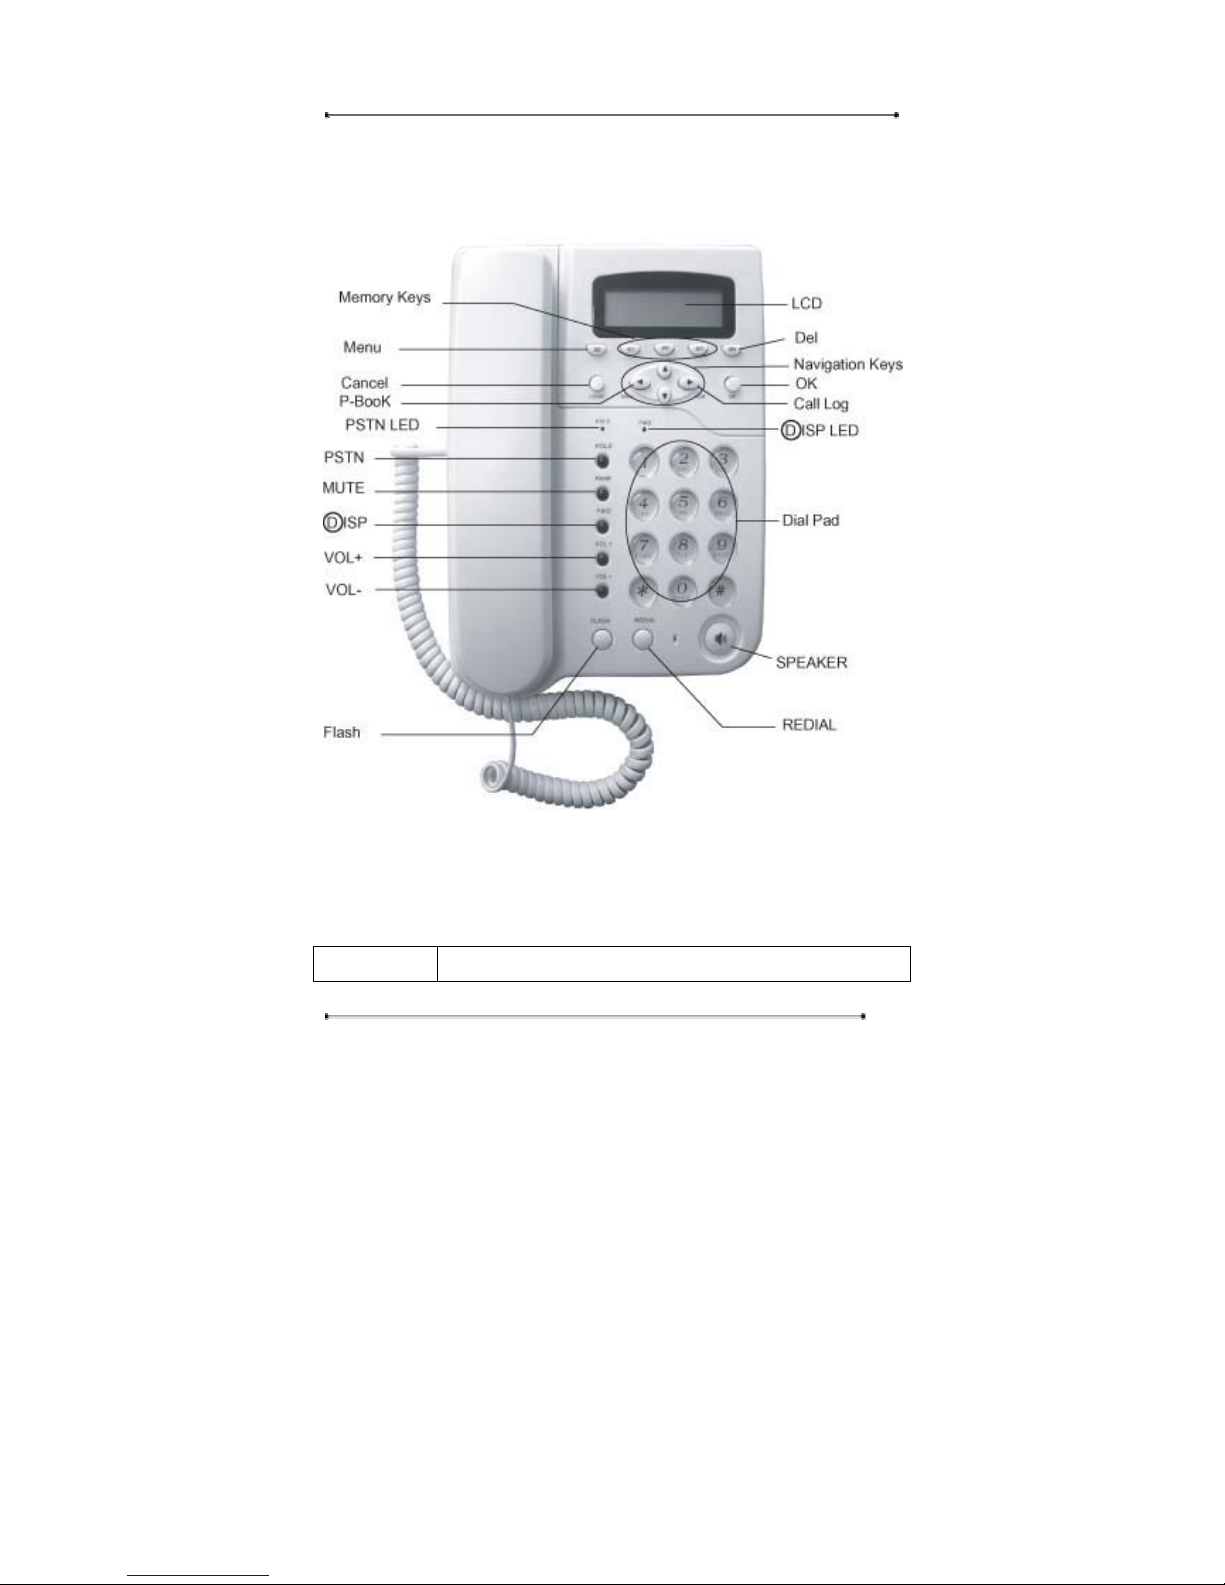
1.6.1. Keypad
Figure 2) Keypad Structure of Internet Phone
The description for each key is as follows.
Key name Description
Page 12

Internet Phone User Manual
12
Menu y Use to call up the menu
y Use to change between preferences when entering characters
(English-capital and lowercase / numerical / special
characters).
M1~M3 y Memory dial
DEL y Use to delete the characters in Pre-dial and Phone Book mode.
c
y Use to move up the cursor to select menu.
d
y Use to move down the cursor to select menu.
f Call Log y Use to move the cursor to the right in Phone Book mode.
y Use to call up the Call Log menu in off hook mode.
e P-Book y Use to move the cursor to the left in Phone Book mode.
y Use to call up Phone Book menu.
OK y Use to complete the input in Phone Book menu.
y Use to confirm the entered or selected settings.
Cancel y Use to cancel the selected menu, entered data, or etc.
PSTN y Use to place the PSTN call.
MUTE y Use to make the voice not to be heard from the counterpart.
○DISP
y Used to connect to dial-up ISP. (Option).
VOL + / - y Use to adjust the volume of the handset
FLASH y Use to place another call while dialing or in the middle of a
call. (Available only in PSTN mode).
REDIAL y Use to redial the number last dialed
SPK y Use to carry on the call without picking up the handset. Press
again to turn off the speaker phone
Page 13
Internet Phone User Manual
13
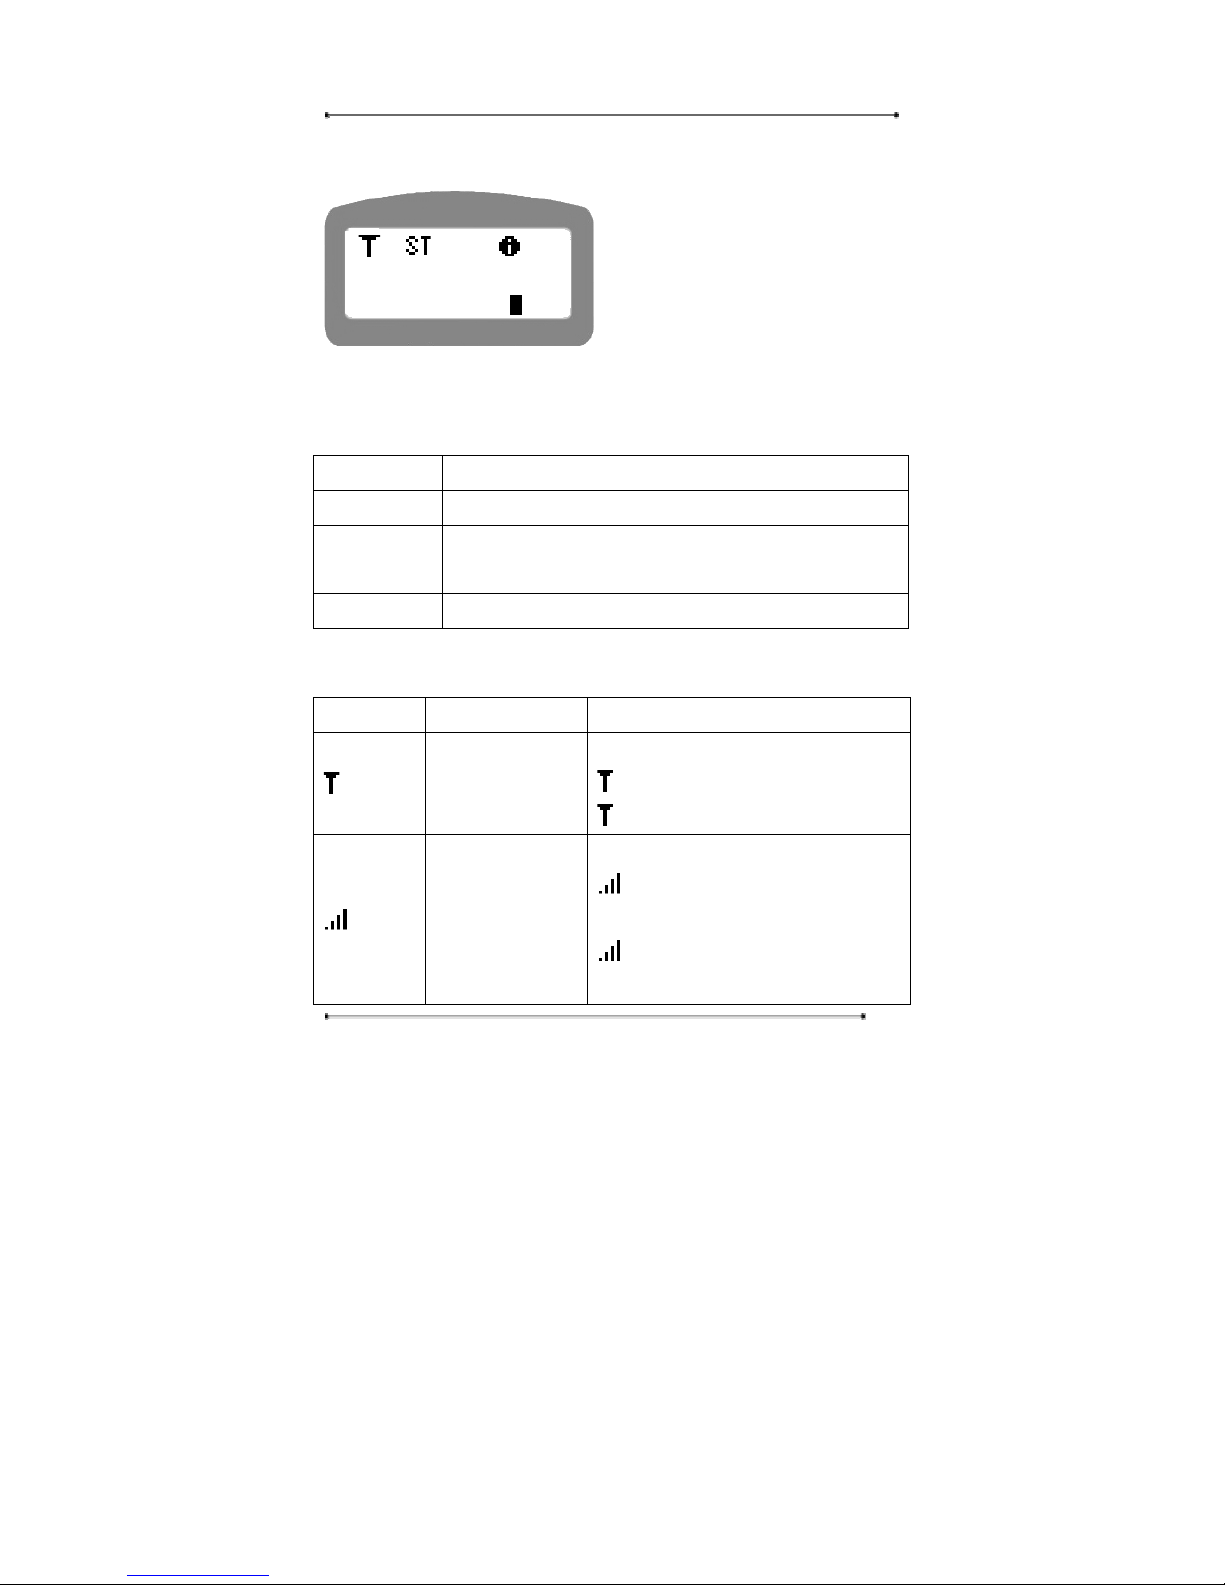
1.6.2. LCD Display
The LCD screen shows the current status of the Internet Phone, menu options on the
LCD screen, Telephone number dialed or received etc. (4x15)
First Line Status display – displays the present state of the IP Phone.
Second Line Name display – displays the name entered by the user.
Third Line Telephone number display – displays the number entered
with the key pad.
Fourth Line Current time display
The following are icons used to display the present state of the IP Phone
Icon Name Function
DNS Status
y Displays the DNS status.
flashing : Finding the DNS server
: Received the IP address of the DNS
Gatekeeper Status
y Displays the G/K registration status.
flashing : Trying to register with
Gatekeeper.
: Registered with Gatekeeper
successfully.
INTERNET PHONE
02-792-7400
A12:00
Page 14

Internet Phone User Manual
14
Call status display
: Displayed when the call is connected
successfully.
: Displayed when the call isn’t
connected.
Kinds of connection
: Static IP
: DHCP
: PPPoE
Mute y Displayed when using Mute function.
Flash save display
y Displayed when data is being saved in
memory
PC Link
y Displayed when the PC is connected to
the phone. (NAT).
Ethernet
y Displayed when the Internet Phone is
connected to the Internet.
Modem
y Displayed when the Modem is
connected.
Summer Time
y Displayed when the summer time is
applied.
Entry mode
y Displays the input mode.
: Symbols
: English Lower Case
: English Capital
: Numeric
Navigation key
y Displayed only when the navigation key
is available for menu selection.
Page 15
Internet Phone User Manual
15
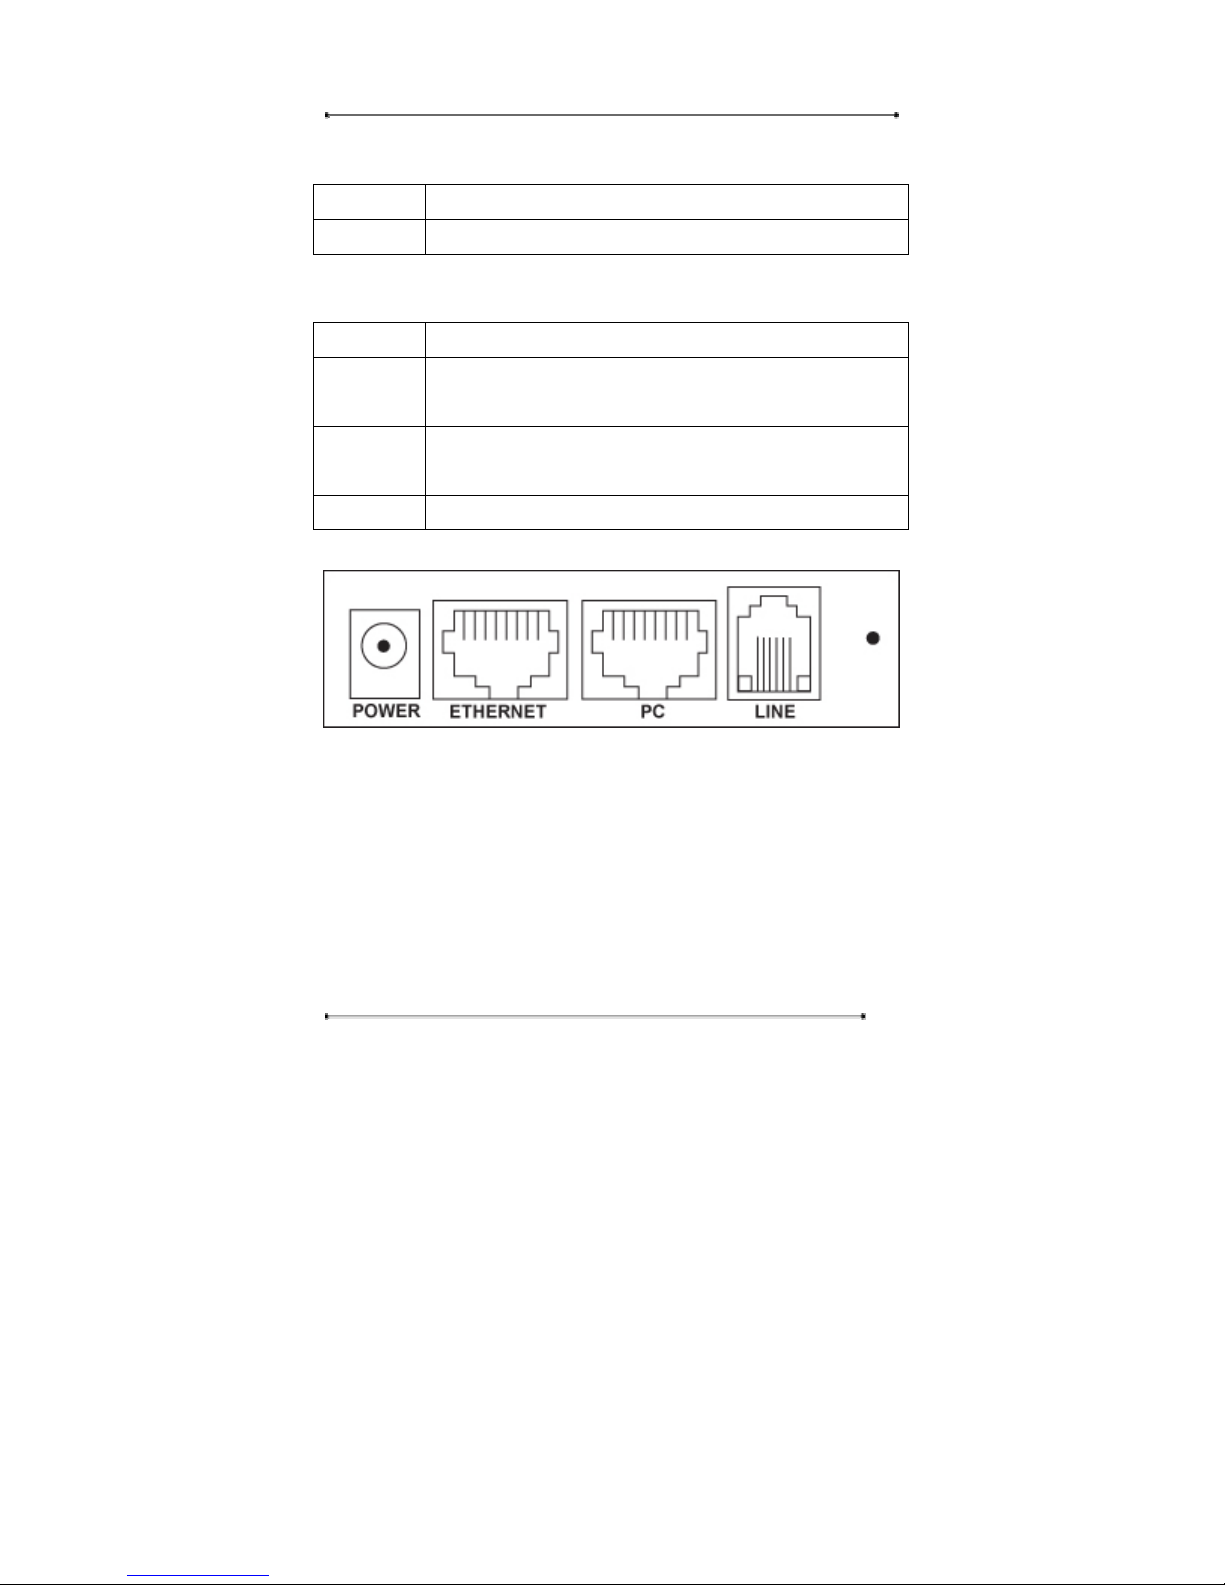
1.6.3. LED Display
PSTN y Lighted when using PSTN mode.
○DISP
y Lighted when using Dial-up connection.
1.6.4. Port Structure
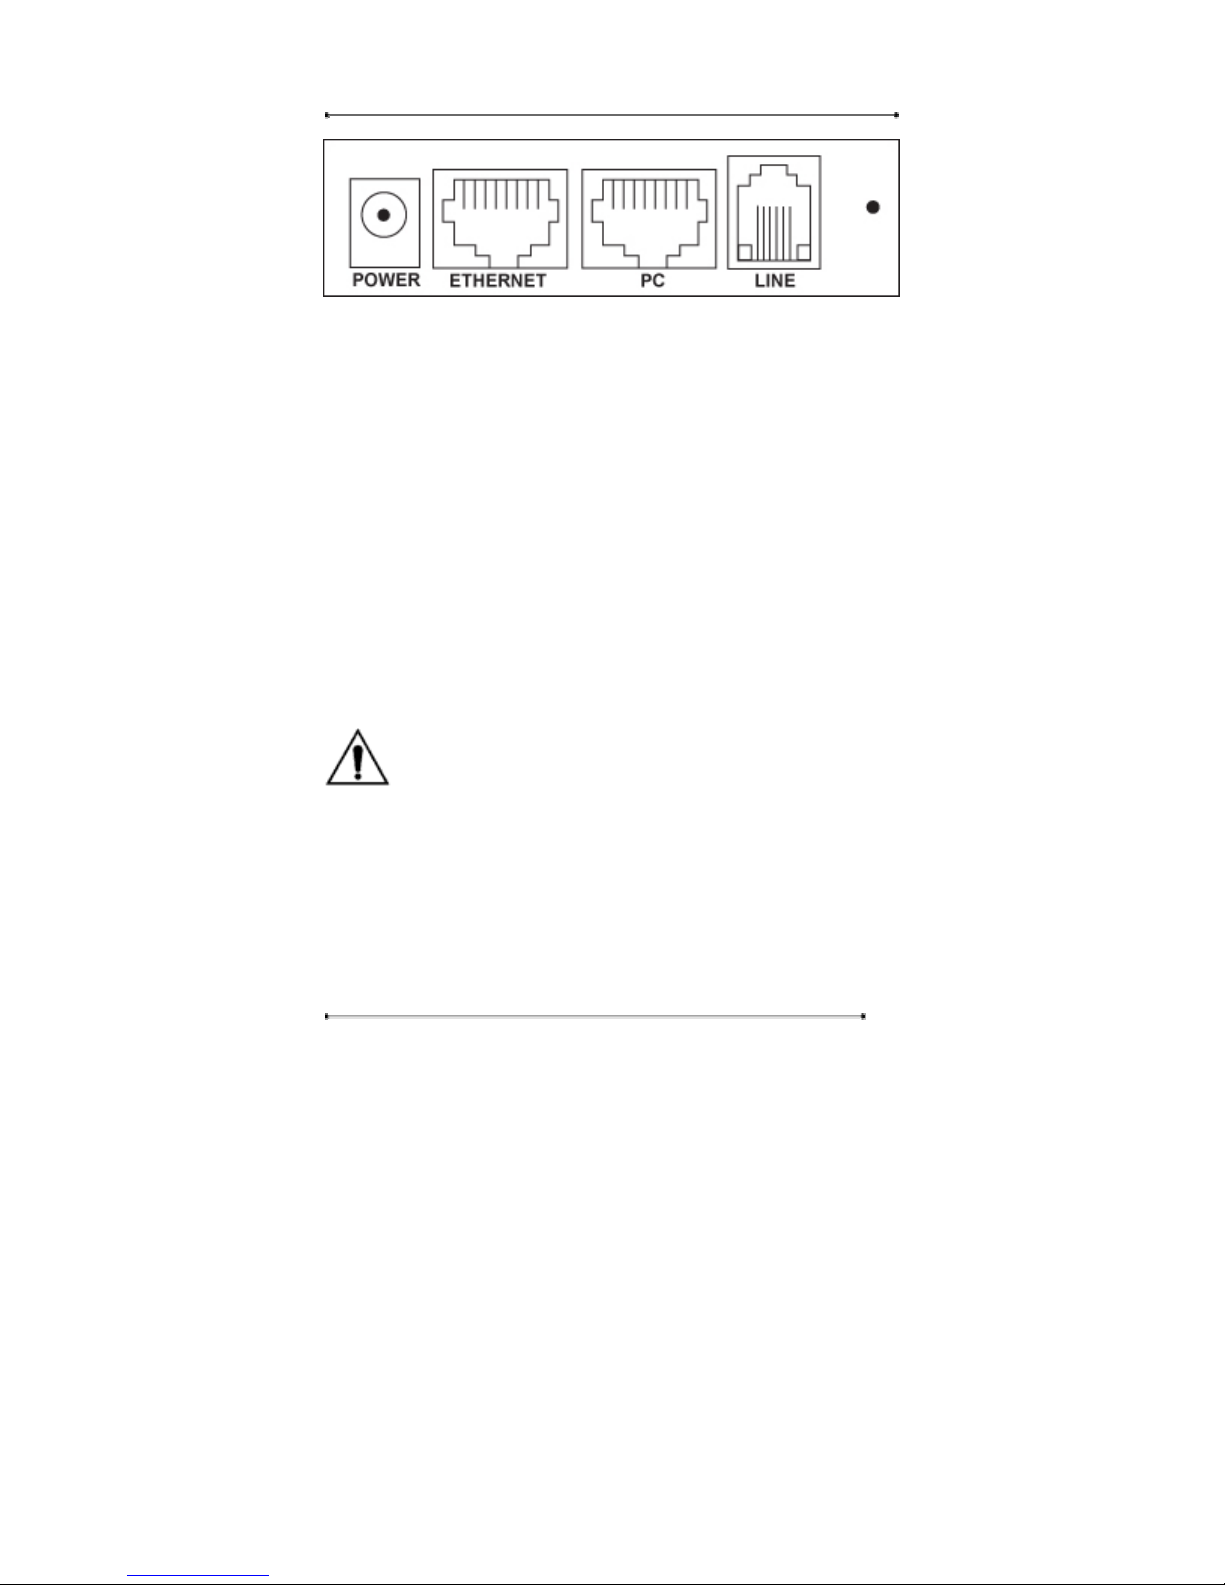
POWER Use to connect to the power adapter.
ETHERNET Use to connect to Internet leased line, cable modem, ADSL
Modem, or etc. for internet connection.
PC Use to connect to LAN port of the PC when using a computer
and Internet phone with sole internet connection.
LINE Use to connect to the regular telephone line.
Figure 1) D21 Rear Panel
Page 16
Internet Phone User Manual
16
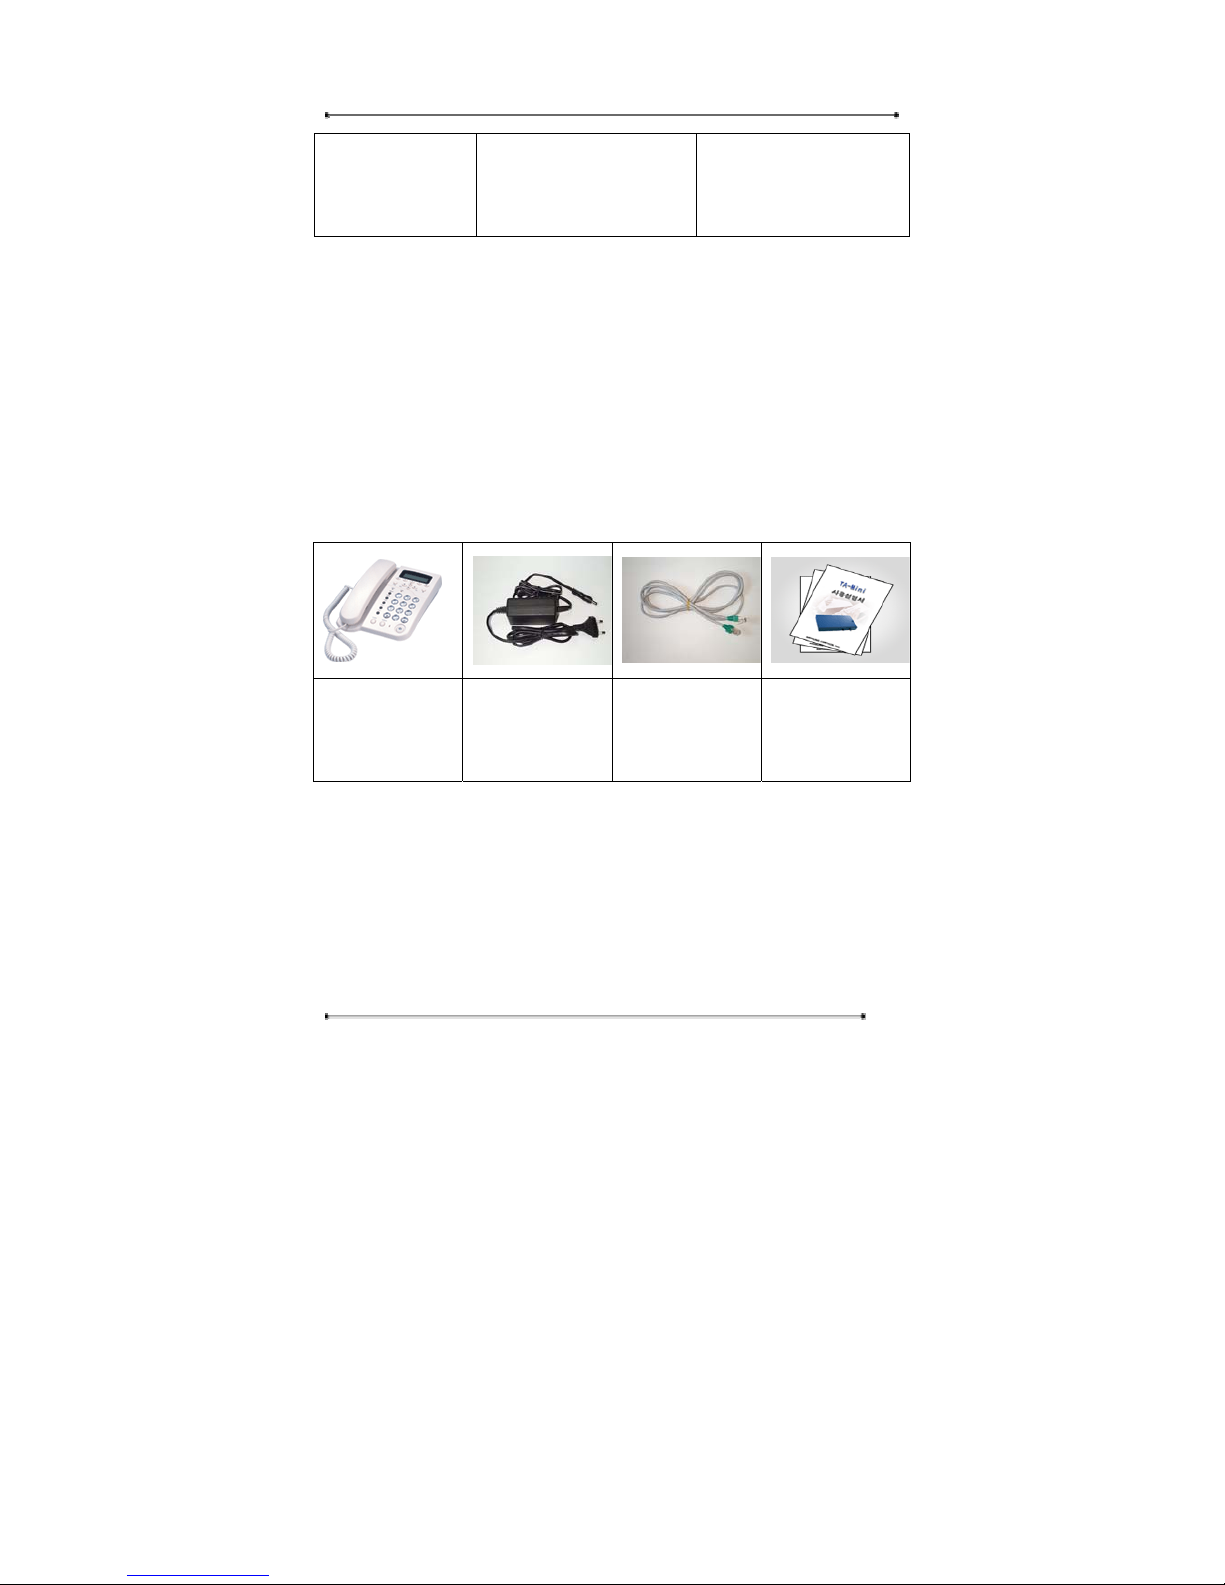
Figure 2) V20 Rear Panel
2. PRE-INSTALLATION CHECK LIST
2.1. Power Requirements
AC Voltage : External power adapter (100V-240V, 50/60Hz).
Please use only the power adapter provided with the Internet Phone.
For additional power adapter, please ask your service provider.
Safety
Should liquid or solid object get into the cabinet, unplug the unit and have it
checked by the qualified personnel before operating it any further.
To disconnect the cord, pull it out by the plug. Never pull the cord itself.
Do not place the unit in surfaces (rugs, blankets, etc.) or near materials (curtains,
draperies) that may block the ventilation holes.
Installation
Do not install the unit in an extremely hot or humid place or in a place subject to
Page 17

Internet Phone User Manual
17
excessive dust or mechanical vibration.
The unit is not designed to be waterproof. Exposure to rain or water may damage
the unit.
Cleaning
Clean the unit with a slightly damp soft cloth. Use a mild household detergent.
Never use strong solvents such s thinner or benzene as they might damage the
finish of the unit.
2.2. Storage Requirments
Operating Temperature : 32℉ to 131℉ (0℃ to 55℃)
Relative Humidity : 10% to 85%
2.3. User Requirements
Before you start, please ask your local ISP or network administrator for an Internet
account from
User ISP Requirement Common
Static IP User IP address
Gateway
Subnet mask
DNS
DHCP User
PPPoE User User ID
Password
H.323 ID
E.164 Number
Gatekeeper IP address
Page 18
Internet Phone User Manual
18
Dial-up User ISP Telephone number
User name
Password
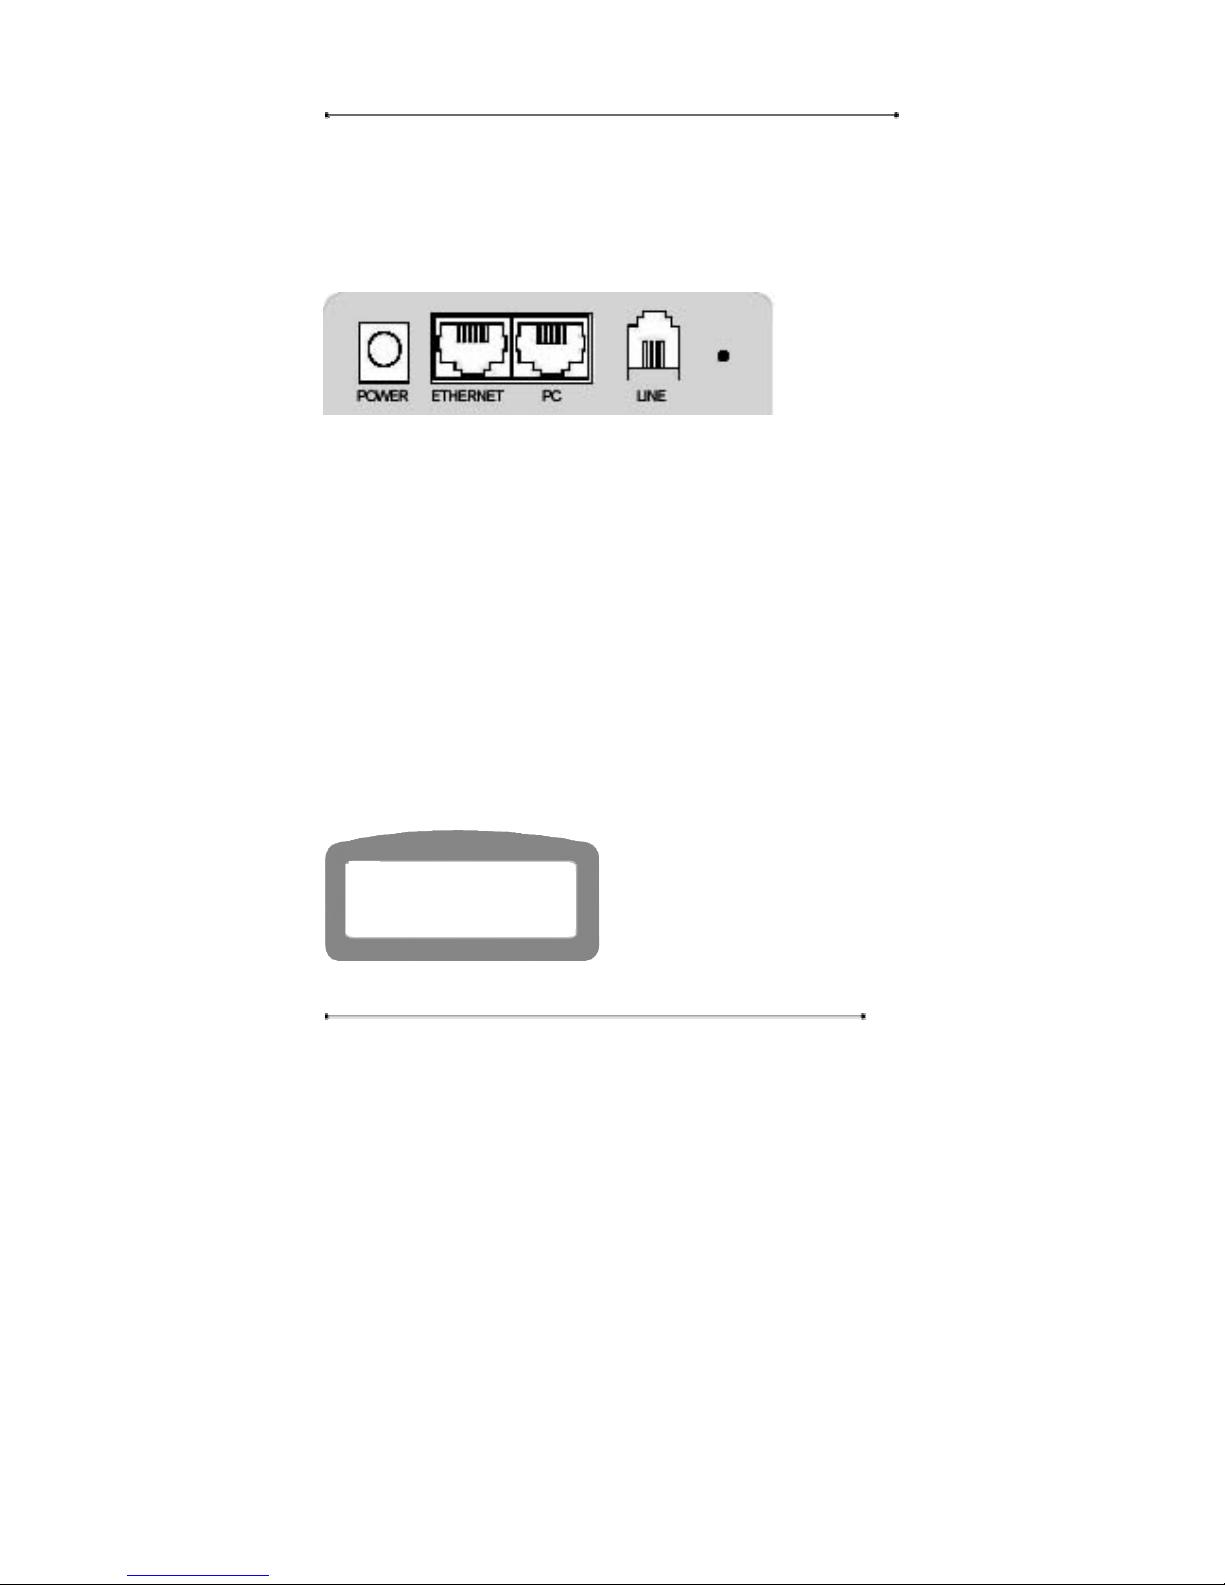
2.4. Component Check List
Open the box of Teliphone and make sure all the components are included in the box.
The following is the pictures of Teliphone 3200 components. The picture can be
different with the actually models of Teliphone.
Teliphone X 1
Handset X 1
Coiled Cord X 1
Power adaptor X 1 Ethernet Cable
only in D21/V21
User Manual X 1
Page 19
Internet Phone User Manual
19
3. INSTALLATION
3.1. Connecting Cables
STEP 1 Connect the Ethernet line that came from the Internet leased line, cable
modem, or ADSL modem to the Ethernet port of the Internet Phone.
STEP 2 (Option) Connect the PC port of the Internet Phone to the LAN port of
PC with a LAN cable. (Available only when using the phone and PC.)
STEP 3 (Option) Connect the PSTN line to the PSTN port of the Internet Phone.
STEP 4 Connect the power port to the power source with a power adaptor.
.
3.2. Booting Up process
STEP 1 If the cable connection is completed properly, the Internet Phone will
start booting automatically.
y Wait for a while till the rebooting
will be completed.
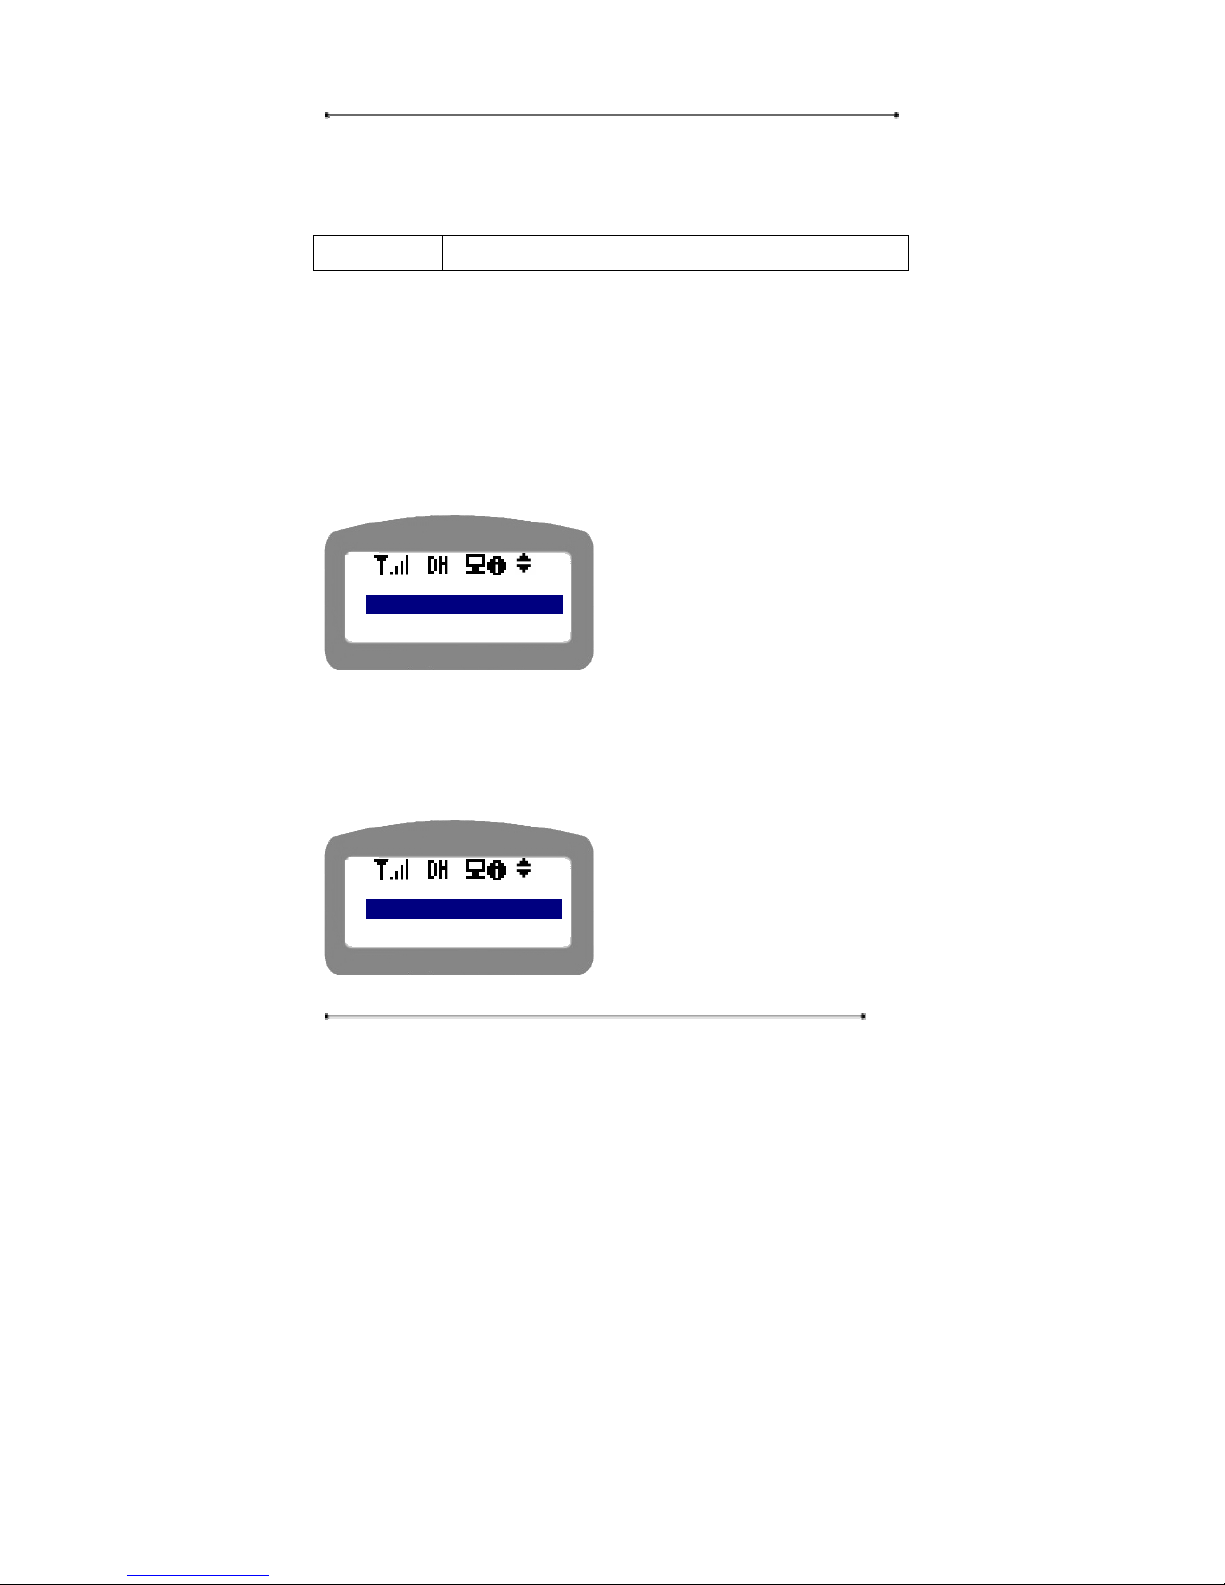
STEP 2 If the booting is completed properly, the following display will appear.
*************************
SYSTEM ON START
INITIALIZING
*************************
Page 20

Internet Phone User Manual
20
y It’s ok if you can see the icons, user
name, phone number, time, etc.
3.3. Quick Setup
STEP 1 Press the ‘menu’ Key on the key pad.
STEP 2 Select ‘5: Setup’. [See 4.2. Setup section]
STEP 3 Enter the password for user authentication. Default: Admin[20021218],
User[0000].
STEP 4 Set ‘Network’ [See 4.2.2. Network Setup section]
Mode Select [See 4.2.2.2 Mode Select section]
You can select one of Static IP, PPPoE, and DHCP for your network.
(If you are not sure of your network, see also 4.2.2.1. Automatic Network
Detection section)
NAT Setup. [See 4.2.2.3. NAT section]
STEP 5 Set “Call Setup’. [See 4.2.3 Call Setup Section]
You need to enter G/K Address, H.323 ID, On-net No. etc.
STEP 6 Set “Modem” if and only you use Dial-up connection to get the IP. [See
4.2.4 Modem section]
You need to enter the name, Tel No, ID, PW for a profile.
02-792-7400
A12:00
Page 21

Internet Phone User Manual
21
4. GETTING STARTED WITH MENU
4.1. Menu Structure
Call Log Rcvd Calls
Dialed Calls
Tx/Rx Calls
Delete All
Phone Book Find Number By Index
By Name
Add
Memory Dial M1/ M2/ M3
* Delete All
Ring/Volume Ring Select Ring 1
Ring 2
Ring 3
Vo l u m e
* Setup My Phone My Name
* User PWD
Page 22

Internet Phone User Manual
22
*Admin PWD
Area Code
Network Auto Detect NetDetect
Mac Clone
Mac Restore
Mode Select LAN(Static) IP
Subnet Mask
Gateway
DNS
DHCP
PPPoE PPPoE ID
PPPoE PWD
NAT Enable IP
Subnet Mask
Disable
Link Speed LAN
PC
Page 23

Internet Phone User Manual
23
Call Setup Service Use GK
GK Address
H323ID
Phone No.
Dft GW Enable
Disable
PLAR Enable
Disable
Codec Preferred
Jitter Delay
Modem Time-out
Select Profile ISP 1(Name)
ISP 2(Name)
ISP 3(Name)
Edit Profile ISP 1(Name) Name
ISP 2(Name) Tel No.
ISP 3(Name) ID
PW
Speaker On/Off
Time Time Server
Page 24

Internet Phone User Manual
24
Time Zone
Summer Time
PSTN Flash Time
Dial Type
County Code
Default Tel Book/List
Settings
Information Network
Version
Mac Address
Reboot
Page 25

Internet Phone User Manual
25
4.2. Setup
This section includes important but basic information for setting the internet phone.
To setup the Internet phone, you may need to input some characters or numbers into
the input line. Please study the following instruction on key input prior to setup.
Note : Key Input Instruction
Some setup menus support a few character input mode, English lower-case, English
capital, numeric, and special characters or symbols. In an input mode, if you press
‘Menu’ key, the input mode will be toggled to another one in order. For example, the
input mode will be changed from :English lower-case to :English-capital, and
to :numerical, and to :special characters in order.
When you enter name into the input line, please use the navigation key on the key
pad to move to the left or right in the input line. Use ‘Delete’ key to delete the
characters or numeric, and the cursor will move to the left erasing the character.
When you enter the phone number into the input line, please press ‘Menu’ key until
you can see the icon on the right of the first line.
When you enter the special characters into the input line, please press ‘Menu’ key
until you can see the icon on the right of the first line. Please use ‘0’ key on the
keypad to select the desired special character.
For English characters, press the number key corresponding to the alphabet more
Page 26
Internet Phone User Manual
26
than once till you can get the desired alphabet.
4.2.1. My Phone
Navigation Menu Æ 4: Setup Æ User Authentication Æ My Phone
User can change the name that is displayed on the upper menu through ‘My Phone’
menu.
STEP 1 Press ‘Menu’ key on the keypad.
STEP 2 Select ‘4. Setup’.
STEP 3 Enter the password for user authentication.
STEP 4 Select ‘1: My Phone’.
y Use navigation key to select the
menu, or press the menu number.
y Press ‘Cancel’ key to return to the
upper menu.
4.2.1.1. My Name
This menu is to edit the name to be displayed on the LCD.
STEP 1 Select ‘1: My Name’.
y Use navigation key to select the
menu, or press the menu number.
y Press ‘Cancel’ key to return to the
upper menu.
<Setup>
1: My Phone
2: Network
<My Phone>
1: My Nam
2: Password
Page 27

Internet Phone User Manual
27
STEP 2 Enter the user name for the Internet Phone.
y You can enter the name up to 15
characters in alphabet, numeric, or
special characters.
STEP 3 Press ‘OK’ key to save the changed settings.
y The left message will appear when
the saving process is completed.
4.2.1.2. User Password
This menu is to change the user password used for Internet phone Setup. The
Internet phone has two levels of password system, administrator password and
normal user password. In normal user mode, the admin password menu will not be
displayed. The password change process is same in both cases. Here the password
change for normal user only will be given.
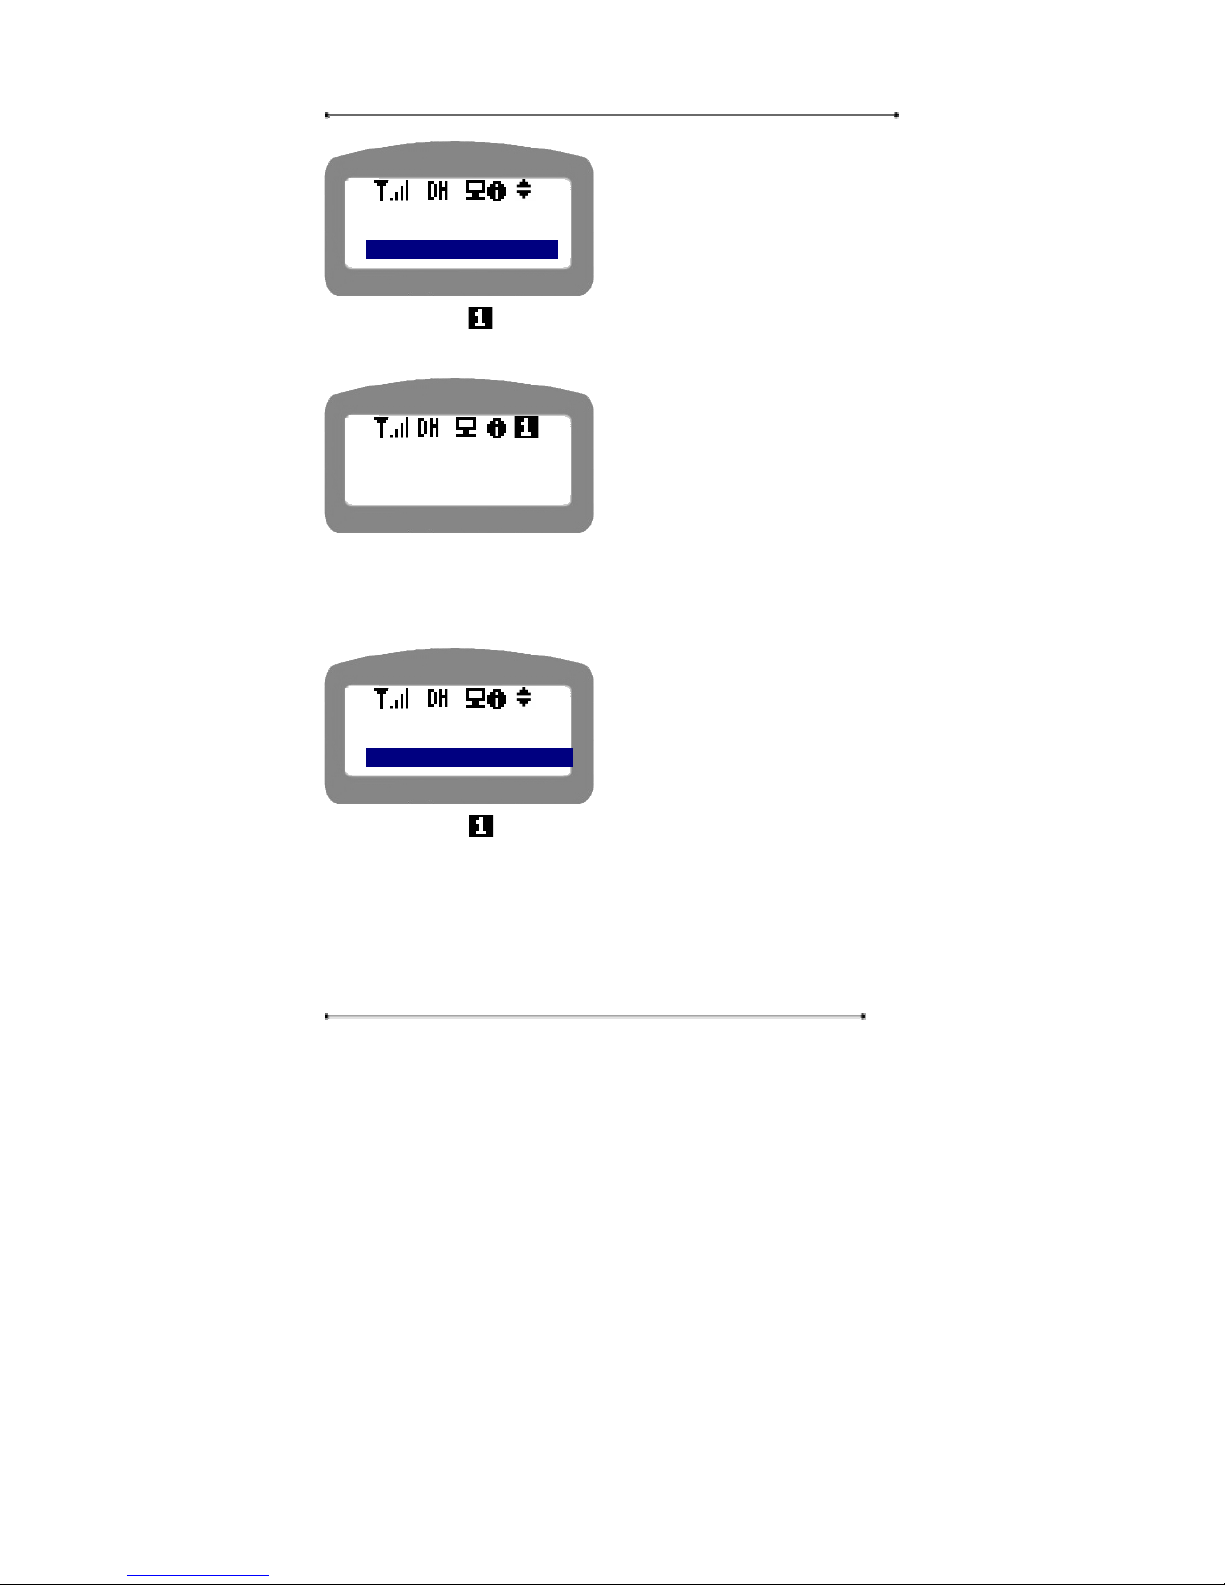
STEP 1 Select ‘2: Password’ in the phone menu selection.
Saved!
<My Name>
Page 28
Internet Phone User Manual
28
y Use navigation key to select the
menu, or press the menu number.
y Press ‘Cancel’ key to return to the
upper menu.
STEP 2 The icon will appear. Enter the new password for normal user. You
can enter the password up to 15 digits.
y Press ‘OK’ key to save the new
password or “Cancel’ key to return
to the upper menu without change.
4.2.1.3. Admin Pass word
STEP 1 Select ‘3: Admin Password’ in the menu selection.
y Use navigation key to select the
menu, or press the menu number.
y Press ‘Cancel’ key to return to the
upper menu.
STEP 2 The icon will appear. Enter the new password for admin user. You
can enter the password up to 15 digits.
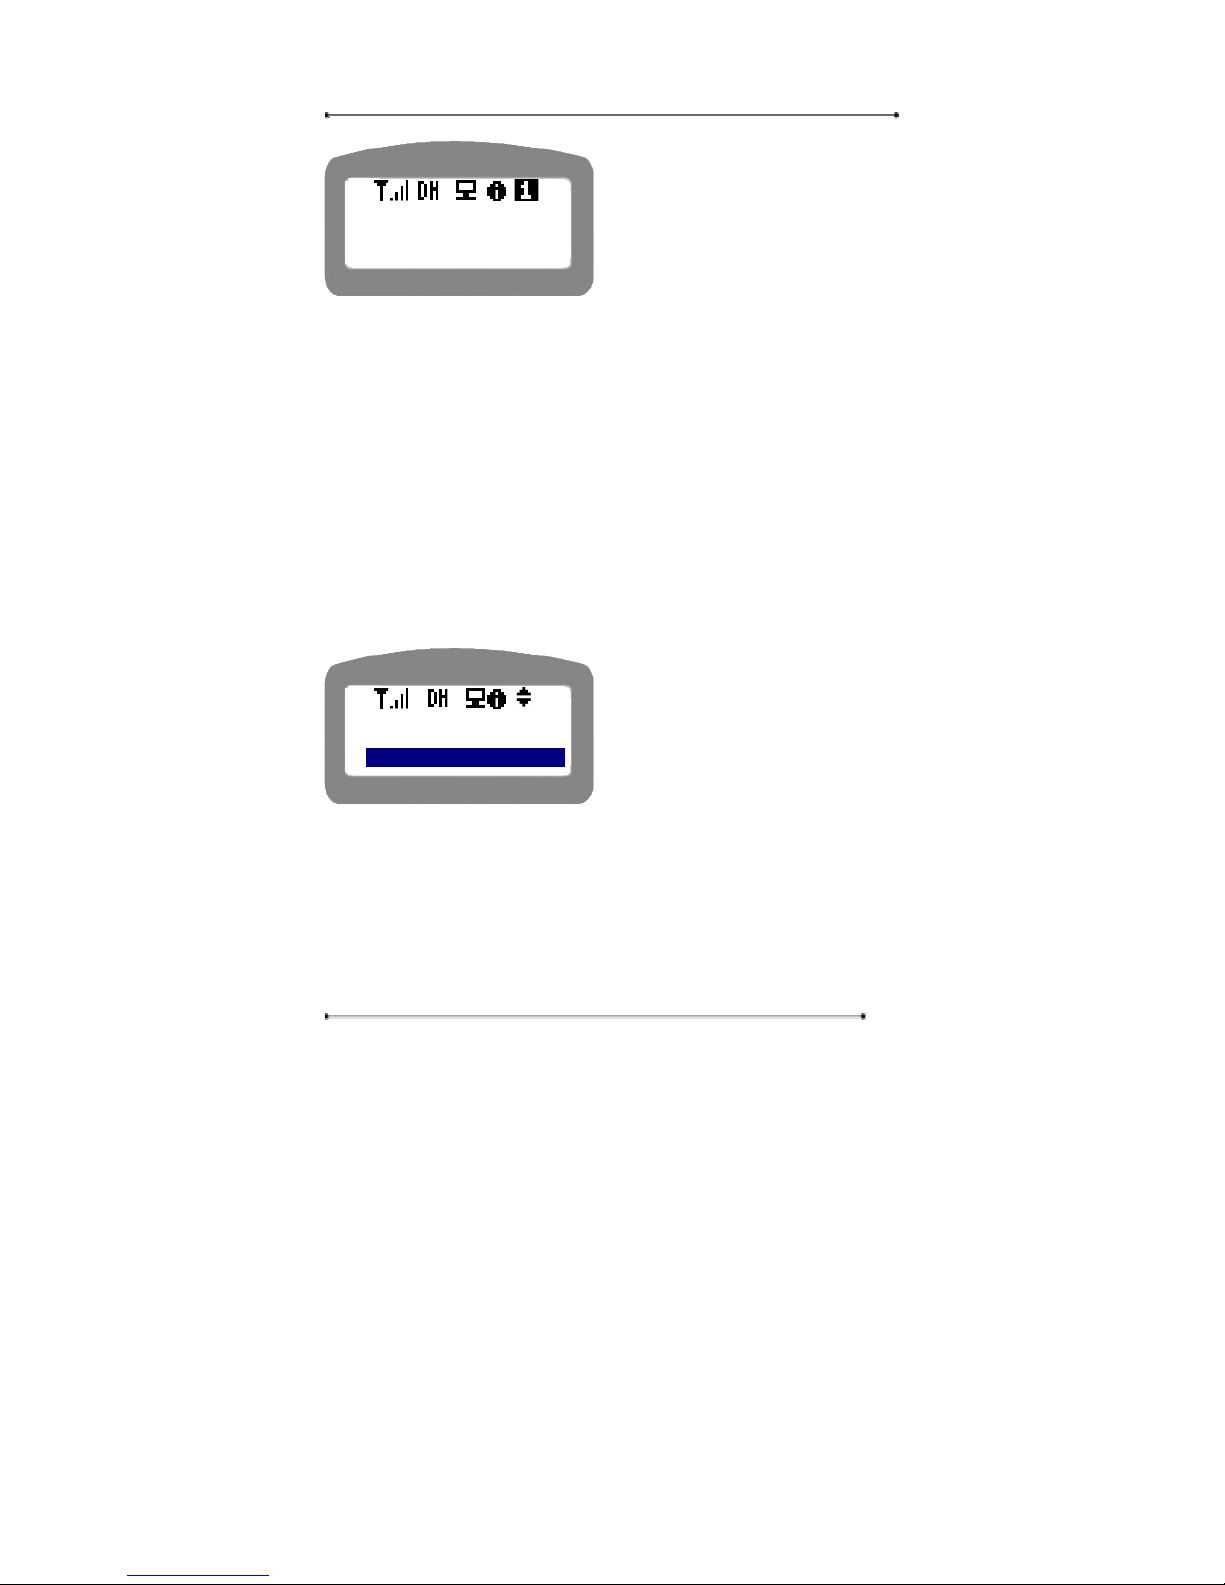
<My Phone>
1: My Name
2: User PWD
User Password
<My Phone>
2: User PWD
3: Admin PWD
Page 29
Internet Phone User Manual
29
y Press ‘OK’ key to save the new
password or “Cancel’ key to return
to the upper menu without change.
4.2.1.4. Area Code
Area Code is the number to designate the destination area along with the country
code. This menu allows user to set the area code (number) to be added before the
dialed number automatically within a country. This area code will be added
automatically for all the dialed numbers. Please be careful to remove the area code
by pressing ‘Cancel’ key when making an urgent call or direct call. It will be useful
if you use the Internet phone to make a call to the specific area.
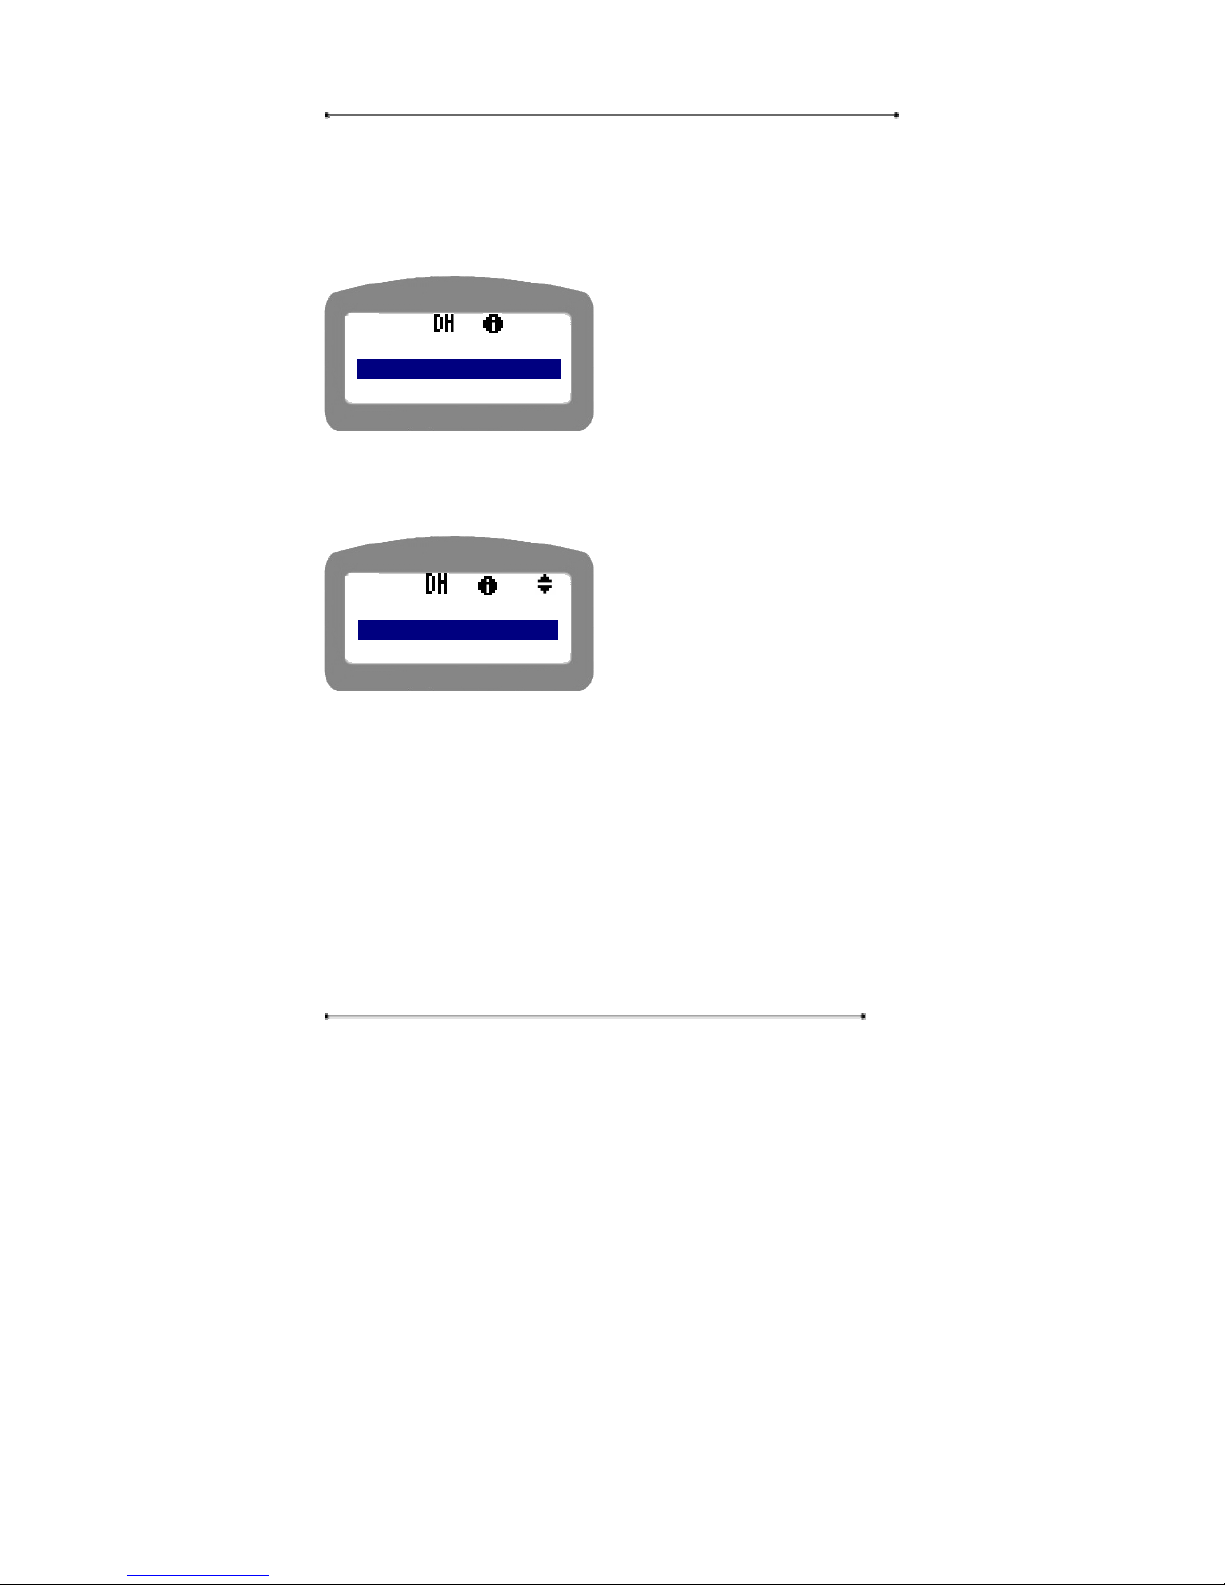
STEP 1 Select ‘4: Area Code’ to set the area code.
y Use navigation key to select the
menu, or press the menu number.
y Press ‘Cancel’ key to return to the
upper menu.
STEP 2 Enter the area code.
User Password
<My Phone>
3: Admin PWD
4: Area Code
Page 30

Internet Phone User Manual
30
y Use navigation key to select the
menu, or press the menu number.
y Press ‘Cancel’ key to return to the
upper menu.
4.2.2. Network Setup
4.2.2.1. Auto Network Detection
Internet Phone has Auto network detection function, which recognizes the user’s
network configuration. The menu can be useful when the user is not sure whether
his/her network is DHCP or PPPoE. The Internet phone detects the corresponding
network and carries out the network setup process automatically. This function
allows user to setup the Internet phone without difficulties even when the user is not
familiar with the network glossary.
Notice: The automatic Network Detection won’t work if you are using a dedicated
line, ADSL MyIP, or ADSL Multi IP.
In case of the dedicated line, ADSL MyIP, or ADSL Multi IP user, refer to ‘Static
mode’ in ‘4.2.2.2. Mode Select’ section.
In case of the VDSL user, refer to ‘DHCP mode’ in ‘4.2.2.2. Mode Select’ section.
Navigation Menu Æ 4: Setup Æ User Authentication Æ 2. Network Æ
1:Auto Detect
STEP 1 Press ‘Menu’ key on the key pad.
<Area Code>
Page 31
Internet Phone User Manual
31
STEP 2 Select ‘4: Setup’ in main menu.
STEP 3 Enter the password for user authentication.
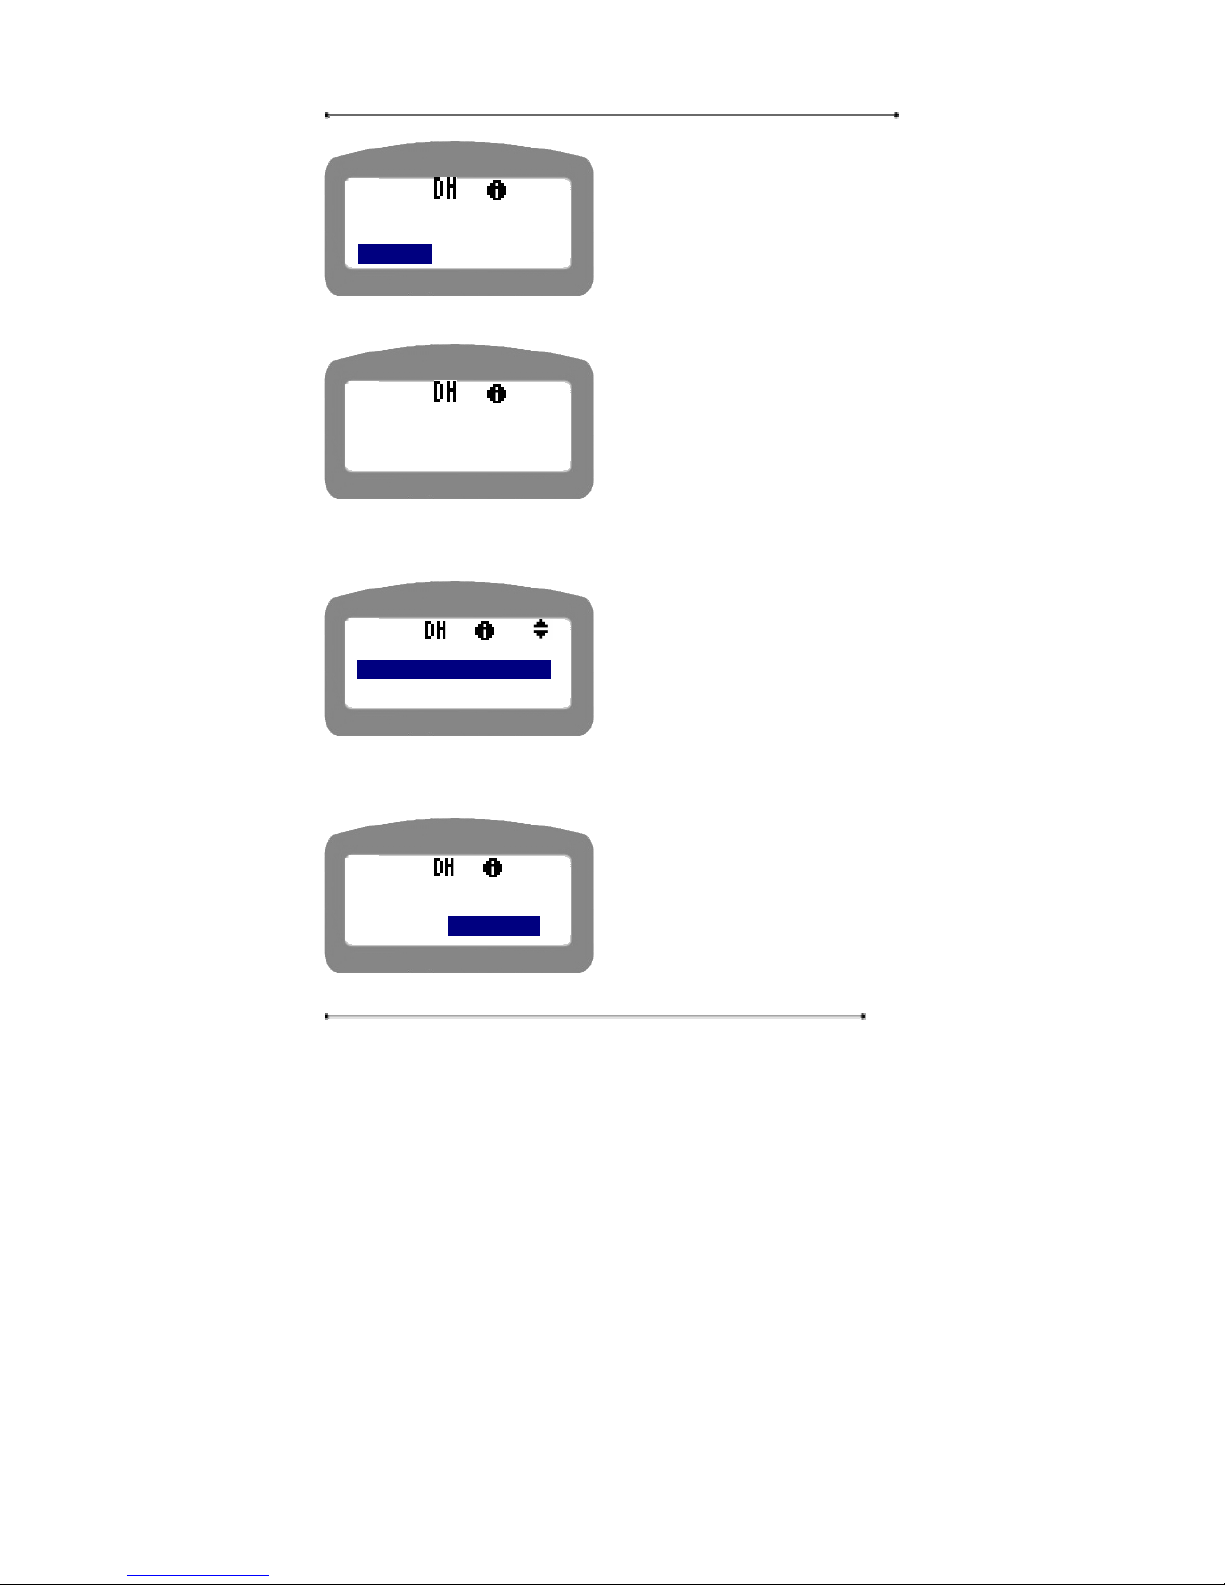
STEP 4 Select ‘2: Network’. Use ‘1: Auto Detect’ menu only when you can’t
assure which network you are using.
Use navigation key to select the menu,
or just press the menu number.
Press ‘Cancel’ key to move to the upper
menu.
① Automatic Network Detection
STEP 1 Select ‘1: NetDetect’.
y Use navigation key to select the
menu, or just press the menu
number.
y Press ‘Cancel’ key to move to the
upper menu.
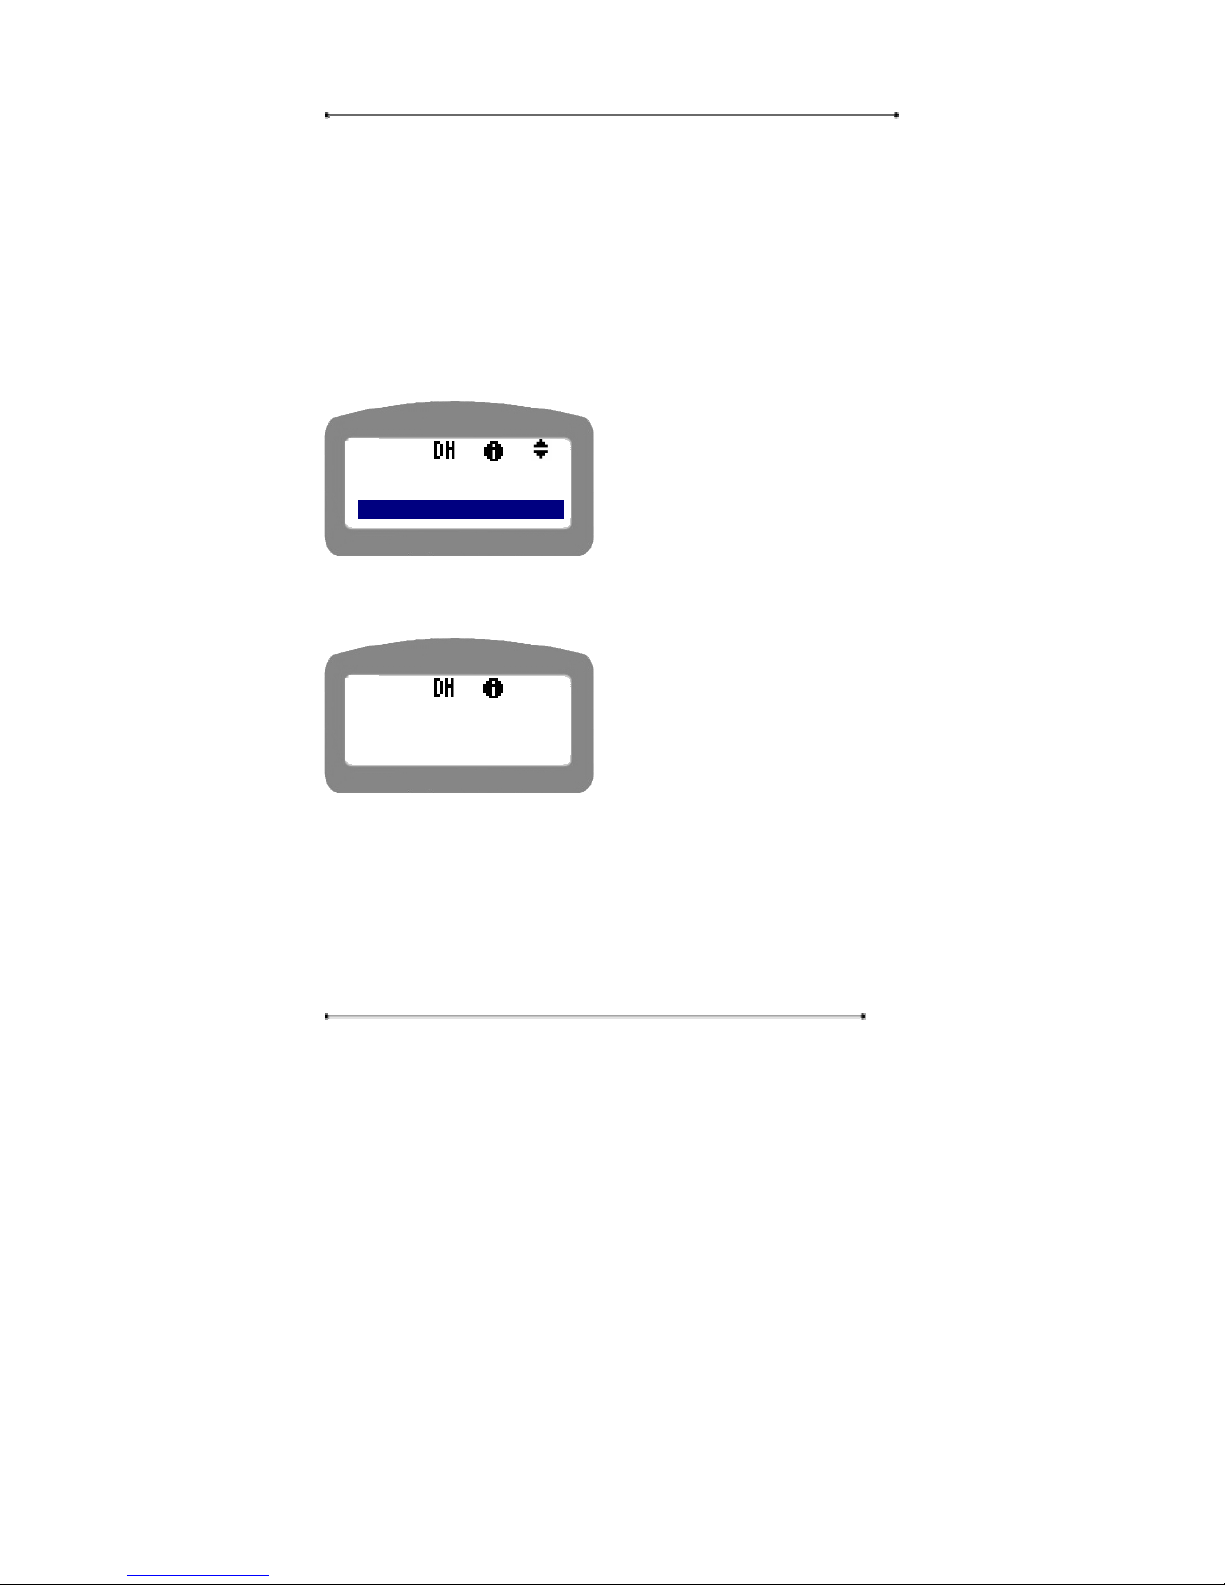
STEP 2 The following message will appear. If you select ‘YES’, the Internet
Phone will examine the current network. In case of Cable modems, the setup will be
applied after rebooting. In case of PPPoE user, the message that asks ID and
password will appear. For example, the PPPoE user can see the following display. In
other case, please refer to the message that appears on the LCD.
<Auto Detect>
1: Net Detect
2: MAC Clone
<NETWORK>
1:Auto Detect
2:Mode Select
Page 32
Internet Phone User Manual
32
y Use navigation key to select ‘YES’
or ‘NO’.
y Press ‘Cancel’ key to move to the
upper menu.
STEP 3 The following screen will be displayed.
y Use navigation key to select the
menu, or just press the menu
number.
y Press ‘Cancel’ key to move to the
upper menu.
STEP 4 For example, the network is DHCP, you can see the following display.
y Use navigation key to select the
menu, or just press the menu
number.
STEP 5 Decide whether you will apply the new setting or not.
y Use navigation key to select the
menu, or just press the menu
number.
Apply
New Setting?
YES NO
Will you
Net Detect?
YES NO
Net Detecting…
SEARCH
<DHCP>
1. Apply
2. Cancel
Page 33
Internet Phone User Manual
33
② MAC ADDRESS Cloning
This menu is to assign the MAC address of PC to LAN port of the Internet phone.
Some ITSP uses the MAC address of the LAN card installed in the PC for user
authentication. In this instance, the MAC address of the Internet Phone must match
the Mac address of PC LAN card. This function which allows for this matching is
called Mac Cloning. Please use this function only when needed.
STEP 1 Select ‘2: Mac Clone’ in the menu selection.
y Use navigation key to select the
menu, or just press the menu
number.
y Press ‘Cancel’ key to move to the
upper menu.
STEP 2 Connect the Internet phone to the PC with LAN cable and press ‘OK’
button.
Press ‘OK’ button if you have
connected the Internet phone to your
PC.
Press ‘Cancel’ key to return to the
upper menu.
STEP 3 Please make sure that the PC is connected to the Internet phone with
LAN cable.
<Auto Detect>
1:Net Detect
2:Mac Clone
Connect to PC
and Press [OK]
Page 34

Internet Phone User Manual
34
Use the navigation key or menu
number to select the menu, and press
‘OK’ button.
Press ‘Cancel’ key to return to the
upper menu.
STEP 4 There will be a message indicating restarting the PC.
Please wait for a few minutes.
※ Warning: At this time, the PC should be in DHCP mode. This screen will be
displayed until the PC rebooting is finished. Once rebooting is completed, the
computer’s MAC Address will be selected to match the telephone’s MAC Address
(MAC Cloning). This is merely a step in order to set up a normal network
③ MAC Restore
This menu is to restore the MAC address of the LAN port that has been changed by
MAC cloning. By MAC restoring, user can restore the MAC address of the LAN
port to the MAC address at the time of factory shipment.
STEP 1 Select ‘3: MAC Restore’.
PC Connected?
1:YES
2:NO
Reboot Connected PC!
Page 35
Internet Phone User Manual
35
y Use Navigation key to select the
menu.
y Press ‘Cancel’ key to return to the
upper menu.
STEP 2 Select ‘1: Default’.
y Use Navigation key to select the
menu.
y Press ‘Cancel’ key to return to the
upper menu.
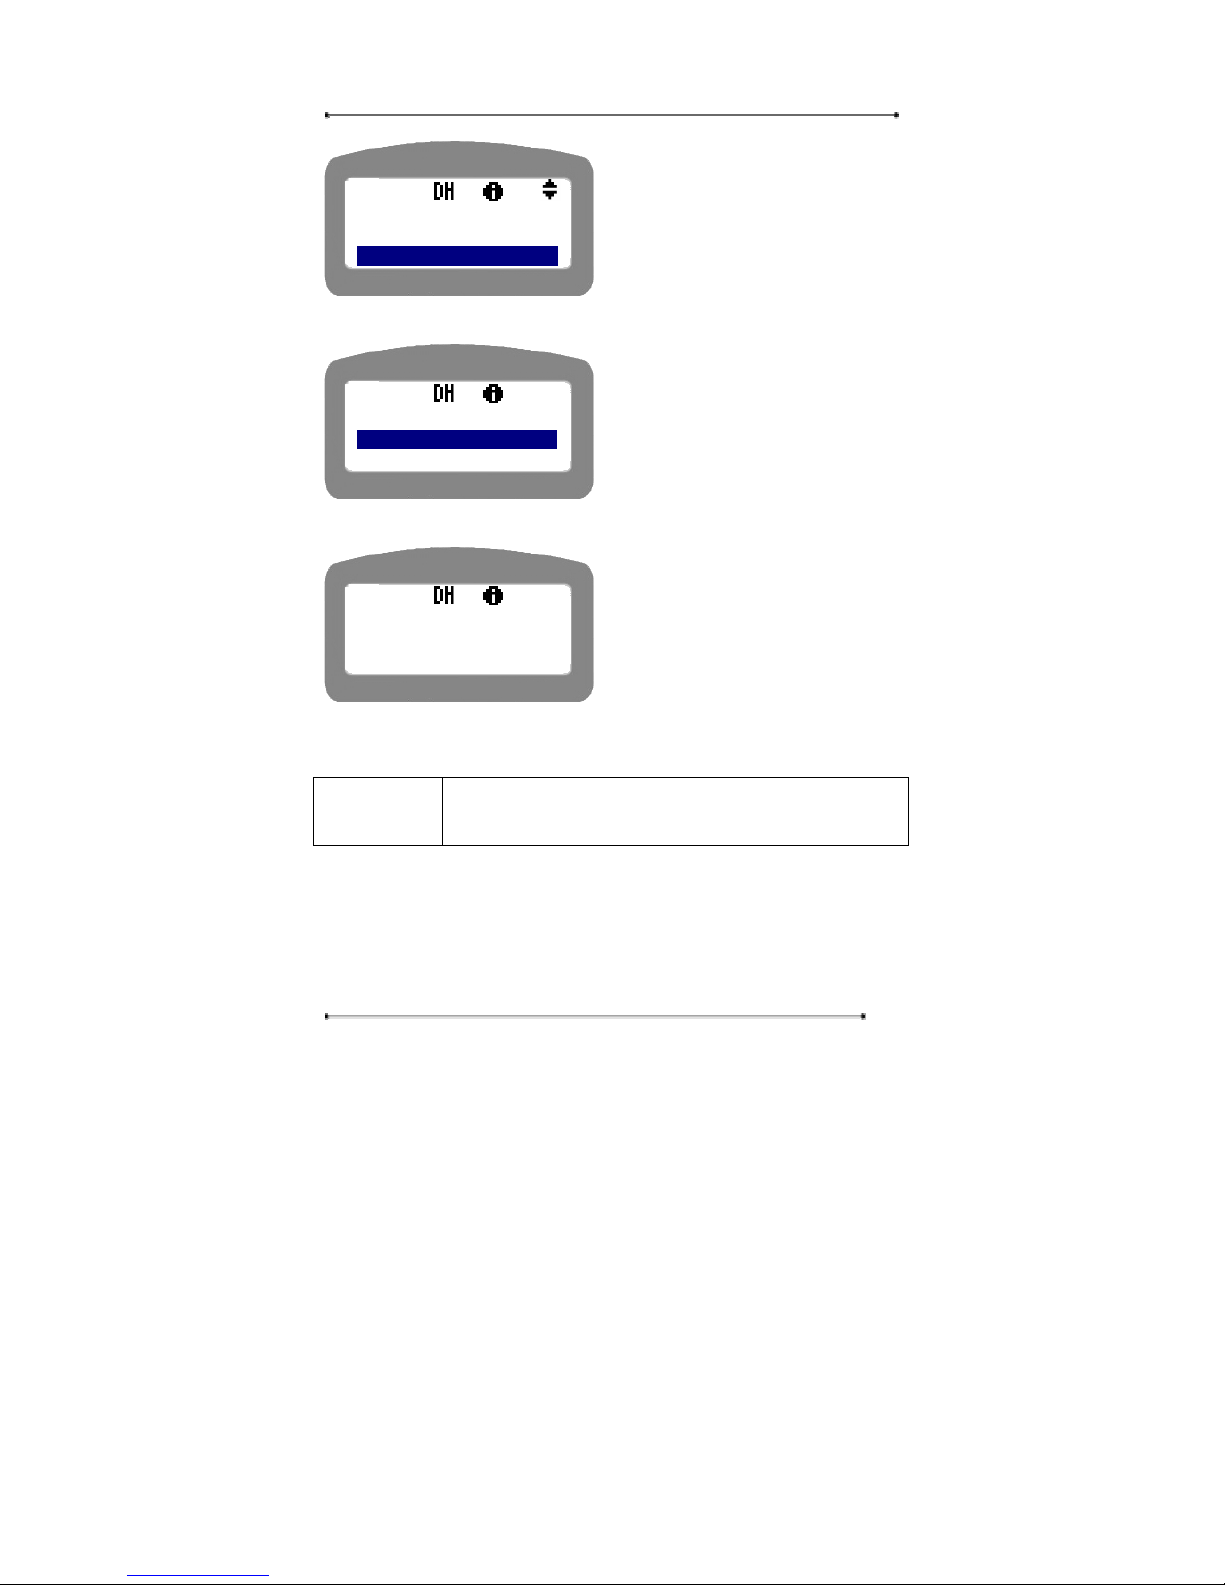
STEP 3 The following display will appear.
y Please wait till the rebooting is
completed.
4.2.2.2. Mode Select
Navigation Menu Æ 4: Setup Æ User Authentication Æ 2: Network Æ
2:Mode Select
This menu allows user to select the proper network manually for Internet Phone
setup. If you don’t know the kinds of your network, please use “Auto Network
Detection’ menu. [See 4.2.2.2]
<MAC Address>
1:Default
2:CANCEL
RESTARTING.
WAIT...
<Auto Detect>
2:MAC Clone
3:MAC Restore
Page 36
Internet Phone User Manual
36
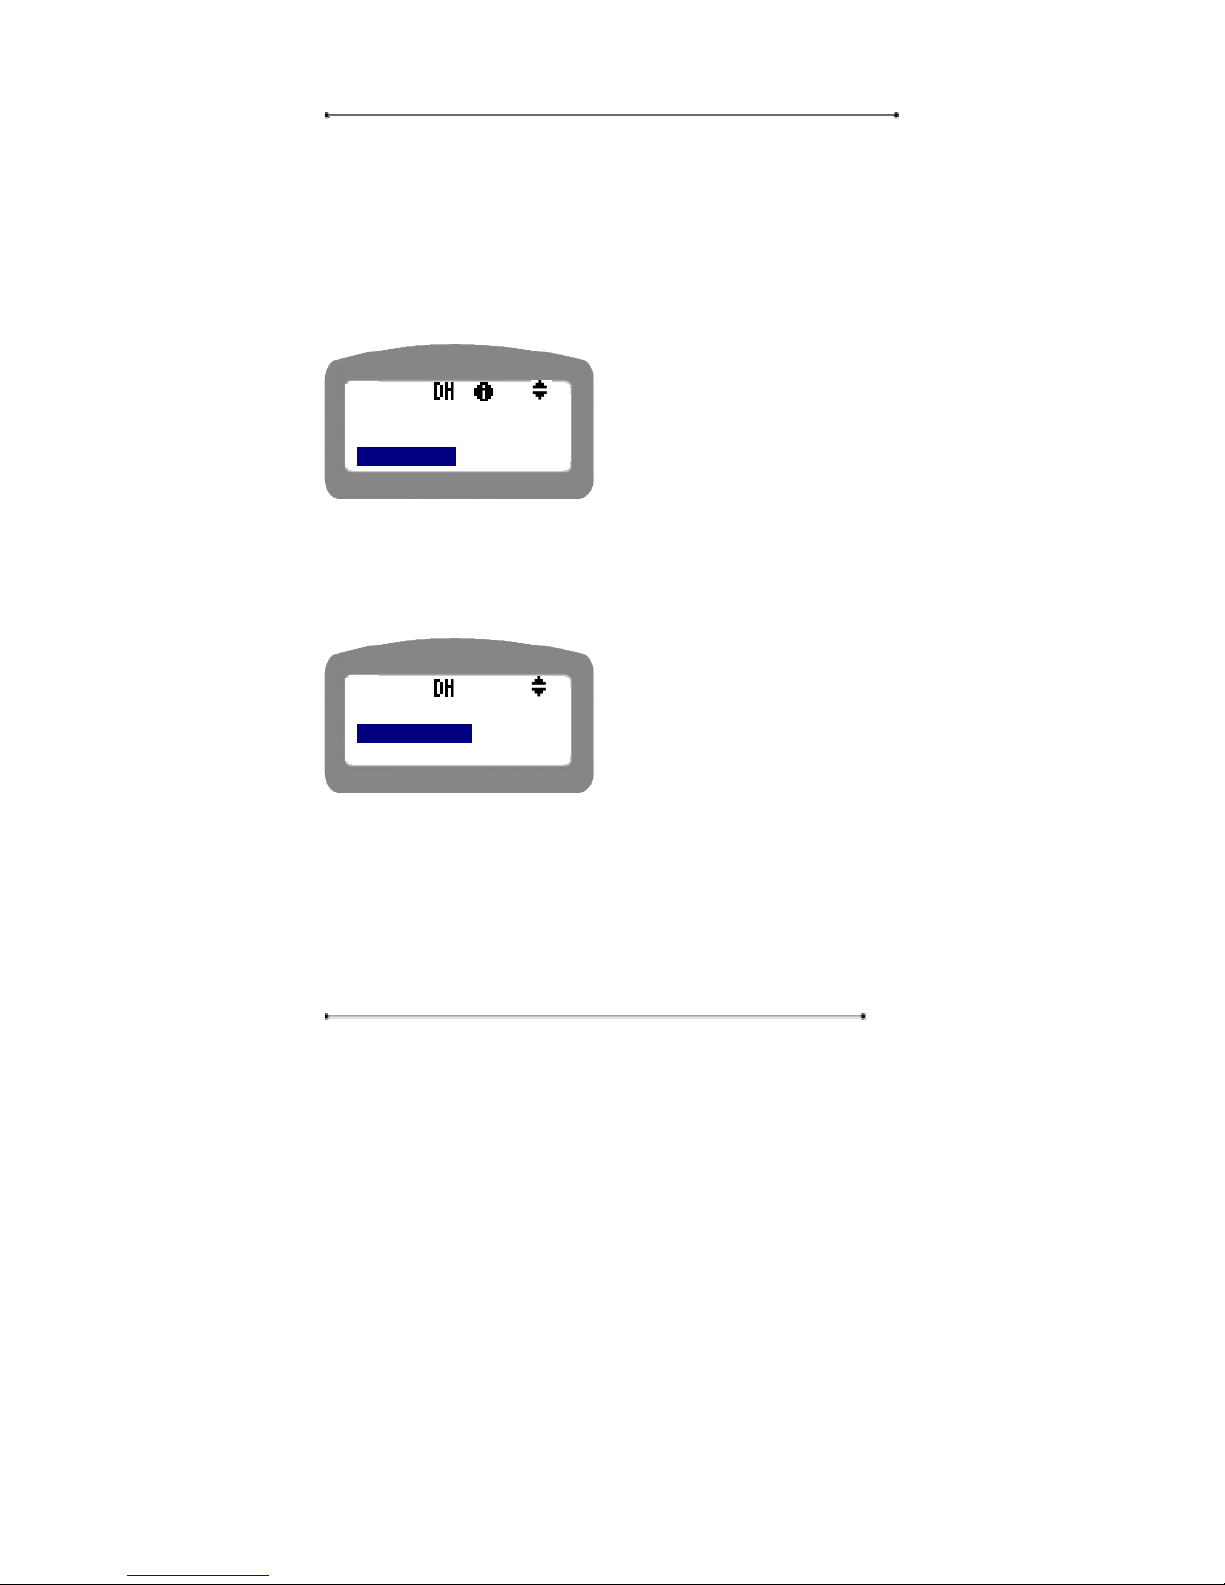
STEP 1 Press ‘Menu’ key.
STEP 2 Select ‘4: Setup’ in main menu.
STEP 3 Enter the password for user authentication.
STEP 4 Select ‘2: Network’.
STEP 5 Select ‘2: Mode Select’.
y Use navigation key to select the
menu.
y Press ‘Cancel’ key to return to the
upper menu.
① Static IP User
If you are a static IP user, please select this menu and setup the static related settings
required for using the Internet phone.
STEP 1 Select ‘1: LAN (Static)’ in menu selection.
y Use Navigation key to select the
menu.
y Press ‘Cancel’ key to return to the
upper menu.
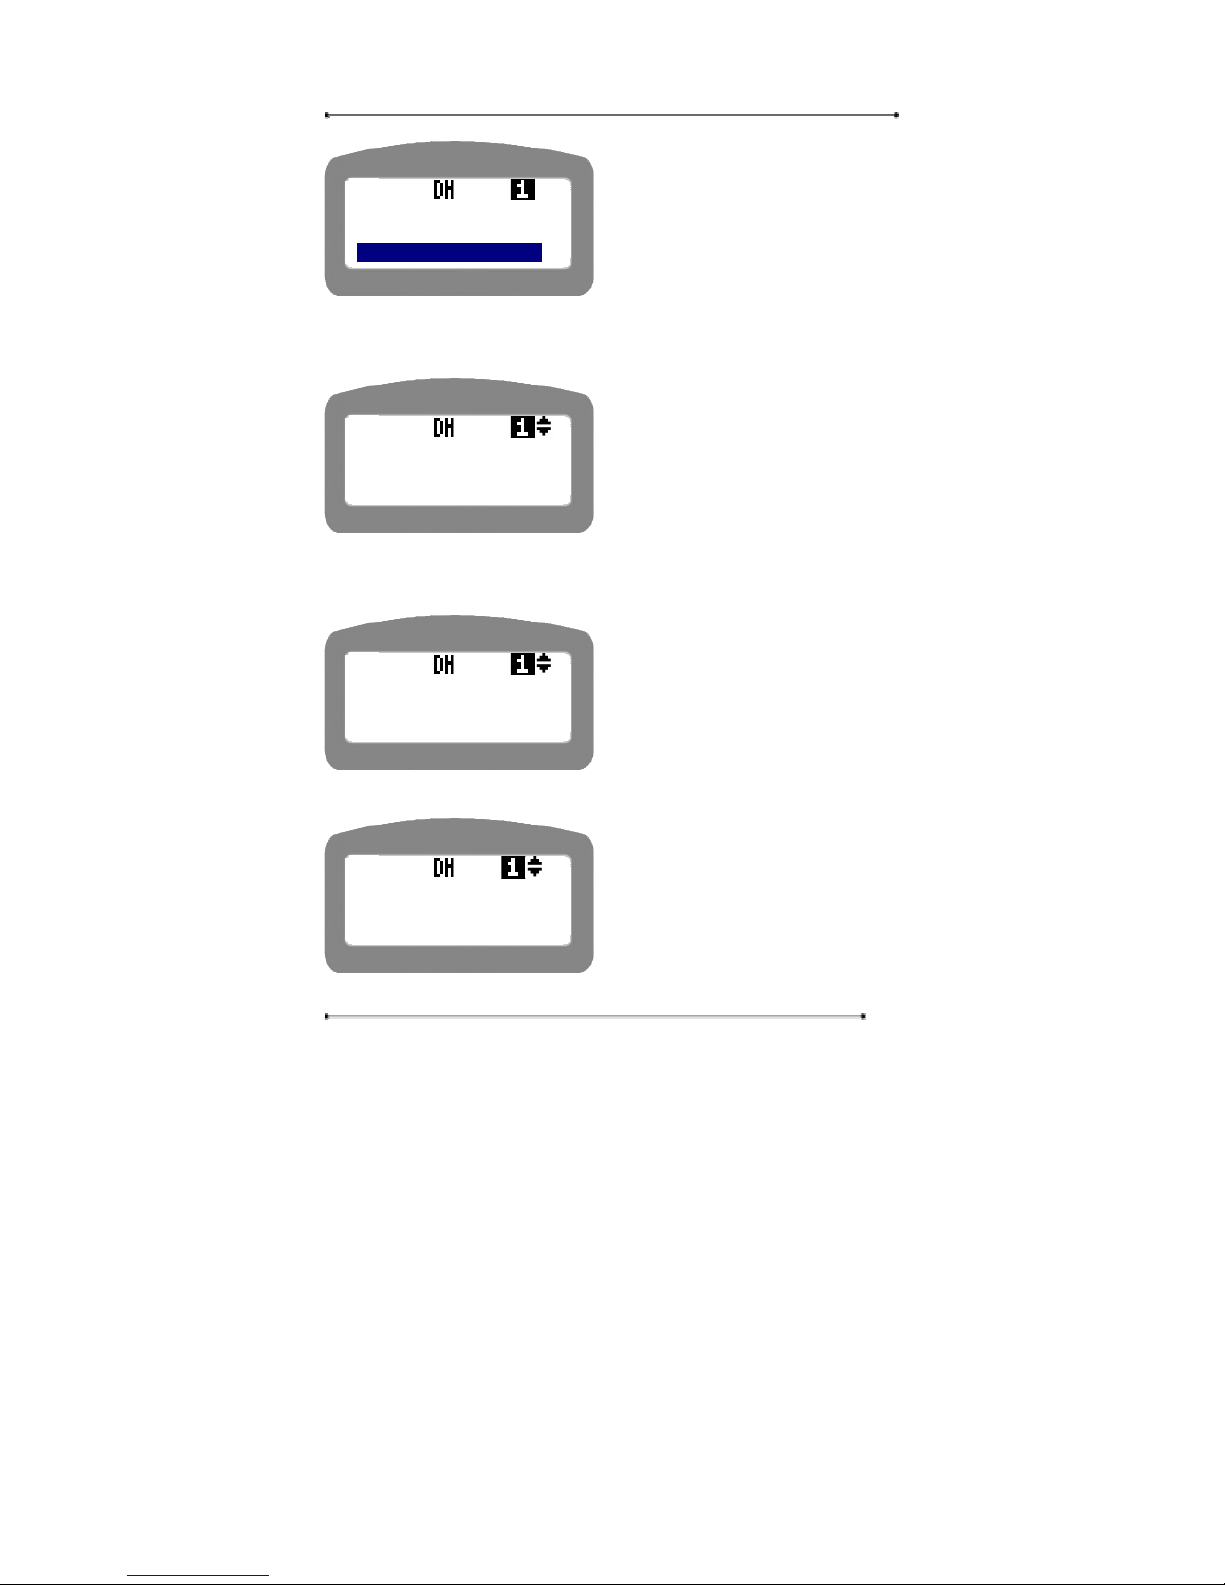
STEP 2 Enter the IP address of the Internet Phone, and press ‘OK’ button. Please
use “Del” button to delete the existing setting, and enter the new setting.
<NETWORK>
1:Auto Detect
2:Mode Select
<MODE SELECT>
1:LAN(STATIC)
2:DHCP
Page 37
Internet Phone User Manual
37
y Press ‘OK’ button to proceed to the
next step.
y Press ‘Cancel’ key to move to the
upper menu.
STEP 3 Enter the Subnet Mask address, and press ‘OK’ button. Please use “Del”
button to delete the existing setting, and enter the new setting.
y Press ‘OK’ button to proceed to the
next step.
y Press ‘Cancel’ key to move to the
upper menu.
STEP 4 Enter the Gateway IP address, and press ‘OK’ button. Please use “Del”
button to delete the existing setting, and enter the new setting.
y Press ‘OK’ button to proceed to the
next step.
y Press ‘Cancel’ key to move to the
upper menu.
STEP 5 Enter the DNS Server IP address, and press ‘OK’ button.
y Press ‘OK’ button to proceed to the
next step.
y Press ‘Cancel’ key to move to the
upper menu.
STEP 6 If you want to apply the new setting, press ‘OK’ button.
▼
<IP>
1:IP
XXX . XXX . XXX . XXX
<IP>
2:SUBNET MASK
255 .255 .255. 0
<IP>
3:GATEWAY
XXX . XXX . XXX . XXX
<IP>
4:DNS
168 . 126 . 63 . 1
Page 38
Internet Phone User Manual
38
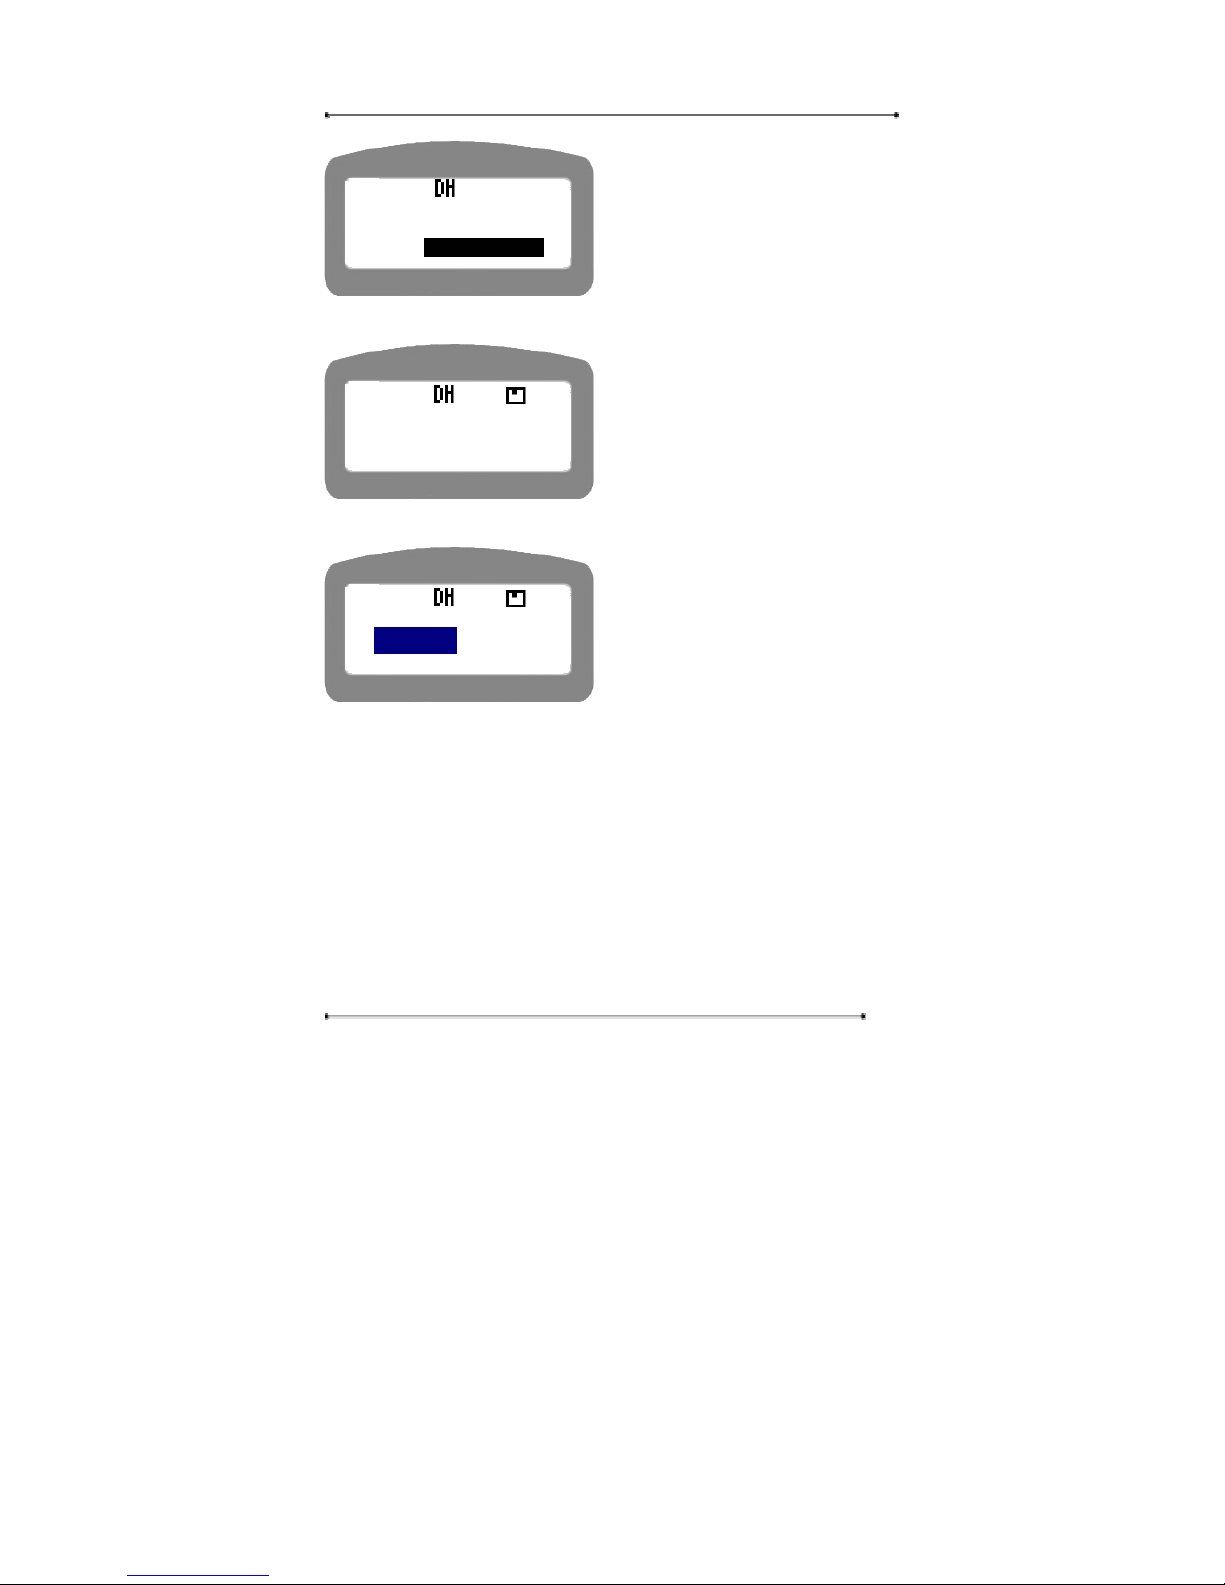
y Use Navigation key to select the
menu.
y Press ‘Cancel’ key to return to the
upper menu.
STEP 7 The following display will appear for about a few seconds.
y Please wait a moment.
STEP 8 Select ‘YES’ to reboot the Internet Phone.
y Please wait till the rebooting process
will be completed.
② DHCP (Cable Modem) User
If you are a cable modem user or using a DHCP network, please select this menu
and setup the needed settings.
STEP 1 Select ‘2: DHCP’ in menu selection.
Apply
New Setting?
YES NO
Applying...
Reboot System?
YES NO
Page 39
Internet Phone User Manual
39
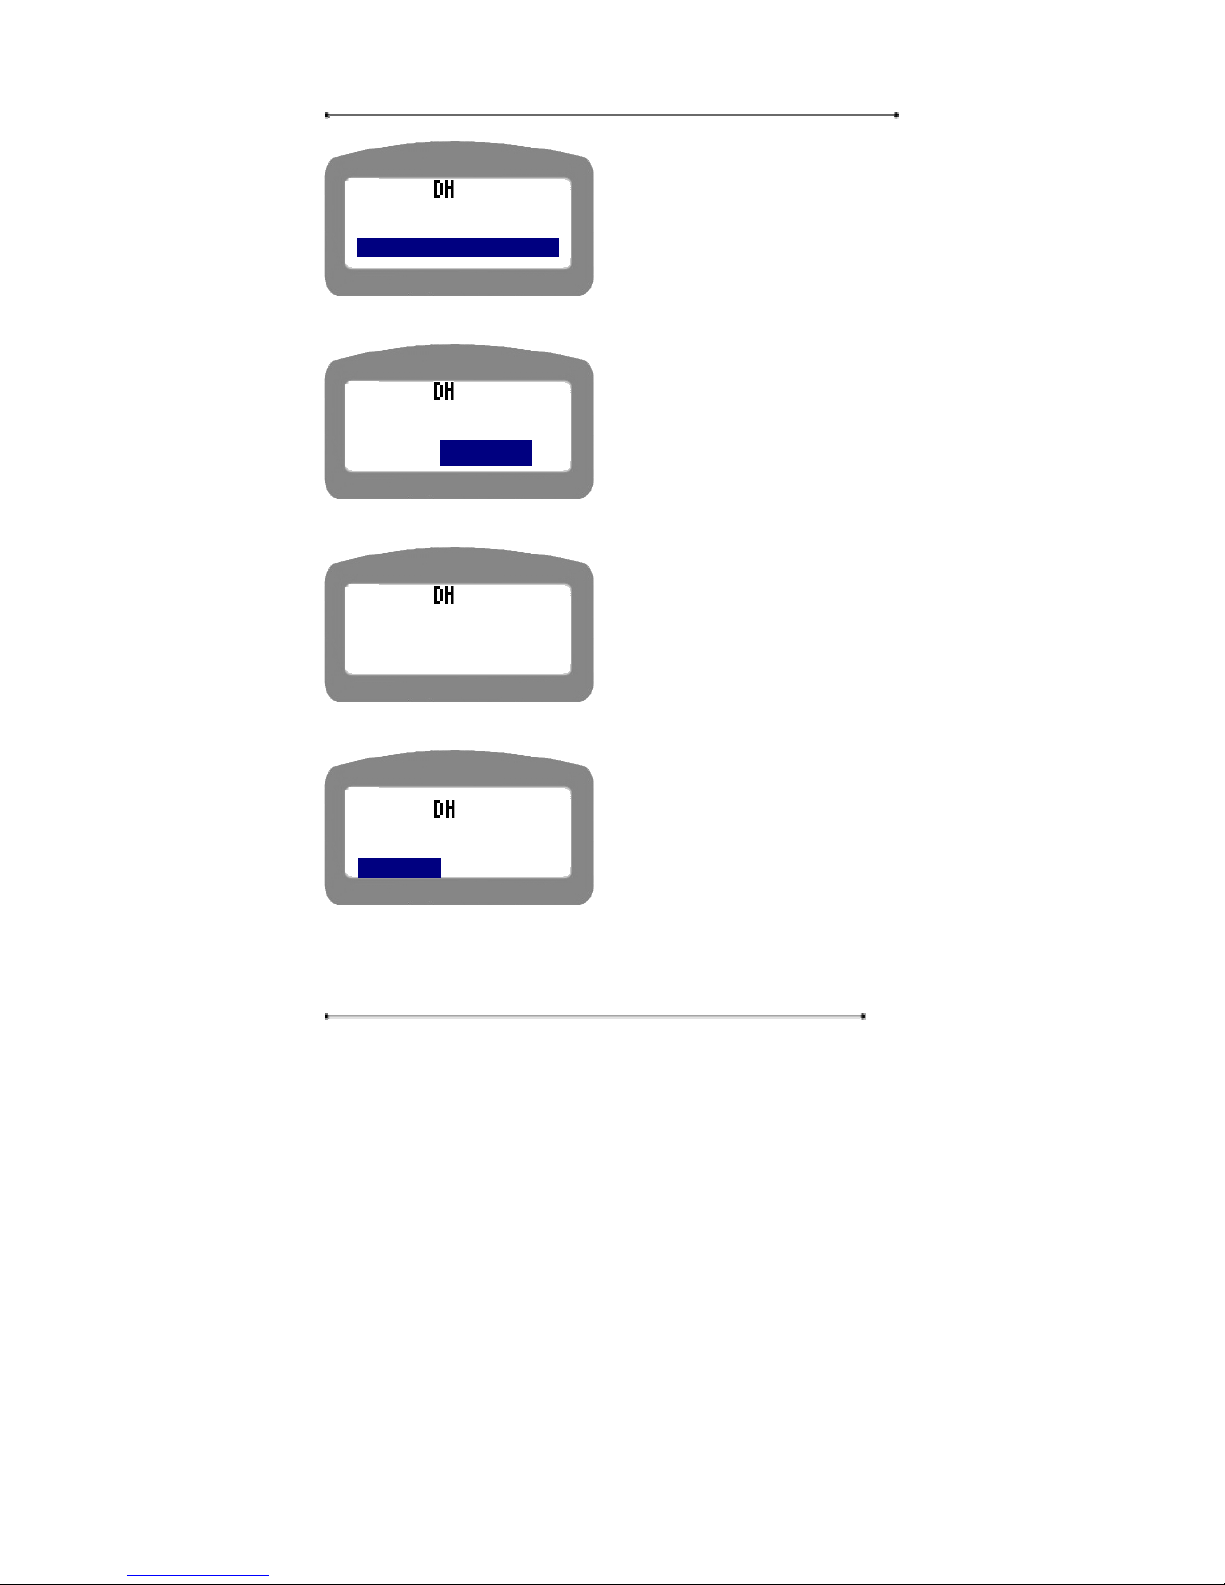
y Use Navigation key to select the
menu.
y Press ‘Cancel’ key to return to the
upper menu.
STEP 2 Select ‘YES’ to select DHCP, and press ‘OK’ button.
y Use navigation key to select the
menu.
y Press ‘Cancel’ key to return to the
upper menu.
STEP 3 You can see the following display for about a few seconds.
y Please wait for a few seconds.
STEP 4 Select ‘YES’ to reboot the system.
y Use navigation key to select the
menu.
y Press ‘Cancel’ key to return to the
upper menu.
There are cases in which Internet access is possible only when the PC is connected
directly to the cable modem. In this case, the PC that connected to the Internet phone
will not get the internet connection properly. This is because some cable Internet
<MODE SELECT>
1:LAN(STATIC)
2:DHCP
Select DHCP?
YES NO
DHCP Selected
Reboot system?
YES NO
Page 40
Internet Phone User Manual
40
providers use the Mac address of the LAN card of the PC for authentication. In this
case, please reset the cable modem memory by turning off its power, and turn it on
again. If the cable modem is turned on, turn off the power of the Internet phone.
After a few minutes, turn on the power of Internet phone again, and see if the
Internet connection can be done from the PC.
③ PPPoE(ADSL) user
If you are a PPPoE(ADSL) user, please select this menu and setup the needed
settings.
Warning : PPPoE users, before product installation, should remove the automatic
ADSL connection program installed on the PC. If the automatic ADSL connection
program is not uninstalled, there may be problems with Internet connection after
product installation.
STEP 1 Select ‘3: PPPoE’ to setup PPPoE related parameters.
y Use Navigation key to select the
menu.
y Press ‘Cancel’ key to return to the
upper menu..
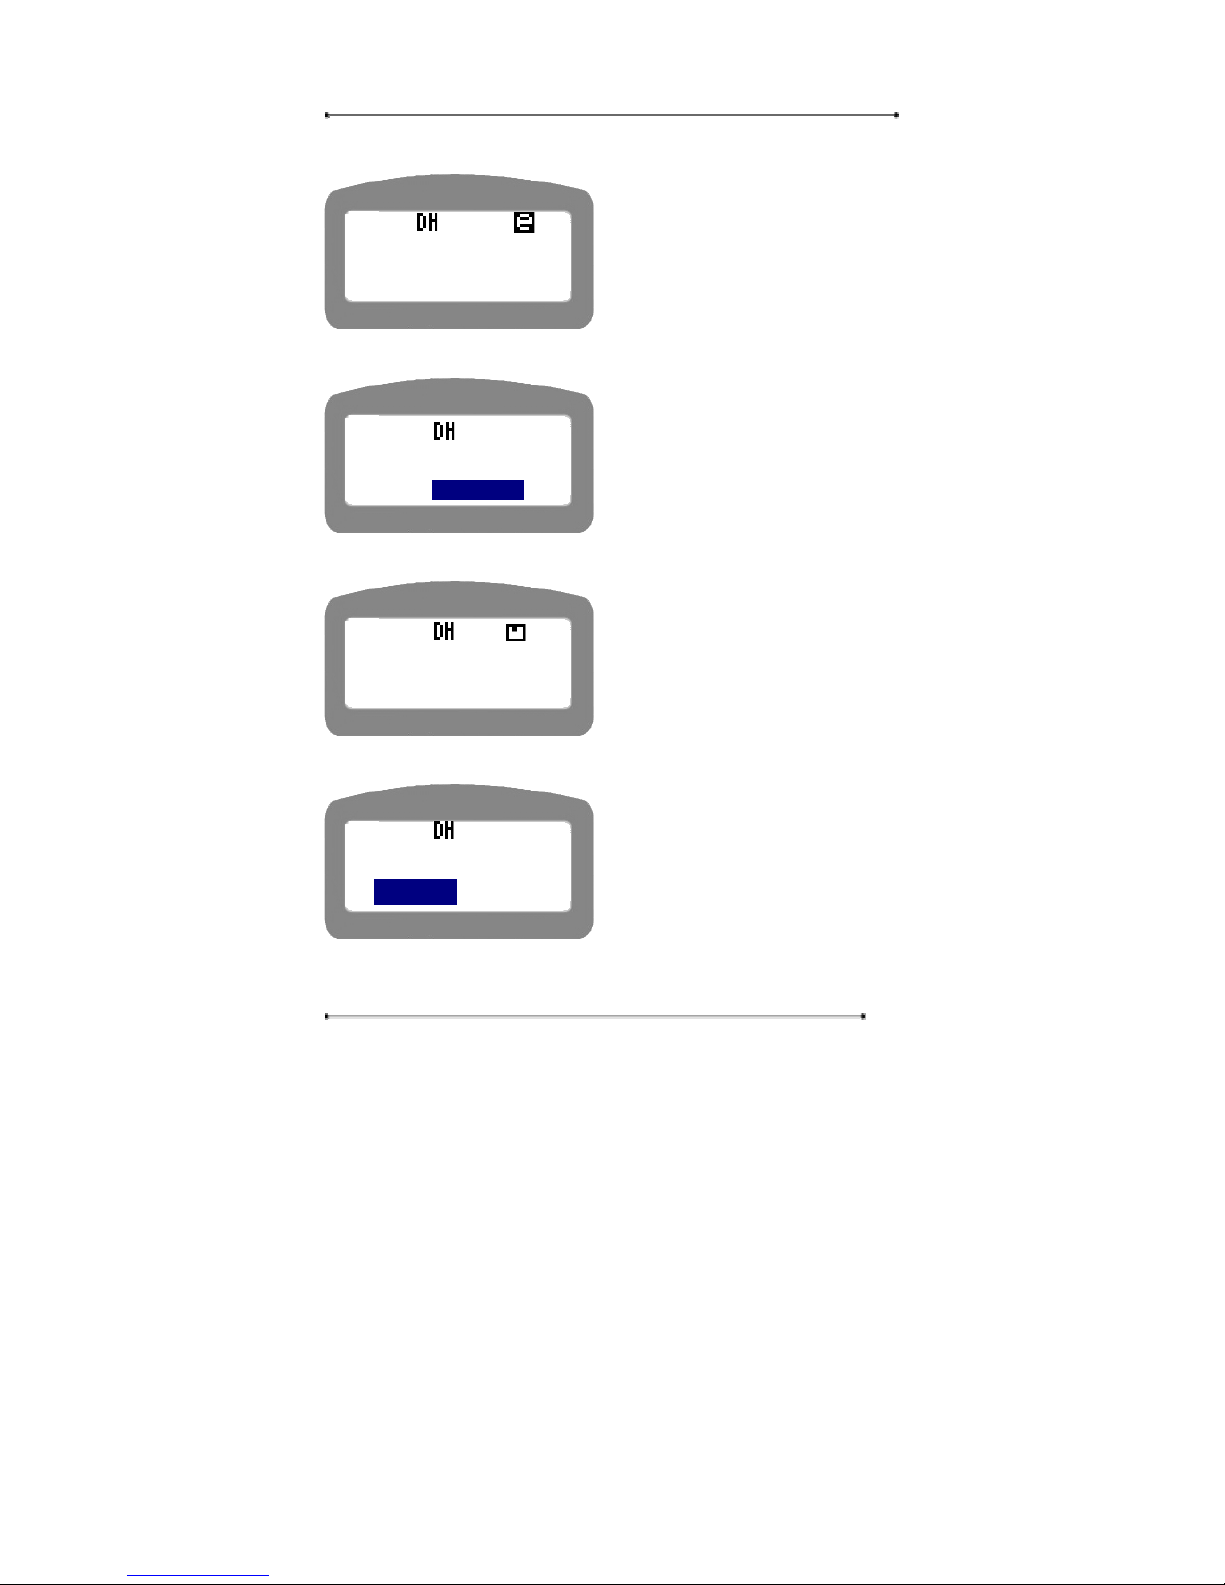
STEP 2 Enter the PPPoE ID into the input line, and press ‘OK’ button.
y Press ‘OK’ button to proceed to the
next step.
y Press ‘Cancel’ key to move to the
upper menu.
<MODE SELECT>
2:DHCP
3:PPPoE
▼
<PPPoE Setup>
1:PPPoE ID
[Input user ID]
Page 41
Internet Phone User Manual
41
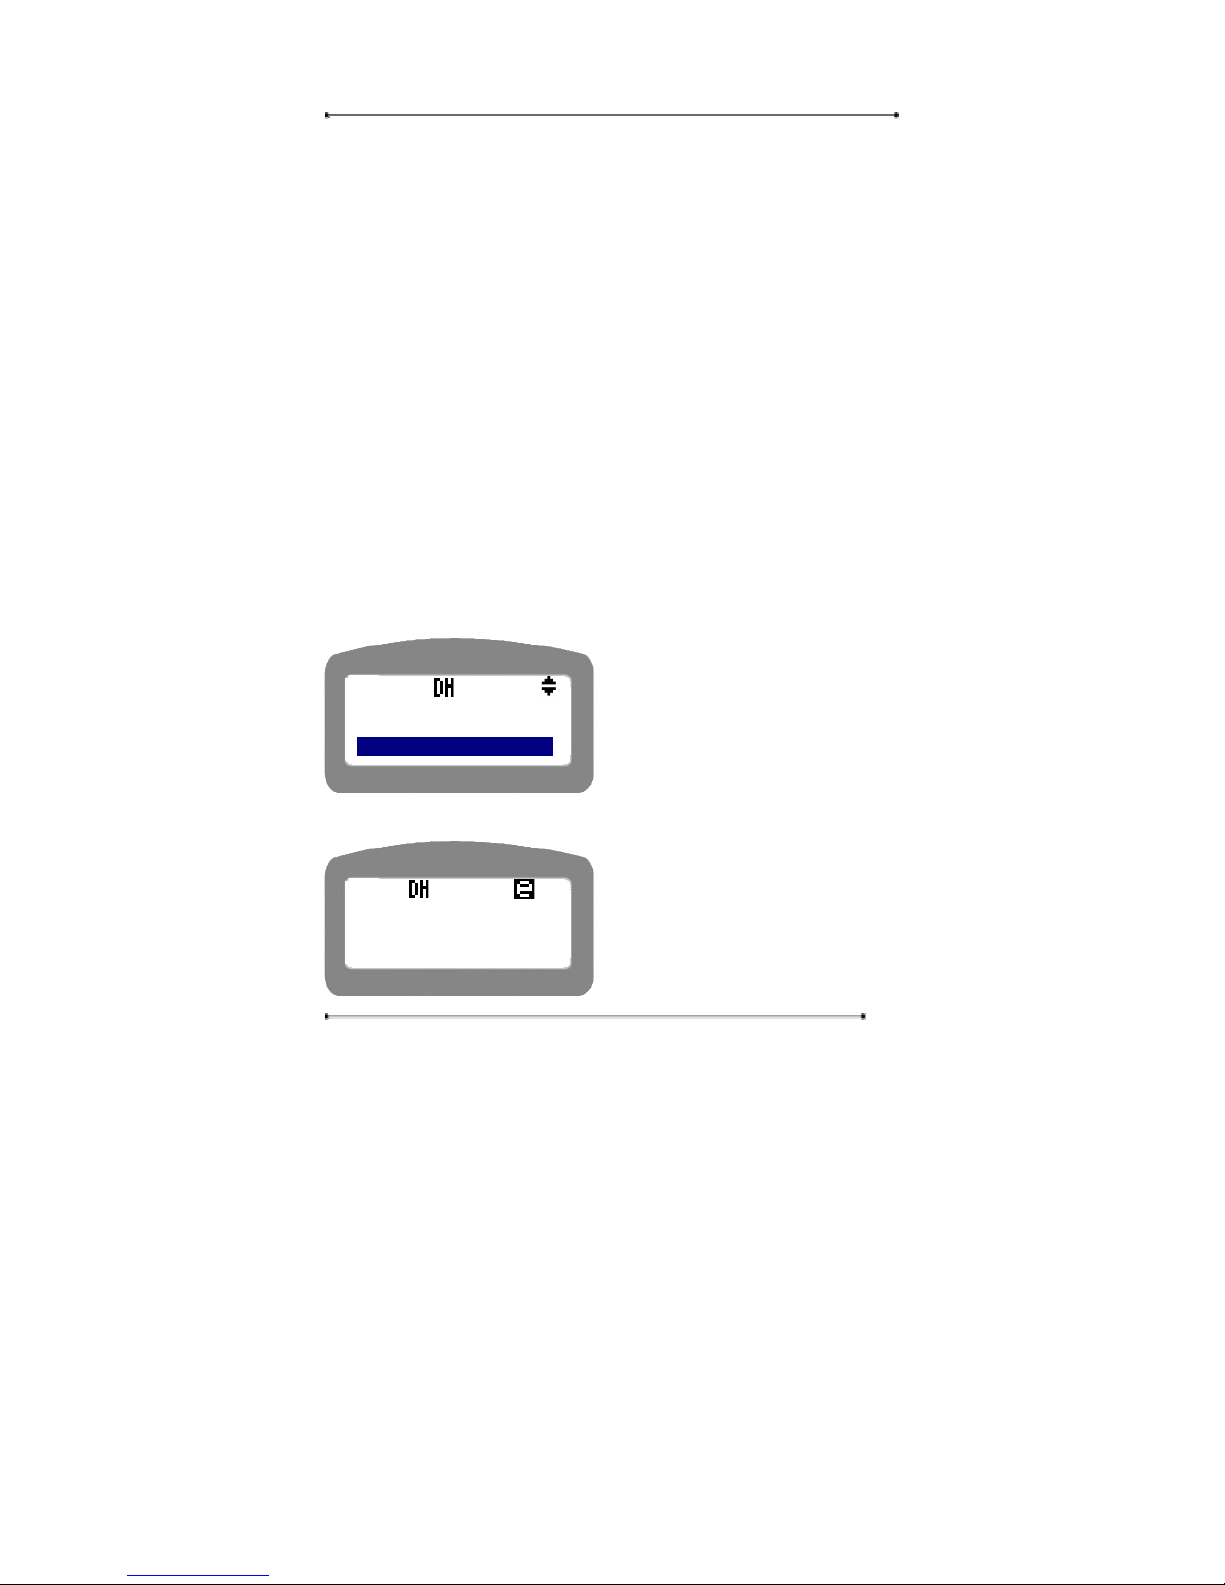
STEP 3 Enter the PPPoE password, and press ‘OK’ button.
y Press ‘OK’ button to proceed to the
next step.
y Press ‘Cancel’ key to move to the
upper menu.
STEP 4 Select ‘YES’ to apply the new setting, and press ‘OK’ button.
y Use navigation key to select the
menu.
y Press ‘Cancel’ key to return to the
upper menu.
STEP 5 Please wait till the new setting is being applied.
y Please wait for a while.
STEP 6 Select ‘YES’ to reboot the system, and press ‘OK’ button.
y Use navigation key to select the
menu.
y Press ‘Cancel’ key to return to the
upper menu.
If you cannot obtain Internet connection, please check the registered ID and
▲
<PPPoE Setup>
2:PPPoE PW
[Input user Password]
Apply
New Setting?
YES NO
Applying...
Reboot system?
YES NO
Page 42

Internet Phone User Manual
42
password with the ADSL service provider, and please check if the entered Password
is entered correctly in the IP Phone.
It may take rather long time for the phone to get the connection to the ADSL service
provider. In this case, Internet Phone will continuously attempt to make a connection,
so please wait for a while.
4.2.2.3. NA T
NAT function allows user to use the IP Phone and at the same time the Internet from
his/her PC with sole Internet connection. User can select whether he will use NAT
feature or not, and in case of using the NAT, the IP address of the PC. To use this
function, user need to setup both the phone and the PC.
PPPoE(ADSL) users are required not to use automatic connection program. Those
users who are already connected through this automatic connection program should
terminate the connection or begin settings after rebooting the PC.
① Windows 95/98/ME
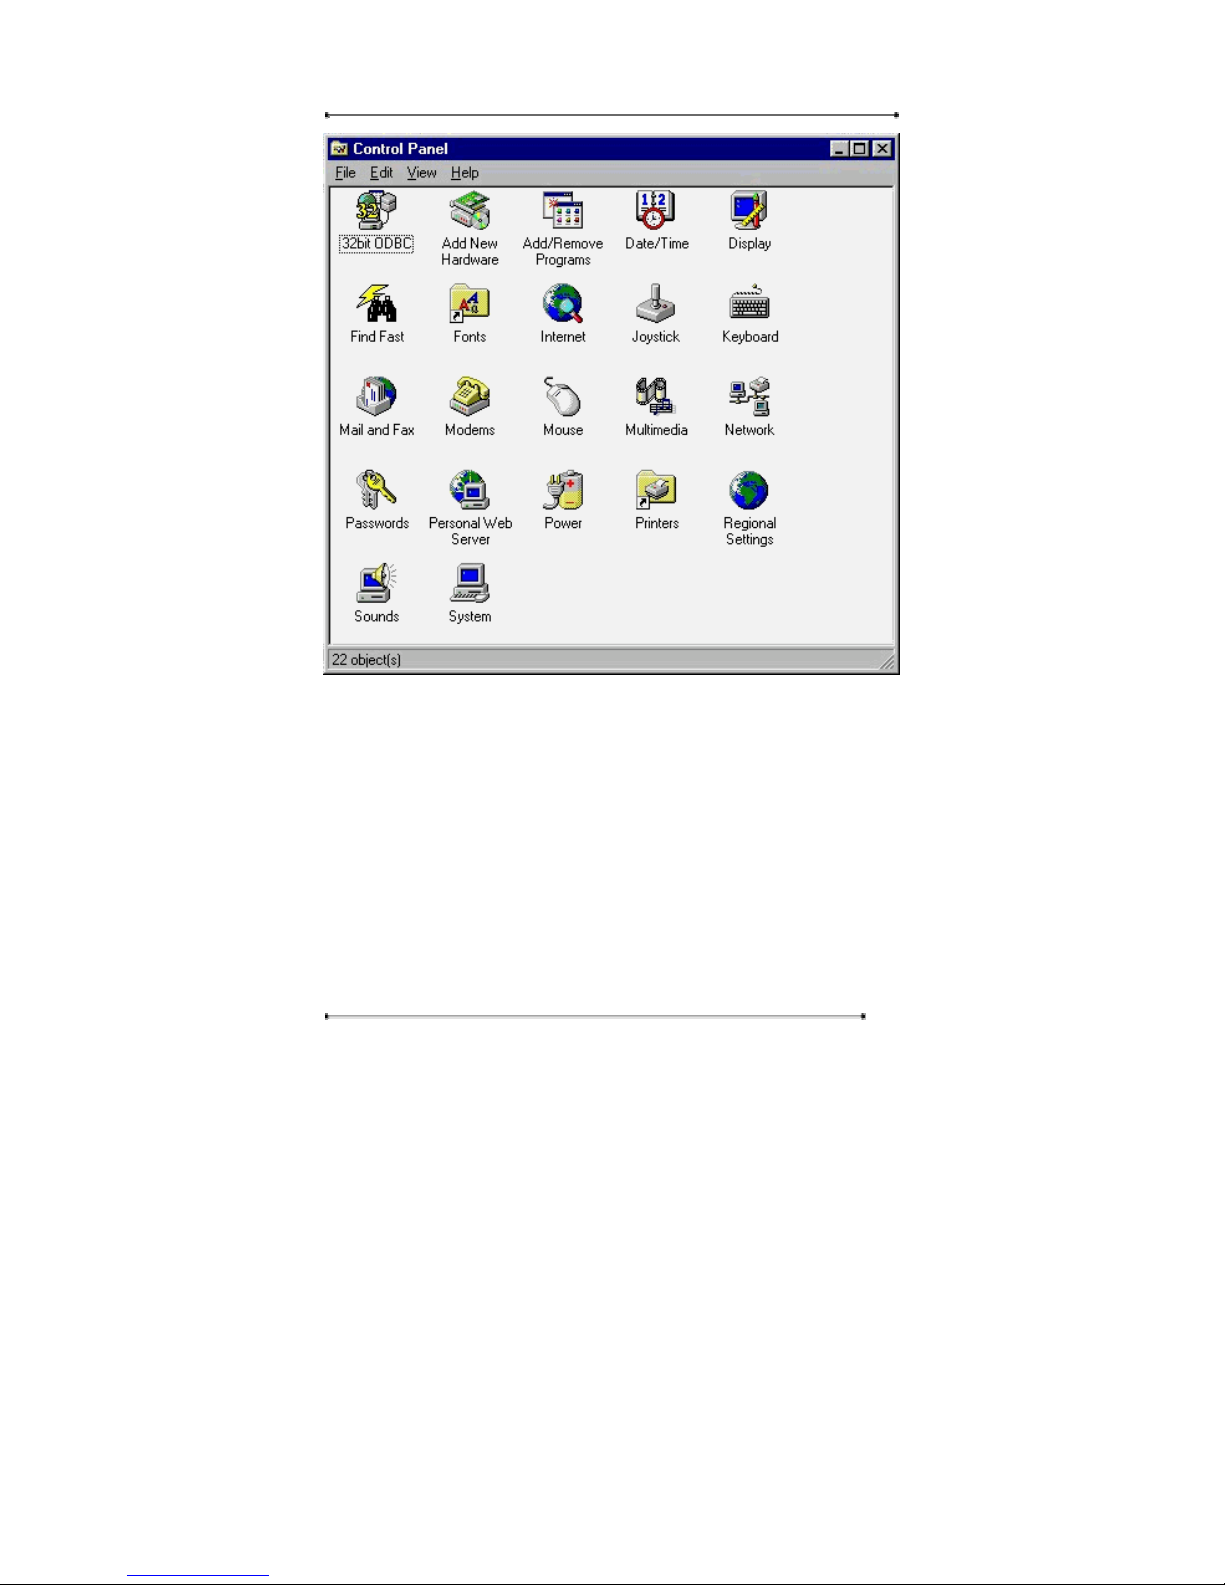
STEP 1 Select ‘Control Panel’ in the desktop.
STEP 2 Double click on ‘Network’ button.
Page 43
Internet Phone User Manual
43
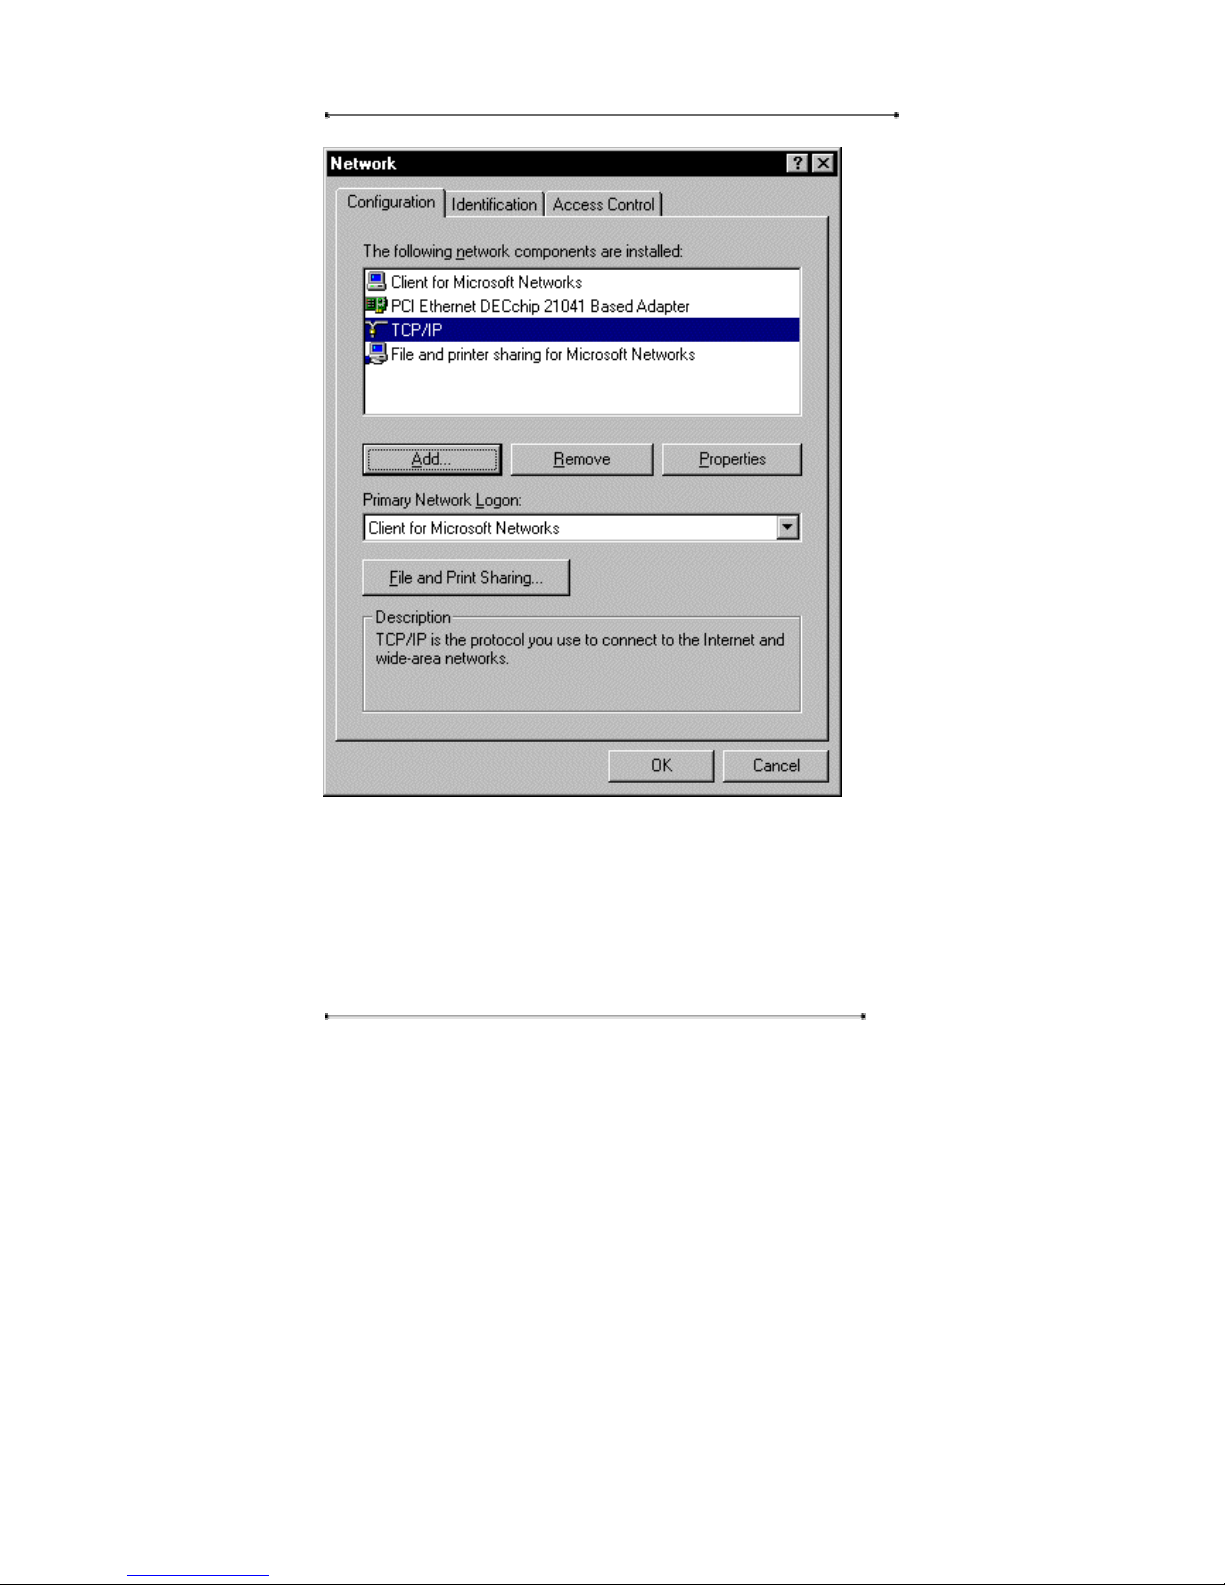
STEP 3 Select ‘TCP/IP’ item, and click on ‘Properties’ button. (Please select the
‘TCP/IP’ of the LAN card currently in use).
Page 44
Internet Phone User Manual
44
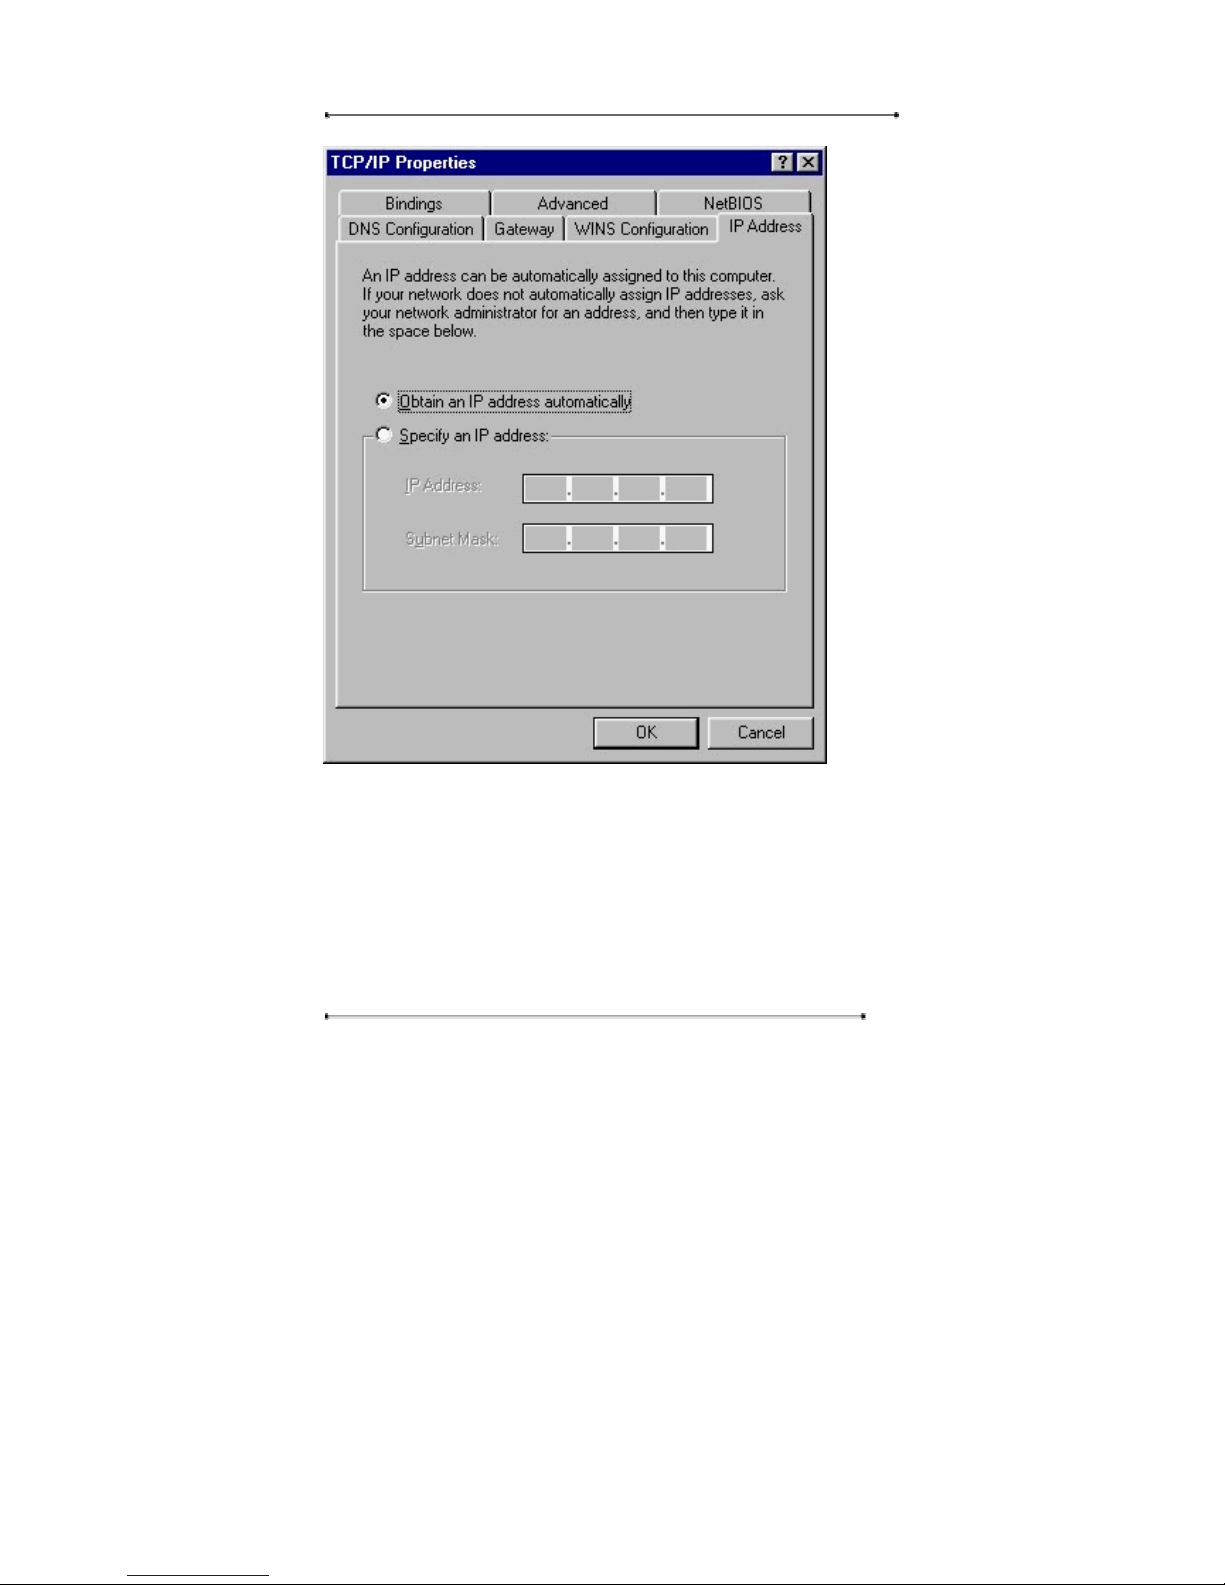
STEP 4 Check ‘Obtain an IP address automatically’ on IP address Tab.
Page 45
Internet Phone User Manual
45
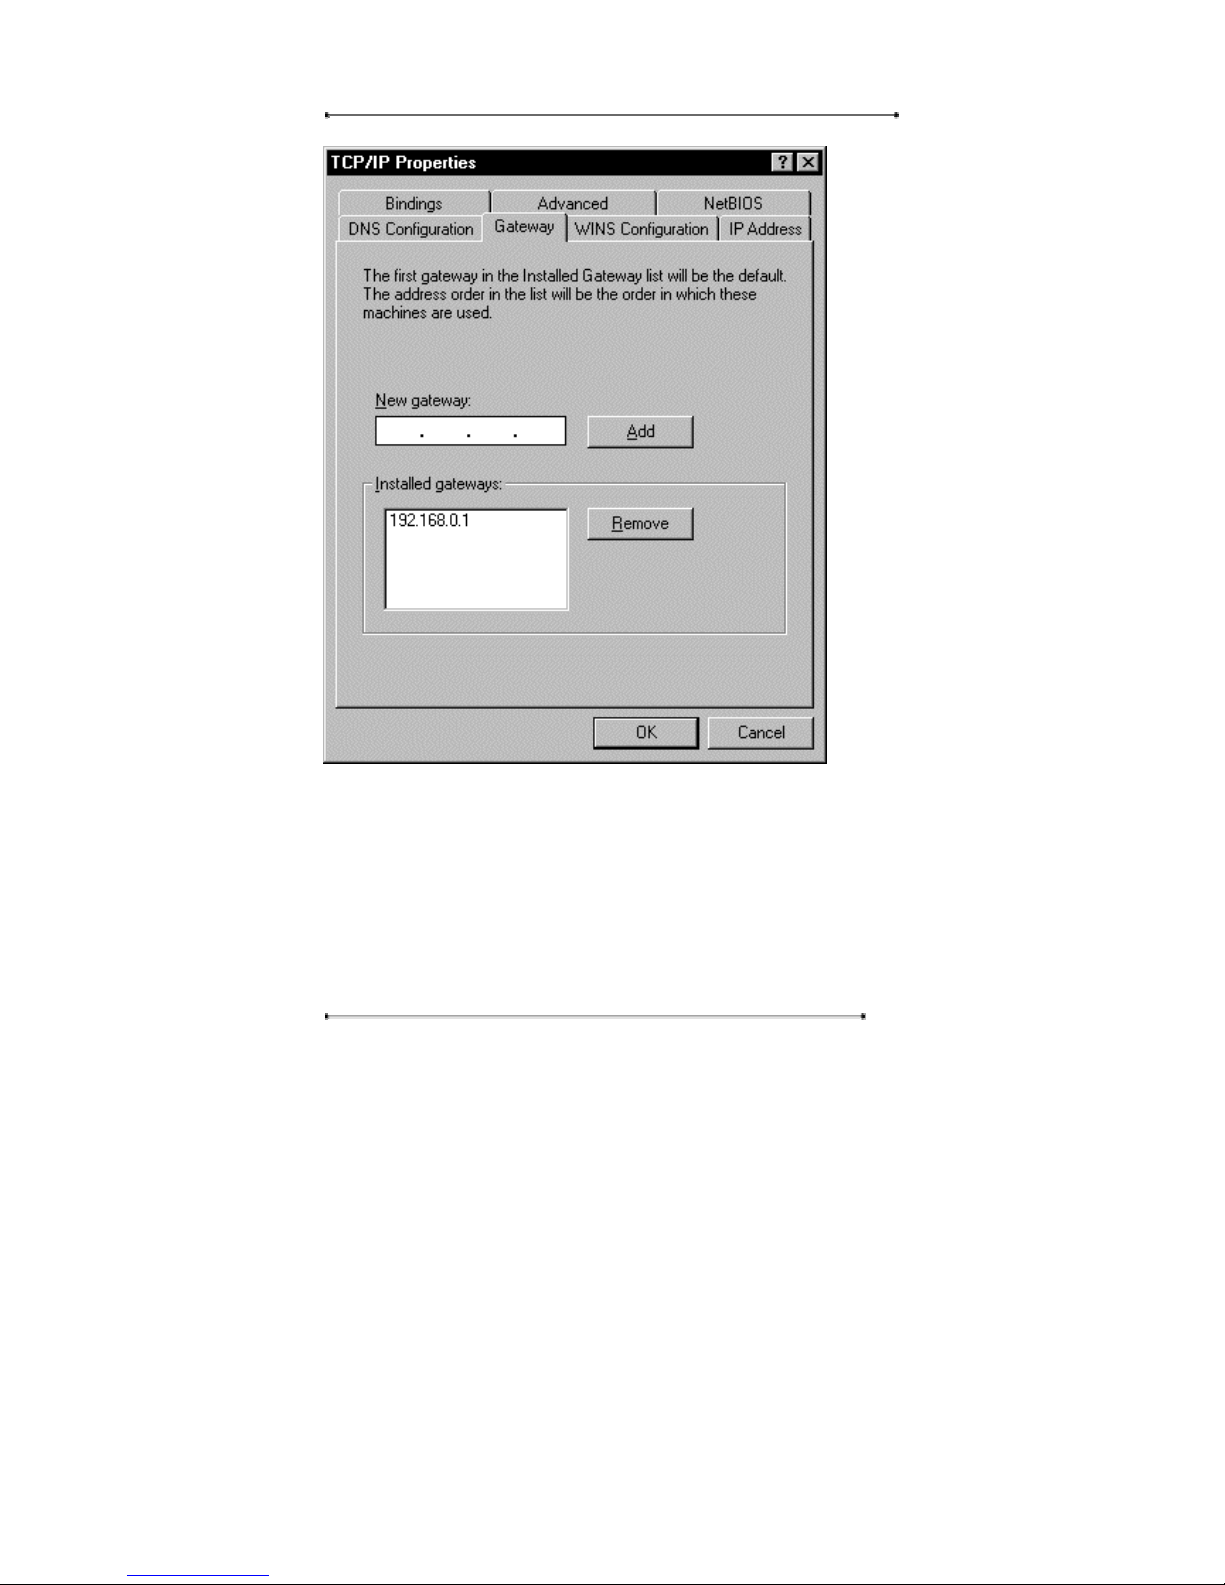
STEP 5 Remove the current ‘Gateway’ IP address on the ‘Gateway’ tab.
Page 46
Internet Phone User Manual
46
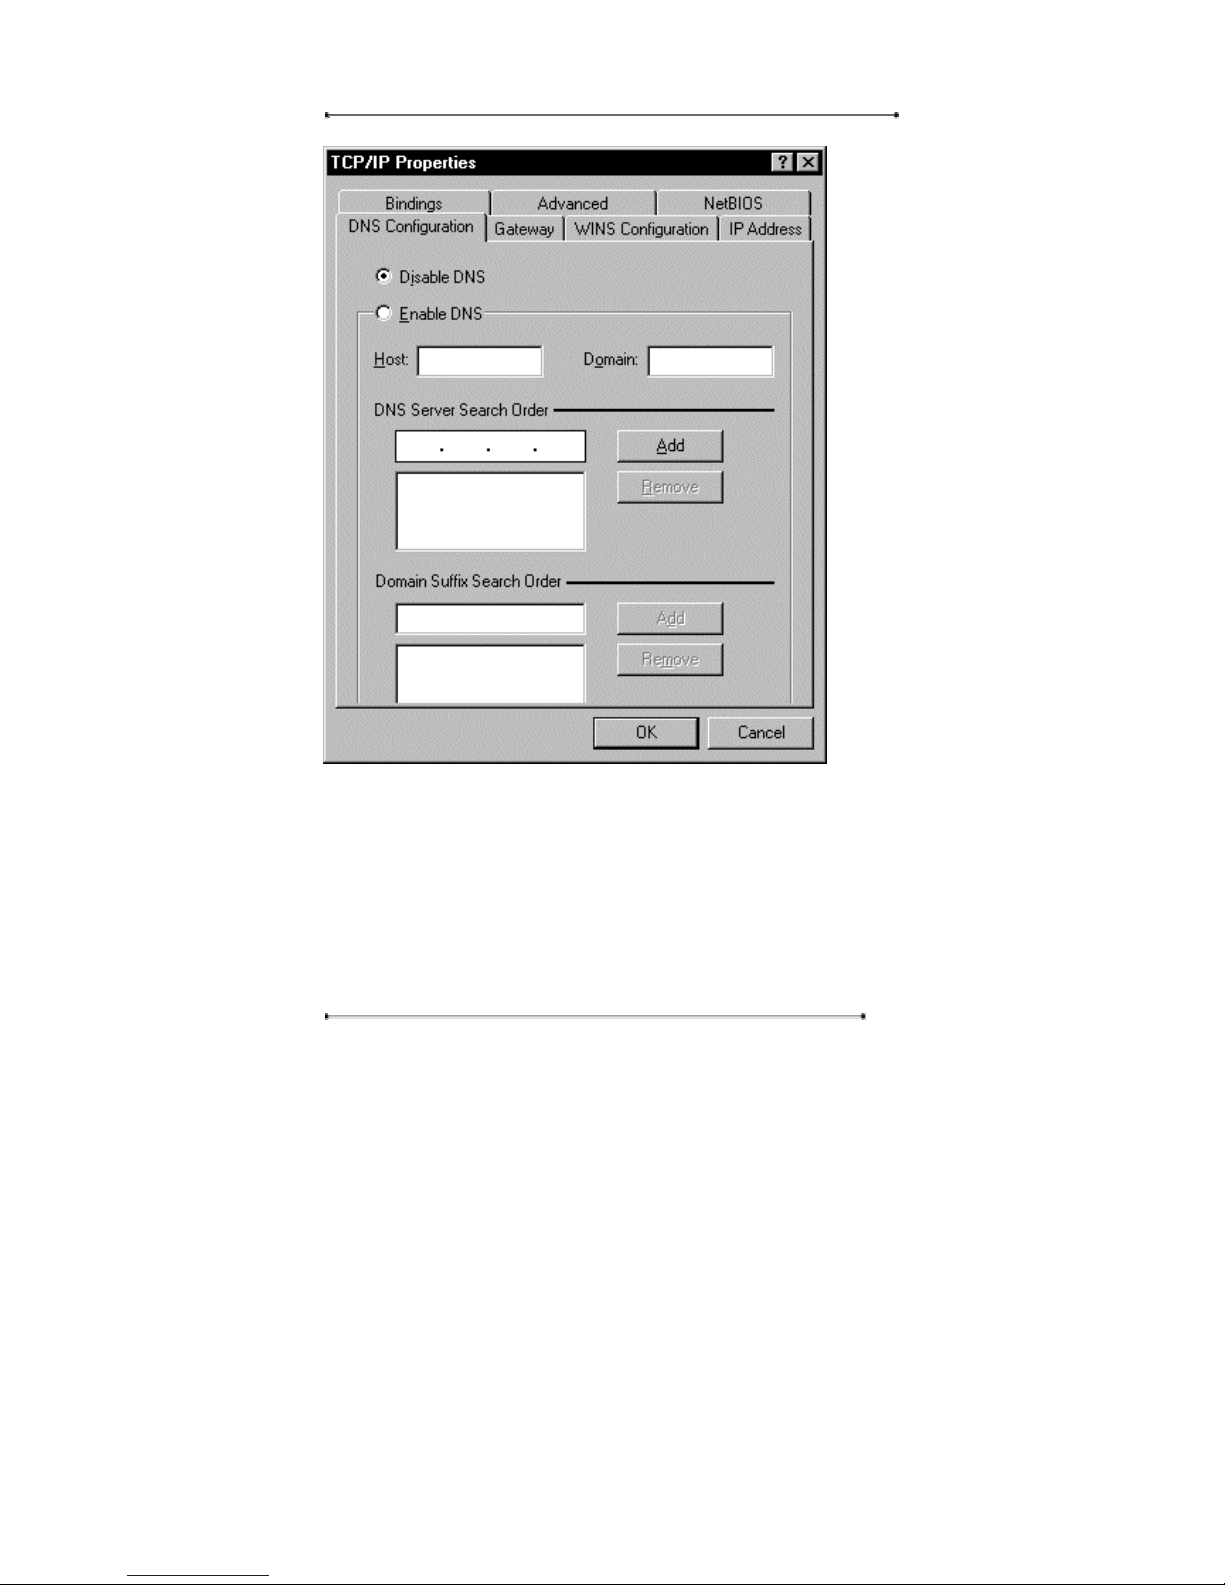
STEP 6 Check ‘Do not use DNS’ on the ‘DNS Setting’ tab.
Page 47
Internet Phone User Manual
47
STEP 7 Click on ‘OK’ button. The ‘Network’ window will be displayed again,
and after pressing ‘OK’ button, depending on the PC, Windows95/98/ CD will be
required. Insert the Windows 95/98 CD and click on the ‘OK’ button. At the popup
window, click ‘OK’ to reboot the system.
STEP 8 Once the computer is reboot, user can use the Internet in the PC.
Page 48
Internet Phone User Manual
48
② Windows 2000
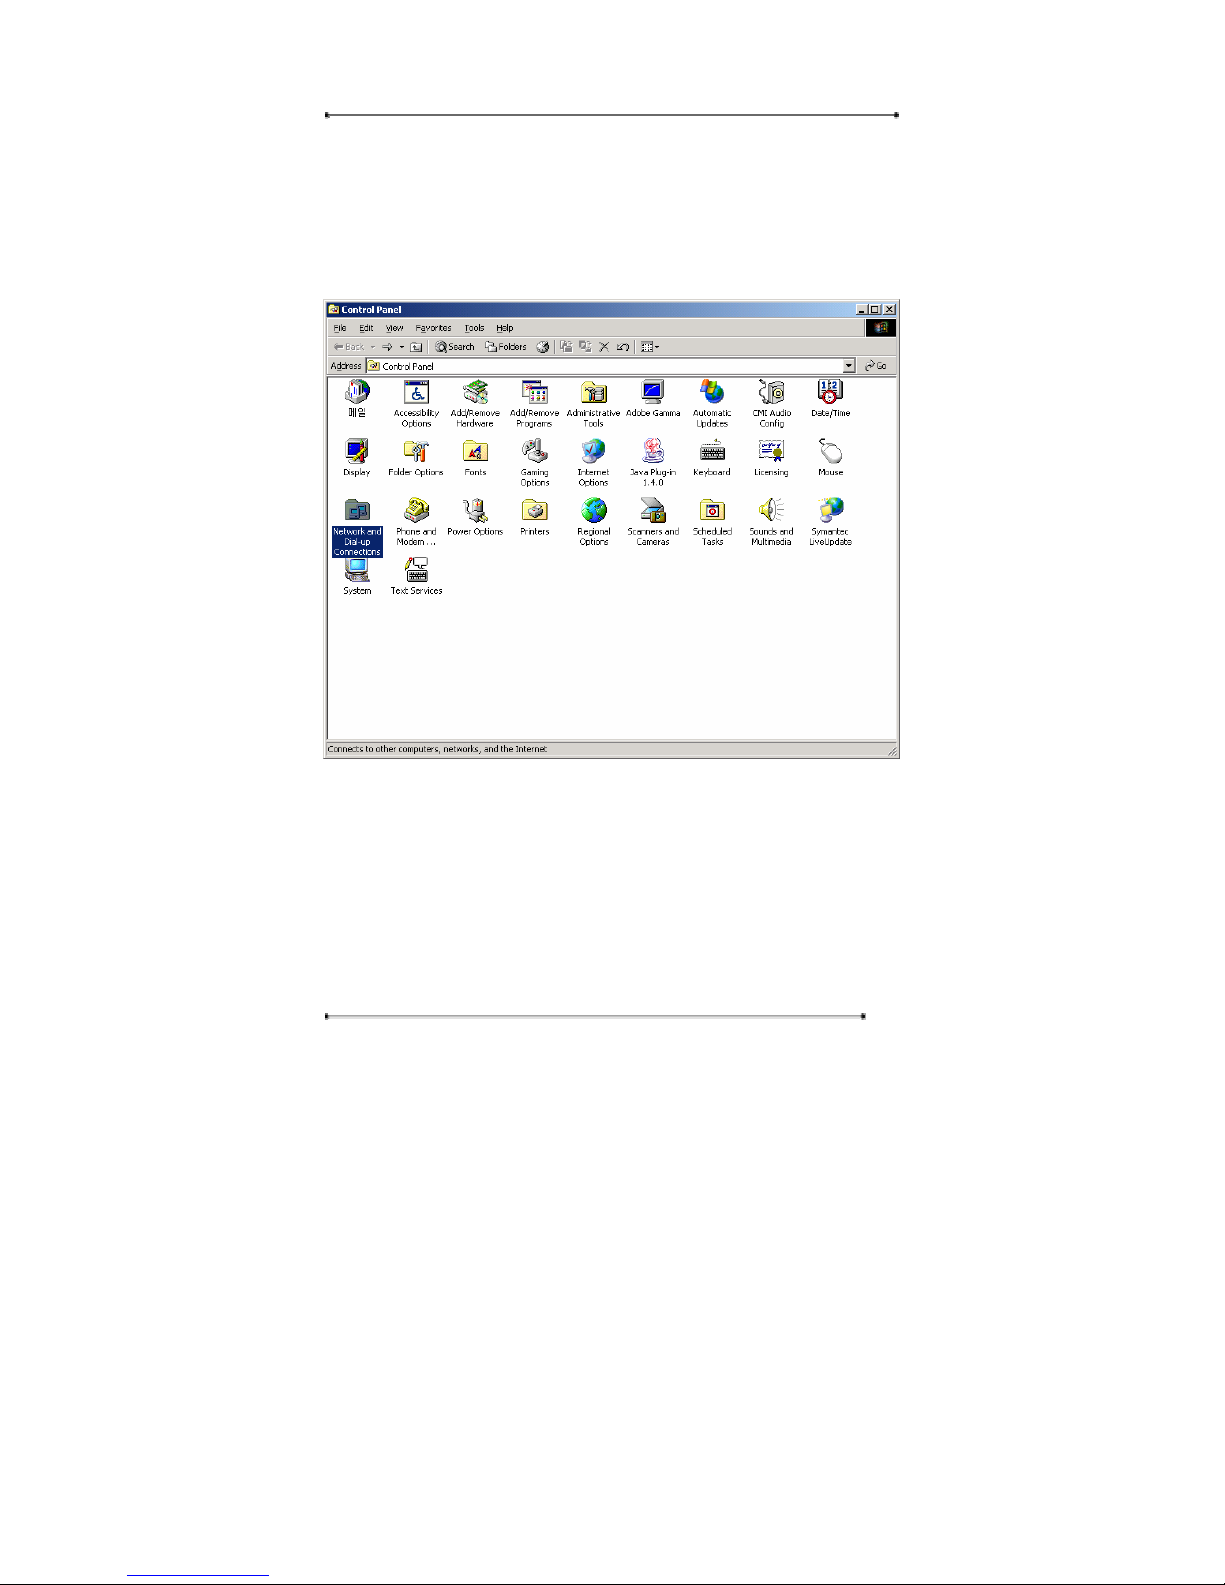
STEP 1 Press ‘Start up’ button in the bottom left of the screen.
STEP 2 Click on ‘Control Panel’.
STEP 3 Click on ‘network and telephone connection’ icon.
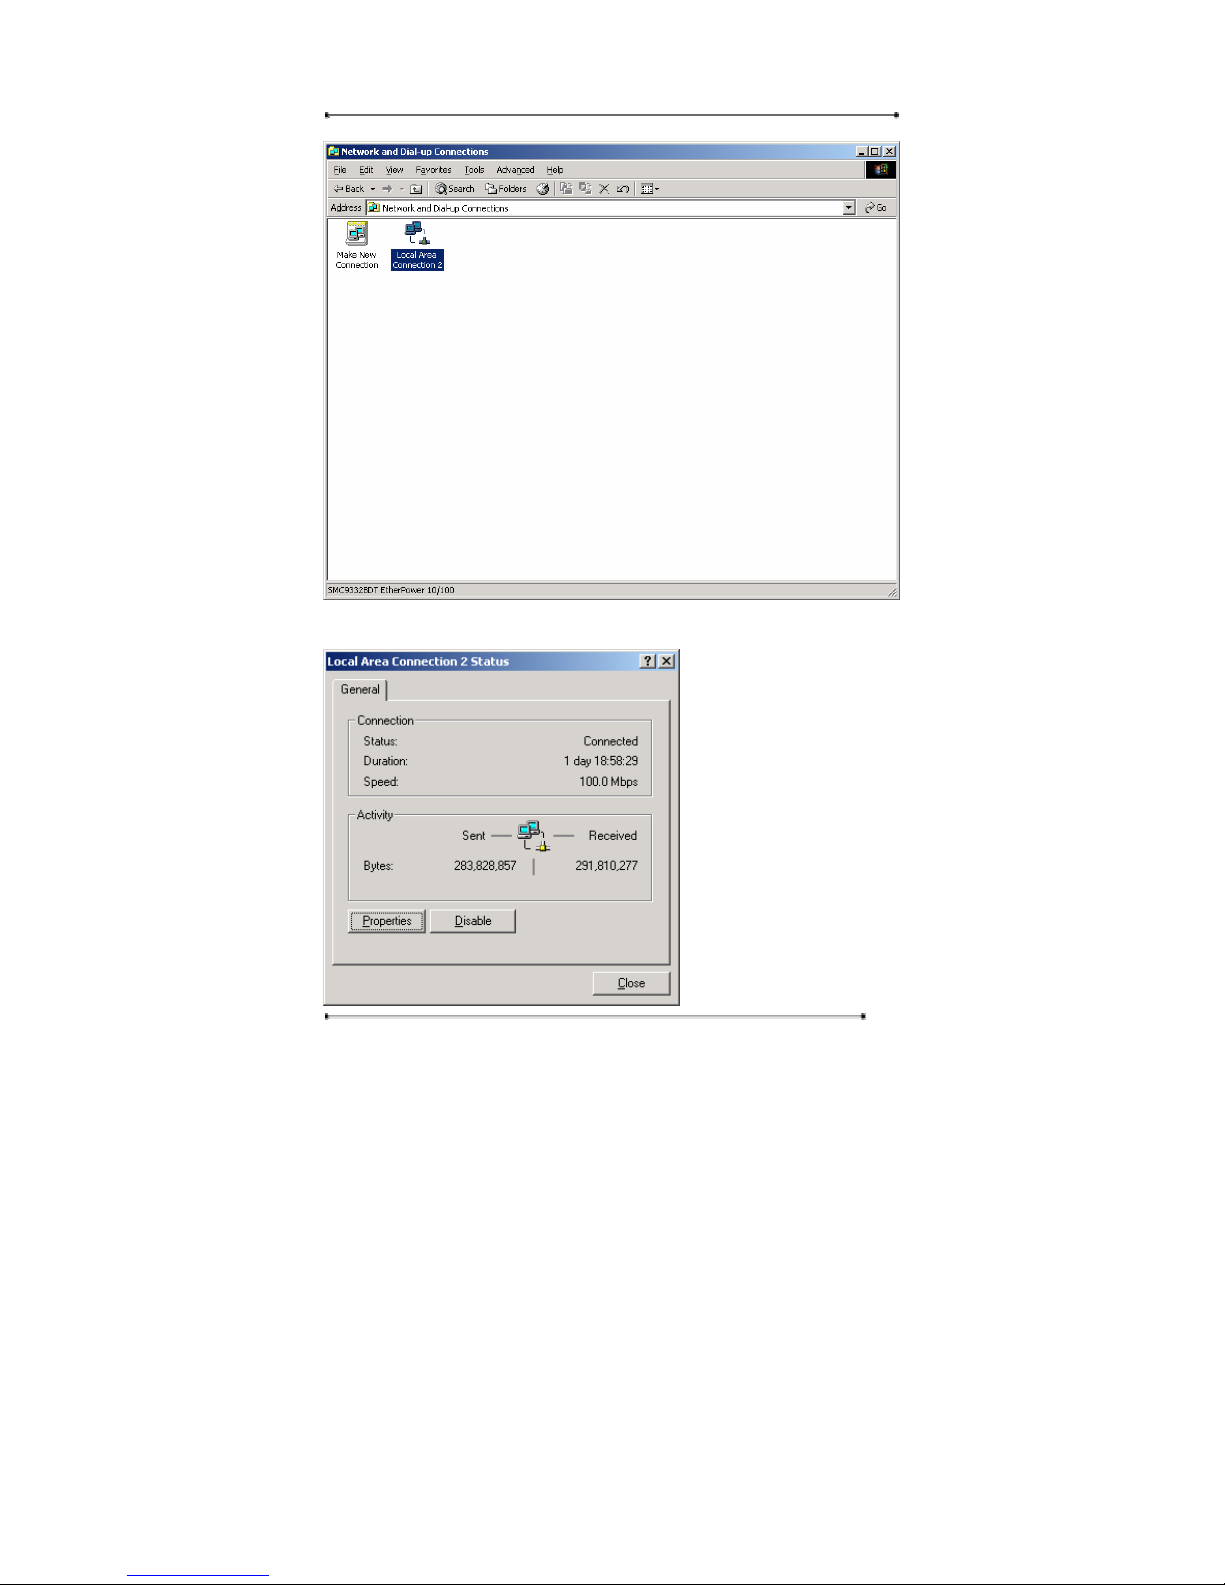
STEP 4 Double click on the ‘local network connection’ (there may be several
connections depending on the user’s network, select the local network presently
being used).
Page 49
Internet Phone User Manual
49
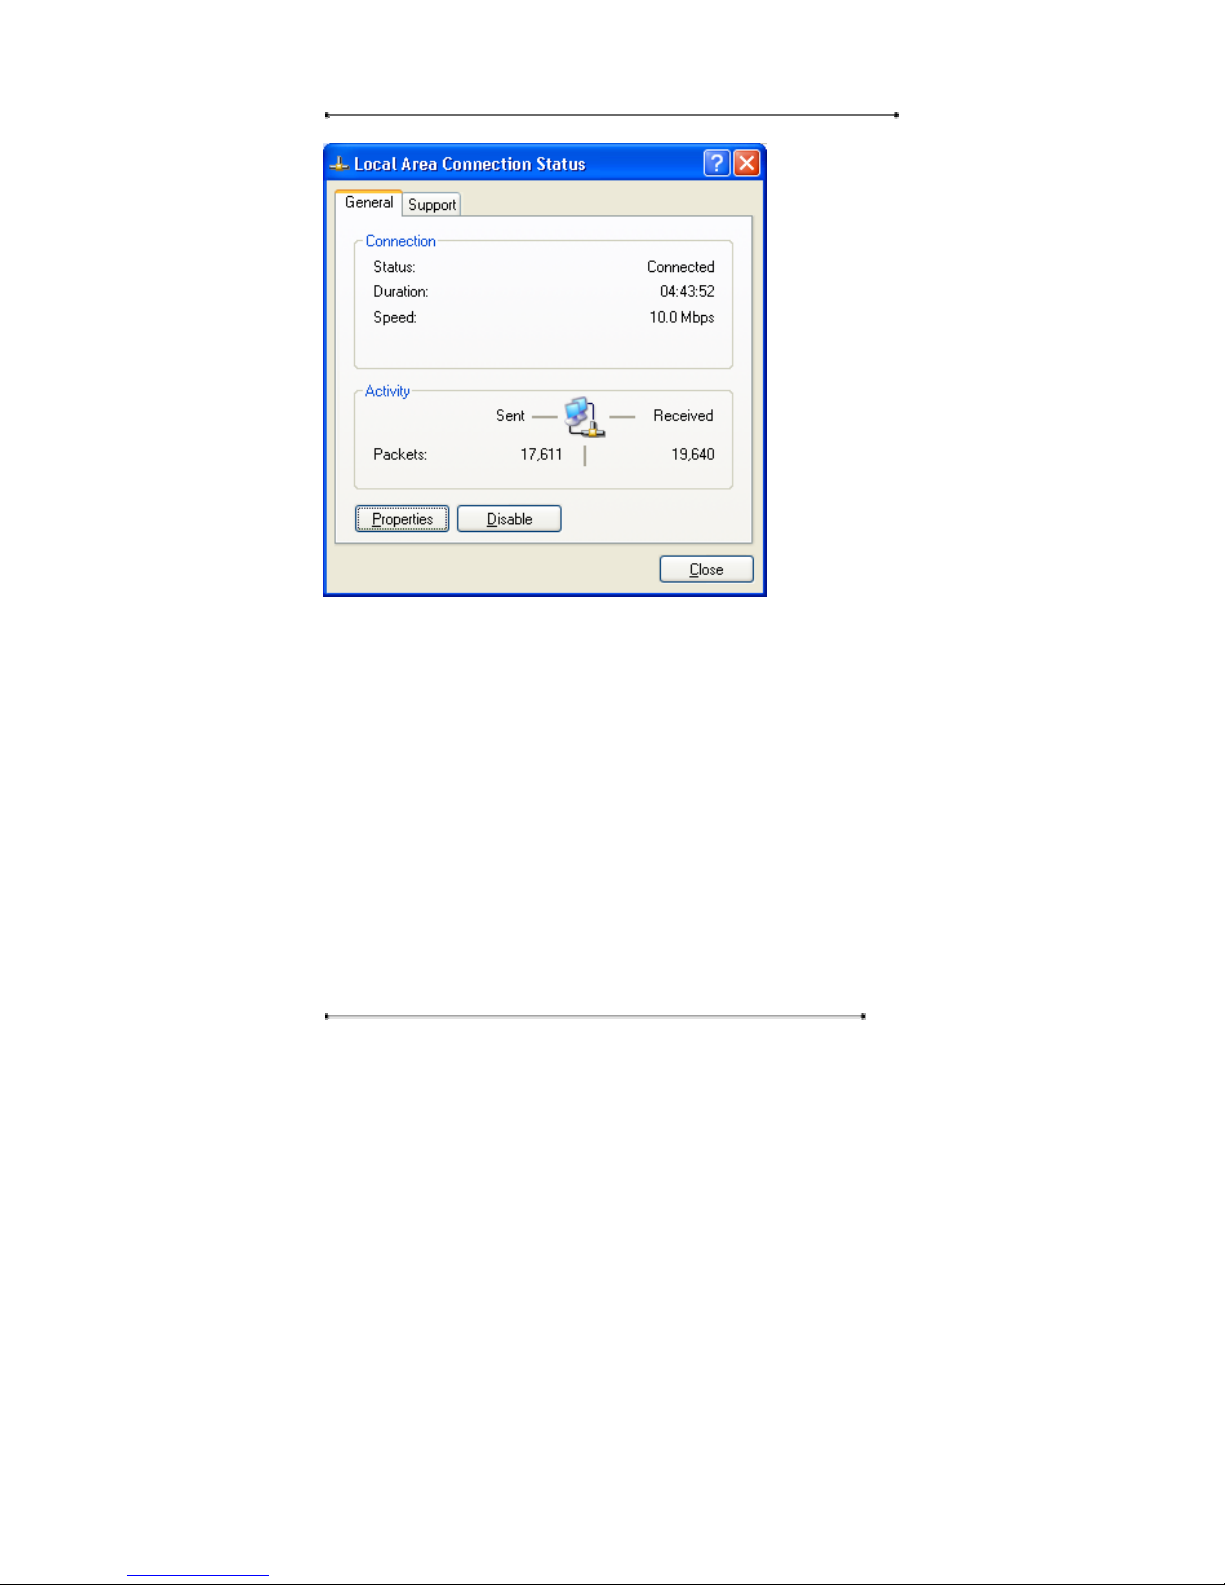
STEP 5 Click on ‘Properties’ of Local Area Connection status window..
Page 50
Internet Phone User Manual
50
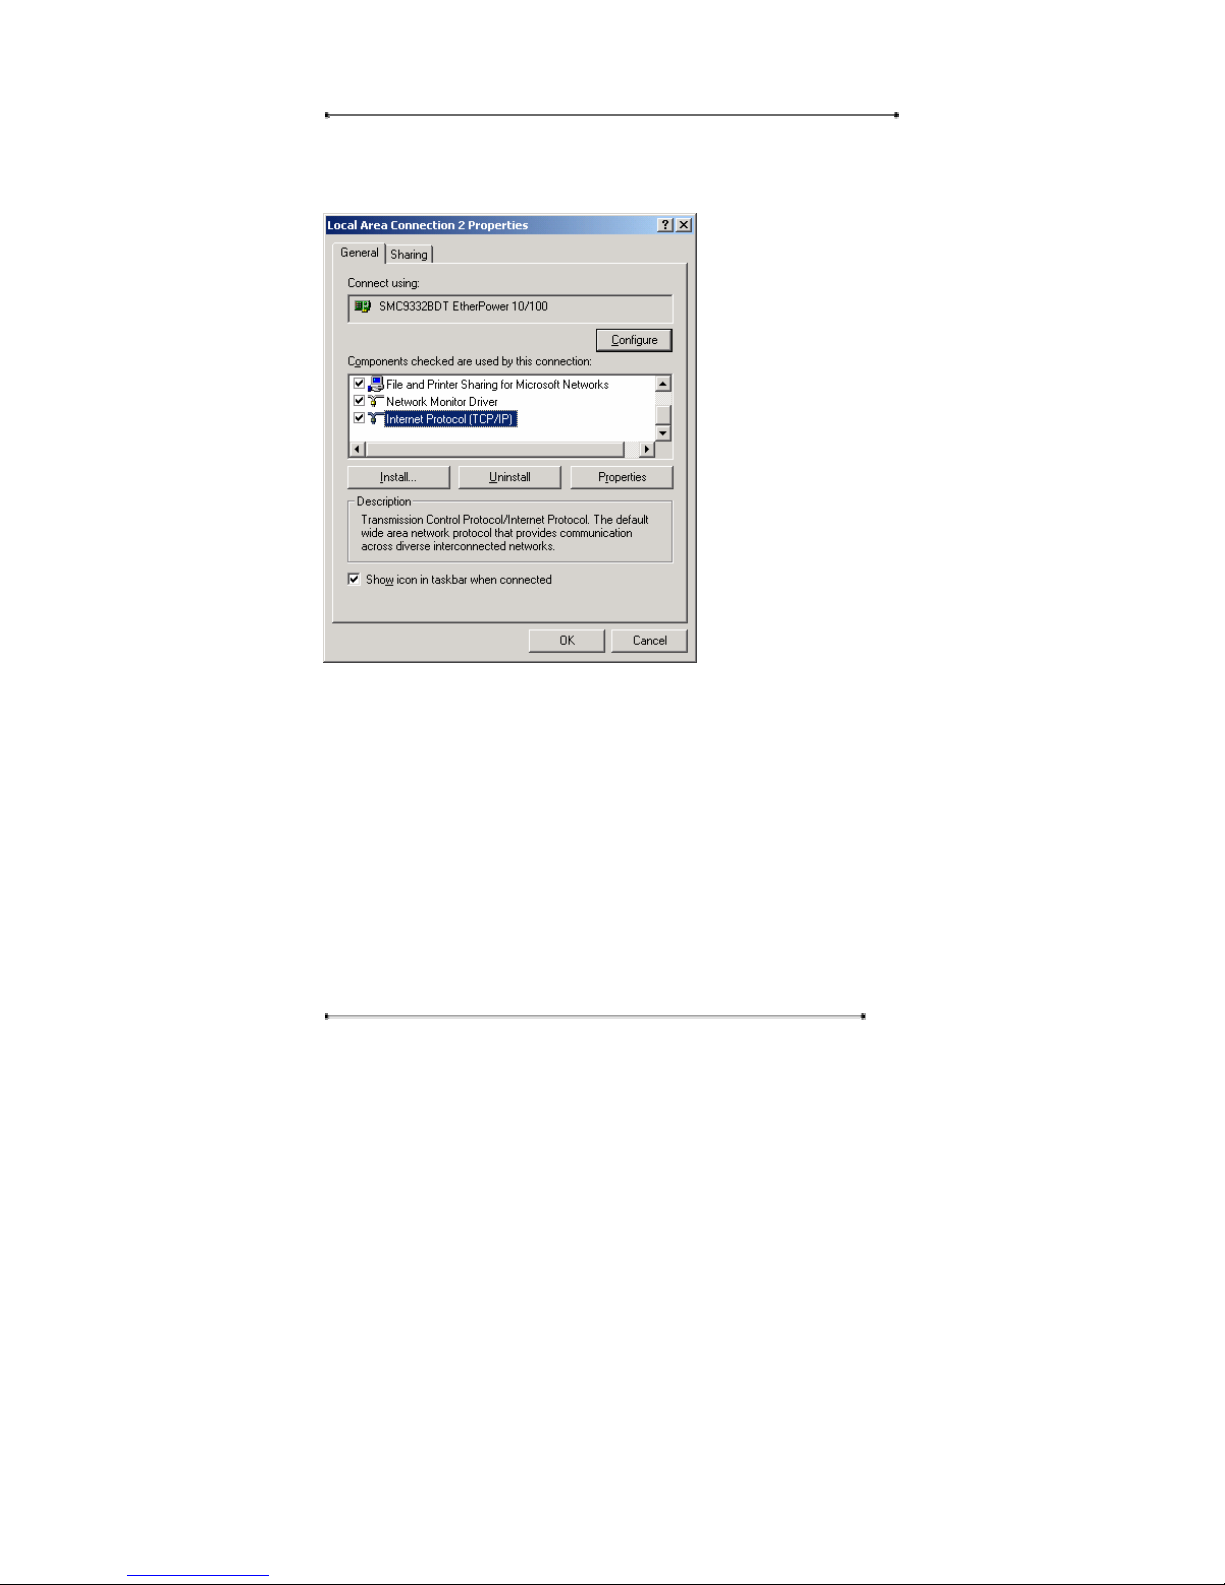
STEP 6 Double click on ‘Internet Protocol’ (TCP/IP)’, or select Internet
protocol(TCP/IP) and click on ‘OK’ button.
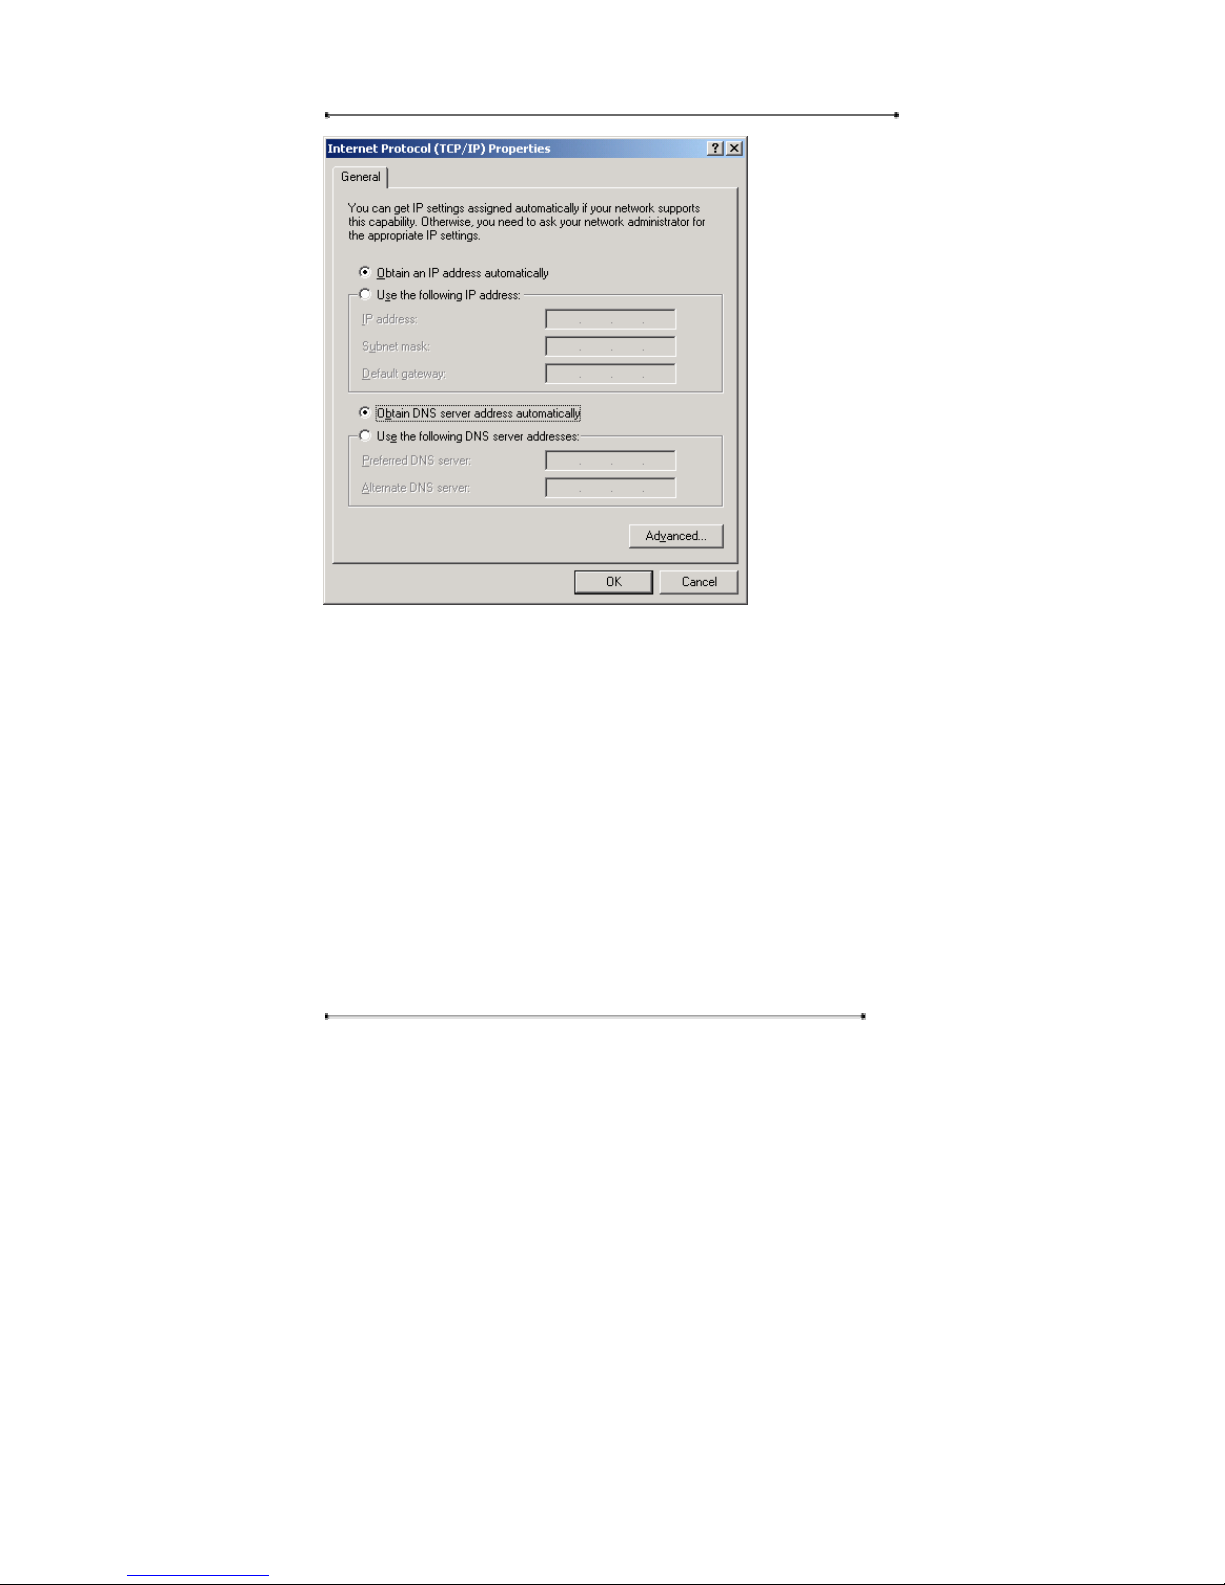
STEP 7 Check ‘Obtain an IP address automatically’ and ‘Obtain DNS server
address automatically respectively, and press ‘OK’ button.
Page 51
Internet Phone User Manual
51
STEP 8 The ‘local network connection’ screen will be displayed again. Press
‘OK’ button and close ‘network and Dial-up connection’ window.
Once the setup is completed, user can use internet on his/her PC. In case of
Windows 2000, the rebooting process is normally not required, but there are times
when it is required.
Page 52
Internet Phone User Manual
52
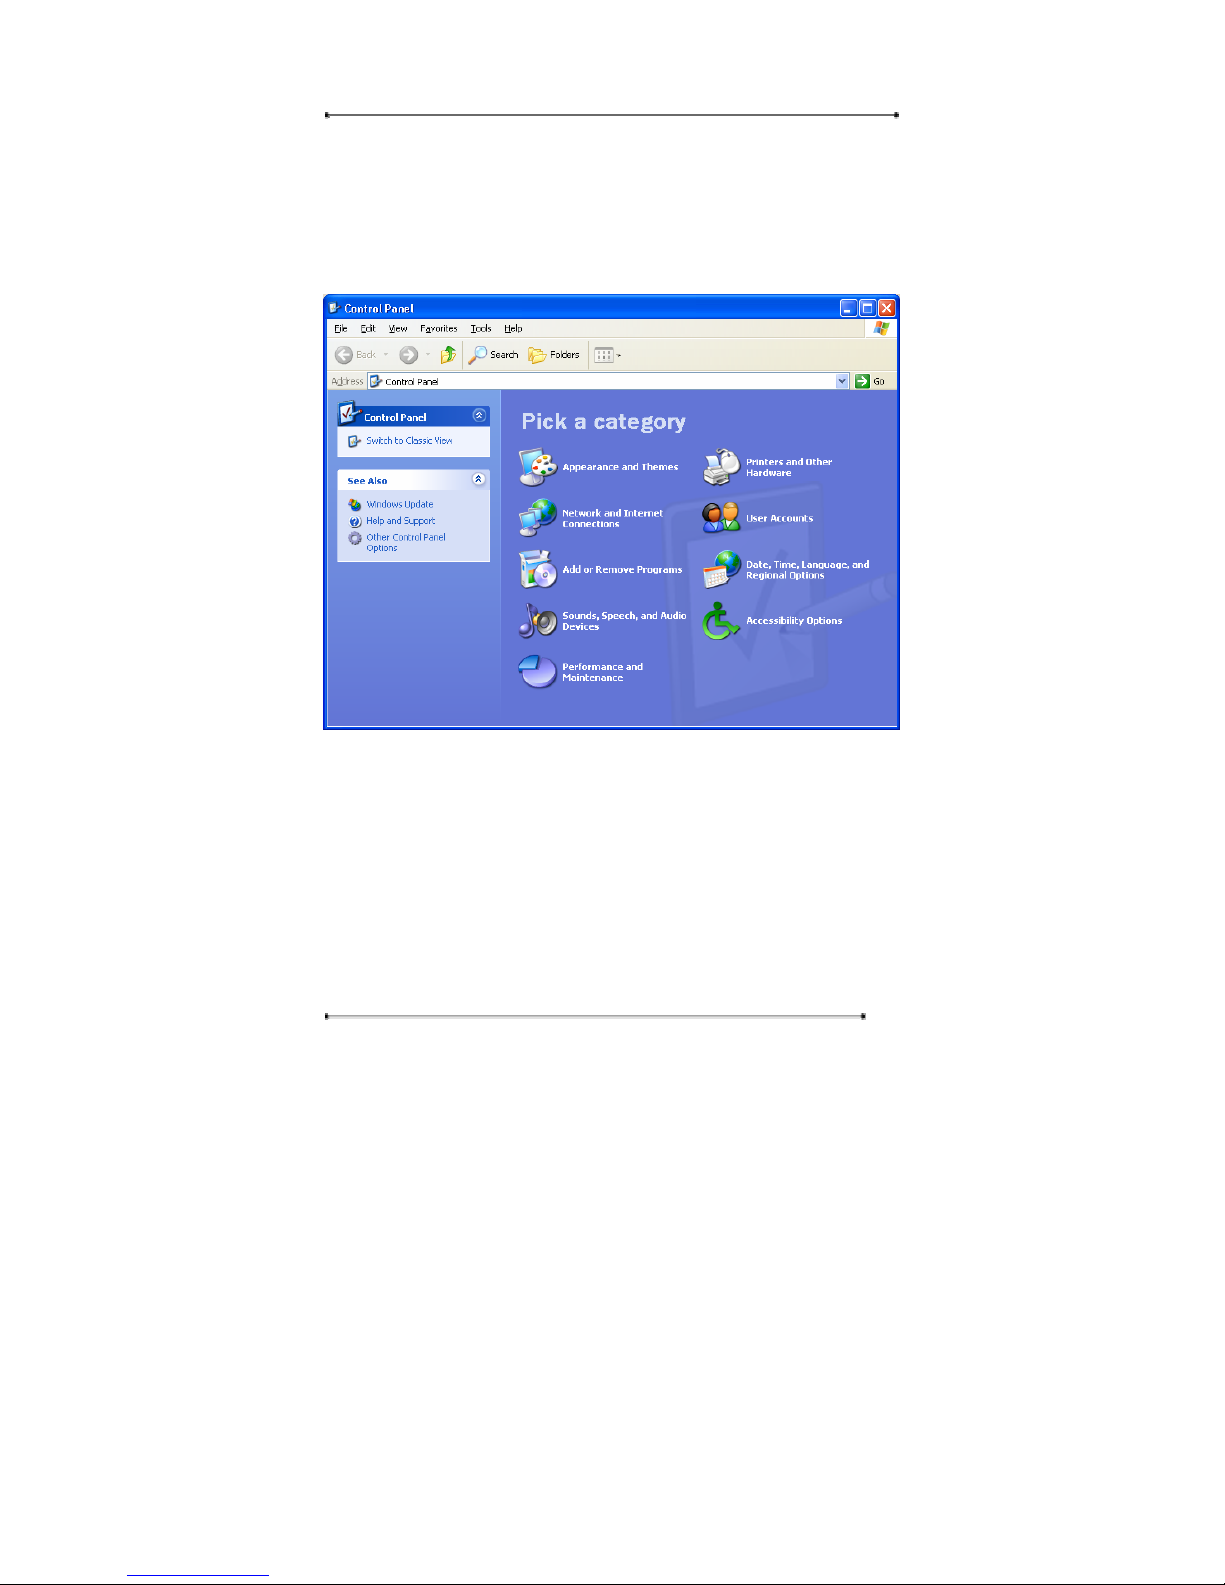
③ Windows XP
STEP 1 Press ‘Start’ Menu on the bottom left side of the PC screen.
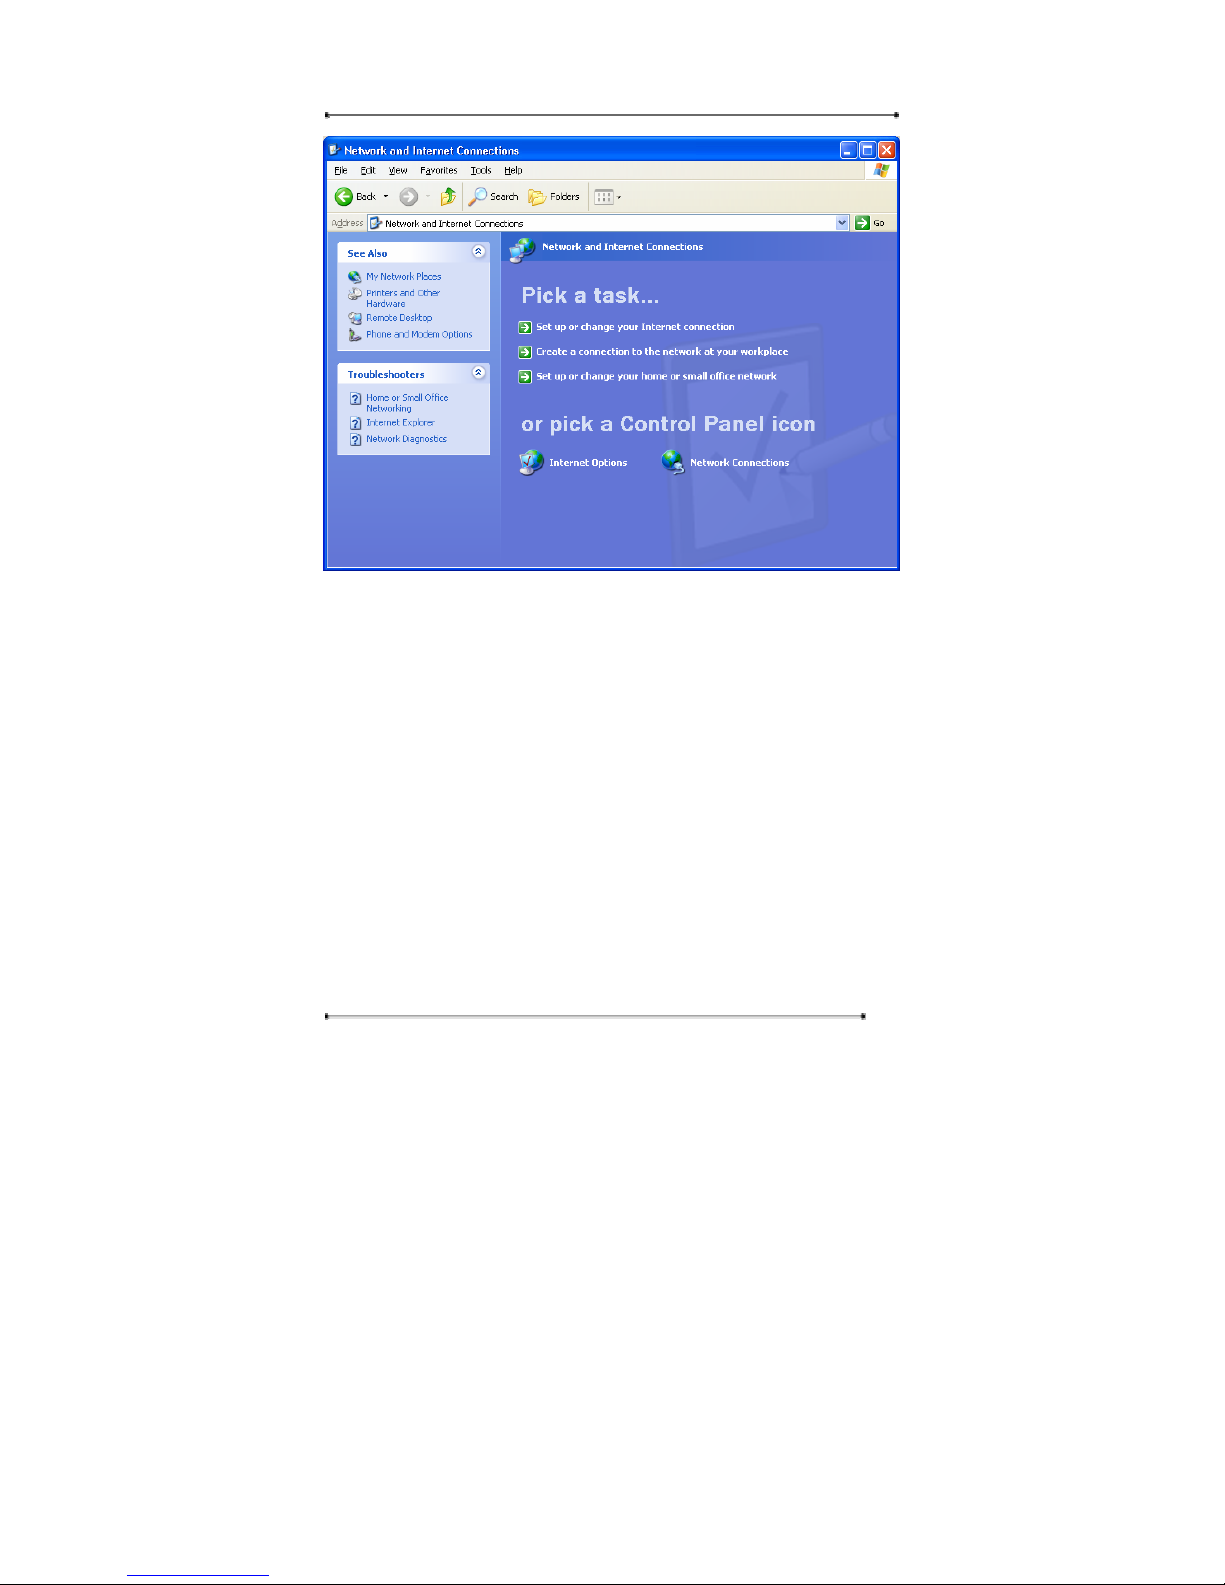
STEP 2 The following display will appear. Double click on the ‘Network and
Internet Connection’.
STEP 3 Double click on ‘local network connection’.
Page 53
Internet Phone User Manual
53
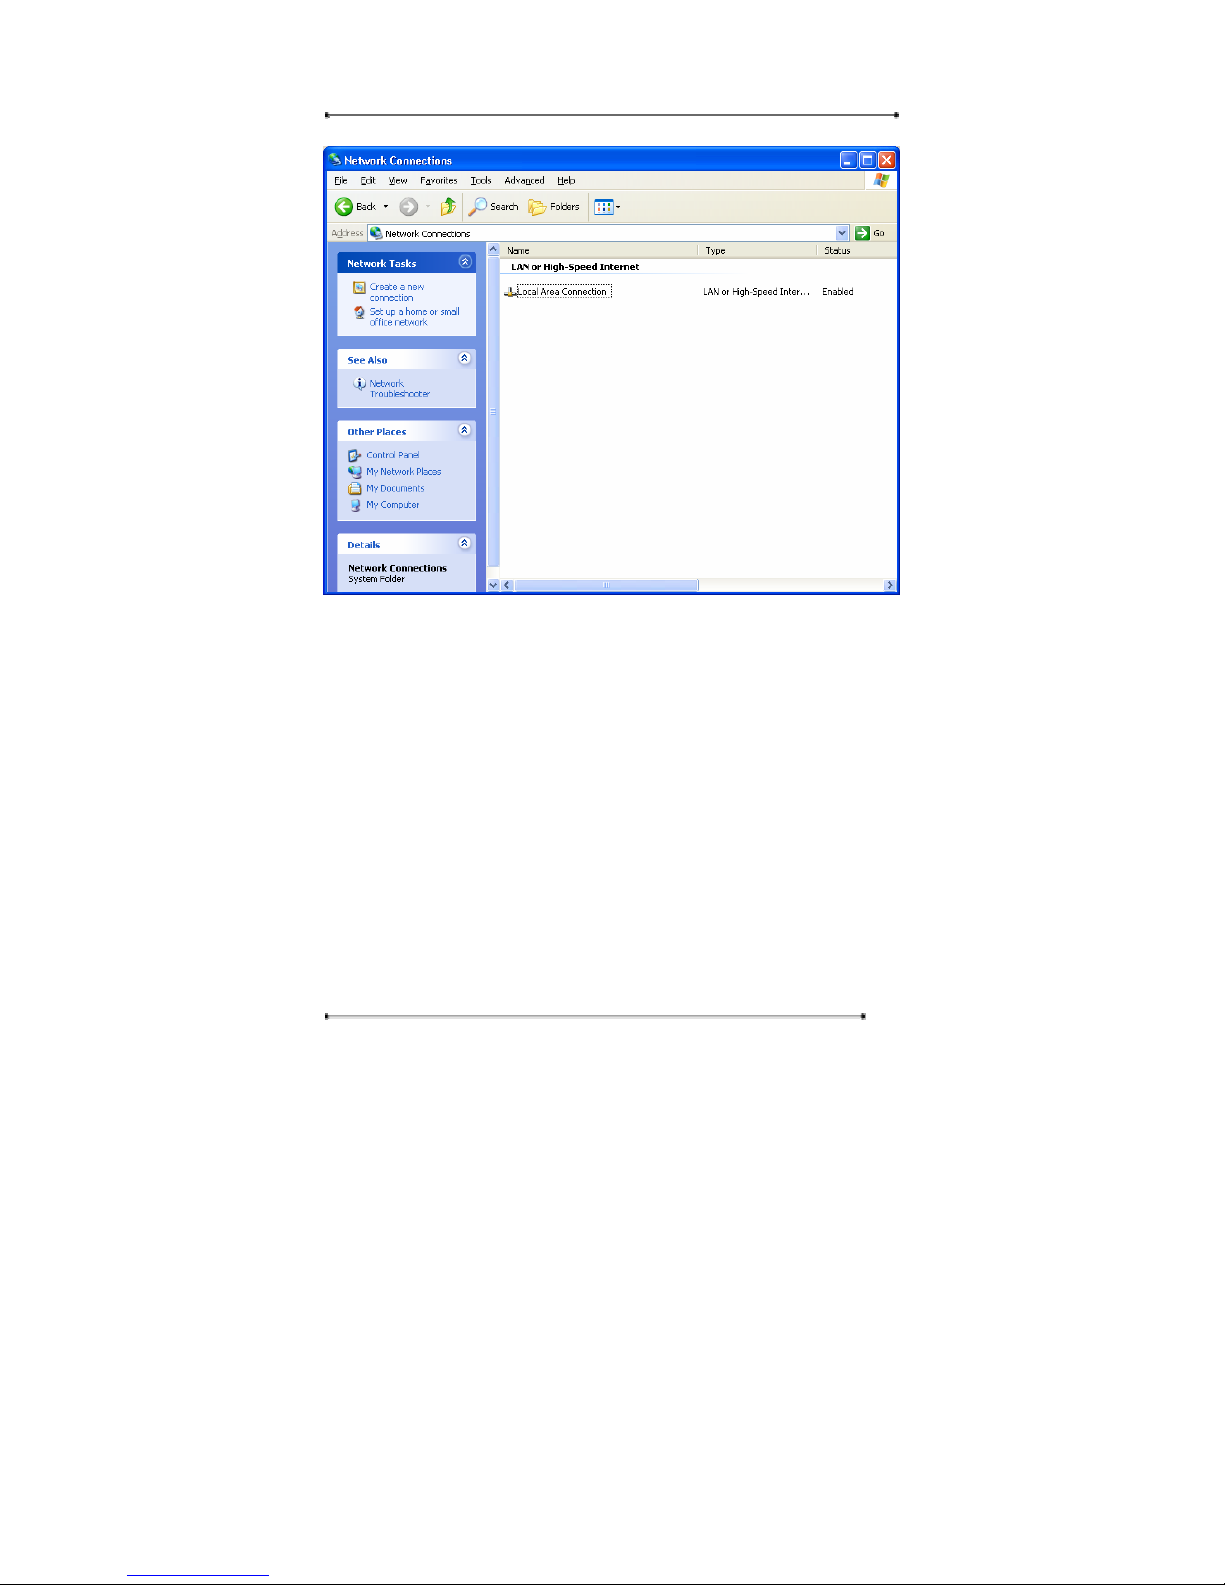
STEP 4 Double click on the ‘Local Network Connection’. (There may be several
connections depending on the user’s network, select the local network currently
being used).
Page 54
Internet Phone User Manual
54
STEP 5 Click on ‘Properties’ button.
Page 55
Internet Phone User Manual
55
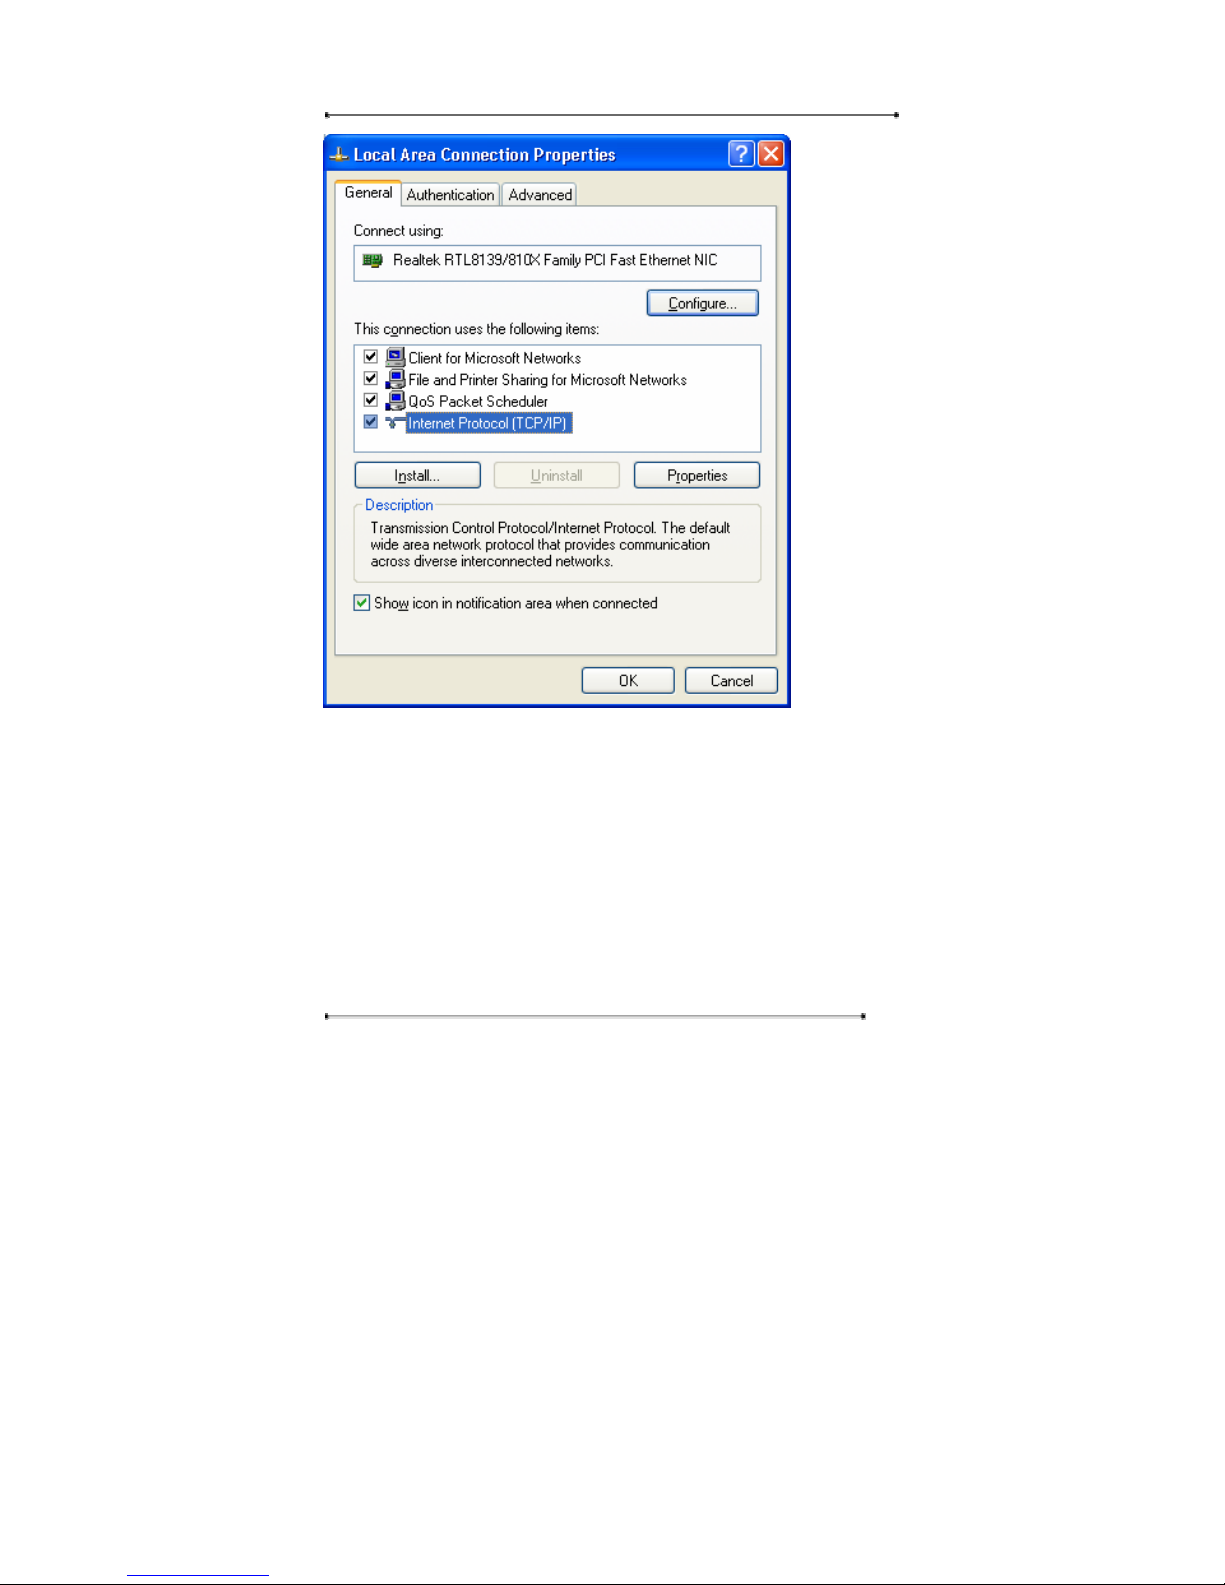
STEP 6 Select ‘Internet Protocol’ (TCP/IP) and click on the ‘Properties’ button.
Page 56
Internet Phone User Manual
56
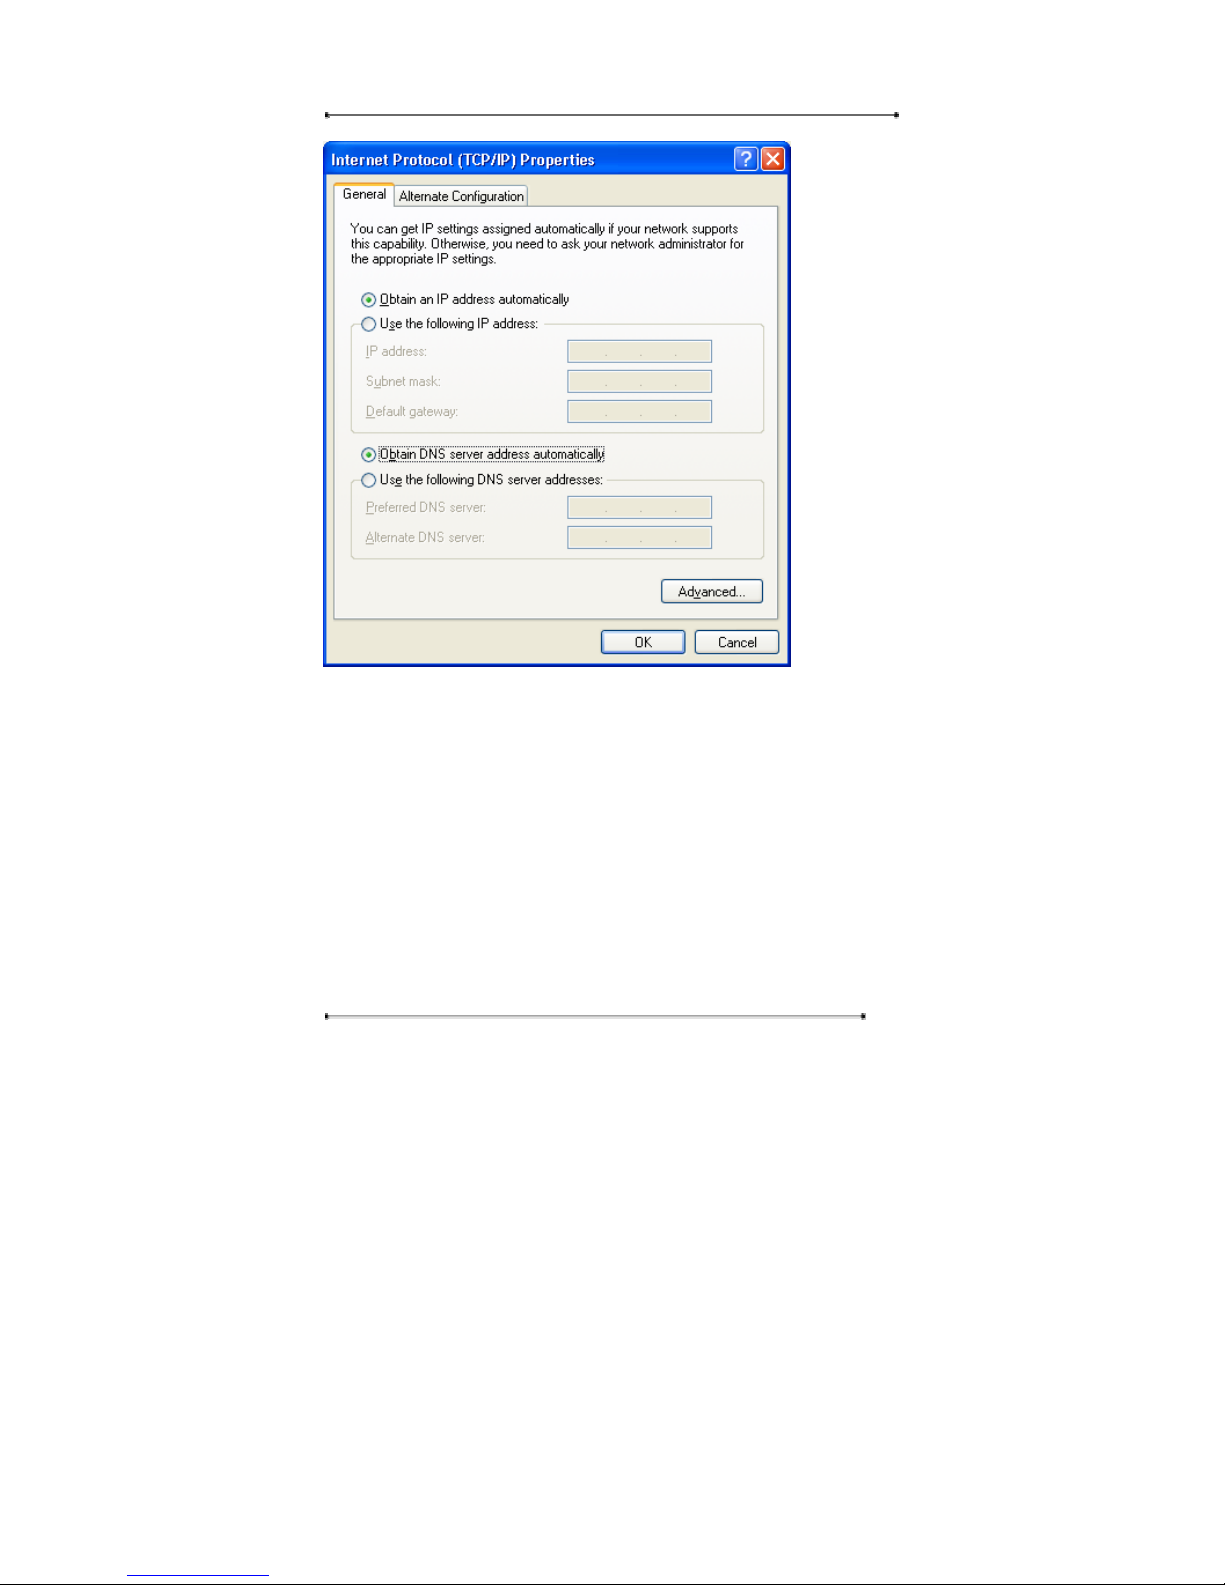
STEP 6 Check ‘Obtain an IP address automatically’ and ‘Obtain DNS server
address automatically’ respectively, and press ‘OK’ button.
Page 57
Internet Phone User Manual
57
STEP 7 The ‘local network connection’ screen will be displayed. Press ‘OK’
button and close all ‘network and Internet connection’ screens.
STEP 8 Once the setup process is finished, user can use the Internet on his/her PC.
4.2.2.4. Link Speed
This menu is to set the line rate from the Internet phone to the LAN or to the PC port.
User can specify the line rate whether he will use 10M, or ‘Auto link speed’. Auto
Page 58
Internet Phone User Manual
58
link speed will determine the link speed automatically. The default setting is 10M. If
you need to specify the link speed to 10M, select ‘10M’, and in other cases, use
‘Auto’ option.
STEP 1 Press ‘Menu’ button.
STEP 2 Select ‘4: Setup’.
STEP 3 Enter the password for user authentication.
STEP 4 Select ‘2: Network’.
STEP 5 Select ‘4: Link Speed’.
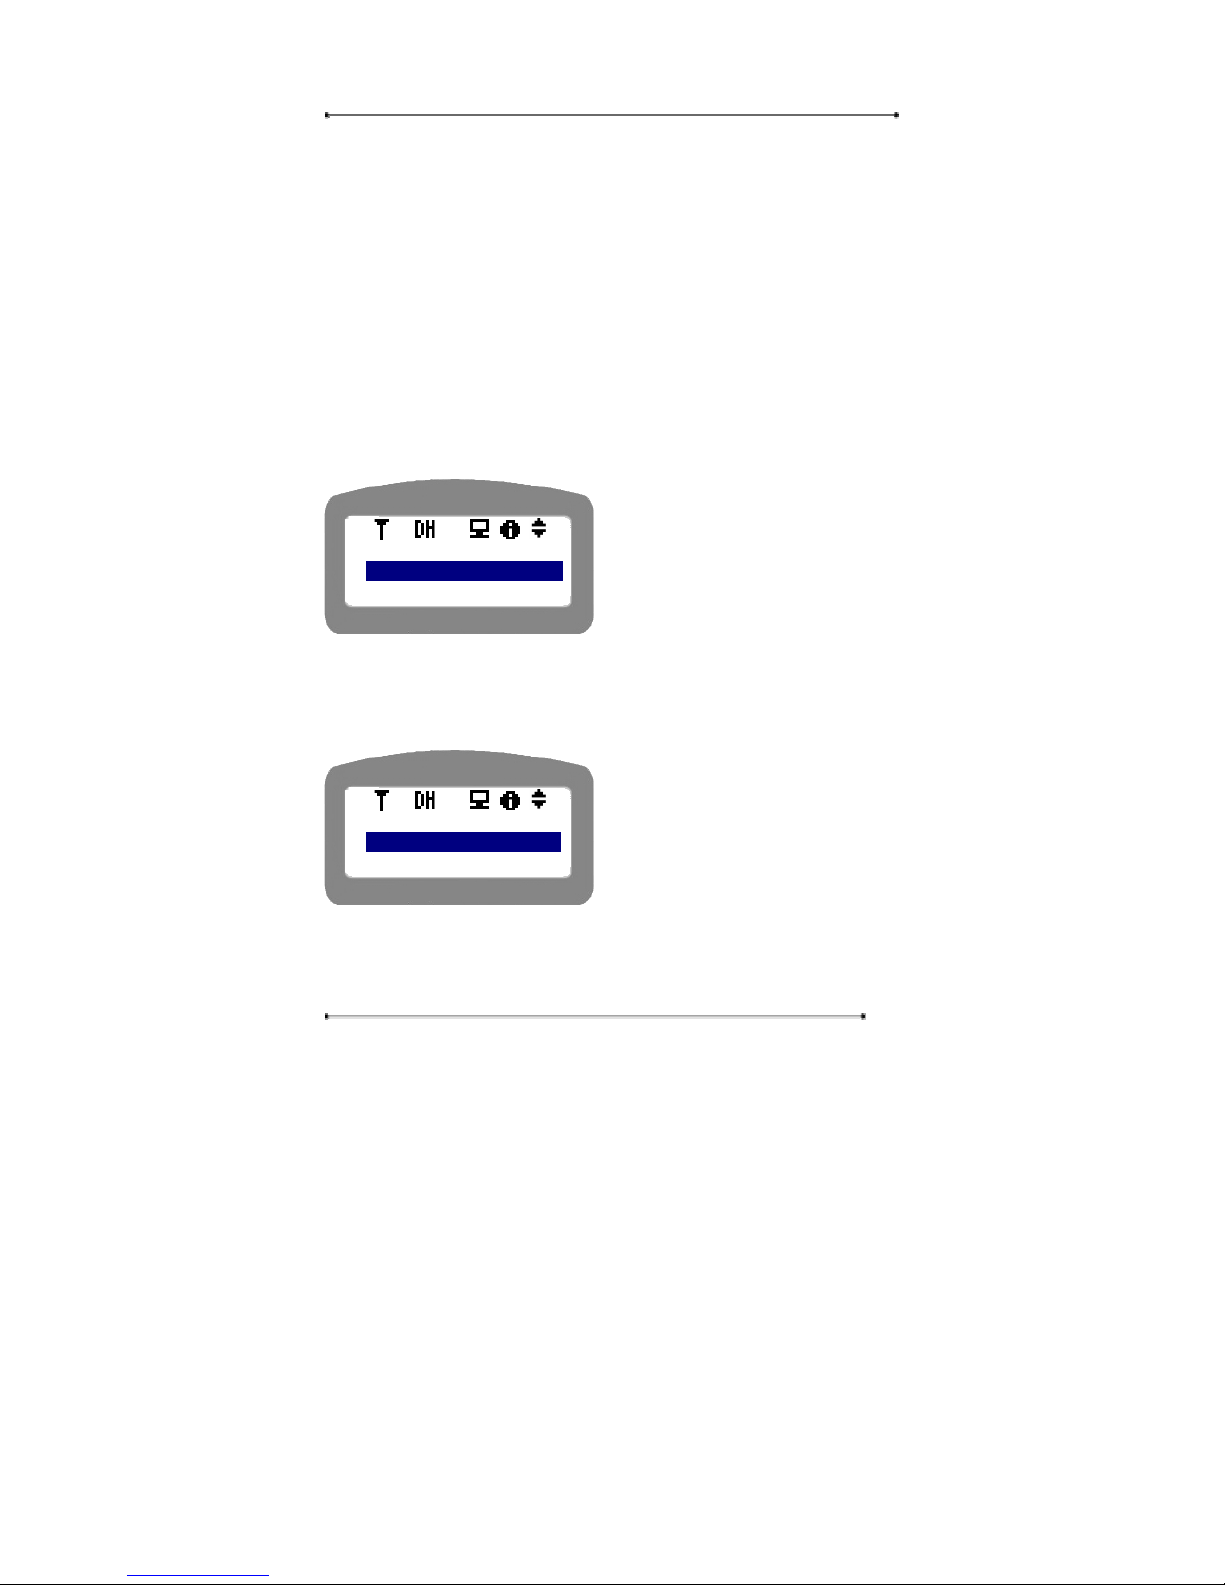
STEP 6 You can see the following display. Please select the desired menu.
y Press ‘OK’ button or press the menu
number to select the menu
y Press ‘Cancel’ key to move to the
upper menu.
STEP 7 Select whether you will use ‘Auto’ or ‘10M’. If you select ‘Auto’, the
phone will determine whether it will use ‘100M’ or ‘10M’. If you set the link speed
at ‘10M’, the link speed will be fixed at ‘10M’.
y Press ‘OK’ button or press the menu
number.
y Press ‘Cancel’ key to move to the
upper menu.
STEP 8 As for Link Speed of PC port, please refer to the above description.
<Link Speed>
1: LAN [10M]
2: PC [10M]
<LAN Port>
1: Auto
2: 10M
Page 59
Internet Phone User Manual
59
4.2.3. Call Setup
Navigation Menu Æ 4. Setup Æ User Authentication Æ 3:Call Setup
This menu is to setup the call related setting needed to use call service
through Internet Telephony Service Provider or own Gatekeeper. If these
items are not set properly, the user can’t use the call service.
STEP 1 Press ‘Menu’ button.
STEP 2 Select ‘4: Setup’.
STEP 3 Enter the password for user authentication.
STEP 4 Select ‘3: Call Setup’.
4.2.3.1. Service
In this menu, administrators or user can setup the call related settings. Access to
some menus inside of service is allowed to administrators only. Please follow the
instruction given below.
STEP 1 Select ‘1: Service’ to start the call related setting.
y Press ‘OK’ button or press the menu
number to select the menu
y Press ‘Cancel’ key to move to the
upper menu.
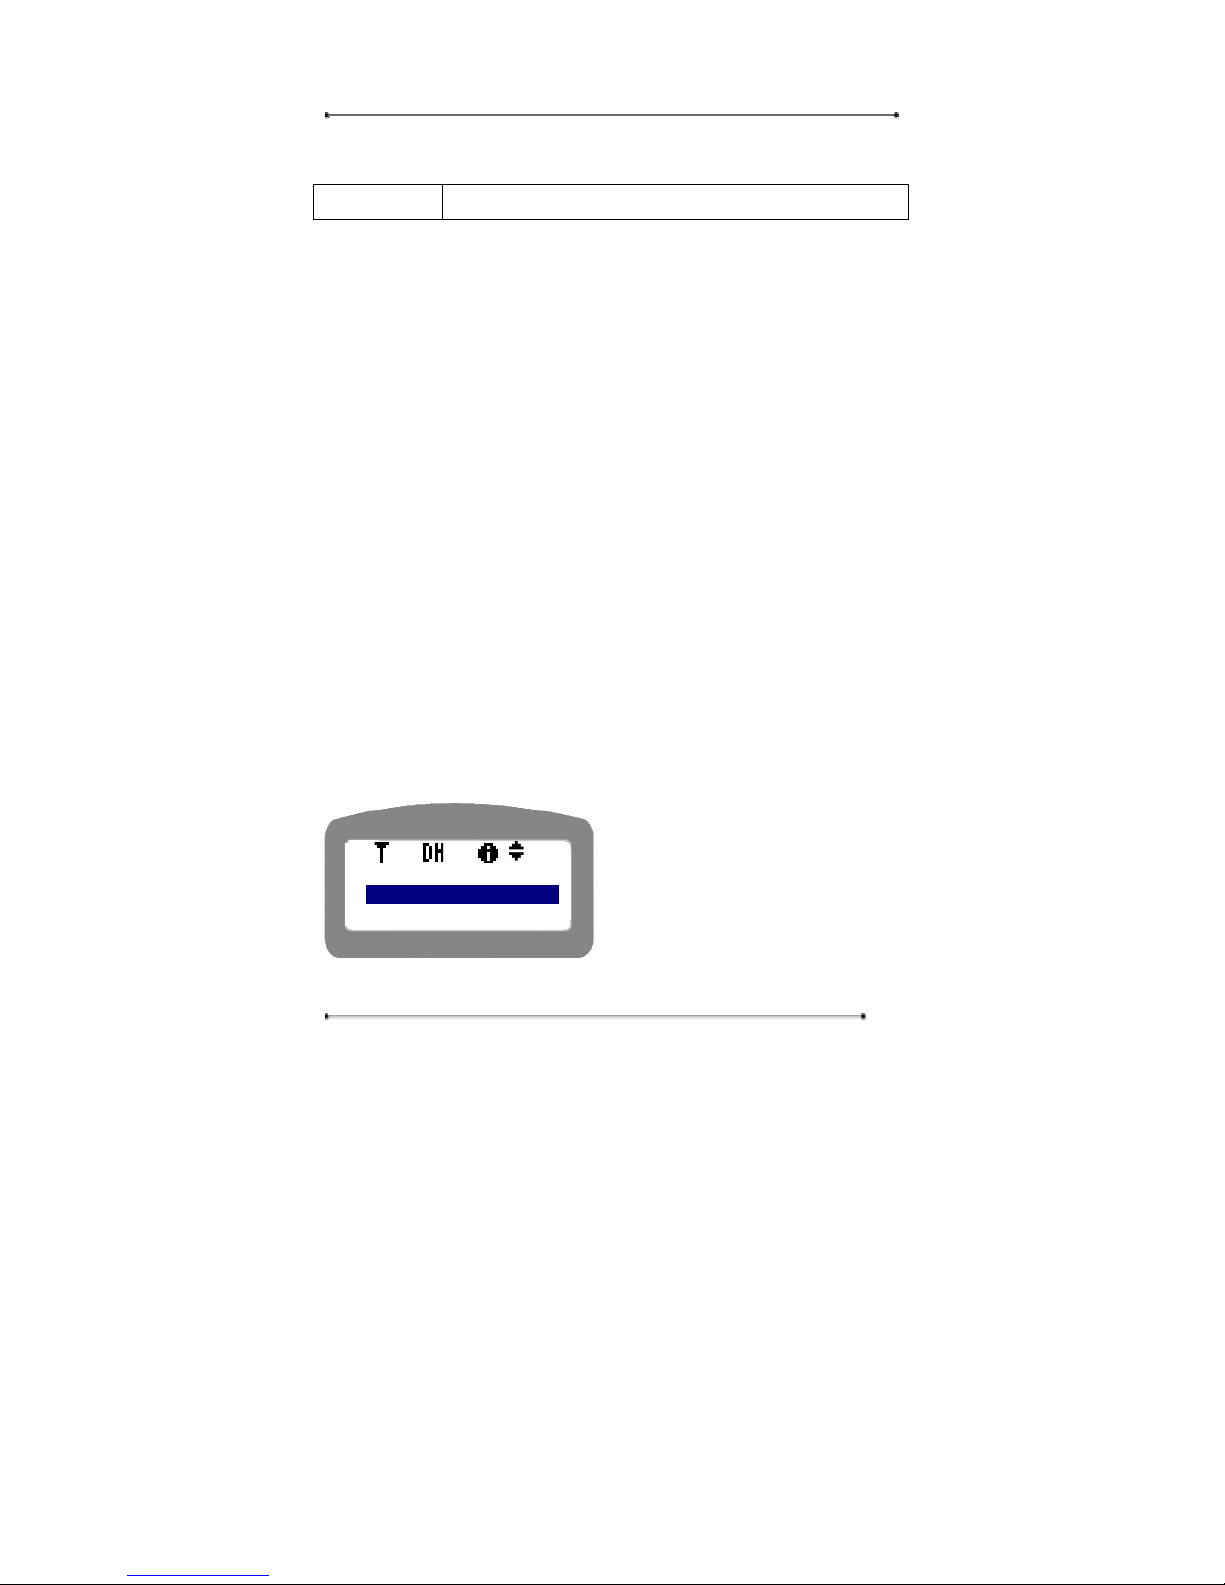
<Call Setup>
1: Services
2: Codec
Page 60
Internet Phone User Manual
60
① USE G/K
This menu is to select whether user will use Gatekeeper or not. If the user select
Gatekeeper mode, the call will be routed through Gatekeeper deployed by ITSP or
the internally installed to the destination. If the user select Gatekeeper disable, the
internet phone will be changed to the direct mode, which means that the call will be
connected between two Internet phones only. In direct mode, user can make a call by
dialing the IP address of the destination device directly on key pad instead of the
destination phone number. When you dial the IP address of the destination device,
please use ‘*” for ‘.’, for example, you can dial ‘XXX*XXX*XXX*XXX’ for
‘XXX.XXX.XXX.XXX’.
STEP 1 Select ‘1: Use GK’ button.
y Press ‘OK’ button or press the menu
number to select the menu
y Press ‘Cancel’ key to move to the
upper menu.
STEP 2 Select whether you will use GK or not.
y Press ‘OK’ button or press the menu
number to select the menu
y Press ‘Cancel’ key to move to the
upper menu.
② G/K address
This is to enter the IP address of the Gatekeeper. If you don’t know the IP address of
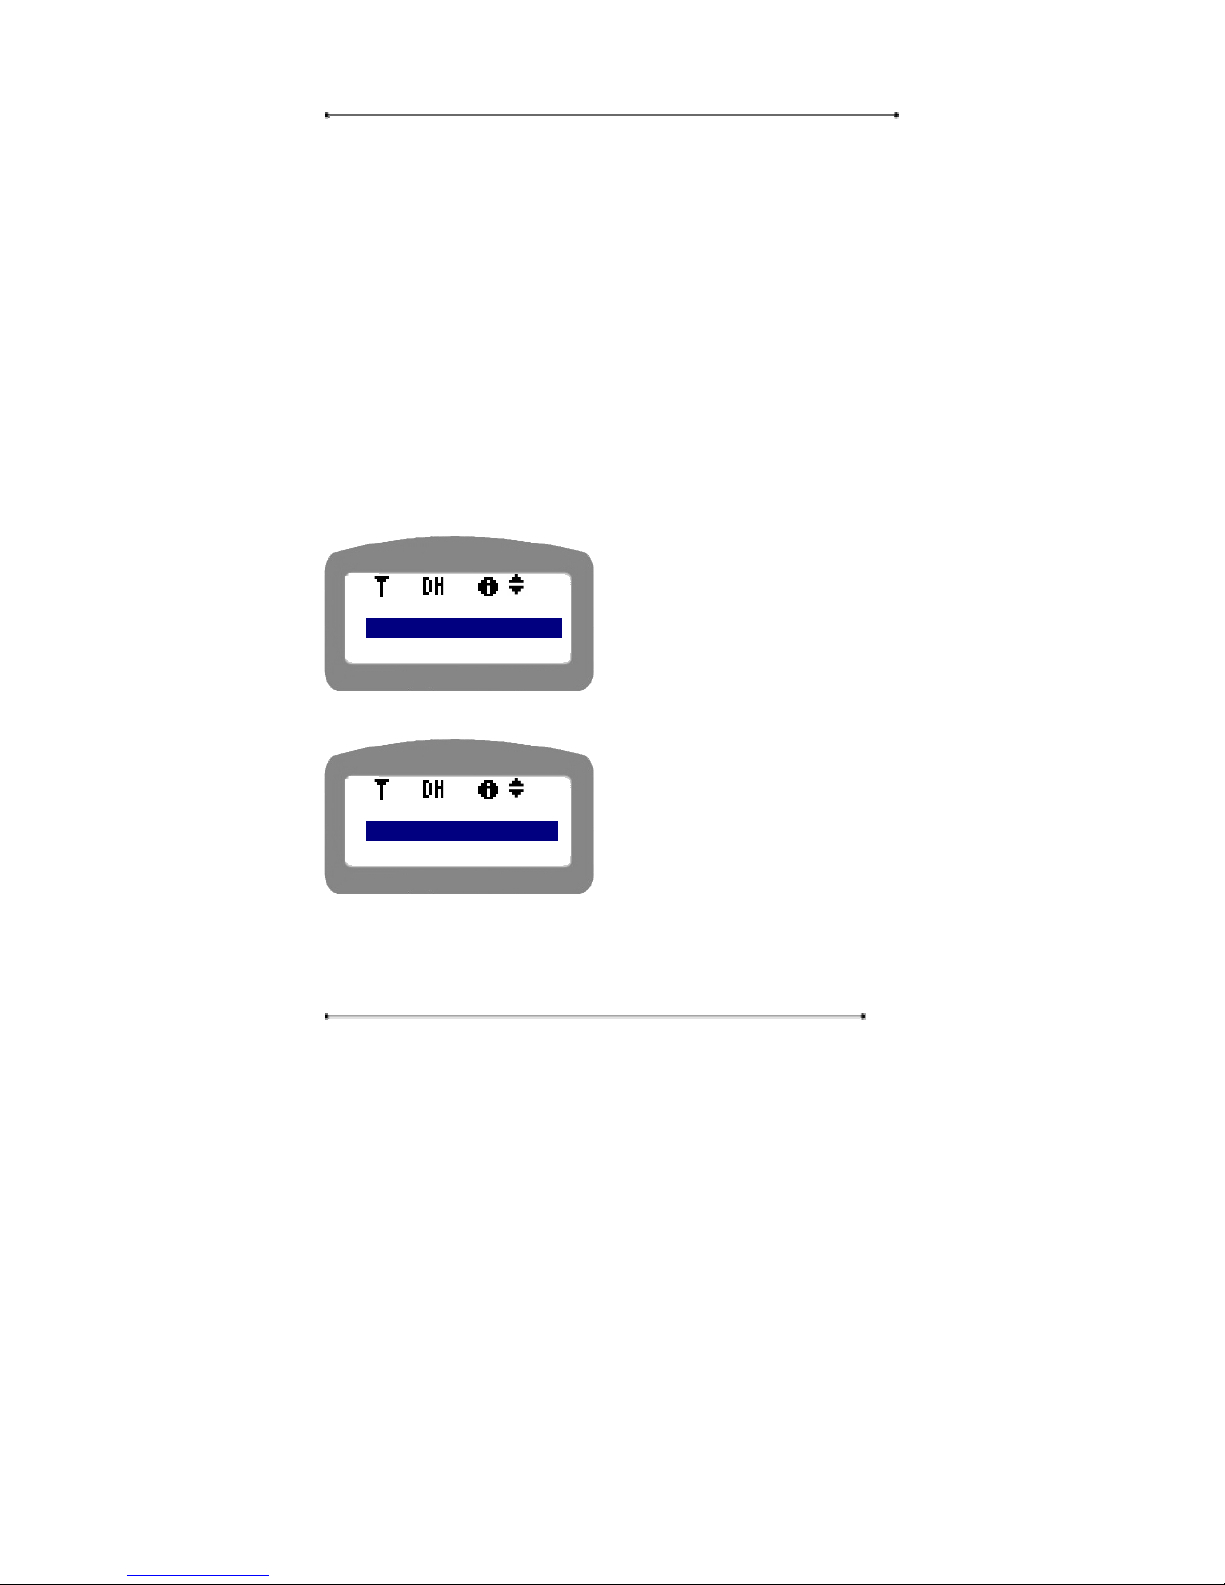
<Service>
1: Use GK[En]
2: GK Addr.
<Use GK[En]
1: Enable
2: Disable
Page 61
Internet Phone User Manual
61
the Gatekeeper, please contact the Gatekeeper administrator or ITSP. Generally, this
information is only for service providers.
STEP 1 Select ‘2: GK addr’ in the menu selection.
y Press ‘OK’ button or press the menu
number to select the menu
y Press ‘Cancel’ key to move to the
upper menu.
STEP 2 Enter the IP address of the Gatekeeper. Please use navigation key to
move the cursor to the input point. Also use ‘*’ key to enter the ‘.’ into the input
line..
y Press ‘OK’ button or press the menu
number to select the menu
y Press ‘Cancel’ key to move to the
upper menu.
③ H323ID
This is to enter the H.323 ID needed for user authentication by ITSP or Gatekeeper
administrator. ITSP or Gatekeeper administrator will assign the H.323 ID for you.
STEP 1 Select ‘3: H.323 ID’ in the menu selection.
y Press ‘OK’ button or press the menu
number to select the menu
y Press ‘Cancel’ key to move to the
upper menu.
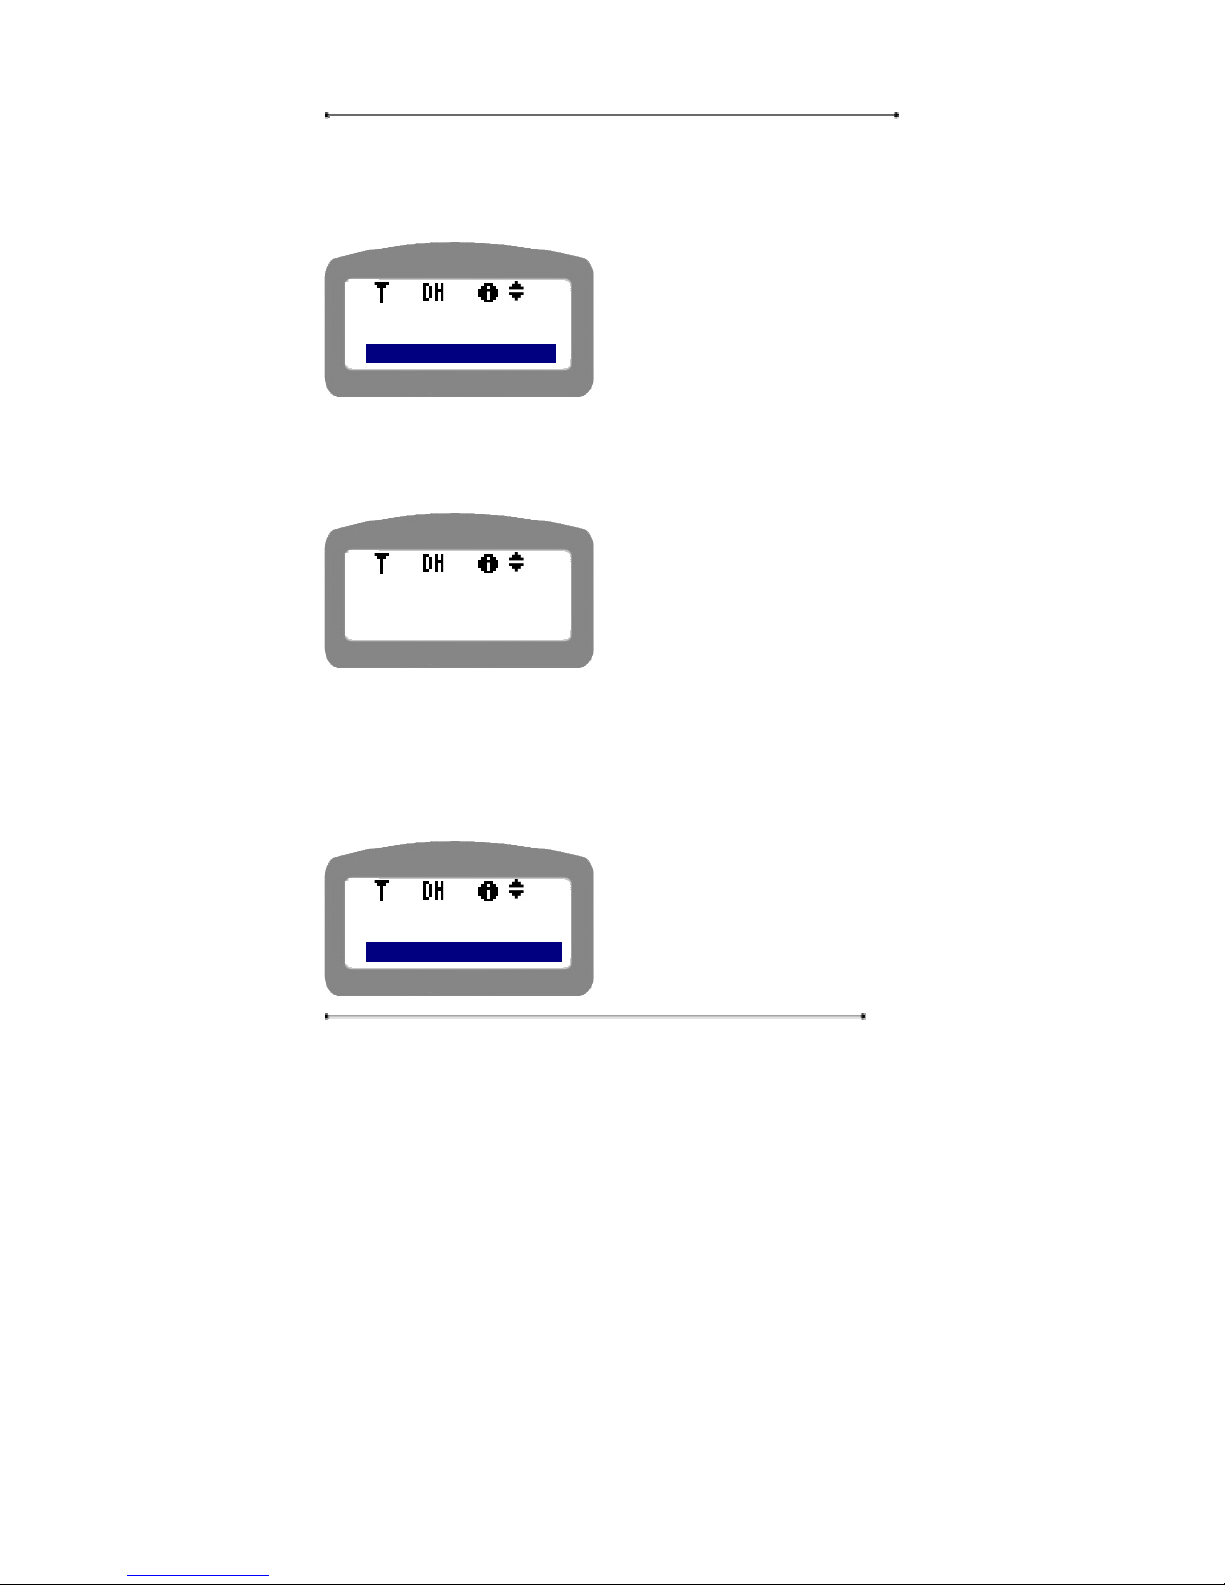
<Service]
1: Use GK[En]
2: GK Addr
<Service]
GK Address :
10.0.1.1
<Service]
2: GK Addr
3: H.323ID
Page 62
Internet Phone User Manual
62
STEP 2 Enter the H.323 ID assigned by ITSP or your Gatekeeper administrator.
Please use ‘Menu’ key to toggle the input mode.
y Press ‘OK’ button or press the menu
number to select the menu
y Press ‘Cancel’ key to move to the
upper menu.
④ Phone No.
This is to enter the Phone number needed for user authentication by ITSP or
Gatekeeper administrator. ITSP or Gatekeeper administrator will assign the phone
number (E.164 number) for you.
STEP 1 Select ‘4: Phone No.’ in the menu selection.
y Press ‘OK’ button or press the menu
number to select the menu
y Press ‘Cancel’ key to move to the
upper menu.
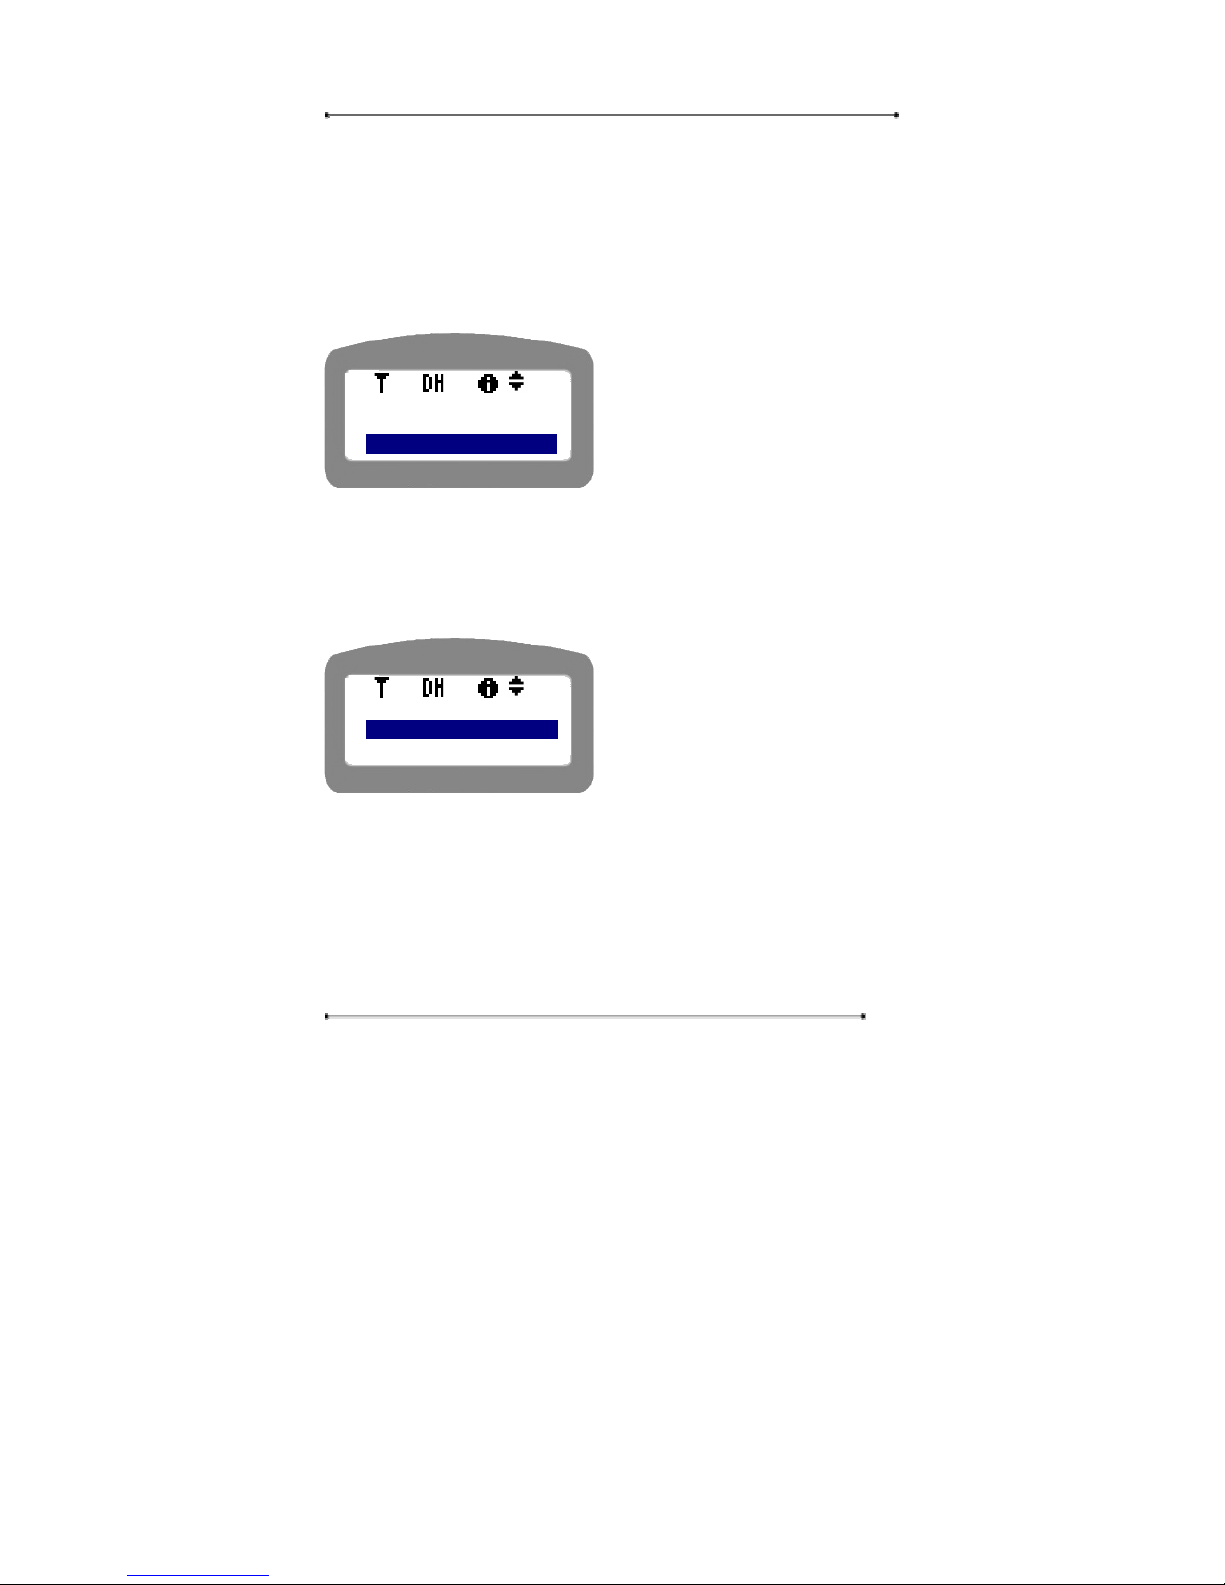
STEP 2 Enter the Phone No assigned by ITSP or your Gatekeeper administrator.
Please use ‘Menu’ key to toggle the input mode if needed.
y Press ‘OK’ button or press the menu
number to select the menu
y Press ‘Cancel’ key to move to the
upper menu.
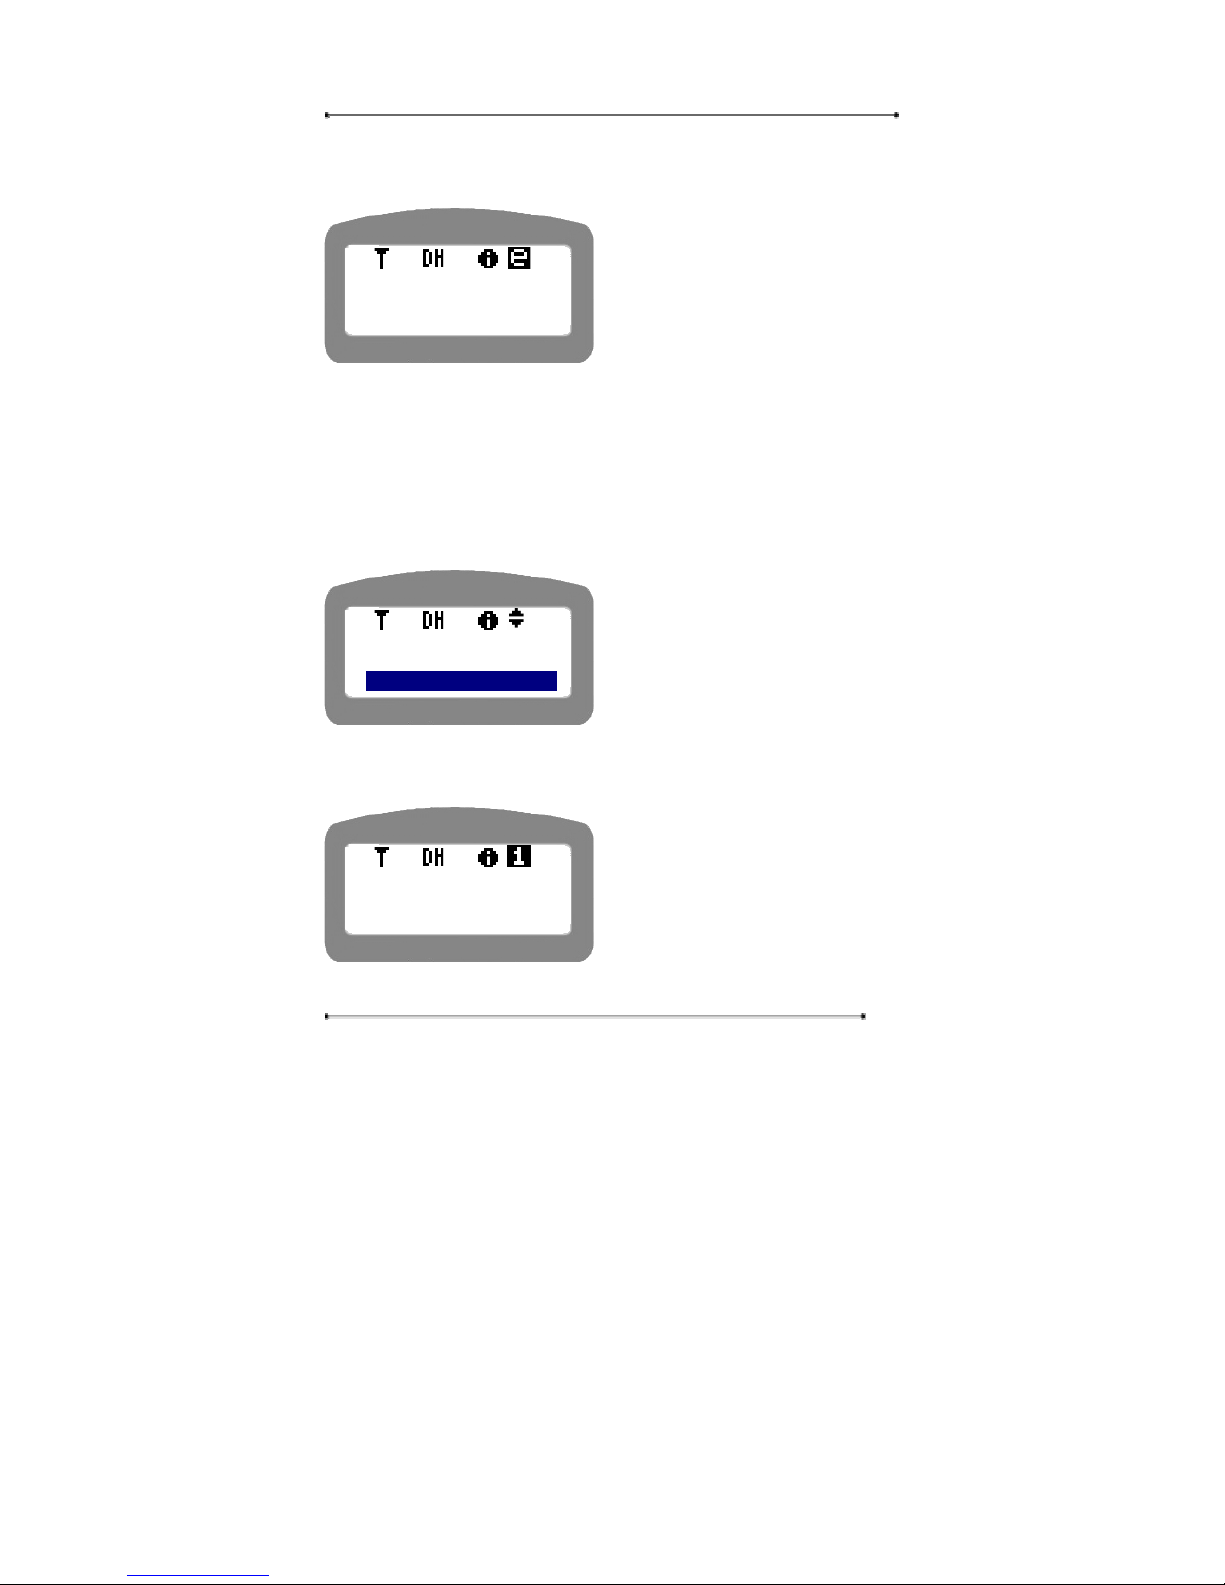
<Service]
H.323ID :
XXXXXXXXXXX
<Service]
3: H.323ID
4: Phone No.
<Service]
Phone No. :
XXXXXXXX
Page 63
Internet Phone User Manual
63
⑤ Default GW
This menu can be useful when the user uses Gateway mode, which means the user
uses Gateway instead of Gatekeeper for call routing. In Gateway mode, all the dialed
call will be routed through the default Gateway directly. If you select Default
Gateway disable, this mode will not work.
STEP 1 Select ‘5: Dft GW[Dis] in the menu selection.
y Press ‘OK’ button or press the menu
number to select the menu
y Press ‘Cancel’ key to move to the
upper menu.
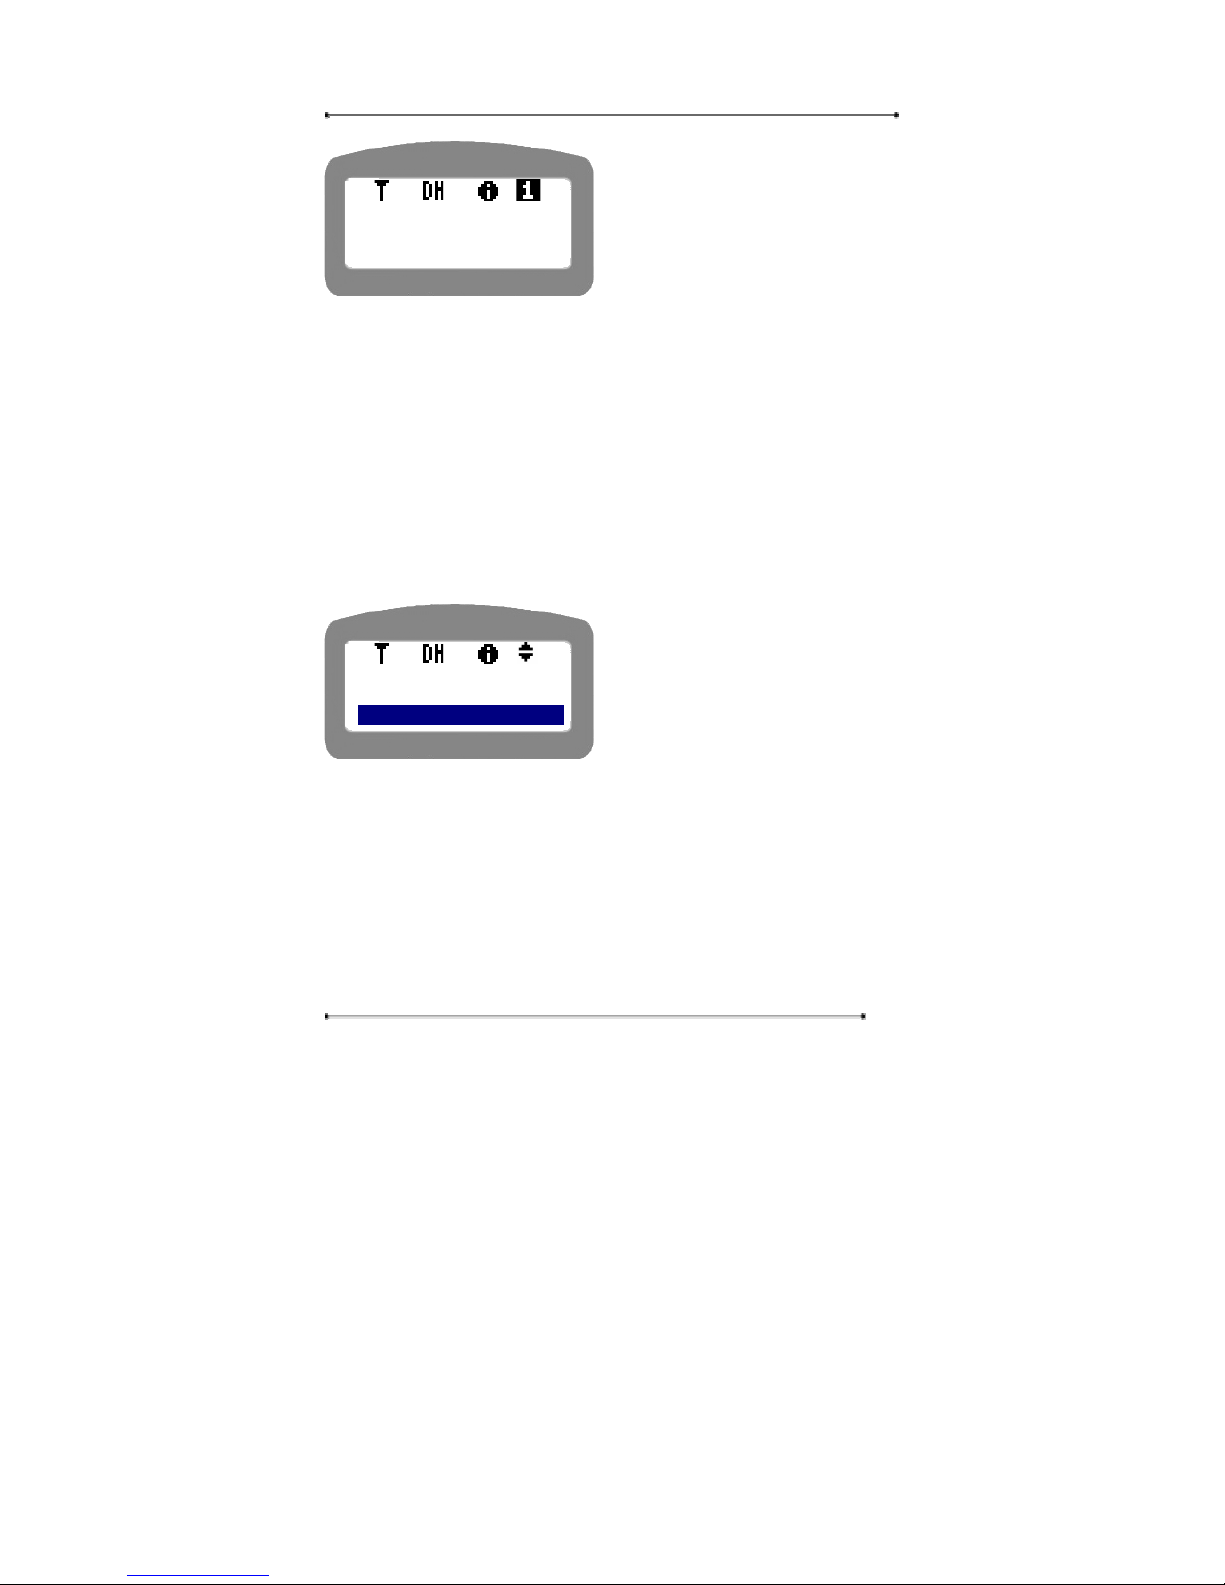
STEP 2 Select ‘1: Enable’ to have the Dft Gateway enabled, or ‘2: Disable’ to
have the Dft Gateway disabled. If you select ‘1: Enable’, there will be a display to
ask to input the Gateway IP address into the input line. For your information, if you
select ‘2: Disable’, no need to input any other information.
y Press ‘OK’ button or press the menu
number to select the menu
y Press ‘Cancel’ key to move to the
upper menu.
STEP 3 Enter the default Gateway IP address into the input line. Please use ‘*’
key to input ‘.’ into the input line.
<Service]
4: Phone No
5: Dft GW
<DefaultGW[En]
1: Enable
2: Disable
Page 64
Internet Phone User Manual
64
y Press ‘OK’ button or press the menu
number to select the menu
y Press ‘Cancel’ key to move to the
upper menu.
⑥ Plar
PLAR is a function to try to make a call to the preset phone number immediately
after the user picks up the handset (Off Hook). For example, with PLAR mode
enabled, if you have already registered a phone number through PLAR menu, when
you pick up the handset, the call to the preset phone number will be made
immediately.
STEP 1 Select ‘6: Plar [En]’ in the menu selection.
y Press ‘OK’ button to proceed to the
next step.
y Press ‘Cancel’ key to move to the
upper menu.
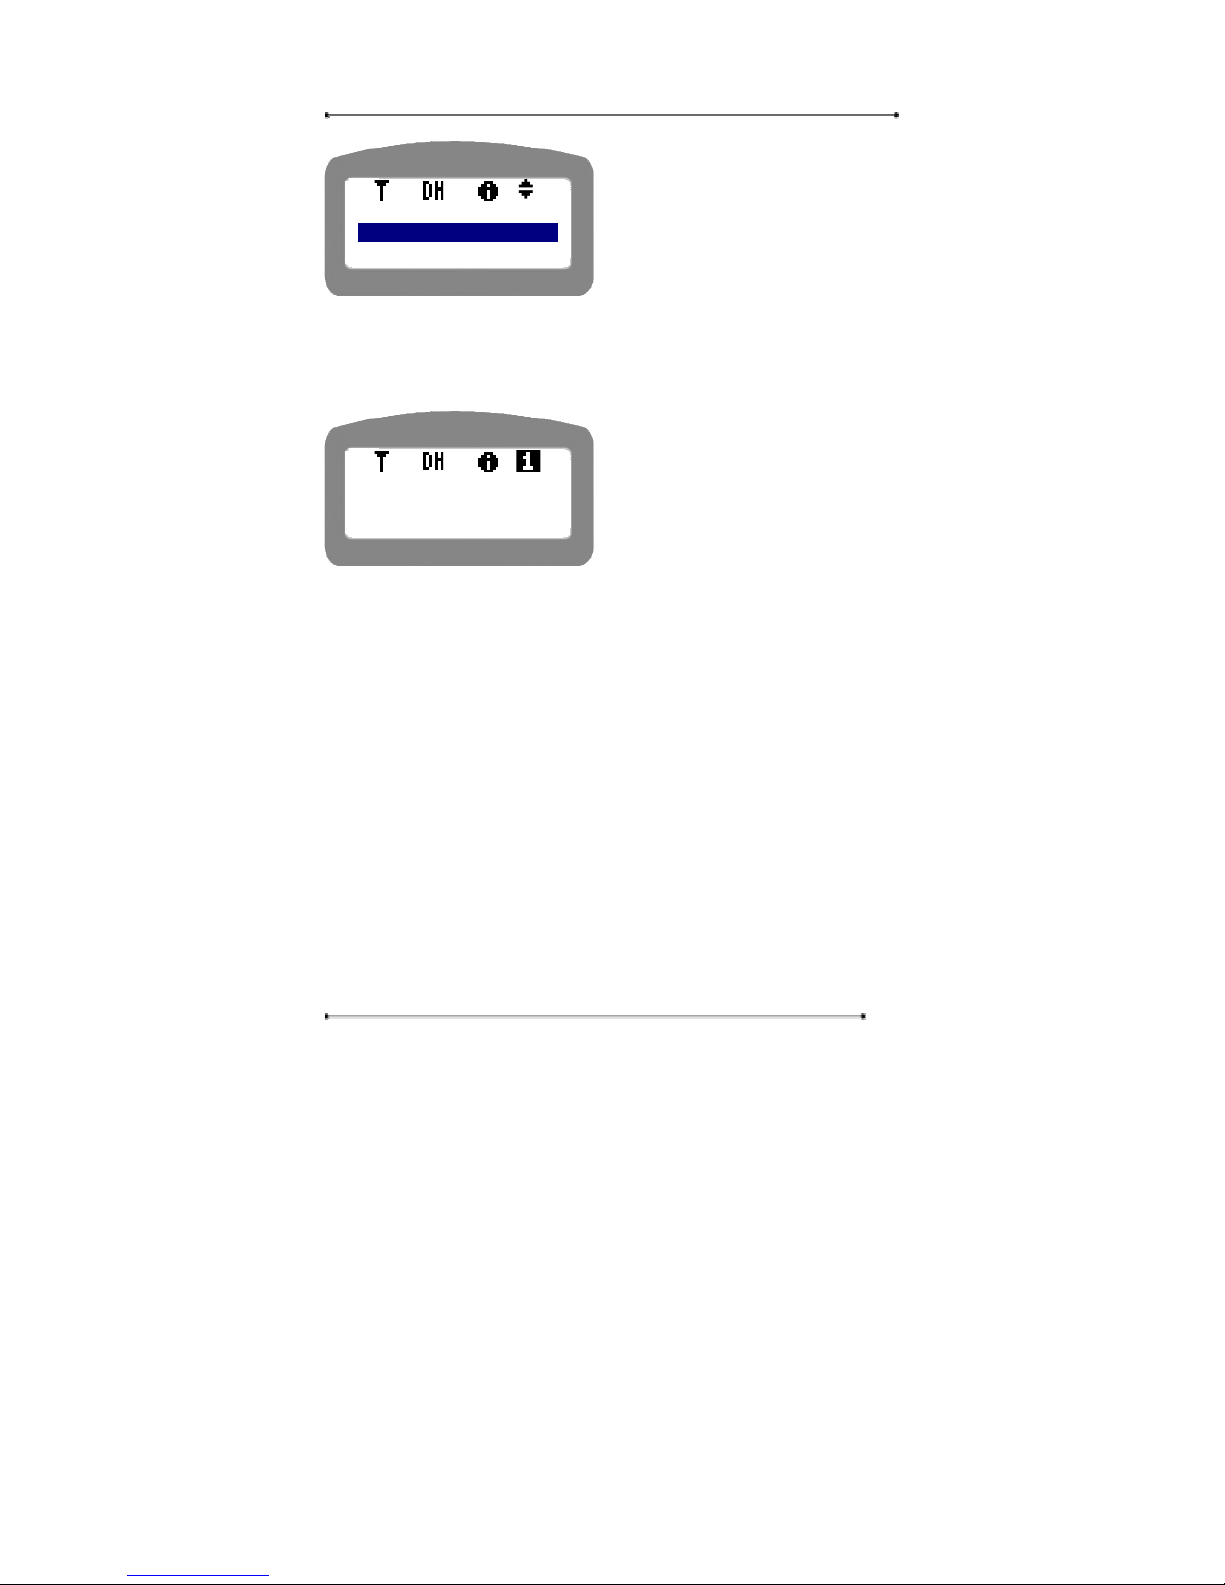
STEP 2 Select ‘1: Enable’ to have the Plar mode enabled, or ‘2: Disable’ to have
the Plar mode disabled. If you select ‘1: Enable’, there will be a display
to ask to enter the Plar phone no into the input line. For your information,
if you select ‘2: Disable’, no need to input any other information.
<Service>
5: Dft GW[En]
6: Plar [En]
<Service]
Dft GW
XXX.XXX.XXX.XXX
Page 65
Internet Phone User Manual
65
y Press ‘OK’ button to proceed to the
next step.
y Press ‘Cancel’ key to move to the
upper menu.
STEP 3 Enter the Plar phone number. The phone number entered here will be
used to make a call when the user picks up the handset.
y Press ‘OK’ button or press the menu
number to select the menu
y Press ‘Cancel’ key to move to the
upper menu.
4.2.3.2. Codec
This menu is to select the preferred codec used in Fast start mode. The Internet
phone supports G.711a, G.711m, G.723, and G.729 for codec selection. In other
words, the audio capability of the Internet Phone is G.711, G.723, and G.729.
STEP 1 Select ‘2: Codec’ in call setup menu selection.
<Plar [En] >
1: Enable
2: Disable
<Service]
Plar No
Page 66
Internet Phone User Manual
66
y Press ‘OK’ button to proceed to the
next step.
y Press ‘Cancel’ key to move to the
upper menu.
① Prefer
This menu is to select the preferred codec used in Fast start mode.
STEP 1 Select ‘1: Pre [G723]’ to set the preferred codes.
y Press ‘OK’ button to proceed to the
next step.
y Press ‘Cancel’ key to move to the
upper menu.
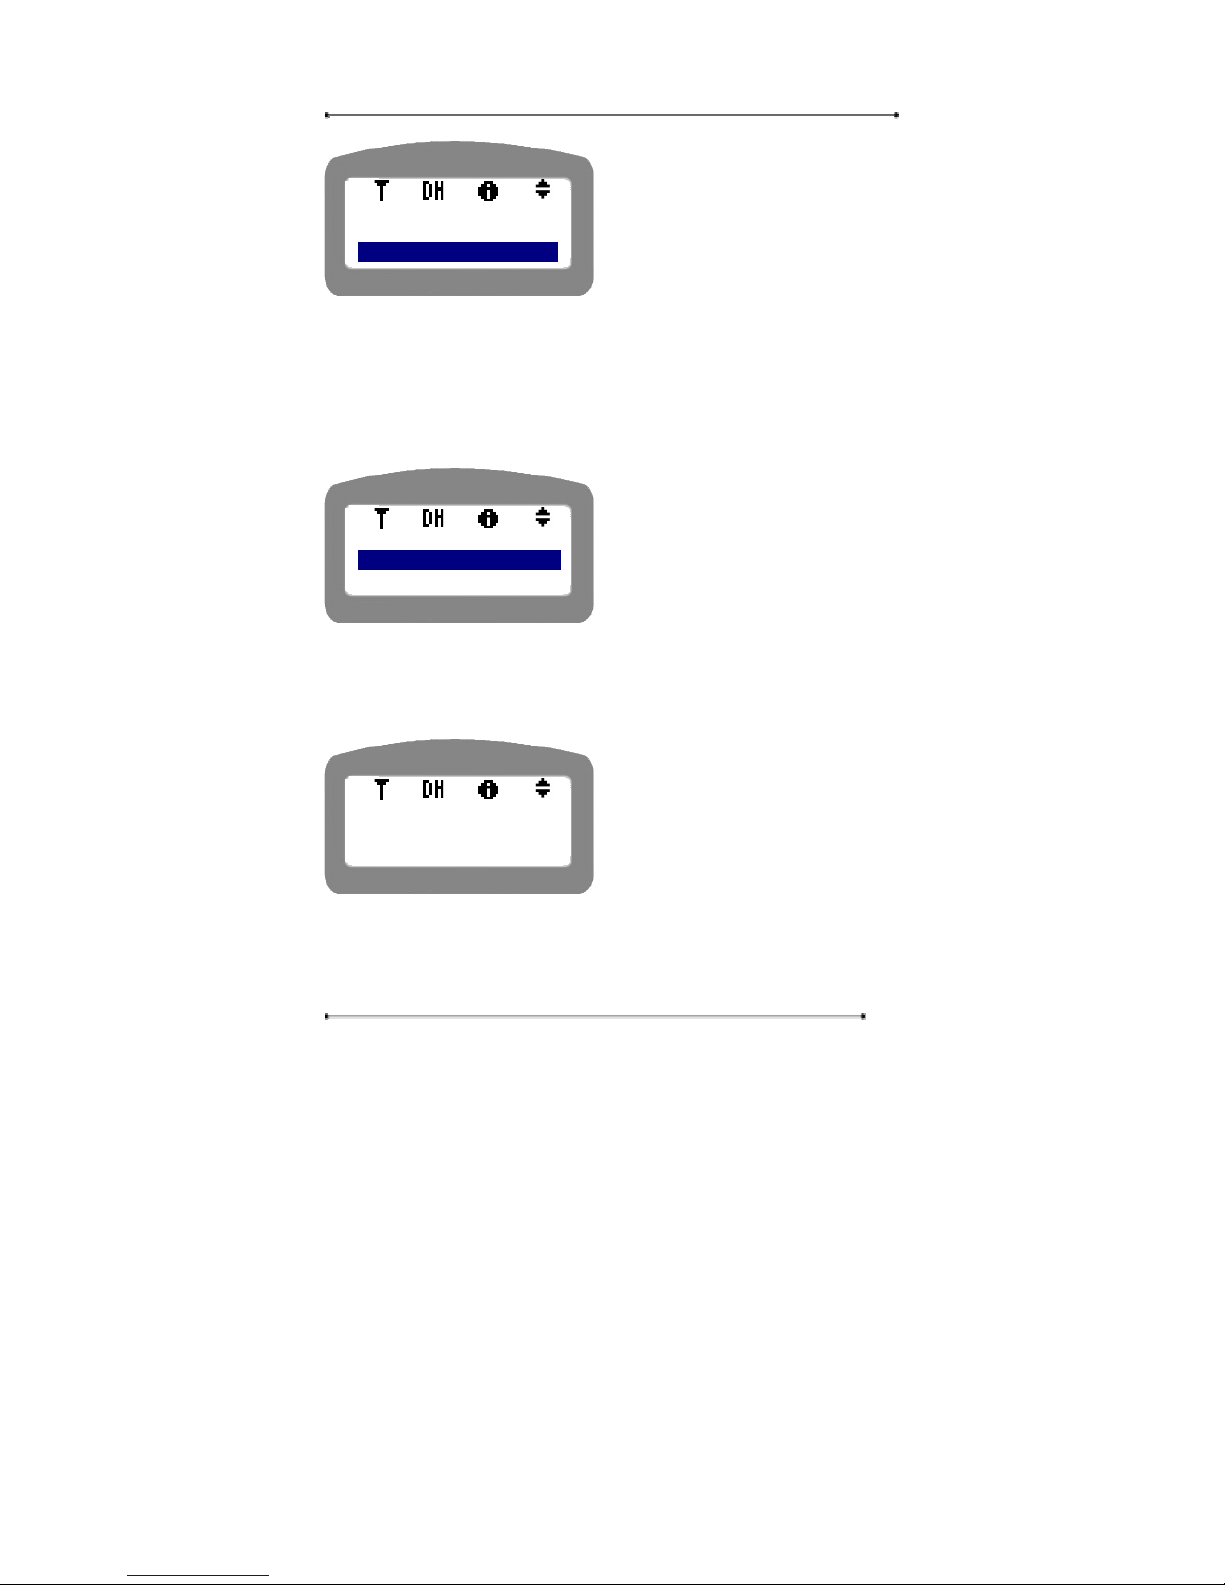
STEP 2 Please use the number key to select your preferred codec. There will be a
display to ask if you will apply the new setting. Select ‘Yes’ to apply the new setting,
and you can see the preferred codec changed on LCD.
y Press ‘OK’ button to proceed to the
next step.
y Press ‘Cancel’ key to move to the
upper menu.
② Jitter Delay
Jitter is generally understood as the interpacket delay variance; that is, the difference
<Call Setup>
1: Service
2 : Codec
<Codec>
1: Pre [G723]
2: Jitter Delay
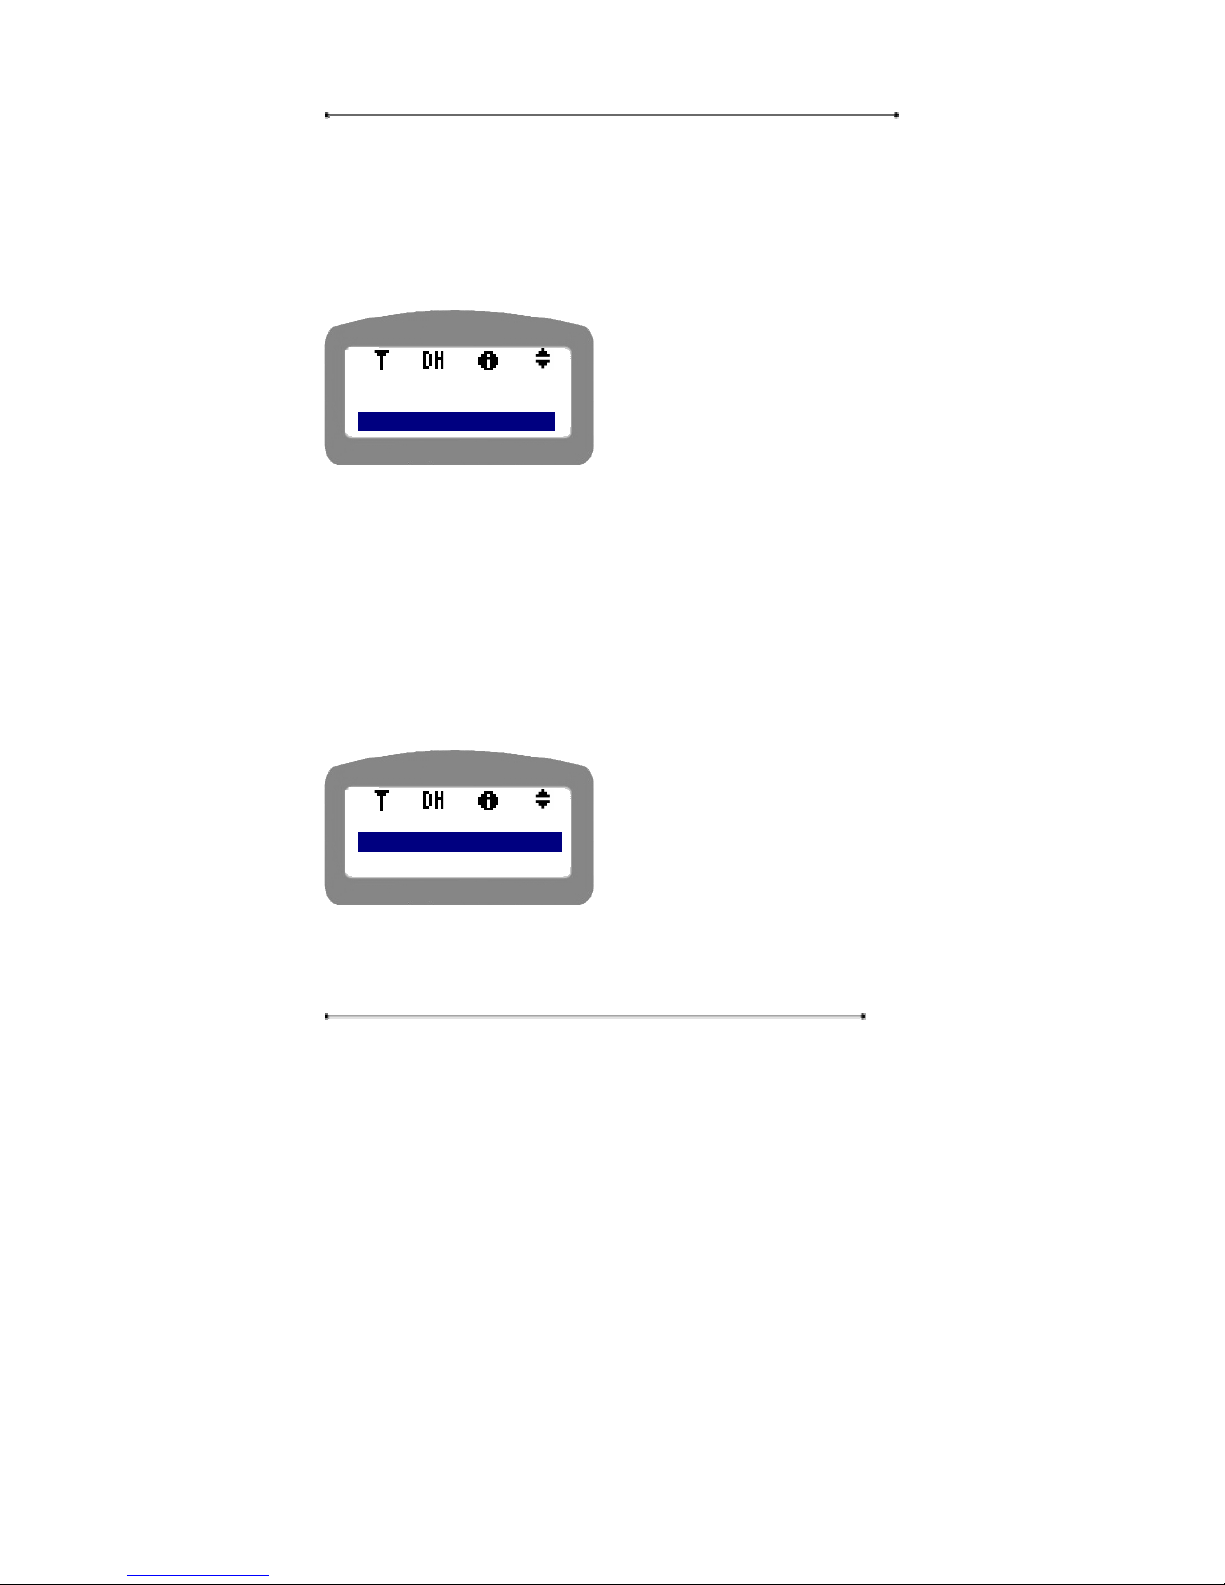
1. G711a 2.G711m
3. G723 4. G729
Preferred :[ 3]
Page 67
Internet Phone User Manual
67
between interpacket arrival and departure. Jitter is an important QoS metric for voice
and video applications. This menu is to set the interpacket delay variance. The unit
is in ms.
STEP 1 Select ‘2: Jitter Delay’ to set the Jitter Delay.
y Press ‘OK’ button to proceed to the
next step.
y Press ‘Cancel’ key to move to the
upper menu.
STEP 2 User can enter the Jitter delay value for each codec. The default Jitter
delay for each codec is as follows.
G.711a [60]
G.711m [60]
G.723 [120]
G.724 [80]
For instance, let’s try to set the jitter delay for G711a. Select ‘1: G711a’
to set the Jitter delay for G.711a.
y Press ‘OK’ button to proceed to the
next step.
y Press ‘Cancel’ key to move to the
upper menu.
STEP 3 Enter the maximum Jitter delay for G711a.
<Codec>
1: Pre [G723]
2: Jitter Delay
Jitter Delay
1: G711a [60]
2: G711m [60]
Page 68
Internet Phone User Manual
68
y Press ‘OK’ button to proceed to the
next step.
y Press ‘Cancel’ key to move to the
upper menu.
4.2.4. Modem
This menu is to set the modem related settings. User can enter the information
required for connecting to the dial-up ISP etc.
Navigation Menu Æ 4. Setup Æ User Authentication Æ 4:Modem
STEP 1 Press ‘Menu’ button.
STEP 2 Select ‘4: Setup’.
STEP 3 Enter the password.
STEP 4 Select ‘4. Modem’.
y Press ‘OK’ button or select the menu
number.
y Press ‘Cancel’ key to move to the
upper menu.
4.2.4.1. Time Out
This menu is to set the time value that make the dial-up modem
<Setup>
3: Call Setup
4: Modem
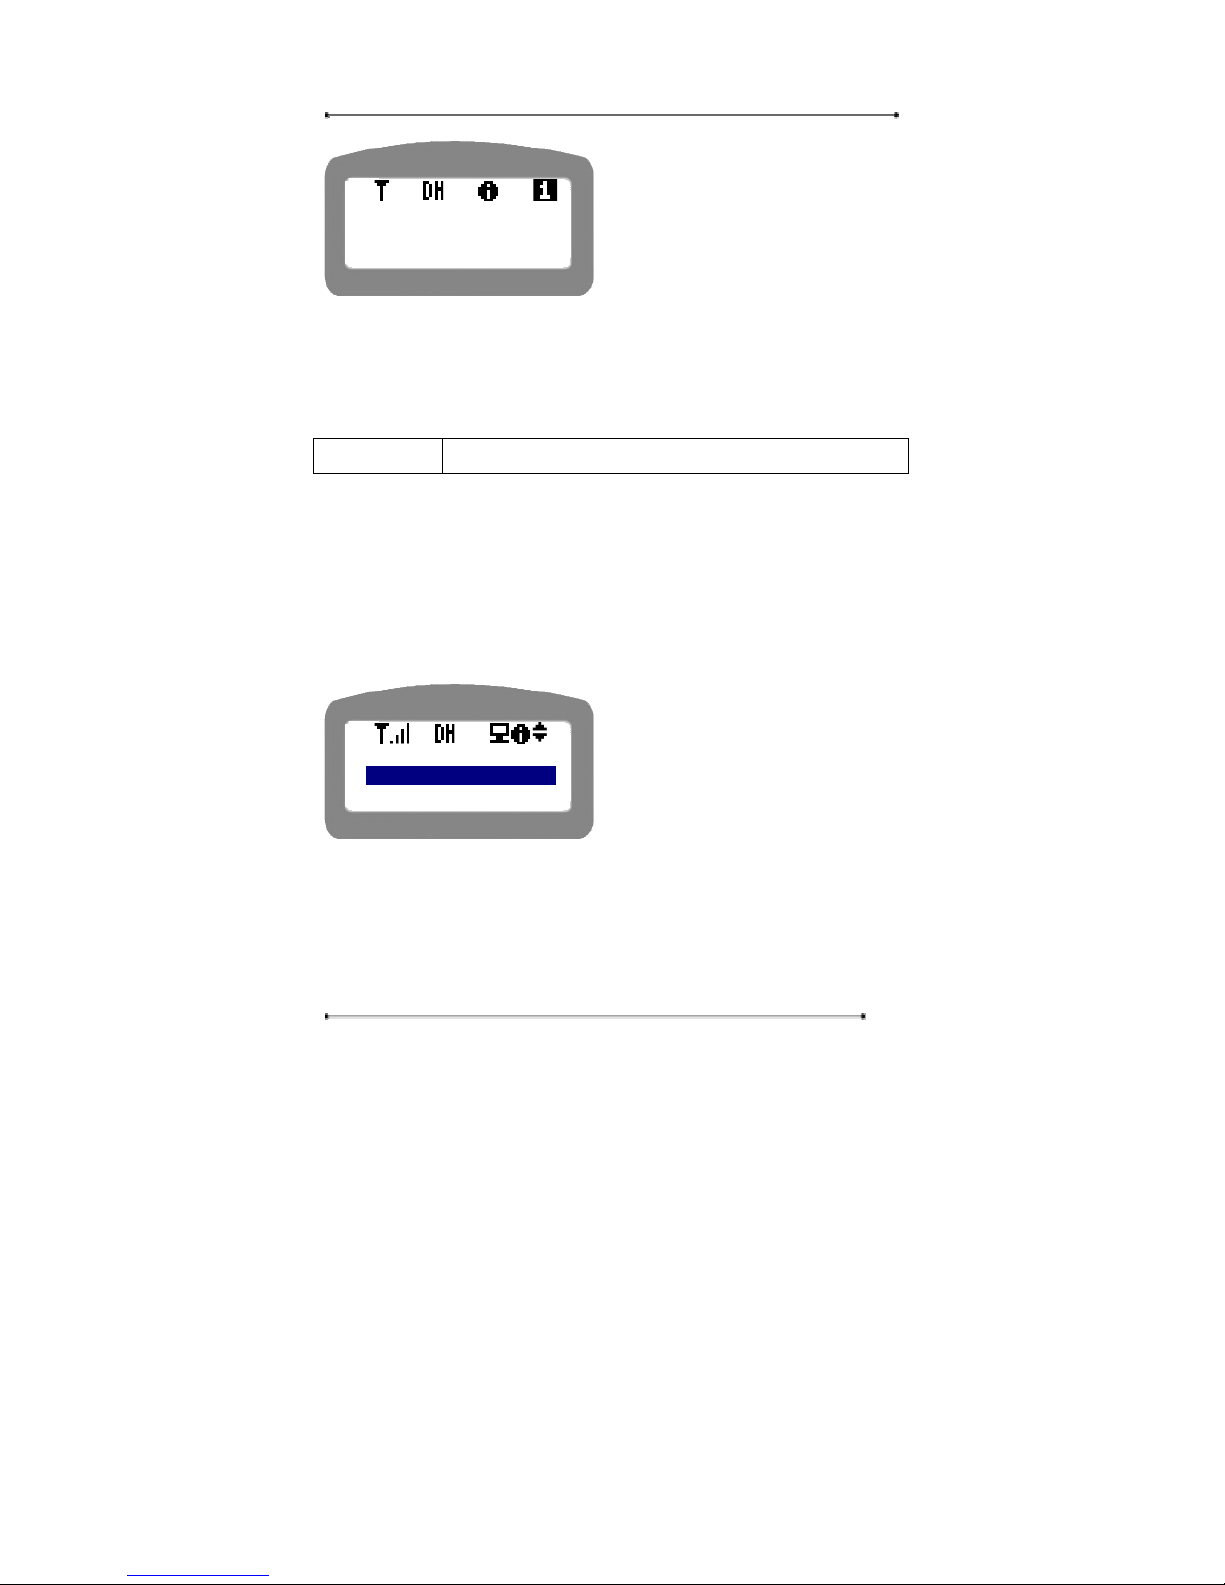
Sel Codec : G711a
Enter Max Delay
60
Page 69
Internet Phone User Manual
69
disconnected automatically after the time pre-set in case the user is not
using the dial-up. The Time-out unit is minute.
STEP 1 Select ‘1: TimeOut’.
y Press ‘OK’ button or press the menu
number to select the menu
y Press ‘Cancel’ key to move to the
upper menu.
STEP 2 Enter the Time Out value. The range is 0 ~ 255 minutes.
y Enter the time-out value, and press
‘OK’ button.
y Press ‘Cancel’ key to move to the
upper menu.
4.2.4.2. ACT : [Prof-1]
This menu is used to register the ISP account to be used to connect to a dial-up ISP.
ISP account includes dial-up ISP access Phone number, User ID, and User Password.
User can edit the profiles up to 3, and each profile consists of ISP TEL No., User ID,
and User Password.
STEP 1 Select ‘2:ACT:[Prof-1]
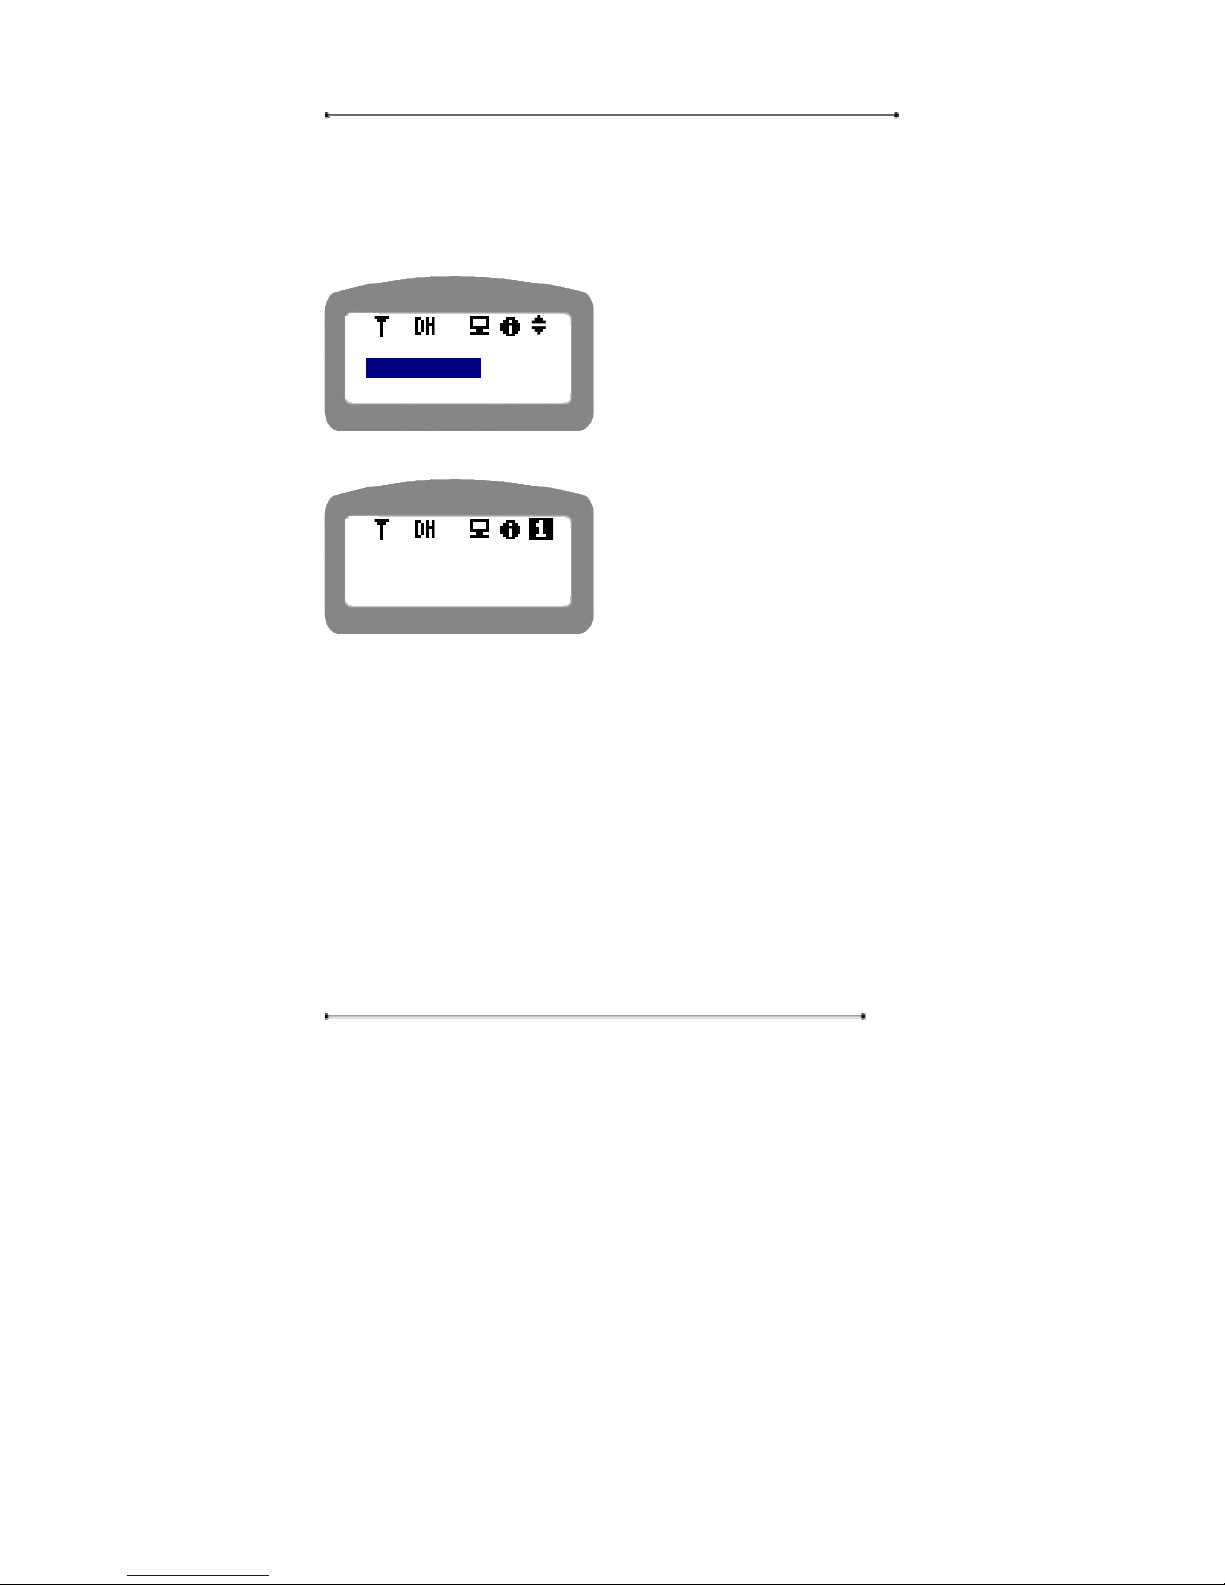
<Time Out>
Range [0-255]
60
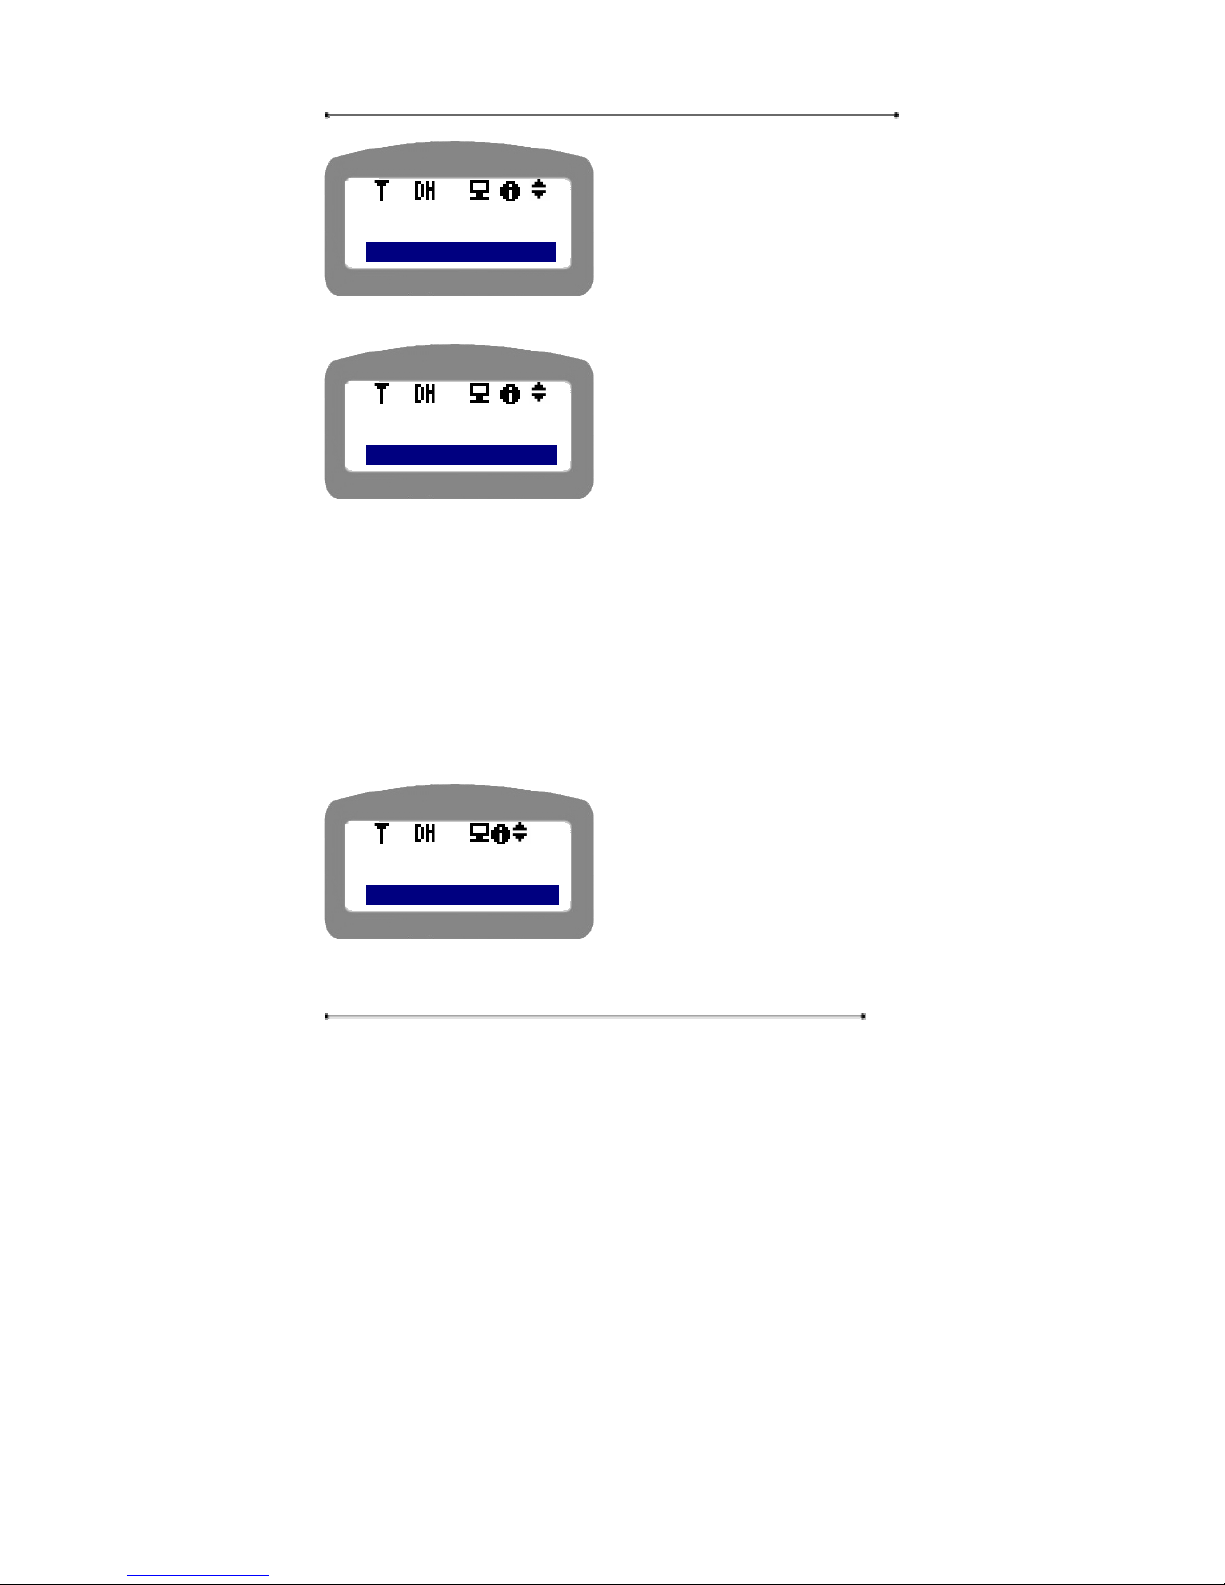
<Modem>
1:TimeOut : [60]
2:ACT:[Prof-1]
Page 70
Internet Phone User Manual
70
y Press ‘OK’ button or select ‘2’ key
to select the menu.
y Press ‘Cancel’ key to move to the
upper menu.
STEP 2 Select the desired profile. For example, let’s select ‘2: Profile’.
y Use the navigation key or menu
number to select the menu, and press
‘OK’ key.
y Press ‘Cancel’ key to move to the
upper menu.
4.2.4.3. Edit Profile
This menu is used to register the ISP account to be used to connect to a dial-up ISP.
ISP account includes dial-up ISP access phone number, user ID, and user password.
User can edit the profiles up to 3, and each profile consists of IST tel no., user ID,
and user password.
STEP 1 Select ‘3: Edit Profile’.
y Use the navigation key or menu
number to select the menu, and press
‘OK’ button.
y Press ‘Cancel’ key to move to the
upper menu.
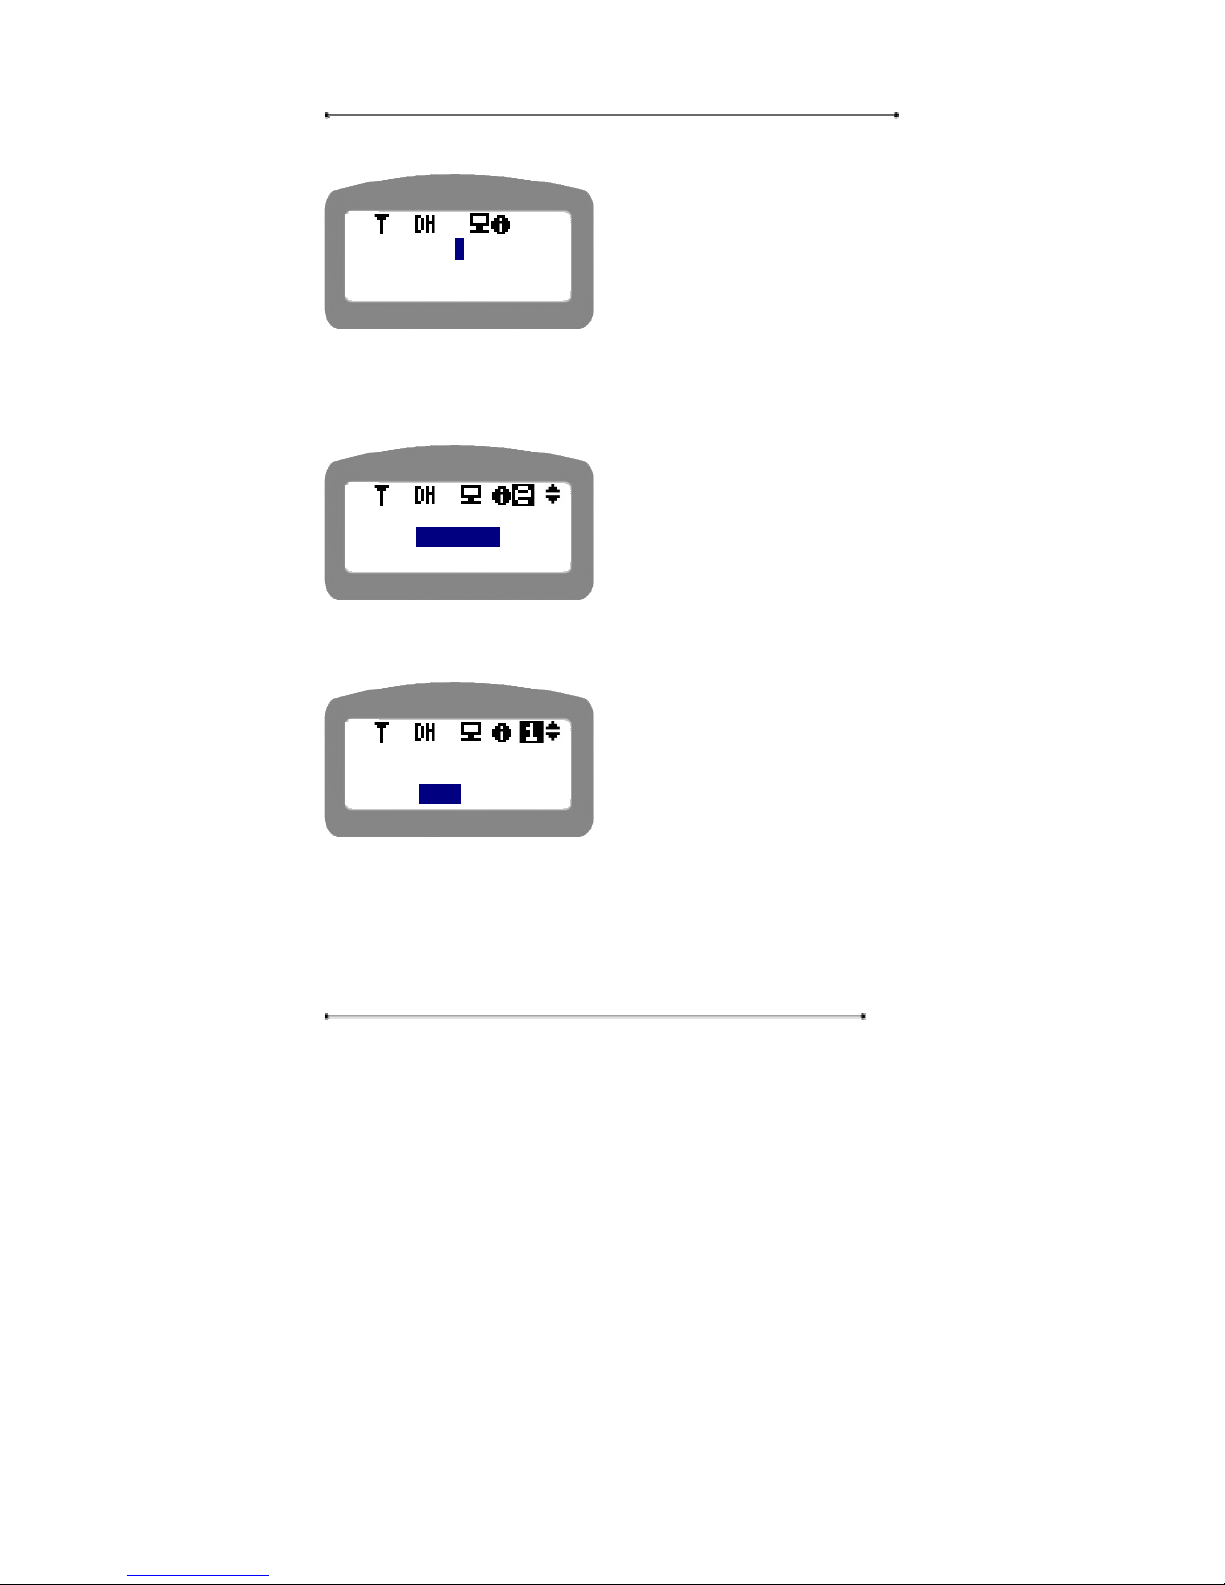
STEP 2 Enter the profile No. that you are going to view or edit. You can select the
profile No. by the numeric key on the phone keypad. If you select the profile No.,
<Modem>
1:TimeOut : [60]
2:ACT:[Prof-1]
<ACT Profile:1>
1:Profile 1
2:Profile 2
<Modem>
2:ACT:[Profile-1]
3:Edit Profile
Page 71
Internet Phone User Manual
71
the corresponding information will be displayed.
y Select the profile No., by push the
numeric key.
y Use the navigation key(down arrow
key) to edit the name.
y Press ‘Cancel’ key to move to the
upper menu.
STEP 3 Enter the name to be used to discriminate the profile. If you want to edit
the current name, use ‘Delete’ key.
y Use ‘Menu’ key to toggle the
character input mode.
y Use down arrow key to edit next
item.
y Press ‘Cancel’ key to move to the
upper menu.
STEP 4 Enter the dial-up ISP access Tel number.
y If you entered the Tel number, press
‘OK’ button.
y Press ‘Cancel’ key to move to the
upper menu.
y Use down arrow key to edit next
item.
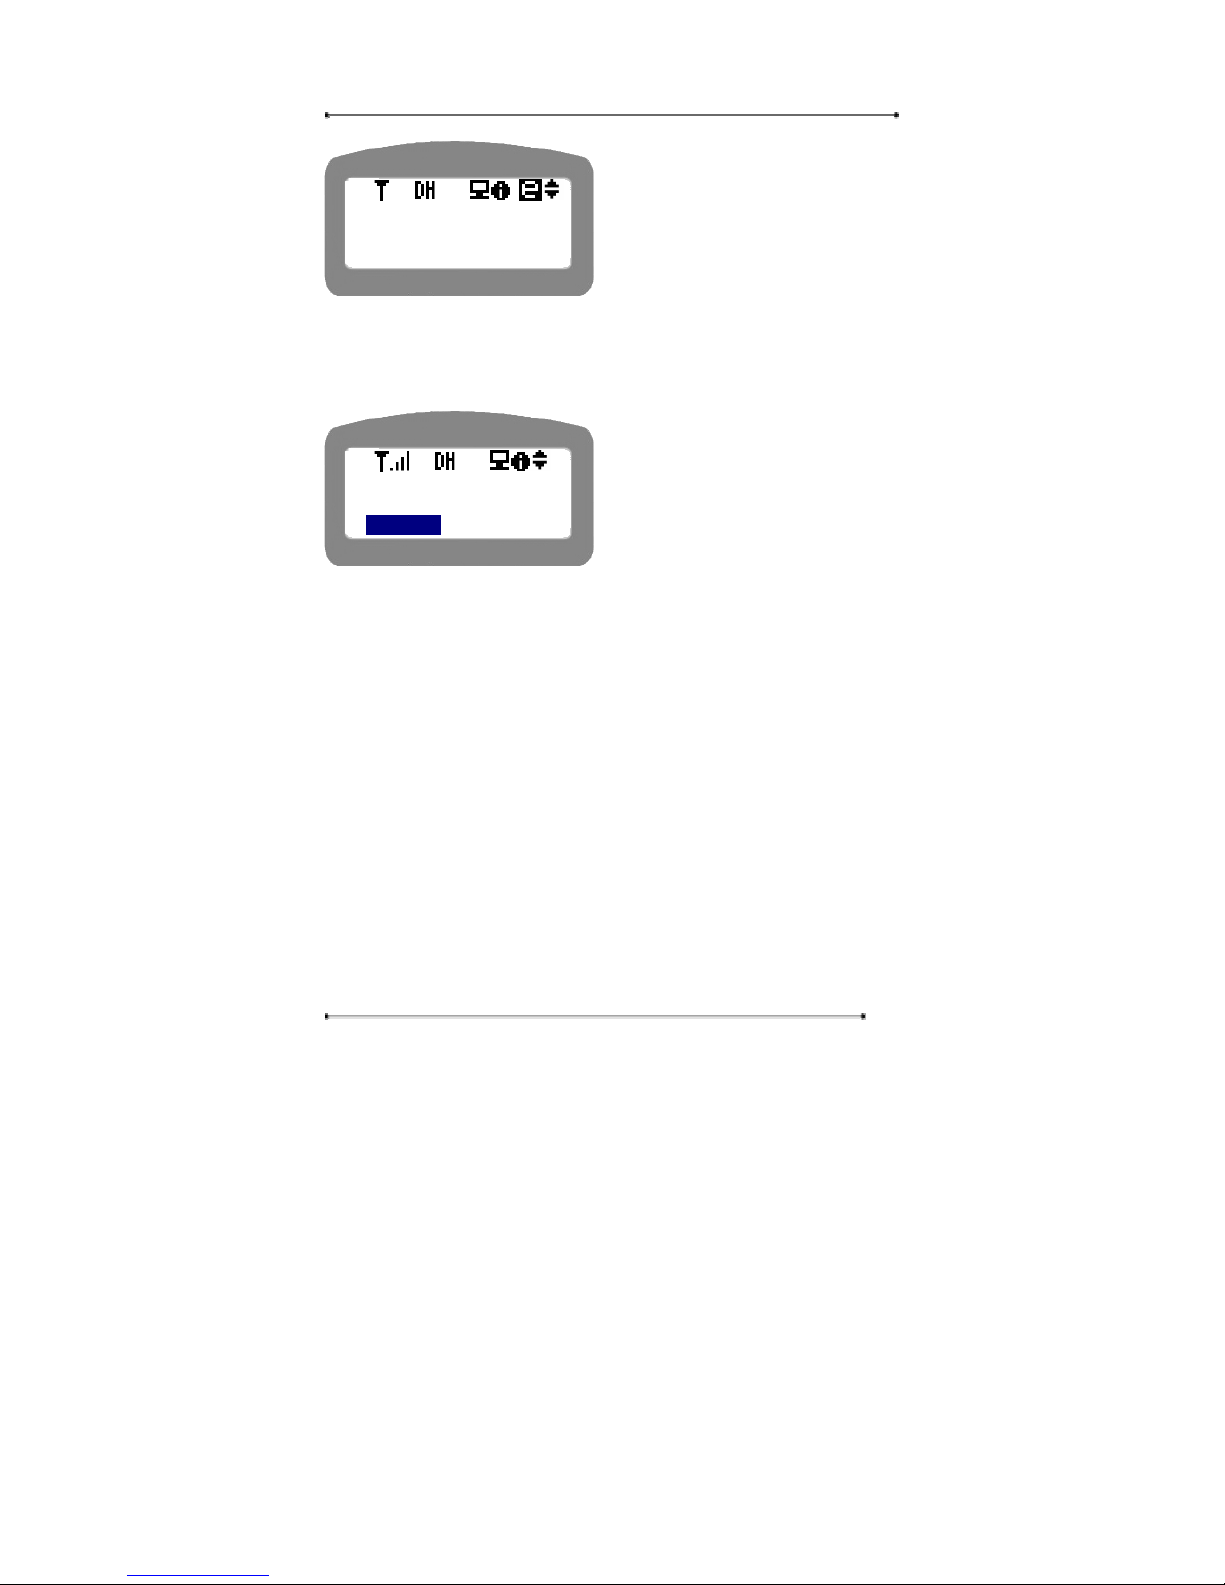
STEP 5 Enter the ID and password for dial-up ISP service.
▼
<Profile NO:1>
Name: Daniel Yoon
TEL# : 01410
<Profile NO:1>
Name: Daniel Yoon
TEL# : 01410
<Profile NO:1>
Name: Daniel Yoon
TEL# : 01410
Page 72
Internet Phone User Manual
72
y If you entered the ID and password
respectively, press ‘OK’ button.
y Press ‘Cancel’ key to move to the
upper menu.
y Use down arrow key to edit next
item.
STEP 6 Press ‘OK’ key to save the changed setting. If there is no change, the
‘OK’ button will not work.
y Press ‘Cancel’ key to move to the
upper menu.
4.2.4.4. Speaker
This menu is to select whether you will hear the modem connection beep sound or
not. This menu allows user to select whether he will endure the modem sounds or
not. Modem sound, though it is rather unpleasant to hear, it can be helpful to check
the modem connection status by hearing the sound.
STEP 1 Select ‘4: Speaker’ in menu selection.
TEL#:01410
ID : user1
PWD : pwd1
Apply
New Setting?
YES NO
Page 73
Internet Phone User Manual
73
y Use the navigation key or menu
number to select the menu, and press
‘OK’ button.
y Press ‘Cancel’ key to move to the
upper menu.
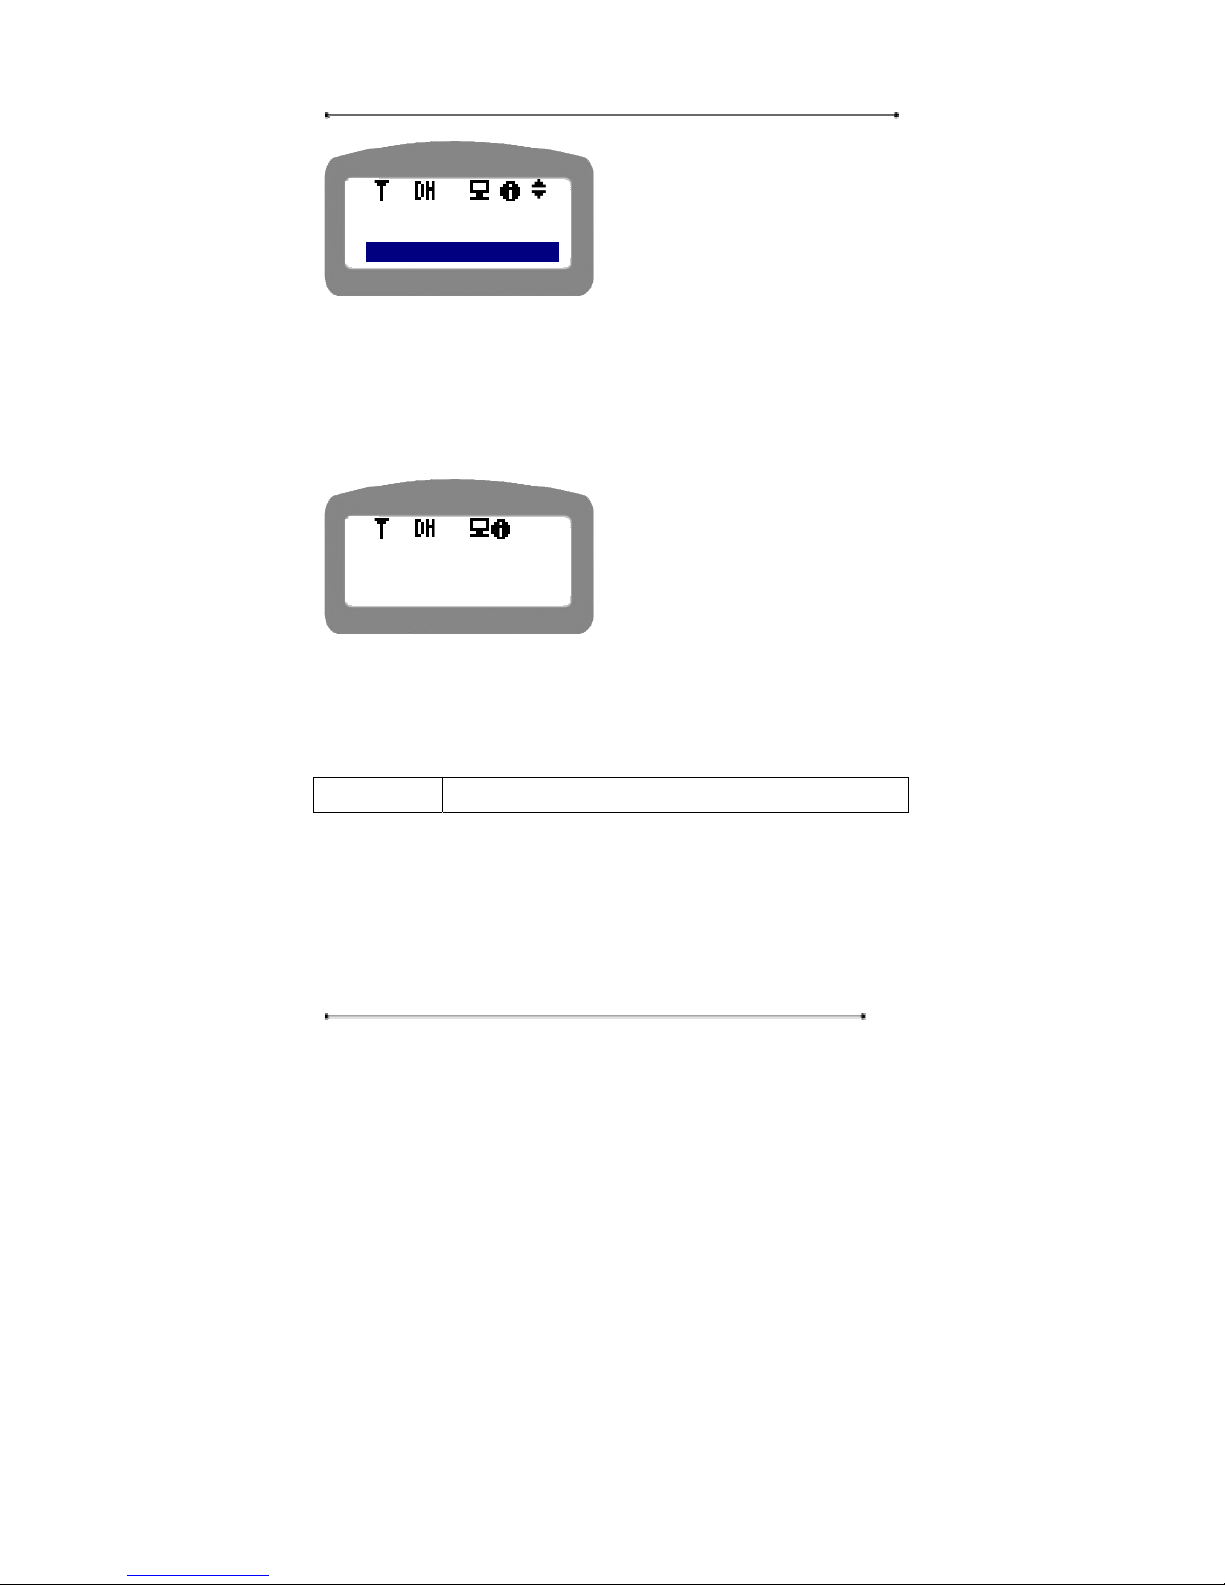
STEP 2 Select whether you will hear the modem sound or not. If you set the
speaker heard, you can check whether the modem connection is properly carried out
or not by the modem connection sounds. If the setting is changed, there will be a
message to ask if you will apply the new settings.
y Select the profile No., by push the
numeric key.
y Use the navigation key(down arrow
key) to edit the name.
y Press ‘Cancel’ key to move to the
upper menu.
4.2.5. Time
Navigation Menu Æ 4. Setup Æ 5:Time
STEP 1 Press ‘menu’ key.
STEP 2 Select ‘4. Setup’.
STEP 3 Enter the password for user authentication.
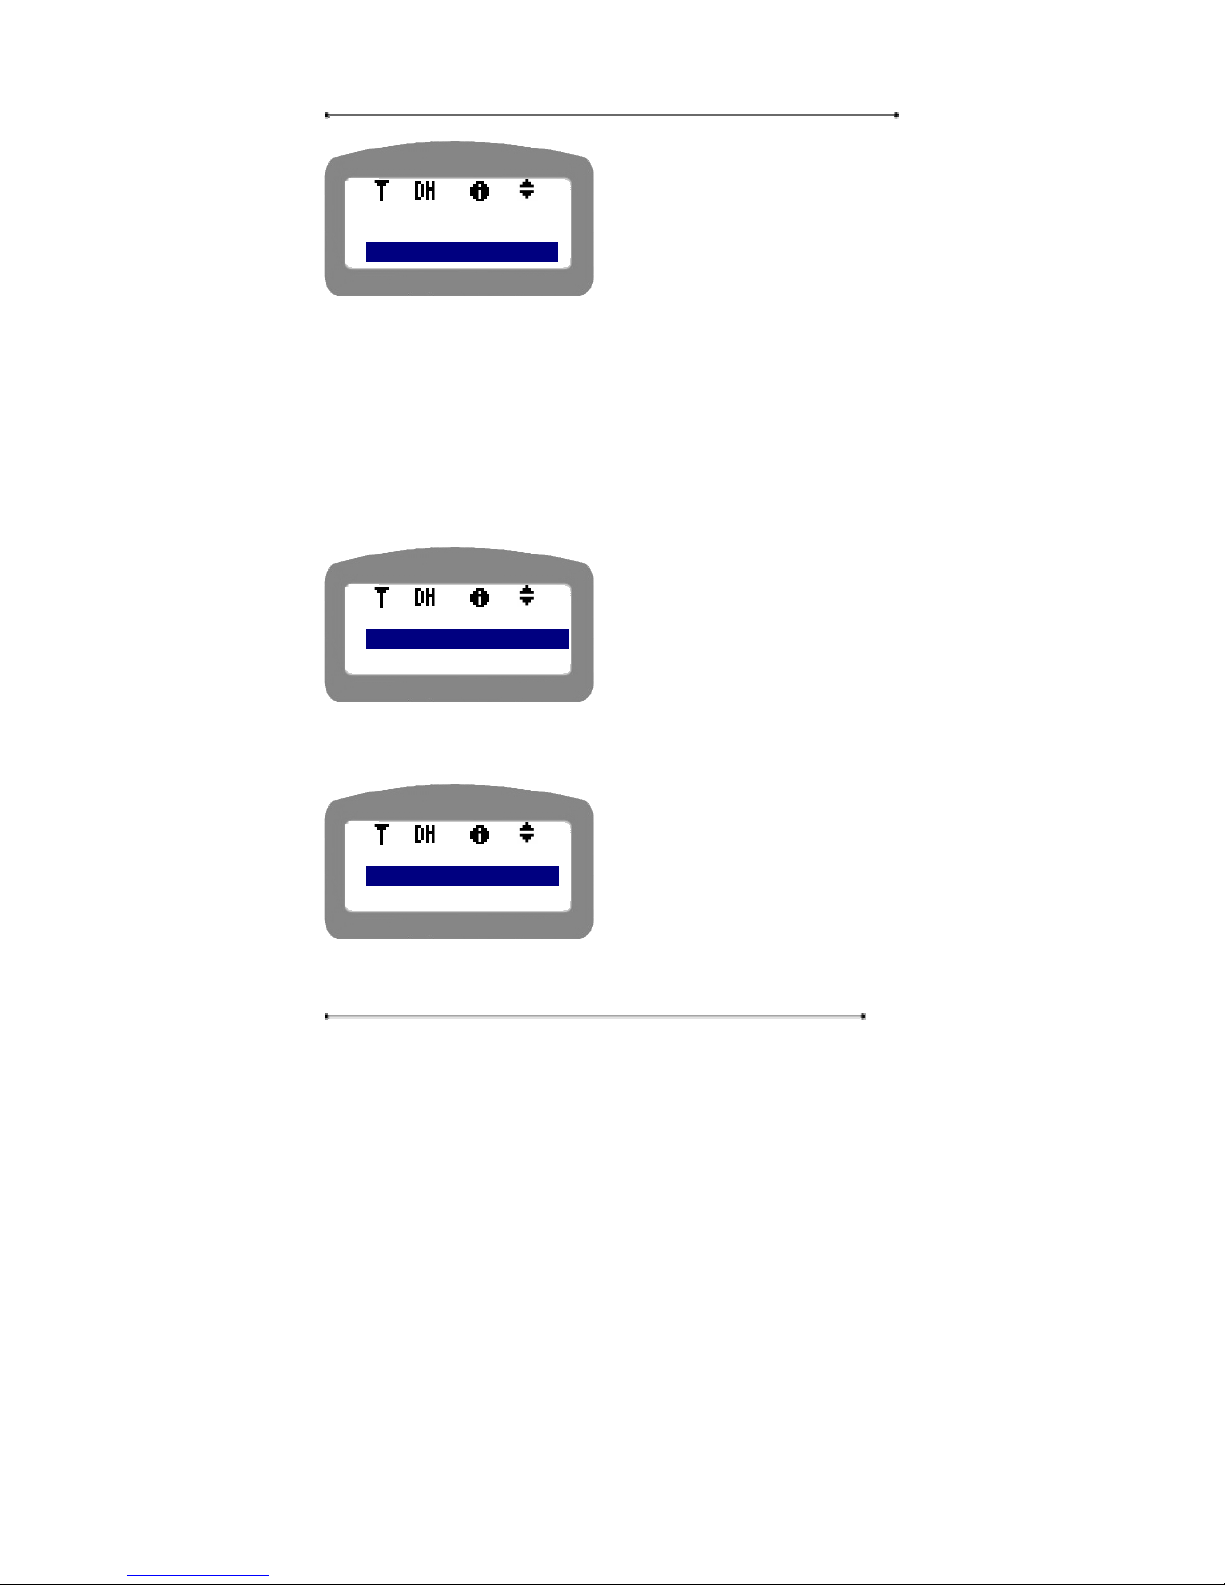
STEP 4 Select ‘5. Time’. You can see the following display.
<Modem>
3: Edit Profile
4: Speaker [On]
▼
<Speaker [On] >
1: On
2: Off
Page 74
Internet Phone User Manual
74
y Use the navigation key or menu
number to select the menu.
y Press ‘Cancel’ key to move to the
upper menu.
4.2.5.1. Time Server
The time setting is used in the Internet phone. The preset time server is open Internet
time server. In needed, the administrator can change the default time setting. But
current time server is stable and consistent, therefore it is recommended to use the
current time setting.
STEP 1 Select ‘1: Time server’ to edit the time server IP address.
y Use the navigation key or menu
number to select the menu.
y Press ‘Cancel’ key to move to the
upper menu.
STEP 2 Select the desired server number. Total 3 time server list is supported. For
instance, let’s try with Server #1.
y Use the navigation key or menu
number to select the menu.
y Press ‘Cancel’ key to move to the
upper menu.
STEP 3 Enter the IP address of the Time server. If you press ‘OK’ button, the IP
address will be saved and you can return to the upper menu.
<Setup>
4:Modem
5:Time
<Time>
1: Time Server
2: Time Zone
<Server Addr>
1: Server #1
2: Server #2
Page 75
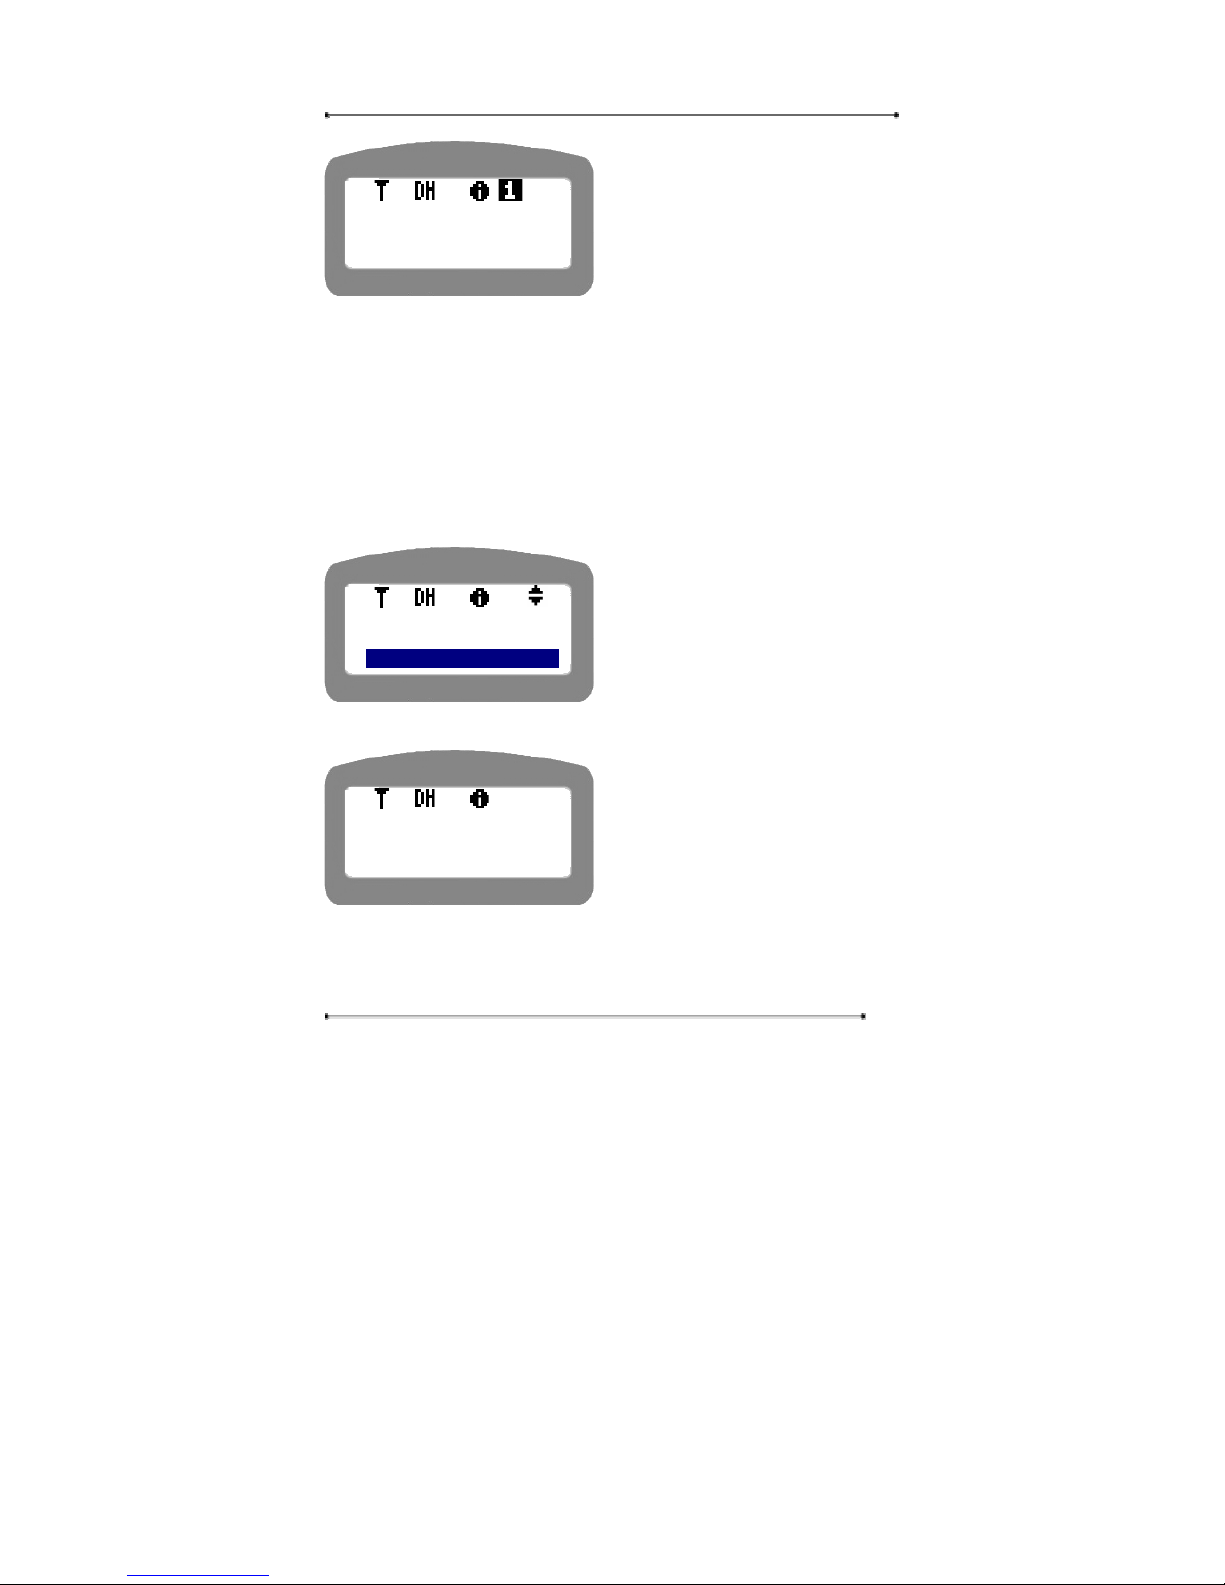
Internet Phone User Manual
75
y Use the navigation key or menu
number to select the menu.
y Press ‘Cancel’ key to move to the
upper menu.
You can set up Timer server IP address up to 3 in this way..
4.2.5.2. Time Zone
This menu is to set the time zone at your location.
STEP 1 Select ‘2: Time Zone’.
y Use the navigation key or menu
number to select the menu.
y Press ‘Cancel’ key to move to the
upper menu.
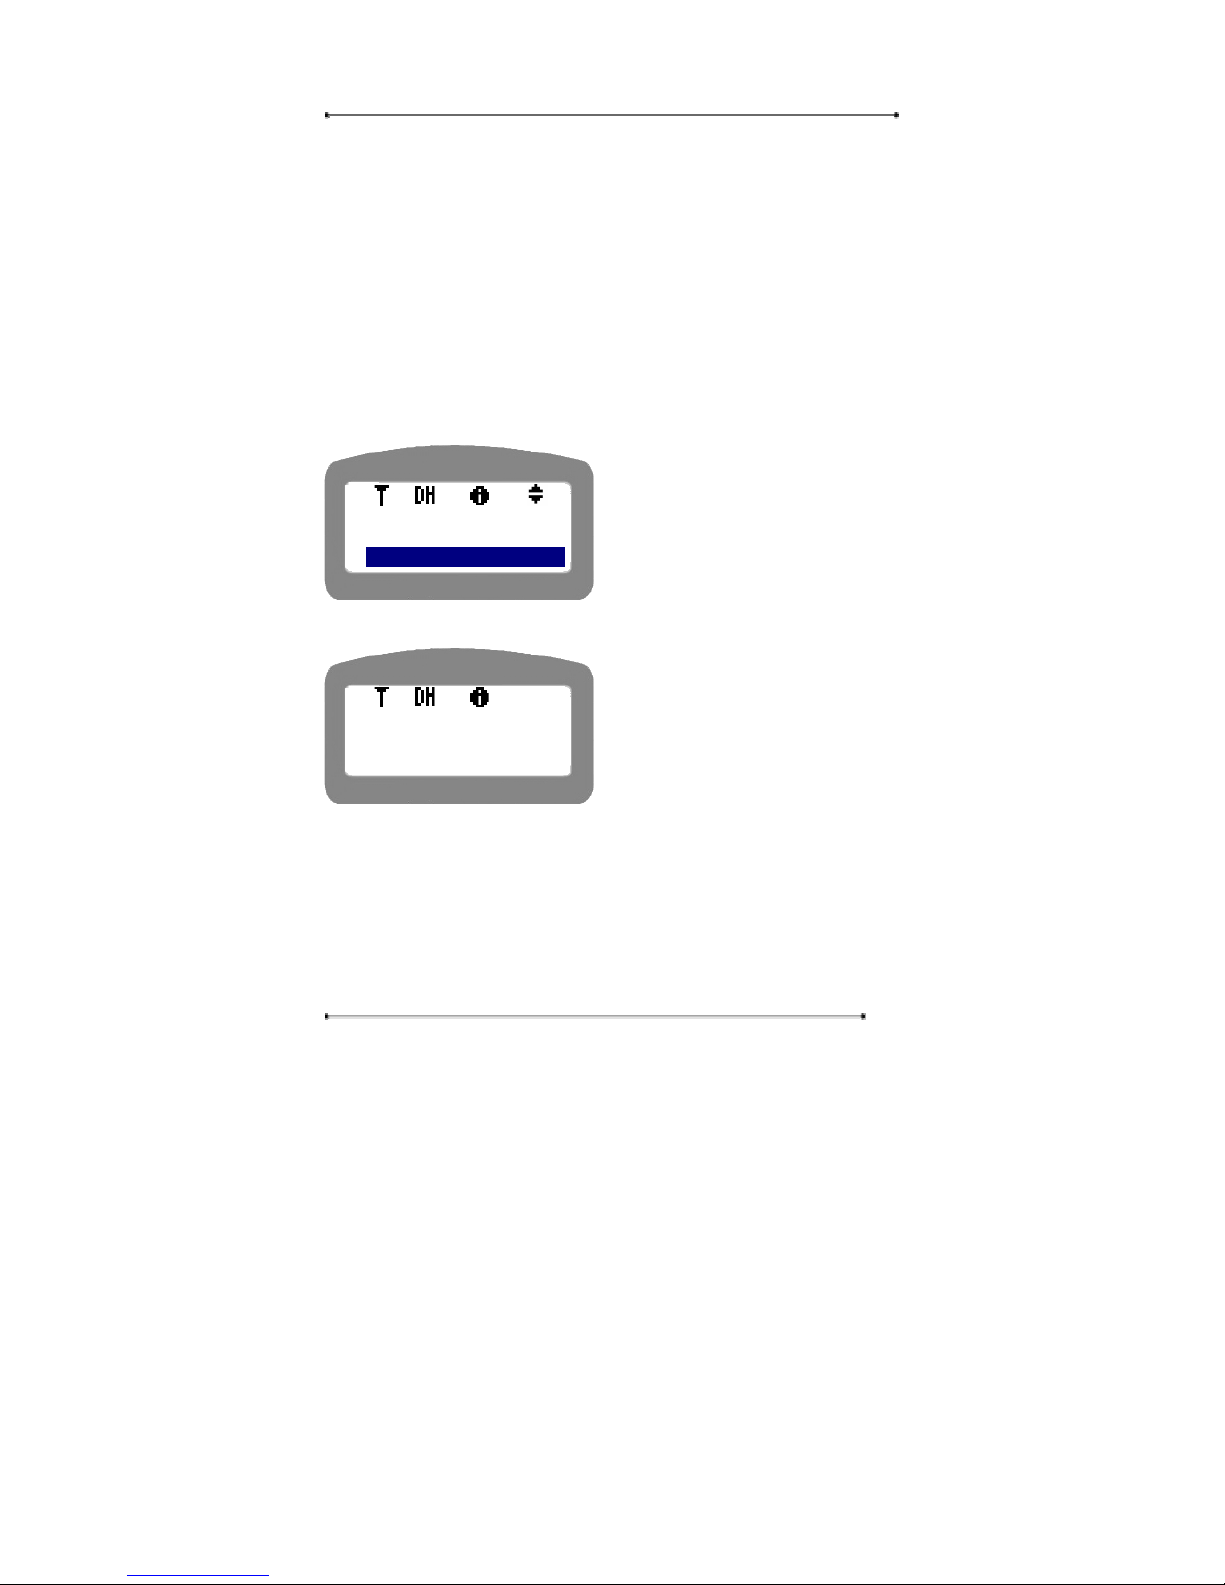
STEP 2 Set the Time Zone. Please use the navigation key to set the Time Zone.
y Use up and down arrow key to
change between ‘+’ and ‘-‘.
y Use left and right arrow key to move
to the next item.
y Press ‘Cancel’ key to move to the
upper menu.
STEP 3 If you set the Time Zone, press ‘OK’ key to save and move to the upper
menu.
Server IP#1
IP:
XXX.XXX.XXX.XXX
<Time>
1: Time Server:
2: Time Zone
Time Zone
+00:00
Page 76
Internet Phone User Manual
76
4.2.5.3. Summer Time
The purpose of Summer Time is to reduce wasted morning daylight by making the
active period of the day (largely fixed by civil time) earlier in real time; clocks are
put ahead by an hour for the Summer time period. This menu is to apply the summer
time for your real time.
STEP 1 Select ‘3: Summer Time’.
y Use the navigation key or menu
number to select the menu.
y Press ‘Cancel’ key to move to the
upper menu.
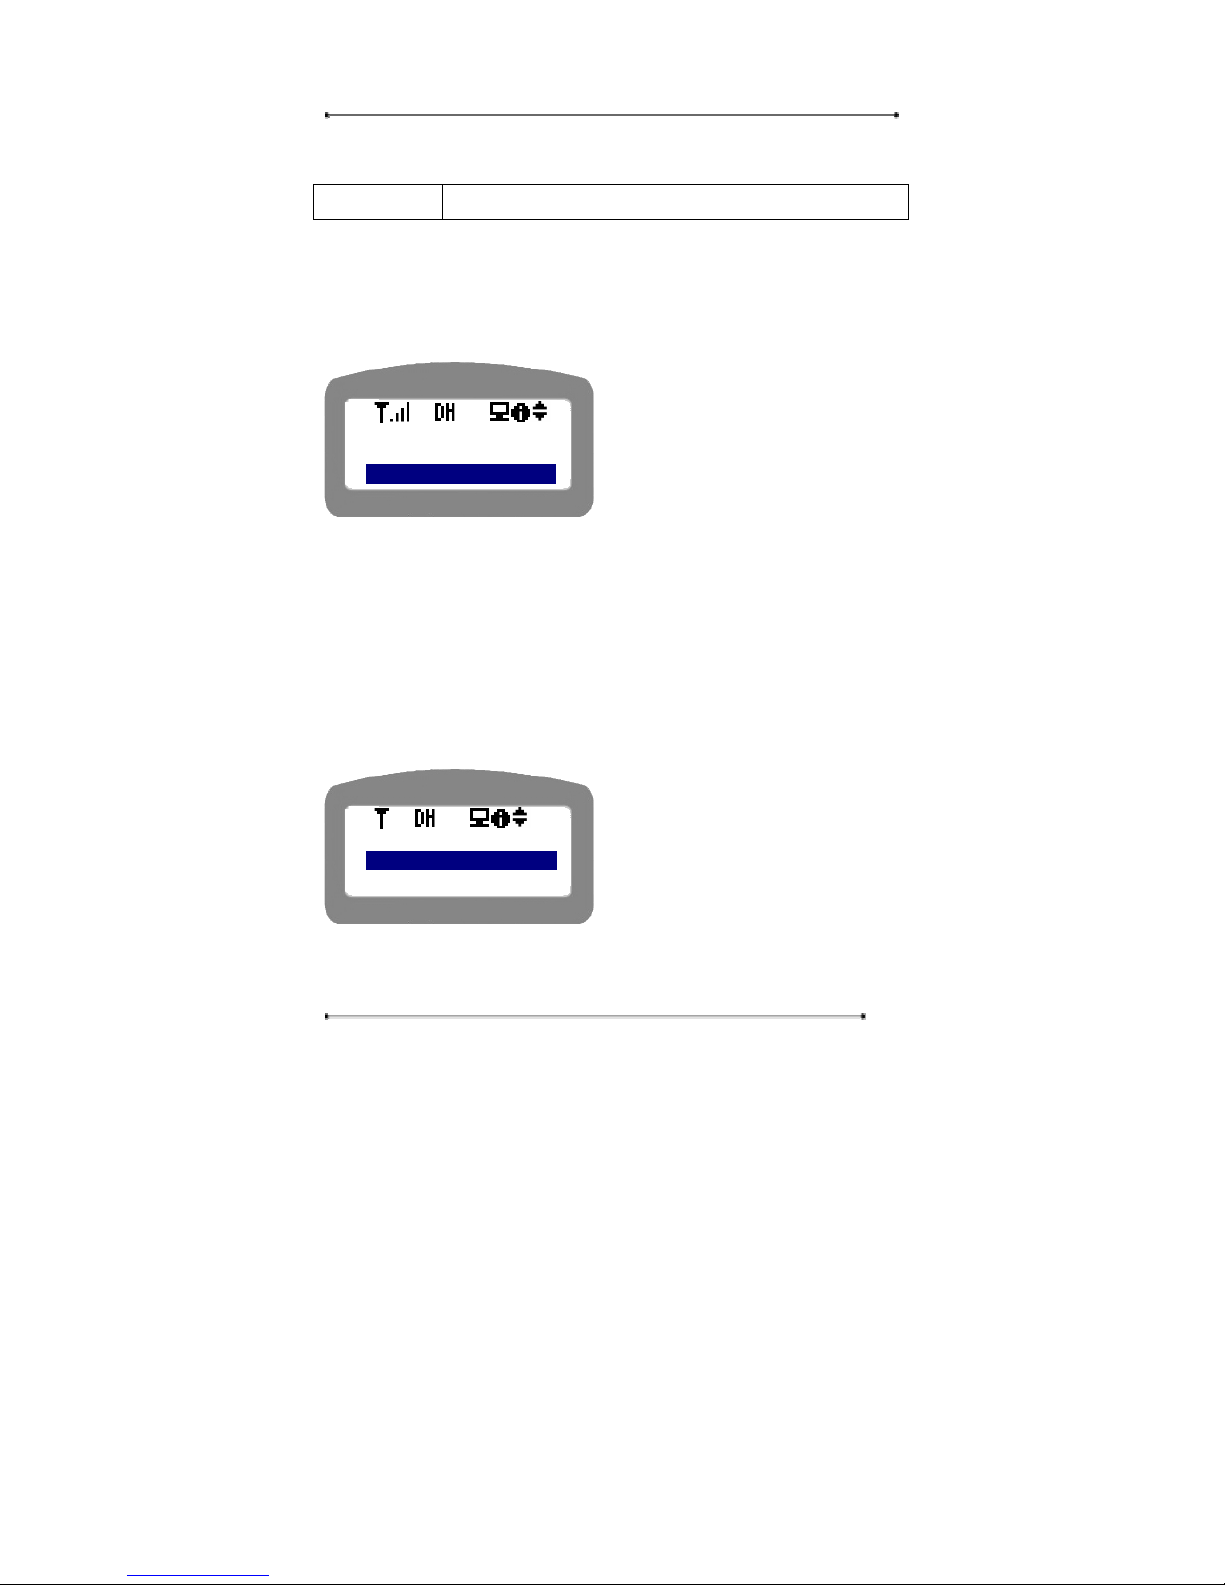
STEP 2 Set the Summer Time. Please use the navigation key to set the Time Zone.
y Use up and down arrow key to
change between ‘+’ and ‘-‘.
y Use left and right arrow key to move
to the next item.
y Press ‘Cancel’ key to move to the
upper menu.
STEP 3 If you set the Summer Time, press ‘OK’ key to save and move to the
upper menu.
<Time>
2: Time Zone:
3: Summer Time
Summer Time
+00:00
Page 77
Internet Phone User Manual
77
4.2.6. PSTN
Navigation Menu Æ 4. Setup Æ User Authentication Æ 6:PSTN
STEP 1 Select ‘Menu’ key.
STEP 2 Select ‘4. Setup’.
STEP 3 Enter the password for authentication.
STEP 4 Select ‘6: PSTN’.
y Press ‘OK’ button or select ‘2’ key
to select the menu.
y Press ‘Cancel’ key to move to the
upper menu.
4.2.6.1. Flash Time
Flash Time is the time to recognize the Flash. The range is 50 ~ 10,000ms. The
default is 300 ms.
STEP 1 Select ‘1: Flash Time’.
y Press ‘OK’ button or menu number
to select the menu.
y Press ‘Cancel’ key to move to the
upper menu.
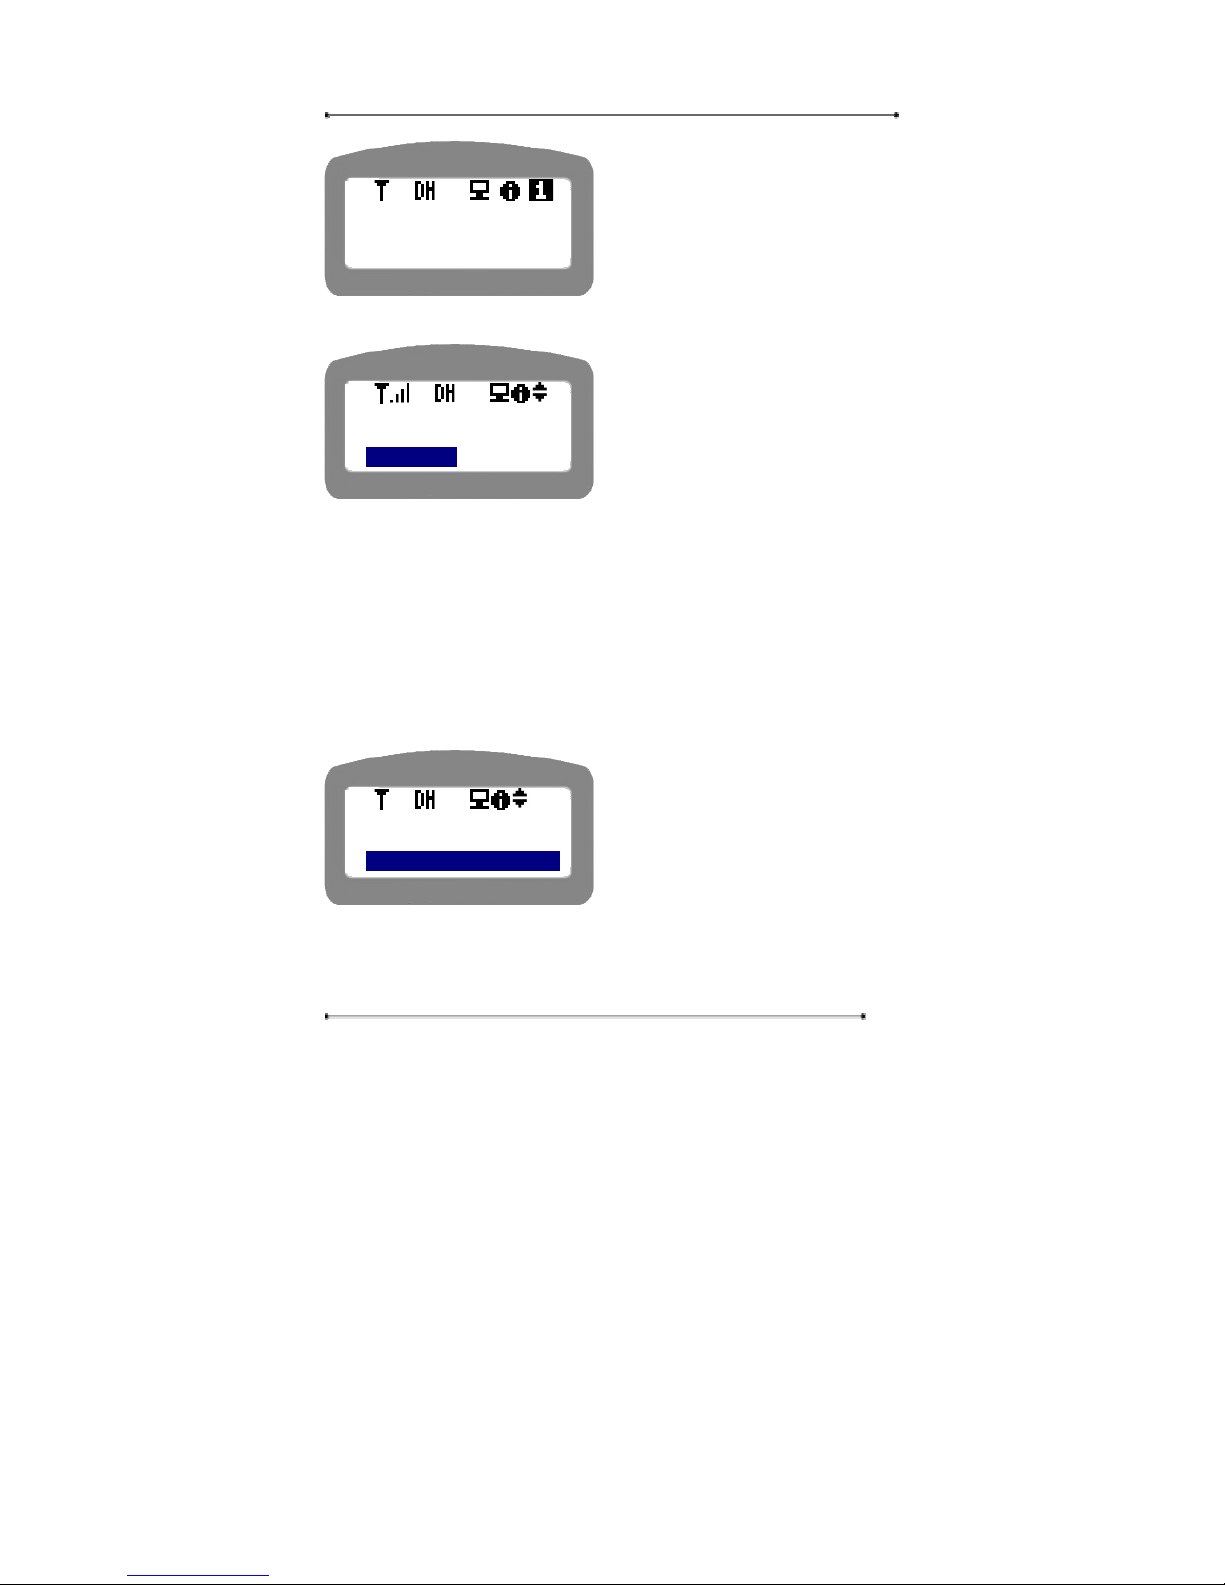
STEP 2 Enter the Flash Time range. The range is 50~10000.
<Setup>
5:Time
6:PSTN
<PSTN Setup>
1:Flash Time
2:Dial Type
Page 78
Internet Phone User Manual
78
y Press ‘OK’ button or select ‘2’ key
to select the menu.
y Press ‘Cancel’ key to move to the
upper menu.
y Default setting is 100.
STEP 2 Press ‘OK’ button to apply the changed setting.
y Press ‘Cancel’ key to move to the
upper menu.
y Use down arrow key to edit next
item.
4.2.6.2. Dial Type
This menu is to set the dial type in PSTN mode. There are two types of
dialing method in PSTN mode, tone and pulse. Tone is electronic dial type,
while Pulse is mechanical dial type.
STEP 1 Select ‘2: Dial Type’.
y Press ‘OK’ button or select menu
number to select the menu.
y Press ‘Cancel’ key to move to the
upper menu.
STEP 2 Select the dial type used in PSTN. You can select Tone or Pulse.
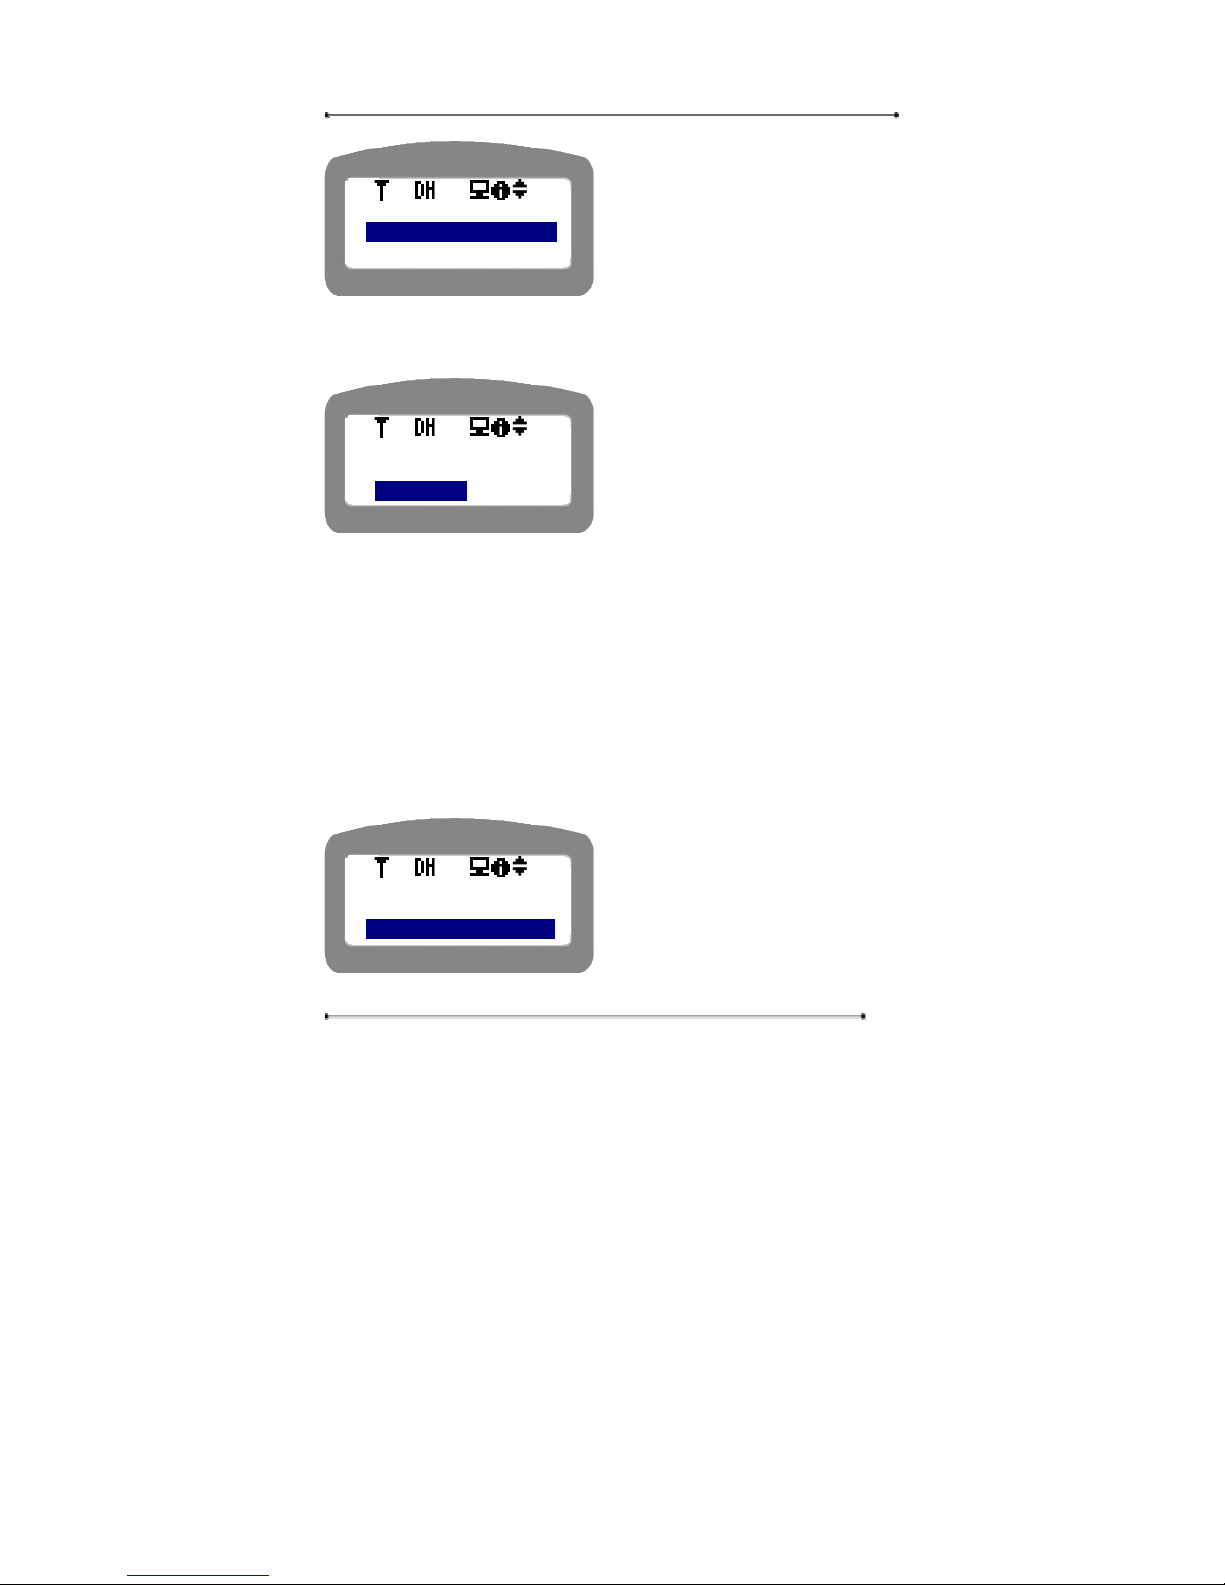
<Flash Time>
Range:50~10000
100
Apply
New Setting?
YES NO
<PSTN Setup>
1:Flash Time
2:Dial Type [To]
Page 79
Internet Phone User Manual
79
y Press ‘OK’ button or press the menu
number to select the menu.
y Press ‘Cancel’ key to move to the
upper menu.
STEP 3 Select ‘YES’ to save the dial-type setting, and in other case, just select
‘No’.
y Use navigation key to select ‘YES”
or ‘NO’.
y Press ‘Cancel’ key to move to the
upper menu.
4.2.6.3. Country Code
Every country has its own specific characteristics in their PSTN or Modem
system. This menu is to select the country in which the Internet Phone is
installed, which enables to meet each country’s requirements for PSTN or
Modem.
The country code in the setup menu is a manufacturer index, but not the
international dial code.
STEP 1 Select ‘3: Country Code’ menu in menu selection.
y Press ‘OK’ button or press the menu
number to select the menu.
y Press ‘Cancel’ key to move to the
upper menu.
STEP 2 Select the country the Internet phone is located in and press ‘OK’ button.
<Type:Pulse>
1:Tone
2:Pulse
Apply
New Setting?
YES NO
<PSTN Setup>
2: Dial Type
3: Country Code
Page 80

Internet Phone User Manual
80
Please use the navigation key (up and down arrow key) to select the country code.
y Press ‘OK’ button to save the
country code setting.
y Press ‘Cancel’ key to move to the
upper menu.
4.2.7. Default
Navigation Menu Æ 4. Setup Æ User Authentication Æ 7:Default
This menu is to reset the phone to the default setting. User can reset the settings or
empty the phone book and delete all the phone number lists. Use this menu only
when needed.
STEP 1 Press ‘Menu’ key.
STEP 2 Select ‘4 Setup’.
STEP 3 Enter the password for user authentication.
STEP 4 Select ‘8. Default’.
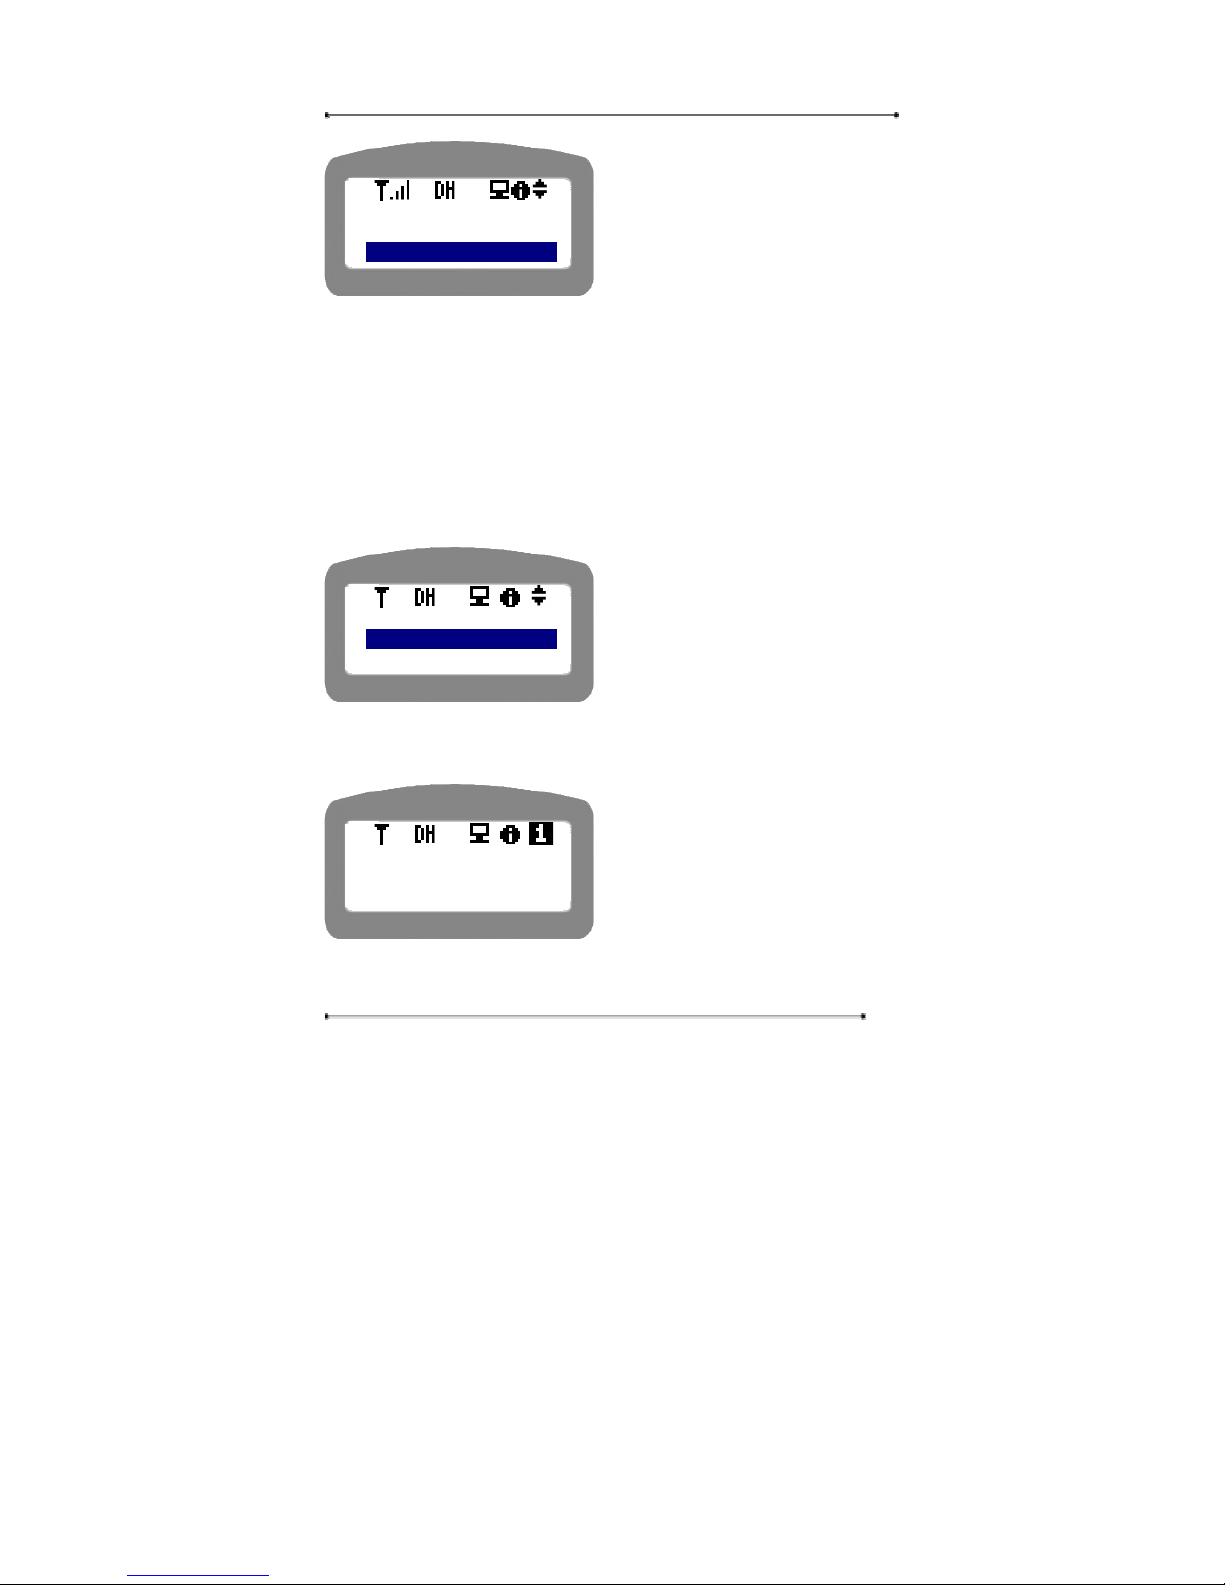
<Country Code>
[72]
South Korea
Page 81
Internet Phone User Manual
81
y Press ‘OK’ button or press the menu
number to select the menu
y Press ‘Cancel’ key to move to the
upper menu.
4.2.7.1. Phone Book/List Reset
This menu is to set the call log, phone book, and memory dial list to default, that is
to delete them. Make sure whether the information might well be deleted before
phone book/list reset.
STEP 1 Select ‘1: Tel Book/List’ on the menu selection.
y Press ‘OK’ button or press the menu
number to select the menu
y Press ‘Cancel’ key to move to the
upper menu.
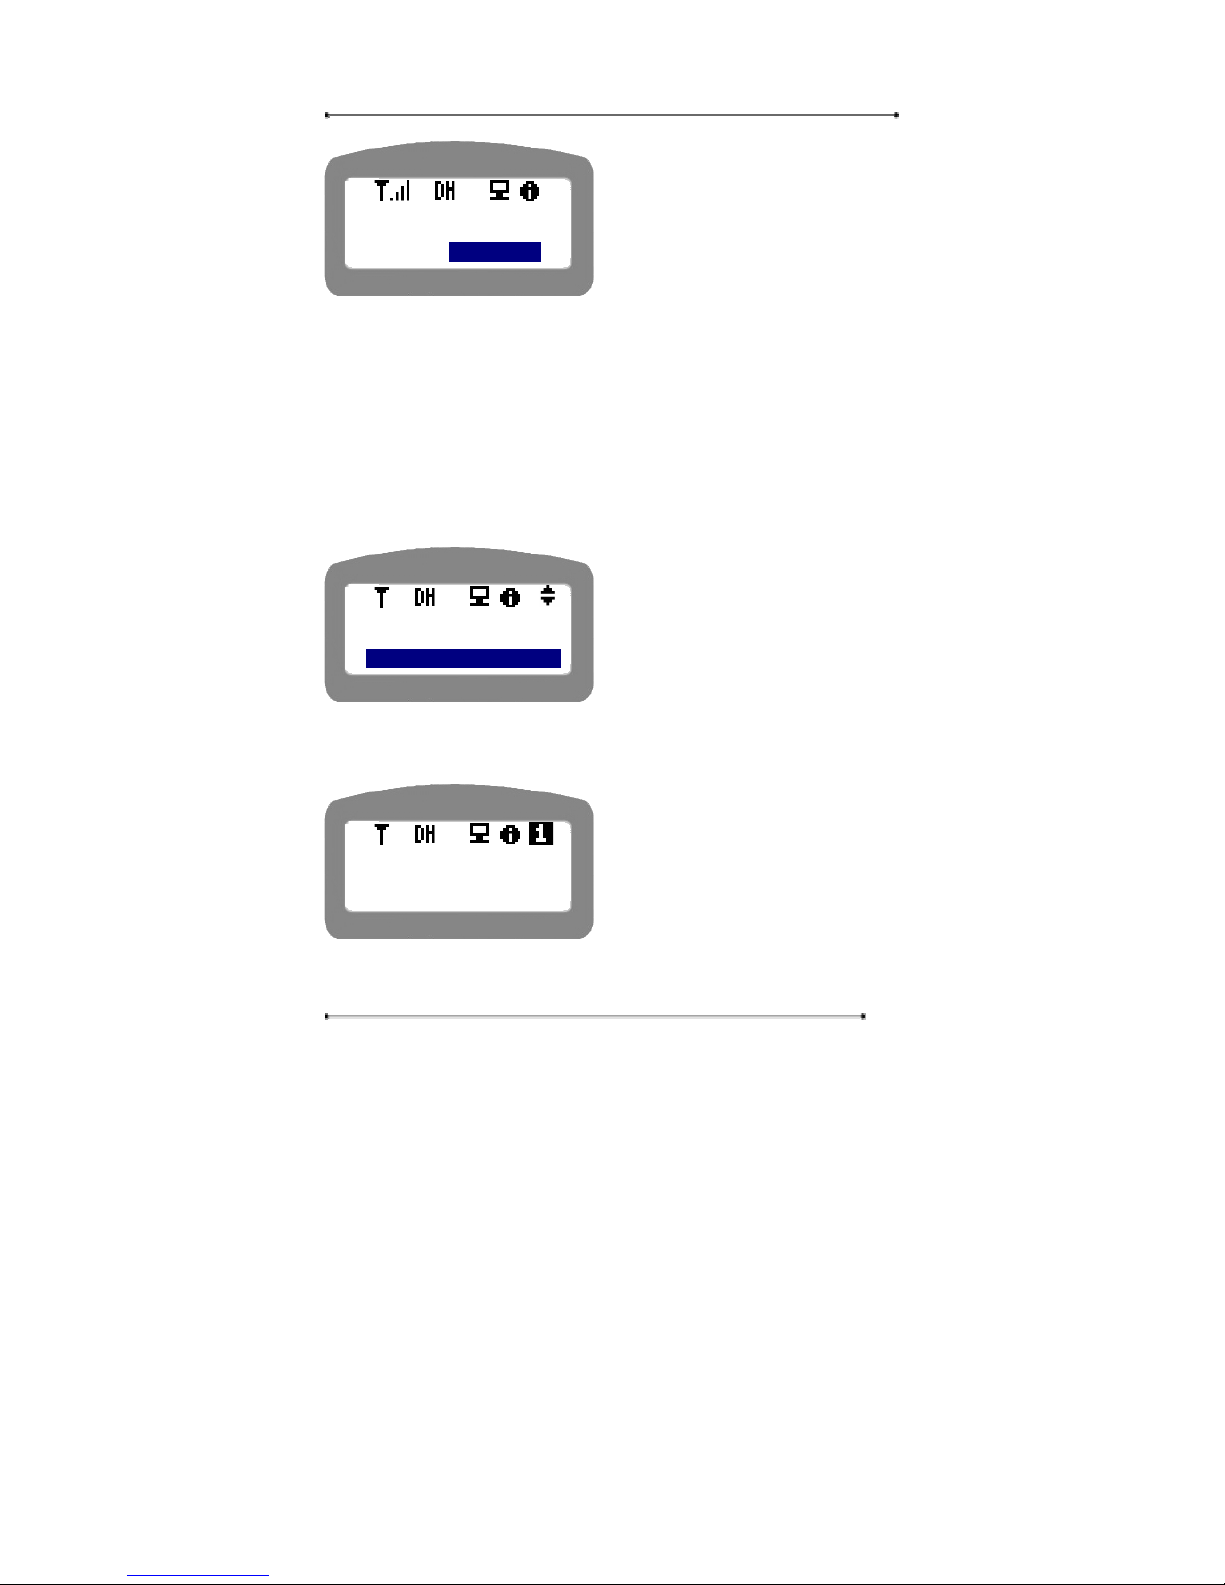
STEP 2 To clear all the phone numbers, you need to enter the password again for
user authentication. Please enter the correct password, and press ‘OK’ button.
y Press ‘OK’ button or press the menu
number to select the menu
y Press ‘Cancel’ key to move to the
upper menu.
STEP 3 If you want to delete the phone book list, and clear the phone book, select
‘Yes’, in other case ‘No.’ Please use the navigation key to select ‘YES’ or ‘NO’.
<Account>
7:Account
8:Default
<Reset>
1:Tel Book/List
2:Settings
Enter Password
Page 82
Internet Phone User Manual
82
y Press ‘OK’ button or press the menu
number to select the menu
y Press ‘Cancel’ key to move to the
upper menu.
4.2.7.2. Settings Reset
This menu is to reset all the settings except the phone book related setting to the
factory default setting. The password will be also reset to the default. Please use this
menu only when inevitably needed.
STEP 1 Select ‘2: Settings’.
y Press ‘OK’ button or press the menu
number to select the menu
y Press ‘Cancel’ key to move to the
upper menu.
STEP 2 Enter the password.
y Press ‘OK’ button or press the menu
number to select the menu
y Press ‘Cancel’ key to move to the
upper menu.
STEP 3 The following message will appear. If you want to load the default setting,
select ‘Yes’, in other case ‘No.’
Delete All?
YES NO
<Reset>
1:Tel Book/List
2:Settings
Enter Password
Page 83
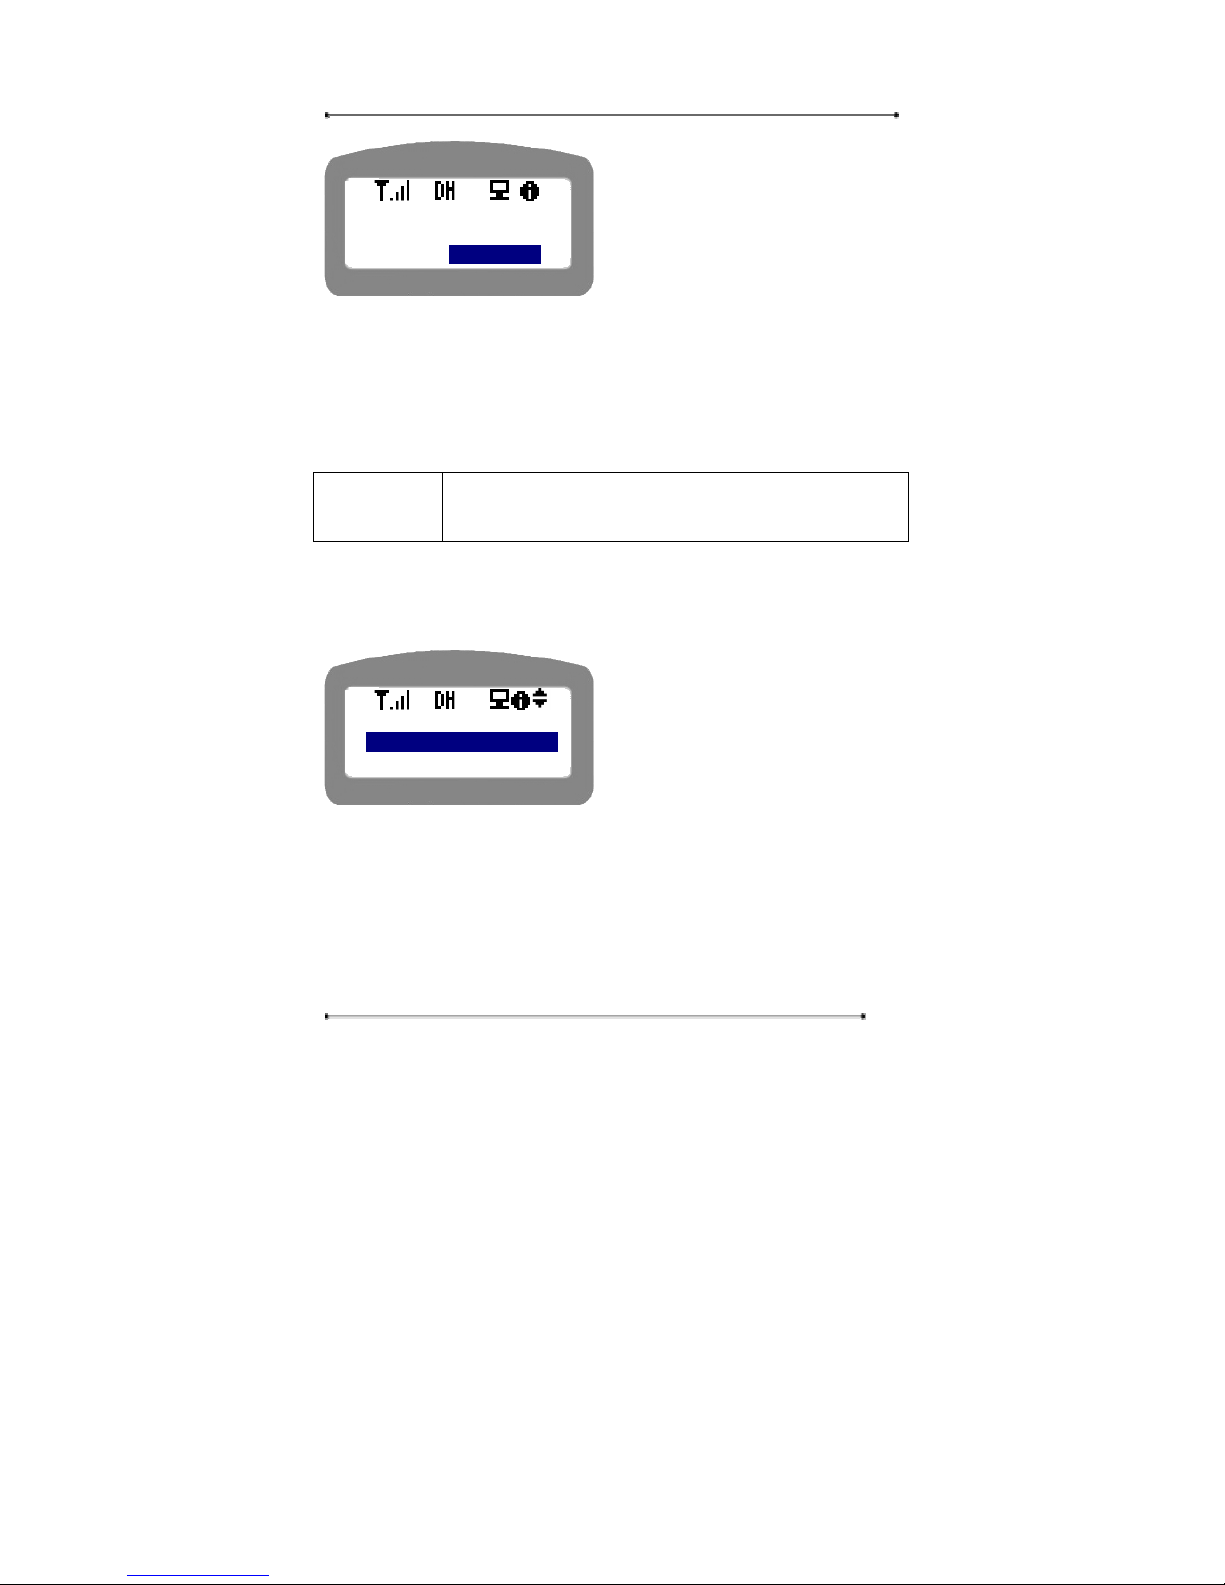
Internet Phone User Manual
83
y Press ‘OK’ button or press the menu
number to select the menu
y Press ‘Cancel’ key to move to the
upper menu.
4.3. Call Log
This menu allows user to look up the transmitted and received call lists. User can
look up the call lists up to 100 lists. User can make a call by using this call logs, and
delete them if needed.
Navigation “Call Log” Key
Menu Æ 1:Call Log
STEP 1 Press “Menu” key on the keypad in on-hook mode.
STEP 2 Select “1: Call Log”.
y Press ‘OK’ button or press the menu
number to select the menu
y Press ‘Cancel’ key to move to the
upper menu.
STEP 3 Select ‘1: Rcvd Calls’.
<Menu>
1:Call Log
2:Phone Book
Load default
Setting?
YES NO
Page 84
Internet Phone User Manual
84
Press ‘OK’ button or select ‘1’ key.
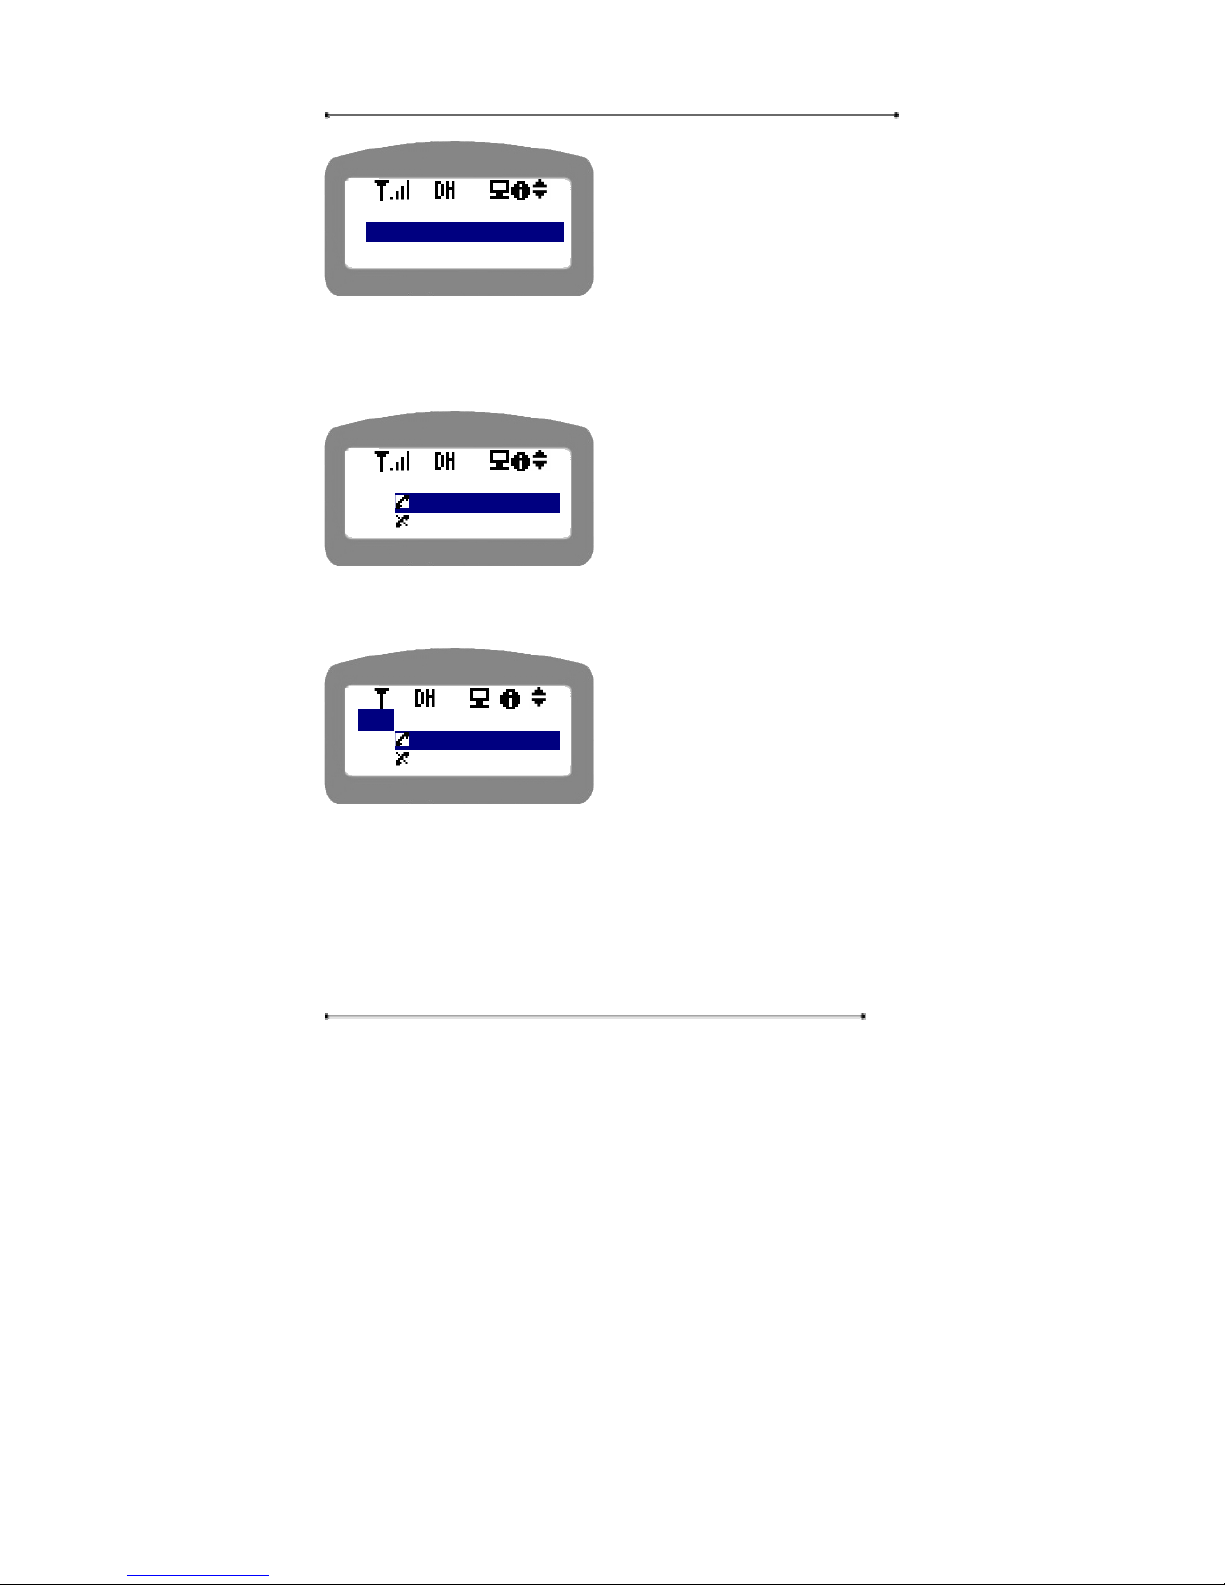
STEP 4 Select the desired phone number in the received call lists and press
‘Menu’ button.
y Press ‘Cancel’ button to move to the
previous screen.
STEP 5 Select ‘View’ by the left and right arrow key, and press ‘OK’ button.
y Use the left or right arrow key to
select ‘Delete’.
y Press ‘Cancel’ button to move to the
previous screen.
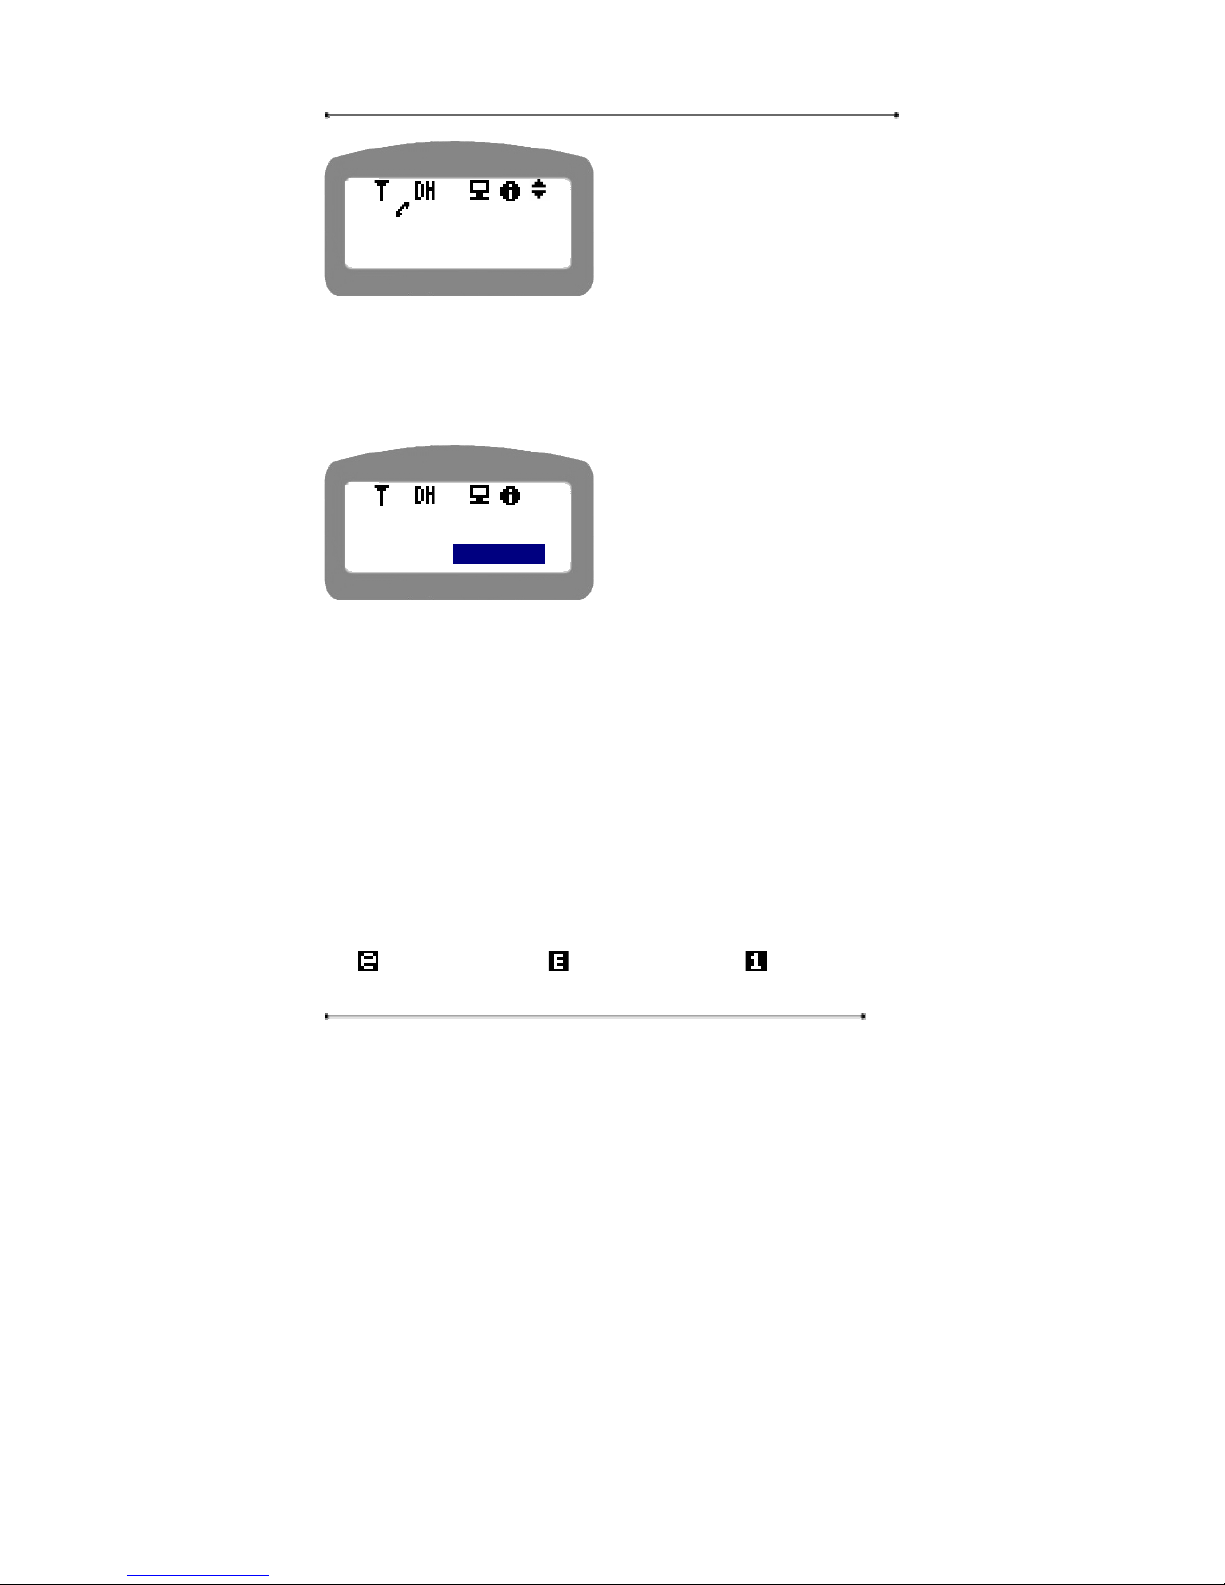
STEP 6 View the information on the received call. You can see the information
such as the caller Name, Caller ID, Date [Date/Month(day)], Call duration in
minutes [HH:MM] etc.
<Call Log>
1:Rcvd Calls
2:Dialed Calls
Rcvd Calls
03034
03034
View / Delete
03034
03034
Page 85
Internet Phone User Manual
85
y Use the navigation to mover to the
next or previous call list.
y Press ‘Cancel’ key to return to the
upper menu.
STEP 7 Press ‘Menu’ key to delete the call list. In other case, press ‘Cancel’ key
to move to the upper menu. The deleted call list can’t be recovered. Please make
sure whether it is ok to delete the call list before you delete the call list.
y Use the navigation key to select the
option.
y Press ‘Cancel’ key to return to the
upper menu without deleting the call
list.
4.4. Phone Book
Phone Book is used to save and find the contacts in the memory of the phone. User
can also use the menu to make a call after finding the destination phone number in
the phone book.
The phone book menu supports several character input mode, English lower-case,
English capital, numeric, and special characters or symbols. In an input mode, if you
press ‘Menu’ key, the input mode will be changed. The input mode will be changed
from :English lower-case to :English-capital, and to :numerical, and to
Daniel Yoon
03034
Date: 01/01(SUN)
Delete
Call List?
YES NO
Page 86

Internet Phone User Manual
86
:special characters in order.
When you enter name into the input line, please use the navigation key on the key
pad to move to the left or right in the input line. Use ‘Delete’ key to delete the
characters or numeric, and the cursor will move to the left erasing the character.
When you enter the phone number into the input line, please press ‘Menu’ key until
you can see the icon on the right of the first line.
When you enter the special characters into the input line, please press ‘Menu’ key
until you can see the icon on the right of the first line. Please use ‘0’ key on the
keypad to select the desired special character.
For English characters, press the number key corresponding to the alphabet more
than once till you can get the desired alphabet.
4.4.1. Find Number
User can find the phone numbers either by index or name. Index means the
registered address of the memory.
4.4.1.1. Find the number by Index
STEP 1 Select ‘1: Find Number’ to find the telephone number registered in the
phone book.
Page 87
Internet Phone User Manual
87
Use the navigation key or press the
menu number to select the menu,
and press ‘OK’ button.
Press ‘Cancel’ key to move to the
upper menu.
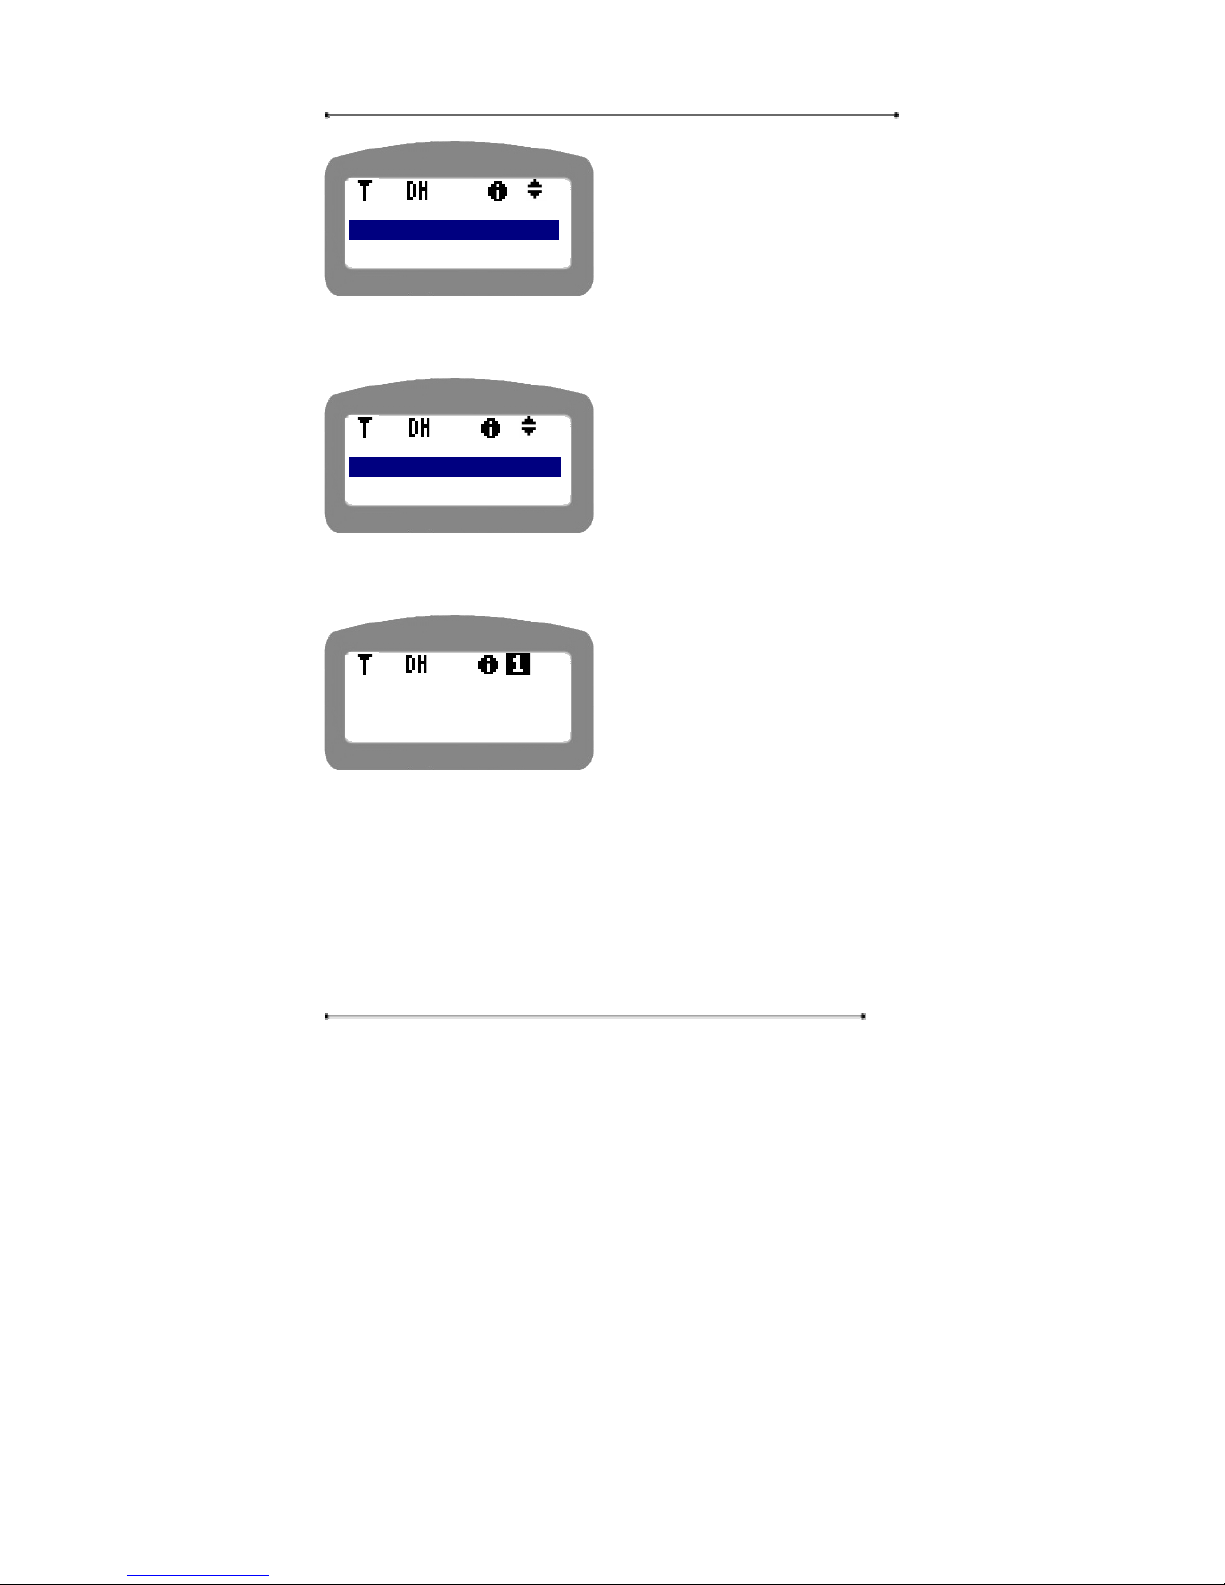
STEP 2 Select either ‘By Index’ or ‘By Name’. For example, let’s try with ‘By
Index’.
Use the navigation key or press the
menu number to select the menu,
and press ‘OK’ button.
Press ‘Cancel’ key to move to the
upper menu.
STEP 3 Enter the desired Index number, and press ‘OK’ button.
Press ‘Cancel’ key to move to the
upper menu.
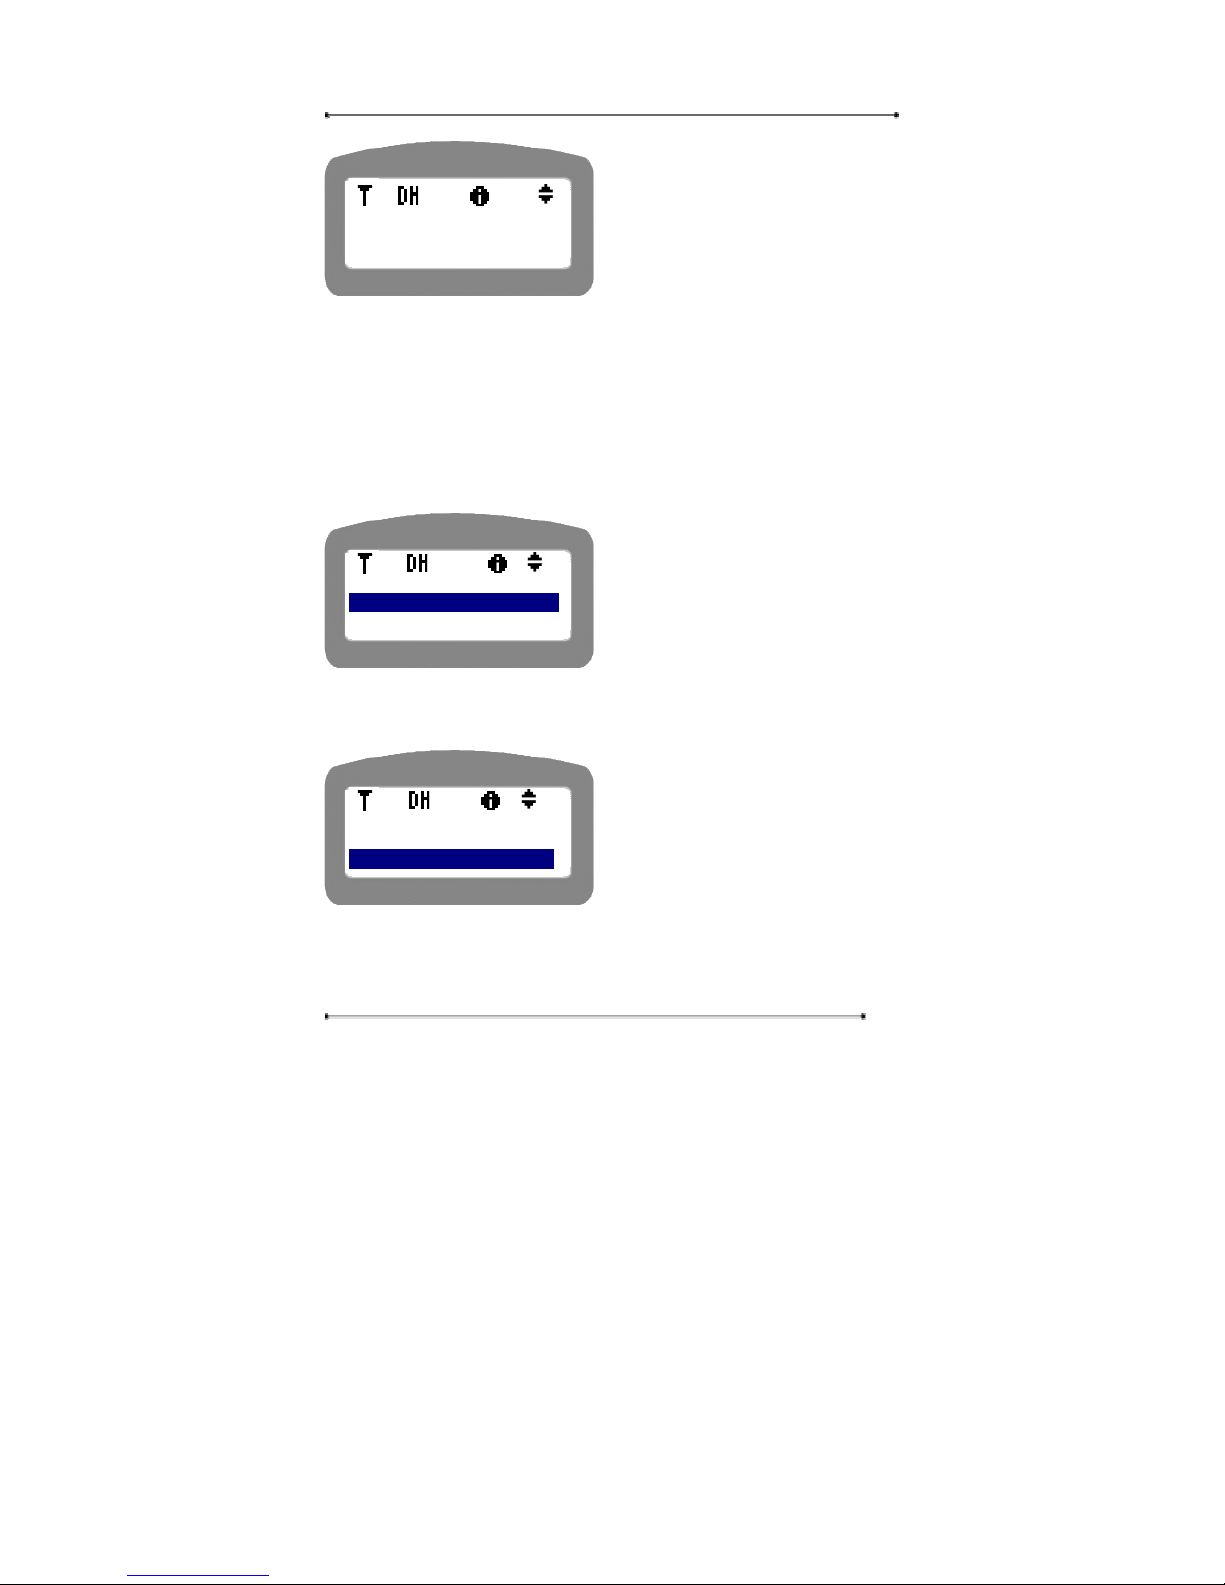
STEP 4 The telephone number and name corresponding to the Index number will
be displayed.
<PHONE BOOK>
1: Find Number
2: Add
<Find Number>
1:By Index
2:By Name
By Index
04
Page 88
Internet Phone User Manual
88
Press ‘Cancel’ key to move to the
upper menu.
STEP 5 If you want to make a call to the phone number, just pick up the handset.
The call will be tried to the phone number.
4.4.1.2. Find the number by Name
STEP 1 Select ‘1: Find Number’ to find the telephone number registered in the
phone book.
Use the navigation key or press the
menu number to select the menu,
and press ‘OK’ button.
Press ‘Cancel’ key to move to the
upper menu.
STEP 2 Select either ‘By Index’ or ‘By Name’. For example, let’s try with ‘By
Index’.
Use the navigation key or press the
menu number to select the menu,
and press ‘OK’ button.
Press ‘Cancel’ key to move to the
upper menu.
STEP 3 Enter the desired name to find, and press ‘OK’ button.
02-123-1234
[04]Mr LEE
<PHONE BOOK>
1: Find Number
2: Add
<Find Number>
1:By Index
2:By Name
Page 89
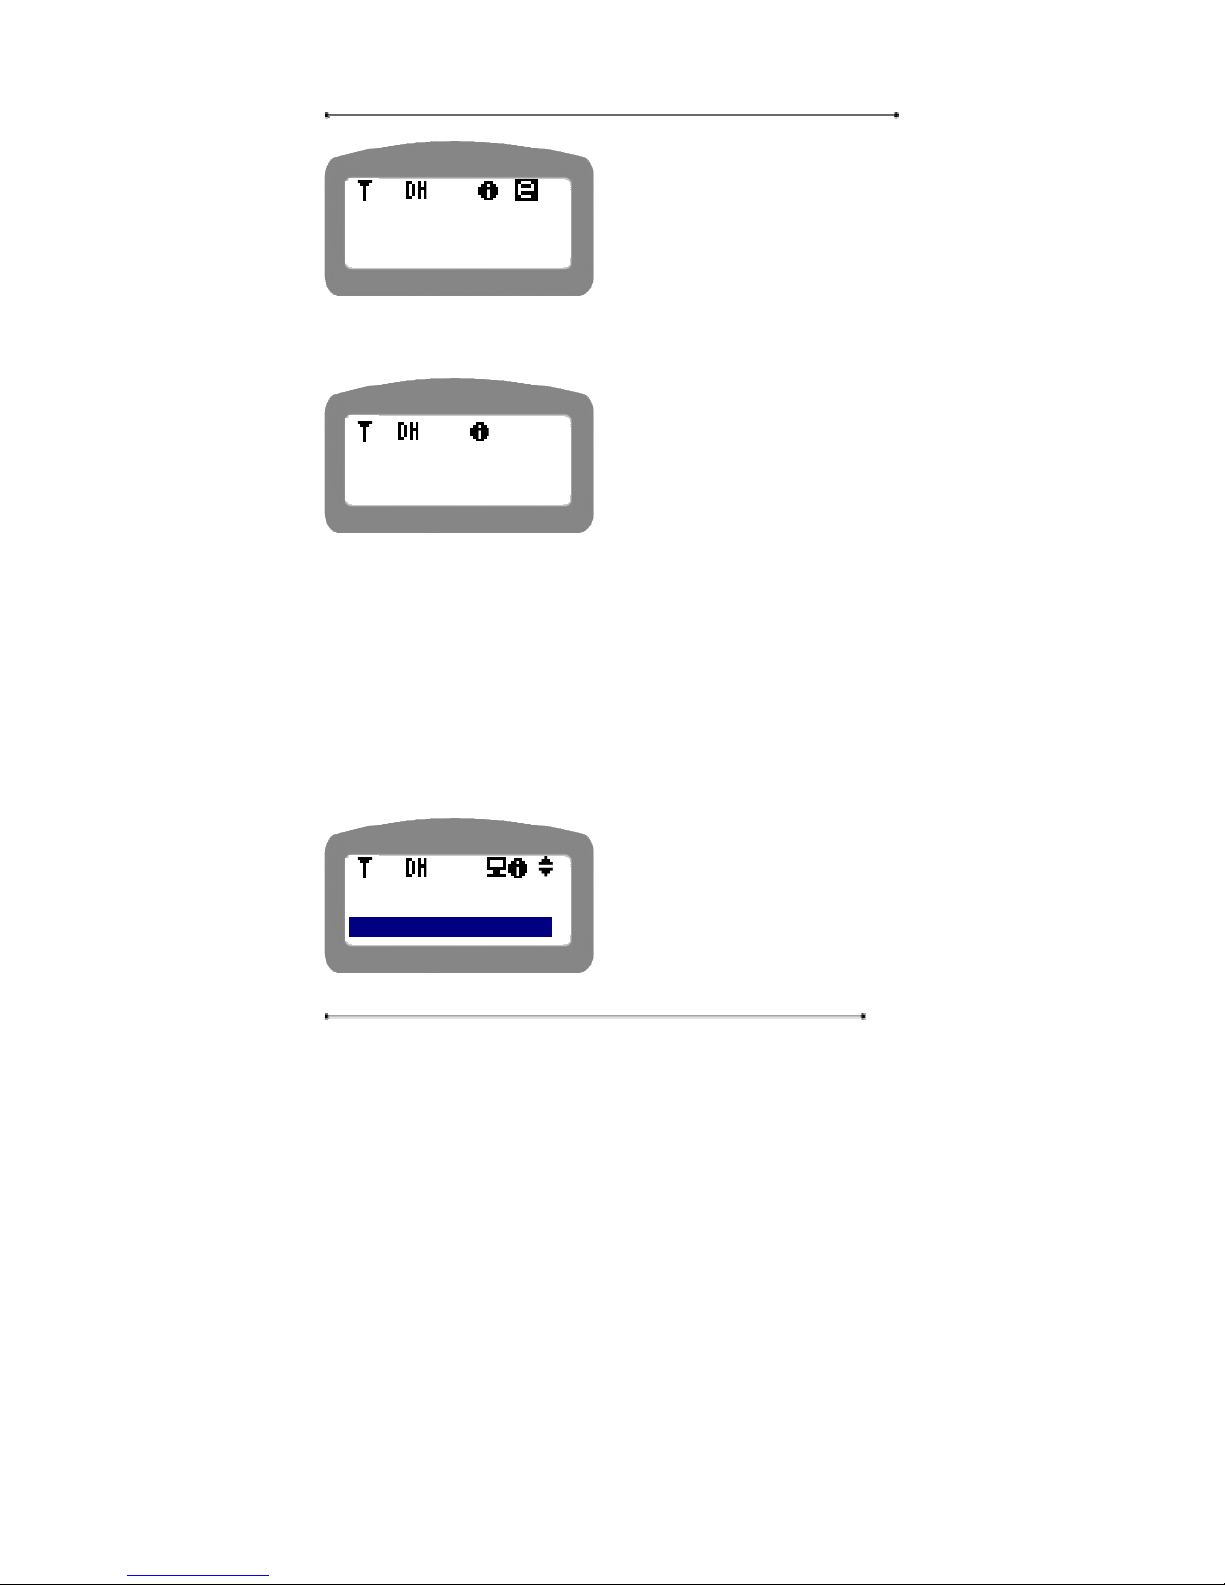
Internet Phone User Manual
89
Press ‘Cancel’ key to move to the
upper menu.
STEP 4 The telephone number and name corresponding to the Index number will
be displayed.
Press ‘Cancel’ key to move to the
upper menu.
STEP 5 If you want to make a call to the phone number, just pick up the handset.
The call will be tried to the phone number.
4.4.2. Add
This menu is to register a new telephone number into the memory of the phone. The
phone numbers can be registered up to 50 numbers.
STEP 1 Select ‘2: ADD’ menu in menu selection.
y Use the navigation key or press the
menu number to select the menu.
y Press ‘Cancel’ key to move to the
upper menu.
STEP 2 Enter the name, telephone number and the register number(Index). Use
<PHONE BOOK>
1:Find Number
2:ADD
By Name
Daniel Yoon
02-123-1234
[04]Mr LEE
Page 90
Internet Phone User Manual
90
navigation key to move to the next item. The registering address will be used as
index when finding the phone number.
y Use the ‘Menu’ key to toggle the
input mode.
y Press ‘Cancel’ key to return to the
upper menu.
STEP 3 If you entered the name, Tel number, and address properly, you can see
the following display. If you have omitted to enter the name or phone number, you
can see the messages such as “No number to save!” or “No name to save!” etc.
y Please wait till this display
disappears.
4.4.3. Memory Dial
This menu is to register the frequently dialed telephone numbers in the memory of
the Internet phone under three memory keys, and use to make a call by pressing just
the memory key preset.
STEP 1 Select ‘3: Memory Dial’ in the menu selection.
<ADD>
NAME:
TEL:
Saved!
Page 91
Internet Phone User Manual
91
y Use navigations key or press the
menu number to select the menu.
y Press ‘Cancel’ key to return to the
upper menu.
STEP 2 To edit the phone number registered at memory key or register a new
number to any memory key, select the desired memory key number, and press
‘Menu’ key.
y Use navigation key to select the
desired memory key number.
y Press ‘Cancel’ key to return to the
upper menu.
STEP 3 Enter the phone number into the input line, and press ‘OK’ button.
y If you want to edit the existing
phone number, please use ‘Delete’
key to delete it and enter the new
one.
y Press ‘Cancel’ key to return to the
upper menu without change..
4.4.4. Delete All
This menu is to delete all the phone numbers registered at the phone book. But the
memory dial numbers will not be deleted..
To use “Delete All” menu, the password will be required. Use this menu only when
<PHONE BOOK>
2: ADD
3: Memory Dial
<Memory Dial>
M1)021231234
M2)NO TEL_NO.
Save Tel No.
into M1
028821843
Page 92
Internet Phone User Manual
92
needed.
4.5. Ring/Volume
Navigation Menu Æ 3:Ring/Volume
This menu is used to select the ringing tone. Currently, three kinds of bell rings are
available.
STEP 1 Press ‘Menu’ key on the keypad of the Internet Phone.
STEP 2 Select ‘3: Ring / Volume’ menu in the menu selection.
y User the navigation key or press the
menu number to select the menu.
y Press ‘Cancel’ key to move to the
upper menu.
4.5.1. Ring Selection
STEP 1 Select ‘1: Ring Select’ menu in the menu selection.
y Use navigation key or press the
menu number to select the number.
y Press ‘Cancel’ key to move to the
previous display.
STEP 2 The current ringing tone will be displayed in the second line of LCD.
Select the preferred one of the three kinds of ringing tones.
<Ring/Volume>
1: Ring Select
2: Volume
<Menu>
2: Phone Book:
3: Ring/Volume
Page 93
Internet Phone User Manual
93
y Use the navigation key or press the
number of the desired one to select
the ringing tone.
y Press ‘Cancel’ key to return to the
upper menu.
STEP 3 If you selected the ringing tone, you can see the following display on
LCD. Meanwhile you will hear the ringing tone repeatedly till you select ‘YES’ or
‘NO’.
y Use navigation key to select ‘YES’
or ‘NO’.
y Press ‘Cancel’ key to move to the
upper menu without changing the
ringing tone.
4.5.2. Ringing tone Volume
STEP 1 Press ‘Volume’ menu in menu selection.
y Use navigation key or press the
menu number to select the number.
y Press ‘Cancel’ key to move to the
previous display.
STEP 2 Adjust the ringing tone volume. Use the navigation key to adjust the
volume of the ring tone.
<Ring Select 2>
1: Ring 1
2: Ring 2
Select Ring1?
YES NO
<Ring/Volume>
1: Ring Select
2: Volume
Page 94

Internet Phone User Manual
94
y Press ‘OK’ button to save the
volume setting and to return to the
upper menu.
y Press ‘Cancel’ key to return to the
upper menu without adjusting the
volume.
4.6. Information
Navigation Menu Æ 5: Information
This menu is to provide users with the information on the Internet phone such as
network setting and version, Mac address etc.
4.6.1. Network
This menu shows the network status the phone is employed, which includes IP
address, subnet mask, default gateway, and DNS etc. In case of modem, it shows the
speed of the built-in modem of the phone.
STEP 1 Press ‘Menu’ key.
STEP 2 Select ‘5: Information’, and press ‘OK’ button.
<Ring Volume>
( - ) [ 11 ] (+)
Page 95
Internet Phone User Manual
95
y Use navigation key or press the
menu number to select the menu.
y Press ‘Cancel’ button to move to the
upper menu or upper menu.
STEP 3 Select ‘1: Network’, and press ‘OK’ button.
y Press ‘Cancel’ button to move to the
upper menu.
STEP 4 You can see the network mode information. The following display shows
that the current network mode is DHCP. The network mode can be either Static,
DHCP, PPPoE, Dial-up, or PSTN.
y Use navigation key to see the next
information..
y Press ‘Cancel’ key to return to the
upper menu.
STEP 5 You can see the Internet Phone IP information in the second information
display.
<Menu>
5:Setup
6:Information
<Information>
1:Network
2:Version
<Info. #1>
Network Mode
DHCP
Page 96
Internet Phone User Manual
96
y Use navigation key to see the next
information.
y Press ‘Cancel’ key to return to the
upper menu.
STEP 6 You can see the subnet mask information in the third information display.
y Use navigation key to see the next
information.
y Press ‘Cancel’ key to return to the
upper menu.
STEP 7 You can see the gateway address information in the fourth information
display.
y Use navigation key to see the next
information.
y Press ‘Cancel’ key to return to the
upper menu.
STEP 8 You can see the DNS address information in the fifth information display.
y Use navigation key to see the next
information.
y Press ‘Cancel’ key to return to the
upper menu.
<Info. #2>
IP
XXX.XXX.XXX.XXX
<Info. #3>
Subnet Mask
XXX.XXX.XXX.XXX
<Info. #4>
Gateway
XXX.XXX.XXX.XXX
<Info. #5>
DNS
XXX.XXX.XXX.XXX
Page 97
Internet Phone User Manual
97
4.6.2. Version
Version information is important especially when upgrading the firmware to the
latest version. If you have any problem in the Internet phone, please report the
version information, and the IP address of the phone to the service provider. User
can get the boot ROM version and firmware version by this menu.
STEP 1 Press ‘Menu’ button on the key pad of Internet phone.
STEP 2 Select ‘5: Information’ in menu selection.
y Use navigation key to see the next
information.
y Press ‘Cancel’ key to return to the
upper menu.
STEP 3 You can see the following display. ‘Boot’ means the boot ROM version,
and App means the firmware version.
y Press ‘Cancel’ key to return to the
upper menu.
4.6.3. Mac Address
Every hardware products has own hardware address peculiar to itself, that is, MAC
address. The MAC address can be used not only by the ISP or ITSP but also by the
manufacturer. When the ISP or ITSP or the manufacturer asks this information, you
<SW Version>
Boot : V2.04
App : V2.0-0
<Information>
2: Version
3: MAC Address
Page 98
Internet Phone User Manual
98
can verify the MAC address through this menu, and inform them of it. User can
see both the LAN port MAC address and PC port MAC address.
STEP 1 Select ‘MAC Address’ menu in the menu selection.
y Use navigation key to see the next
information.
y Press ‘Cancel’ key to return to the
upper menu.
STEP 2 You can see the first MAC address of the Internet phone. This is actually
the MAC address of the Ethernet port of the Internet Phone.
y Use navigation key to move to the
next information.
y Press ‘Cancel’ key to return to the
upper menu.
STEP 3 You can see the second MAC address of the Internet phone. This is
actually the MAC address of the PC port of the Internet Phone.
y Use navigation key to move to the
next information.
y Press ‘Cancel’ key to return to the
upper menu.
▼
MAC ADDR 1
XXXXXX:XX:XX:XX
▲
<Info. #7>
MAC ADDR 2
XXXXXX:XX:XX:XX
<Information>
2: Version
3: MAC Address
Page 99
Internet Phone User Manual
99
4.7. Reboot
This menu is used to reboot the system. The password is needed to reboot the system.
Navigation Menu Æ 7:Reboot
STEP 1 Press ‘Menu’ key on the key pad of Internet Phone.
STEP 2 Select ‘7: Reboot’ in the menu selection.
y Use navigation key or press the
menu number to select the menu.
y Press ‘Cancel’ key to return to the
initial display.
STEP 3 If you want to reboot the Internet phone, select ‘YES’, and press
‘OK’ key.
y Use navigation key to select ‘YES’
or ‘NO’.
y Press ‘Cancel’ key to return to the
initial display.
<Menu>
5: Information
6: Reboot
Reboot System?
YES NO
Page 100

Internet Phone User Manual
100
5. Using Internet Phone
5.1. Making a call in Broadband Mode
User can make or receive a call in either VoIP mode or PSTN mode. There are some
differences between VoIP mode and PSTN mode. Please read carefully the following
description not to make any confuse in making or receiving a call.
Notice : Use pound key(#) to make a call immediately after dialing the destination
phone number in VoIP mode.
5.1.1. On Hook mode (Pre-dial)
This is used to dial the destination number without picking up the handset.
STEP 1 Dial the destination number in on hook mode. The dialed number will be
displayed on the LCD. (For example, 021231234).
y Enter the full number of the
destination device.
STEP 2 Pick up the handset. The call will be tried to the destination number
automatically.
Pre-dial
021231234
A12:00
 Loading...