

Page 1

Last update 2002/08/06
P
A
y
High-Resolution CCD Camera
Model CS3940
Operation Manual
Thank you for purchasing our CS3940 CCD camera.
This operation manual includes some important information
such as how to use this equipment correctly and safely.
lease read through this manual carefully.
fter reading, keep this manual by the side of your equipment for
our future reference.
Contents
Before use – General safety instructions
1. Product Description
2. Features
3. Configuration
4. Optional Accessories
5. Designation and Working of Each Part
6. Connection
7. Function of Each Switch/ Mode
8. Specifications
9. Timing Chart
10. External View
・・・・・・・・・・・・・・・・・・・・・・・・・・・・・・・・・・・・・・・・・・・・・・・・・・・・・・・・・・・・・・・・・・・・・・・・・・・・・・・・・・・・・・・・・・・・・・・・・・・・・・・・・・・・・・・・・・・・・・・・
・・・・・・・・・・・・・・・・・・・・・・・・・・・・・・・・・・・・・・・・・・・・・・・・・・・・・・・・・・・・・・・・・・・・・・・・・・・・・・・・・・・・・・・・・・・・・・・・・・・・
・・・・・・・・・・・・・・・・・・・・・・・・・・・・・・・・・・・・・・・・・・・・・・・・・・・・・・・・・・・・・・・・・・・・・・・・・・・・・・・・・・・・・・・・・・・・・・・・・・・・・・・・・・・・
・・・・・・・・・・・・・・・・・・・・・・・・・・・・・・・・・・・・・・・・・・・・・・・・・・・・・・・・・・・・・・・・・・・・・・・・・・・・・・・・・・・・・・・・・・・・・・・・・・・・
・・・・・・・・・・・・・・・・・・・・・・・・・・・・・・・・・・・・・・・・・・・・・・・・・・・・・・・・・・・・・・・・・・・・・・・・・・・・・・・・・・・・・・・・・・・・・・・・・・・・
・・・・・・・・・・・・・・・・・・・・・・・・・・・・・・・・・・・・・・・・・・・・・・・・・・・・・・・・・・・・・・・・・・・・・・・・・・・・・・・・
・・・・・・・・・・・・・・・・・・・・・・・・・・・・・・・・・・・・・・・・・・・・・・・・・・・・・・・・・・・・・・・・・・・・・・・・・・・・・・・・
・・・・・・・・・・・・・・・・・・・・
・・・・・・・・・・・・・・・・・・・・・・・・・・・・・・・・・・・・・・・・・・・・
・・・・・・・・・・・・・・・・・・・・・・・・・・・・・・・・・・・・・・・・・・・・・・・・・・・・・・・・・・・・・・・・・・・・・・・・・・・・・・・・・・・・・・・・・・・・・・・・
6
6
6
6
7
8
9
14
16
18
TOKYO ELECTRONIC INDUSTRY CO., LTD
[[[[PrintedOnRecycledPaper
PrintedOnRecycledPaper]]]]
PrintedOnRecycledPaperPrintedOnRecycledPaper
D4110637B
Page 2
Last update: 2002.0806
BEFORE USE - GENERAL SAFETY INSTRUCTIONS
This instruction manual contains important information for the operator (user) and/or people
around him/her to avoid personal injuries, or property damages against him/her or people
around him/her by using this product correctly.
• Prior to use, read this operation manual carefully to fully understand its instructions for
correct use.
• After reading, keep this manual by the side of your equipment for your future reference.
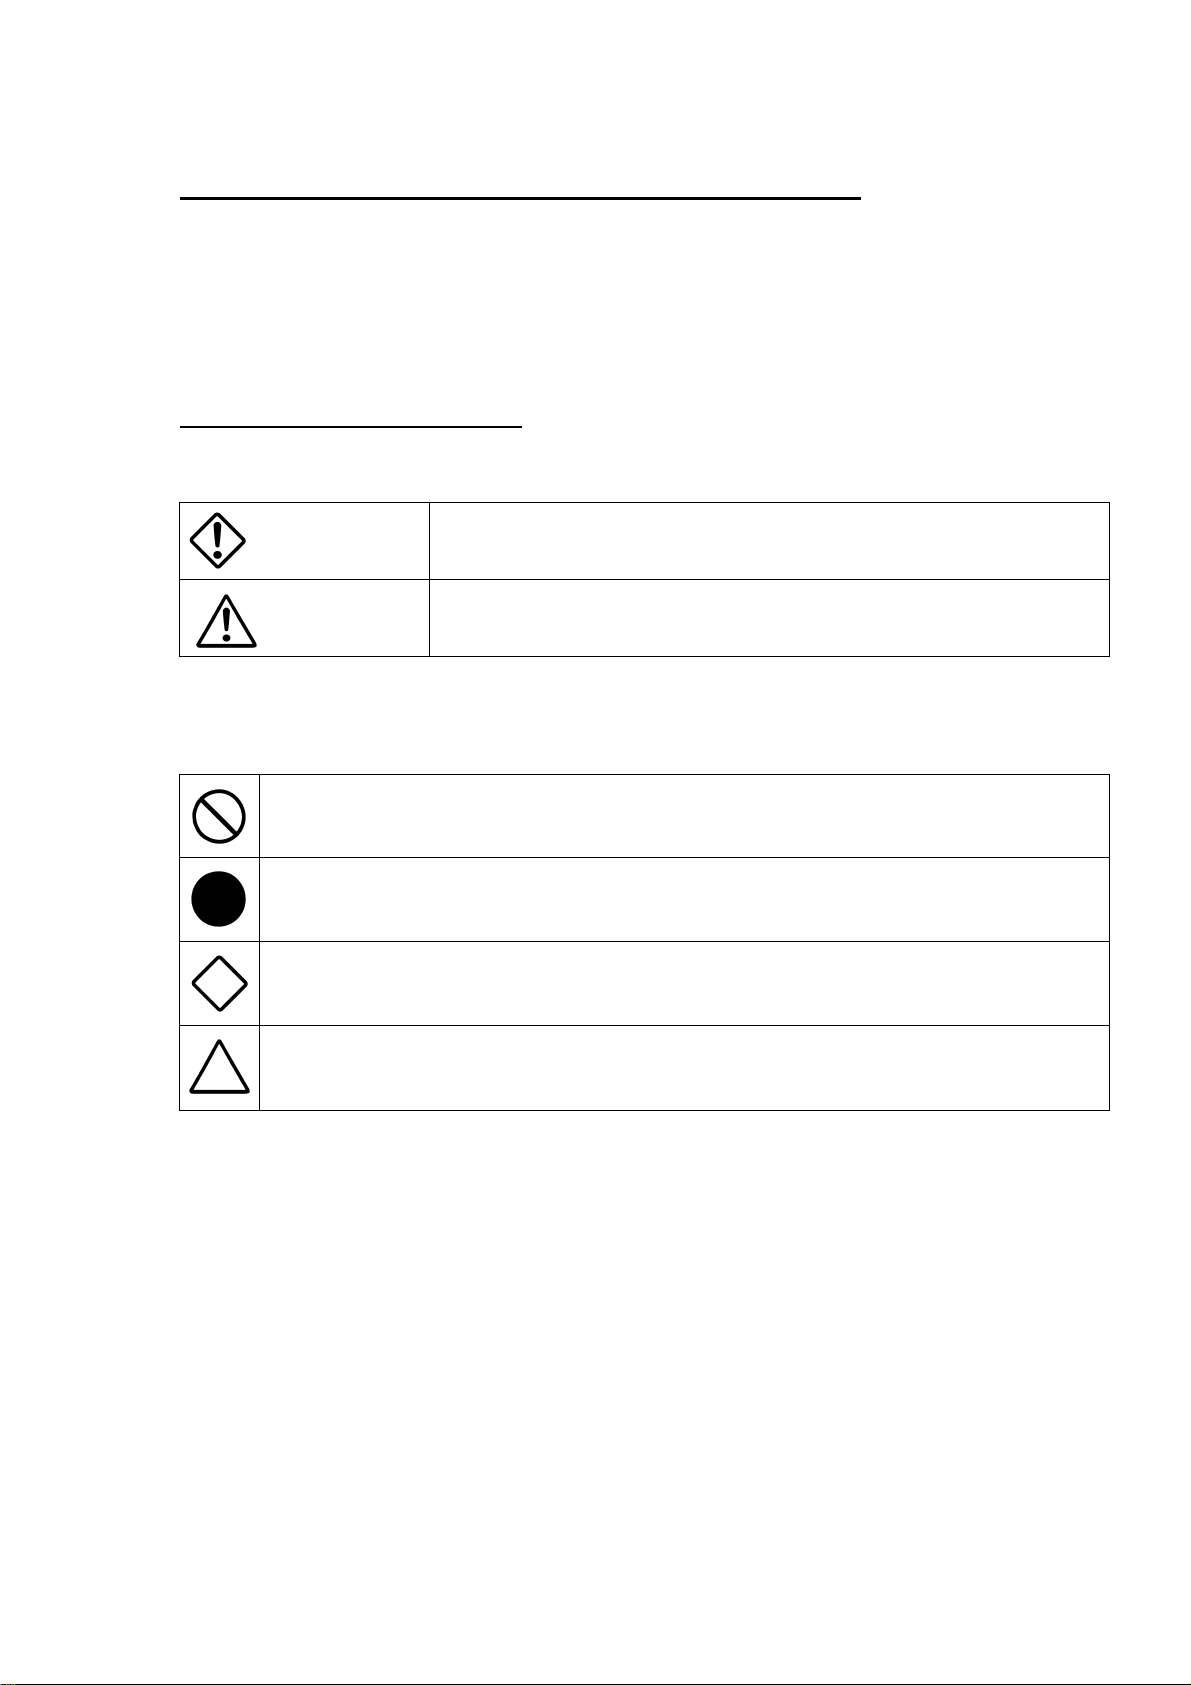
WARNINGS & CAUTIONS
[Definition of markings]
The meaning of each mark used in this instruction manual is given below.
This mark warns the user that improper use, indicated with this mark, may
DANGER
CAUTION
Notes *1: Personal injuries mean wounds, burns, electric shocks, and others for which the person
injured need not to be hospitalized nor to be cared for the long term.
*2: Material damages mean any direct or consequential damages related to property or
material loss.
This mark indicates what the user SHOULD NOT DO. The details of things which the user
should not do are described next to this mark.
This mark indicates what the user MUST DO. The details of things which the user must do are
described next to this mark.
This mark indicates that the user must be alert against a possible DANGER. The details of the
danger which the user must be aware of are described next to this mark.
This mark indicates that the users are given a CAUTION against possible hazards. The details of
the caution which the user must be aware of are described next to this mark.
cause death or severe personal injuries against the user or people around
him/her.
This mark warns the user that improper use, indicated with this mark, may
cause personal injuries (*1) or material damages (*2) against the user or
people around him/her.
1
The specification is subject to change without notice.
D4110637B
Page 3
Last update: 2002.0806
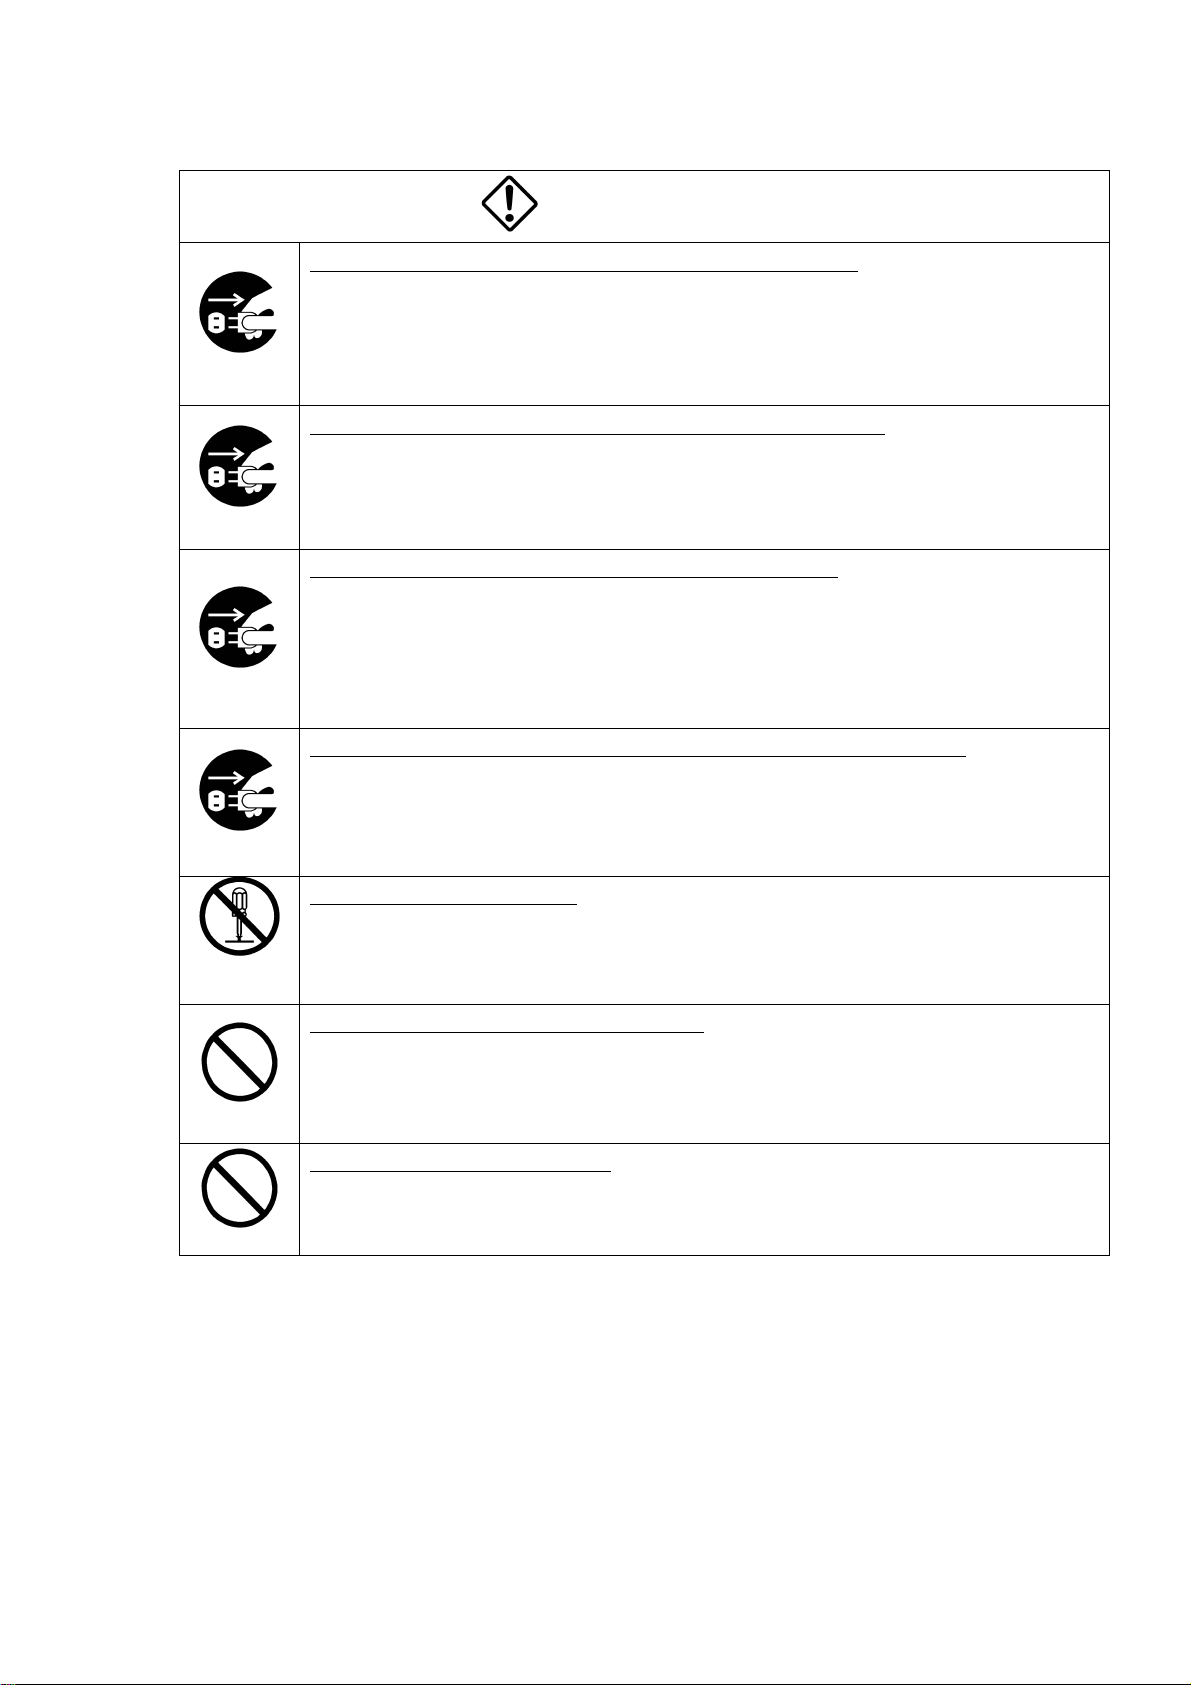
●Handling Precautions
If any overheating sign is observed, discontinue the use immediately.
In the event that smoke, smell, or any other overheating sign is observed, turn its power switch
OFF immediately and be sure to remove camera cable from camera connector. Do NOT try to
continue to use this device. To do so in spite of clear signs of malfunction invites a fire, an
Unplug
Unplug
Unplug
electric shock hazard, or a serious damage. In such case, contact us or our dealer /distributor
from which you purchased this device for repair service.
If any malfunctioning sign is observed, discontinue the use immediately.
Do NOT try to use this device when it is obviously malfunctioning. (Example: No images on
the monitor) In the event of malfunction, turn its power OFF immediately and be sure to
remove camera cable from camera connector. In such case, contact us or our dealer/distributor
from which you purchased this device for repair service.
If any liquid gets into the device, discontinue the use immediately.
In the event that water, or any other type of liquid gets into the body, Do NOT try to continue to
use the device. To do so invites a fire or an electric shock hazard. In that case, turn its power
switch OFF immediately, and be sure to remove the camera cable from camera connector. Then
contact us or our dealer/distributor from which you purchased this device for repair
service/technical advice.
DANGER
If any outer strong impact is given to this device, discontinue the use immediately.
In the event this device is dropped onto the ground, or its cabinet is damaged, turn its power
switch OFF immediately, and remove the plug from the outlet. DO NOT try to continue to use
Unplug
NEVER
pull apart
Avoid
Avoid
this device. To do so invites a fire or an electric shock hazard. In such case, contact us or our
dealer/distributor from which you purchased this device for repair service.
Do NOT disassemble this device.
Do NOT attempt to pull apart, repair, or modify the device on your own. To do so might lead to
a fire or an electric shock accident. Contact us or the dealer/distributor from which you
purchased the device for repair/modification.
Do NOT supply any power other than specified.
Be sure to use specified power supply. This device is designed to work only under specified
voltage (from DC8V to DC30V). Do NOT attempt to supply the device with power other than
specified. Supplying the device with unspecified power invites a fire or an electric shock
hazard.
Do NOT device the device unstably.
Do NOT place the device on an unstable table, sloped ground, etc. Make sure that the device do
not fall nor roll over to prevent an accident.
2
The specification is subject to change without notice.
D4110637B
Page 4

Last update: 2002.0806
DANGER
Avoid
Avoid
Avoid
Avoid
Avoid
Do NOT place any potentially hazardous things on this device.
DO NOT place any things on this device which may, if its gets into the inside for the body
damages the inner parts of the device (such as a flower pot, glass, cosmetics, a container filled
with liquids or chemicals, as well as small metal parts, etc.). If tumbled, the liquids inside the
bottle, etc. may get into the chassis, causing a fire or an electric shock accident.
Avoid short-circuit of signal outputs.
Otherwise it may cause damage to the camera. For inspection of inner parts/circuits,
adjustment, maintenance, contact us or the dealer/distributor from which you purchased the
camera.
Do NOT use the camera in a high-humidity environment.
Do NOT place the camera near a humidifier, or in other high-humidity environment. To do so
might lead to a fire or an electric shock accident.
Do NOT place this device in a high-temperature environment or an environment which is exposed
to direct sunlight.
To do so might cause to raise inner temperature, leading to a fire accident.
Do NOT place this device in a place which is contacted with the greasy fumes, reek, or dusty
environment.
To do so might cause to raise inner temperature, leading to a fire accident.
3
The specification is subject to change without notice.
D4110637B
Page 5

Last update: 2002.0806
CAUTION
Avoid
Avoid
Avoid
Caution
Caution
Caution
Caution
Caution
Do NOT connect/disconnect connectors before turning power off.
Make sure to check the CCU power is OFF before connecting /disconnecting connectors.
Otherwise, you might get an electric shock, your camera might break down.
Do NOT give a strong shock/impact against the camera head.
Avoid giving strong shock against the camera head is subjected to strong repetitive
shocks. The camera head has possible to breakdown.
Do NOT pull/swing the camera and camera cable forcefully.
Do NOT pull strongly the camera cable/camera-head nor swing it. The stress from pulling
or swinging may cause damage in the coating of the cable, or breaks in the inside wires.
Do NOT move this device before checking its unplugging to connection cables among the
devices and external cables.
To do so might cause to damages of the connection cables, leading to a fire or electric
accident.
If the camera is operated in the electromagnetic field, there may be cases where beat noises
(vertical, horizontal, or oblique stripes) may appear in the video output. In that case, take
preventive measures on the electromagnetic-wave generating source so that the camera does
not receive the interference by the electromagnetic wave. Take extra precautions against
electromagnetic-wave-interference if the camera is used with a servomotor, inverter, or other
electromagnetic-wave-generating equipment.
When the camera is not in use, put a lens or a lens-cap onto the camera head so that the image
pickup plane of CCD is protected from dust, foreign object, or other flaw-causing object. If
the glass plane (image pickup plane) gets dirty, clean it with a cotton swab. When it needs to
be cleaned with a cleaner, be sure NOT to use any organic solvent other than ethyl alcohol.
As a countermeasure against condensation, when the camera is moved from a warm place to
a cold place, take appropriate precautions to prevent condensation from forming on the
camera.
If any liquid gets into the device, discontinue the use immediately. In the event that water, or
any other type of liquid gets into the body, Do NOT try to continue to use this device.
To do so might lead to a breakdown or an electric hazardous.
Please use the screw of the camera bottom part when you fix the camera.
Fixing threads(M3,4units) for camera must be no smaller than 2mm and no
longer than 3.5
4
The specification is subject to change without notice.
D4110637B
Page 6

Last update: 2002.0806
RESTRICTION FOR USE
Avoid combine to signals other than specified.
You cannot be obtained intrinsic performance in some cases of combinations with signals other
than prescribed in this manual. If you continue to operate in such cases, it might cause to a heat
generation on a part of circuits, leading to a breakdown. For avoid them, make sure to pay
attention to use this device.
In case malfunction of this equipment (e.g. video output cut-off) can be expected to lead to
significant accident, avoid using this equipment for such system integration use.
CASES FOR INDEMNITY (LIMITED WARRANTY)
We shall be exempted from taking responsibility and held harmless for damages or losses incurred
by user in the following cases.
1. In case damages or losses are caused by fire, earthquake, or other acts of Gods, the act by
third party, misuse by the user deliberately or erroneously, use under extreme operating
conditions.
2. In case indirect, additional, consequential damages (loss of expected interest, suspension of
business activities) are incurred as results of malfunction or non-function of the equipment,
we shall be exempted from assuming responsibility for such damages.
3. In case damages or losses are caused by incorrect use which is not in line with the
instructions in this instruction manual.
4. In case damages or losses are caused by malfunction resulting from bad connection with
other equipment.
5. In case damages or losses are caused by repair or modification done by the user.
This equipment has been tested and found to comply with the limits for a class A digital device,
pursuant to Part 15 of the FCC Rules. These limits are designed to provide reasonable protection
against harmful interference when the equipment is operated in a commercial environment. This
equipment generates, uses, and can radiate radio frequency energy and, if not installed and used in
accordance with the instruction manual, may cause harmful interference to radio communications.
Operation of this equipment in a residential area is likely to cause harmful interference in which
case the user will be require to correct the interference at his own expense.
Wastes of this product
Wastes of this product should be separated and discarded in compliance with the various national and
local ordinances.
5
The specification is subject to change without notice.
D4110637B
Page 7

Last update: 2002.0806
1. Product Description
Model CS3940 is a B/W CCD camera employing a 3/4 type all-pixel-data-read-out CCD,
featuring ultra-high resolution.
2. Features
(1) Ultra-high Resolution
CS3940 features an ultra-high picture resolution through the adoption of a MEGA-pixel
CCD (Total pixel count: 1,040,000 Active pixel count: 1,000,000 [1,004(H) x 1,004(V)]).
(2) Square-grid Pattern CCD
Pixels in this CCD are aligned in square grid pattern. This makes it easier to perform
computation correctly for image processing use.
(3) Full frame shutter mode
As all pixels’ data are read out even under random trigger shutter mode, images with no
deterioration in vertical resolution are gained.
(4) Random Trigger Shutter Function
Random trigger shutter, which starts light-exposure in synchronization with external
trigger signal, is built in. This function enables the camera to capture images at any given
timing. Shutter speed is selectable among 8 scales, from 1/30s through 1/10000s.
(5) Digital Output
Output signal is digital output complying with TIA/EIA-644 single channel 10 bit.
(6) Partial-scan Mode
This model can readout pixel data in partial-scan format. (Readout area: Screen center 1/3
in 1/60 sec)
3. Configuration
(1) Camera body 1
(2) Accessory
Operation Manual 1
4. Optional Accessories
(1) DC IN / SYNC cable (Model name: CPRC3700) 1
(2) Digital video cable 1
6
The specification is subject to change without notice.
D4110637B
Page 8

Last update: 2002.0806
5. Designation and Working of Each Part
(1) DC IN/SYNC Connector
Input connector for the power supply, for TRIG/WEN connection terminal, and for
HD/VD output terminal (under inner switch is ON).
This connects to power-supply unit or image processor unit and so on.
(2) DATA OUT Connector (Digital Data output terminal)
Picture signal, HD, VD, and CLK are output in the format complying with TIA/EIA-644.
However, output signals of TRIG IN, WEN, BUSY conform to TTL signal
This connects to image processor unit.
(1)
Rear Panel
(2)
7
The specification is subject to change without notice.
D4110637B
Page 9

Last update: 2002.0806
6. Connection
(1) DC IN/SYNC
Connector (Camera side): HR10A-10R-12PB (Manufactured by HIROSE DENKI)
Plug
Pin number Signal name
*It is possible to output with internal switch (See Page 10).
Under normal condition, output is not available.
(2) DATA OUT
Connector (Camera side): DX10A-36S (Manufactured by HIROSE DENKI)
Connector (Cable side): DX30A-36P, DX-36-CV1 (Cover)
Pin. Signal name Pin. Signal name Pin. Signal name Pin. Signal name
1 DATA0-H 10 DATA4-L 19 DATA9-H 28 N.C.
2 DATA0-L 11 DATA5-H 20 DATA9-L 29 N.C.
3 DATA1-H 12 DATA5-L 21 VD OUT-H 30 N.C.
4 DATA1-L 13 DATA6-H 22 VD OUT-L 31 BUSY
5 DATA2-H 14 DATA6-L 23 HD OUT-H 32 WEN
6 DATA2-L 15 DATA7-H 24 HD OUT-L 33 N.C.
7 DATA3-H 16 DATA7-L 25 CLK-H 34 N.C.
8 DATA3-L 17 DATA8-H 26 CLK-L 35 GND
9 DATA4-H 18 DATA8-L 27 TRIG IN 36 GND
DATA0: LSB, DATA9: MSB
*Note: TRIG IN, and BUSY, WEN (= Output signals) conform to TTL signal, while other signals to
(Cable side): HR10A-10P-12S (Manufactured by HIROSE DENKI)
1 GND
2 +12V
3 N.C.
4 N.C.
5 GND
6 HD OUT*
7 VD OUT*
8 GND
9 N.C.
10 WEN
11 TRIG
(Rear
(Rear‑‑‑‑view)
12 GND
TIA/EIA-644.
(Rear(Rear
(Manufactured by HIROSE DENKI)
view)
view)view)
8
The specification is subject to change without notice.
D4110637B
Page 10

Last update: 2002.0806
7. Function of Each Switch/Mode
The setting of each mode can be done with DIP switches located on the rear panel or inside.
Rear-panel DIP SW Setting Function
Mode SW1-4 SW1-5
Shutter OFF
Normal shutter *1 *2
RTS
Pulse mode
RTS
Fix mode *1
X
(OFF)
HV-reset
V-re se t
HV-reset
V-re se t
X
(OFF)
ON
OFF
*1: The shutter-speed is adjustable via the camera rear panel DIP SW from #1 through #3.
*2: Under electronic shutter ON, one HD period only at the end of exposure gets longer
by 292CLK (7.3 micro s).
Don’t synchronize camera with internal HD by PLL circuit or others.
Be sure use to CLK-output based on HD/VD at the start of capturing images. (See Page
16)
Partial-scan(SW1-6)*1
OFF
ON
ONOFF
SW1Rear‑panelSW
1
2
Shutter‑speed
selectionSW
3
4
5
6
(1) Shutter-speed setting (SW1-1, 1-2, and 1-3) (Initial-Factory-Setting: All OFF)
Under electronic shutter ON, one HD period only at the end of exposure gets longer
by 292CLK (7.3 micro s). (See Page 16)
SW1-1 SW1-2 SW1-3 Shutter Speed
OFF (Factory) OFF (Factory) OFF (Factory) *OFF, 1/30s (Factory)
ON OFF OFF 1/60s
OFF ON OFF 1/125s
ON ON OFF 1/250s
OFF OFF ON 1/1000s
ON OFF ON 1/2000s
OFF ON ON 1/5000s
ON ON ON 1/10000s
* Under RTS, it goes into shutter OFF (Normal shutter).
RTS(RandomTriggerShutter)
V‑reset/HV‑reset
Shuttermodeselection
(FIX/PULSE)
Partial‑scan(ON/OFF)
9
The specification is subject to change without notice.
D4110637B
Page 11

Last update: 2002.0806
(2) HD/VD output switch (Camera inside I/F board)
The camera can output signals with HD/VD siganls from DC IN/SYNC connector via DIP
SW on I/F board (The 2nd board from the bottom). This function is not available in the
initial setting.HD/VD can be achieved LVDS output via DATA OUT connector regardless
of ON/OFF of this switch
Set HD/VD output switch after turning off the all power of the system
connected to the camera and after unplugging all connection cables.
!!!!
Caution
Side view of CS3940 being removed its cover
Connector sideCCD side
ON OFF
HD/VD output switch
(IF Board)
10
The specification is subject to change without notice.
D4110637B
Page 12

Last update: 2002.0806
(2) RTS control
The camera goes into RTS (Random Trigger Shutter) mode when TRIG terminal voltage is
in LOW (Higher than 1V), and starts light-exposure at the rising edge timing.
Under the FIX mode, exposure-time is controlled with inner DIP switch setting.
Under the PULSE mode, the exposure-time is determined by pulse width. Be sure to set the
pulse width longer than 1H (= Approximately 33.2 micro s). The exposure-time control
should be done in CLK steps. After video-output, it goes back into normal operation (=
shutter OFF) if TRIG terminal voltage stays in HIGH for longer than 10V (=
Approximately 1/3s), regardless of the current RTS mode.
Be sure to set the out of use of the two systems of TRIG input to OPEN or HIGH.
!!!!
Caution
If you input correct TRIG signals under GND setting of the out of use terminal,
there are some incapable cases to switch to the RTS mode.
-1 V-reset mode
Exposure starts at the timing of TRIG signal IN. After each exposure is completed, the
camera outputs video immediately by resetting VD. (HD is not reset.)
Automatically returns to normal shu tter if H level
stays for 10V (1/3s ) or longer
TRIG IN
(Negative)
TRIG IN is not accepta ble for
1V after mod e change
CCD
Exposure
Exposure time
VUDEO
OUT
WEN OUT
(Pos itive)
BUSY
(Positive)
(E-shutter SW setting value)
VD pause during standby
VD output for 1V only
HD output every H
Random trigger shutterNormal shutter Normal shutter
Timing detail (V reset mode)
Exposure
TRIG
Exposure time varies depending on the mode setting condition such as Pulse mode/Fix mode.
After the exposure, VD is output in
the next HD timing.
HD
VD
DATA 1 2 3 4 5 6
WEN
BUSY
After T RIG input, BUSY goes into H level immediately
At the same time of the end of video output, BUSY goes into L level.
indefinite
10041003100210011000
11
The specification is subject to change without notice.
D4110637B
Page 13

-2 HV-reset mode
Exposure starts at the timing of TRIG signal IN.
After each exposure is completed, the camera outputs video immediately by resetting
HD and VD.
TRIG IN
(Negative)
CCD
Exposure
VUDEO
OUT
WEN OUT
(Pos itive)
BUSY
(Positive)
TRIG IN is not acceptable for
1V after mode change
Exposure time
(E-shutter SW setting value)
VD pause during standby
VD output for 1V on ly
HD output every H
Last update: 2002.0806
Automatically re turns to normal shutter if H lev el
stays for 10V (1/3s) or longer
indefinite
Random trigger shutterNormal shutter Normal shutter
Timing detail (HV reset mode)
After exposure, HD is reset together w ith VD
TRIG
Exposure
HD
VD
DATA 1 2 3 4 5 6
WEN
BUSY
-3 Relation of HD and BUSY signal ((((HV Reset / V Reset))))
Other operations are same as in V reset.
BUSY rises at the rising edge timing of TRIG signal and falls with the phase
difference of 148clk from HD.
10041003100210011000
WEN
BUSY
HD
VD
CLK
148clk
12
The specification is subject to change without notice.
D4110637B
Page 14

Last update: 2002.0806
(3) Partial-scan mode setting
The partial-scan ON/OFF selection is made via the rear-panel DIP SW6 (= DIP 6 ON,
1/3 partial). Under the partial-scan mode, shutter-speed set via rear-panel DIP SW.
VIDEO OUT
(Normal)
VIDEO OUT
(Screen Center 1/3)
VIDEO OUT
(Detail)
87H
V-blanking
(Include High-speed transfer)
High-speed
transfer
3
3
4
4
0
1
Normal-speed
transfer
332H
VIDEO OUTPUT
High-speed
transfer
6
6
7
7
0
1
84H
High-speed transfer
High-speed transfer
Open pixels 336 lines
Normal-speed transfer
Open pixels 332 lines
High-speed transfer
Open pixels 336 lines
High-speed 84 lines
Normal 332 lines
High-speed 84 lines
Total 500 lines
+BLK3 lines
Approx. 60.0Hz
* Screen center 1/3 read out
◎ Total lines
◎ Effective lines
◎ Scanning area
1007 lines
1004 lines
332 lines
IMPORTANT
Sometimes, white blooming is observed at the down side of the screen when
intensive light enters the image-pickup-area in a wide angle. This phenomenon is
not attributable to malfunction of the camera. If the white blooming occurs, try and
reduce the amount of incoming light.
13
The specification is subject to change without notice.
D4110637B
Page 15

Last update: 2002.0806
8. Specification
Model CS3940
Image sensor Interline CCD
Total pixel 1028(H) x 1008(V)
Active pixel 1004(H) x 1004(V)
Unit cell size 7.4(H) x 7.4(V) micrometer
Optical size 3/4 type equivalent format
Scanning system Non-interlace
Scanning frequency 30.12kHz(H) (Under shutter OFF)
29.91Hz(V) (All pixels read out)
Aspect ratio 1:1
Sync system Internal
Illumination 300 lx (F4.0)
Video output Digital output: TIA/EIA-644
Data: 10bit (40.0MHz)
External input signal Trigger signal
--- TTL level (Positive)
--- Input impedance: 10k-ohm
--- Pulse width: 33.2 micro s or more
Signal output WEN
--- 4V(p-p), Positive, Pulse width 1H (Approx. 33.2 micro s)
HD
(Output through DC IN/SYNC)
--- 4V(p-p), Negative (Output through inner SW selection),
Repeating frequency: 30.12kHz (Under shutter OFF)
(Output through DATA OUT)
--- TIA/EIA-644 (LVDS)
Driver output voltage:
plus/minus 350mV (Differential output) / 100-ohm
VD
(Output through DC IN/SYNC)
--- 4V(p-p), Negative (Output through inner SW selection),
Repeating frequency: 29.91Hz
(Output through DATA OUT)
--- TIA/EIA-644 (LVDS)
Driver output voltage:
plus/minus 350mV (Differential output) / 100-ohm
Clock
--- TIA/EIA-644 (LVDS)
Driver output voltage:
plus/minus 350mV (Differential output) / 100-ohm
Gamma correction OFF (Gamma = 1.0)
Shutter speed 8 scales, from 1/30s through 1/10000s
14
The specification is subject to change without notice.
D4110637B
Page 16

Last update: 2002.0806
RTS FIX mode: Exposure time is determined by the shutter-speed
PULSE mode: Exposure time depends on PULSE width
V-reset mode: Video is output by resetting VD
HV-reset mode: Video is output by resetting HD/VD
Partial scan ON / OFF selection (Initial factory setting: OFF)
1/2 partial: Screen center 1/3 readout in Approx. 1/60 sec.
Lens mount C-mount
Power source DC12V plus/minus 10 percent
Power consumption Approx. 4.8 W (Under normal shutter mode)
Ambient condition Temperature:
--- (Performance guaranteed) From 0 through 40 degrees Celsius
--- (Operation guaranteed) From -5 through 45 degrees
Celsius
Humidity:
--- (Performance guaranteed) From 30 through 90 percent
(No condensing)
--- (Operation guaranteed) From 10 through 90 percent
(No condensing)
External dimension 55 (W) x 55 (H) x 78 (D) mm
Mass (Weight) Approx. 260 g
Spectrum response Typical relative spectrum response
Including lens characteristics, excluding light source
15
The specification is subject to change without notice.
D4110637B
Page 17

Last update: 2002.0806
9. Timing Chart
9-1. Digital output timing
(1) H rate (Under shutter OFF)
TIA/EIA-644 (LVDS)
Driver output voltage: Plus/minus 350mV [Differential output] / 100-ohm
HD
DATA
CLK
235CLK
86CLK
Total clock counts 1328CLK / 1H (33.2 micro s)
DATA counts 1004CLK / 1H (25.1 micro s)
CLK 25.0ns
(2) H rate (Under shutter ON, for 1H only at the starting of readout)
TIA/EIA-644 (LVDS)
Driver output voltage: Plus/minus 350mV [Differential output] / 100-ohm
HD
25.0ns
3CLK
1004CLK
1328CLK
DATA
CLK
86CLK
25.0ns
295CLK
1004CLK
1620CLK
16
The specification is subject to change without notice.
235CLK
Total clock counts 1620CLK / 1H (40.5 micro s)
DATA counts 1004CLK / 1H (25.1 micro s)
CLK 25.0ns
Under electric shutter ON, one HD period only at the end of exposure gets
!!!!
Caution
longer by 292CLK (7.3 micro s). Don’t synchronize camera with internal
HD by PLL circuit or others. Be sure to use CLK-output based on HD/VD
at the start of capturing images.
D4110637B
Page 18

Last update: 2002.0806
(3) V rate
TIA/EIA-644 (LVDS)
Driver output voltage: plus/minus 350mV [Differential output] / 100-ohm
VD
DATA
3H 1004H
1007H(29.91Hz)
17
The specification is subject to change without notice.
D4110637B
Page 19

Last update: 2002.0806
10. External View
TOKYO ELECTRONIC INDUSTRY CO., LTD
TOKYO ELECTRONIC INDUSTRY CO., LTD
TOKYO ELECTRONIC INDUSTRY CO., LTDTOKYO ELECTRONIC INDUSTRY CO., LTD
Head Office: 4-7-1 Asahigaoka, Hino-shi, Tokyo,191-0065, Japan
(Overseas Sales Department)
Phone: +81-042-589-8771 Fax: +81-042-589-8774
Kansai Branch: Nitto Building, 2-1-1 Sakaemachi-dori, Chuo-ku,
Kobe, Hyogo, 650-0023, Japan
Phone: +81-078-321-3461 Fax: +81-078-321-3463
Fukuoka Office: Yen building, 2-7-21, Hirao, Chuo-ku,
Fukuoka, 810-0014, Japan
Phone: +81-092-523-3395 Fax: +81-092-523-3397
URL: http://www.teli.co.jp
18
The specification is subject to change without notice.
D4110637B
 Loading...