

Page 1
SOL-SEARCHER INSTRUCTIONS
Parts List
Sol-Searcher Unit
(2) 10-32 Socket Head Screws
5/32 Allen Wrench
5/64 Allen Wrench
Introduction
"I can't find the Sun!" Sounds funny. However,
is
the Sun
telescope. You don't ever want to chance a direct
gaze at the sun, let alone a magnified image of it.
order to use it, you look away from the sun. It
functions as a projector, with its aperture acting as
a "pinhole" to image the sun back on a translucent
"screen."
Safety
safe and secure, finder telescope is covered, and
your equipment is not left unattended.
tricky to find in a properly filtered
Sol-Searcher is absolutely safe because in
Always make sure your telescope solar filter is
Remember, Sol-Searcher is a projection unit. Do not try to view the sun through the "pinhole" aperture.
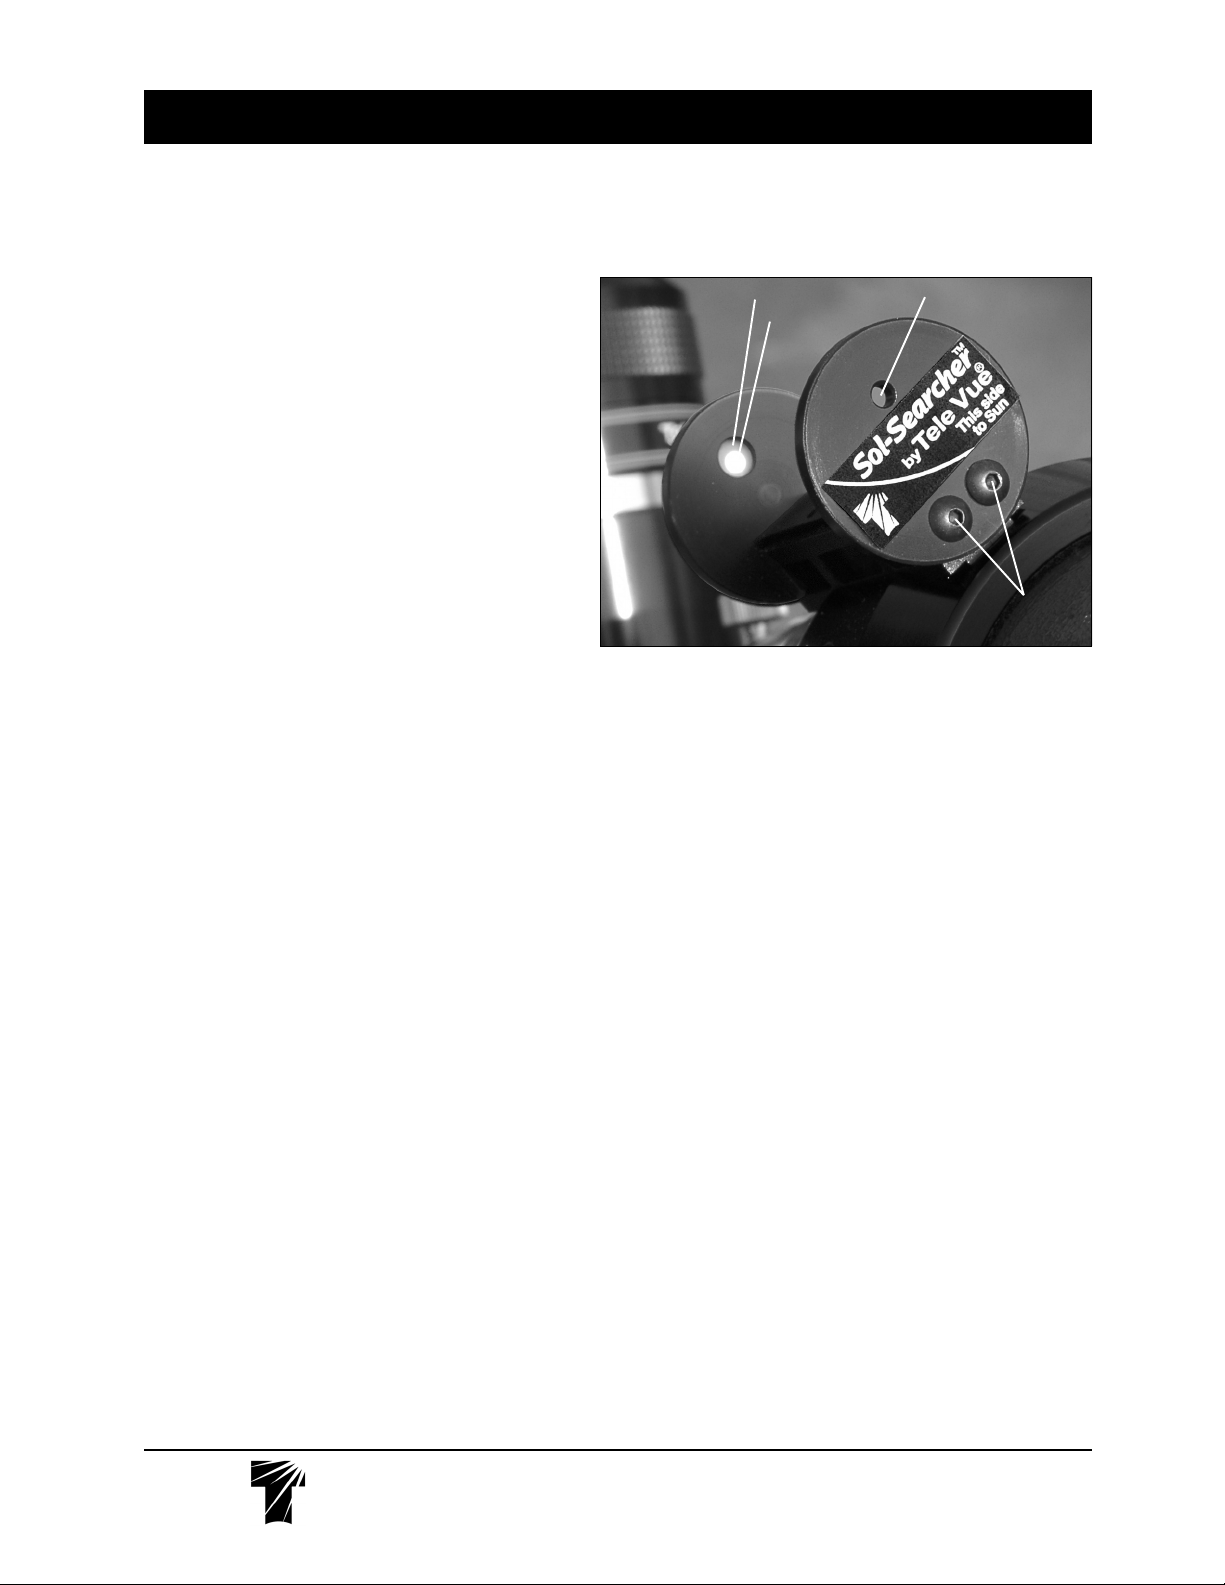
Projection Screen
Image of sun
Loosen to adjust image position
Sol-Searcher in action, mounted on Tele Vue telescope.
Aperture
Mounting
The Sol-Searcher attaches to the mount ring slot of every Tele Vue telescope (or to the rear cell slot in the Tele
Vue Ranger).
1) With the nameplate side facing the front of the telescope (and the sun), position the Sol-Searcher in the mount ring slot.
2) Insert the #10-32 cap head screws in the holes and tighten with the 5/32" Allen wrench.
For use with telescopes other than Tele Vue, mount the Sol-Searcher using #10-32 screws, or if necessary, attach
with Velcro (not supplied).
Alignment & Use
The aperture acts like a "pinhole camera" to project a bright solar disc onto the ¼" translucent screen in the
rear of the unit. You simply center the image on the screen to safely locate the sun, viewing the screen from either
side.
1) After Sol-Searcher is mounted, center the projected image of the Sun in the translucent screen.
2) Look through your widest field eyepiece. You should see at least a portion of the sun. (Please note that it is unlikely
you'll be able to so accurately align Sol-Searcher so that the Sun is precisely centered. Sol-Searcher is for
"capturing" the sun.)
3) If the sun was not in the field, or you want to try to align the image better, simply loosen the button head screws
on the front and move the disc (the holes are oversized) to align the sun while it appears centered in the telescope.
Retighten the button head screws.
Care
If necessary, the projection screen can be cleaned with a camel hair brush or cotton swab with Windex. Use very
gently to prevent pushing out the projection screen.
NOTE: Should the projection screen get poked out, please call Tele Vue.
Te l e V u e
Visionary
®
32 Elkay Dr., Chester, New York 10918 (845) 469-4551 televue.com
 Loading...