

Page 1
Printed in China
Page 2

Index
31
7400 Hardware User Guide
© 2011 TeleType GPS
All rights reserved. No parts of this work may be reproduced in
any form or by any means - graphic, electronic, or mechanical,
including photocopying, recording, taping, or information
storage and retrieval systems - without the written permission
of the publisher.
Products that are referred to in this document may be either
trademarks and/or registered trademarks of the respective
owners. The publisher and the author make no claim to these
trademarks.
While every precaution has been taken in the preparation of
this document, the publisher and the author assume no
responsibility for errors or omissions, or for damages resulting
from the use of information contained in this document or from
the use of programs and source code that may accompany it. In
no event shall the publisher and the author be liable for any
loss of profit or any other commercial damage caused or alleged
to have been caused directly or indirectly by this document.
Index
- A -
Accessories 8
- B -
Backlight 24
Bluetooth 18
- C -
Calculator 21
Calender 21
Calibration 24
Cell Phone 18
- D -
Date 24
- E -
Ebook 20
- F -
Flash Movie 20
FM 23
Frequency 23
- M -
Movies 20
Music 20
- N -
Navigation 17
Notepad 21
- P -
Photo 20
Power 24
Power Cord 8
- R -
Radio 23
- S -
Serial Expansion 24
Specs 9
System Info 24
- T -
Technichal Specfications 9
Time 24
Tools 21
- V -
Volume 24
© 2011 TeleType GPS
Page 3

Table of Contents
Part I
Getting Started
..........................................................................61 Disclaimer
..........................................................................82 Accessories
..........................................................................93 Specifications
Contents
3
6
Part II
Basic Operation
Part III Main Menu
..........................................................................171 Navigation
2
..........................................................................18
Bluetooth
3
..........................................................................20
Media Player
..........................................................................214 Tools
..........................................................................235 FM Radio
..........................................................................246 Serial Expansion
..........................................................................247 System
Part IV
Troubleshooting
Index 31
© 2011 TeleType GPS
12
16
28
Page 4

Troubleshooting
29
Cannot
communicate
with computer
No GPS signal
Unable to use
navigation
function
The USB cable is
not connected
well
Poor reception
area such as inside
a building, an
urban area or a
mountainous
region;
interference from
another device in
the vehicle
Contact TeleType GPS Support Staff
Connect USB cable; check
ActiveSync settings
Mount the GPS on the
windshield with a clear
view of the sky; try
obtaining a signal outside
your vehicle; note that
some electronics and
windshield treatments
interfere with GPS signal
strength
© 2011 TeleType GPS
Page 5
7400 Hardware User Guide
28
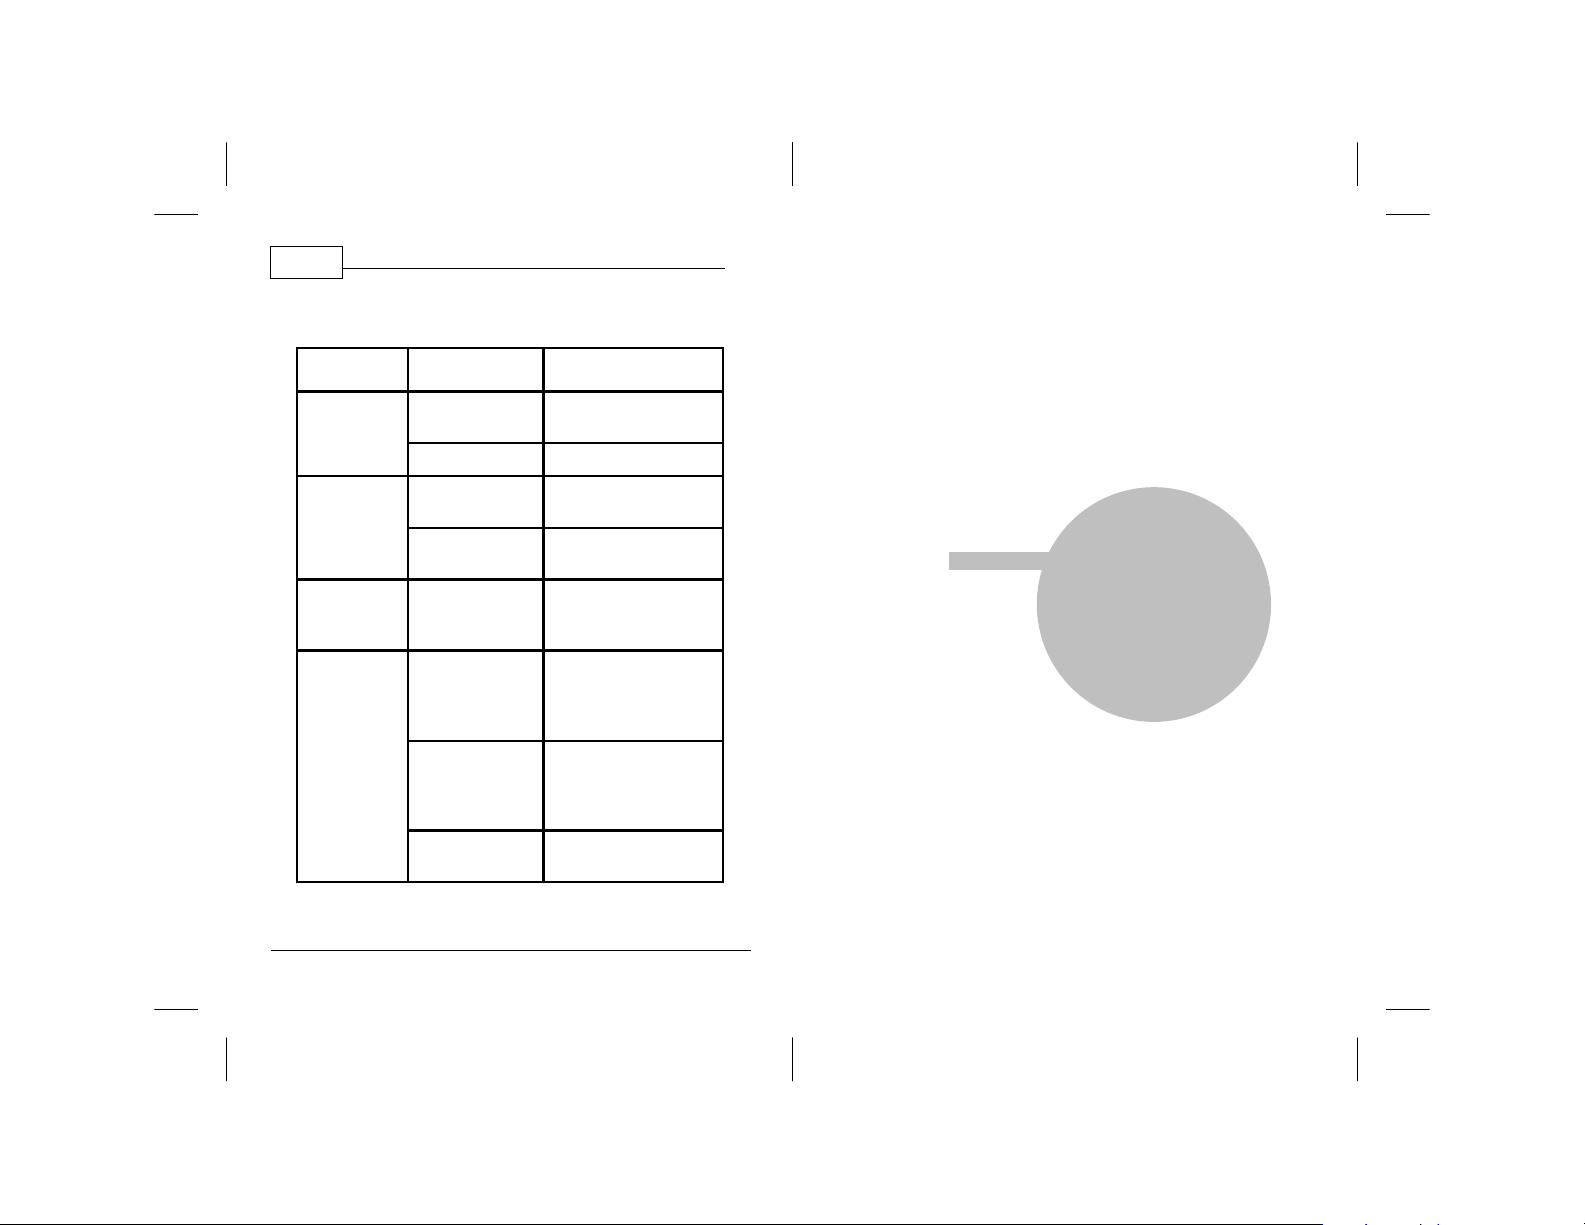
4 Troubleshooting
Problem Reason Solution
GPS will not
power on
Screen is too
dark
Touch screen
function is
abnormal
No Sound
© 2011 TeleType GPS
Lack of power
Power is off Press the Power button
The backlight is
not bright enough
The backlight has
been turned off
Touch screen
calibration is off
The volume level is
at its lowest
setting
Poor connection
between
earphones and
device
FM Transmitter is
enabled
Plug in the device to AC
or DC power
Adjust the backlight to a
brighter setting
Touch the screen and
screen will turn on
Use System Tools to
recalibrate the screen
Increase the volume using
the WorldNav software
or the hardware system
settings
Check the connection to
the earphones
Disable your FM
Transmitter
Part
I
Page 6

7400 Hardware User Guide
6
1 Getting Started
1.1 Disclaimer
Use the WorldNav at your own risk. To reduce the
risk of unsafe operation, please carefully review
and understand this user manual.
It is the user's responsibility to use this product
prudently. This product is intended to be used only
as a navigational aid and must not be used for any
purpose requiring precise measurement of
direction, distance, location, or topography.
Statistics provided such as trip time are best
estimates and may not accurately reflect true
conditions.
The Global Positioning System (GPS) is operated by
the United States Government, which is solely
responsible for its accuracy and maintenance. The
system is subject to changes which could affect the
accuracy and performance of all GPS equipment.
Part
IV
© 2011 TeleType GPS
Page 7

7400 Hardware User Guide
26
Getting Started
7
moves to the left, right, upper and lower parts
of the screen. Click <OK> when complete.
2. GPS Reset - resets the satellite receiver.
3. Factory Reset - Automatically returns to
default settings. WARNING: Will erase all data!
For use in vehicles, it is the sole responsibility of the
operator of the TeleType GPS WorldNav to place
and secure the GPS unit so that it will not interfere
with the vehicle operating controls and safety
devices, obstruct the driver's view of driving
conditions, or cause damage or personal injury in
the event of an accident. Do not mount the
TeleType GPS WorldNav in a place where the driver
or passengers are likely to impact it in an accident
or collision. The mounting hardware supplied by
TeleType Co. is not warranted against collision
damage or the consequences thereof.
It is the sole responsibility of the driver of the
vehicle to operate the vehicle in a safe manner, to
maintain full surveillance of all driving conditions at
all times, and not become distracted by the GPS
system to the exclusion of safe driving practices. It
is unsafe to operate the controls of the GPS system
while you are driving. Failure by the driver of a
vehicle equipped with a TeleType GPS system to
pay full attention to operation of the vehicle and
road conditions while the vehicle is in motion could
result in an accident or collision with property
damage and personal injury.
© 2011 TeleType GPS
© 2011 TeleType GPS
Page 8

7400 Hardware User Guide
8
Main Menu
25
IN NO EVENT SHALL TELETYPE CO BE LIABLE FOR
ANY INCIDENTAL, SPECIAL, INDIRECT OR
CONSEQUENTIAL DAMAGES, WHETHER RESULTING
FROM THE USE, MISUSE, OR INABILITY TO USE THIS
PRODUCT OR FROM DEFECTS IN THE PRODUCT.
SOME STATES DO NOT ALLOW THE EXCLUSION OF
INCIDENTAL OR CONSEQUENTIAL DAMAGES, SO
THE ABOVE LIMITATIONS MAY NOT APPLY TO YOU.
1.2 Accessories
Before using the GPS, make sure you have all of the
accessories listed below. If any of the accessories
are damaged or missing, contact TeleType.
1. AC (Wall) Charger
2. DC (Cigarette Lighter) Charger
3. USB Cord
4. Window Mount (Cradle and Suction Cup)
5. User Manuals
volume setting at 100% and use the software to adjust the volume.
(If you lower the sound in the software, the System will have less
control of the volume.)
Power: Displays battery power remaining and
allows you to set the time for automatic power-off.
Backlight: Adjust screen brightness and set
automatic screen power to "Off".
Date/Time: This function is used to adjust the
internal calendar. Refer to the WorldNav Software
Guide for instructions on how to set the time for
navigation.
Language: Set the default language. Please note
that the WorldNav software will override these
settings for navigation. Refer to the WorldNav
software user guide for details.
System Info: Displays a detailed summary of system
information:
1. Calibration - click this icon to adjust the screen
calibration. Move the [+] by pressing directly in
the center of the icon. Repeat this process as it
© 2011 TeleType GPS
© 2011 TeleType GPS
Page 9

7400 Hardware User Guide
24
Getting Started
9
3.6 Serial Expansion
The Serial Expansion Port is for use with traffic
incident reporting, tire pressure monitoring or
other features based on serial communications.
Contact TeleType for details regarding available
options sold separately.
3.7 System
The <System> icon allows you to set several
different system functions. Here you can adjust the
backlight strength, change the language, set the
time and much more.
System Menu
Volume: Adjust the speaker volume* and enable/
disable "screen clicks".
Note: For maximum range of sound adjustment, keep the System
1.3 Specifications
CPU SiRF Atlas IV AT842 533MHz
NAND Flash 4 GB
DDR 128 MB
LCD
Touch Screen High precision touch screen
USB USB Client 2.0,MINI USB interface
Micro SD
Antenna Internal antenna
Precision Position < 10 meters / 32 ft
Audio frequency
Bluetooth
FM Transmitter
7.0 inch TFT screen, resolution:
800 x 480 pixels
Micro SD slot, supports Micro SD
card (maximum 32GB)
1. 2Watt Built-in Speaker
2. Hi-Fi stereo sound
3. 20mW@32ohm audio output
Built-in Bluetooth with Bluetooth
1.2 standard; allows for hands-free
cell phone use
Broadcasts GPS audio through
vehicle speakers
© 2011 TeleType GPS
© 2011 TeleType GPS
Page 10

7400 Hardware User Guide
10
Main Menu
23
Cold boot:<42 seconds
GPS
Battery
Battery charging DC 5V (use together with USB-in)
Power Adaptor 100/220V power adaptor, 5V/1.5A
Car Charger Converts 12V to 5V/1.5A
LED status
Temperature
New Weight 366 grams / 13 oz
Dimensions
System Platform Microsoft Windows CE 6.0
Navigation software
location
Hot boot:<9 seconds (with
unobstructed view of the sky)
Warm boot:<18 seconds
Built-in high capacity Lithium back
up battery (1200 mAh)
Red light: Charging; Green light:
Fully Charged
Working temperature:
0 °C - 60 °C (32°F - 140°F)
Storing temperature:
-20 °C - 60 °C (-4°F - 140°F)
175 x 109.2 x 14.1 mm
6.88” x 4.29” x .55”
Internal flash memory or Micro SD
card
3.5 FM Radio
The <FM> button enables you to link your device to
an unused radio frequency channel, thereby
allowing you to hear your route instructions over
the radio speakers. Select a frequency from the FM
Page and then set your radio dial to that frequency.
Be sure you have selected <FM Switch>.
FM Frequency Selection Screen
© 2011 TeleType GPS
© 2011 TeleType GPS
Page 11

7400 Hardware User Guide
22
2. Click on the <Calculator> icon to access the
calculator. Here you can switch between a
standard calculator and a scientific calculator.
Calculator Screen
3. Click on the <Calendar> icon to access your
calendar.
Calendar Screen
© 2011 TeleType GPS
Part
II
Page 12

7400 Hardware User Guide
12
Main Menu
21
2 Basic Operation
Turning on and off
Turn on or off your GPS by pressing the power
button on the top of the device.
Hardware Reset
Occasionally, you may need to perform a hardware
reset when your GPS stops responding or appears
to be "frozen" or "locked up." You can perform a
reset by pressing the RESET button on the back of
the device.
Power Supply
In addition to the built-in lithium battery, you may
power the device using the cigarette lighter charger
(DC), the wall charger (AC), or the USB charger.
Micro SD Card
This device supports micro SD cards. Be sure the
card is securely inserted before use.
Touch Screen/ Stylus Pen
Your device comes equipped with an LCD touch
screen, allowing you to move the screen using your
3.4 Tools
By clicking on the <Tools> icon, you will have access
to features such as a notepad, calculator and
calendar.
Tools Menu
1. Click on the <Note> icon to access your
Notepad. Here you can manually type in notes.
This is useful as a driver log, address book, or
reminder list.
Notepad Screen
© 2011 TeleType GPS
© 2011 TeleType GPS
Page 13

7400 Hardware User Guide
20
Basic Operation
13
3.3 Media Player
1. Click the icon to access your media player
menu. Here you can select <Music>, <Video>,
<Ebook>, <Photo>, or <Flash>.
2. Select the type of media (music, video, etc)
you want to play. For this example, choose
Ebook. Browse to your memory card folder.
Select the desired file from your selections.
3. You can now view the selected file. You can
scroll from page to page (or song/video/photo)
by using the arrows on the right side.
Ebook Selection Screen Ebook Reader
finger or a stylus pen (included). Simply press the
desired icon or location on the map to move the
screen.
Window Mount
Attach your device to the included window mount
and position in a location where it has an
unobstructed view of the sky so it receives a strong
satellite signal. You may choose to provide some
additional cushioning, such as foam on your
dashboard, to help absorb shock.
© 2011 TeleType GPS
© 2011 TeleType GPS
Page 14

Main Menu
press the icon to confirm the pin.
Pin Entry Screen
5. Click the icon. This will pair your phone to
the GPS. This may take a few minutes. Once
the phone recognizes the GPS, it will ask for the
pin code, enter 8888 and then confirm. The
pair is complete.
6. To make calls from your GPS, press the
icon. When receiving calls, the callers phone
number will appear on-screen.
7. Access your Call Log by pressing on the
icon.
19
8. Display a record of all the devices paired with
you GPS by pressing .
© 2011 TeleType GPS
Page 15

7400 Hardware User Guide
18
3.2 Bluetooth
This GPS device has the ability to sync with a
Bluetooth-enabled cell phone, allowing you to
make and receive calls directly from your GPS.
Instructions for setting up your Bluetooth feature
are below:
1. Begin by enabling the Bluetooth setting on
your cell phone.
2. Click on the <Bluetooth> icon on the GPS Main
Menu screen.
Part
3. Click the icon.
Bluetooth Settings Screen
4. Click the icon and set the pin code, then
© 2011 TeleType GPS
III
Page 16

7400 Hardware User Guide
16
Main Menu
17
3 Main Menu
Main Menu Page 1
Main Menu Page 2
• Navigation - Provides navigation function
• Bluetooth - Allows you to connect you
Bluetooth-enabled cell phone directly to the GPS;
you can then dial numbers and receive calls
directly from your GPS
• Media Player - Allows you to access media files
such as videos, music and eBooks
• Tools - Offers a variety of useful tools such as a
calculator, notepad and calendar
• FM Radio - Allows you to hear your GPS
instructions over your vehicle's speakers
• Serial Expansion Port - for use with features
based on serial communications
• System - Allows you to set your device's system
functions such as volume, power and language
3.1 Navigation
Please carefully read the WorldNav Software Guide
for navigation instructions.
WorldNav Software
© 2011 TeleType GPS
© 2011 TeleType GPS
 Loading...