

Page 1
Page 2

Page 3

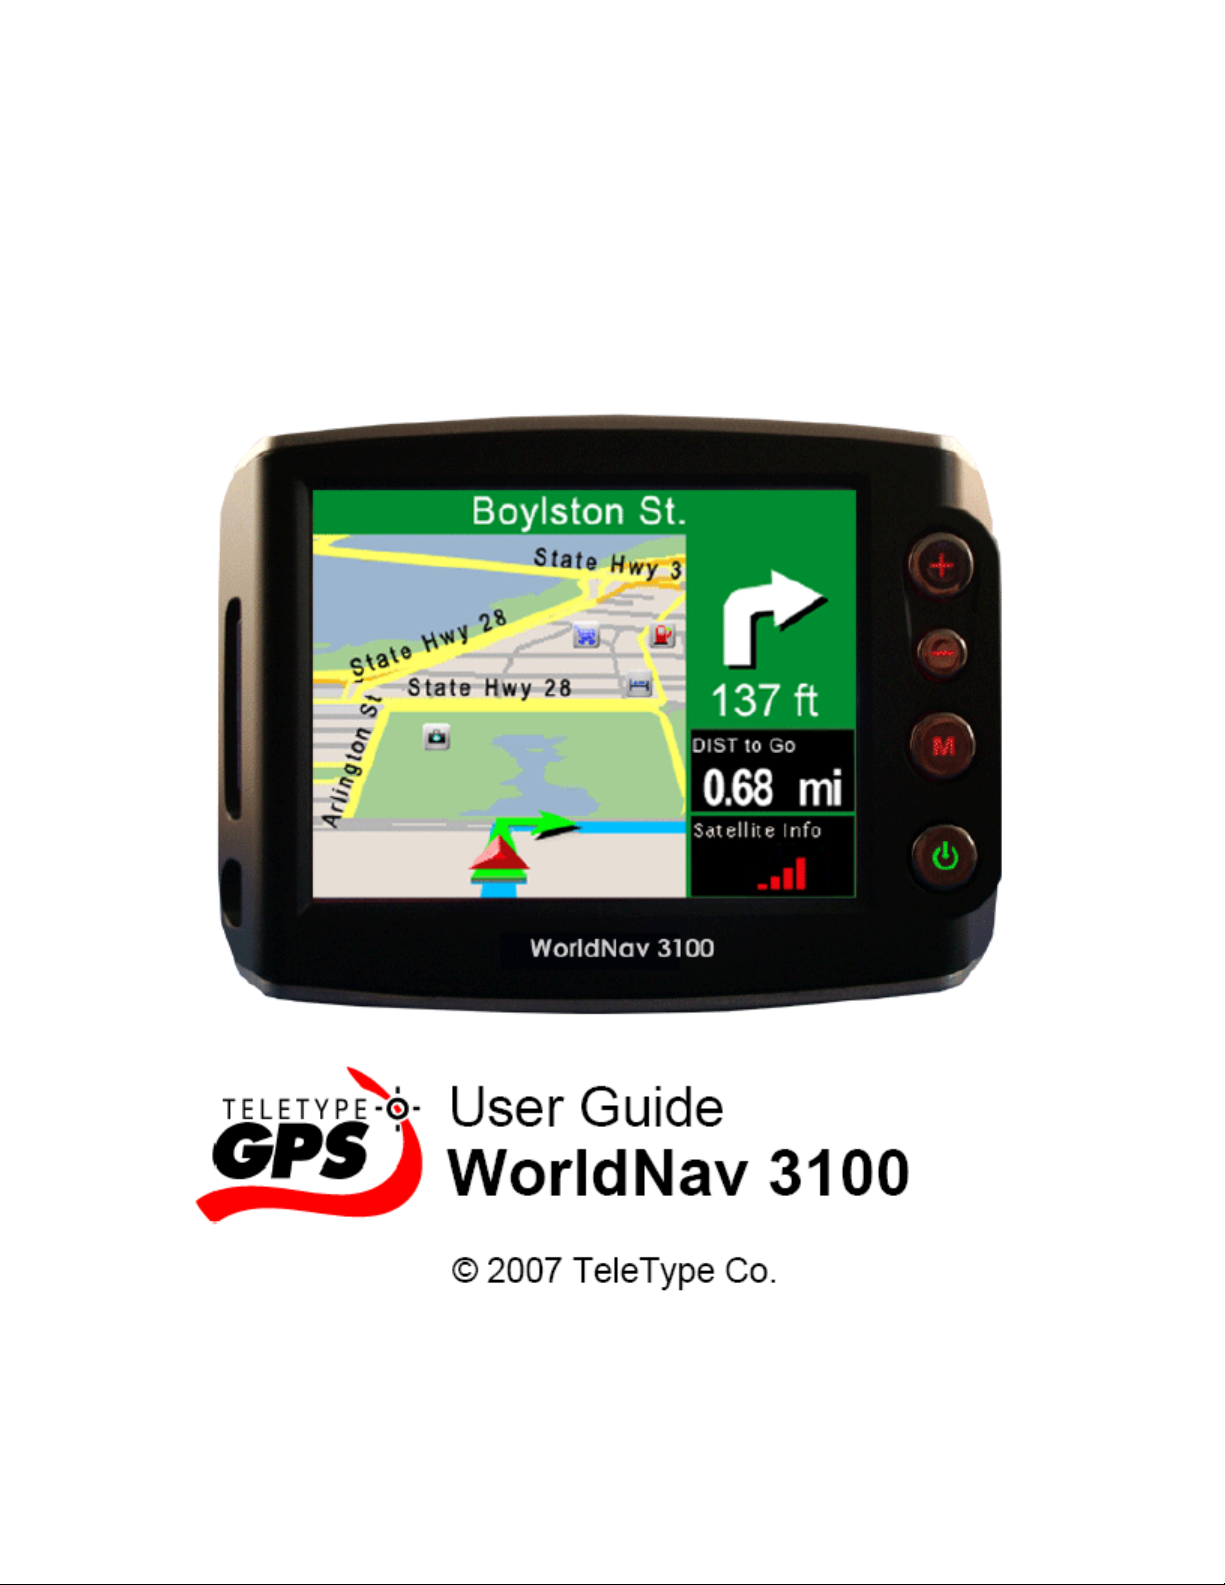
WorldNav 3100
© 2007 TeleType Co.
All rights reserved. No parts of this work may be reproduced in any form or by any means - graphic, electronic, or
mechanical, including photocopying, recording, taping, or information storage and retrieval systems - without the
written permission of the publisher.
Products that are referred to in this document may be either trademarks and/or registered trademarks of the
respective owners. The publisher and the author make no claim to these trademarks.
While every precaution has been taken in the preparation of this document, the publisher and the author assume no
responsibility for errors or omissions, or for damages resulting from the use of information contained in this document
or from the use of programs and source code that may accompany it. In no event shall the publisher and the author be
liable for any loss of profit or any other commercial damage caused or alleged to have been caused directly or
indirectly by this document.
Printed: June 2007 in Boston, Massachusetts.
Page 4

WorldNav 31004
Table of Contents
Part I
Part II
Part III
Part IV
Foreword
Introduction
................................................................................................................................... 71 Disclaimer
................................................................................................................................... 82 Welcome
................................................................................................................................... 83 In the Box
................................................................................................................................... 94 Your WorldNav 3100 GPS System
................................................................................................................................... 105 Quick Start Method
Hardware Settings
................................................................................................................................... 131 Settings Menu
................................................................................................................................... 142 Brightness
................................................................................................................................... 153 Volume
................................................................................................................................... 164 Battery
................................................................................................................................... 175 Unit Charging
................................................................................................................................... 176 Calibration
Power and Battery Charging
Device Specifications
5
7
13
19
21
Part V
Part VI
Changing the Adapter Fuse
Troubleshooting Questions
23
26
Index 27
© 2007 TeleType Co.
Page 5

5Foreword
© 2007 TeleType Co.
Page 6

Part
I
Page 7

1 Introduction
1.1 Disclaimer
Use the WorldNav 3100 at your own risk. To reduce the risk of unsafe operation, please carefully review and
understand this user manual.
It is the user's responsibility to use this product prudently. This product is intended to be used only as a
navigational aid and must not be used for any purpose requiring precise measurement of direction, distance,
location, or topography. Statistics provided such as trip time are best estimates and may not accurately reflect
true conditions.
The Global Positioning System (GPS) is operated by the United States Government, which is solely responsible
for its accuracy and maintenance. The system is subject to changes which could affect the accuracy and
performance of all GPS equipment.
For use in vehicles, it is the sole responsibility of the owner/operator of the TeleType GPS WorldNav 3100 to
place and secure the GPS unit so that it will not interfere with the vehicle operating controls and safety devices,
obstruct the driver's view of driving conditions, or cause damage or personal injury in the event of an accident.
Do not mount the TeleType GPS WorldNav 3100 in a place where the driver or passengers are likely to impact it
in an accident or collision. The mounting hardware supplied by TeleType Co. is not warranted against collision
damage or the consequences thereof.
When used in vehicles, it is the sole responsibility of the driver of the vehicle to operate the vehicle in a safe
manner, to maintain full surveillance of all driving conditions at all times, and not become distracted by the GPS
system to the exclusion of safe driving practices. It is unsafe to operate the controls of the GPS system while you
are driving. Failure by the driver of a vehicle equipped with a TeleType GPS system to pay full attention to
operation of the vehicle and road conditions while the vehicle is in motion could result in an accident or collision
with property damage and personal injury.
Introduction 7
IN NO EVENT SHALL TELETYPE CO BE LIABLE FOR ANY INCIDENTAL, SPECIAL, INDIRECT OR
CONSEQUENTIAL DAMAGES, WHETHER RESULTING FROM THE USE, MISUSE, OR INABILITY TO USE
THIS PRODUCT OR FROM DEFECTS IN THE PRODUCT. SOME STATES DO NOT ALLOW THE EXCLUSION
OF INCIDENTAL OR CONSEQUENTIAL DAMAGES, SO THE ABOVE LIMITATIONS MAY NOT APPLY TO
YOU.
© 2007 TeleType Co.
Page 8

WorldNav 31008
1.2 Welcome
Congratulations on purchasing the TeleType WorldNav 3100! This document will provide you with
information on how to use the GPS. For software information read the documentation located in the
Software Manual.
1.3 In the Box
Upon receiving your WorldNav 3100, open the box to find the following items:
·
WorldNav 3100 Touch Screen GPS
·
Car Power cord
·
USB Sync cable for computer connectivity cord
·
Windshield mount
·
Dash mount adapter
·
Carrying bag
·
User Guide
·
Quick Start Guide
© 2007 TeleType Co.
Page 9

1.4 Your WorldNav 3100 GPS System
Front of your WorldNav 3100
Introduction 9
Back of your WorldNav 3100
© 2007 TeleType Co.
Page 10

WorldNav 310010
1.5 Quick Start Method
1. Plug in the WorldNav 3100 to the 12v car power lighter in your vehicle. In order to charge the unit while
driving, plug the power cord into the hole on the bottom right side of the GPS. The GPS will charge when
your car is on. If the WorldNav does not turn on immediately, press the Reset button located on the back of
the GPS. The reset button will not erase any of your saved history or points.
2. Your WorldNav includes a pre-configured Secure Digital card with maps and points of interest pre-installed.
The card has already been inserted into the GPS. Removing the card will result in the GPS becoming
non-operational. If in addition you have purchased an expansion SD Card, to insert your Secure Digital Card
in the side of the GPS, make sure the metal connection points on the card match with those visible inside
the device. To remove the card press down on the card, it will pop up and you can then remove the card
from the slot.
Secure Digital Card
3. Attach your GPS system to the windshield by putting the suction cup on the window (moisten cup if
necessary) and then by using the flip button next to the suction cup to achieve suction. Rest the
GPS on the dash to help stabilize it against vibration.
4. Flip the built-in receiver up and pointed towards your windshield. The WorldNav 3100 will
automatically lock into your GPS position; there is no configuration required. The GPS will know
your direction of travel only once you begin to move.
Mounted WorldNav 3100
5. From the Main Menu Screen select <Navigation>.
Device Main Menu Screen
6. Press the <I Agree> button to start using the GPS Device.
© 2007 TeleType Co.
Page 11

Introduction 11
Disclaimer Screen
7. If the GPS has not yet locked into position, you will see <Where To> and <Menu> at the top of the
map screen. The map will display your last position centered in the "target" [+] area.
Press <Where To> on the screen to get to the navigation screen.
Main Mapping Screen
7. Put in your destination by Address, Intersection or POI (point of interest).
8. The map route from your current location to the selected location should be displayed.
Routing from your last known position
9. If the GPS is locked into position you will hear "GPS position fixed, ready to navigate." The
<Where To> and <Menu> buttons will disappear.
Sample Routing Screen with Navigation Panel
© 2007 TeleType Co.
Page 12

Part
II
Page 13

2 Hardware Settings
2.1 Settings Menu
Here you can change the brightness and volume, calibrate the screen, and check the battery life.
Hardware Settings Button
Hardware Settings 13
Hardware Settings Menu
© 2007 TeleType Co.
Page 14

WorldNav 310014
2.2 Brightness
1. Press the <Main Menu> hardware button and then <Settings>.
Main Menu - Settings
2. Select the <Backlight> tab and adjust the slider to change screen brightness. A lower Backlight
setting will conserve the battery life.
Brightness Screen
© 2007 TeleType Co.
Page 15

2.3 Volume
1. Press the <Main Menu> hardware button and then <Settings>.
Main Menu - Settings
2. Select the <Volume> tab and adjust the slider to increase or decrease the volume.
Hardware Settings 15
Volume Screen
© 2007 TeleType Co.
Page 16

WorldNav 310016
2.4 Battery
1. Press the <Main Menu> hardware button and then the <Settings> button.
Main Menu - Settings
2. Select the <Battery> tab. The bar shows you how much battery life is remaining. If the device is
showing 1/4 or less power remaining you should use the car power cord while driving to recharge
the device.
Battery Screen
When the remaining power in the battery is 20~30 % of its full capacity, a warning window is displayed. In such a
case, immediately recharge the battery.
© 2007 TeleType Co.
Page 17

2.5 Unit Charging
Your WorldNav GPS has been tested for functionality. During the shipping process the battery may have
become discharged.
1. Plug the power cord into the bottom of the GPS in the hole marked DC 12V. Do not plug the cord into the
Audio jack.
2. Press <Reset> button located on the back of the GPS.
3. As you drive, the battery will charge.
The WorldNav 3100 can be charged with an AC/DC adapter or the included car power jack. AC/DC adapters
(part # 3020) can be purchased on the TeleType website. Note: If you buy an A/C adapter be sure to choose
one that offers 12 volts, 1 amp power. Using lower than 1 amp will not allow the battery to re-charge.
2.6 Calibration
1. If you touch the screen and the wrong letter appears, you may need to calibrate the GPS. Press the <Main
Menu> hardware button and then <Settings>.
Hardware Settings 17
Main Menu - Settings
2. Select the <Calibration> tab and press the <Calibration> button.
Calibration Button
3. Use a stylus (or dull pencil) to press a series of cross-hatches that will appear on your screen to
calibrate your screen display. Repeat this process periodically to optimize screen accuracy.
Calibration Screen
© 2007 TeleType Co.
Page 18

Part
III
Page 19

3 Power and Battery Charging
External Power Mode:
Power is supplied to the system from an AC/DC adapter or the included car power jack
in your car.
[Power button] light is red: The battery is being charged.
[Power button] light is green: The battery is fully charged.
Battery-powered Mode:
Power is supplied from the battery when an AC/DC adapter or the included car power
jack is disconnected.
[Power button] Green light blinks: Remainder battery is more than 50% of its full
capacity.
[Power button] Red light blinks: Remainder battery is less than 50% of its full capacity.
Power-saving Mode:
Pressing [Power button] switches the system to the power-saving mode.
Pressing the power button again returns the system to the operation mode.
Forced Power-saving
Mode:
When the remainder power in the battery is 20~30 % of its full capacity, the warning
window is displayed. In such a case, immediately recharge the battery. If the battery is
almost discharged, it enters forced power-saving mode automatically.
Conserving Battery:
To conserve battery life you need to completely turn off your GPS rather than simply
turn the screen off. Press the Reset button, located on the back of the device, for three
seconds or until the device shuts off. To turn the GPS back on, press the reset button
once. You will not lose any data in the process, all addresses and routing will be
retained.
Power and Battery Charging 19
© 2007 TeleType Co.
Page 20

Part
IV
Page 21

4 Device Specifications
Storage:
Secure Digital (SD) storage card.
Processor:
Samsung S3C2440 300MHZ
Operating System:
Microsoft® WinCE.NET 4.2
Display Screen:
Samsung 3.5 inch color TFT touch screen
Memory:
64MB SDRAM
32MB Flash ROM
Expansion Slot:
SD/MMC Slot for map and music storage
Audio:
Built-in Speaker
3.5mm Stereo Headphone Jack
GPS Chipset:
20 Channel SiRF III
Input Method:
Stylus Pen, Touch Screen, Key Button
External Ports:
Mini USB (ver 1.1) connector
Power Supply:
12~24V / 2A
Dimension (HxWxD):
3.12 x 4.37 x 1 inches / 79.24 x 110.99 x 25.4 mm
Weight:
6 ounces / 170.1 grams
Operating Temp:
Optimal: -4 F to 158 F (-20 C to 70 C)
Maximum: 176 F (80 C)
Physical Specifications:
Device Specifications 21
© 2007 TeleType Co.
Page 22

Part
V
Page 23

5 Changing the Adapter Fuse
In the event that the power cable fails to power the GPS you can replace the fuse. The end of the car
power lighter adapter unscrews, revealing a fuse just inside the cover. Replace the fuse with a
functioning fuse. Replacement fuses (2 Amps) are readily available from electronics stores.
Replacing the adapter fuse
Changing the Adapter Fuse 23
© 2007 TeleType Co.
Page 24

WorldNav 310024
© 2007 TeleType Co.
Page 25

Part
VI
Page 26

WorldNav 310026
6 Troubleshooting Questions
How do I charge my device?
1.
car power jack. AC/DC adapters can be purchased at the TeleType GPS website.
I can't get my device attached to the windshield.
2.
black switch which draws suction from the cup to attach the device. In cooler or drier conditions, you may
need to warm the windshield or moisten the suction cup for maximum seal.
When I touch the screen, the proper button doesn't light up.
3.
recalibrated. Please see the 'Calibration' section under 'Hardware Settings' for how to calibrate
your touch screen.
Does the USB cable charge the device?
4.
the GPS.
I can't get power on my car adapter.
5.
it is likely that the fuse inside the adapter is blown. Twist to unscrew the cover (the part that sticks
into the lighter) and replace the fuse with a fresh one.
My device is making a buzzing noise and is difficult to power up. How can I get the GPS to
6.
turn on?
This may occur if the 3100 battery dips below 15%. Follow this procedure to correct the
situation:
1.Remove SD card (by gently pressing the card into the device, it will then spring back out).
2.Connect the 12v power cord provided with the device while the motor is running in your car.
3.Press Reset (found on the back of the device).
4.Re-insert the SD card (make sure you hear a clicking sound that indicates the SD card was
inserted fully).
5.Press reset again. Let the device charge in the car.
The WorldNav 3100 can be charged with an AC/DC adapter or the included
If you can get power on the 110V cable but not in your car,
Place the suction cup firmly on the window and flip the
The screen may need to be
The USB cable is for connectivity. It cannot charge
Before removing the device from the car you may want to check the battery remaining indicator.
To check the battery life press the Menu button on the hardware that will bring you to the start up
screen. Press <Settings> and tap the <Battery> tab. This will display a bar that represents your
remaining battery life. If the bar appears to be continuously refilling, the battery is charging.
© 2007 TeleType Co.
Page 27

Index
27
Index
- A -
Adapter fuse 23
- B -
Backlight 14
Battery 16, 19
Brightness 14
- C -
Calibration 17
Car adapter 26
Car Power 8
Carrying case 8
Caution 7
Change destination 26
- M -
Media Transfer 17
Menu 13
Movies 17
MP3 17
Music 17
- N -
No power 26
- P -
Pictures 17
Position is off 26
Power Mode 19
Power up device 26
- Q -
- D -
Dash mount adapter 8
Device specifications 21
Disclaimer 7, 10
- G -
Getting started 10
- H -
Hardware Settings 13
Hardware specifications 21
- I -
I Agree 10
Install movies 17
Install music 17
Install pictures 17
Quick Start Guide 8
Quick start method 10
- R -
Recharging 19
Replace adapter fuse 23
Replacement fuse 26
Reset 19
- S -
Secure Digital Card 10
Settings 13
Show true location 26
Specifications 21
Streets aren't labeled 26
- T -
Transfer 17
Troubleshoot 26
© 2007 TeleType Co.
Page 28

WorldNav 310028
- U -
USB 8
User Guide 8
- V -
Video 17
Volume 15
- W -
Warning 7
Welcome 8
Windshield mount 8, 26
© 2007 TeleType Co.
Page 29

29
© 2007 TeleType Co.
Page 30

 Loading...