

Page 1
EZLoop™ VoIP Wireless (Wi-Fi) Phone 3rd Generation
Item# 21-114
QUICK GUIDE
Quick Guide for EZLoop VoIP Wireless Phone 3rd Generation
1
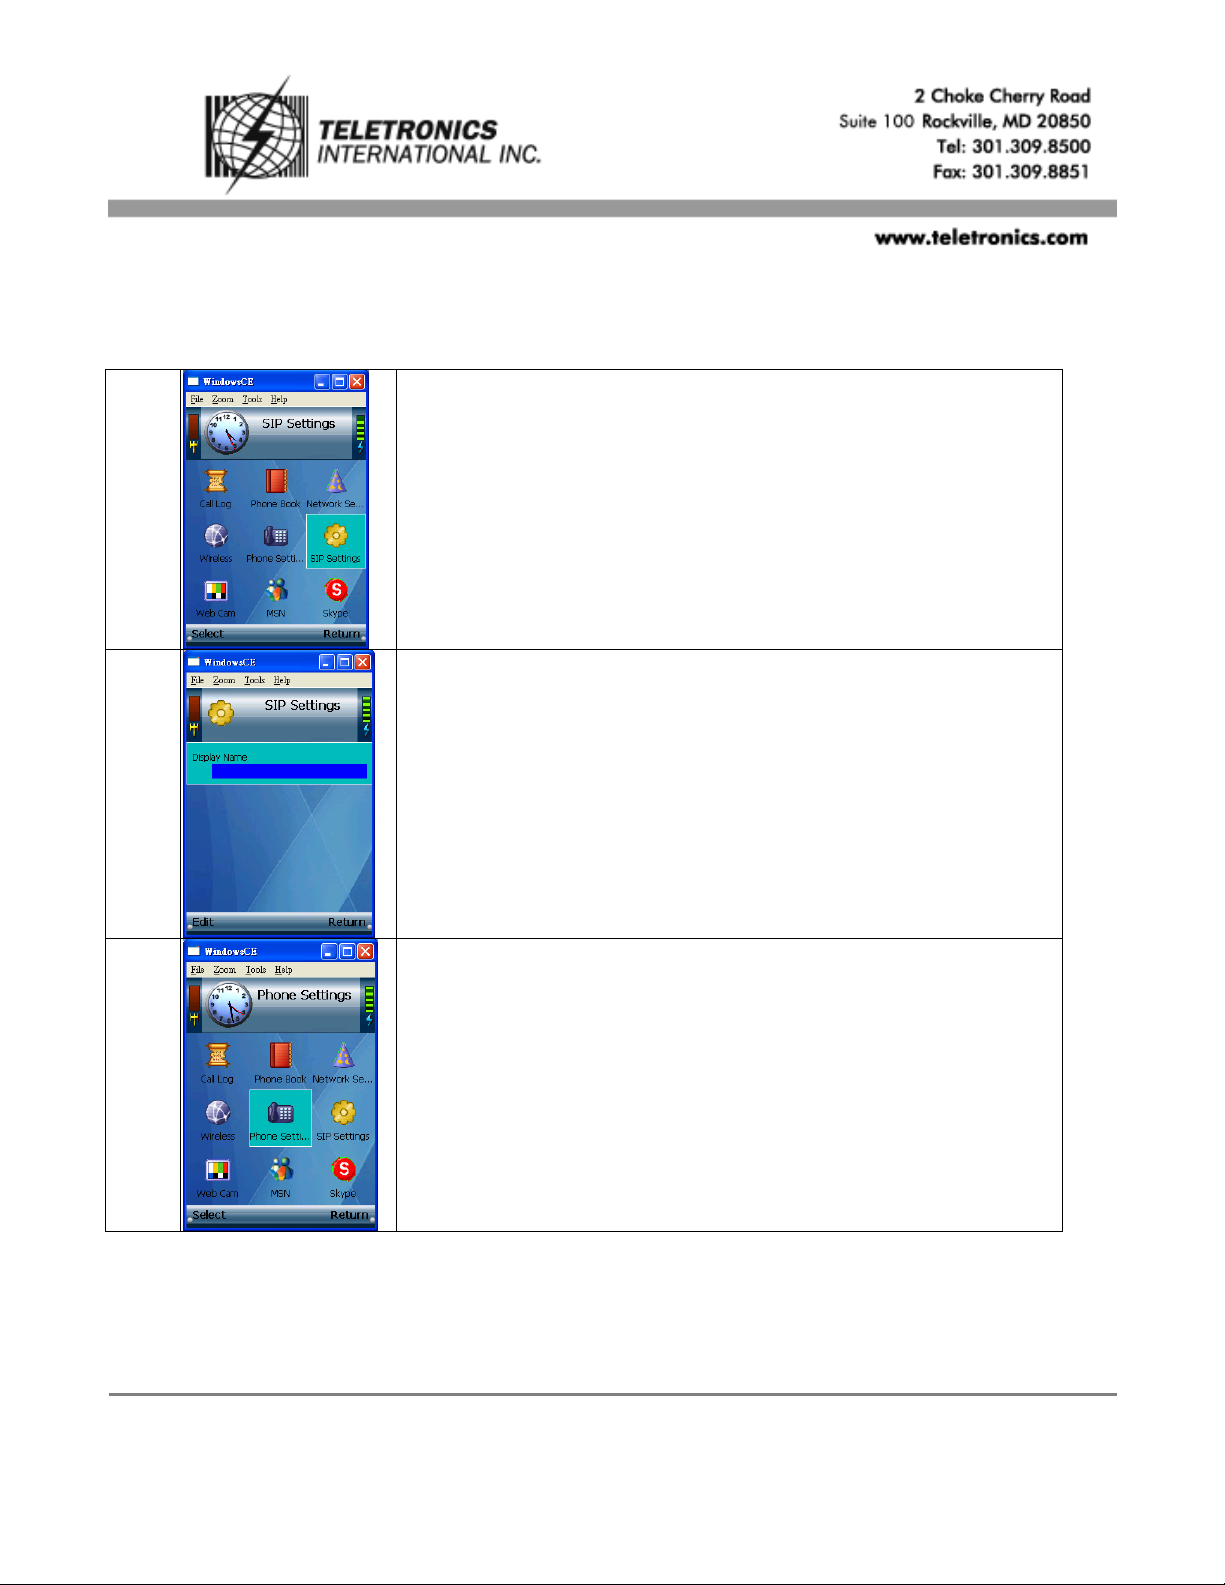
Before you begin, please kindly be noted the device is under user
mode, not admin mode for default setting. Now, please select “SIP
Settings” first.
2
You’ll see “Display Name” only. (Note.Still under user mode for now.)
3
Return to Standby Screen. Then, select “Phone Settings”.
Page 2
EZLoop™ VoIP Wireless (Wi-Fi) Phone 3rd Generation
Item# 21-114
QUICK GUIDE
4
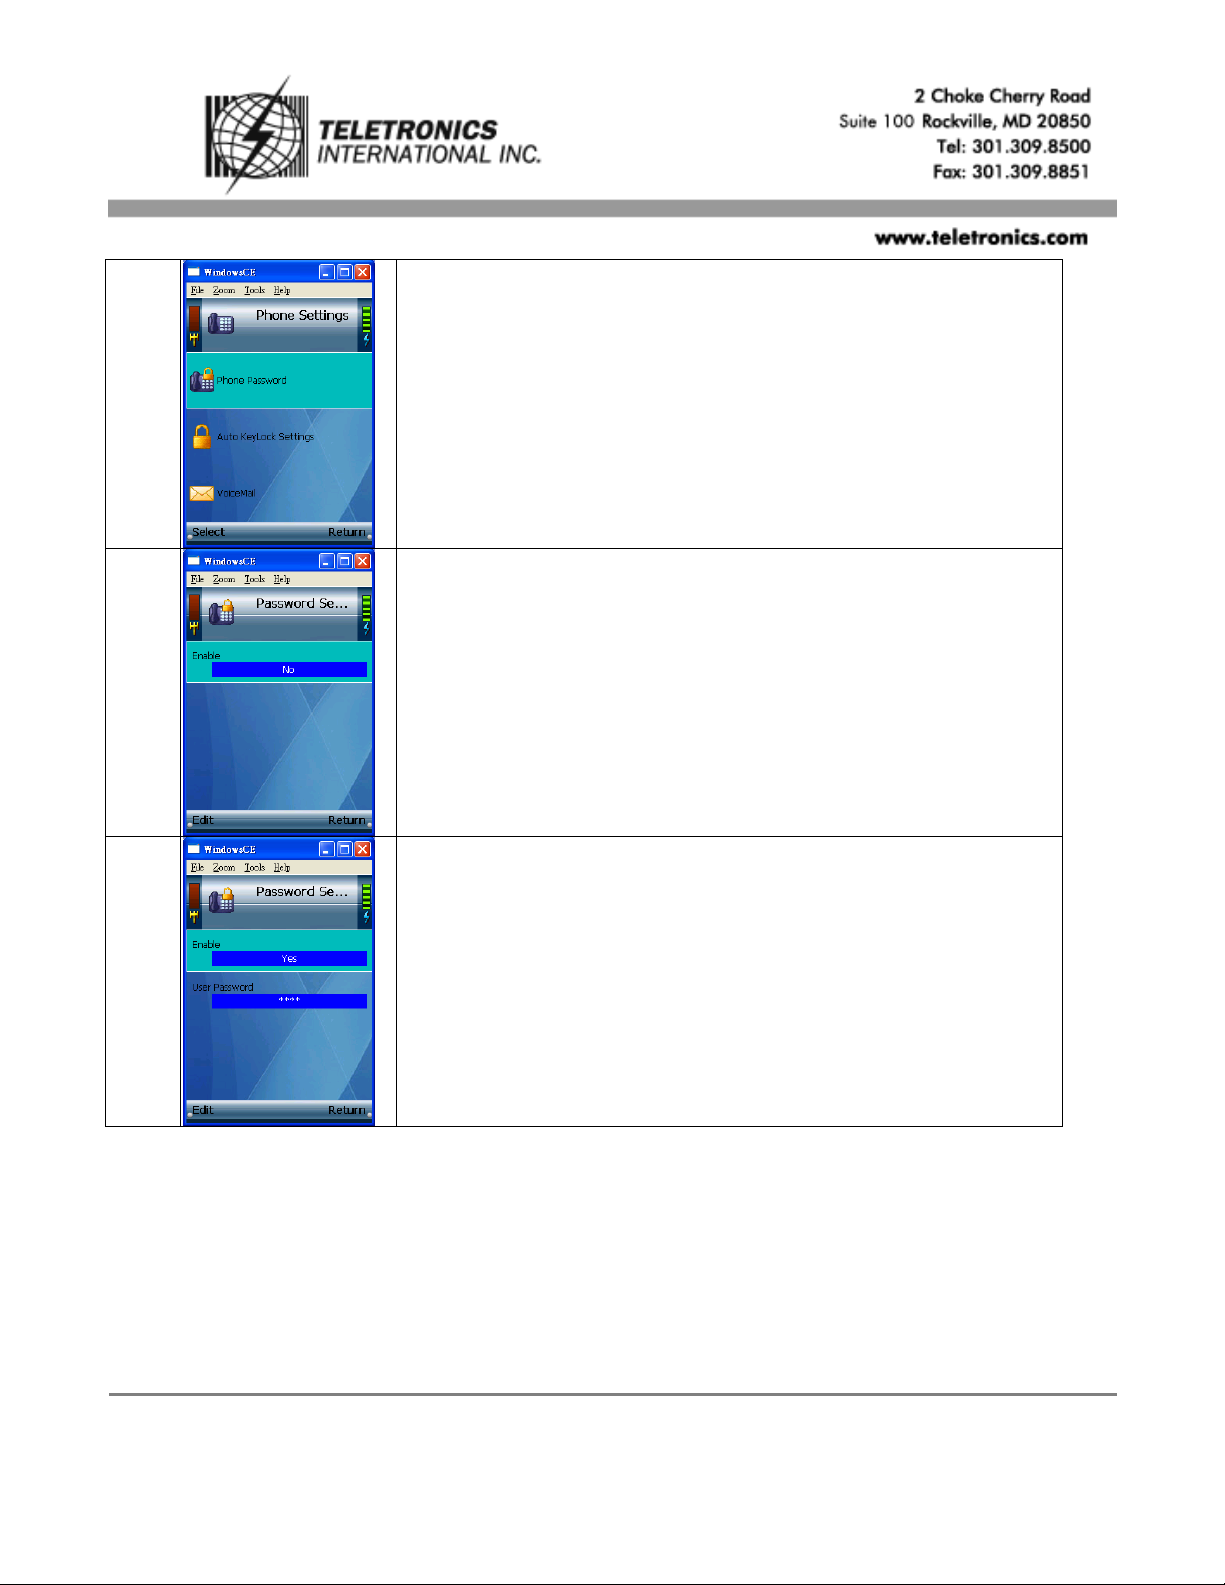
Select “Phone Password”.
5
You’ll see the default setting of “Password Settings” is No.
6
Edit “Enable” from No to Yes.
Page 3
EZLoop™ VoIP Wireless (Wi-Fi) Phone 3rd Generation
Item# 21-114
QUICK GUIDE
7
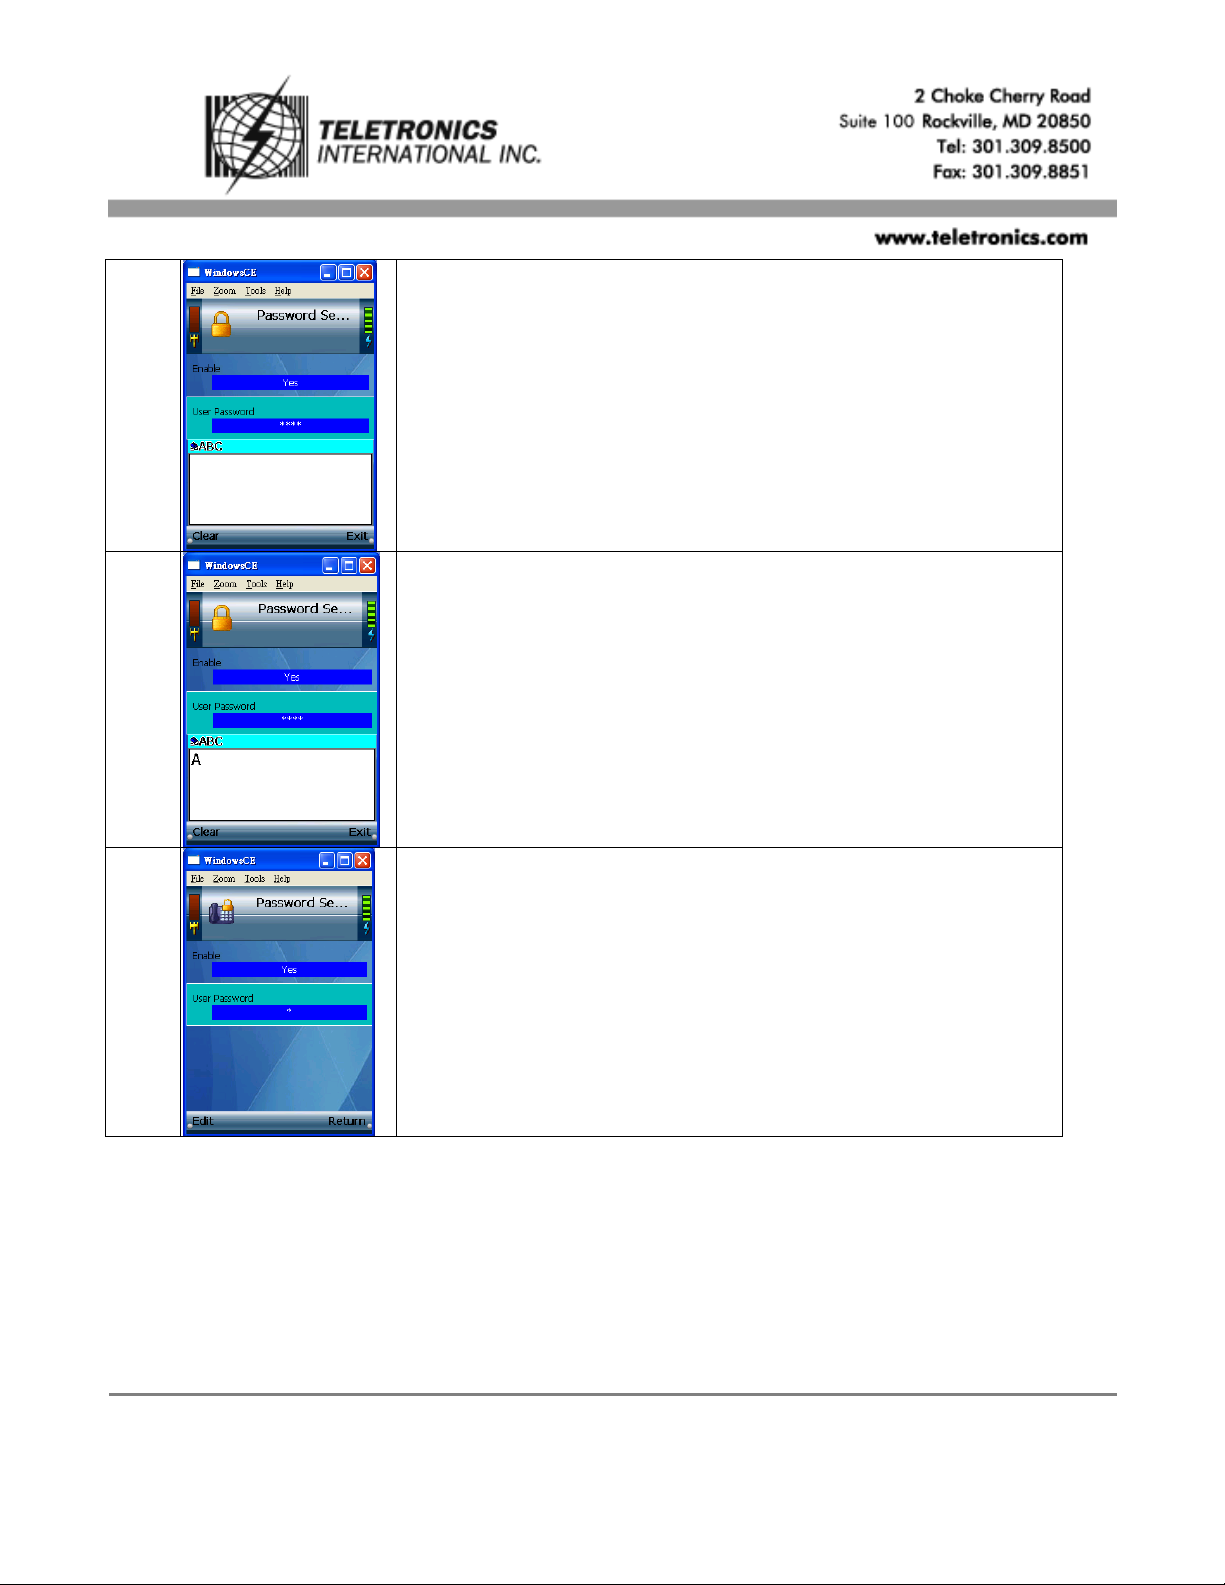
Select “User Password”.
8
Edit “User Password”. Key in the password you preferred, please
remember the password. After that, select “Exit”.
9
Return to Standby Screen.
Page 4

EZLoop™ VoIP Wireless (Wi-Fi) Phone 3rd Generation
Item# 21-114
QUICK GUIDE
10
Power down the device first. Then turn it back on. You’ll see the
window for “Phone Password” request.
11
Press the Call button(Green color one) for 3 seconds. And you’ll see
“Phone Password (Admin)” displays.
12
Enter the factory default admin password “0000”.
**TIP : Press the star key( * ) twice to access numeric key presses. Press the OK
softkey.**
Page 5

EZLoop™ VoIP Wireless (Wi-Fi) Phone 3rd Generation
Item# 21-114
QUICK GUIDE
13
Now you’re under admin mode. It means that you can change the SIP
Settings Items. Select “SIP Settings”.
14
A list of SIP settings will be displayed. For the Proxy IP setting,
select “Edit”.
15
Enter the Proxy IP address in the new window, and the press the
center selection key.
16
Scroll down to Proxy Port, and select “Edit”. Enter the Proxy Port
number address in the new window, and then press the center
selection key.
17
Scroll down to Register Proxy IP, and select “Edit”. Enter the
Register Prroxy IP address in the new window, and then press the
center selection key.
Page 6

EZLoop™ VoIP Wireless (Wi-Fi) Phone 3rd Generation
Item# 21-114
QUICK GUIDE
18
Scroll down to Register Proxy Port, and select “Edit”. Enter the
Proxy Port number address in the new window, and then press the
center selection key.
19
Scroll down to Outbound Proxy IP, and select “Edit”. Enter the
Outbound Proxy IP address in the new window, and then press the
center selection key.
20
Scroll down to Outbound Proxy Port, and select “Edit”. Enter the
Outbound Proxy Port number address in the new window, and then
press the center selection key.
21
If your Internet phone service provider did not provide an Expire
Time setting, then keep the default setting “3600 seconds”. If your
Internet phone service provider provided an Expire Time setting,
then scroll down to Expire Time, and select “Edit”.
Enter the Expire Time in the new window, and then press the center
selection key.
22
Scroll down to Phone Number, and select “Edit”. Enter the Phone
Number you’ll use for Internet phone calls, and then press the center
selection key.
Page 7

EZLoop™ VoIP Wireless (Wi-Fi) Phone 3rd Generation
Item# 21-114
QUICK GUIDE
23
Scroll down to User Name, and select “Edit”. Enter the User Name in
the new window, and then press the center selection key.
24
Scroll down to Password, and select “Edit”. Enter the Password, and
then press the center selection key.
25
On the SIP Settings screen, select “Return”.
26
On the main menu, select “Return”.
**Note. You can go back the above step 3 to disable the phone password settings if
you don’t like to key in the password for turn on the device every time.
The procedure as below listed. Phone SettingsPassword SettingEnable from
“Yes” to “No” **
 Loading...