

Page 1
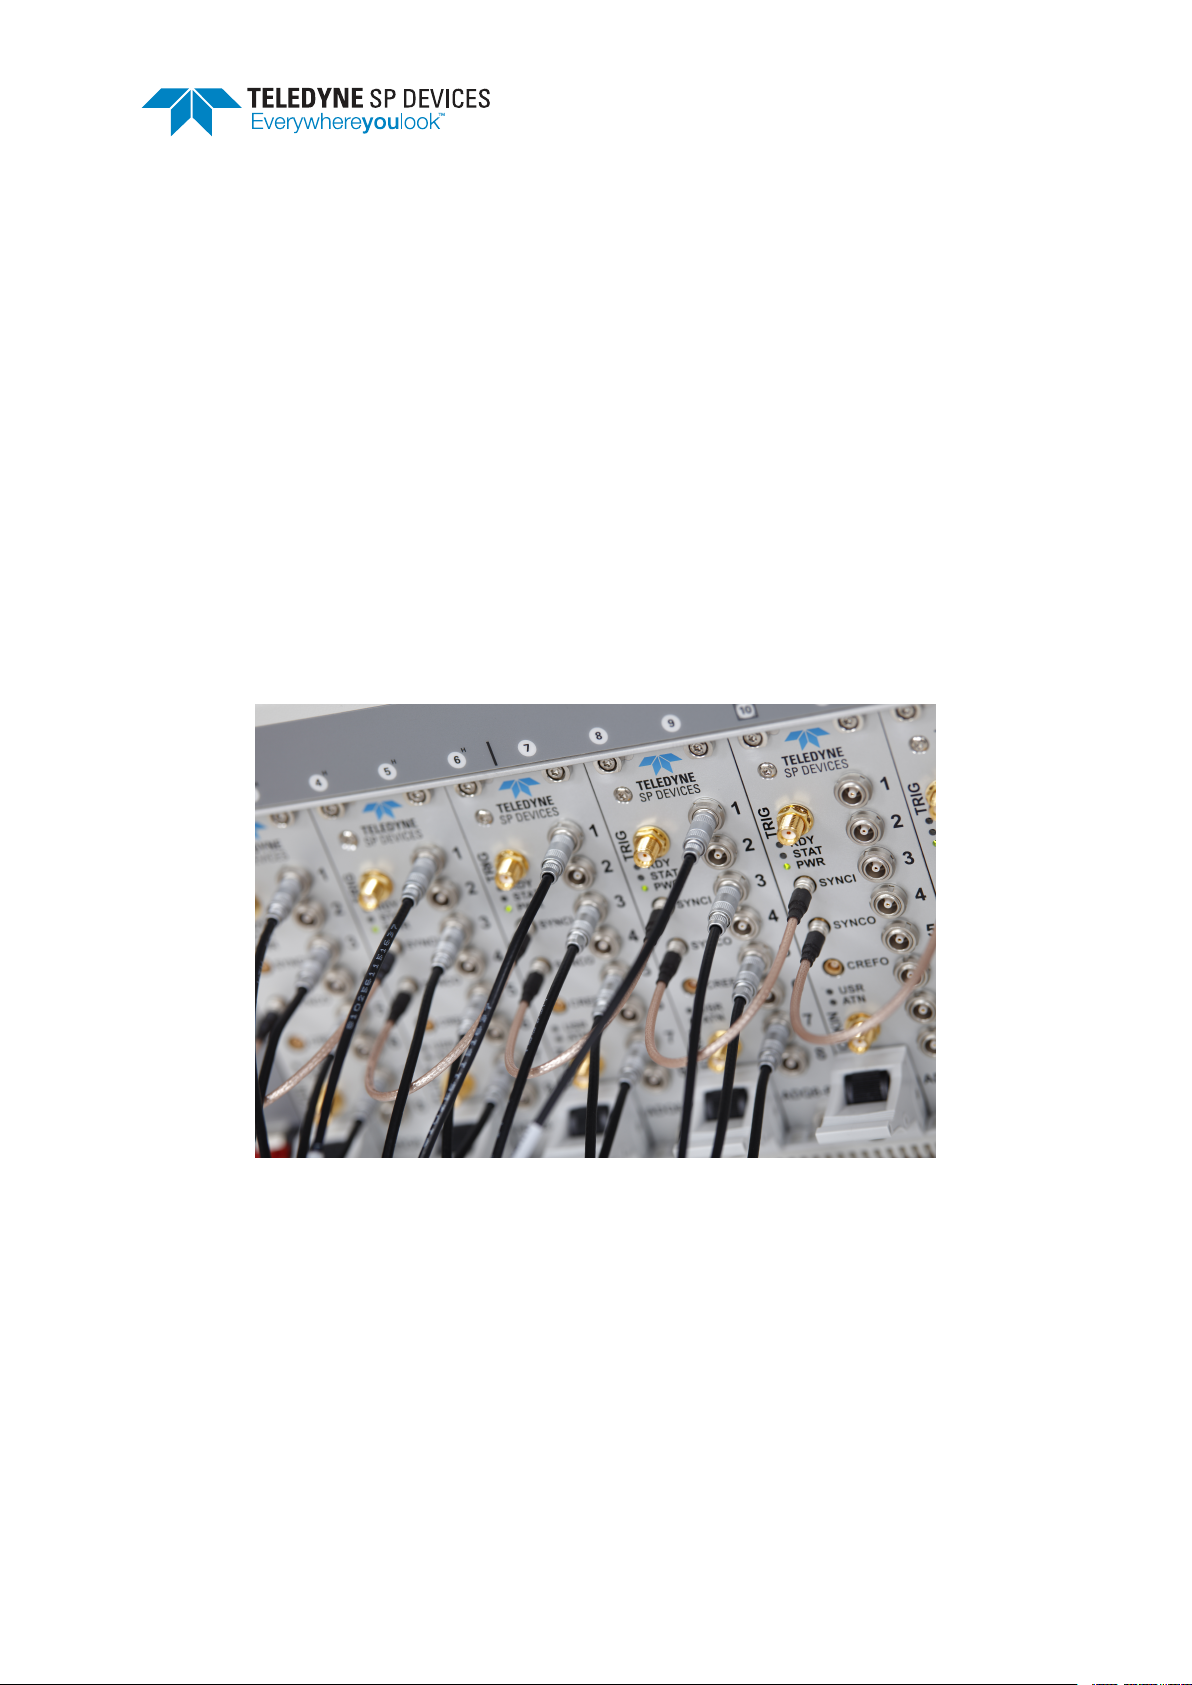
ADQ7
Quick Start Guide for Linux
Author(s): Teledyne SP Devices
Document ID: 14-1276-23
Classification: Public
Revision: PD1
Print date: 2019-06-05
Page 2

Classification Revision
Public PD1
Document ID Print date
14-1276-23 2019-06-05
1 Introduction
Congratulations on having purchased a Teledyne SP Devices digitizer product. To get the most out of
the digitizer we recommend that you read the documentation set carefully.
Disclaimers and Safety
Ground the antistatic package before removing the board from the package. Electrostatic
Caution!
Caution!
discharge may damage the card. Be sure to ground yourself by touching the grounded
frame and avoid touching any components on the card.
Before connecting any equipment to the digitizer, please check the absolute maximum
ratings in the digitizer data sheet to assure that the connected equipment cannot damage
the digitizer.
ADQ7 – Quick Start Guide for Linux spdevices.com Page 1 of 10
Page 3

Classification Revision
Public PD1
Document ID Print date
14-1276-23 2019-06-05
2 Installing the Software
Before connecting the digitizer to the host computer for the first time, the software development kit (SDK)
must be installed. To install the SDK, enter the packages/ directory and find the subdirectory corresponding to the Linux distribution and processor architecture of the host computer. Instructions for each
distribution follows below1.
Important
Make sure the digitizer is connected to the host computer before you begin the installation process.
Ubuntu and Debian
Install the delivered SDK packages using dpkg -i packagename. Use the following order:
1. spd-adq-pci-dkms (needed for PCIe/PXIe/MTCA)
2. libadq0
3. adqtools
OpenSUSE and SUSE Linux Enterprise
Install the following packages using zypper install packagename:
• make
• kernel-devel
• kernel-source
• gcc
The version of kernel-devel and kernel-source must match your current kernel. Install the
delivered SDK packages using rpm -U packagename. Use the following order:
1. dkms (needed for PCIe/PXIe/MTCA)
2. spd-adq-pci-dkms (needed for PCIe/PXIe/MTCA)
3. libadq0
4. adqtools
Fedora 19, 20 and 21
Install the following packages using yum install packagename:
• dkms (needed for PCIe/PXIe/MTCA)
Install the delivered SDK packages using rpm -U packagename. Use the following order:
1. spd-adq-pci-dkms (needed for PCIe/PXIe/MTCA)
1
These instructions are also available in the README included in the SDK archive.
ADQ7 – Quick Start Guide for Linux spdevices.com Page 2 of 10
Page 4

Classification Revision
Public PD1
Document ID Print date
14-1276-23 2019-06-05
2. libadq0
3. adqtools
Fedora 22 and higher
Install the following packages using dnf install packagename:
• dkms (needed for PCIe/PXIe/MTCA)
Install the delivered SDK packages using dnf install packagename. Use the following order:
1. spd-adq-pci-dkms (needed for PCIe/PXIe/MTCA)
2. libadq0
3. adqtools
CentOS / Red Hat Enterprise Linux / Scientific Linux
Note
For RHEL6, use CentOS6 packages.
Install the following packages using yum install packagename:
• make
• kernel-devel
• gcc
The version of kernel-devel must match your current kernel. Install the SDK packages using rpm
-U packagename. Use the following order:
1. dkms (needed for PCIe/PXIe/MTCA)
2. spd-adq-pci-dkms (needed for PCIe/PXIe/MTCA)
3. libadq0
4. adqtools
After installing all necessary packages, reboot the system so that udev reads the updated configuration
and the driver loads. In earlier versions there was a package called adqupdater which is now replaced
by the adqtools package.
ADQ7 – Quick Start Guide for Linux spdevices.com Page 3 of 10
Page 5

Classification Revision
Public PD1
Document ID Print date
14-1276-23 2019-06-05
Device Access Rights
ADQ devices show up prefixed with /dev/adq_pcie_ and /dev/adq_usb_. The default udev setting is to
add read/write access to the user group adq. The libadq0 package will create a user group called adq
if that group does not already exist in the system. To grant a user access to the device, add the user to
the adq group using with
$ usermod -a -G adq <username>
The user will have to logout and login again for the changes to take effect.
Compatibility
The PCIe kernel module supports kernel versions from 2.6.32 and forward, however kernel version 3.8.0
or newer is recommended. The PCIe kernel module is not signed and thus will not load if your kernel
uses secure boot. If secure boot is enabled, it will need to be disabled before the kernel module can be
loaded. Refer to your distribution documentation on how to do this.
ADQAPI
The ADQAPI is the application programming interface (API) used by the host computer to communicate
with digitizers from the ADQ product range. The API functions are detailed in the ADQAPI reference
guide [1] and general usage is documented in the ADQAPI user guide [2]. There are two different interfaces available: a C interface and a C++ interface. Most programming languages, e.g. Python, have a
foreign function interface granting the ability to call functions from C dynamic link libraries directly, making
this the more general interface of the two.
ADQ7 – Quick Start Guide for Linux spdevices.com Page 4 of 10
Page 6
Classification Revision
Public PD1
Document ID Print date
14-1276-23 2019-06-05
3 Connecting the Digitizer to the Host Computer
After the SDK has been installed, it is time to connect your digitizer to the host computer. The connection
procedure depends on the form-factor.
USB
For USB units you need:
• A main power supply, 12 V (delivered together with the digitizer)
• A USB cable (delivered together with the digitizer)
• A host computer with a USB port (USB 2.0 or later)
Connect the digitizer to the power supply and to the host computer.
PXIe
For PXIe units you need a host computer with a free PXIe or cPCIe slot. With the host computer
powered off, plug in the digitizer. Power on the host computer.
MTCA
For a MTCA unit you need a host computer with an available MTCA slot. With the host computer
powered off, plug in the digitizer. Power on the host computer.
PCIe
For PCIe units you need:
• A host computer with an available PCIe slot
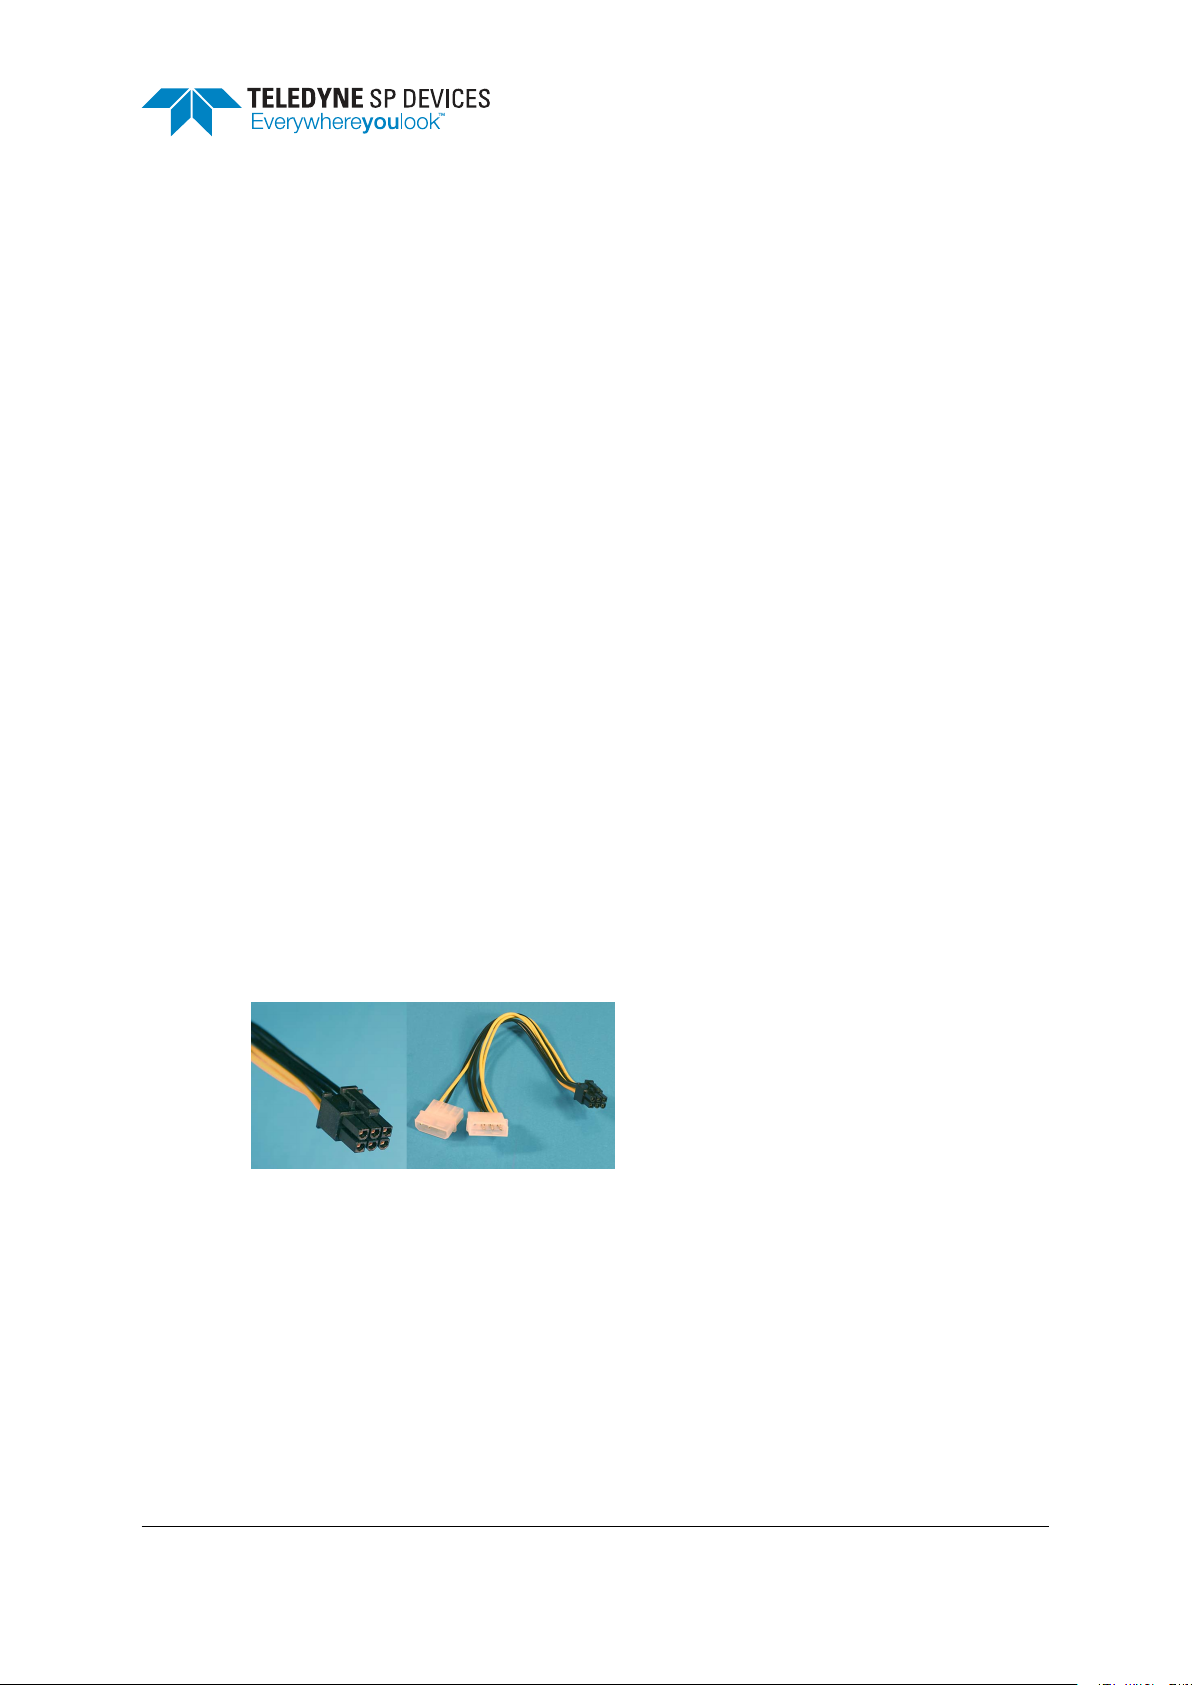
• A PCIe 6-pin power connector like the one below. Please note that an adapter may be
required for some systems. The adapter can be purchased from a computer accessory
supplier.
With the host computer powered off, plug in the digitizer and connect the power cable. Make sure
that the digitizer is mechanically supported by screws through the front panel. Power on the host
computer.
ADQ7 – Quick Start Guide for Linux spdevices.com Page 5 of 10
Page 7
Classification Revision
Public PD1
Document ID Print date
14-1276-23 2019-06-05
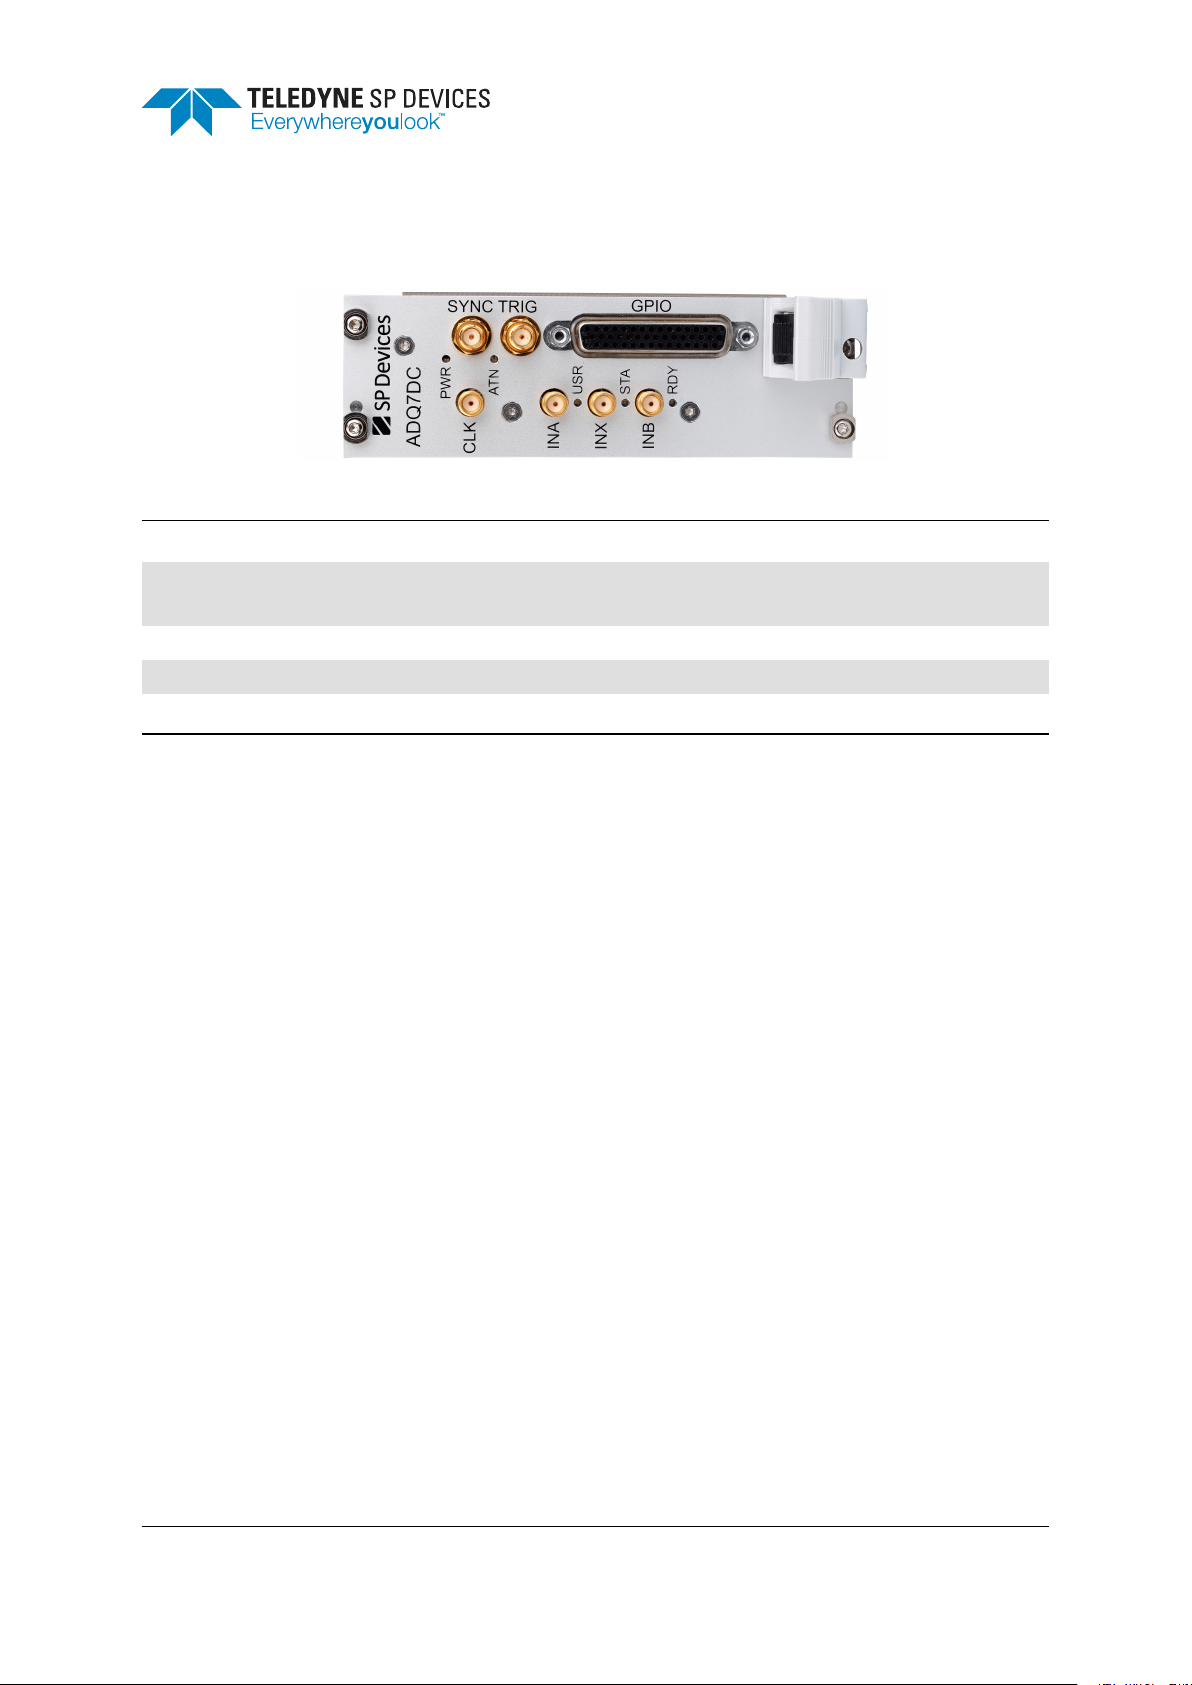
PXIe Front Panel
RDY Not used
STA/STAT Blinking red light in combination with PWR LED off indicates that the device has
overheated and partially powered down to prevent damage.
PWR Solid green light indicates power and status OK.
USR/USER Solid blue light when the digitizer is acquired by an application using the ADQAPI.
ATN PXIe attention LED
ADQ7 – Quick Start Guide for Linux spdevices.com Page 6 of 10
Page 8
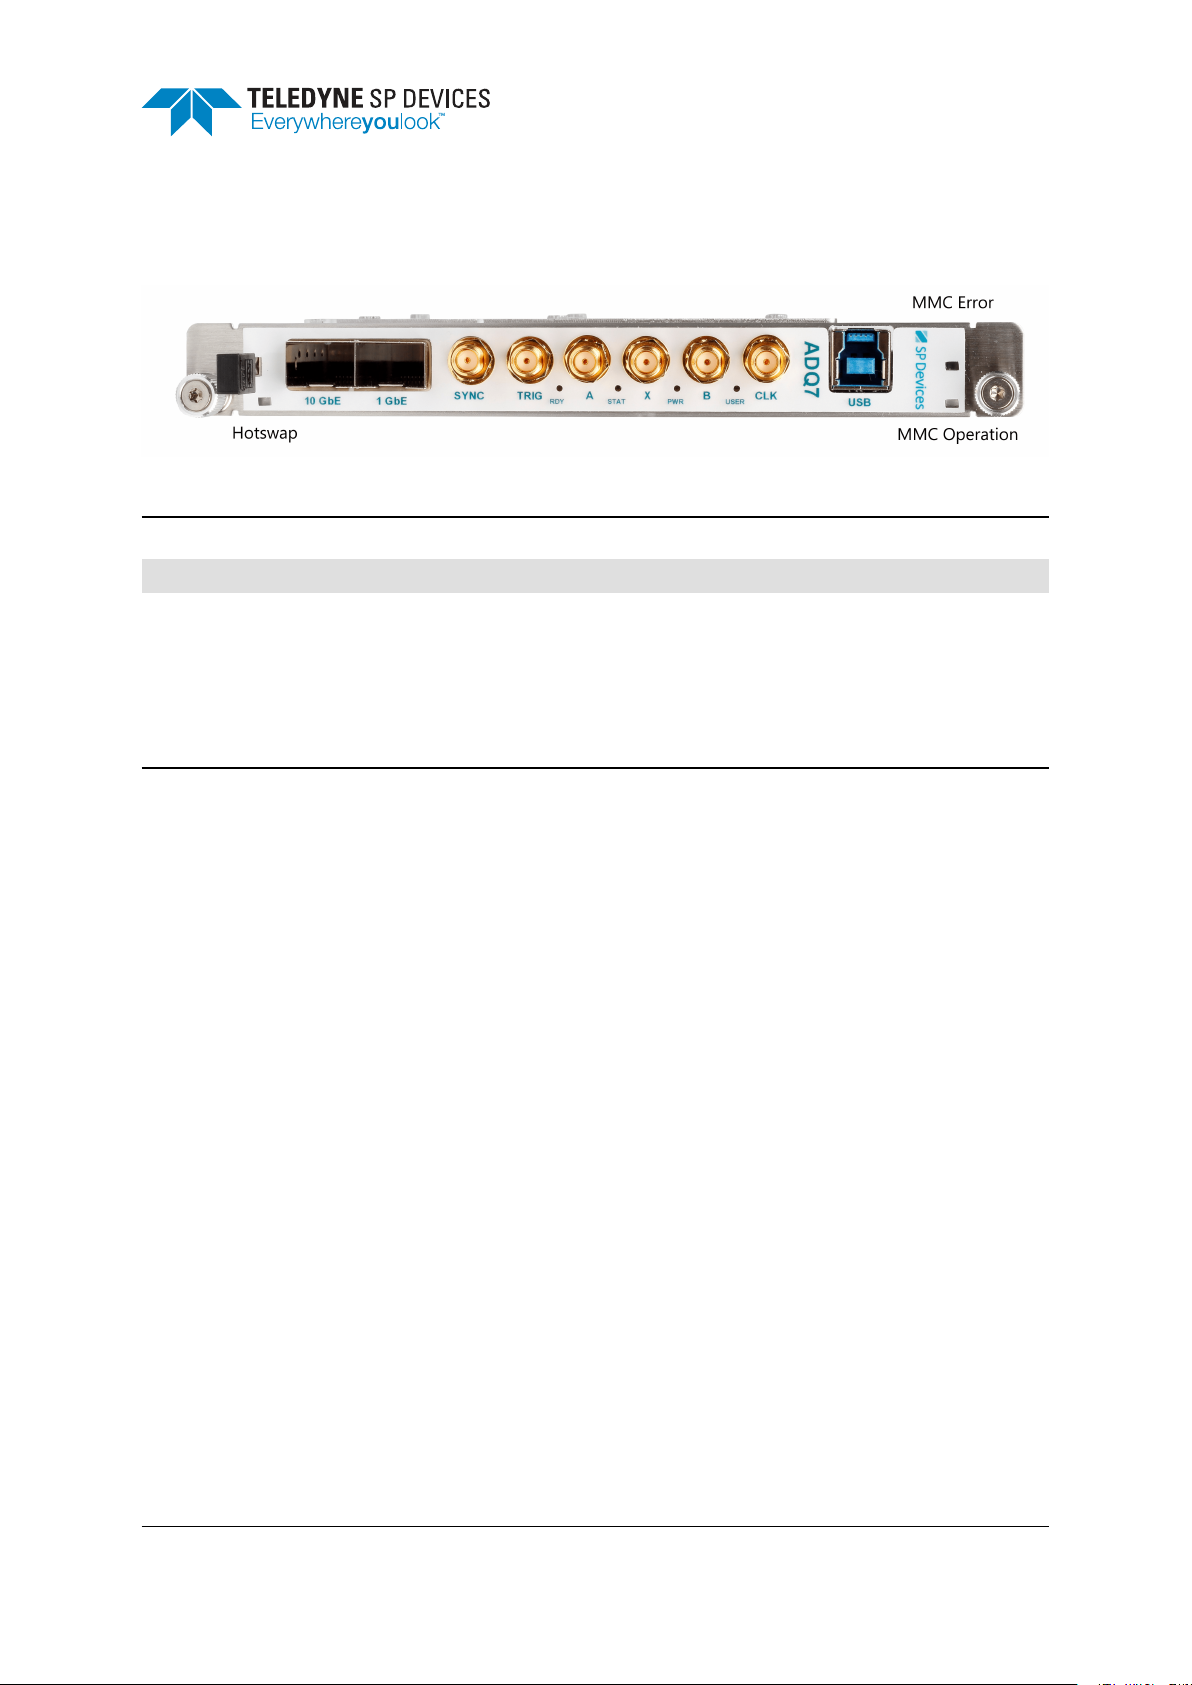
MTCA Front Panel
MMC Error Solid red light if the MMC detected an error.
MMC Operation Solid green light while the device is running.
Hotswap Linux only
Solid—OK to disconnect the device.
Classification Revision
Public PD1
Document ID Print date
14-1276-23 2019-06-05
Flashing—wait before disconnecting the device.
Off—normal mode: pull hot swap pin gently to activate indicator.
ADQ7 – Quick Start Guide for Linux spdevices.com Page 7 of 10
Page 9

Classification Revision
Public PD1
Document ID Print date
14-1276-23 2019-06-05
4 Using the Digitizer
To introduce you to the interface for our digitizers: the ADQAPI, there are source code examples provided
in the examples/ directory in the SDK archive. We recommended you to browse through the contents of
this directory to get an overview of the available example code.
Note
Please note that there are different source code examples for different products and firmwares.
It is also helpful to familiarize yourself with the documentation for your specific product. Which documents
to read depend on which firmware your digitizer is running. Refer to p. 9 for an overview of the available
resources. Additional documentation is available on our web site2.
2
https://www.spdevices.com/documentation
ADQ7 – Quick Start Guide for Linux spdevices.com Page 8 of 10
Page 10

Common resources
Resource Description
MAN 16-1796 The ADQ7 product manual
UG 18-2059 Describes how to manage firmware files.
UG 08-0214 The ADQAPI user guide
Classification Revision
Public PD1
Document ID Print date
14-1276-23 2019-06-05
RG 14-1351 The ADQAPI reference guide, documents the functions in the ADQAPI.
Firmware-specific resources
Resource FWDAQ FWSDR FWPD FWATD
User guides
Source code
examples in C
GUIs
Application
notes
ADQAPI_example
standard_example
ADCaptureLab
(UG 18-2207)
UG 17-2043 UG 18-2132 UG 17-1957
ADQAPI_FWSDR_example
fwsdr_example
ADQAPI_FWPD_example
fwpd_example
ADQAPI_FWATD_example
fwatd_example
AN 18-2118 AN 18-2104
ADQ7 – Quick Start Guide for Linux spdevices.com Page 9 of 10
Page 11

Classification Revision
Public PD1
Document ID Print date
14-1276-23 2019-06-05
References
[1] Teledyne Signal Processing Devices Sweden AB, 14-1351 ADQAPI Reference Guide. Technical
Manual.
[2] Teledyne Signal Processing Devices Sweden AB, 08-0214 ADQAPI User Guide. Technical Manual.
ADQ7 – Quick Start Guide for Linux spdevices.com Page 10 of 10
Page 12

Worldwide Sales and Technical Support
www.teledyne-spdevices.com
Teledyne SP Devices Corporate Headquarters
Teknikringen 6
SE-583 30 Linköping
Sweden
Phone: +46 (0)13 645 0600
Fax: +46 (0)13 991 3044
Email: [email protected]
Copyright © 2019 Teledyne Signal Processing Devices Sweden AB
All rights reserved, including those to reproduce this publication or parts thereof in any form without permission in writing from Teledyne SP Devices.
 Loading...