

Telcom Research CallShop FONE DISPLAY Installation & Protocol Manual
CallShop FONE DI$PLAY
Installation & Protocol Manual
Stand Alone Install &
Multiple Install via CallShop Concentrator
Issue 1.10
March 24 2008
Page
1
General :
The CallShop Phone Display is a device for controlling and displaying various features
related to the implementation of a CallShop.
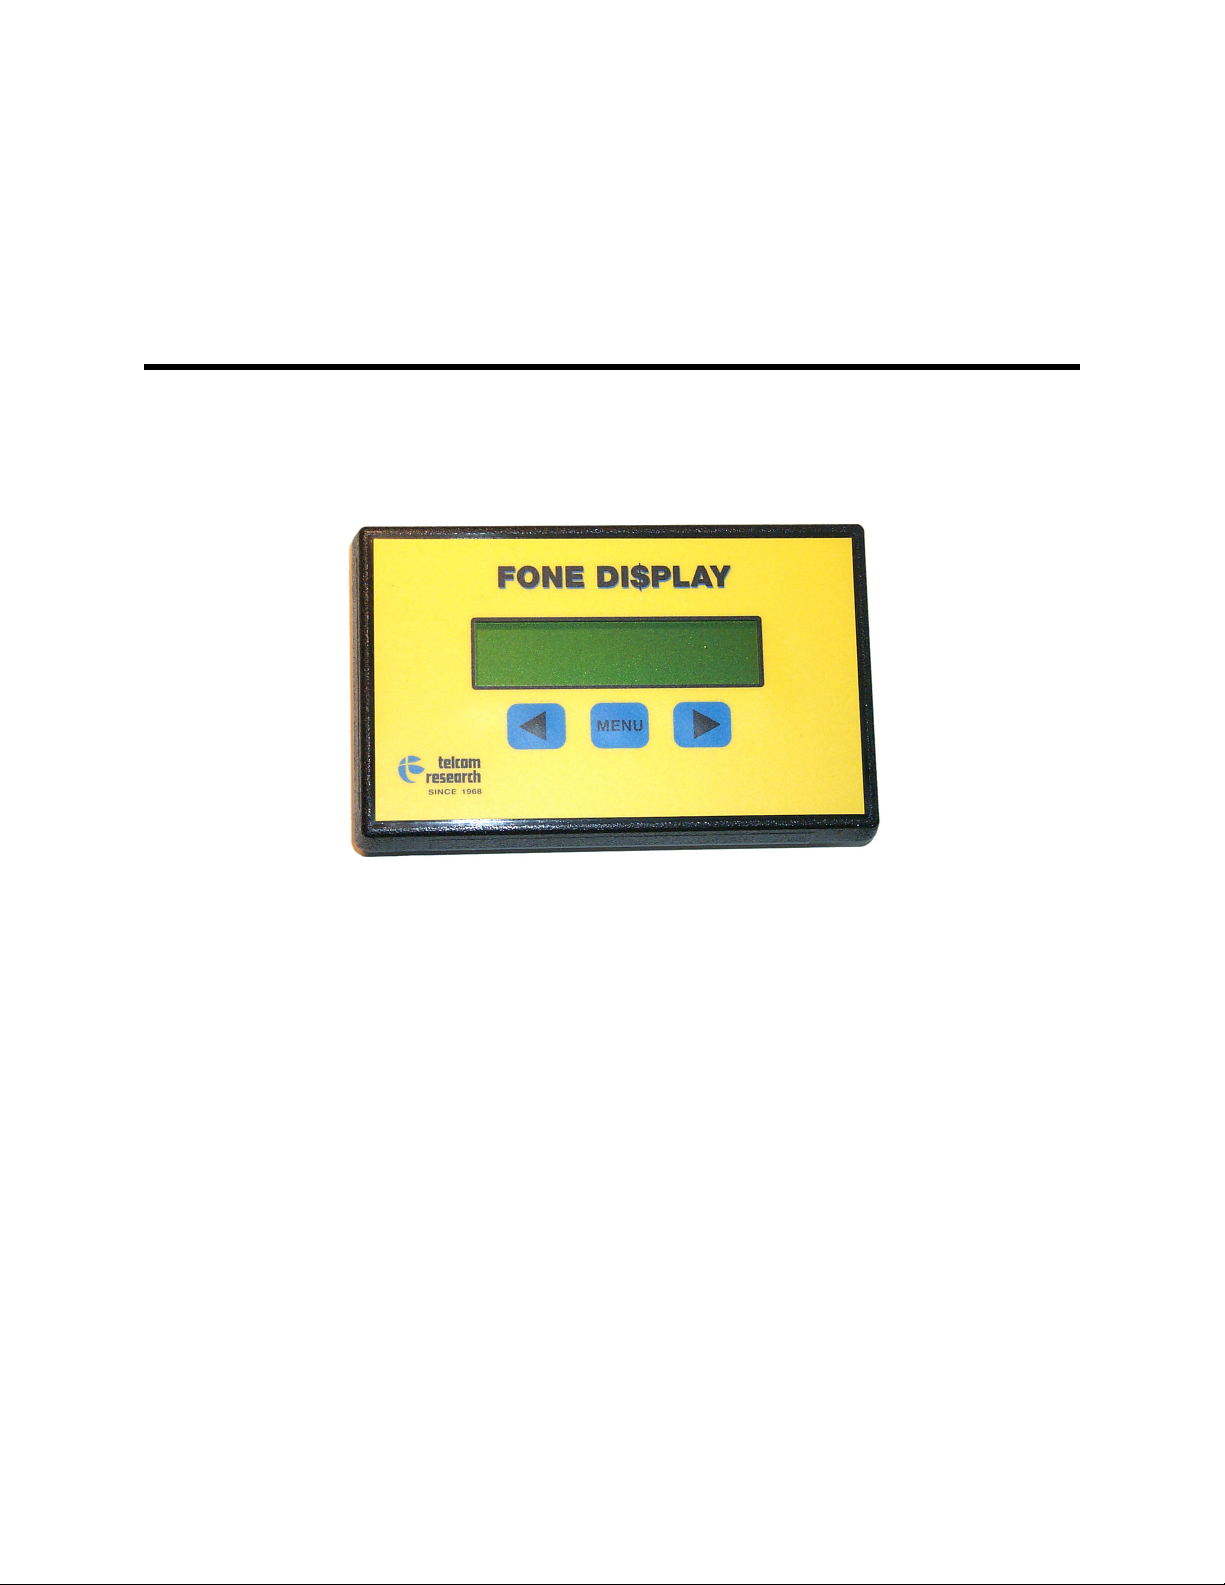
The device is enclosed in a small plastic enclosure, and contains an LCD display and
connection jacks. Its internal microprocessor is capable of various functions related to
control and status of a telephone call, as well as display of call information on the LCD
screen for the user to see.
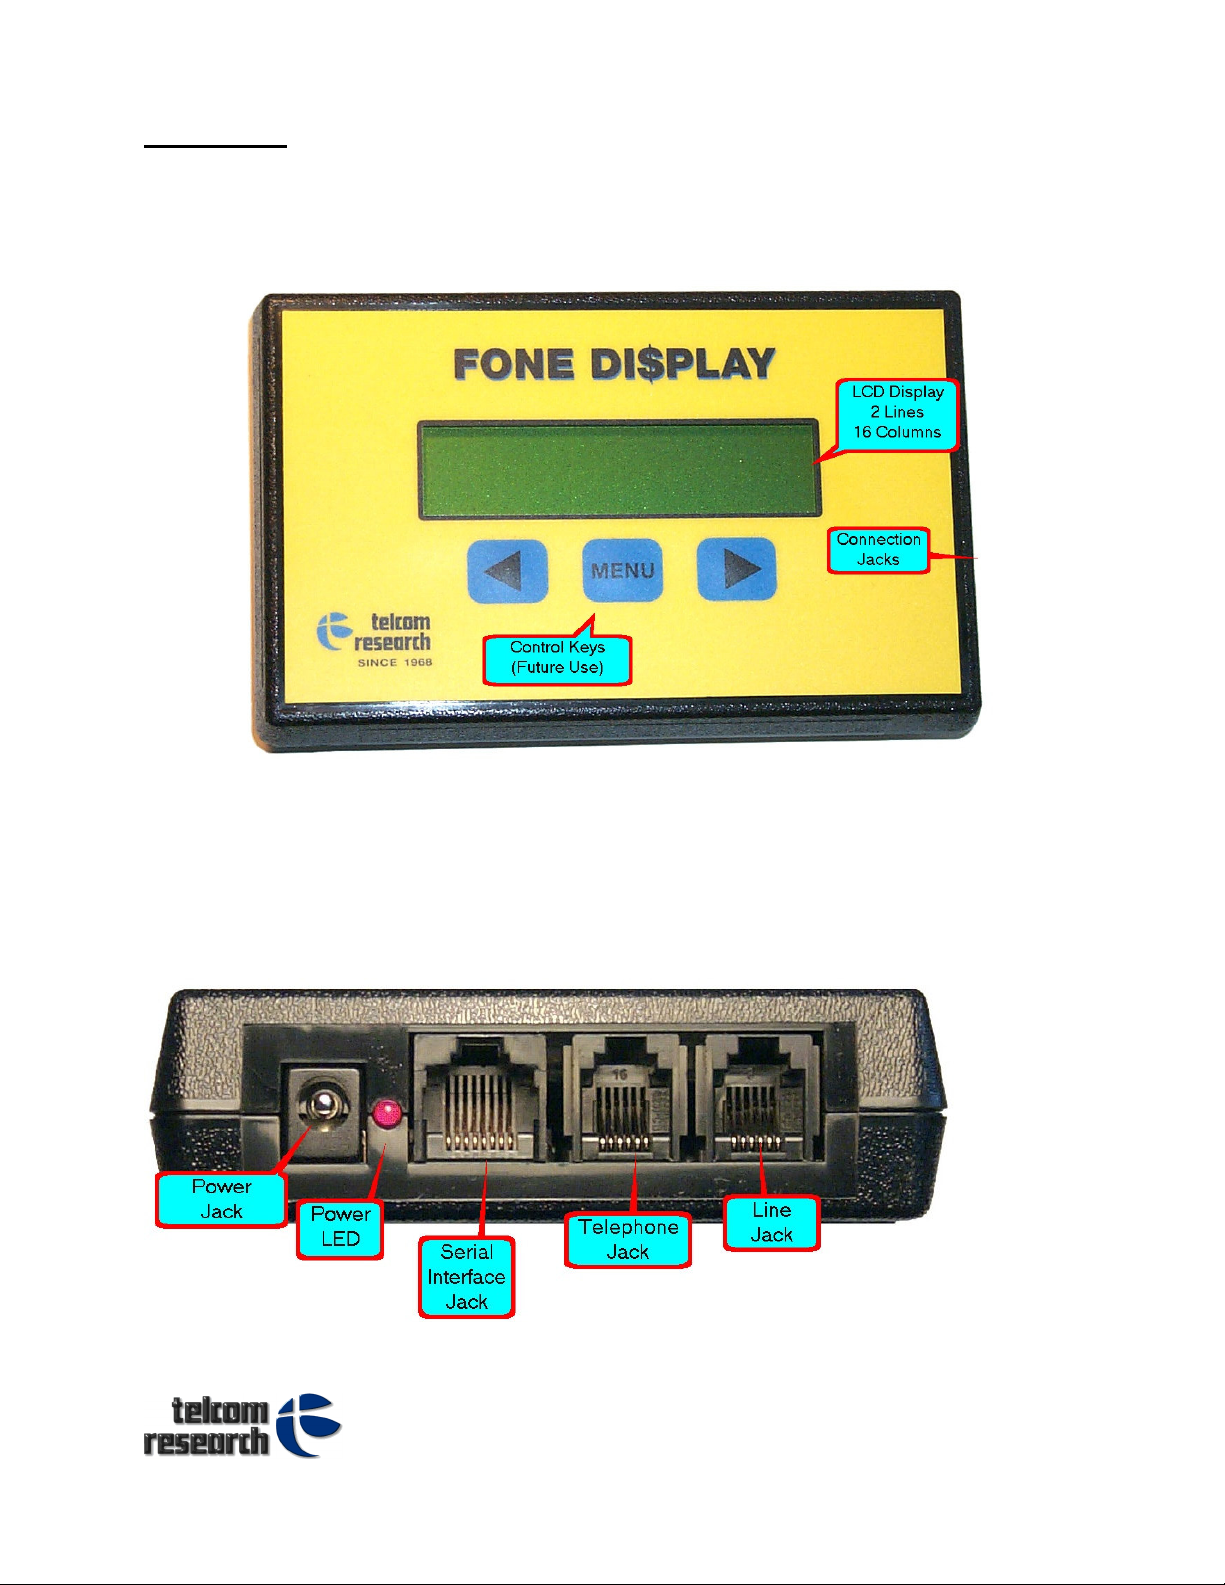
On the right side are the connection jacks. These provide the interconnect with the outside
world.
A7- 3375 North Service Road, Burlington ON Canada L7N 3G2
Phone +905.336.2450
Fax +647-436-6954
Web www.telcomresearch.com
Page
2
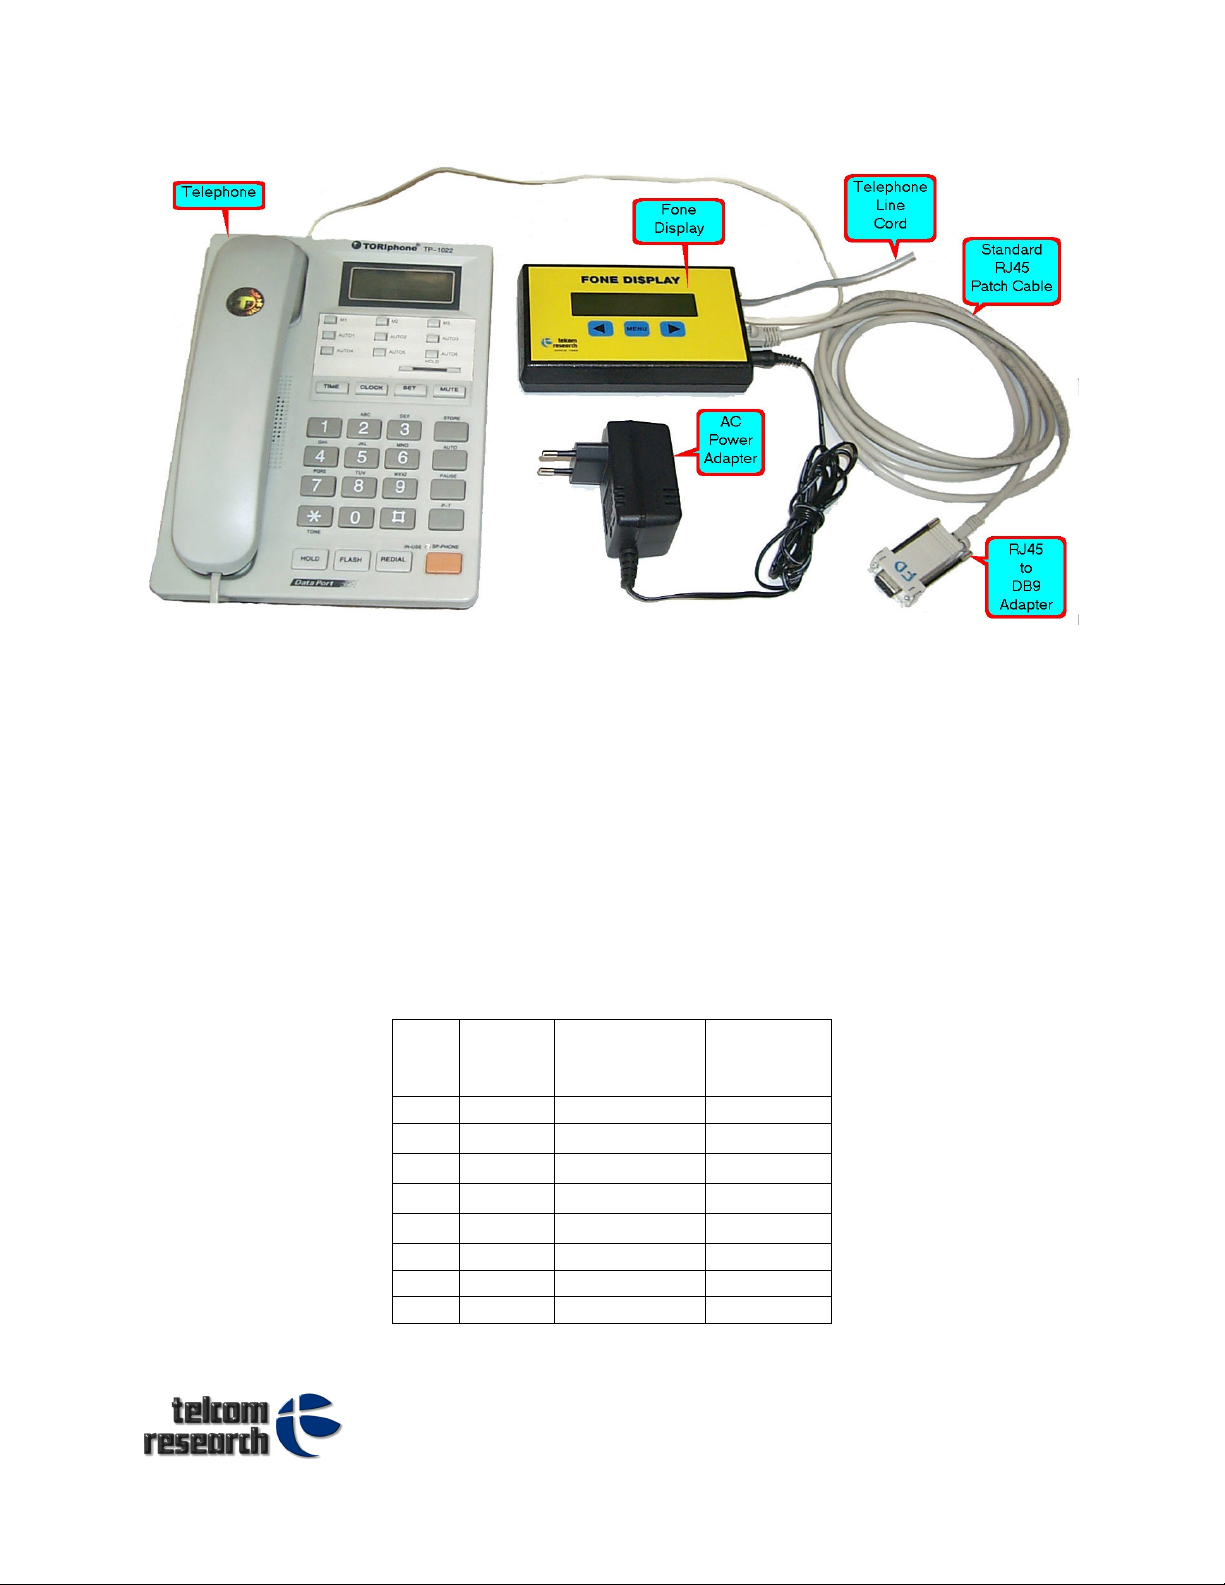
Connecting the CallShop Fone Display is quite easy.
• Plug the telephone line cord into the Line Jack.
• Plug the telephone cord into the Telephone Jack
• Plug the AC Power Adapter into the Power Jack
• Plug an RJ45 Patch Cable (Standard network cable) into the Serial Interface Jack
• Plug an RJ45 to DB9 Adapter onto the end of the RJ45 Patch Cable
• Plug the RJ45 to DB9 Adapter into a spare COM port of your PC.
The RJ45 to DB9 Adapter may be obtained directly from Telcom Research, or can be built
from a generic adapter. The connection information for making your own adapter is below:
9 Pin Fone Display Adapter
DB9 Male or DB9 Female
DB9 Signal
Adapter
1 DCD -
2
3
4
5
RXD
TXD
DTR
GND
Green
Yellow
6 DSR 7 RTS 8 CTS -
Color
Blue
Red
Adapter
Number
Pin
N/C
1
4
5
6
N/C
N/C
N/C
A7- 3375 North Service Road, Burlington ON Canada L7N 3G2
Phone +905.336.2450
Fax +647-436-6954
Web www.telcomresearch.com

Page
3
The CallShop Fone Display is controlled by a PC via serial communications. The PC’s COM
Port settings must be:
Baud Rate 2400
Data Bits 8
Stop Bits 1
Parity None
Using this serial interface you can send message packets to the device to control its
behavior. Each message packet is ASCII data with a carriage return at the end of each
packet. This simple serial protocol allows for easy implementation and testing using
common tools.
Document Conventions:
In this document the following names and symbols will have the following meanings:
<CR> Carriage Return the hex value 0x0d (‘\r’)
0x Hex Character Representation. The 2 digits after the 0x are a hex value.
ETX The ASCII character ETX which is 0x03 or ‘\3’
Control Commands :
The following list of commands allows a PC program to control the operation of the
CallShop Fone Display as part of an overall call shop solution.
Each command is a single ASCII character followed by 1 or more parameters as text, ending
with a <CR> Each command will cause the device to perform some function and respond
with a confirmation message which is the command character proceeded by the “^” and
ending with a <CR>
Blank LCD Line X:
The “l” (lower case ‘L’) command will cause a line of the LCD display to be cleared or
blanked. This command is a 3 character command with the 2nd character being the line
number, 1 for top, and 2 for bottom.
Format:
lR<CR>
l = “l” (Lower case “L”
R = Row (1 for line 1 and 2 for line 2)
Response:
^l<CR>
The CallShop Fone Display will respond with this confirmation message
Example:
l2<CT>
Clear line 2 of the LCD display
A7- 3375 North Service Road, Burlington ON Canada L7N 3G2
Phone +905.336.2450
Fax +647-436-6954
Web www.telcomresearch.com

Page
4
Note : Clearing a line will only clear a line that contains text. If the line is populated with a
control such as a timer or clock then this will not be removed.
Display Full Screen:
The “L” command allows for the full screen (32 characters) to be written to all at once. The
command is the 34 character command.
Format:
LAAAAAAAAAAAAAAAABBBBBBBBBBBBBBBB<CR>
L = “L”
A = 16 character field of text to appear on line 1 of the LCD display.
B = 16 character field of text to appear on line 2 of the LCD display.
This command is only capable of filling the entire display. If you wish to
modify only a portion of the display, see the “Message” command.
Response:
^L<CR>
The CallShop Fone Display will respond with this confirmation message
Message:
The “M” command provides the ability to put 1 or more characters any place on the LCD
display.
Format:
MRCCLLxxxxx<CR>
M = “M”
R = Row (1 for line 1 and 2 for line 2)
CC = Column (01 to 16)
LL = Length
Xx = Message characters
Response:
^M<CR>
The CallShop Fone Display will respond with this confirmation message
Example:
M10311Hello World<CR>
This example will put the words “Hello World” on line one starting at column 3 and
the message is 11 characters long.
Clock Set:
The “T” command provides the ability to set the devices real time clock.
Format :
A7- 3375 North Service Road, Burlington ON Canada L7N 3G2
Phone +905.336.2450
Fax +647-436-6954
Web www.telcomresearch.com

Page
5
TYYMMDDWhhmmss<CR>
T = “T”
YY = Year
MM = Month
DD = Day
W = day of the week (Sunday is 1)
hh = Hour
mm = Minutes
ss = Seconds
Response:
^T<CR>
The CallShop Fone Display will respond with this confirmation message
Example:
T0802263182400<CR>
This example sets the clock to February 26, 2008 at 18:24:00.
Clock Display:
The “t” command (lower case “T”) allows you to display the default clock on the LCD display
on either line 1 or line 2.
Format:
tx<CR>
X = Row Number
0 = Do not display
1 = Display Clock on Line 1
2 = Display Clock on Line 2
Response:
^t<CR>
The CallShop Fone Display will respond with this confirmation message
Example:
T1<CR>
Put the lock on line one of the display
T0<CR>
Turns off display of the clock, however the clock continues to run in case you
want to display it at a later time. Only a power interruption will cause the
clock to reset and loose time.
Duration Counter:
The “D” command will place a duration counter on the LCD at the location of your choice. A
duration counter will allow you to display the time used by the caller in seconds and
minutes, without the need to constantly update the LCD display.
Format:
DRCCDx<CR>
D = “D”
R = Row ( 1 or 2 )
CC = Column ( 1 to 16 )
A7- 3375 North Service Road, Burlington ON Canada L7N 3G2
Phone +905.336.2450
Fax +647-436-6954
Web www.telcomresearch.com

Page
6
D = Delimiter (character between seconds and minutes)
X = Optional command. If this is a “C” then the counter is cleared.
Response:
^D<CR>
The CallShop Fone Display will respond with this confirmation message
Example:
D101:C<CR>
Display a duration timer on Row 1 at column 1 with a “:” between the
minutes and seconds. The display will look like this:
000:00
D000: <CR>
This will cause the duration counter to be removed from the LCD display.
Duration Start/Stop:
The “d” (lower case “D”) command is used to start and stop the Duration Counter.
Format:
dxy<CR>
d = “d”
x = Enable / Disable
1 = Enable
0 = Disable
y = Optional command. If this character is a “C” then the counter
will also be reset to zero.
Response:
^d<CR>
The CallShop Fone Display will respond with this confirmation message
Example:
d1<CR>
This causes the duration counter to begin counting up.
d0<CR>
This causes the duration counter to stop counting. The d1 command will then
allow you to turn the counter back on.
Cost Counter:
The “C” command will place a Cost Counter on the LCD at the location of your choice. A cost
counter will allow you to display the cost of the call incrementing automatically without the
need to constantly update the LCD display.
Format:
CRCCLDdSTTAAx<CR>
C = “C”
R = Row ( 1 or 2 )
CC = Column ( 1 to 16 )
L = Length of the field
D = Decimal Places
d = Delimiter character.
S = Currency Symbol. Can be any
A7- 3375 North Service Road, Burlington ON Canada L7N 3G2
Phone +905.336.2450
Fax +647-436-6954
Web www.telcomresearch.com

Page
7
ASCII character or special character
TT = Time Period
AA = Amount to Add or Subtract each time period.
X = Optional command
C = Clear the counter
R = Restart/continue the counter
Response:
^C<CR>
The CallShop Fone Display will respond with this confirmation message
Example:
C10882.$1530C<CR>
Display a cost counter on Row 1 at column 8 with a “$” at the start of the
field with a “.” To show 2 decimal places.
The filed would look like this:
$0000.00
This field is 8 characters long if you include the “$” and the “.”
C00000 0000C<CR>
This will cause the Cost Counter to be removed from the LCD display.
Cost Start/Stop:
The “c” (lower case “C”) command is used to start and stop the Cost Counter.
Format:
cxy<CR>
c = “c”
x = Enable / Disable
1 = Enable
0 = Disable
y = Optional command.
If this character is a “C” then the counter will also be cleared.
If this character is an “S” then the counter will be preset to the
incremental amount (see AA from the “C” command above.
Response:
^c<CR>
The CallShop Fone Display will respond with this confirmation message
Example:
c1C<CR>
This causes the cost counter to be cleared, and then begin counting up.
c0<CR>
This causes the cost counter to stop counting.
c1S<CR>
This will cause the counter to be preset to the amount previously entered
from the “C” command (“AA” field above), and then begin counting.
Prepaid:
A7- 3375 North Service Road, Burlington ON Canada L7N 3G2
Phone +905.336.2450
Fax +647-436-6954
Web www.telcomresearch.com
 Loading...