

Page 1
4
A Greater Measure of Confidence
…and your Keithley PCI board
will be working for you.
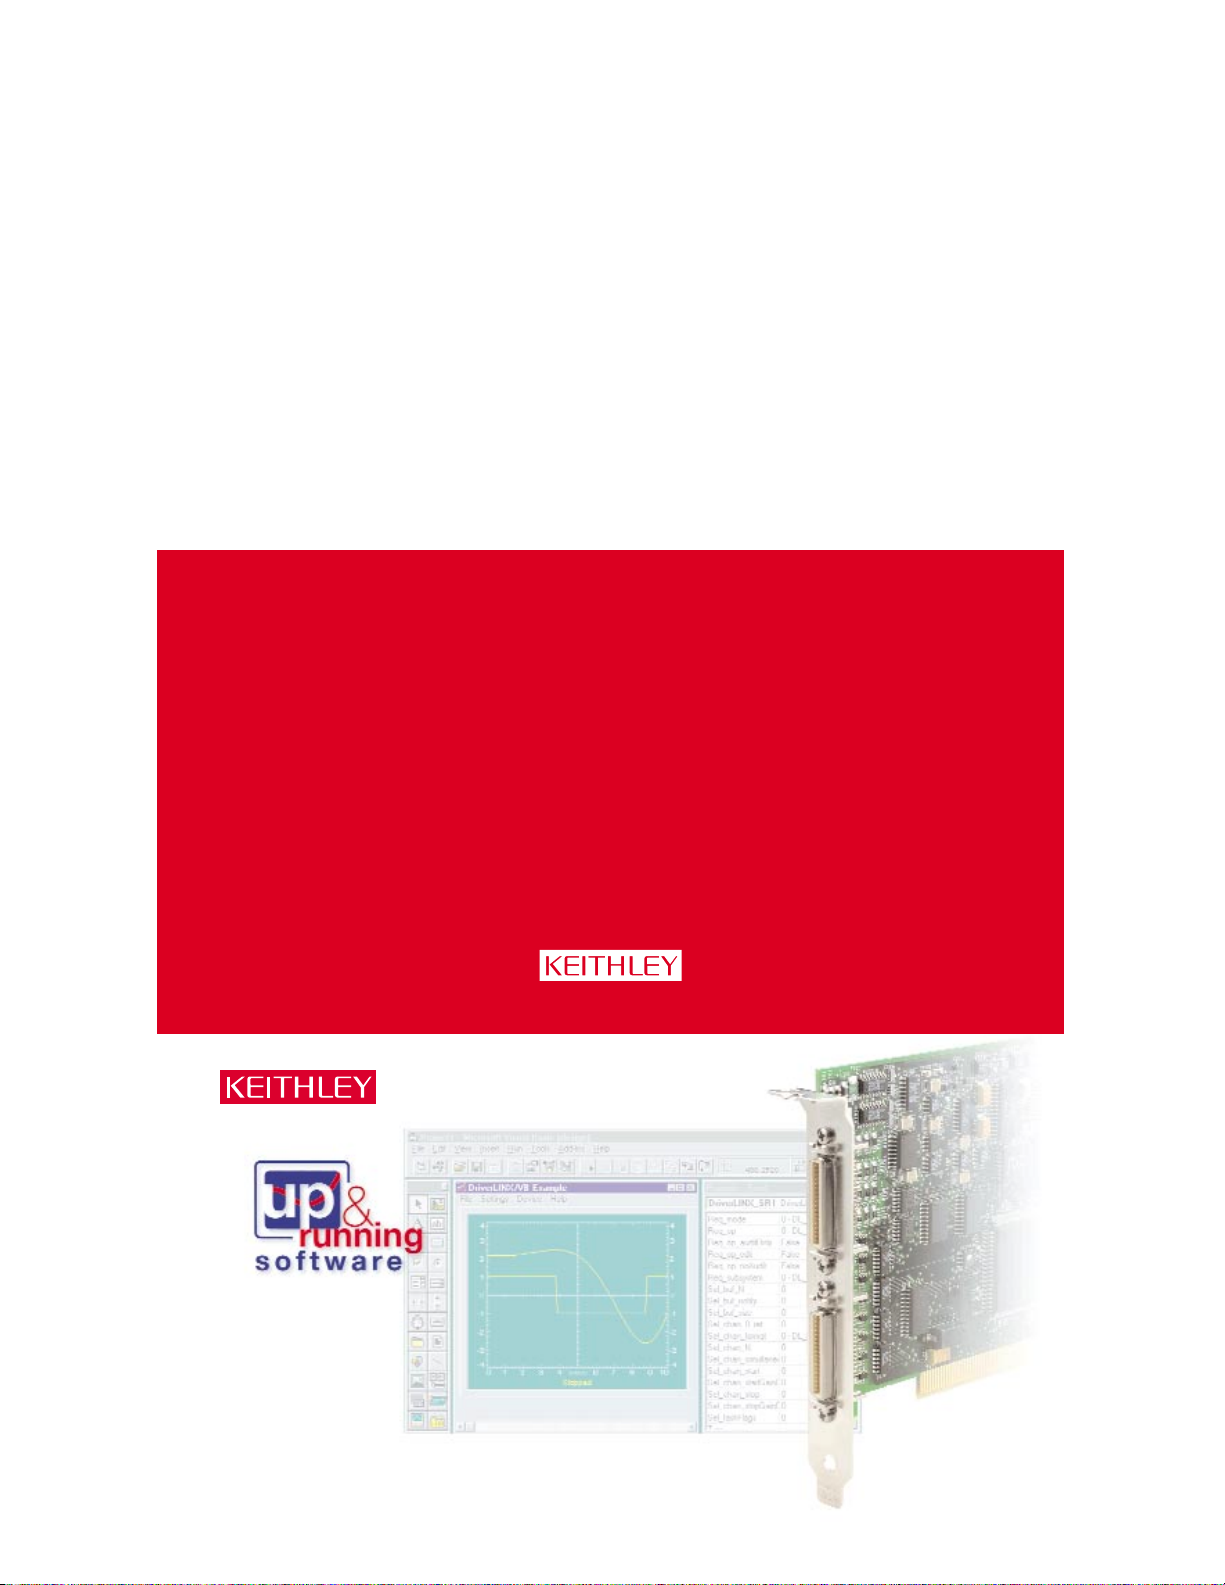
easy steps…
Keep it simple…
Load the DriverLINX®software before
you install your new PCI board.
1
Install the DriverLINX
®
Software.
2
Install the
Board.
3
Configure
DriverLINX®.
4
Start the
Test Panel.
Customer Service: 1-888-KEITHLEY
Free Downloads:
www.keithley.com/daqsoftware
Current Virtual Instruments (VIs) for LabVIEW.
ExceLINX - Acquires data directly into an Excel
spreadsheet; requires no programming.
VisualSCOPE - Digital storage oscilloscope interface
for Windows; requires no programming.
Register On-line: www.keithley.com/register
Browse Application Notes and White Papers: www.keithley.com/daqnotes
Frequently Asked Questions: www.keithley.com/daqfaq
Everything you need is in the box.
Page 2

Congratulations! Your DriverLINX software and
board are properly installed and working together!
PA-722 Rev. B / 8-00
1
Install the DriverLINX®Software.
2
Install the Board.
4
Start the Test Panel.
1. Click the Windows Start tab.
2. Locate the Programs→DriverLINX→Test Panels submenu.
3. Select the appropriate test panel for your card:
If your card is ... Select ...
Digital I/O AIO Panel
Analog I/O or Analog/Digital I/O AIO Panel
Counter/Timer CTM Panel
4. The starting screen for the selected
test panel should appear. If the test panel does not
start, refer to the troubleshooting section of the
Keithley User’s Manual.
5. Close the test panel.
1. Remove the computer chassis cover.
2. Locate an empty PCI expansion slot.
3. Remove the dummy mounting bracket, keeping the mounting screw.
4. Remove the new board from the anti-static packaging.
5. Insert the PCI connector of the board into the selected PCI slot.
6. Secure the mounting bracket of the board to the chassis, using the
retaining screw from the dummy mounting bracket.
7. Reinstall the chassis cover.
3
Configure DriverLINX®.
1. Turn ON the computer. The Configuration Wizard will start after boot-up is complete and you log in.
2. Select Continue.
3 Follow the on-screen instructions to configure your new board and DriverLINX to work together.
4. Reboot your computer when instructed to by the Wizard.
Place the DriverLINX CD into Your Computer’s Drive
Setup will start automatically.
The DriverLINX Browser Introduction screen appears,
followed by the DriverLINX CD
Navigator screen.
Read the On-screen Help Files
1. Select Read Me First.
2. Select Exit.
Install the Drivers
1. Select Install DriverLINX.
2. Select Install Drivers.
3. Follow the on-screen instructions.
Install the API Interfaces
1. Select Install Interfaces.
2. Follow the on-screen instructions.
Exit the Installation
1. Select Exit to return to the Navigator screen.
2. Select Exit to exit the installation.
3. Select Done to exit the CD Navigator.
4. From the “System Settings Changed” dialog box, select Yes .
5. Shut down Windows, then power your computer OFF.
Keithley Instruments, Inc. 28775 Aurora Road Cleveland, OH 44139 440-248-0400 Fax: 440-248-6168 http://www.keithley.com
CAUTION: Your PCI board is
sensitive to static discharge. Take care
to prevent static discharge before and
while handling your PCI card.
 Loading...